patience is a virtue; words to garden by

IMG_3716
tomato seedlings for my garden

Last year, in January, I attended my very first blogging conference.  While this isn’t big news or even an interesting tidbit about my life worth sharing, it is an important event to me personally.  You see, at this very event, I was lucky to forge a friendship with Melissa of Corbin in the Dell.  We already knew of each other since we traveled in the same foodie circle in Nashville and would occasionally run into each other at Nashville Food Bloggers events but it wasn’t until that weekend that we realized just how much we had in common and how much fun we could have together (remind me to tell you about our pranks at the 2015 conference.)

IMG_3717
beneficial insects are attracted to the garden by planting flowers and with any luck, these zinnias and marigolds will draw many.


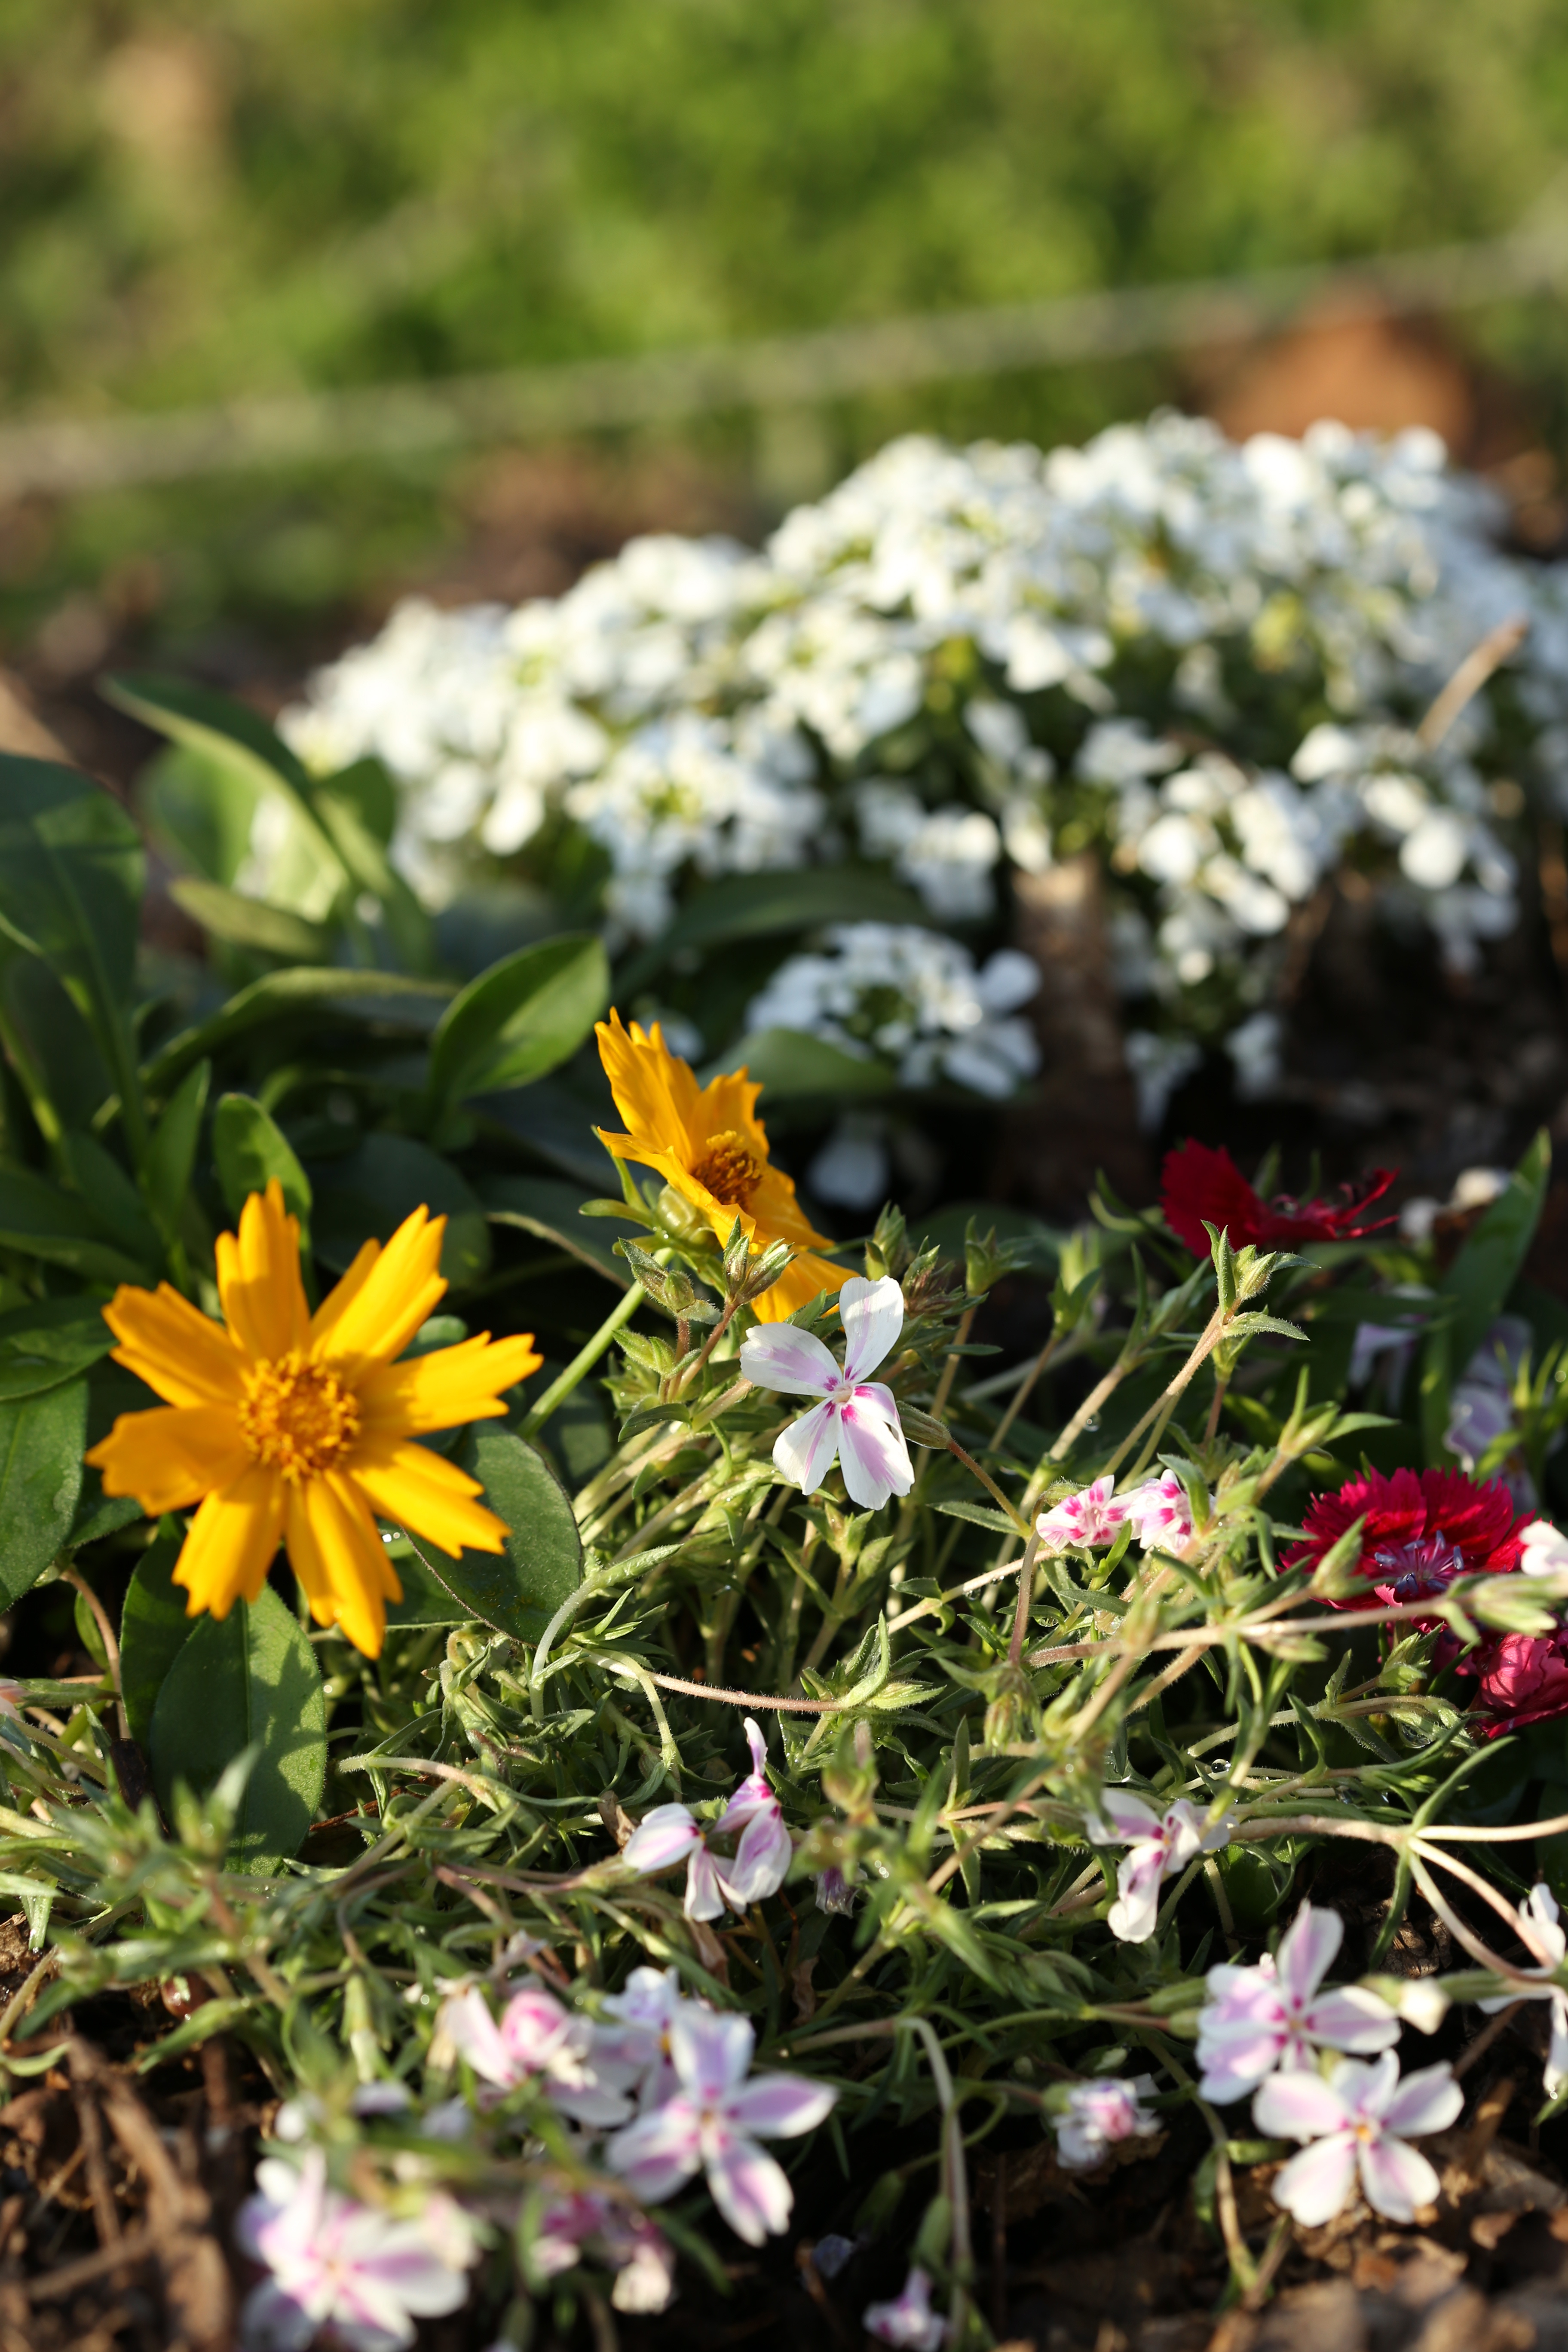
During many conversations, we would discuss gardening, something we have in common and it led to the decision to collaborate on a project.  While we both practice organic methods in the garden, our approaches could not be more different.  Melissa is a true farm raised, country girl, and as you may know, I am your typical city girl who grew up in an apartment with no garden to play in.  Then my husband’s job led us to Williamsburg; this put a serious wrinkle in our plans to work on a book together but luckily, with the use of email and telephones, we came up with a plan; we would attempt to grow the same plants and let our personal gardening styles be the focus as well as our inspiration for the project.

IMG_3719
before we left Nashville, I took cuttings from our fig tree and rooted them over the winter.


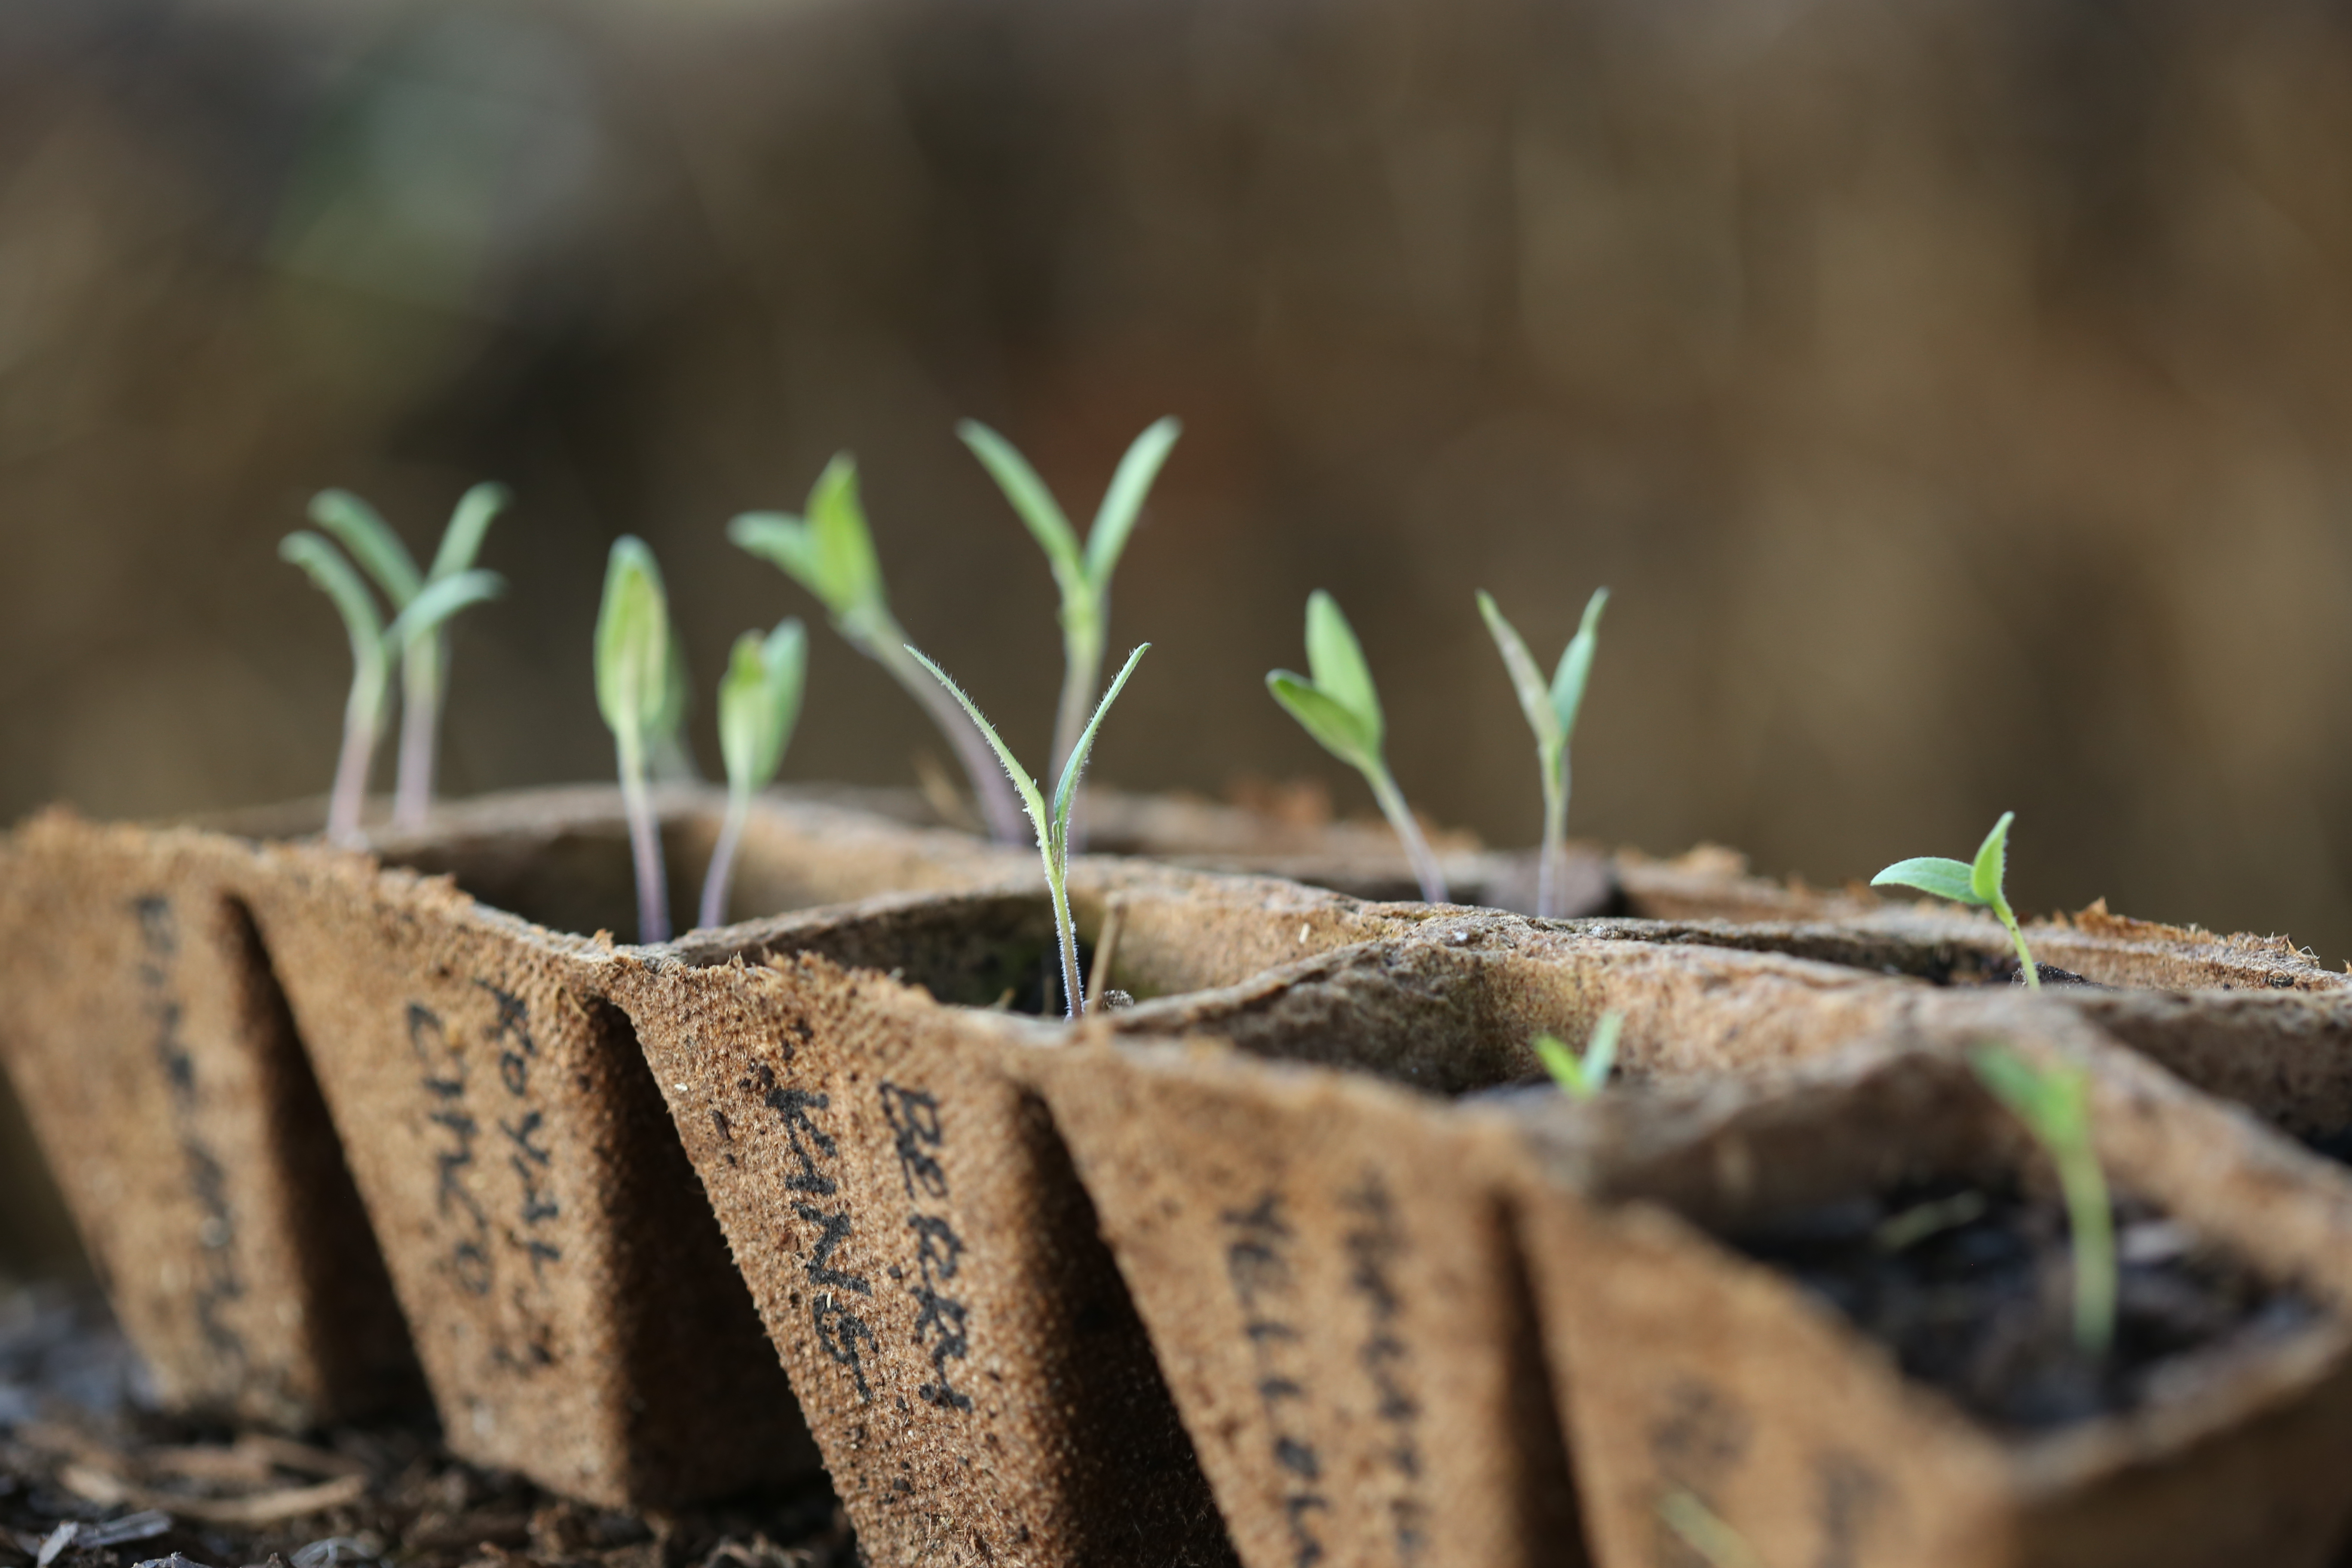
During a recent phone conversation, we were both speaking of the unseasonably cool weather and how it was hindering our ability to get growing.  Temperatures fluctuating wildly, rain that hasn’t fallen and plants that failed to thrive are just a few things we discussed.  Gardeners play a waiting game, always.  We wait for the weather to be right.  We wait for seeds to germinate.  We wait, and hope for rain.  And even when things go perfectly as planned, we still wait for fruit to ripen, vegetables to mature and so on.

IMG_3721
not all of the plants in my straw bale garden are from seeds, these are chard transplants and I can actually harvest some leaves now.


We won’t even talk about compost because if you think waiting on vegetables is tough, properly cured compost can take as long as a year.  In the world of gardening, one must be patient, very, very, patient.  Since Melissa and I are collaborating on this, we will post updates on our blogs simultaneously, please be sure to check back and see our progress.  To read Melissa’s post, follow this link

IMG_3714
when Melissa and I saw each other in February, she gave me seeds that her husband saved from their garden and here is an okra plant that just sprouted.


cardinal slices; a tuesdays with dorie post

IMG_3725

Hard to believe but we have been baking from the book, Baking with Julia, for more than two years.  While I have enjoyed the process and reading posts from the other bakers, not every recipe has excited me and a few were just not an option.  But when I read the headnote to the recipe for Cardinal Slices, I was a bit excited; this was a chance to make a classic cake and a caramel syrup.  Then I read the entire recipe and saw the suggestion of turning the leftover batter into chocolate dipped ladyfingers called Rothschilds.  Now this was what I call a great way to spend a morning!!!

IMG_3729

The recipe for the cake layers instructs you to make a meringue first.  The meringue is piped with a 1/2 inch tip the length of the baking pan, actually, three long ropes that are fairly close together; the two outer ropes are just three inches apart.  The leftover meringue is incorporated into an egg and egg yolk mixture with sugar and whipped to a full ribbon with flour folded in last.  This mixture is piped between the meringue stripes and then it is baked.  
IMG_3754

The espresso caramel syrup is made by burning a small amount of sugar and adding more, bit by bit as you go.  This caramel is cooked much darker than you would expect and the final step is to add hot espresso.  It is intensely flavored and it can be a little bitter from both the burned sugar and the espresso but the whipped cream will temper the bitter and even if you are skeptical, make it!  
IMG_3756

The final step is to make a lightly sweetened, whipped cream and flavor it with the espresso caramel syrup.  You are instructed to trim the three strips so that they are evenly sized but let me warn you, if it is a humid day, think twice and perhaps bake the strips longer or wait until a dryer day.  My strips got pretty sticky and were difficult to trim so I didn’t bother.

Do you remember the mention of ladyfingers?  Well let me suggest this, if you do not want to waste leftover batter, cut the recipe in half and do not bother with the lady fingers.  There was enough of the batter left to make lots of ladyfingers, three trays, actually.  According to the directions, I sifted almond flour over the cookies and placed a pan in the oven with my cake strips.  Honestly, I wondered about this because the cake strips were baked at 300 degrees and everything I know about sponge cakes tells me that temp was way too low.  My suspicions were correct and after the instructed baking time of 30 minutes, I had lovely, golden brown, ladyfinger shaped strips of sawdust.  They were awful, truly awful.  Since I noticed that the recipe suggested reading the other ladyfinger recipe in the book for hints, I flipped to it.  This recipe called for baking them at 400 and since I really wanted to make the Rothschilds, I cranked up the heat.  Sadly, the results were not much better, they weren’t as dry or sawdust like but truth be told, they were not any puffier.

Needless to say, my dreams of chocolate dipped Rothschilds were crushed.  In the future, I will probably try making them from the other recipe in the book, the one written by Flo Braker and if I, or should I say when I, make this cake recipe again, I will skip that step and just make half the cake recipe.
IMG_3767Oh, one more thing, totally worth the calories.  Try this one if you can-you will not regret it!  To see how the other bakers did, check the Tuesdays with Dorie website and look for the LYL page.

news from the garden

IMG_3377

Things are taking shape in the garden.  Our lasagna bed is slowly filling with herbs and flowers and above is a photo of a selection of flowers planted to attract beneficial insects.    The straw bales are coming along, a bit slower than I hoped but things are growing.


IMG_3573

The bigger news is the addition of honeybees to our backyard.  We were beekeepers when we lived in Nashville and when we packed up to move to Williamsburg, we brought all of our woodenware and equipment.  One of the first things we did when we unpacked was to join the Colonial Beekeepers Association.


IMG_3575

One of the members of the association arranged to pick up packages with marked queens from Mann Lake.  After picking up our bees, Darry put them into the hive and they began foraging immediately.


IMG_3579

A hive inspection revealed that they are gathering nectar as well.  The white spot in each of the cells is actually the reflection of sunlight on the surface of the nectar curing and once it is ready, the bees will cap each cell.


IMG_3581

As we ventured further into the hive, we noticed lots of activity and randomly placed cells between two frames that is commonly referred to as brace comb.


IMG_3582

As we pulled frames out, we found capped brood and larvae and of course, her majesty, the queen.  Can’t figure out which one she is-that big blue dot should make it obvious.


IMG_3583

The activity level here is typical of a hive and it quickly explains the origins of the phrase, “busy as a bee” because they never stop moving.


IMG_3588

Even though they are actively foraging, they still need a little help from us.  Because they have nothing stored in the hive, we give them sugar syrup so that they can build a reserve of syrup to feed themselves.  The first year is a critical time for a new colony and taking honey from them is not an option this year.  If all goes well, we will be able to harvest honey in year two.


IMG_3589

The bees are big on building brace comb and once again, they built some in the feeder box.


IMG_3605

Bees aren’t the only new addition to our garden.  We also added a flock of chickens.  Golden Laced Wyandottes are beautiful birds and we are excited to have them.


IMG_3607

These girls are growing quickly and they are beginning to get their adult feathers.


IMG_3620

And they are also sprouting tail feathers and the beginning of their combs.  When they are living outdoors in the coop, we plan to use the chickens to help us control small hive beetles in the bee hive.


IMG_3621Check back to see the progress of our girls, meaning the chickens and the bees!

no-tella buttons; a tuesdays with dorie post

IMG_3665

Another Tuesday, another recipe from Baking Chez Moi.  This week, we chose to prepare the Nutella Buttons, tiny little cupcakes with a secret filling surprise and a glaze of ganache.  What’s not to love?  Actually, if you are me, it’s the Nutella.  Hard to believe since Nutella is so popular but it just isn’t something I go crazy for.  In truth, it is just not the right chocolate flavor for me; I prefer a dark chocolate to a milk chocolate.


IMG_3657

The batter was a quick and easy one to mix and they baked up just as fast.  Do yourself a favor, buy a scale and use the weights listed for each ingredient rather than the cup measurement.  Although I began by measuring the powdered sugar using cups, on a whim I decided to weigh it.  What a difference!  My cup measurement was off by nearly 20 grams and while that does not sound like much, it is nearly an ounce and with a recipe this small, it could have had a huge impact on the results.


IMG_3624

Now back to the secret filling.  When I saw that I would need to buy a jar of Nutella, I thought it would be better to choose a spread that I would enjoy and might actually use.  My first choice was Dark Chocolate Dreams by Peanut Butter and Company.  And because I can never do anything simply, I also picked up a jar of Speculoos Crunchy Cookie Butter from Trader Joe’s.


IMG_3632Using a small portion scoop for the batter and spoons for the spreads, I had a full tray of little cakes ready to bake in just a few minutes.

IMG_3645

Both of these spreads are pretty tasty but as always, I prefered one to the other and surprisingly, it was the Speculoos Butter.  Slightly spicy and a little crunchy, it won the contest and if I hadn’t put the top back on, I might have eaten the contents of the jar one spoonful at a time.  Somehow, I was able to restrain myself, for now…

IMG_3648

Dark Chocolate Dreams filled cakes on the left, Crunchy Speculoos  filled cakes on the right.  No way to tell which is which just by looking on them.  Biting into them is the only option…


IMG_3660Do yourself a favor, pick up a copy of the book and bake along with us, you will enjoy the adventure!  To see the results, visit the website and look for the LYL page.

ka’kat, one day late; a tuesdays with dorie post

IMG_3601In the eastern region of the Mediterranean, ka’kat are a popular street food according to contributing authors Jeffery Alford and Naomi Duguid in the book Baking with Julia.  Because they suggest that the little breads are similar to an American soft pretzel, I did not hesitate to mix up a batch; how could anyone from the New York City area possibly resist a freshly baked, pretzel-like treat?  Because I have so many memories of eating pretzels while walking the busy streets of Manhattan, I went so far as to tie my dough in knots and sprinkle them with salt.  While the texture of the bread while still warm from the oven was reminiscent of a pretzel, it was as they say, “close, but no cigar.”

On my shelf rests a copy of the book Flatbreads and Flavors, also written by the contributing authors and while I love the book itself, I can honestly say that every recipe I have tried is finicky, hit or miss or just disappointing.  It seems that each one requires multiple steps and methods to recreate breads that are baked in rustic kitchens and I have had very little luck getting the results hoped for.  While this recipe is probably the closest to success achieved in my kitchen, it still left me a little frustrated.  First of all, the flour needed was more than the 4-5 cups the recipe called for and to be honest, I think it ended up a little on the tough side from my choice of bread flour; the recipe calls for bread or all-flour to be used.  Even so, after a quick rise, the dough was so sticky that I had to use a little flour to shape the rounds.  Then of course, the lack of mahlab in the dough left me wondering about the flavor.  At some point, I need to venture back to the International grocery store to see if I can find it but that is a 30 minute drive for another day.

To give my breads a typical pretzel finish, I chose large crystal salts and luckily for me, I have a friend who thinks of me.  After a trip to Hawaii, my wonderful friend sent me some pink Hawaiian Alaea and black lava salt and I sprinkled a little of them over some of the breads because as much as I like sesame seeds, they aren’t salt and a pretzel isn’t a pretzel without salt!  Would I make these again?  Maybe.  If I do, I will use all-purpose flour and portion them a little larger so that they are a little more like a pretzel.

Each Tuesday, the members of Tuesdays with Dorie post about their experiences baking from the books Baking with Julia and Baking Chez Moi.  If you would like to read about it or join us, pick up a copy of the book and visit the website.  To see how the other member fared with this recipe, check the LYL page.