It has been a while since I have had the time to join in with the TWD members. There are so many reasons that I haven’t participated, from the fact that I am not happy with my tiny oven (so tiny that I can only bake 2 quarter sized sheet pans at a time and they do not bake evenly), to the complete lack of light in my house (natural light that flows in, not actual lights), so let’s just say that I haven’t really felt like joining in on the fun. After fighting with it all for 2 years, I have figured a few things out and I finally found my spot in the house for photos; of course, this could all change if I make the changes here that I am hoping to make.
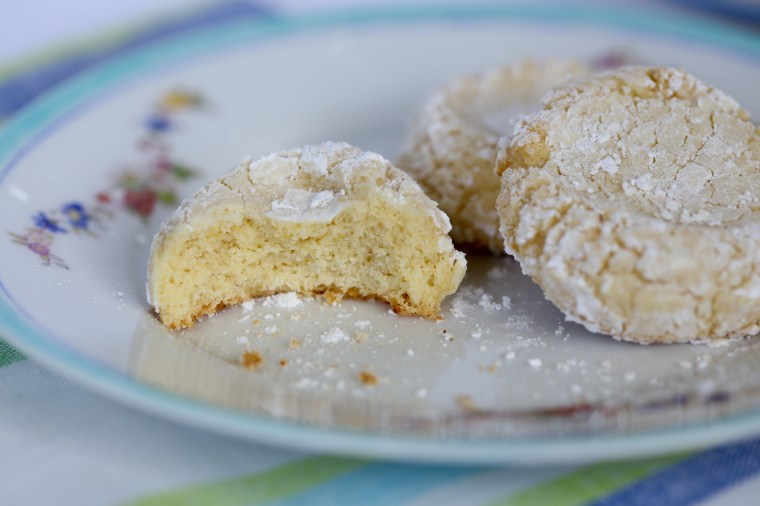
So how do they taste? The flavor is slightly floral from the use of vanilla and orange blossom extract but while the lemon zest still stands out, it is a bit more subtle than I expected. Semolina is the key to the sandy texture but not quite as obvious flavor wise, just be sure to use the right one! The almond flour is used raw rather than toasted and while it added a bit of texture and a slightly nutty flavor, it really wasn’t very obvious so I might try toasting it a bit first next time, and there will be a next time! Overall, this would not be my first choice but I was surprised and I can see making these again.
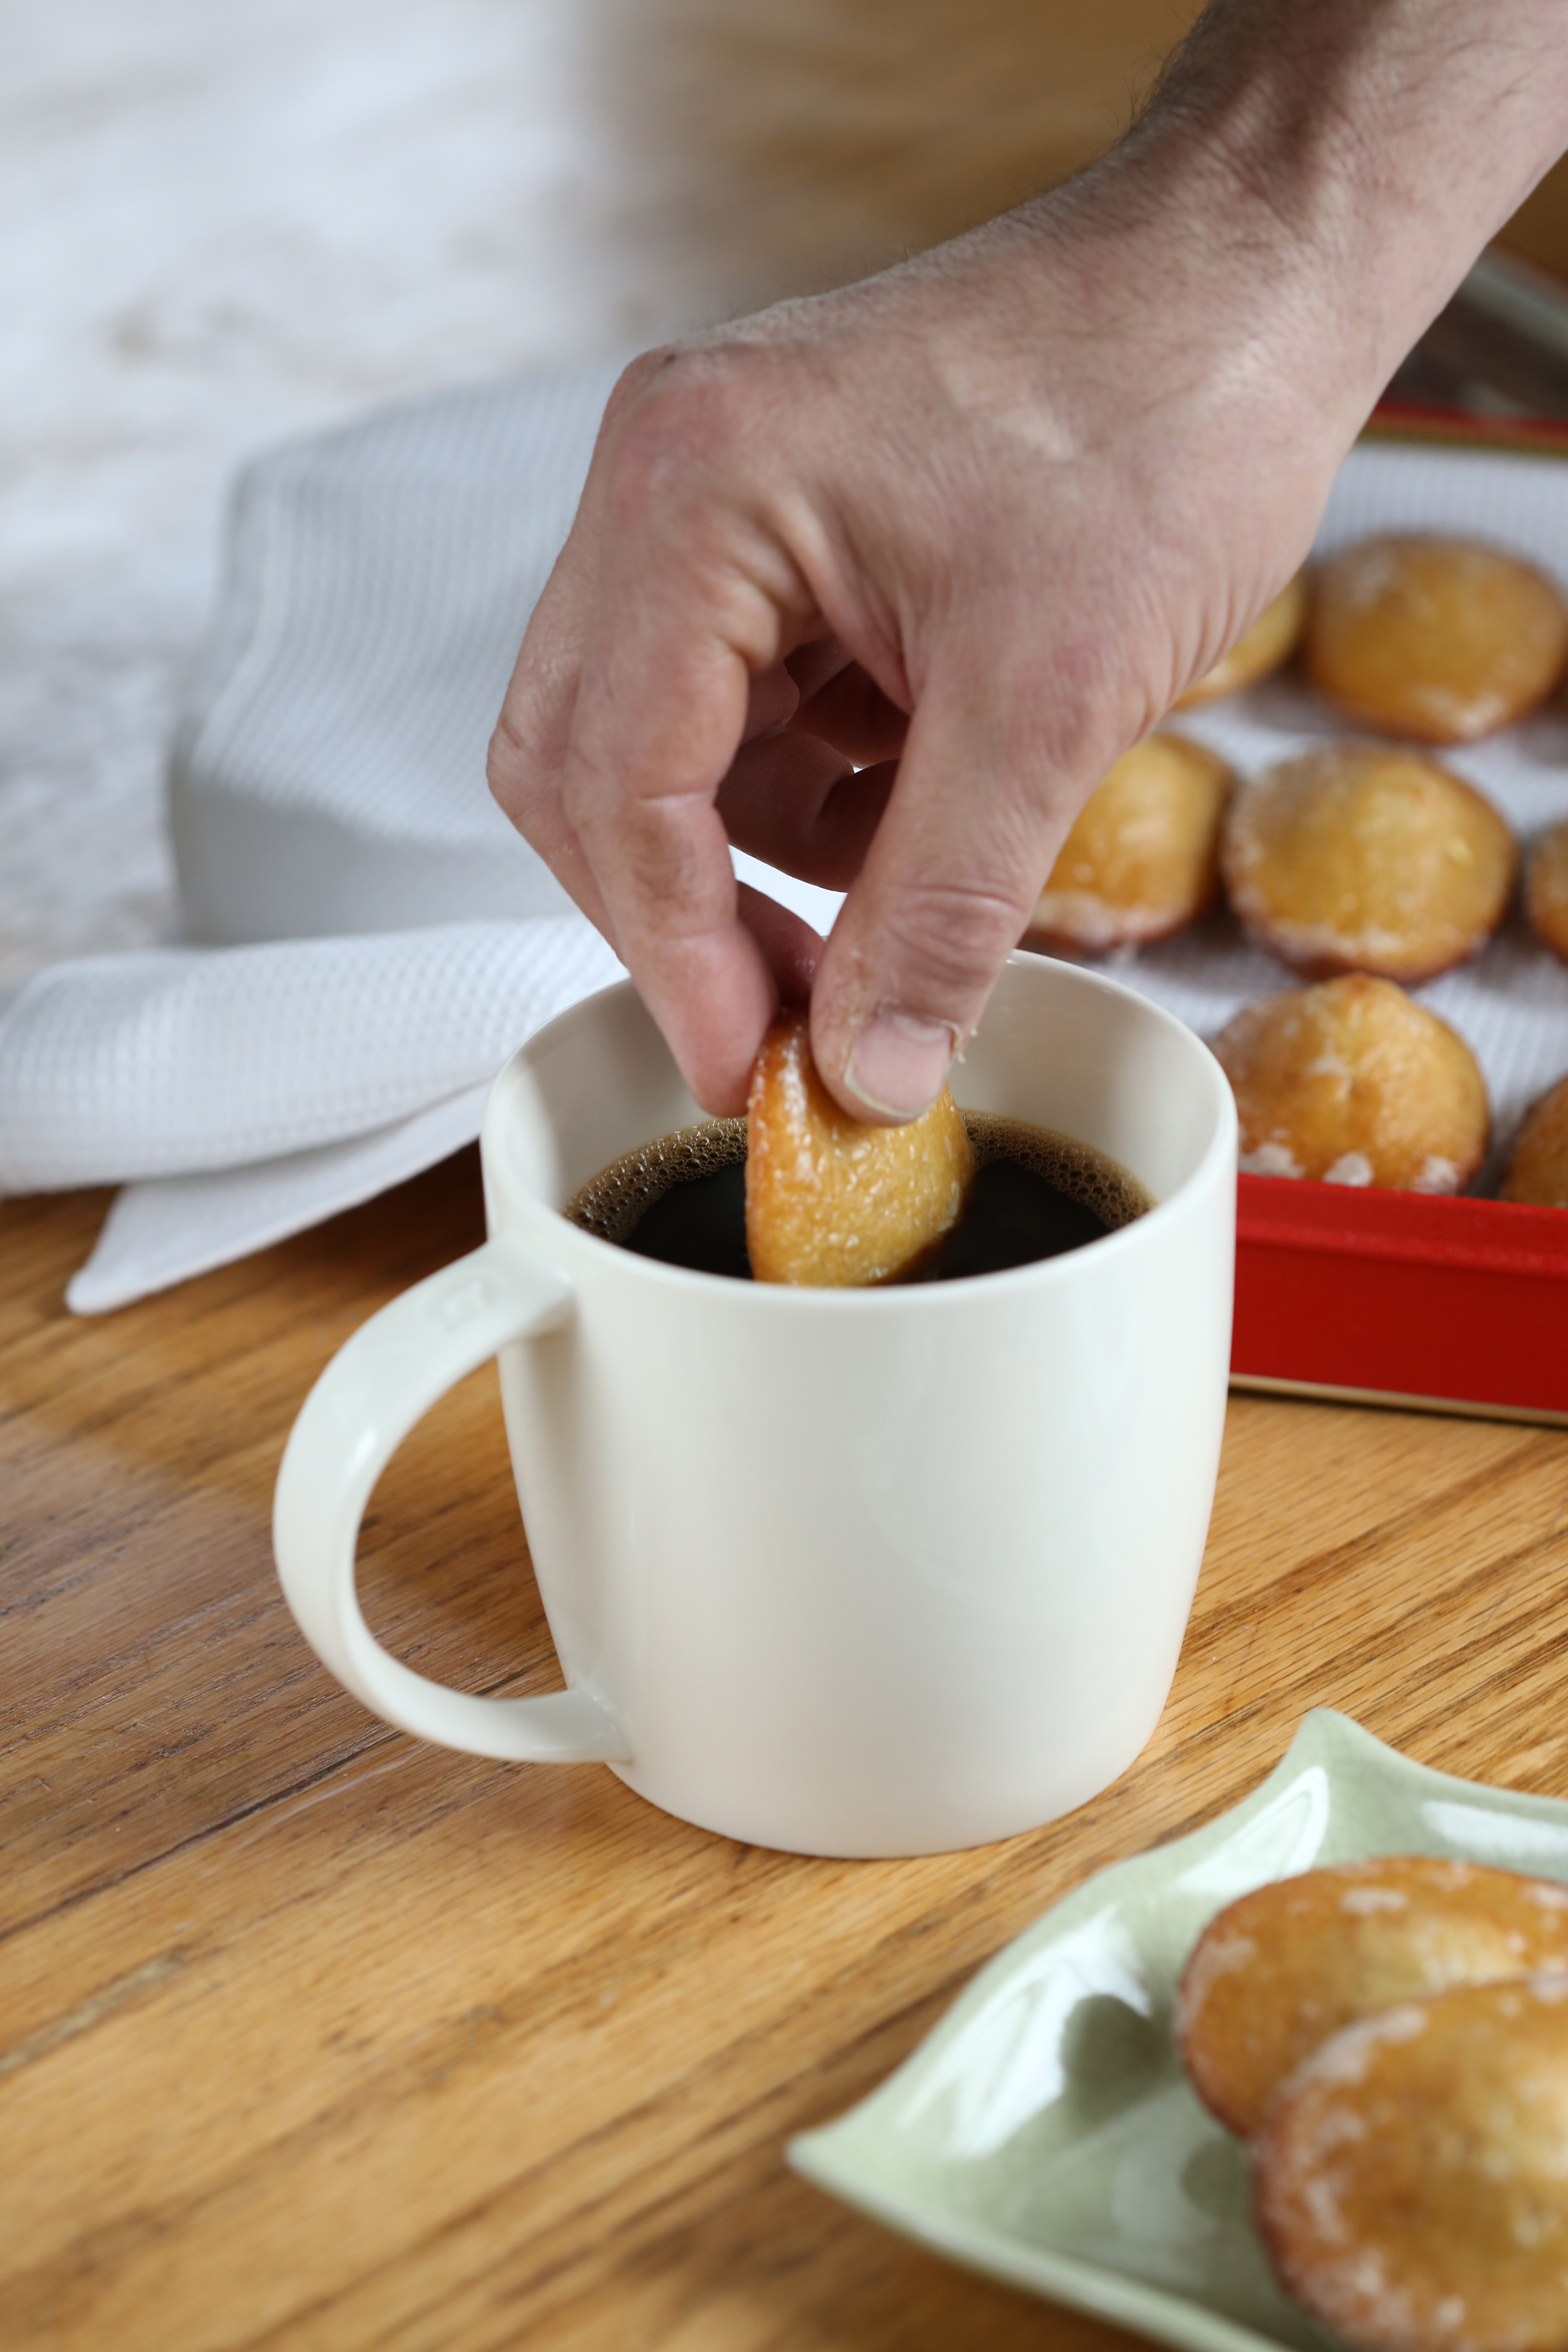
 But enough about me, let’s talk about these cookies! What I love most about the book Dorie’s Cookies is the size of the recipes. It may sound like an odd thing to say but large recipes are really inconvenient in my kitchen. My oven is so small that I cannot put anything larger than 15 inches in it; 15 inches wide or 15 inches deep. This means that most standard sized cookie sheets will not fit and that leaves me with few options. What does fit is quarter sized sheet pans and then, only 2 at a time with about a dozen cookies on each pan. If I make a large number of cookies, I can spend an hour or more just baking them. This book eliminates that problem since most of the recipes are so small that I find I can usually get them baked in only two batches.
There is another advantage to small recipes, and not just the eating them all part; ingredients. It is a relatively small investment in the ingredients if the recipe is small and the ingredients are expensive. A huge plus in the “make these” column for me. It can also leave room for experimentation, something I think this particular recipe would be perfect for.
First, let’s talk about semolina. This flour is usually found in pasta and bread recipes and there are different types available. The one I keep in my freezer is a finely ground semola, imported from Italy and perfect for making semolina bread. It is not perfect for these cookies, it is so fine that it made the cookies a little denser than I would have liked. Purchase the semolina found in the imported food section or in a Middle Eastern market; it is slightly coarser and perfect for this recipe because it is a large part of the sandy texture that the cookies have.
Next, use a scoop to portion the dough; it will save you a bunch of time. The scoop I used was a #50 and it made 48 cookies which were slightly smaller than the recipe called for but I wanted them small. A #40 scoop would probably be the perfect size to reach the yield listed in the recipe.
Lastly, this recipe is one I like to call a blank slate or a jumping point. It is wonderful as is but easy to change. Not a lemon fan, use orange zest. Don’t have orange flower water, use vanilla or even rosewater. Want a different flavor altogether, sub hazelnut meal for the almond meal. The combinations go on and on. The point here, do not be afraid to make these with the ingredients that the recipe calls for but if you need to substitute ingredients, it will work-with the exception of the semolina; that goes a long way towards the final texture of the cookie and should not be changed.
 The bottom line, buy the book and make the cookies, seriously, you won’t regret it. And if you are wondering, we never publish the recipes out of respect for the author, so you will need to buy or borrow the book to get it!

 Long story short, I am staying with mom while she recovers from a fall. While out in the yard, she fell, broke her leg and had to have a rod inserted to support the bone. Thankfully, she is well on her way to returning to normal but it will take some time and for the next few weeks, I will be here doing all of the things she cannot do and some of the things she does not care to do, like baking cookies.
 Leaving my garden for a month was rough. We had really just begun to get the summer crops in and there is still much to do to eradicate the bermuda grass. Here in PA, spring is still in the air and the trees have only recently leafed out. In case you haven’t visited this blog before, I have posted photos of
  Moss grows all over the yard because it is shady and moist. This little cherub spends his time watching the yard but if he knows what the gnomes are up to, he isn’t telling anyone. He sits and stares in disbelief as raccoons and squirrels come to the basin to drink water.
 This little guy seems to be guarding the front door. We throw peanuts to him from the deck but he usually lets the squirrels eat them.
 The yard is so lush and green right now that the only color that pops out is red.
 All over the yard are these tiny blue blossoms, wish I had my wildflower book with me!
 When you walk the yard, you really need to watch where you are going, it is easy to step on the residents. This moon face greets all that visit the pond.
 It must be nice to have the time to lounge in the woods all day.
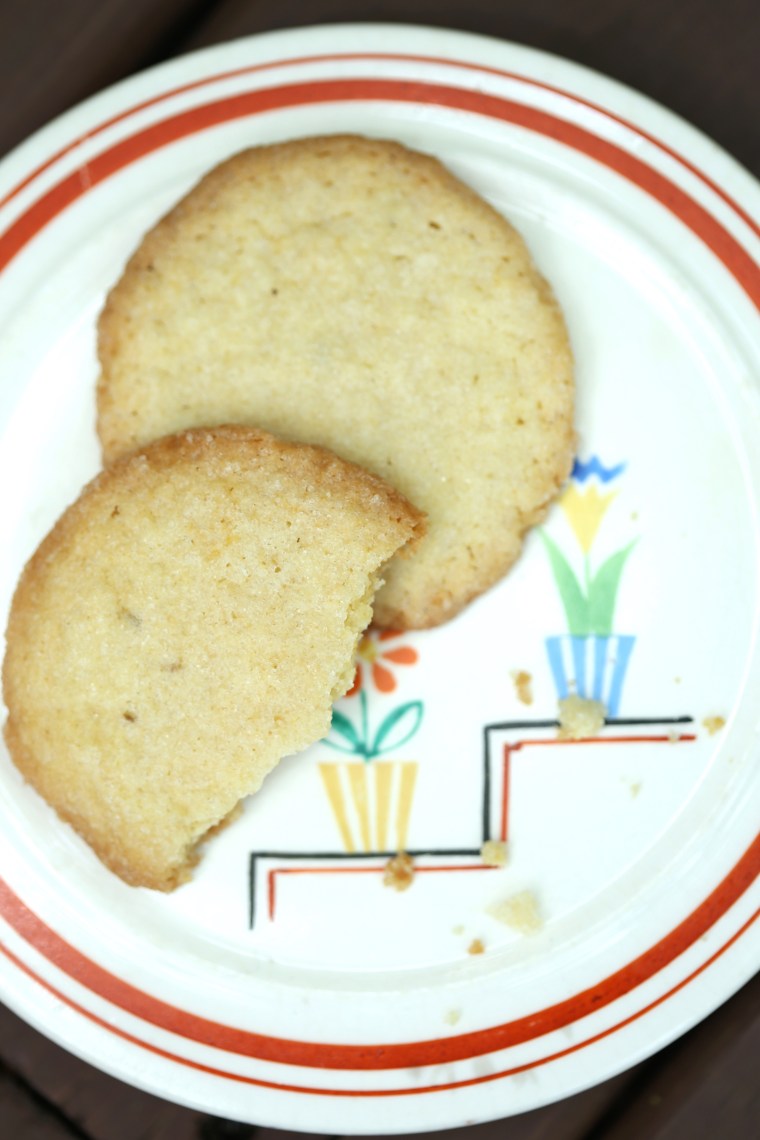
 Mom is not a big fan of chocolate so I made a batch of crispy lemon cookies with a small amount of anise seeds thrown in for fun. Since I do not have my cookbooks here to flip through, I used
  The cake for today’s challenge is supposed to be a tangerine-carrot cake but after a quick check in the fridge, I could only find lemons. Then I spied the last lonely parsnip and decided that I should keep going in this direction and change it all up. We have been trying to cut back on snacking and it has been a while since I made a cake. The fresh eggs from our hens are stacking up on the counter and it was a chance to use a couple.
 The change from tangerine to lemon meant that the acid level was increased and I am pretty sure that it changed the texture of the cake and made it a little denser than the description in the recipe. Even so, it was still pleasingly moist and a little firm. The parsnip mellowed during the baking and honestly, you wouldn’t know it was there unless I told you.
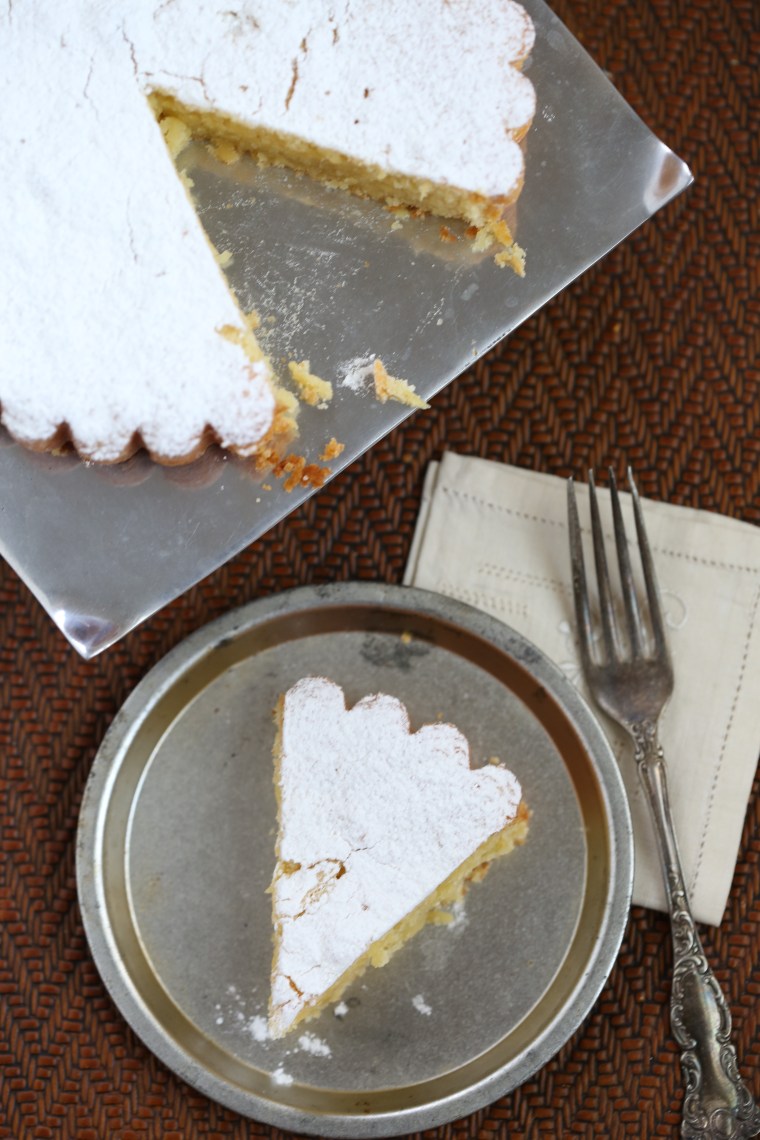 The only other observation I made was that the batter amount baked up just fine in my 8 inch tart pan. After greasing the ring and bottom and dusting it with flour, I set it onto a sheet pan to prevent leakage in the oven. It came out of the pan and off the bottom beautifully. This was such an easy cake to make and honestly, the potential combinations are numerous so I can see myself pulling this recipe out again when I need a quick and foolproof cake!