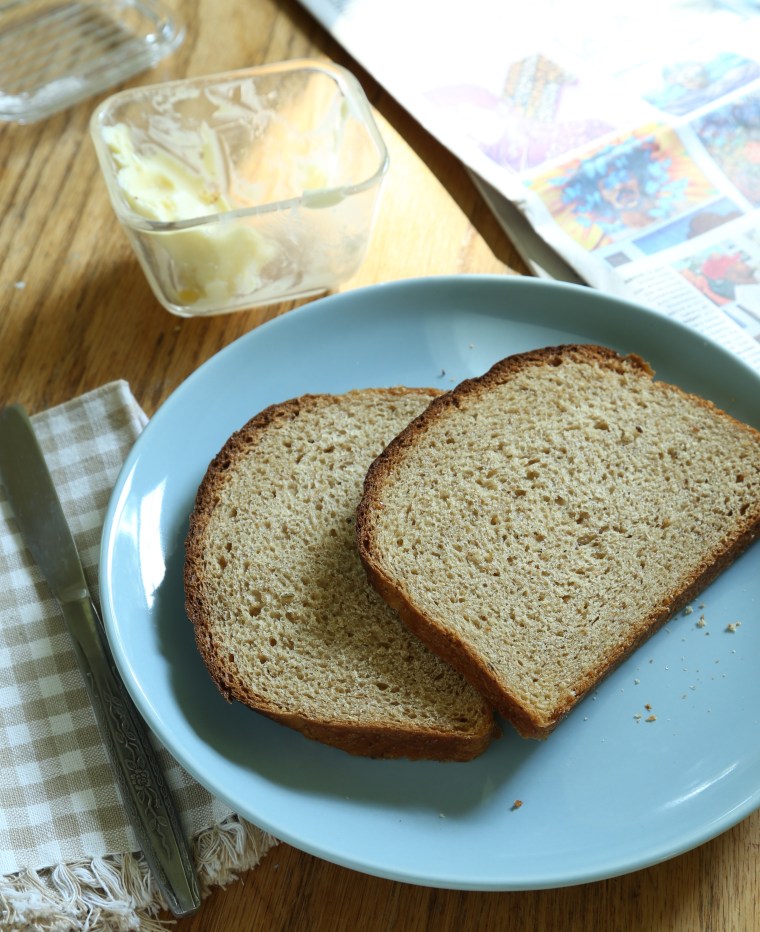
Rye bread is one of those things people either love or hate. In my opinion, I think it is more likely related to whether or not you like caraway seeds. Most of it would probably be better off labeled caraway bread since the distinct flavor of the seeds is all you can taste in commercially prepared rye bread. However, as a lover of toast, rye bread, loaded with caraway and slathered in salted butter, is one of my favorite breakfasts.
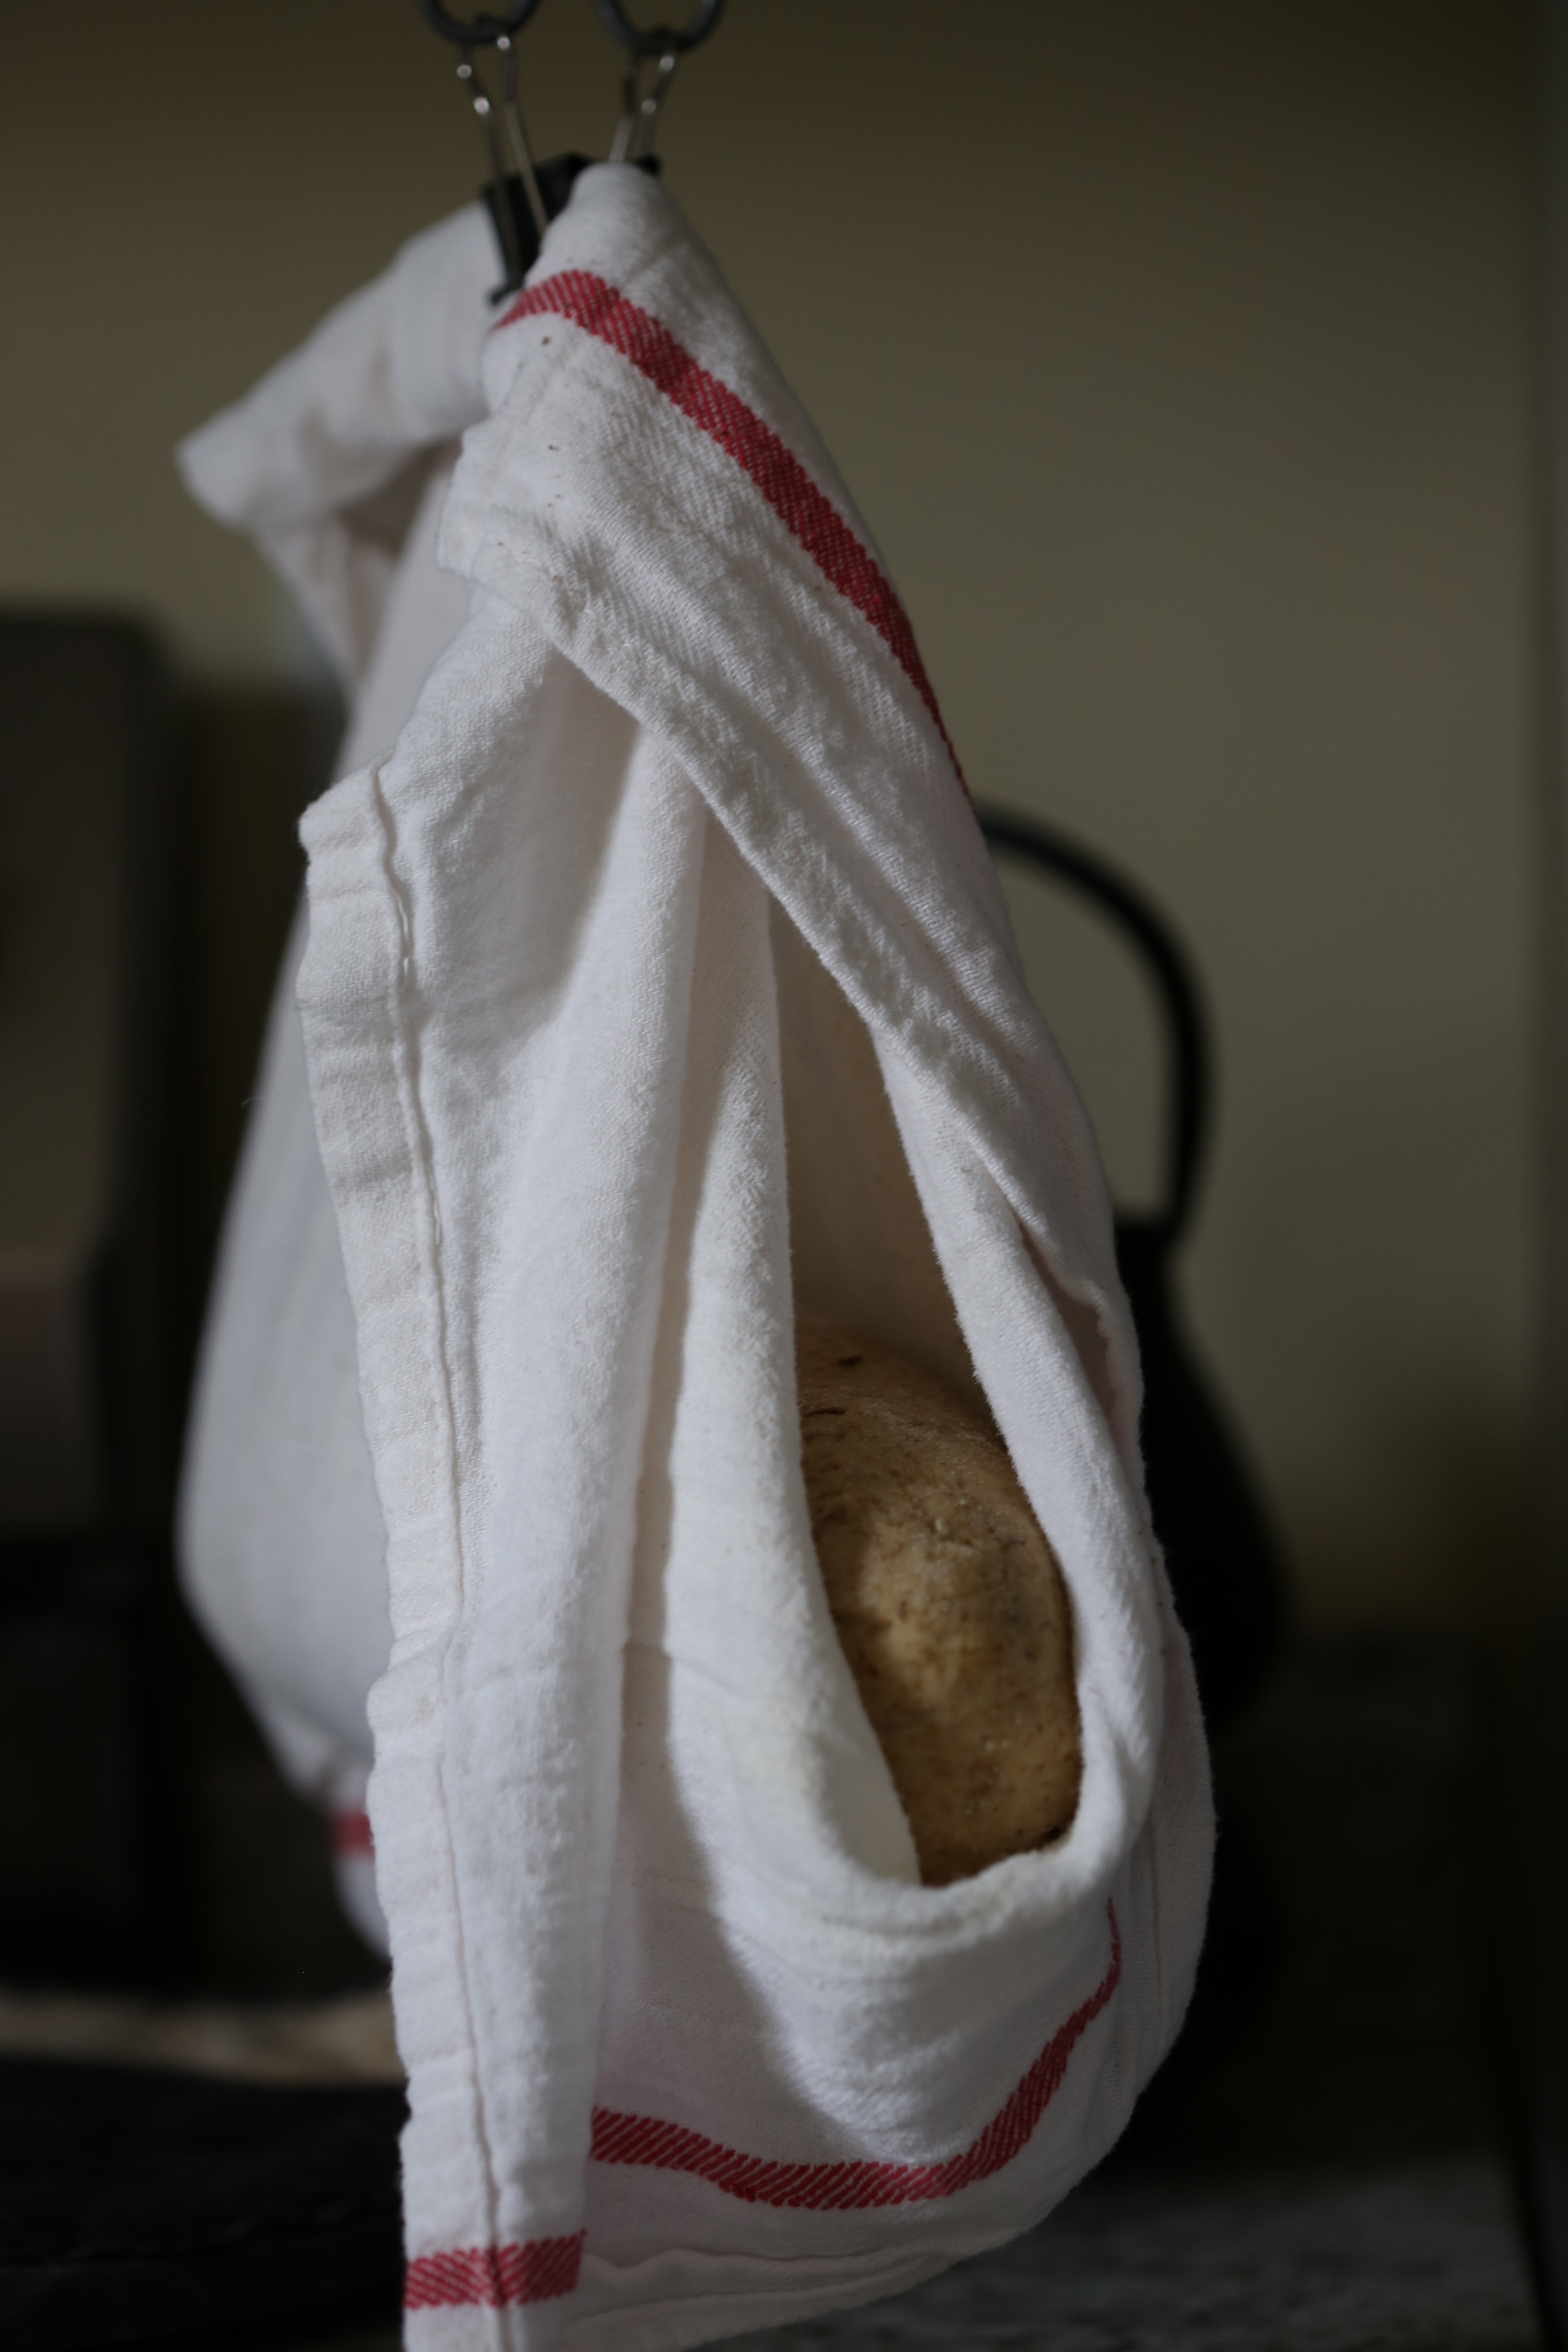
This week, the Tuesdays with Dorie bakers are sharing their experiences with European Rye Bread from Baking with Julia. If you recall, we made a similar recipe from the book, Pumpernickel loaves, a while back. Both recipes were contributed by Lauren Groveman and they each call for the unusual step of hanging the loaf in a sling for the final rise of the shaped loaf.
 The bread is fairly easy to mix and since it is a rye bread, the ingredient list is simple. The only confusing part about it, finding the proper rye flour. Allow me to wish you well with this endeavor. Every rye bread recipe I read calls for a specific type of rye flour and not all millers produce them equally. Essentially, the amount of whole grain used in the flour is the difference and if you would like a better understanding of what each type of rye flour is, this chart from the Whole Grains Council may help you understand it all. While the chart does explain things, they also make it a point to mention, repeatedly, that not all millers produce equal products; the chart is more of a suggestion than a standard. As for my bread, I have only been able to find Hodgson Mill 100% stone ground rye flour which according to the chart makes it a dark rye flour.
 The whole grain flour gives the dough a lot of texture and it also makes it a bit denser than I like. Working with a half batch of dough, I made just one loaf and I stuck to the recipe pretty closely. Bread baking is not really my strong point and I really wanted to make a loaf as described by the head note of the recipe, with a brittle crust that snaps into small flakes and a soft, slightly moist and a little springy inside.

Just as the recipe instructed, I hung the shaped loaf in a towel sling and heated the oven. As the bread hung in kitchen, it continued to rise and I could see it splitting and I knew it would not get any better in the oven. Rather than get mad, I decided to take this as a lesson and make another half batch. This time though, I would make a few changes.
First thing I did was to cut back on the amount of rye flour. Since I was using whole grain, I knew it would be denser and I figured a little less would have to do. Second change I made, a lot more kneading but not all at once. After adding the majority of the flour to the yeast and water, I mixed the dough until it came together and formed a ball which took about 2-3 minutes and then I simply turned off the machine and let it sit there for about 10 minutes. Once the dough was allowed to sit and rest, I resumed kneading on medium-low speed for about 12-14 minutes. To be sure I had kneaded it enough, I attempted a window pane test and while it wasn’t perfect, I could see a huge improvement from the first loaf.

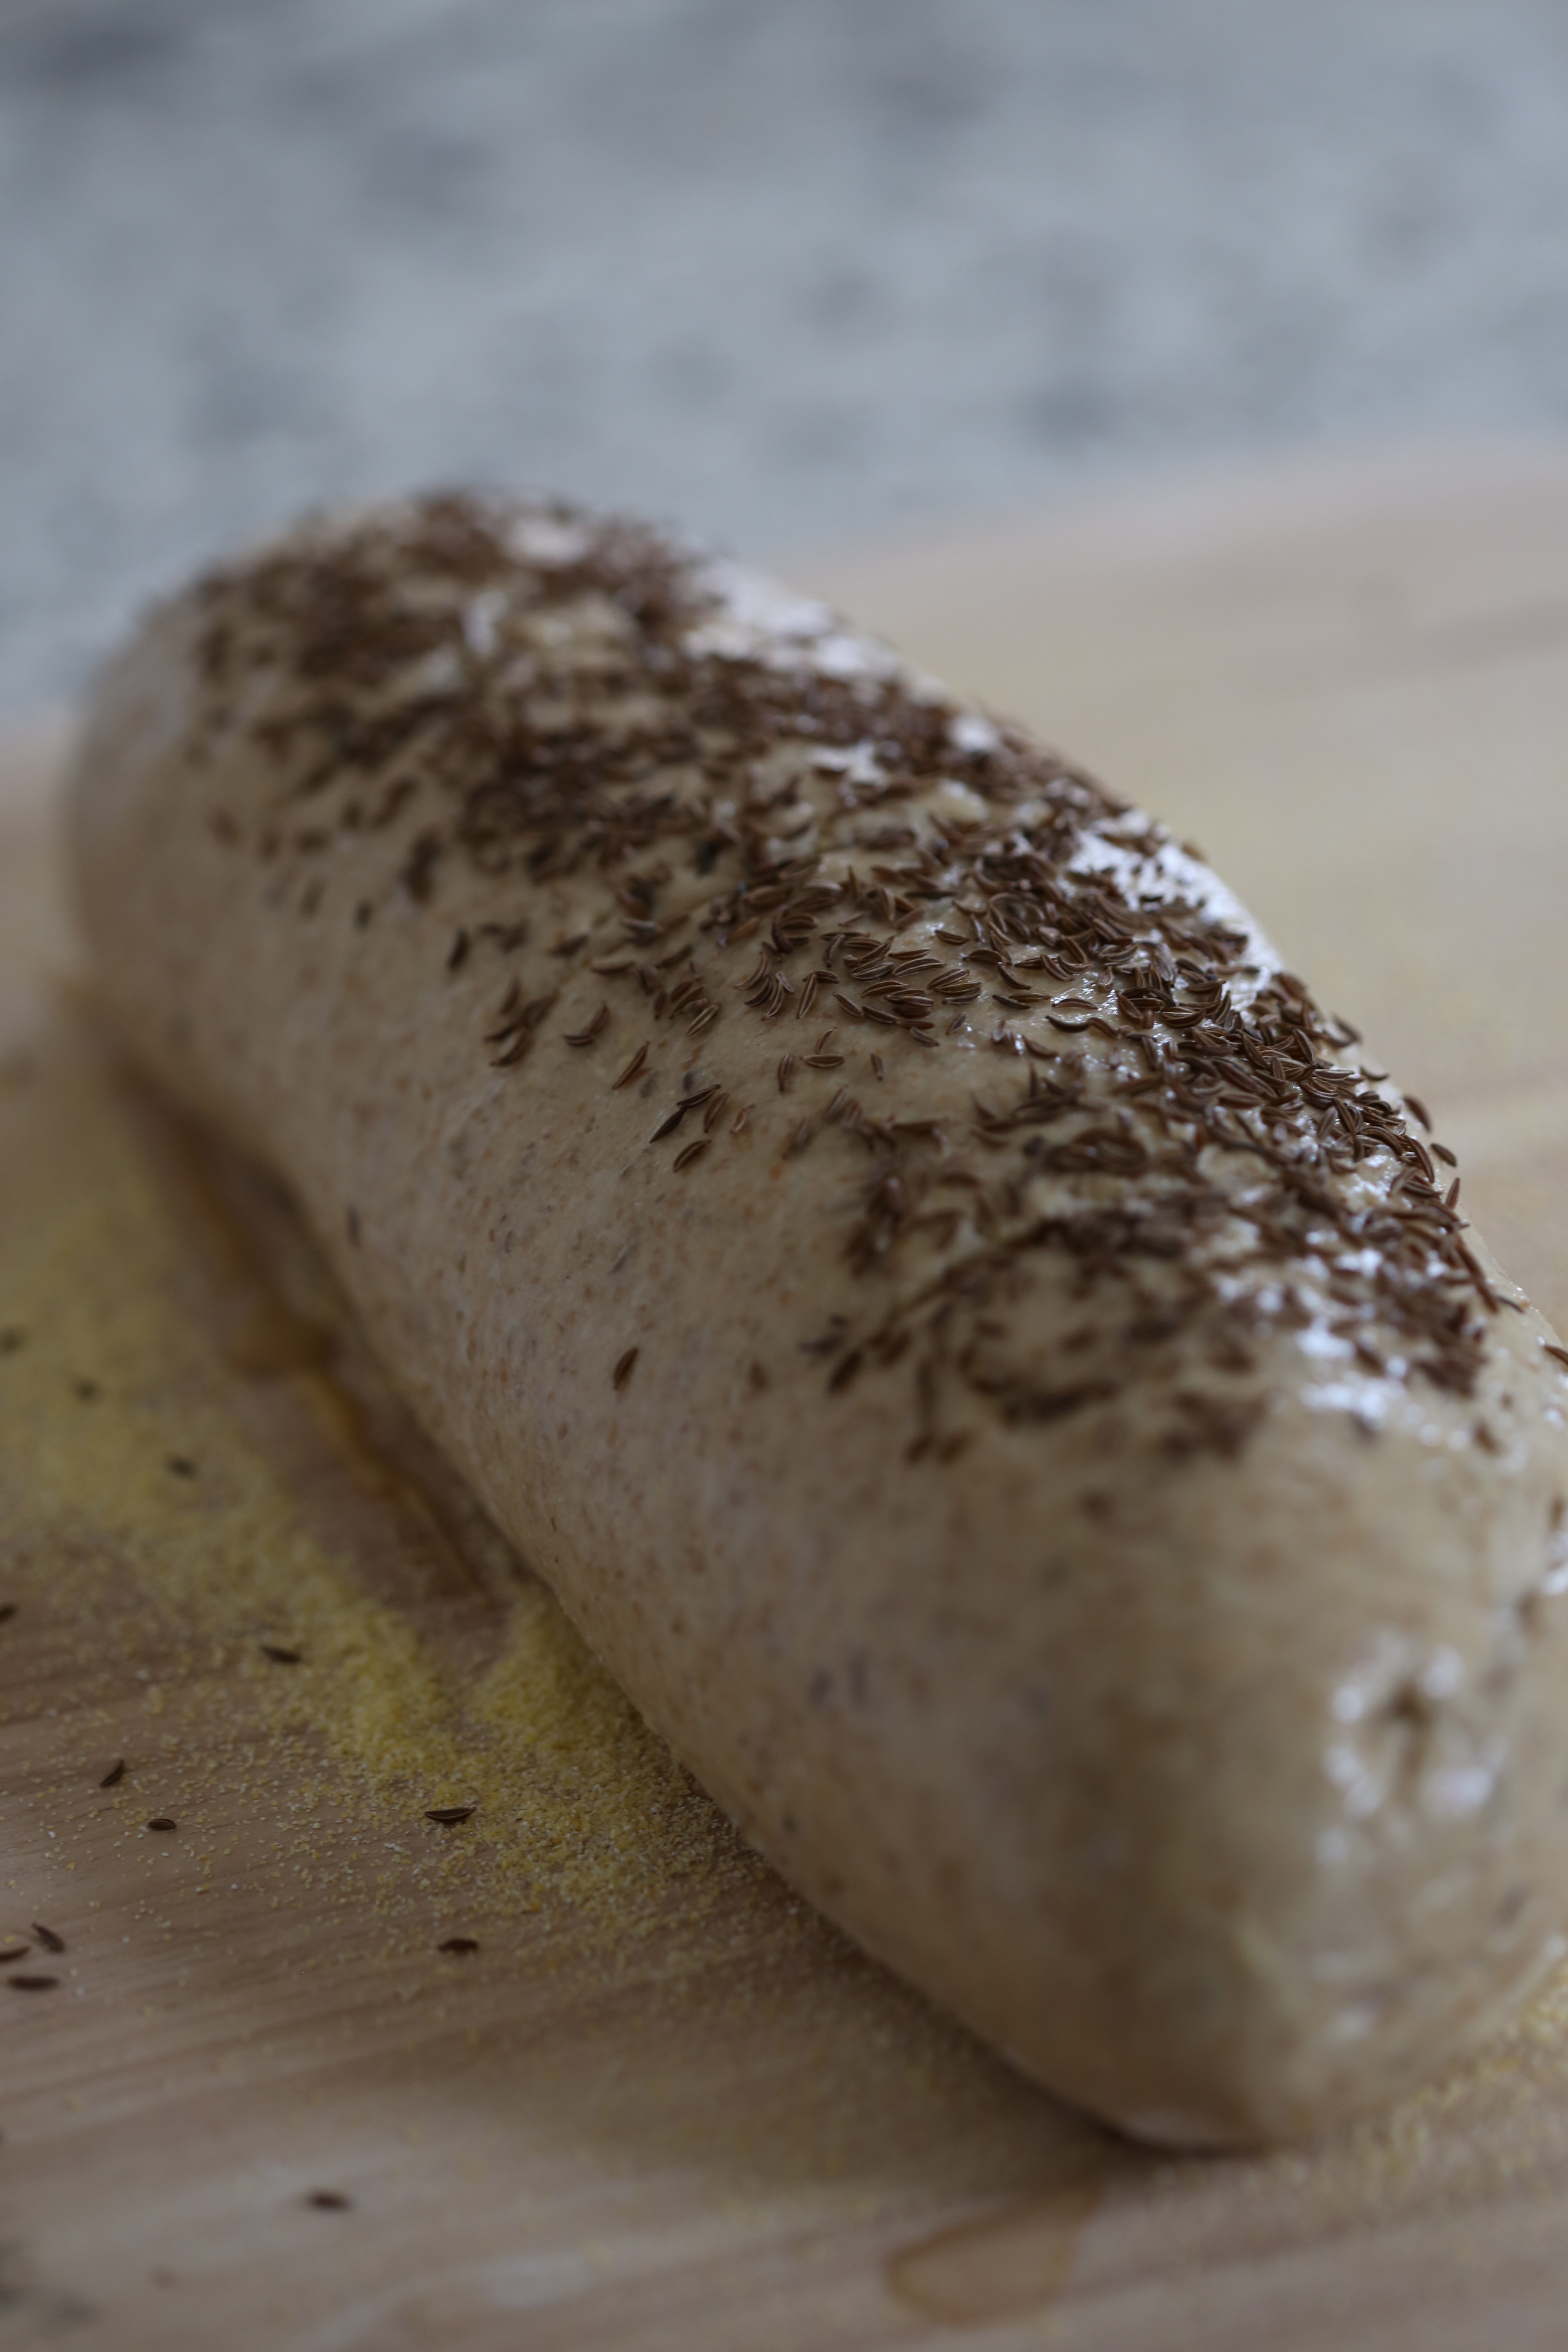
After hanging this loaf in the sling, here it is on the peel just before I put it in the oven. This time, I gave it a wash of straight egg whites-no water and plenty of caraway seeds. Just before I slid it into the oven, I gave it a few slashes and crossed my fingers; it couldn’t hurt…
 As you can see from the photo, the top loaf is little more than a train wreck. It split all over and really wasn’t very pretty. The second loaf is on the bottom and while it is not perfect, it is easy to see that it worked out much better. This is destined to be one of those recipes I return to multiple times in the hope of getting it right.
 The last thing about the recipe that I found difficult to follow from reading it, the shaping method. Rolling, stand it on the side, pinch, poke, and so on. Hospital corners-we are talking about bread, right? For my second loaf, on the left, I just ignored all the fussy instructions and tried to use a little common sense instead. Looks like it worked out okay, it seems to have held the shape better. To see the inside of the loaf, refer to the very first photo above, the second loaf is on the left and I think I like the color of that bread better than the first loaf which is on the right.
To see what the other bakers came up with, be sure to visit the Tuesdays with Dorie website and look for the LYL (leave your links) page.
 It has been quite a while since I have participated in the Tuesdays with Dorie baking. What can I say, life gets in the way? Partly, the other angle; having a pile of sweets in the house for just two of us means we eat way more than we should! When I saw the choices included a bread recipe this month, I decided to get in gear and give it a go.
 Rather than bake it in the round 9 inch pans the recipe calls for, I used 6 inch square pans. They made the most perfect cube shaped loaves and the slices were just large enough that two thin slices of toast were more than filling.
 My rye flour was stone ground and it added a nice texture to the crumb. Little flecks of rye and seeds, this one is a keeper. Since the recipe made two loaves, I froze one for later.