This week, the recipe was a true challenge that took two weeks to complete. Now if that doesn’t deter you from trying to mix up a batch of this bread, not much will! To make a traditional Pain de Campagne, you have to save a piece of the dough from your batch to act as a starter for your next loaf which means you are always working with a bit of old dough called a chef. If you find yourself without a chef, you have to start one with whole wheat flour and water and pray the yeast feels like cooperating.
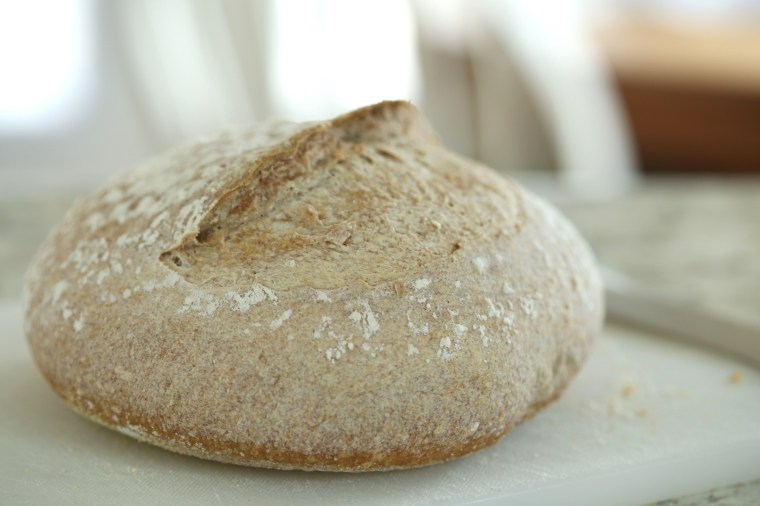
This loaf was off to a bad start because not only was I chefless, I was also out of whole wheat flour. Because I was determined to make this bread, I grabbed my tub of whole grain rye flour and my tub of graham flour and when ahead and mixed up a half batch for two chefs-one with each of the flours. The worst part was knowing I would have to wait two days to see if either one grabbed yeast. They did ferment a bit and not in a nice sourdough smelling way. Even so, I kept on with the process and letting them sit longer than the recipe suggested just to see if it would increase the rise. In the end, I was only half successful. The rye chef never really got going and the graham flour only got going with about half of the rise.
 The rye is on the left, the graham is on the right. What a disappointment it was, I had assumed that since I do a fair amount of bread baking here that there would be plenty of yeast to grab and get the starter going.
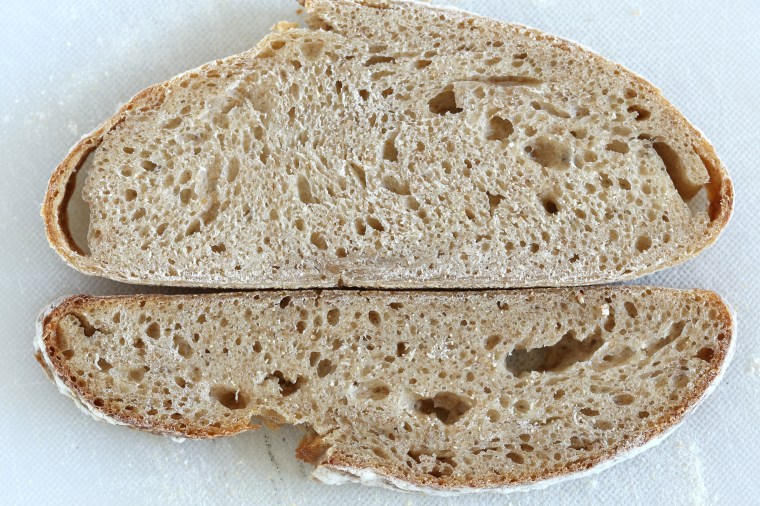 Out of curiosity, I sliced the loaves to see what the interior looked like. It was dense, moist and a bit gummy. Both of them were. It was pretty obvious that there just was not enough yeast in the chef and then the levain to give rise to the bread. Honestly, I was surprised that the graham loaf had a ribbon of raw dough along the bottom crust-it had risen pretty well. The flavor was surprisingly sour, a mild sour but it was there.
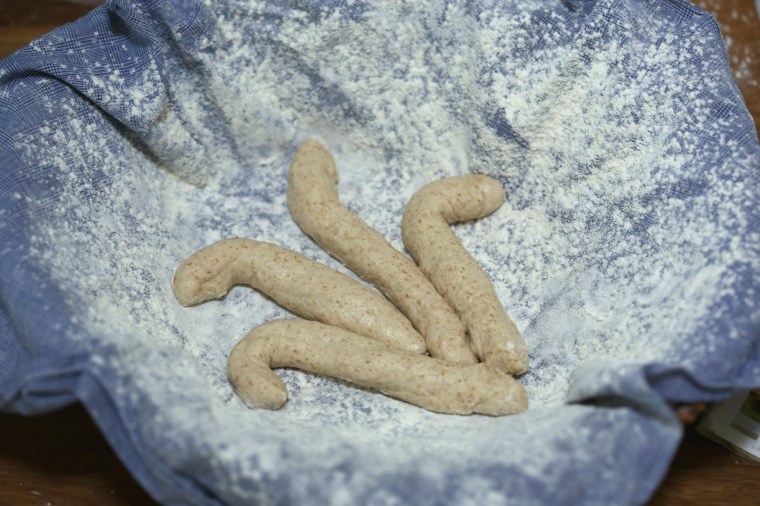
With that same determination that got me started on this loaf, I pulled my sourdough starter out of the fridge and measured out a tablespoon and placed it in a bowl. With my tub of graham flour still out on the counter, I mixed up another half batch of dough starting with the chef. After all of the refreshments, I actually had a piece of dough that showed some promise…
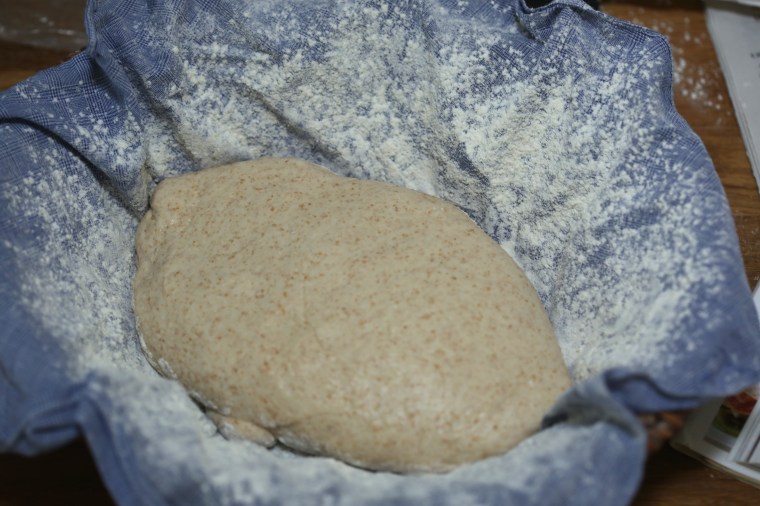
 The little ball of dough rose nicely and because I ran out of time, I decided I would put the basket of dough in the fridge to rise overnight. Because I am curious, I pulled off a walnut sized piece and set it aside in the fridge; I was going to use it as a chef for a full batch of dough. The next morning, I pulled the basket out of the fridge and let it sit on the counter to warm up and rise a little more.
 When the time came to bake the loaf, I was excited-this one actually rose! There was oven spring too-it rose more! The only thing I did not understand was the pale color of the crust on the top, it browned nicely on the bottom. The interior looked nice, no stripes and no gummy crumb. It also had a nice sour flavor. As for that piece I set aside, I used it to start a new loaf but this time, I made a full batch.
 The shaping was easy to do and I cannot remember when I did this type of baking last-perhaps at school…My wheat stalks in the bottom of the basket.
 The loaf was placed over the wheat stalks.
 The loaf gets wrapped with a braid of dough and then it is left to rise in the basket. Two hours later, I turned it out onto the peel and let it rise some more. Just before baking, I brushed the loaf with a wash of egg whites and snipped the wheat stalks.
 Fresh out of the oven, my wheat stalks look more like paws.
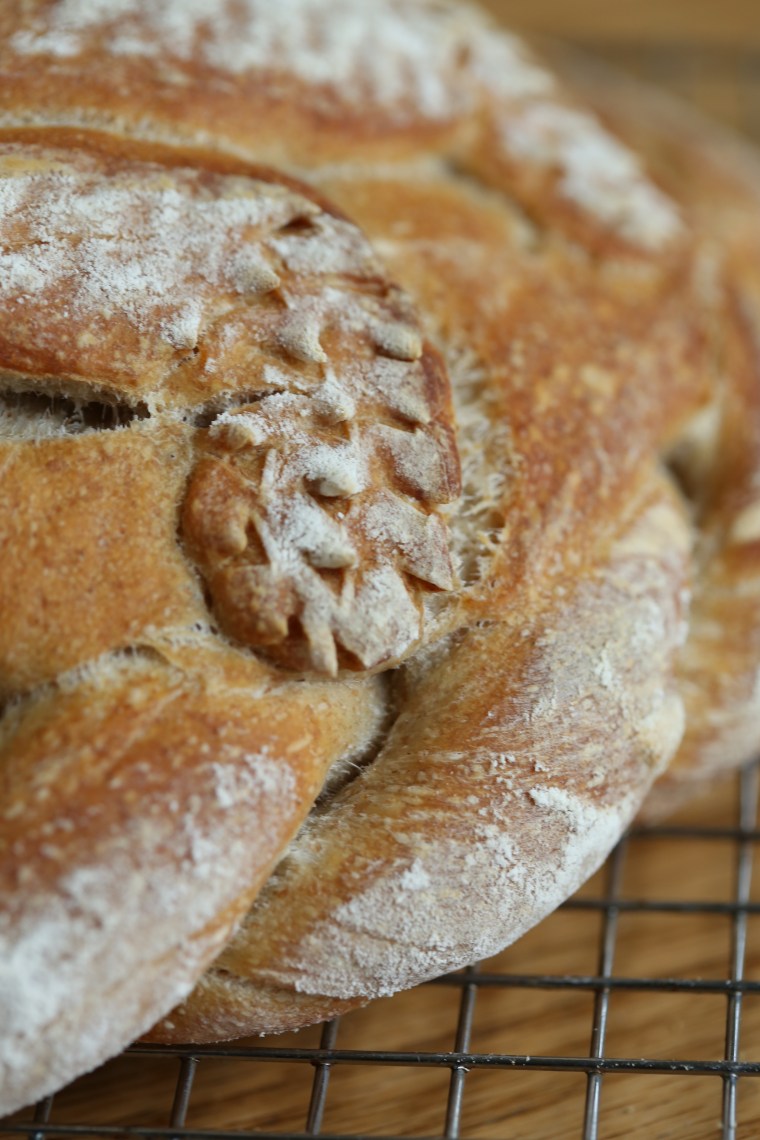 The scissors did a nice job on the stalks. It was fun to make this loaf and now it is sitting on the counter taunting me…
 May have to make another one just so I can make those wheat stalks again! Be sure to visit the Tuesdays with Dorie to see how the other bakers did this week.
 It has been quite a while since I have participated in the Tuesdays with Dorie baking. What can I say, life gets in the way? Partly, the other angle; having a pile of sweets in the house for just two of us means we eat way more than we should! When I saw the choices included a bread recipe this month, I decided to get in gear and give it a go.
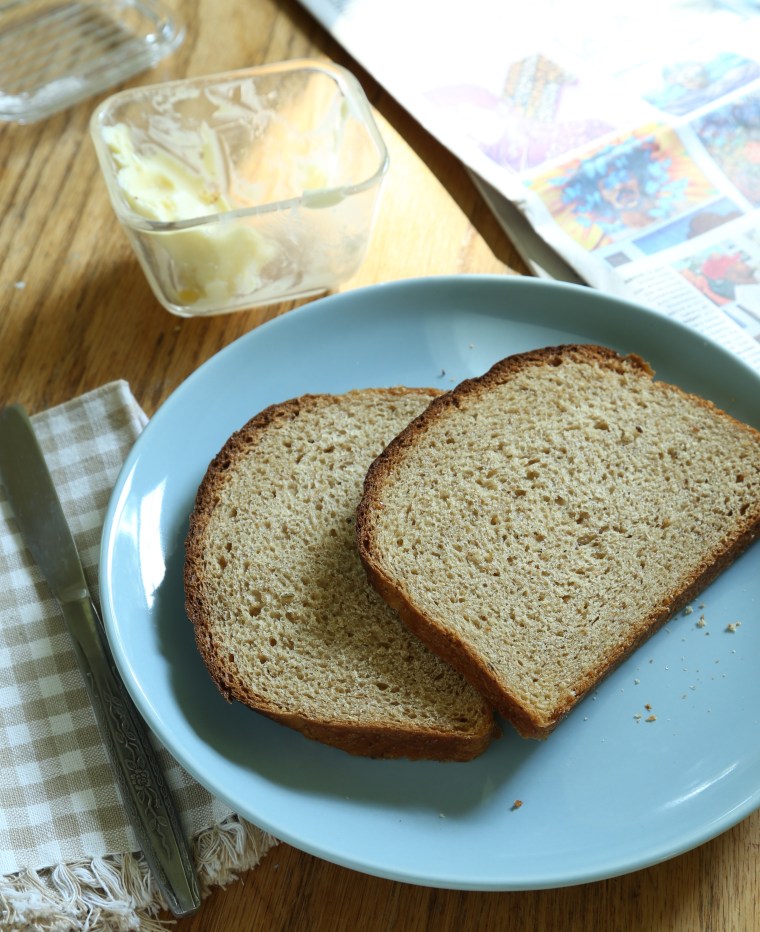
 Rather than bake it in the round 9 inch pans the recipe calls for, I used 6 inch square pans. They made the most perfect cube shaped loaves and the slices were just large enough that two thin slices of toast were more than filling.
 My rye flour was stone ground and it added a nice texture to the crumb. Little flecks of rye and seeds, this one is a keeper. Since the recipe made two loaves, I froze one for later.
 This week, we revisited a recipe we prepared once before because part of baking every recipe in a cookbook means that on occasion, you make a recipe more than once. Sort of. The dough for Persian Naan is also the dough used for Oasis Naan, a flat bread we made way back when I lived in Nashville. The dough is quick and easy to mix and only requires a single rise until doubled before being shaped and baked.
 The bread is not one that holds well and as a result, I made half the recipe. Considering that the loaves are stretched until they are about 18 inches long, halving the recipe really made sense. My loaves were only about 12 inches long which fit my baking stone with room to spare. After dividing, preshaping and resting the dough while the oven heated, the dough was heavily dimpled with wet fingertips before the stretching began.
 My first loaf inflated like a balloon in the oven so I chose to dock the rest of them to prevent them from looking more like a bread pillow than a bread sheet.
 The recipe called for a simple topping of sesame seeds and I stuck to the recipe this time out. It was chewy and pliable with a light crust, perfect for scooping up stuff or wrapping around something while it was warm. My plan is to tear off pieces and eat it with some roasted vegetables for dinner.
 Late last month, I made a loaf of the buttermilk bread from Baking with Julia. It was the challenge for the week chosen by the Tuesdays with Dorie bakers and despite baking it on time, I never posted my photos.
 One of my favorite types of bread is Japanese Hokkaido Milk Bread. The tall loaves are actually made of smaller loaves placed side by side in the pan. Once baked, you can separate them into smaller pieces. Because there is just the two of us here, I chose to make my loaf into three smaller loaves.
 After the loaf cooled, I pulled it apart and froze two pieces for later. The texture was so nice and fluffy and it had wonderful flavor. We ate it all pretty quickly, it made fantastic sandwiches! This is definitely a loaf worth making again and if you haven’t made it yet, I highly recommend giving it a go-just add the flour cautiously, you may not need it all.
 The day I made the loaf was one of those days that I had a list of things to do that was as long as I am tall. Taking a lot of photos was not an option and I had to make do with what was in front of me rather than styling the photo. Rather than drag bounce cards and tripod out, I took an empty box of cereal and clipped a binder page to it to reflect the light.
 It has been a while since I baked with the TWD gang. The holiday season is generally a hectic one for me and with all that I was baking for gifts, I just decided not to bake anything more, because baking it means eating it and I have gained more weight than I care to admit at this point. (thanks menopause…)
 Stone ground cornmeal is always more coarse than the regular grind but the bloody butcher had a large range in particle sizes and makes it very easy to see the meal in the dough. This particular batch was grown and ground right here in Virginia and it is from
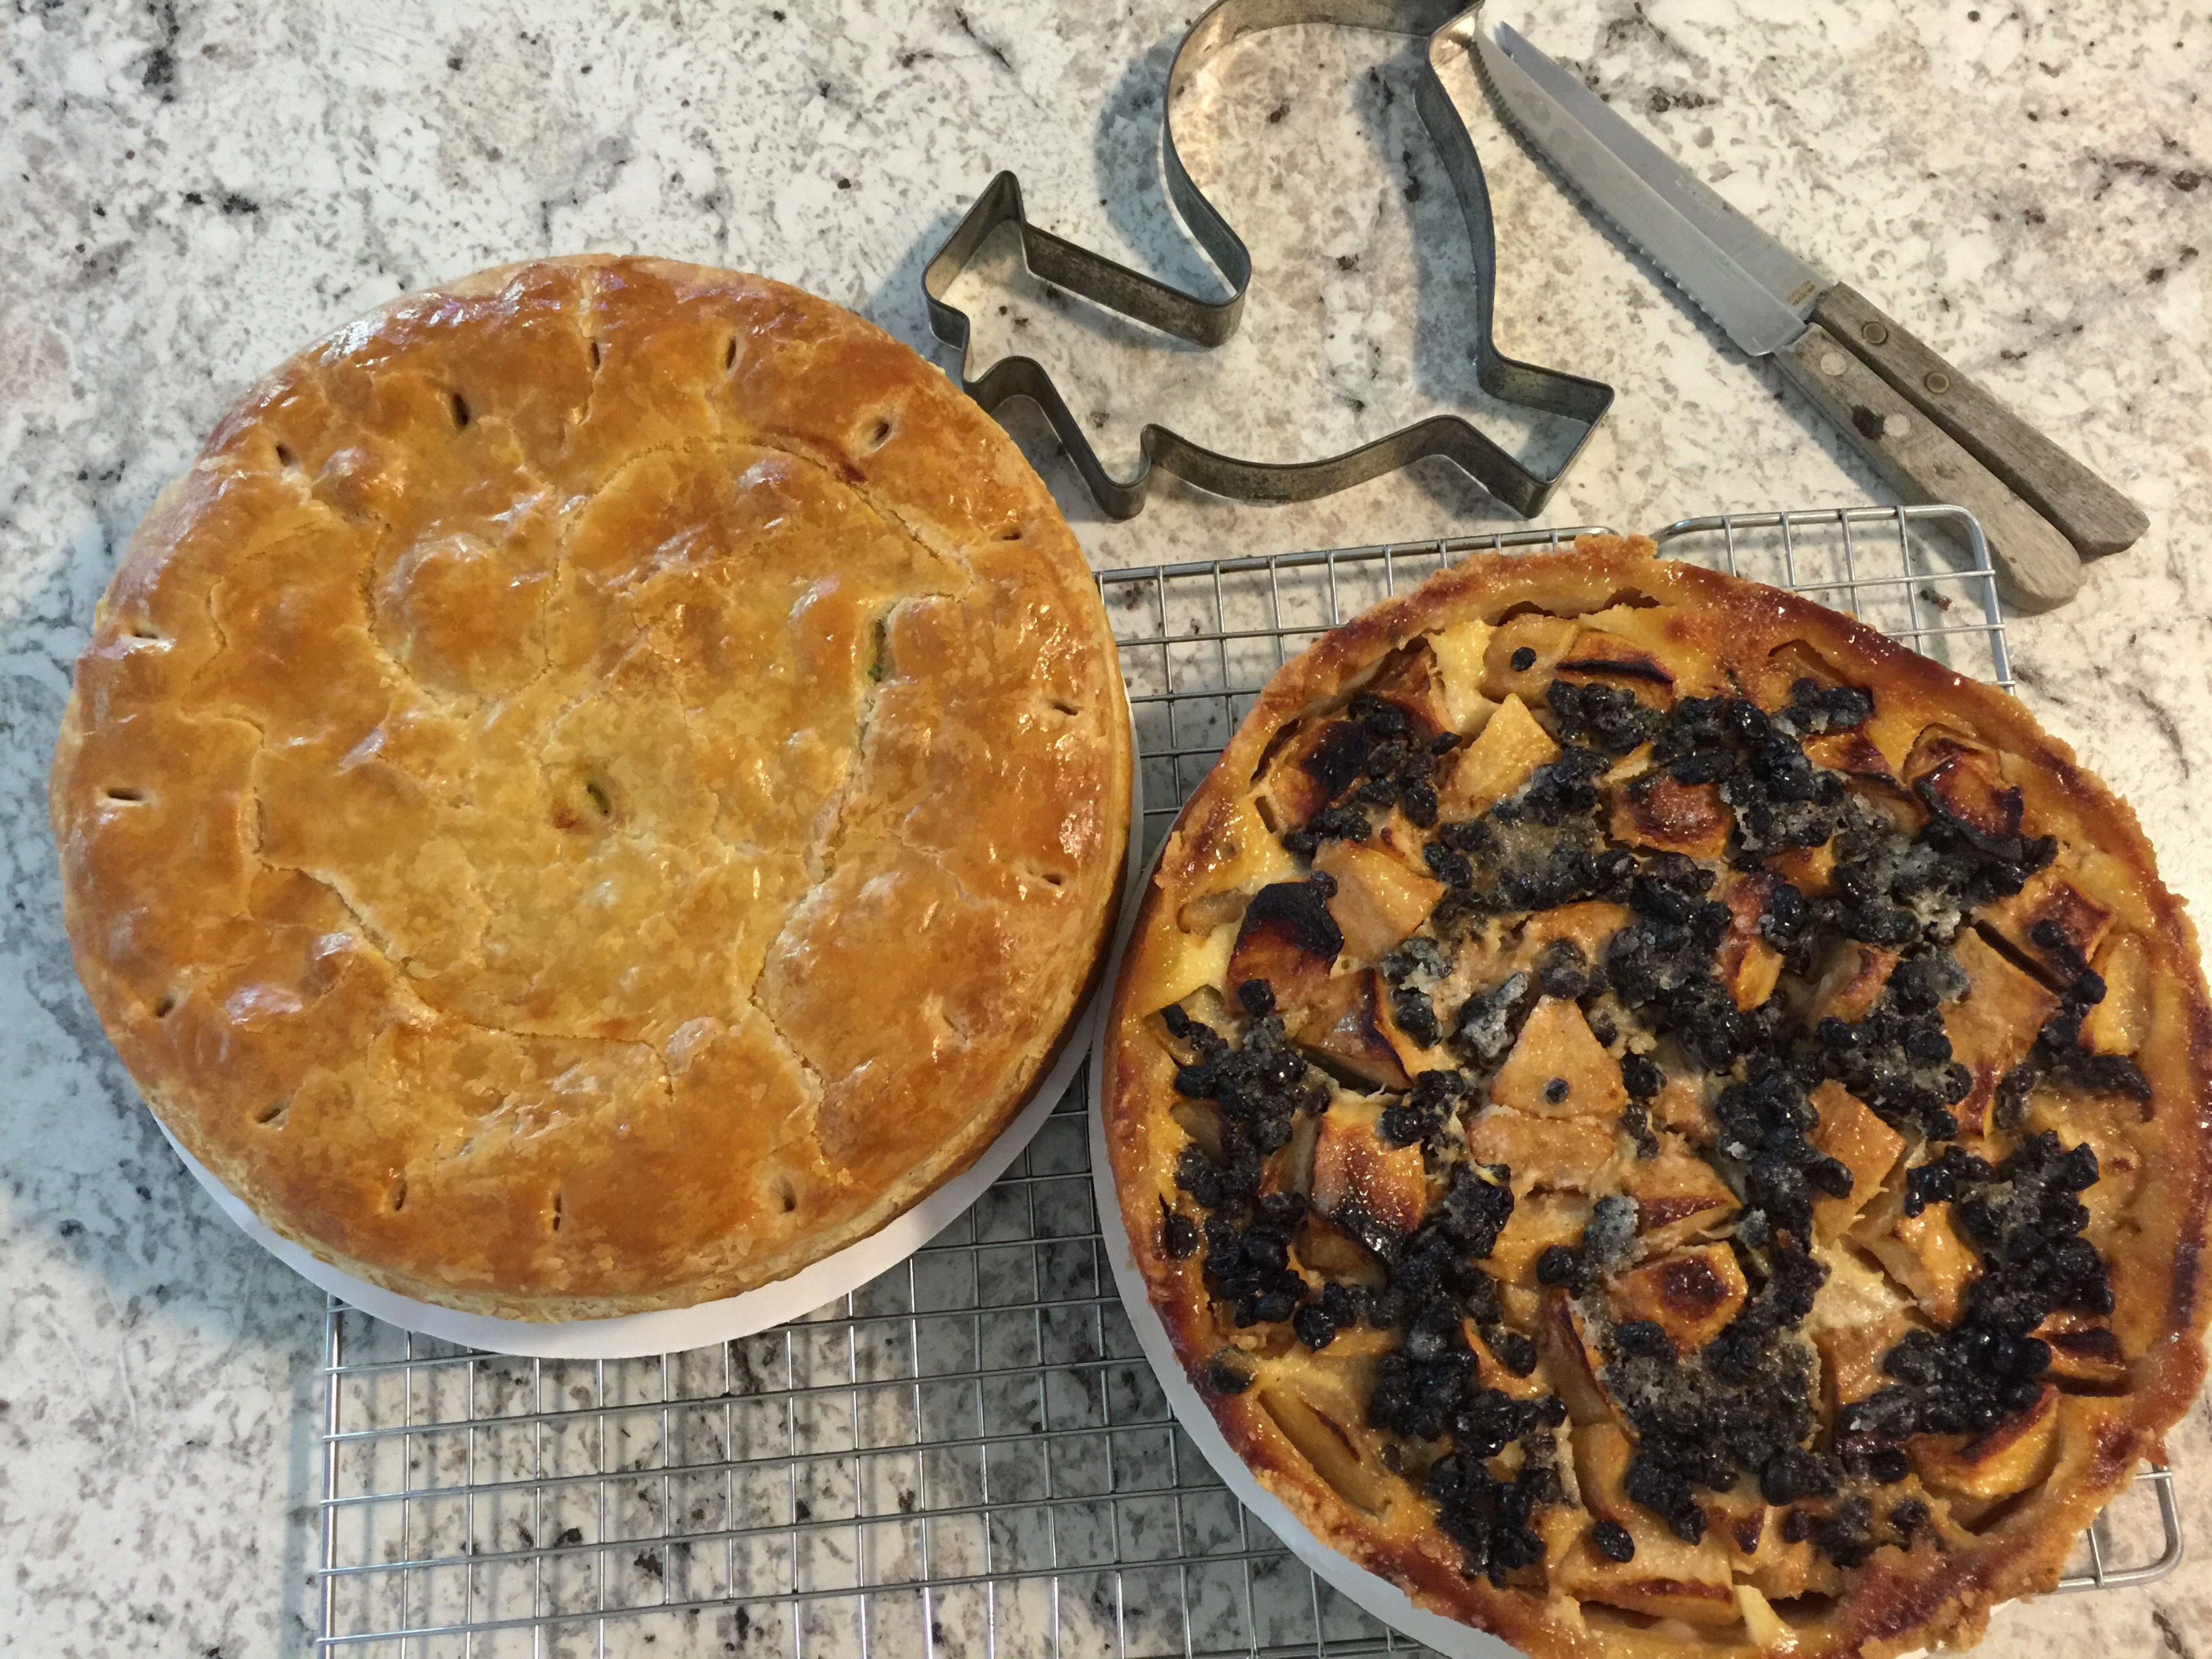
  There was a box of currants lurking in the pantry and since they were a little dry, I added several tablespoons of dark rum to them and heated them so that they would plump up. To offset the extra liquid, I cut out the extra egg yolk and that made the dough slightly drier than I would have preferred. However, now that we have our own egg laying hens, I hate the thought of wasting an egg white. The recipe calls for the dough to be formed into a log and cut into scone-like wedges. After asking one of the other TWD bakers how they worked out like that, I decided to go with a slice and bake log which is what most of the recipes I read called for. The result was a crunchy, crumbly cookie.
 The weather took a sudden turn towards winter today and turning on the oven was comforting in many ways and so was the scent of cookies baking-although, I really do not need to be eating cookies at this point! The bottom line, I love currants and cornmeal but it is not likely that I would think to make these again, at least not with this recipe. Personally, I would like them to be a little sweeter and a little crispier. Either way, these cookies are a lovely accompaniment to a cup of hot tea, especially on a chilly day!