Recently, I started a new job in a very busy restaurant. Each day, we produce breads and desserts for 3 different restaurants and a bakery. In a few words, I am working my ass off. Honestly, I am a little overwhelmed by the volume and when I get home after my 11-12 hour shift(something else I was not prepared for), I am generally too worn out to think about baking. Since my days off are also split, I tend to spend those days trying to catch up on everything here at home. We have the garden to tend, the chicks to attend to and bees arriving soon. Let’s not even talk about cleaning the house or balancing the checkbook-also on my “to do” list. When I saw that the recipe for this week was matzohs, I thought, “great, a simple recipe to make.” In retrospect, I would rethink that thought. It wasn’t as easy as I thought it would be.
Don’t get me wrong, this was not a difficult recipe, just a vaguely written one that really did not offer much in the way of tips or tricks and even though I have a lot of experience to draw from, I was not completely prepared for this dough. The high humidity level in the air did not help either and a few hints might have helped. All in all, it was fun to finally make this recipe and it is one I would make again.
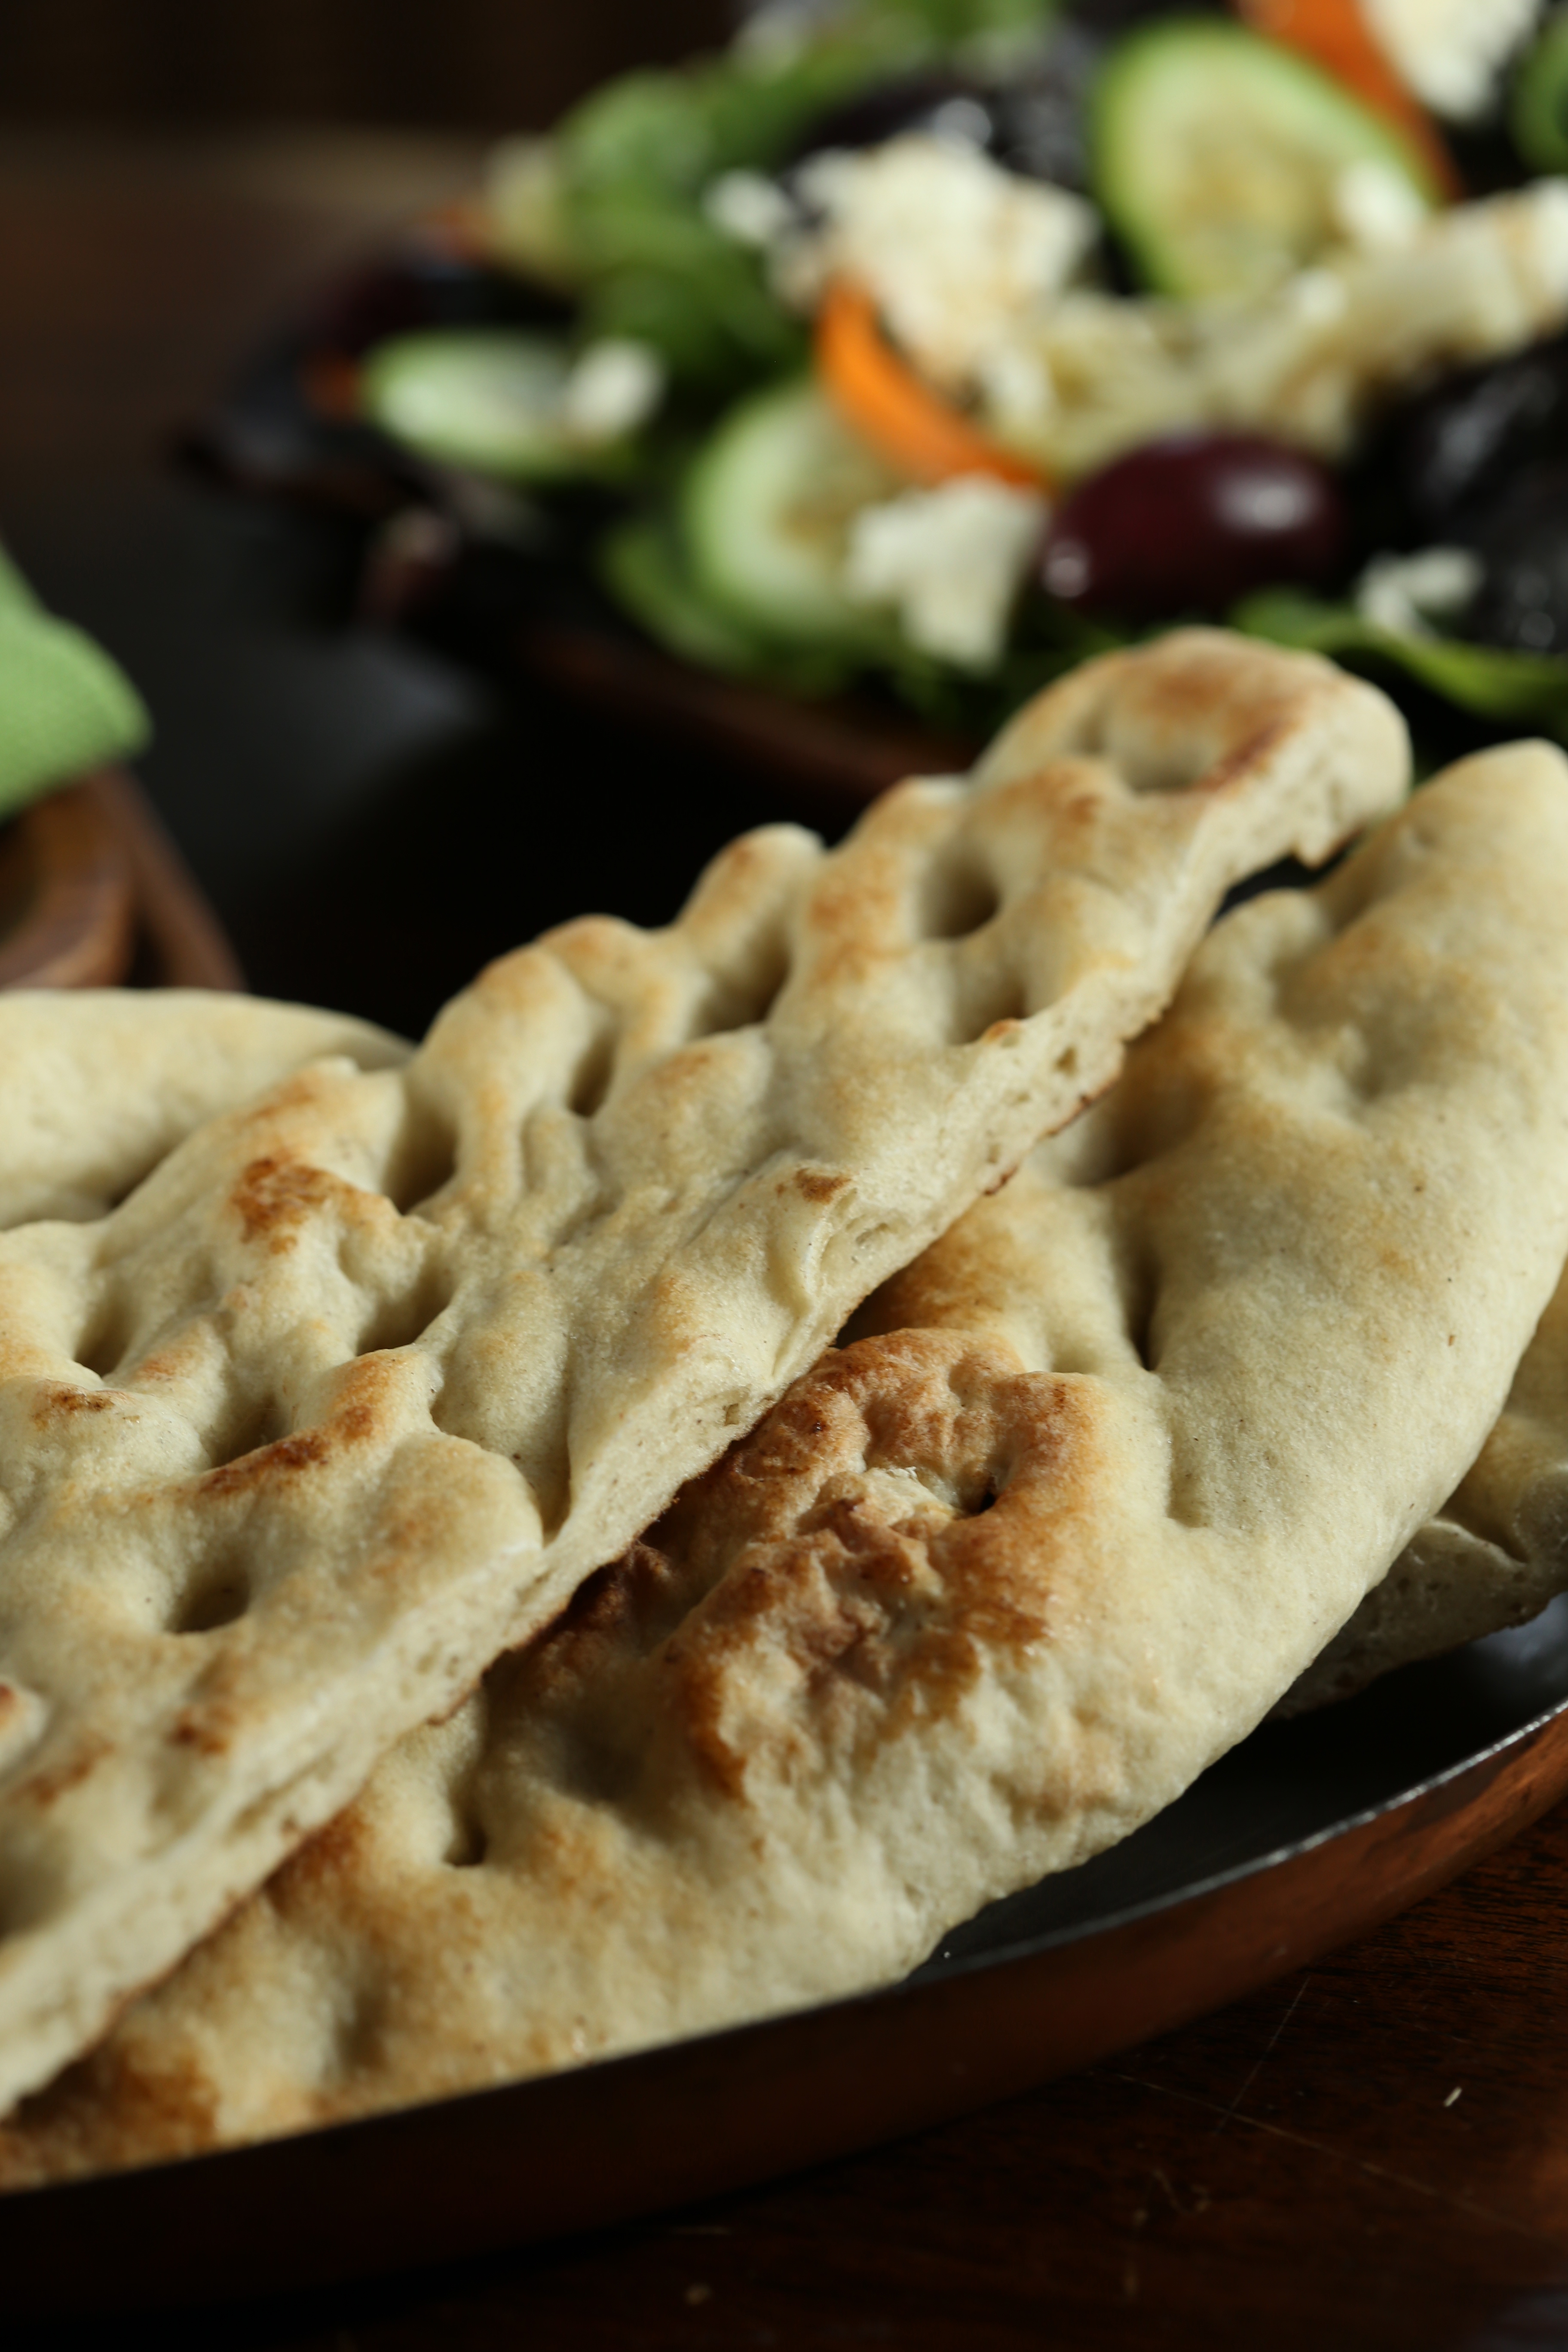
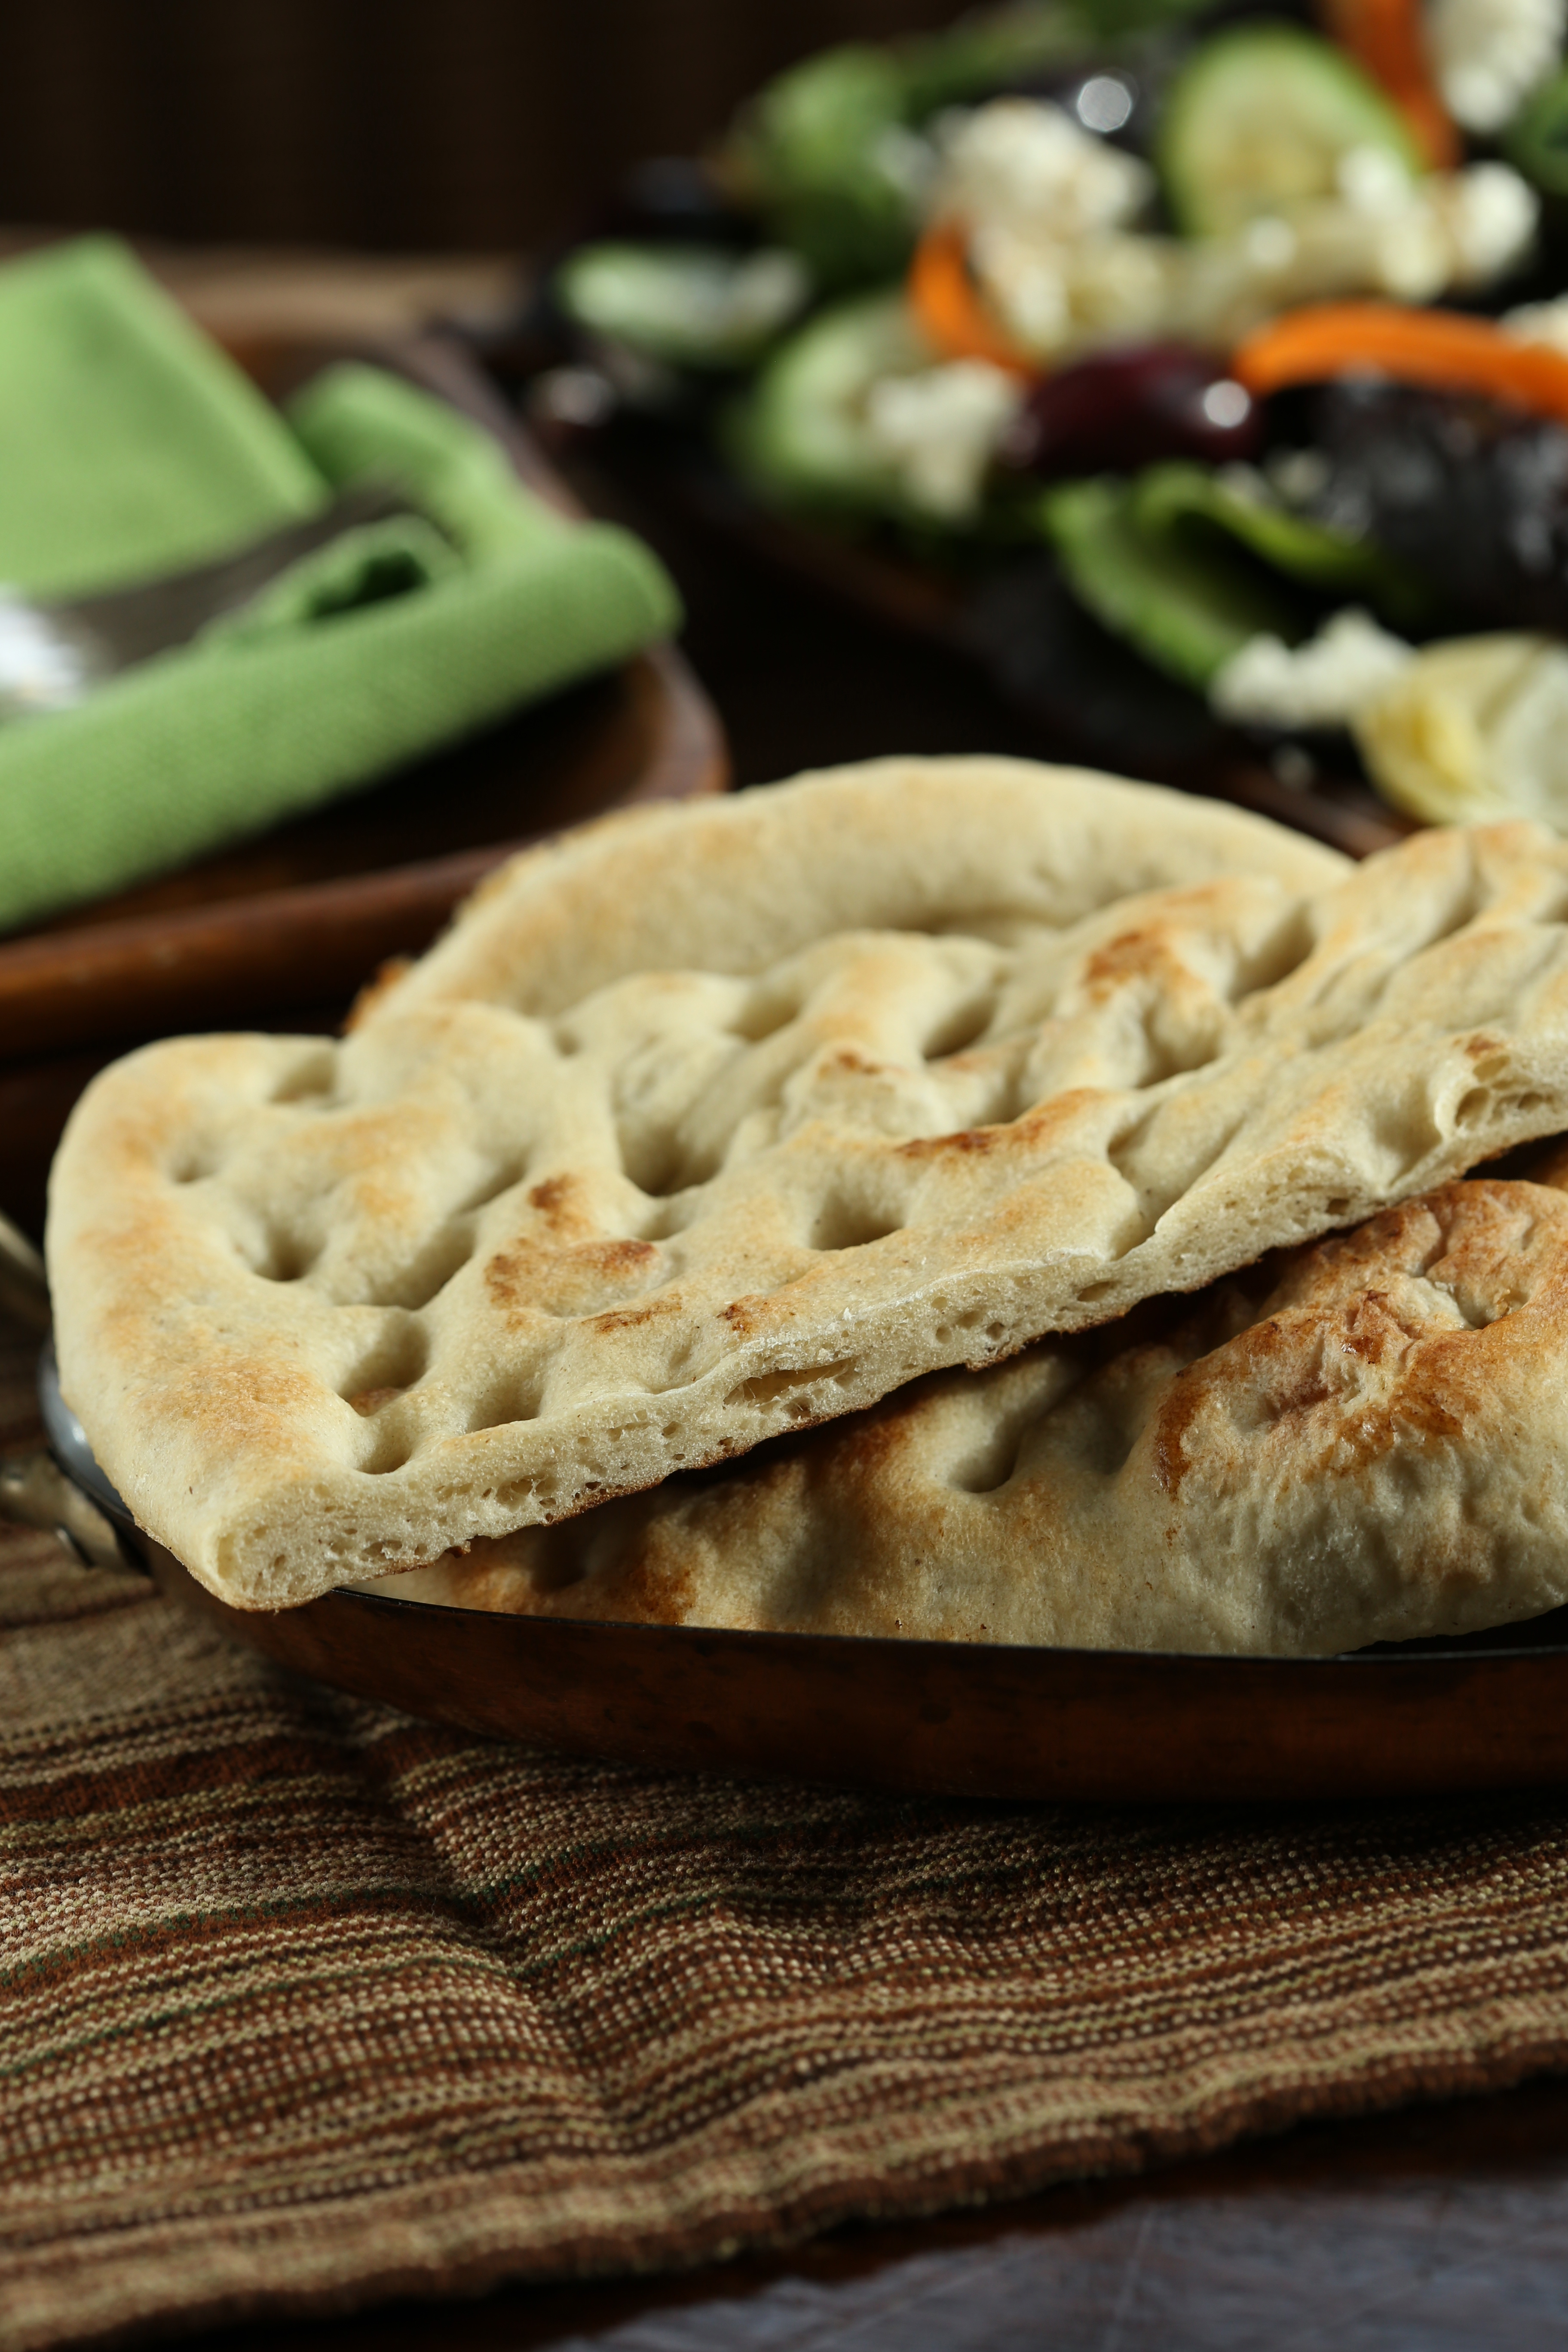
 The nice thing about an unleavened dough, no waiting for the rise. The dough mixed up quickly and easily. The recipe calls for the use of sesame seeds and black pepper to flavor the matzohs. Since I am not a fan of black pepper, I chose to change it up a bit. Rather than the 4 tablespoons of sesame seeds, I mixed 1 tablespoon of sesame seeds with 1 tablespoon of poppy seeds, 1 tablespoon of dried onion flakes, 1 teaspoon granulated garlic, 1 teaspoon caraway seeds and 1 teaspoon salt to mimic the flavor of an everything bagel.
 The recipe instructs you to roll the dough as thin as possible. Easier said than done. First of all, the use of flour is necessary but you must be careful with the amount. For this recipe, less really is more. You need the dough to be a tiny bit sticky so that it doesn’t slide all over the surface but you also do not want it to stick to the pin. The best tip I can share is to repeatedly roll, lift the dough and flip it and roll again. This constant lifting and flipping will also stretch the dough. The only bad news in this step, you can only roll the dough as thin as the seeds you add to it. But this is also a good thing because if you add the seeds and they are evenly distributed through the dough, they will act as guides for the pin and prevent you from rolling it too thin, which is probably not possible with matzoh dough.
Remember earlier when I mentioned the lack of tips and tricks in the recipe? Well, it would have been helpful to know that the dough will get sticky as it sits, especially on a humid day and sprinkling salt over the top will only make it even more sticky. Another suggestion that the recipe lacks is to do this in stages or with a partner. Rolling all the dough out first seemed like a good plan but it got sticky as it sat. Rolling one sheet at a time and baking it immediately means this will take a long time. Final thought, roll it out, flour it and stack it with paper between each sheet (which I did this time) but do not salt the dough. The final step before baking, prick the sheet and add the sprinkle of salt. Next time….

So thin and crispy, good enough as is or with hummus or knowing my husband, peanut butter. Yes, even with the seeds, he will add the peanut butter.
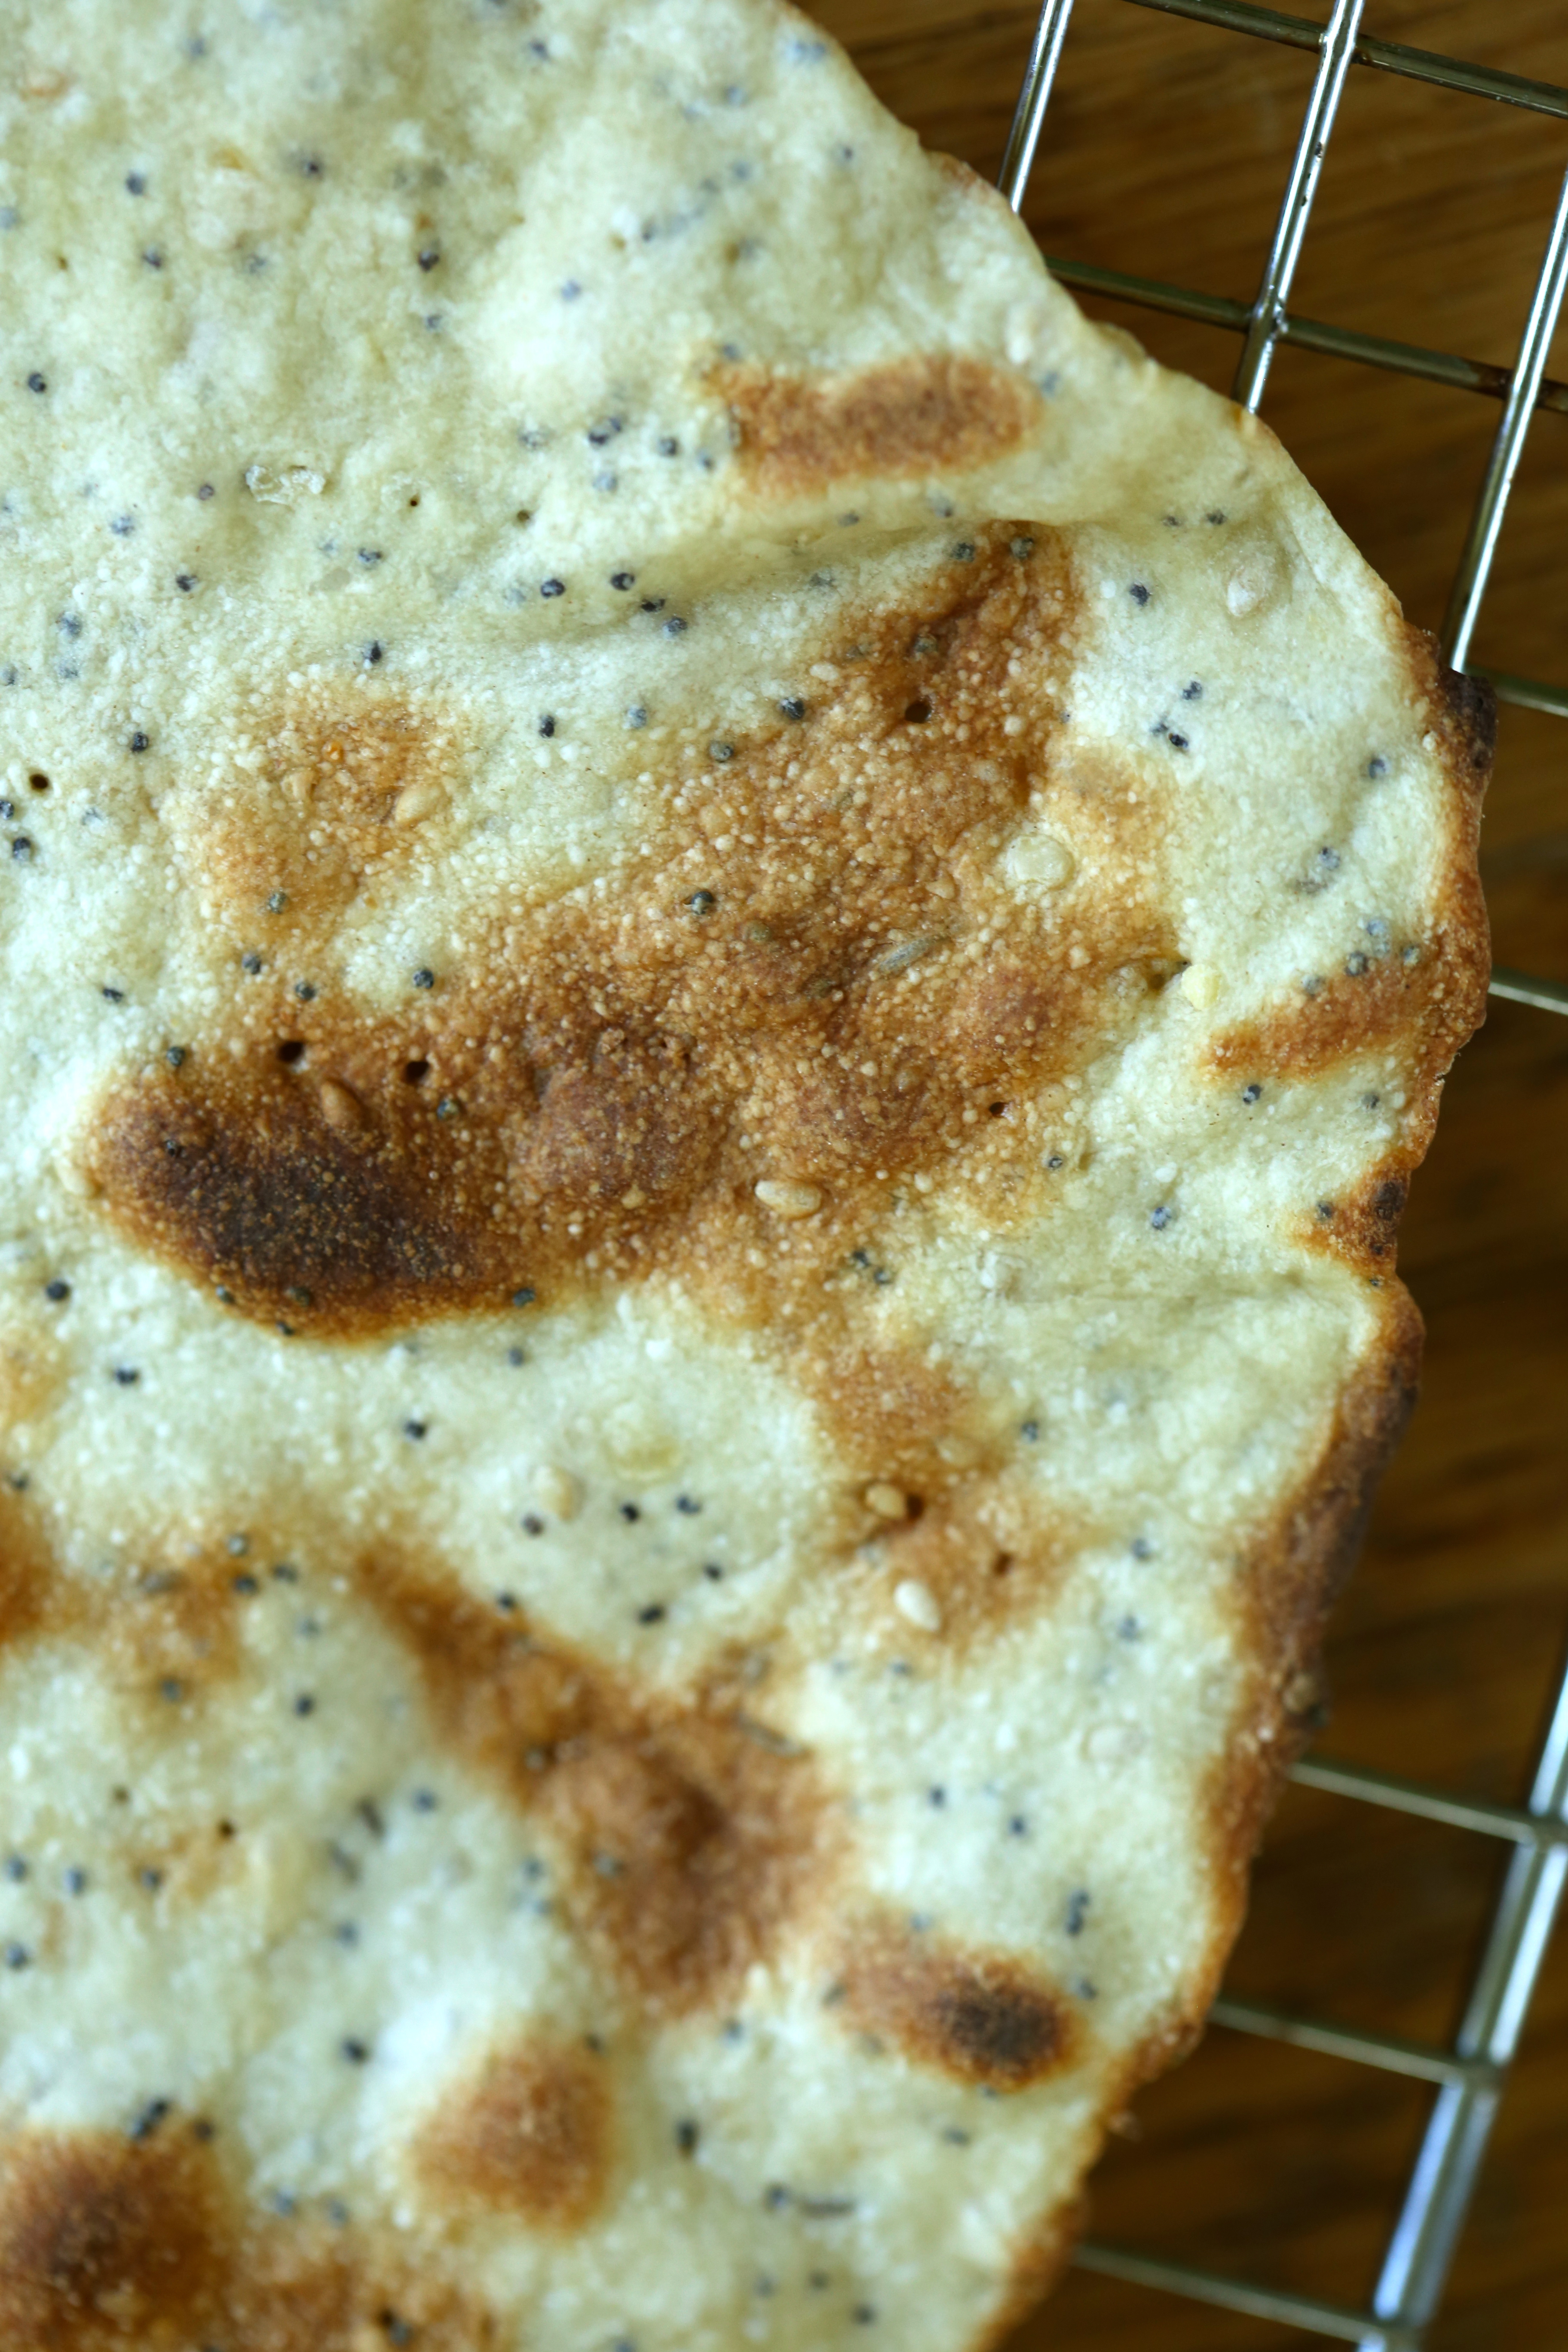
My favorite part, the dark and toasty spots. The seeds are a close second.

The one hint the recipe did give, the high heat will make the surface bubble and blister. However, despite the high heat of a 550 degree oven, I had to increase the baking time to 1 minute 20 seconds on each side.
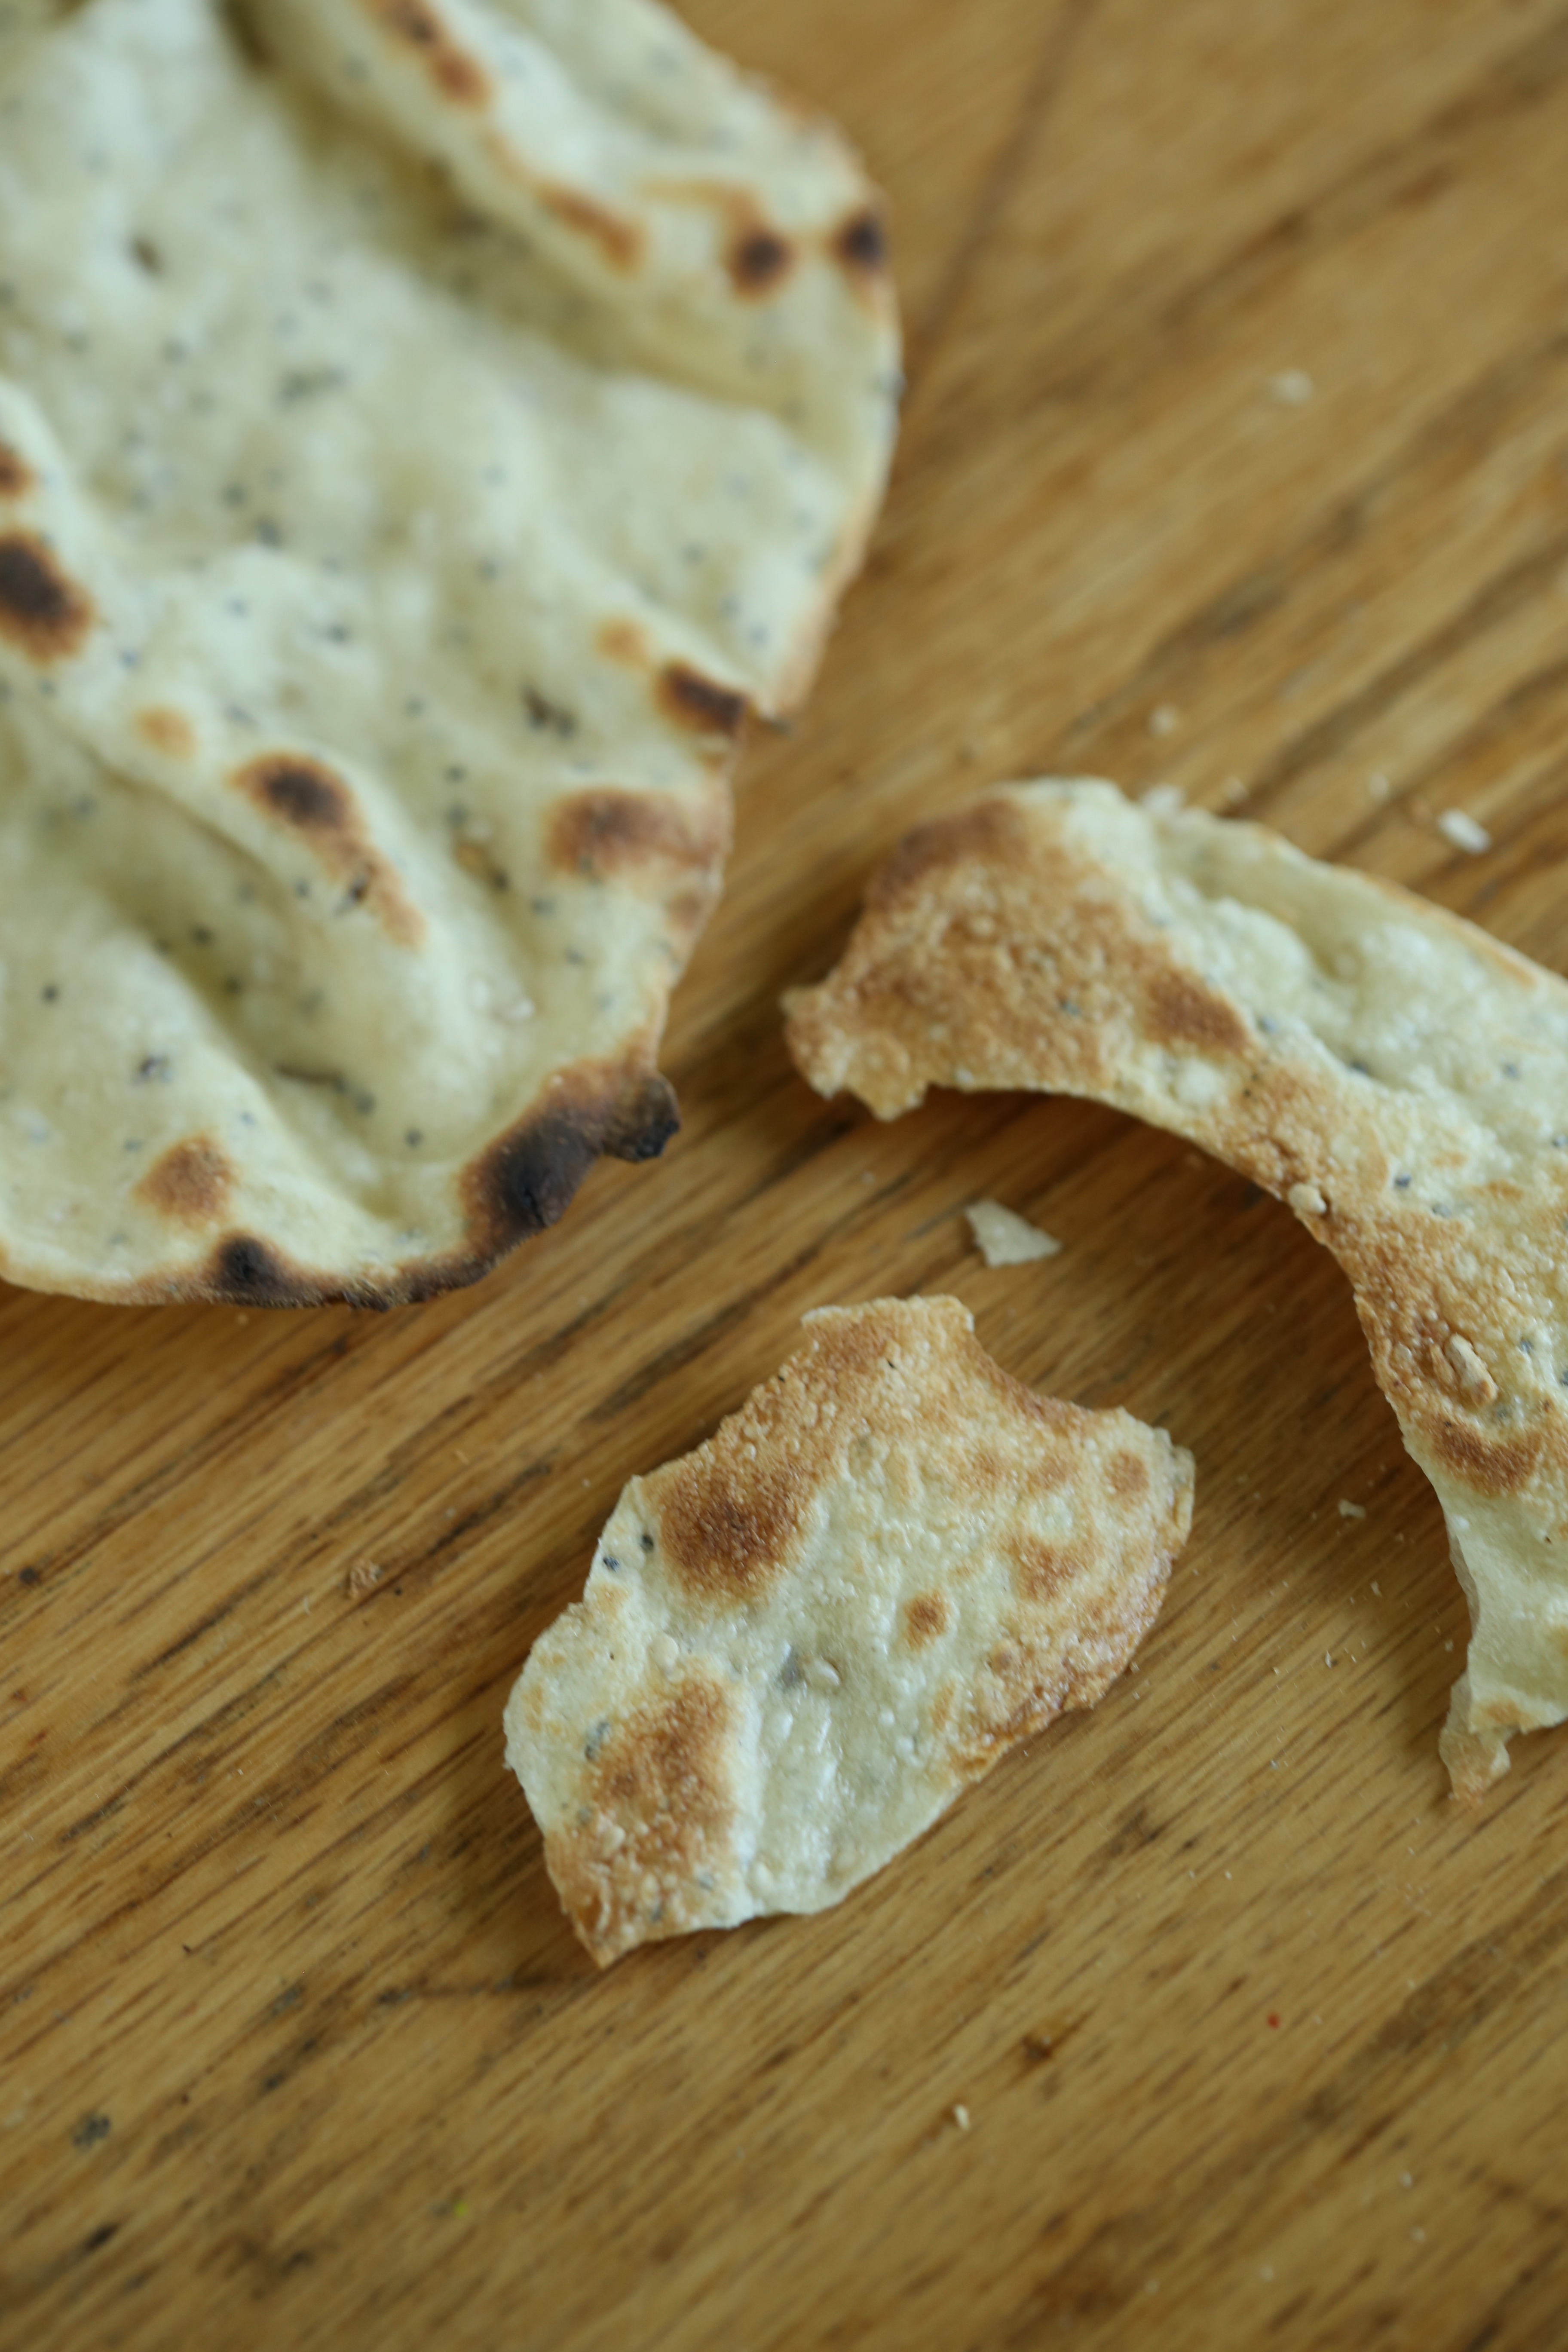
Crunch, crunch, crunch…
Want to bake along with the Tuesdays with Dorie bakers? We would love to have you join us! Visit the website and get baking. You will need to pick up a copy of Baking with Julia and/or Baking Chez Moi because we do not post recipes out of respect for the author. To see how the participants fared with this recipe, visit the LYL page.