peach and blueberry deep-dish galette

IMG_6497Summer fruit pies are one of my favorite things.  When the fruit season is at its peak, freshly picked, ripe and juicy, fruits just about beg to be baked into a pie.   With a dozen peaches and a basket of blueberries in the house, I couldn’t resist the temptation and I baked a pie, a whole 9″ pie just for the two of us!

IMG_6494
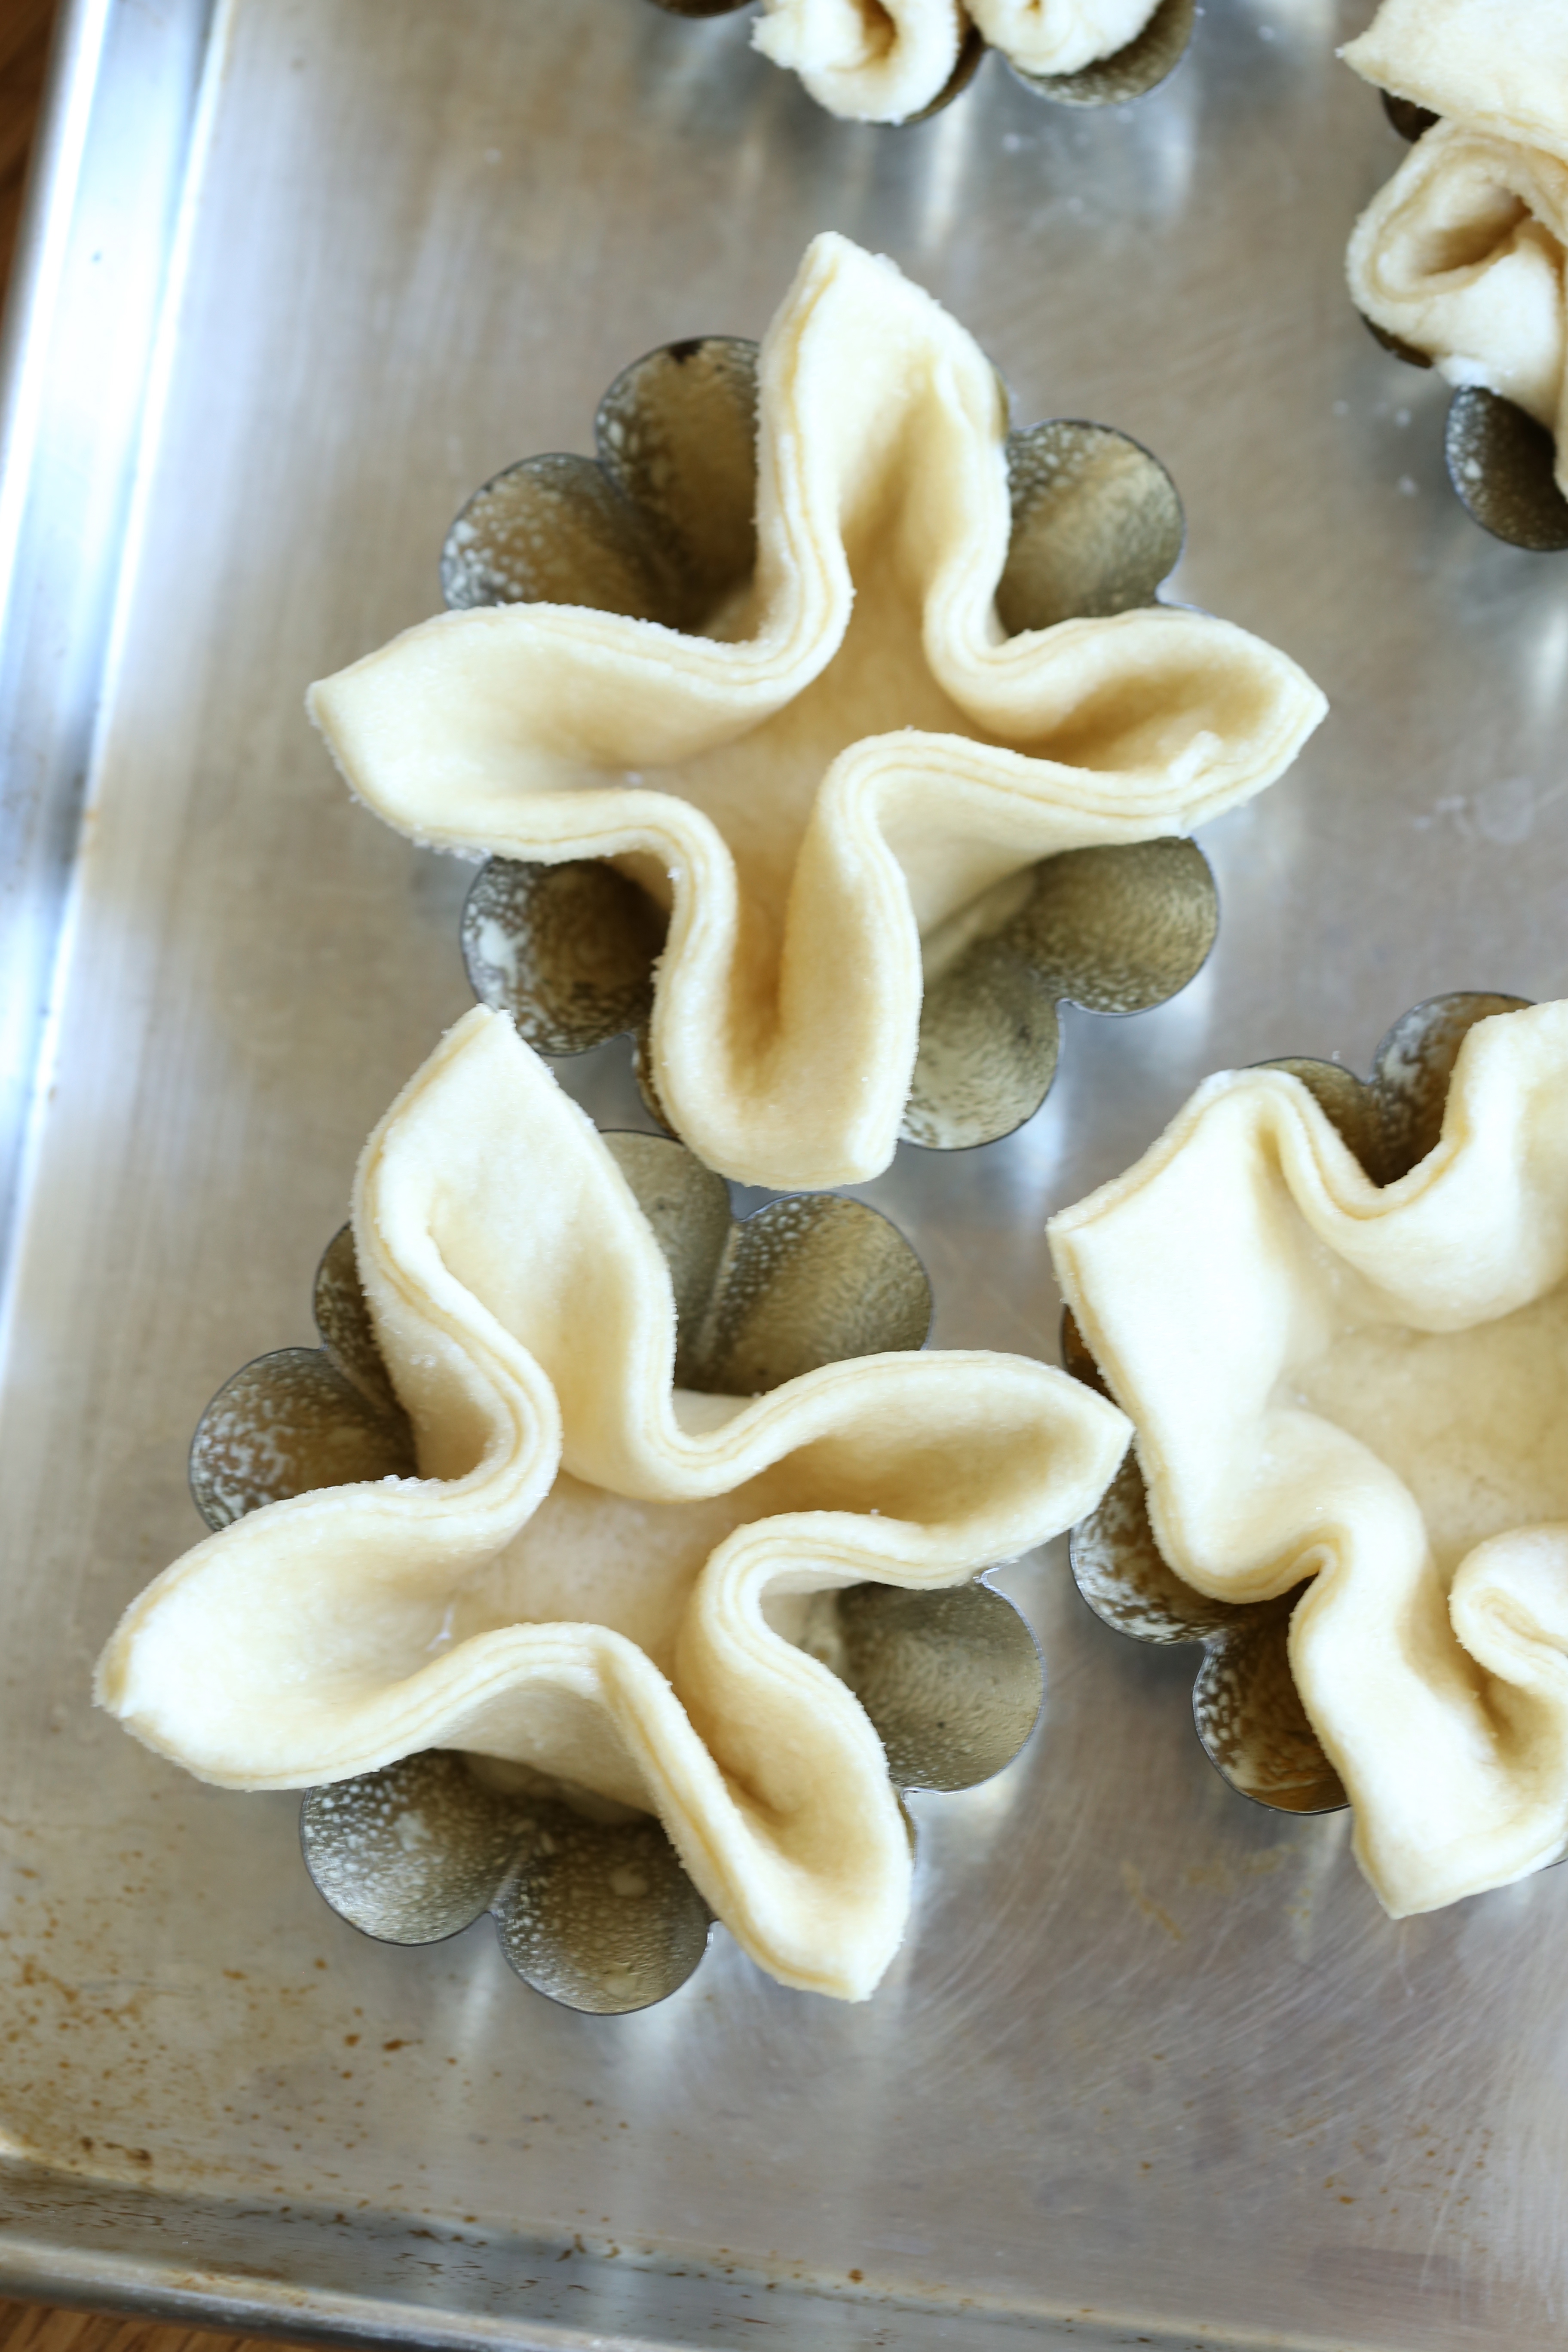
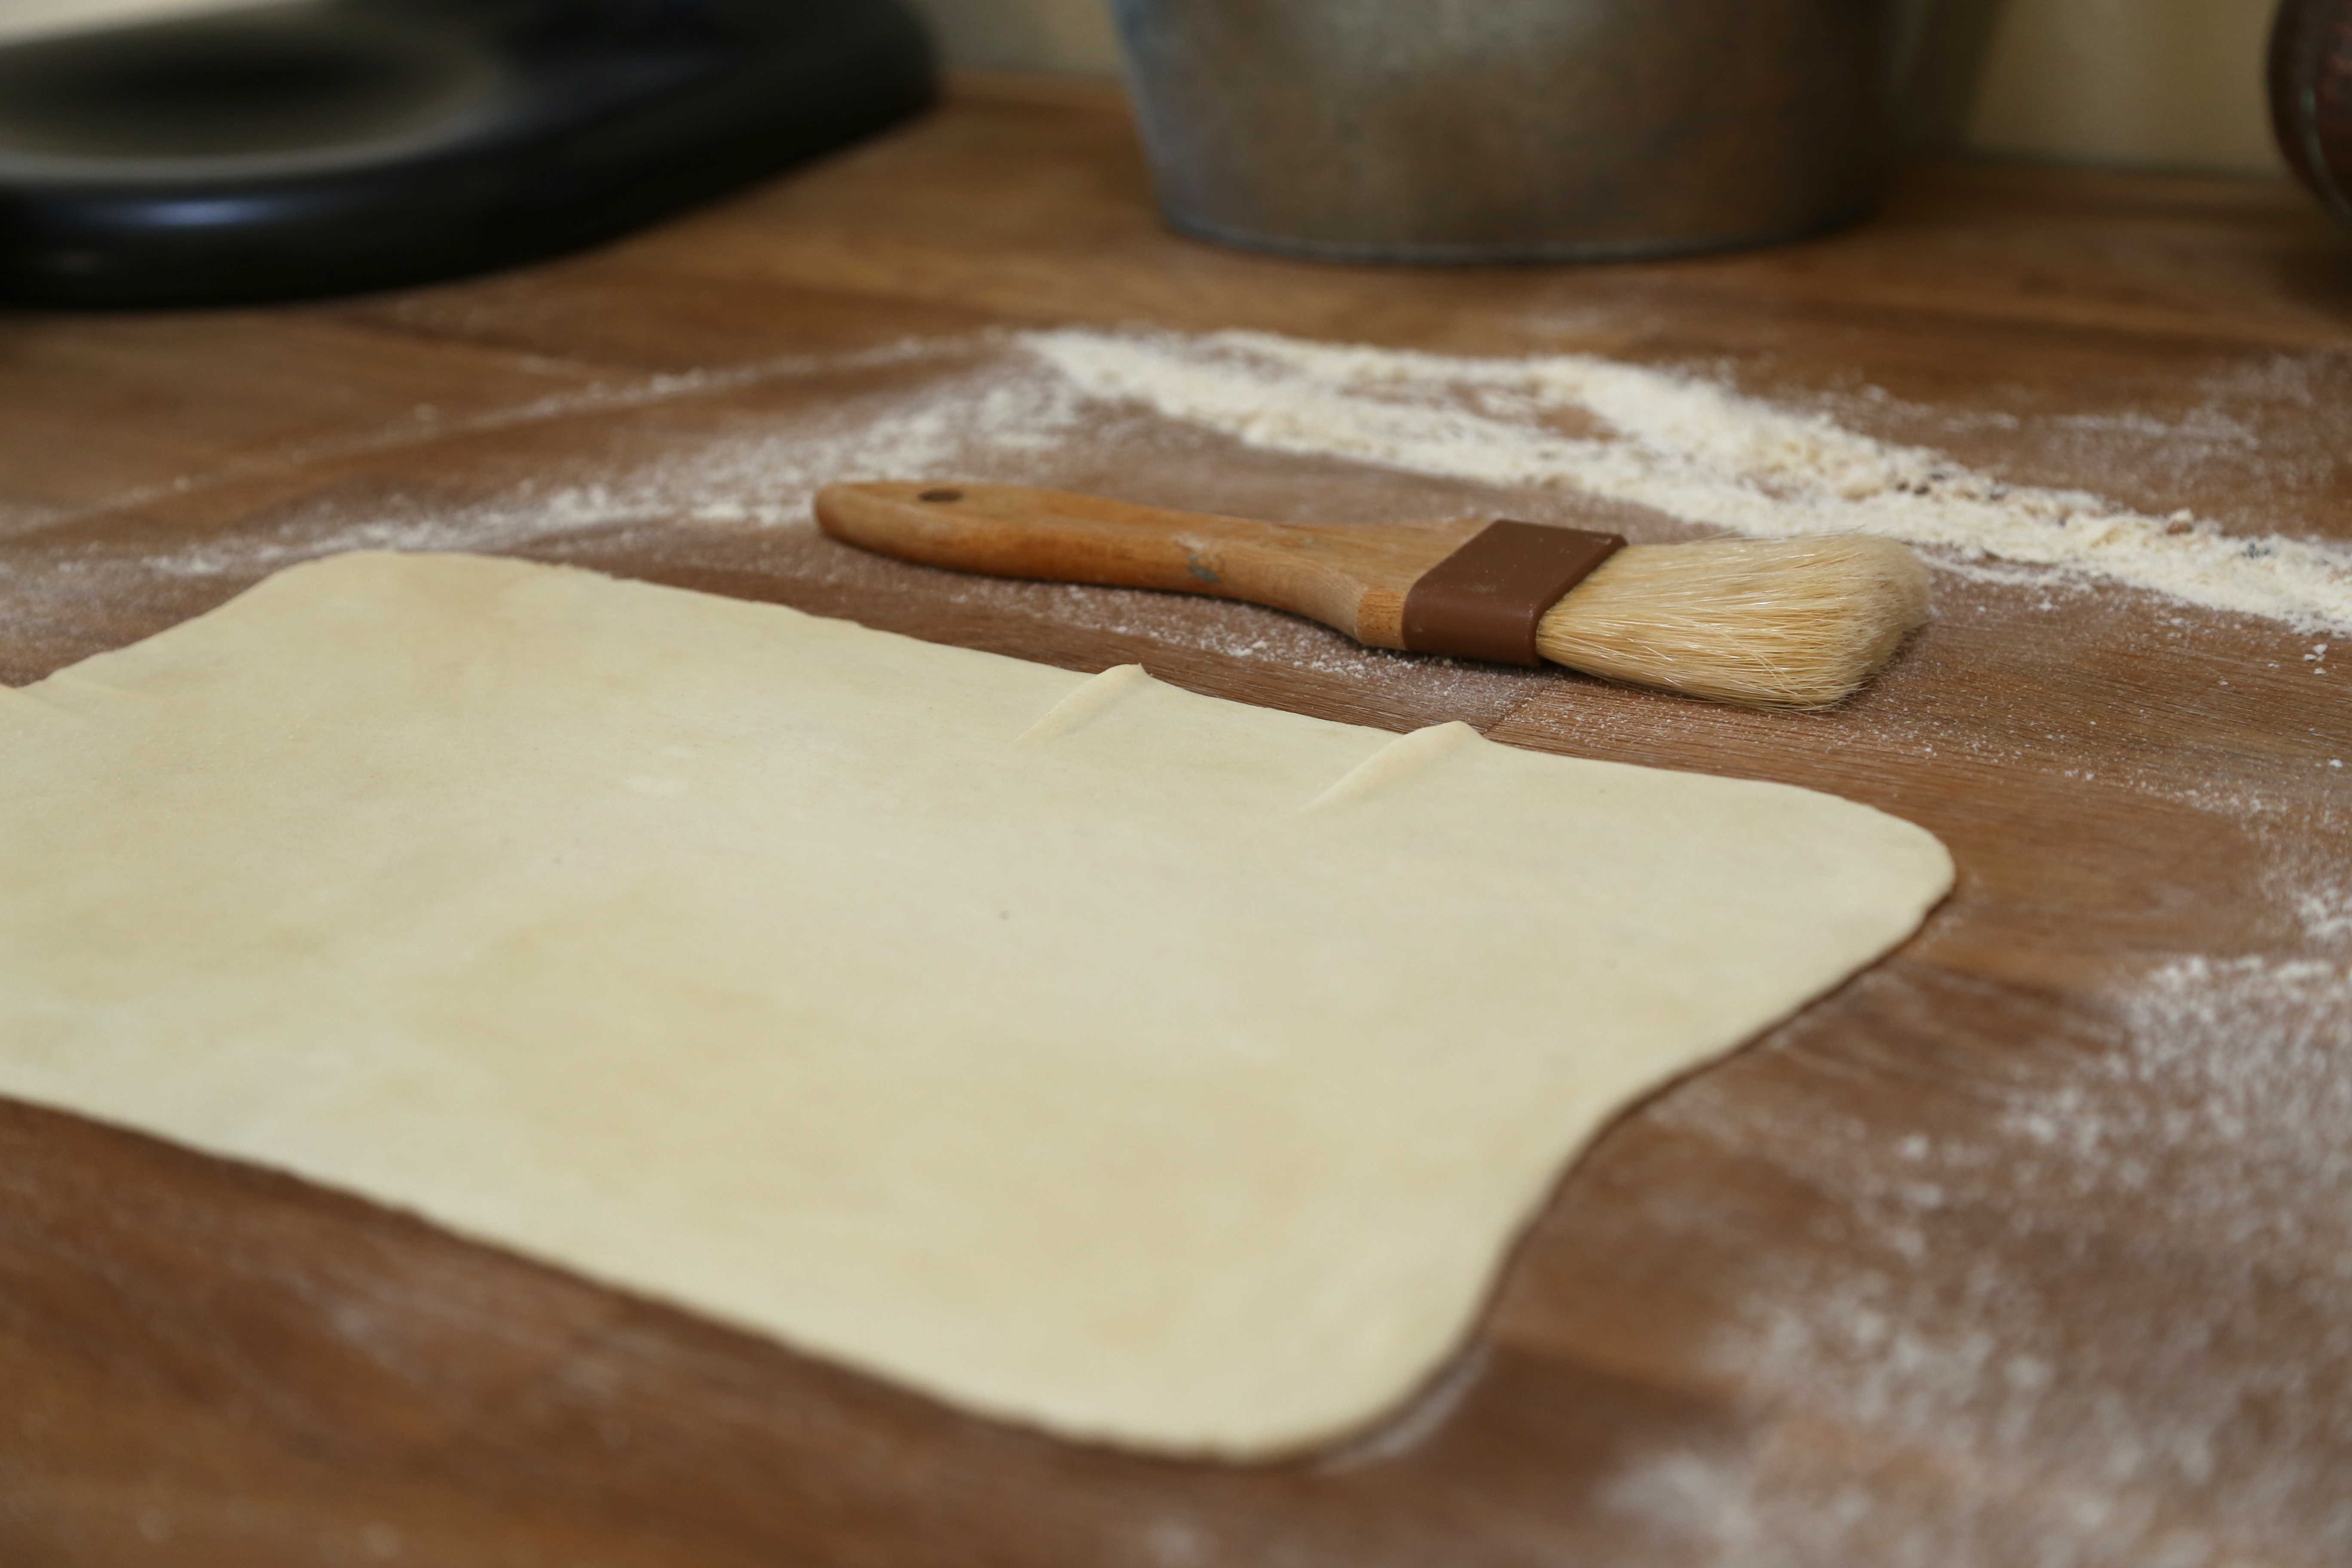
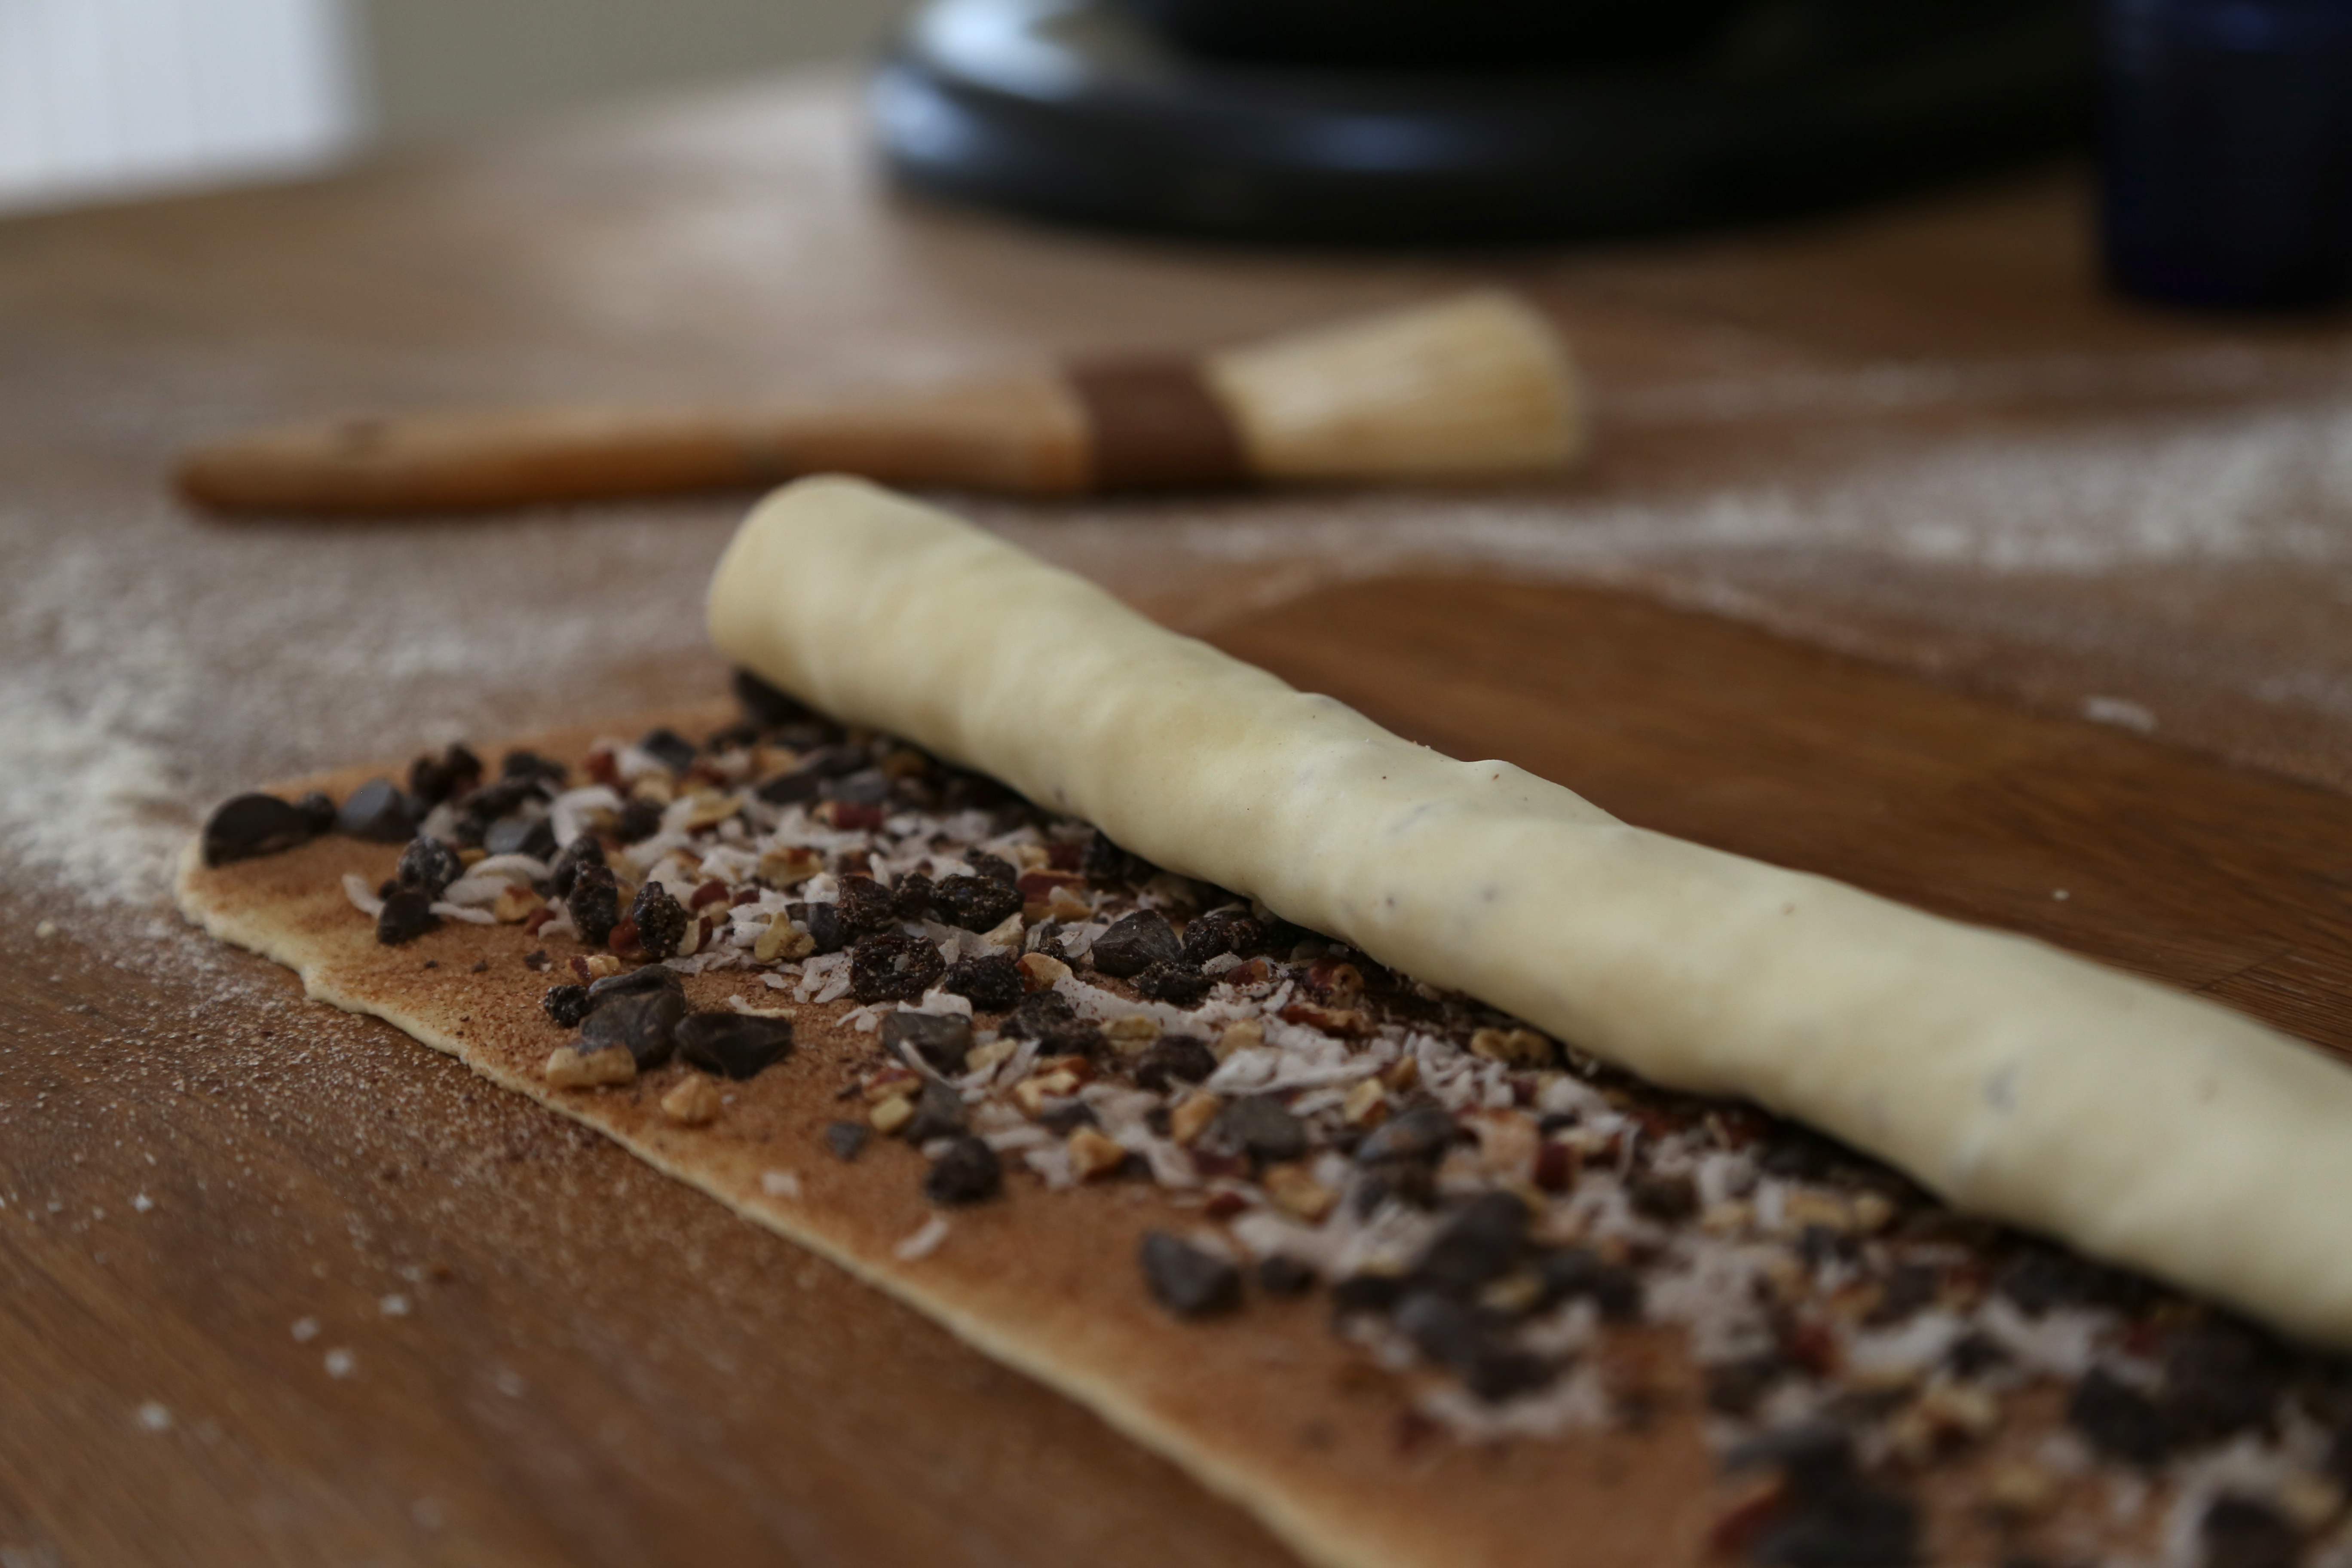
Of course, I also used homemade pie dough.  Before you start panicking, before you go on about how you just cannot roll out pie dough, let me tell you that you can, you absolutely can!!!  First, make the dough ahead of time and chill it for at least an hour.  Take it out of the fridge and let it soften until it is pliable but not sticky or squishy.  Now do you see all of the flour on my table?  That’s the secret, cool dough, lots of flour and short strokes with the rolling pin.  Lift the dough and turn it as you go, spread out more flour on the table if it sticks, don’t worry you can brush it off before you put it into a greased dish.  Make sure the circle of dough has an overhang of at least 2 inches to make the pleats like I have in the photo.  Start by taking one small section and folding it in over the fruit but leave the center open.  Section by section, fold the dough in towards the middle of the dish, creating the pleats until you get to the last section.  Lift the first pleat up and carefully tuck the last one into place and lay the first one back down.  Then brush it with some egg wash and sprinkle on some sugar before baking.

IMG_6507
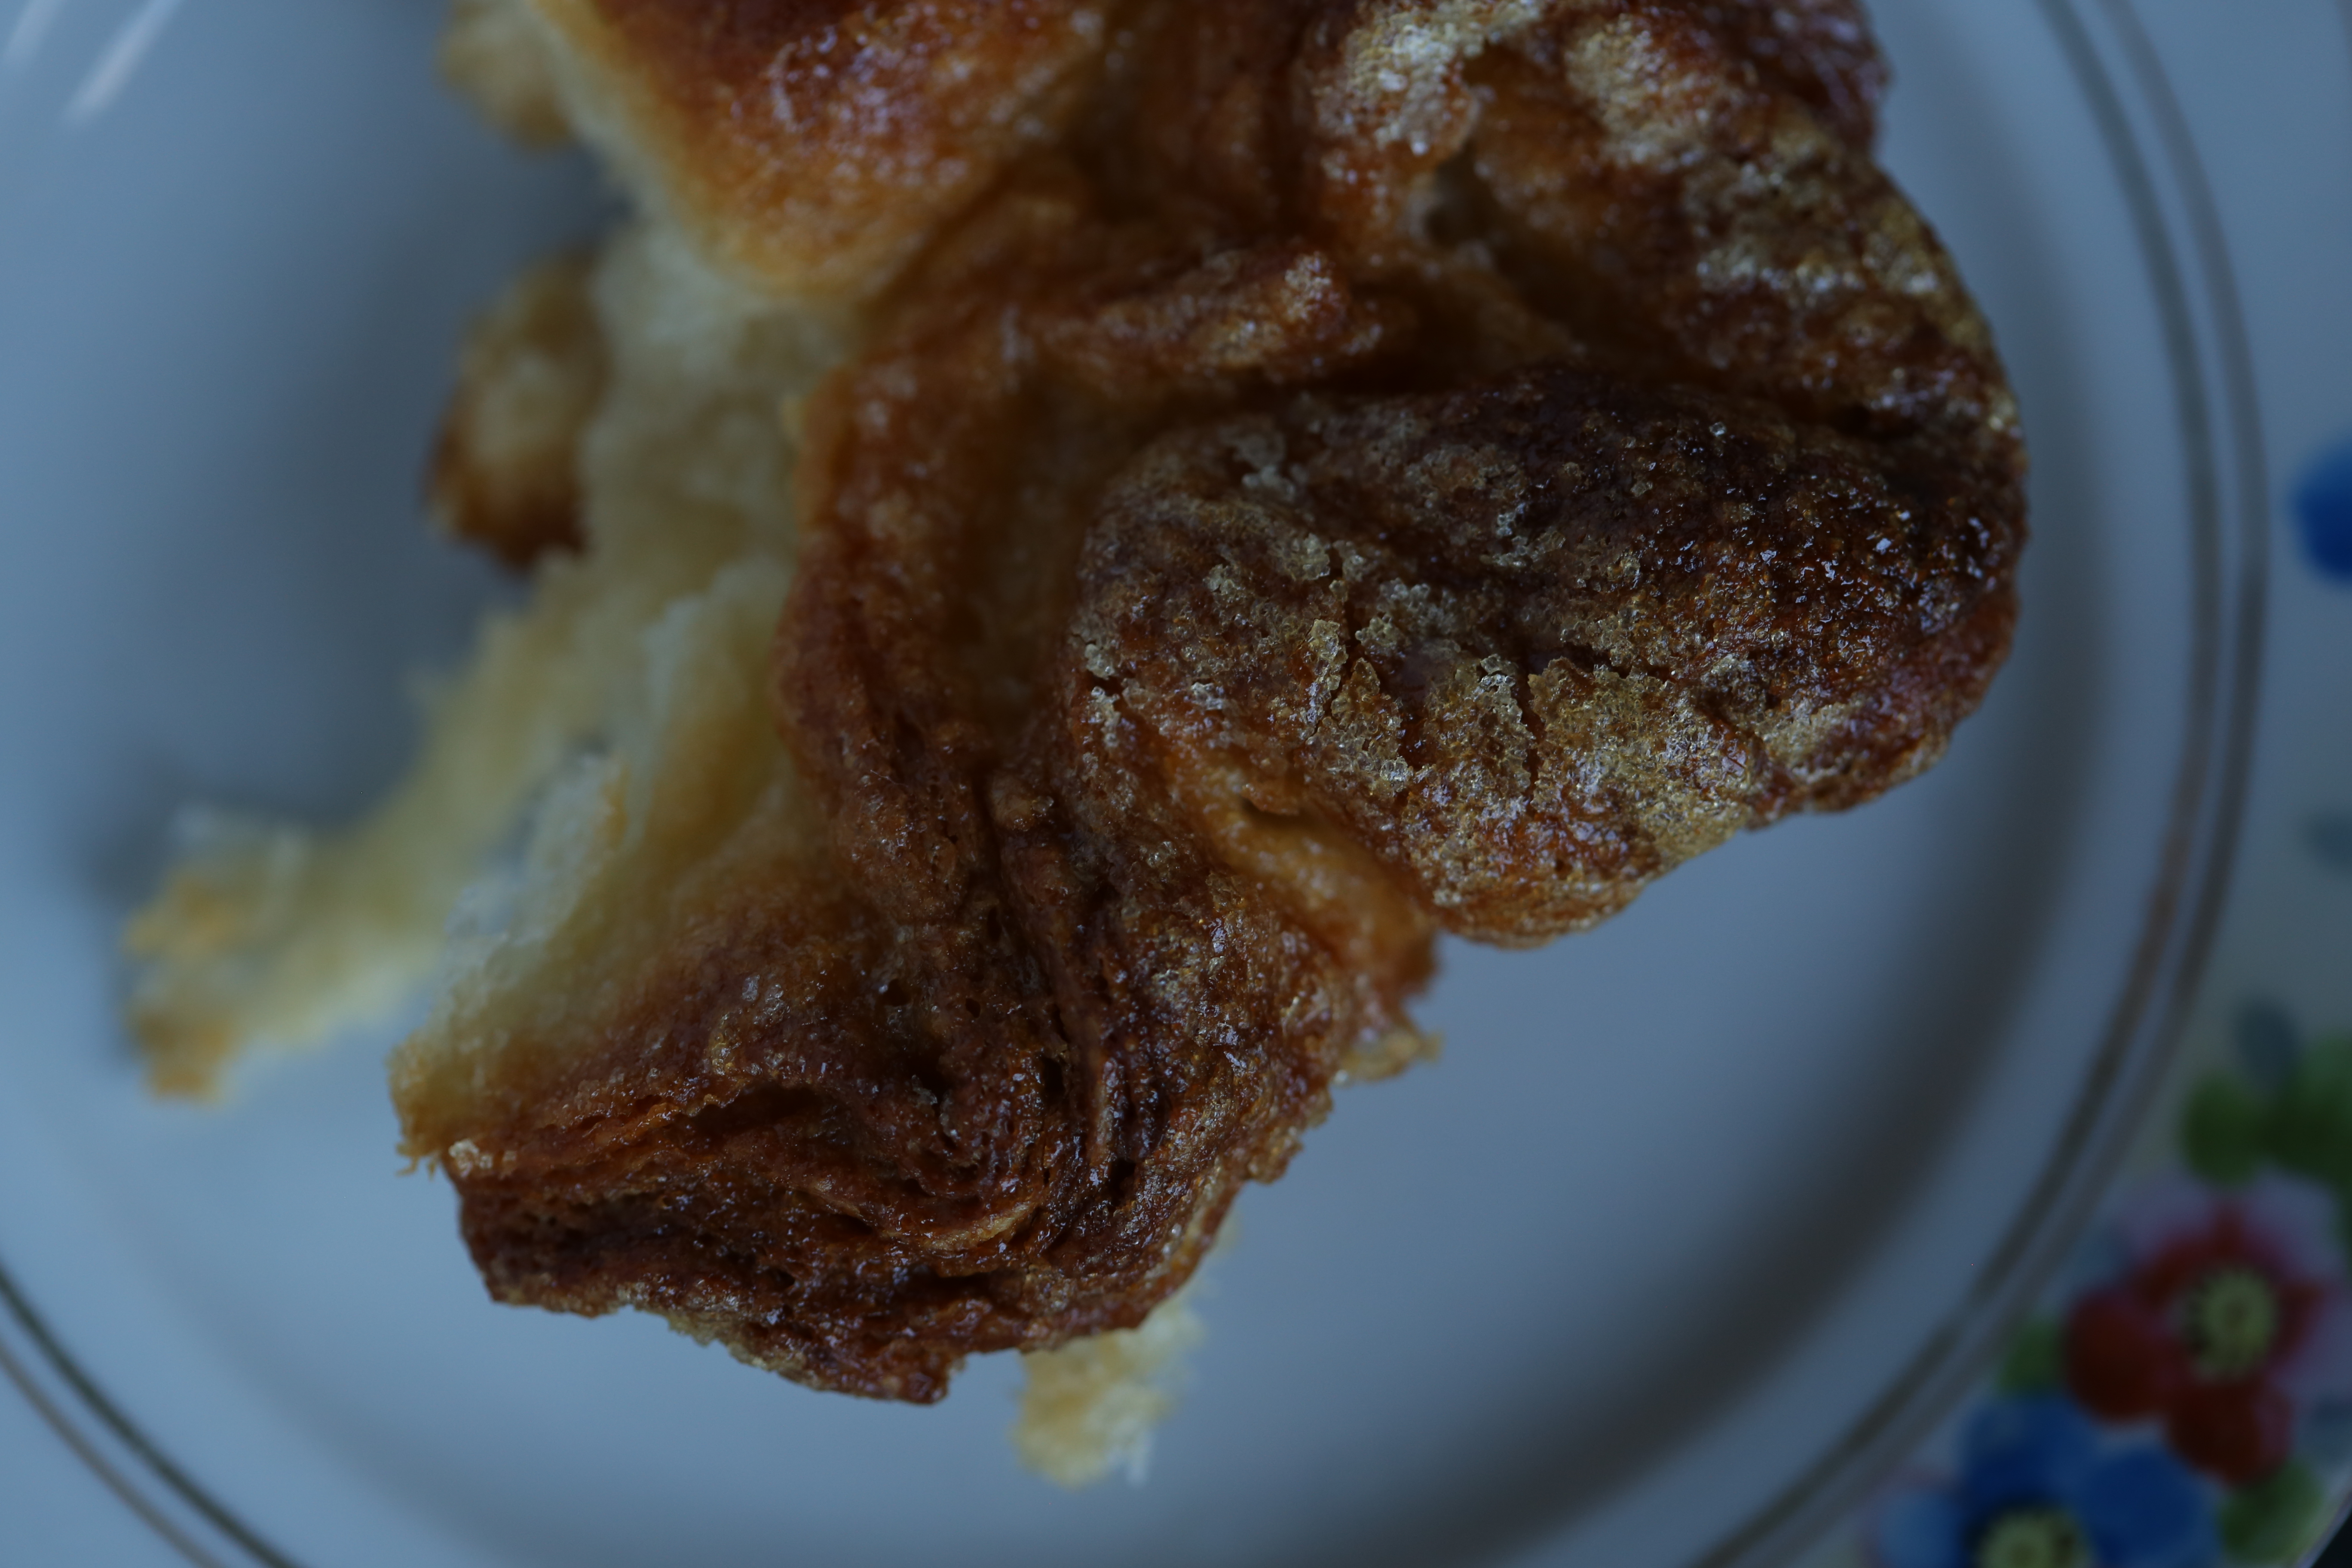
To get a deep, even color, just use one temperature in the oven.  Many recipes tell you to start high and drop it down low but I think one temperature is better.  It prevents that “OH I FORGOT TO TURN DOWN THE OVEN” disaster and also prevents uneven coloring.  My pies only bake at 350F.

IMG_6523
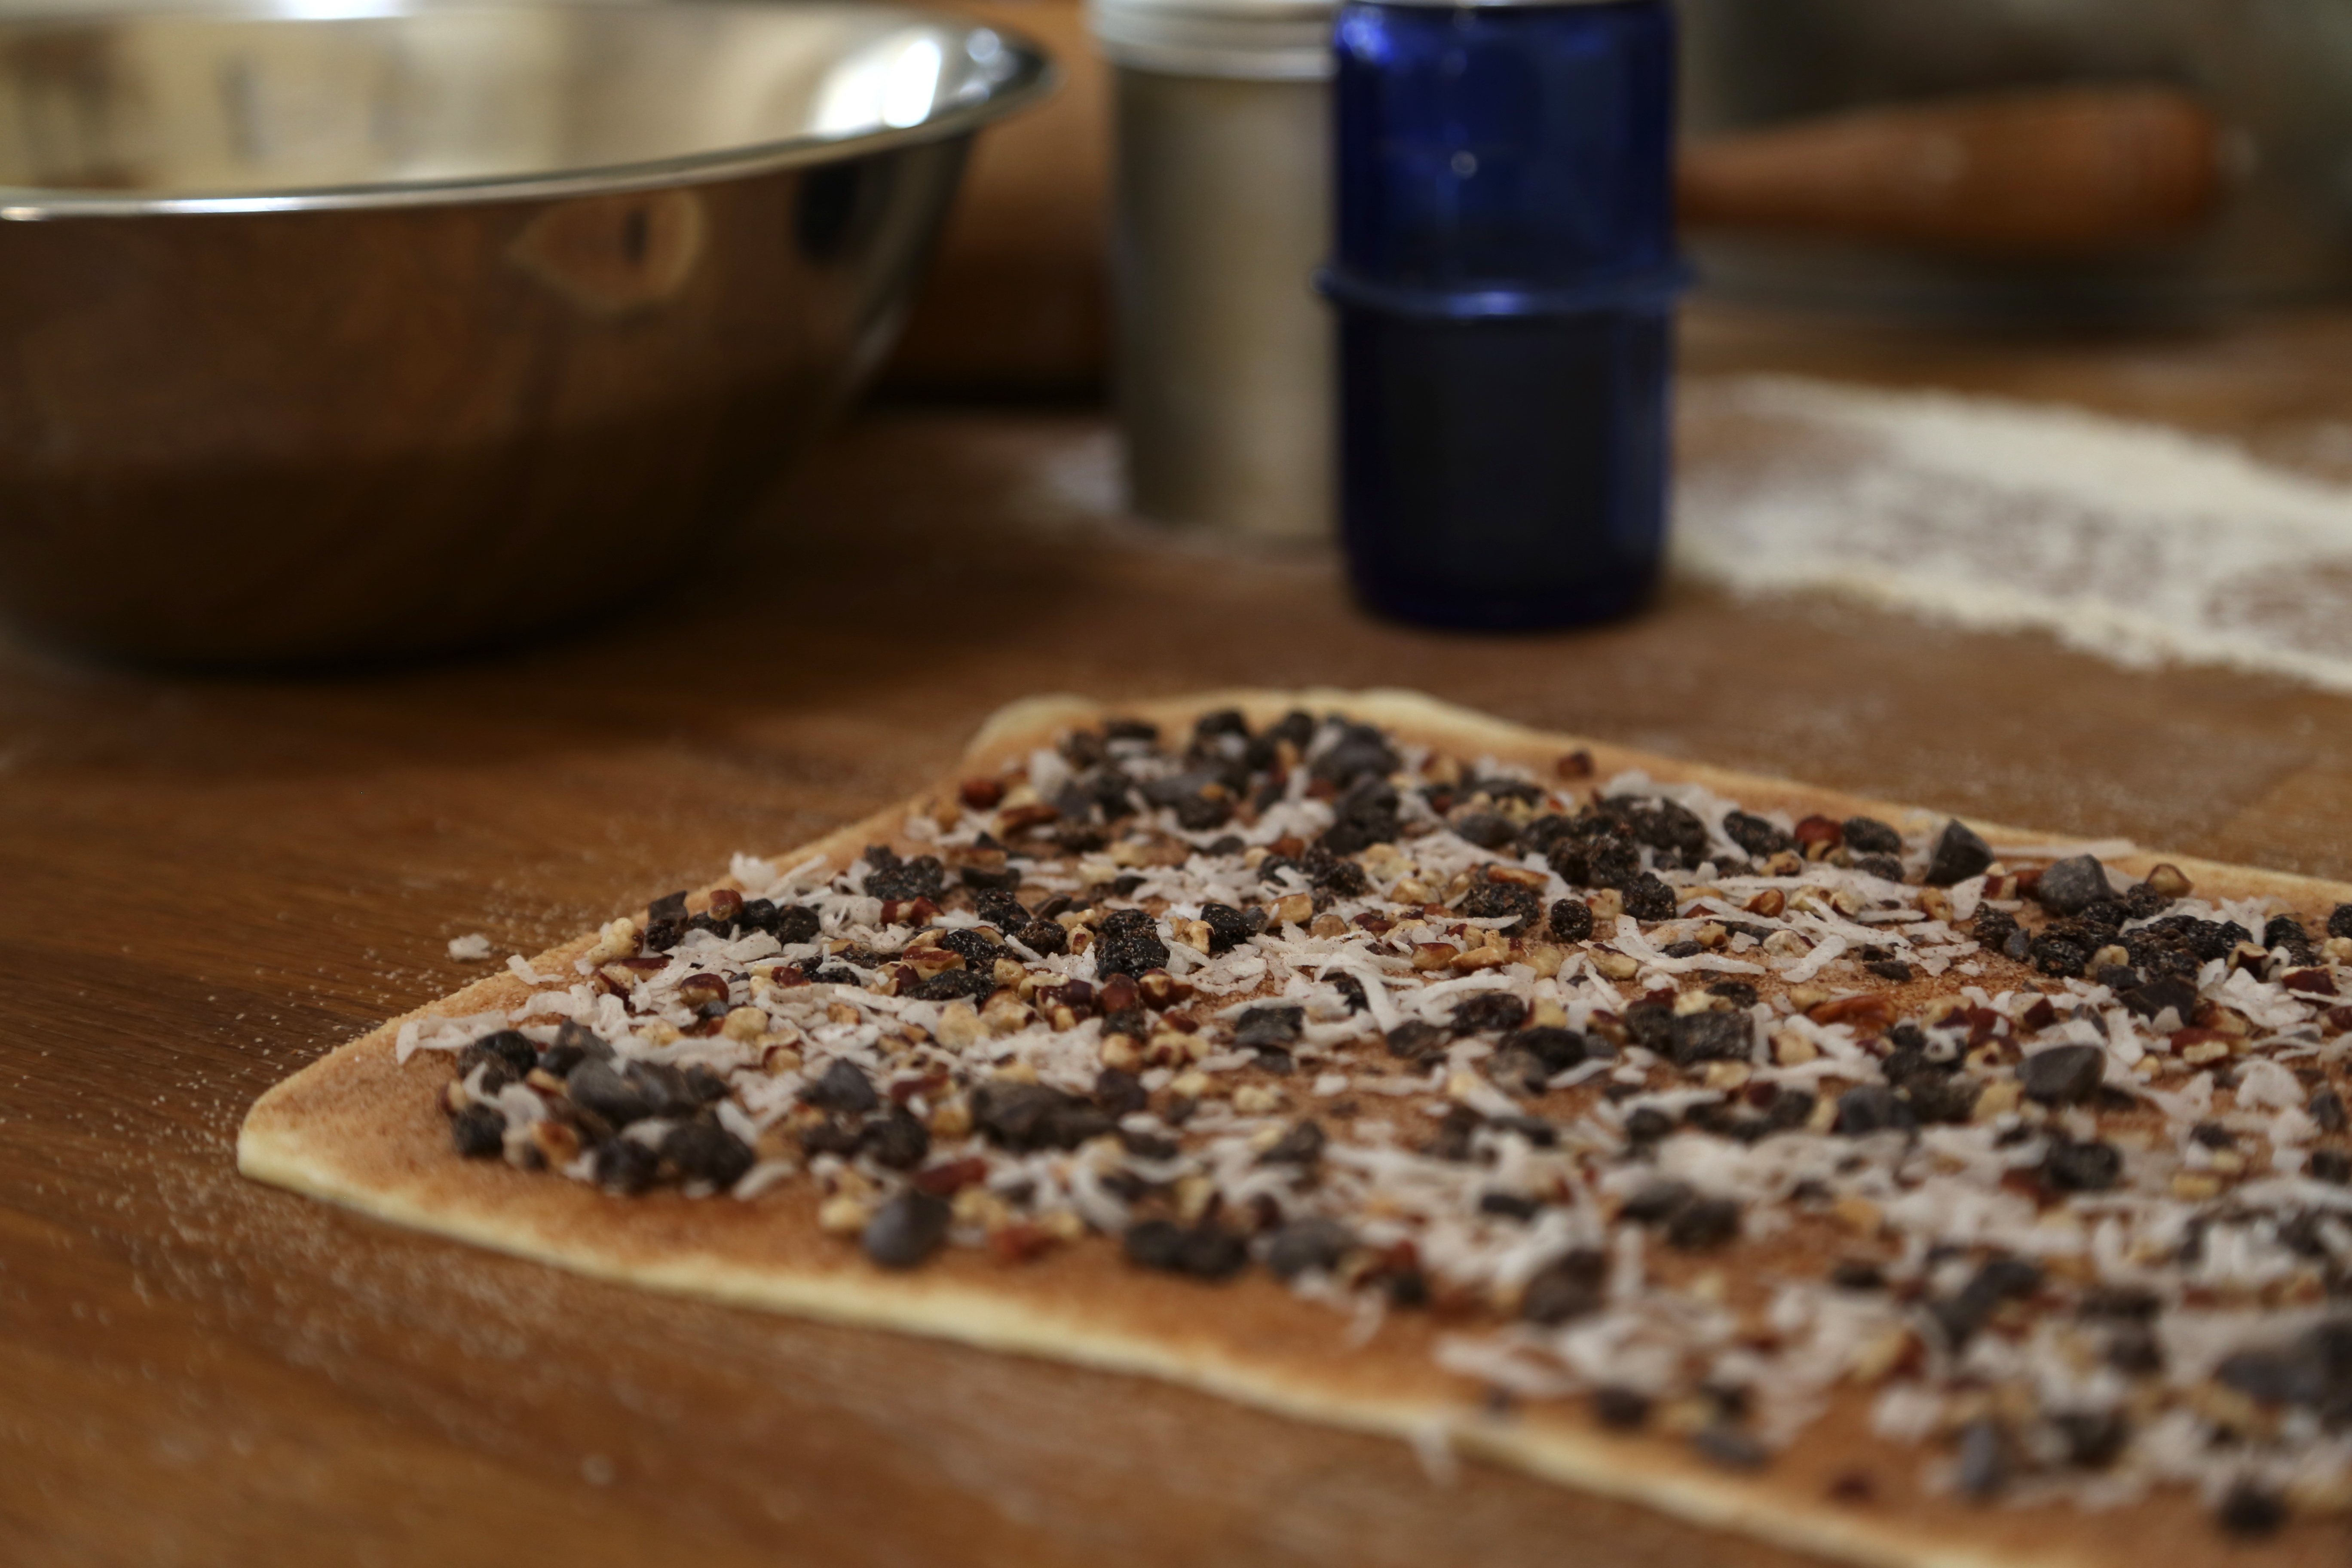
For this pie, I chose peaches and blueberries but you could easily switch out the blueberries for raspberries or blackberries and if you are lucky to have rhubarb on hand, it would be lovely too!  Sweeten the pie according to taste but you will want at least half a cup of sugar, and if you use rhubarb, you will have to increase the sugar.


IMG_6531Peach-Blueberry Deep Dish Galette

1-1/4 pounds fresh peaches, 5-6 medium sized peaches

1 basket of blueberries

3/4 cup sugar

3 tablespoons cornstarch

1 vanilla bean, scraped-seeds only

1 teaspoon pumpkin pie spice

zest of 1 small lemon and 1 tablespoon lemon juice

pie dough for a two crust pie

1 egg whisked with 1 tablespoon water

cinnamon sugar


IMG_6537 (1)
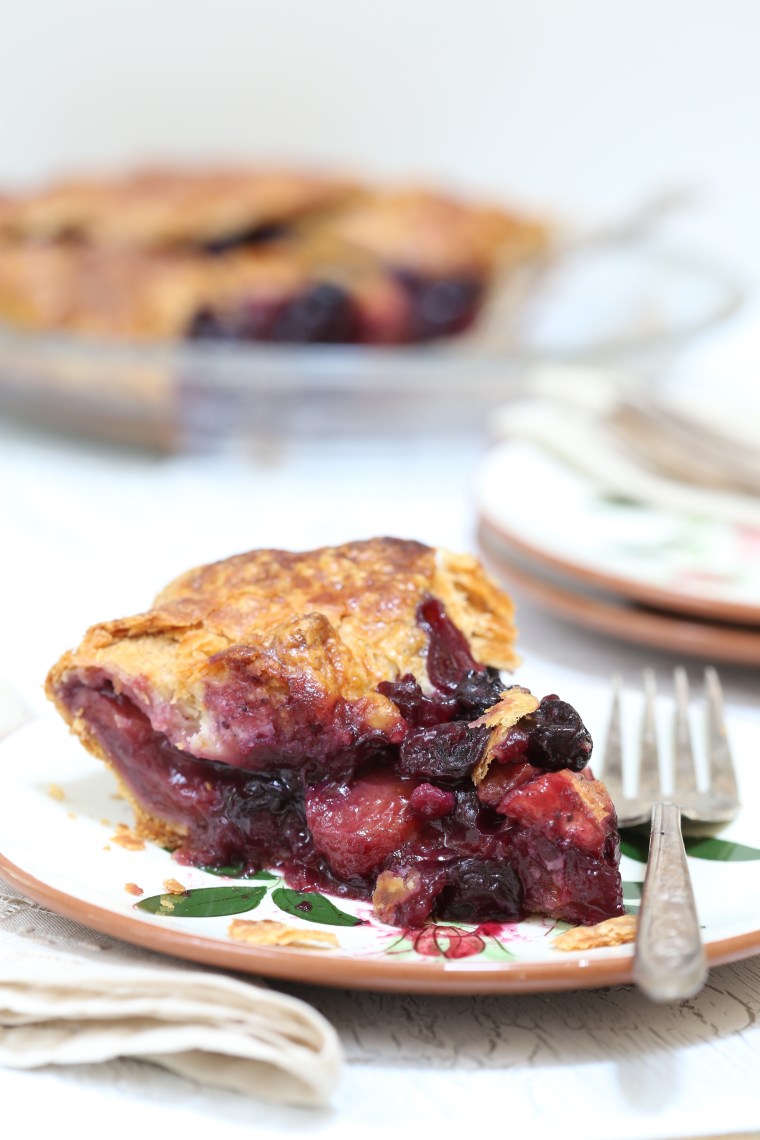
Preheat the oven to 350.  Place the sugar, cornstarch, vanilla seeds, lemon zest and spices into a bowl and rub them together.  Peel and slice the peaches, you need a pound of them-the extra weight is for the skin and pits you remove.  Add the peaches and blueberries to the sugar with the lemon juice and toss them to coat them.  Place the rolled out pie dough into a greased 9″ pie plate.  Scrape the mixture into the pie crust and fold as directed above.  Place the pie plate on a sheet pan and bake until the juices are bubbling in the center and the crust is a deep caramel color, about 1 hour.  Allow it to cool for a few hours before cutting so the fruit can set up a bit.  We enjoyed it like this but a generous scoop of ice cream would also be nice!

scratching one off my baking bucket list; kouign amann

IMG_2556

While I cannot recall exactly when I first heard of Kouign Amann, I knew that when I came across them again this week that I had to finally make them.  The photos not only left me drooling as only a pastry chef could, they intrigued me as well.  So many flaky layers of dough and sugar…As with most other baked items that call for a laminated dough, kouign amann got pushed to the back burner where it languished on my bucket list of things I wanted to learn how to make.  Then, while passing time and flipping through my twitter feed, I saw a link to an easy version and immediately clicked on it.  The link took me to the wonderful website of Irvin Lin, Eat the Love and his beautiful photo tutorial on kouign amann.  After reading through the post and taking a quick inventory of pantry, I knew this would be my entertainment for the day.

Read through the tutorial and you will learn how Irvin came to this recipe; after taking a class on laminated doughs, he developed this recipe in order to simplify the process.  He also did something I frequently do, he turned to a book written by Nick Malgieri.  In Nick’s The Modern Baker, there is a kouign amann recipe that consists of a simpler method for laminating dough.  However, Irvin simplified it even further by using what is commonly referred to as a blitz method.  While not exactly a new method, it is also not the most common shortcut for making a laminated dough but for the novice, it is a game changer.   Even so, with a little investigating, you will find this method being used by professionals too.  Two such examples I have come across are in a danish dough recipe from Baking with Julia  contributed to the book by Beatrice Ojakangas and in a puff pastry recipe from Dessert Circus by Jacques Torres.  Both books were released in the late 1990’s, so as you can see, this quick mixing method has been around for years.  To take advantage of this shortcut, you will make a loose dough with large pieces of cold fat throughout.  The dough is then given a series of folds and turns and if done properly, it does a great job of simulating the traditional method of folding in a block of butter to make an extremely forgiving and nearly foolproof dough.

IMG_2560

What I really loved about the tutorial was the information Irvin gives.  He tells you to brush away as much of the flour as possible and you really must take his advice.  Invest in a natural bristle brush and keep it in your workspace for just this purpose.  If you leave the flour behind, it will form a barrier between the layers of dough and rather than have a thick series of flaky layers you will have three thin and rather distinct layers which are more crispy than flaky.


IMG_2562

This is the blitz method at its finest!  By eliminating the traditional method of rolling the dough out, folding it up like a book and repeating 3-6 times, you fold the dough in thirds and roll it up.  Although a bit crude looking, that is actually a lot of layers of fat chunks and dough which will become many flaky layers in the oven.  This step alone is enough to make me want to hug Irvin and I am a professional pastry chef!!!

IMG_2567

The prepared dough is given a rest in the fridge and then covered in sugar, rolled, folded and rolled again in more sugar before being cut and placed into pans to rise until it is time to be baked.


IMG_2569

The worst part about moving is figuring out which box your stuff is in.  I still cannot find my small muffin pans and the one I chose has only 9 cups in it-some day I need to figure out why that pan only has 9 cups.  To bake off the rest of the pastries, I chose little brioche pans.  Can I just say that unless you want to have a hard time getting them out of the little pans, do not do this.  They gave them the perfect shape but they were so hard to get out of the pan!


IMG_2573

Can you see the layers?  And the sugar?


IMG_2579

And here they are, hot out of the oven.  It was so hard to wait.  Heed the warning, get them out of the cups before they cool off or they will stick.  If this happens, put them back into the hot oven for 2-3 minutes to warm the sugar and they will lift out of the cups.


IMG_2583

Just look at all the caramelized flaky goodness
IMG_2591A beautiful way to spend an afternoon and not only cross something off the bucket list but also get to eat!

IMG_2600

They are every bit of richness that the photo suggests, try them with a cup of hot, dark coffee or strong tea and if you like, do as my husband did, dunk, dunk and dunk some more…
IMG_2604That crust on the top-pure sugary goodness!  Thanks to Irvin Lin for teaching this old girl something new.  For the complete recipe and tutorial, be sure to visit his website by following this link.

the rugelach that won over France; a tuesdays with dorie post

IMG_2207I have been baking rugelach for at least 25 years.  It all started when I worked in a bakery just north of Sausalito, California.  We did everything by hand there and the rugelach dough was rolled out into large circles, topped with butter, cinnamon sugar, chopped walnuts and currants.  Each round was cut into 12 wedges and then rolled up into crescents.  We made them by the hundreds and after the first taste, I was hooked.

Over the years, I have made rugelach to sell in my bakery and to give as gifts during the holidays.  While the purpose of making them has changed from time to time, one thing hasn’t, the filling; I always made them with the same combination of ingredients that I first learned years ago.  Whenever I would see them for sale with jam fillings, I was always so excited by the choices but in reality, disappointed by the results.  I’ve always thought that cinnamon sugar, walnuts (or pecans) and currants make the perfect filling but this week’s recipe for the Tuesdays with Dorie bakers put that filling combination to the test.

Upon reading the ingredient list for the filling, I was completely skeptical, a little worried actually; my mother was visiting and she would be tasting them too.  While sharing rugelach with your mom sounds harmless, keep in mind that rugelach is one of her favorite things and she likes them the way I make them; no filling upgrades needed or wanted.  How could I possibly dump chocolate, coconut and cherries into her idea of perfection?  So I compromised.  After mixing up a double batch of dough so I could send mom home with a plate of goodies, I rolled out the first portion with cinnamon sugar, pecans and currants.  For the second portion, I combined cinnamon sugar, coconut and chocolate chips.

The directions call for rolling out a very thin sheet of dough that is 12″x6″ and then topped and shaped into a foot long spiral that is about an inch or so thick as well as tall.  If you cut them as instructed, you get a lot of single bite pastries making this a great treat to give as gifts or share at a cookie swap.  But for rugelach connoisseurs like us, bite sized wasn’t going to cut it.

IMG_2152

The secret to perfect rugelach, use lots of flour to roll it out but brush it off both sides or it will make them taste doughy.

IMG_2146

As I mentioned, I compromised, I added currants rather than cherries but kept the coconut, pecans and chocolate and spread them over a liberal dusting of cinnamon sugar.

IMG_2155

In my opinion, the more pronounced the spiral, the better the flavors blend.  To achieve this, I rolled out the rectangle of dough a little wider so that mine was about 12″x 8″ and only about 1/8″ thick.  Despite this fact, the dough was still cool enough to work with and it rolled up easily.

IMG_2151

One step I completely eliminated was to freeze the rolled and filled dough.  Honestly, that sounded like a disaster waiting to happen.  With my spiral still on the table, I quickly cut it into thick slices, on the bias.  This change affected the yield greatly; my batch of dough only made about 18 thick slices.

IMG_2165

One other change I made, no egg wash.  The leftover melted butter wasn’t going to be wasted on my watch and I brushed it over each roll along with a dusting of cinnamon sugar before they went into the oven.

IMG_2169

Once again, the recipe called for baking the rolls at 400F and that worried me.  When I prepared the last Baking Chez Moi recipe, Cranberry Crackle Tart, the instructions to bake at 400F turned out badly for me.  Perhaps the oven in our new home is a little hot, or maybe Dorie’s oven is a little cool, either way, I wasn’t taking any chances and I baked them at 375F.  Oddly enough, at this temperature, they baked in the time called for in the recipe.  Looks like I will be paying close attention to the oven temperature in the recipes from now on!

IMG_2199And as Dorie suggests, the perfect companion to a cup of tea on a dreary winter day.

To see what the other bakers came up with, be sure to visit the Tuesdays with Dorie website and if you like, buy one of the two books we are baking from and bake along with us!