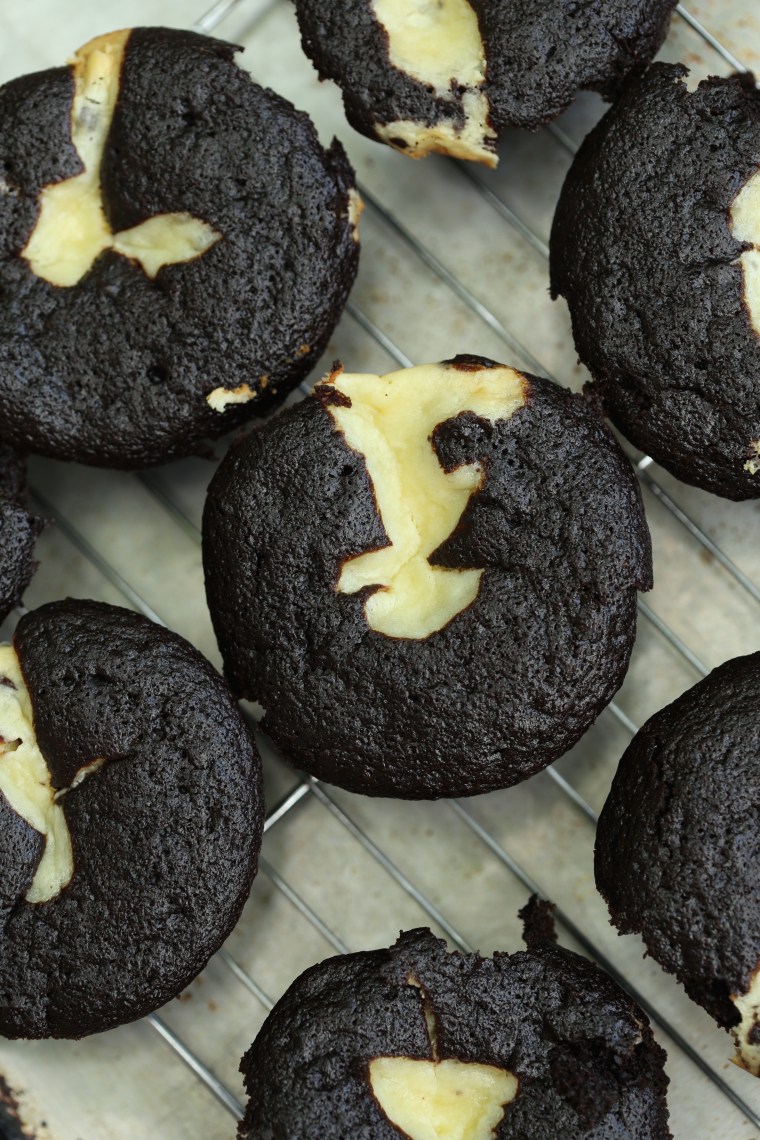
 Obsession is a strong word, but in this case, an accurate one. When I began making these for our bakery (twenty years ago), everyone in my family got hooked on them. Moist chocolate cake and a rich chocolate chip cheesecake are baked together in muffin cups and the result is a decadent, obsession worthy treat.
My preference is to bake these in giant muffin pans with a cup volume of about 7 oz or 200ml, the ones that are sometimes referred to as Texas size. Just try not to eat the whole thing by yourself! This time, I made them in standard sized muffin cups which have a volume of 3.5 oz or 100ml, but they can be made in any size pan as long as you use cupcake liners. Otherwise, it is a lot of work to pry them out of the pans.
There are a few tips I like to share in hopes of guaranteeing success for anyone that makes these. First of all, use a cream cheese that is dense rather than fat free, whipped or extra creamy. While that famous brand (named after a Pennsylvania city) is great for spreading on a bagel, it really doesn’t provide the best results for this recipe. Whatever they do to make the cheese creamy yields a filling that is thin and runny. During baking, the chips can sink to the bottom of the cupcake while the cheese floats to the top. If the filling doesn’t sink in the middle a bit, they just don’t look like they should but more importantly, the two batters bake layered. The best ones have a cheesecake center with cake on the sides and bottom and just a little of the cheese filling peeking out on top. Save your pennies and buy the store brand, it will work perfectly! You can make the filling ahead of time and keep it in the fridge; cold filling is more likely to sink in than room temp filling.
When I make these, I generally use whatever chocolate chips I have handy. However, if you use mini chips, they will be less likely sink to the bottom like the large ones will. Keep in mind that either way, the results will be delicious. Just save the freshly chopped chocolate for a different recipe since the tiny shards will color the filling and make it look more like a chocolate filling.
Want to make these quickly? Want all of them to be the same size? Use portion scoops! Seriously, purchase professional style portion scoops, also called dishers, in a range of sizes and you will not have to worry about the size or whether they will bake evenly. Depending on what size pan you use, you will need a range of scoops. For jumbo pans, #12 and #16 will work for the cake and cheesecake, respectively while #16 and #40 will be needed for a standard sized pan. Purchasing scoops is an investment but if you are regular baker, you will find yourself using these scoops for all sorts of things such as muffins, drop biscuits, cookies and more. For the best prices and range of sizes, look in a restaurant supply shop or website.
If you do not intend to use the scoops, you will need a 1/3 cup and 1/4 cup measure for the jumbo cupcakes (chocolate cake and cheesecake filling respectively) or 1/4 cup and 1/8 cup measure for the standard sized cupcakes.

Black Bottom Cupcakes
makes 12 jumbo or 24 standard sized cupcakes
12 ounces cream cheese (see notes above)
1-1/2 cups plus 2/3 cup granulated sugar
2 large eggs
1 cup mini semi-sweet chocolate chips (see notes above)
2 cups unbleached all-purpose flour
2/3 cup unsweetened, natural cocoa powder
1-3/4 teaspoons baking soda
3/4 teaspoons salt
4 teaspoons vinegar-distilled white or cider
1 teaspoon vanilla extract
1/2 cup vegetable oil such as canola or soybean
Preheat the oven to 350F. Line the muffin tins with paper cups and set aside. In a mixing bowl, cream the cheese with the 2/3 cup sugar to combine, do not whip it because it will warm up (see notes above). Add the eggs, one at a time, then mix only enough to combine. Stir the chocolate chips into the filling by hand and set it in the fridge until needed.
Place a large mesh strainer or sifter into a large mixing bowl. Add the flour, remaining 1-1/2 cups sugar, cocoa, baking soda and salt to the strainer and sift the dry ingredients into the bowl. Using a whisk, combine them completely. In a large liquid measuring cup, pour 1-1/2 cups water, the vinegar and the vanilla and set aside. Dump the oil into the dry ingredients and add about half of the water. Using the whisk, mix it well to create a smooth paste. Scrape the bowl and whisk in the remaining water mixture. Whisk it well and using the larger portion scoop or measuring cup (see notes above), divide the batter between the cups. Top each cupcake with a dollop of the cheesecake using the scoop or measuring cup called for in the notes above.
Bake the cupcakes until they have a little golden-brown color around the edges of the cheesecake and they feel firm around the edges of the cake, about 40-45 minutes for the jumbo size, 30-35 minutes for the standard size. To bake them evenly, be sure to turn them halfway through baking. Once baked, let them cool in the pan for 10-15 minutes then carefully turn them out and place them on a rack to cool completely. To store these, keep them in the fridge, but let them sit out a bit to warm up to room temp for serving. Freezing works well for longer storage; wrap them individually and place them in a closed container in the freezer. Allow them to thaw in the fridge, still wrapped and then serve them at room temp. They will last in the freezer for a month, maybe two but I doubt they will ever make it there…
This recipe can also be found in my book, Desserts from the Famous Loveless Cafe.
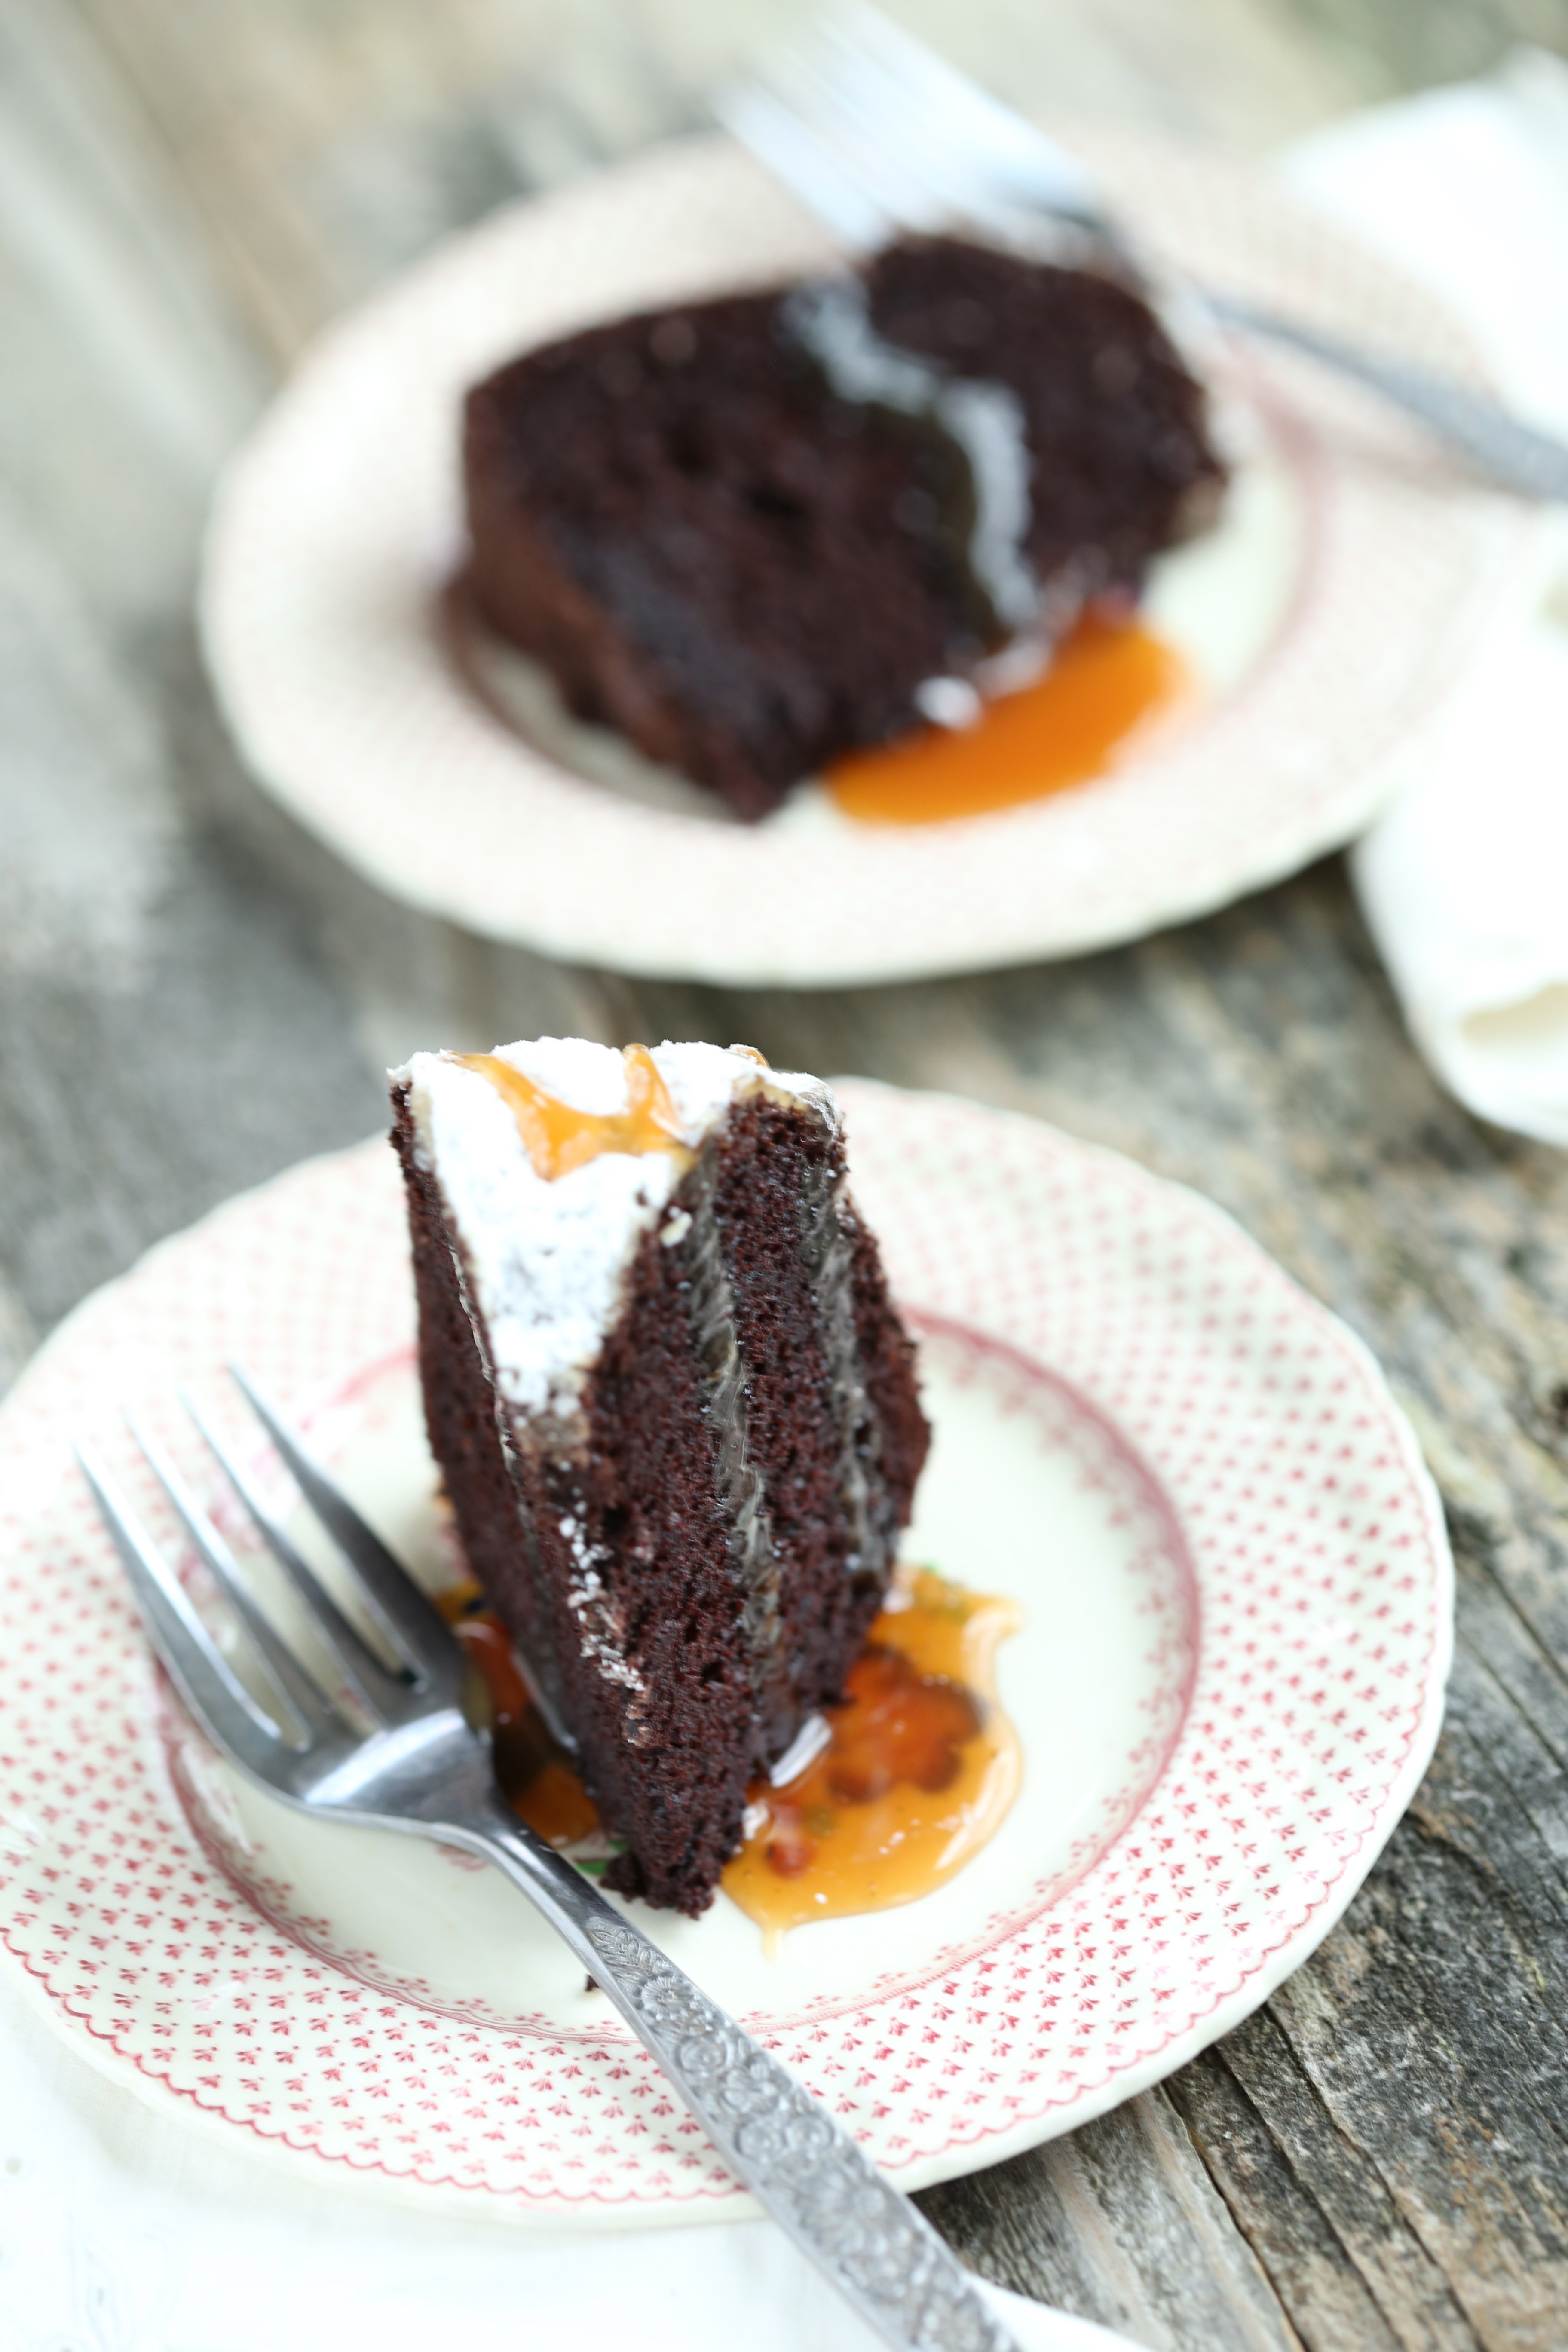
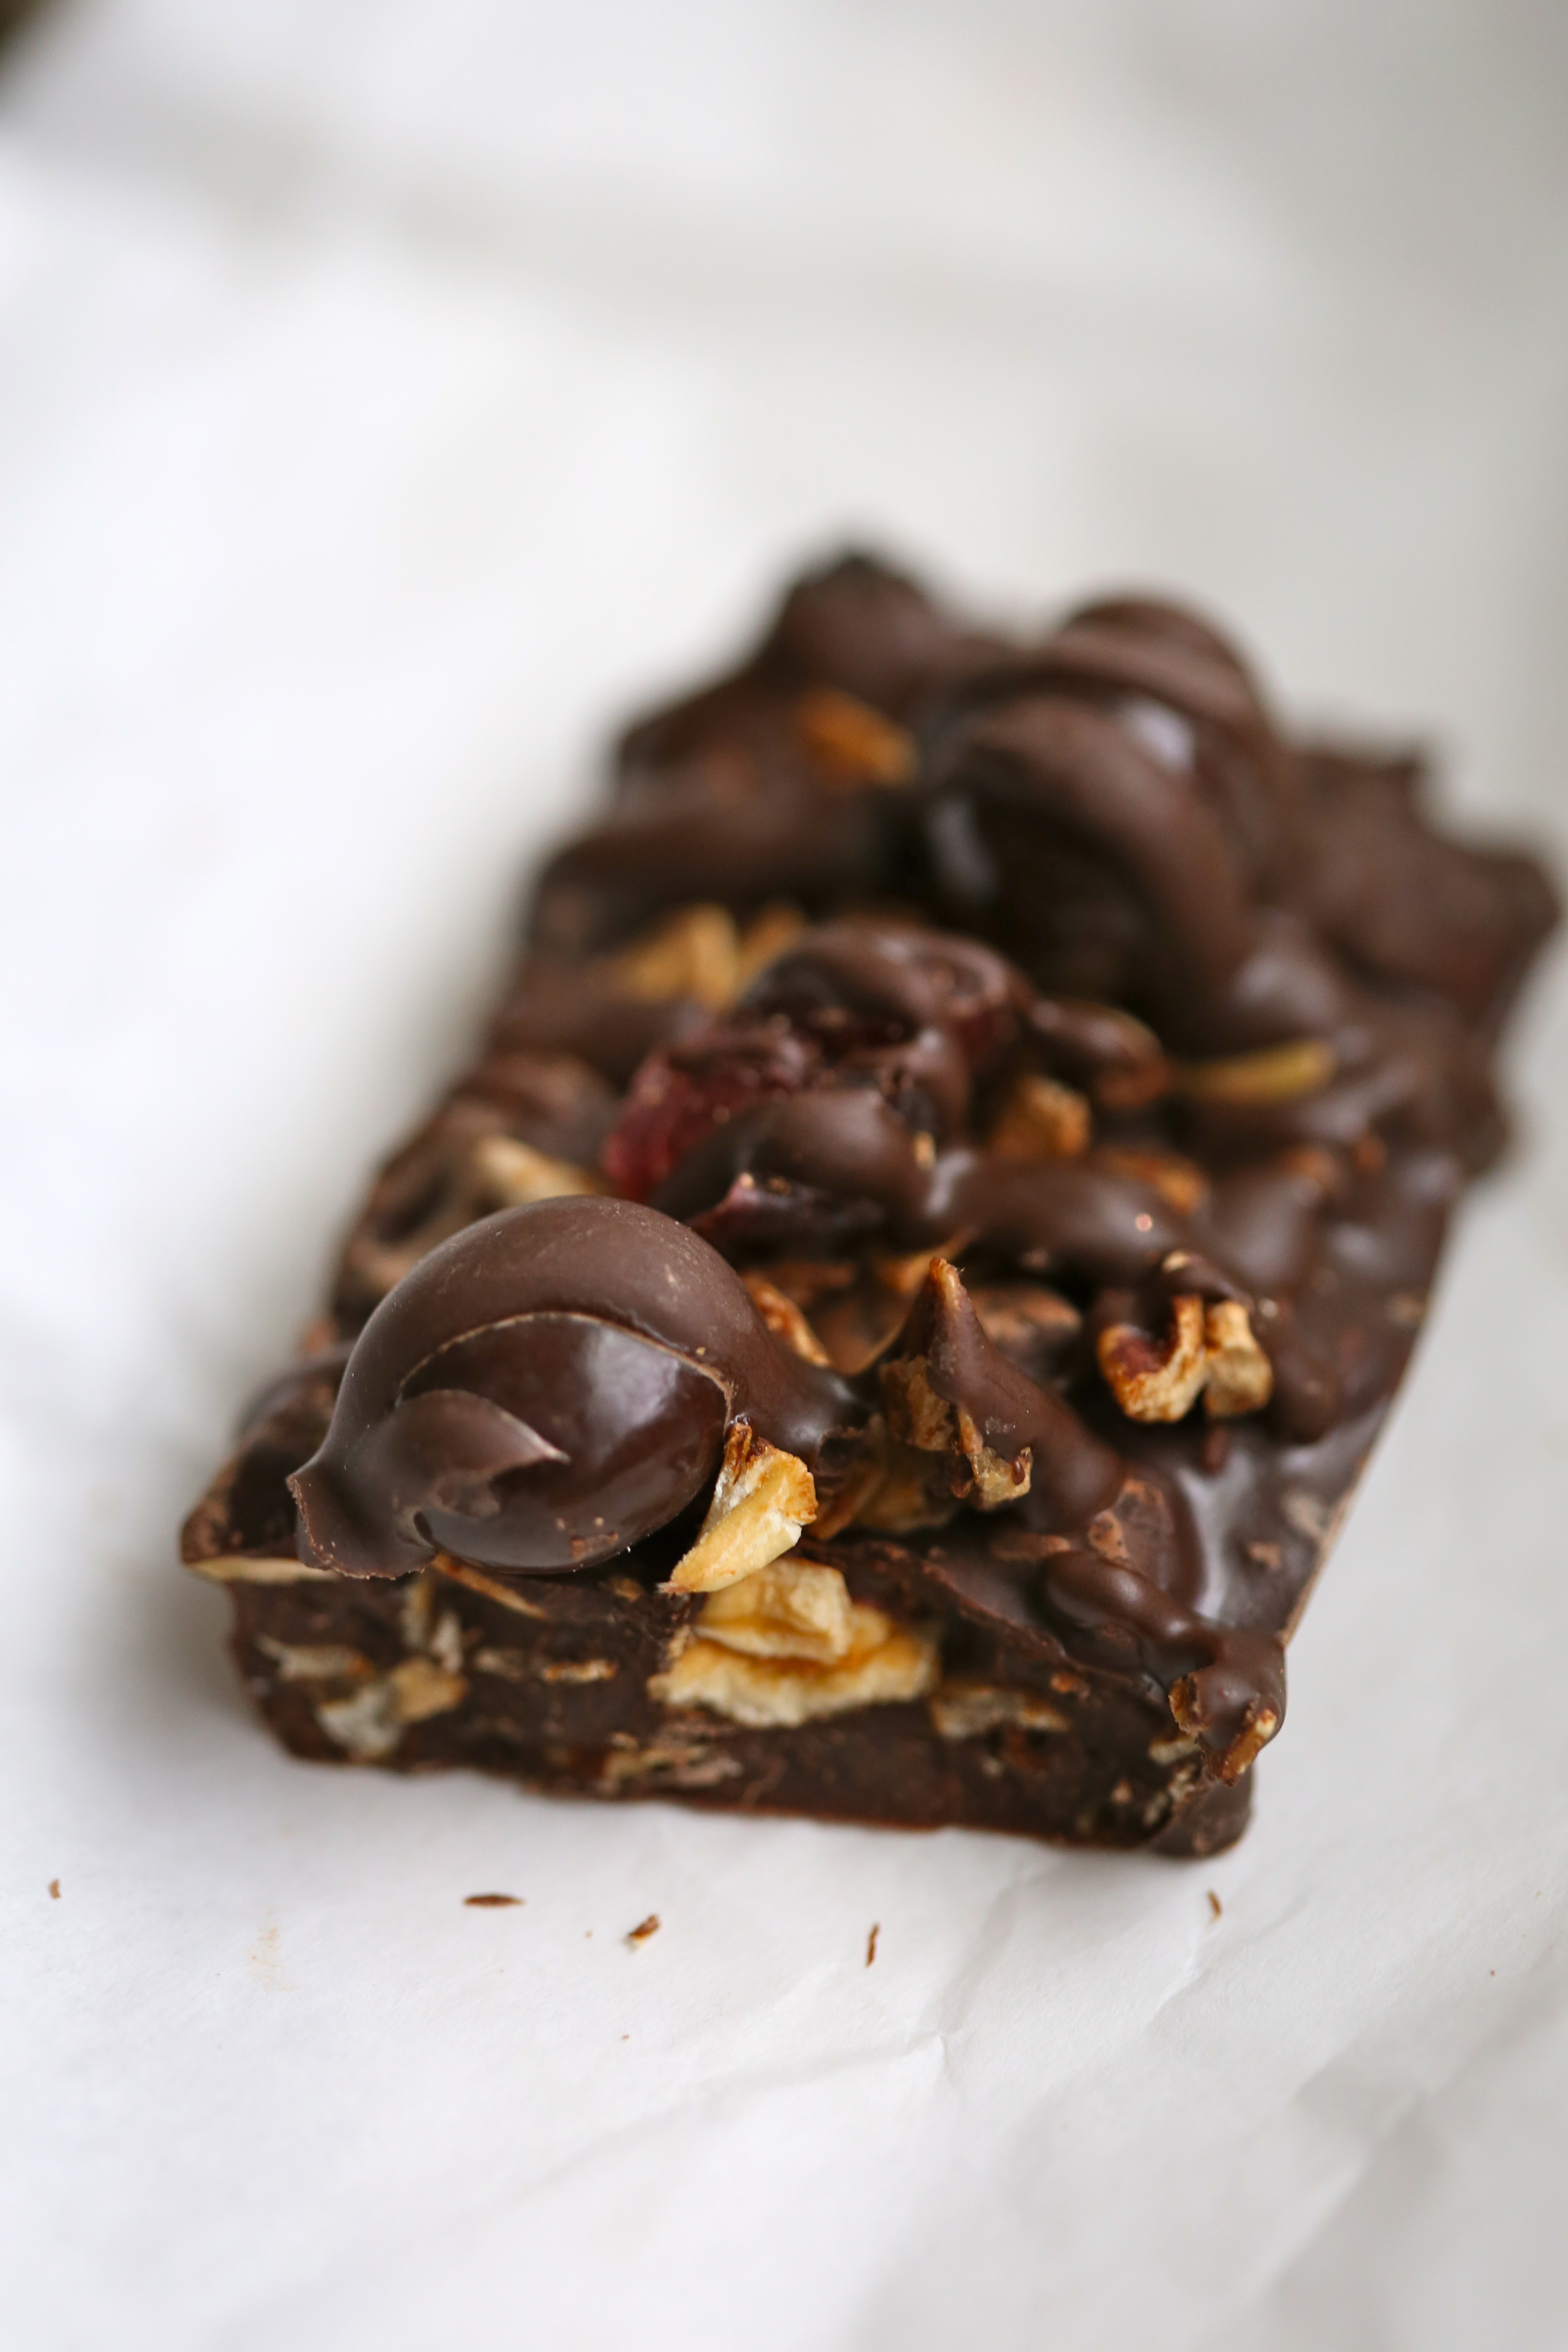
 If only I knew what a Sunday in Paris was like; someday… Actually, in this case, it is a reference to a pastry shop in Paris and that is the name of it; Sunday in Paris. This cake is a specialty of theirs and a favorite of Dorie Greenspan’s which is why she developed the recipe for her book, Baking Chez Moi. The Tuesdays with Dorie bakers chose this cake for February and it was a great cake for Valentine’s day, or any day that chocolate and peanut butter are appropriate-otherwise known as everyday in my book!
 Peanut butter is not that popular in Paris where Nutella apparently reigns but here in Tennessee, it flies and fast. We took this cake to a potluck dinner and I came home with crumbs on a dirty tray. The dark, rich cake reminded me of
  This is a recipe I would make again and if you have the book, do not hesitate to try it! To see what the other bakers came up with this week, visit
  It is so nice to be back to baking with the Tuesdays with Dorie gang! Especially when it means baking cookies, lots of cookies! If you recall my post from earlier this month, Dorie Greenspan recently began a
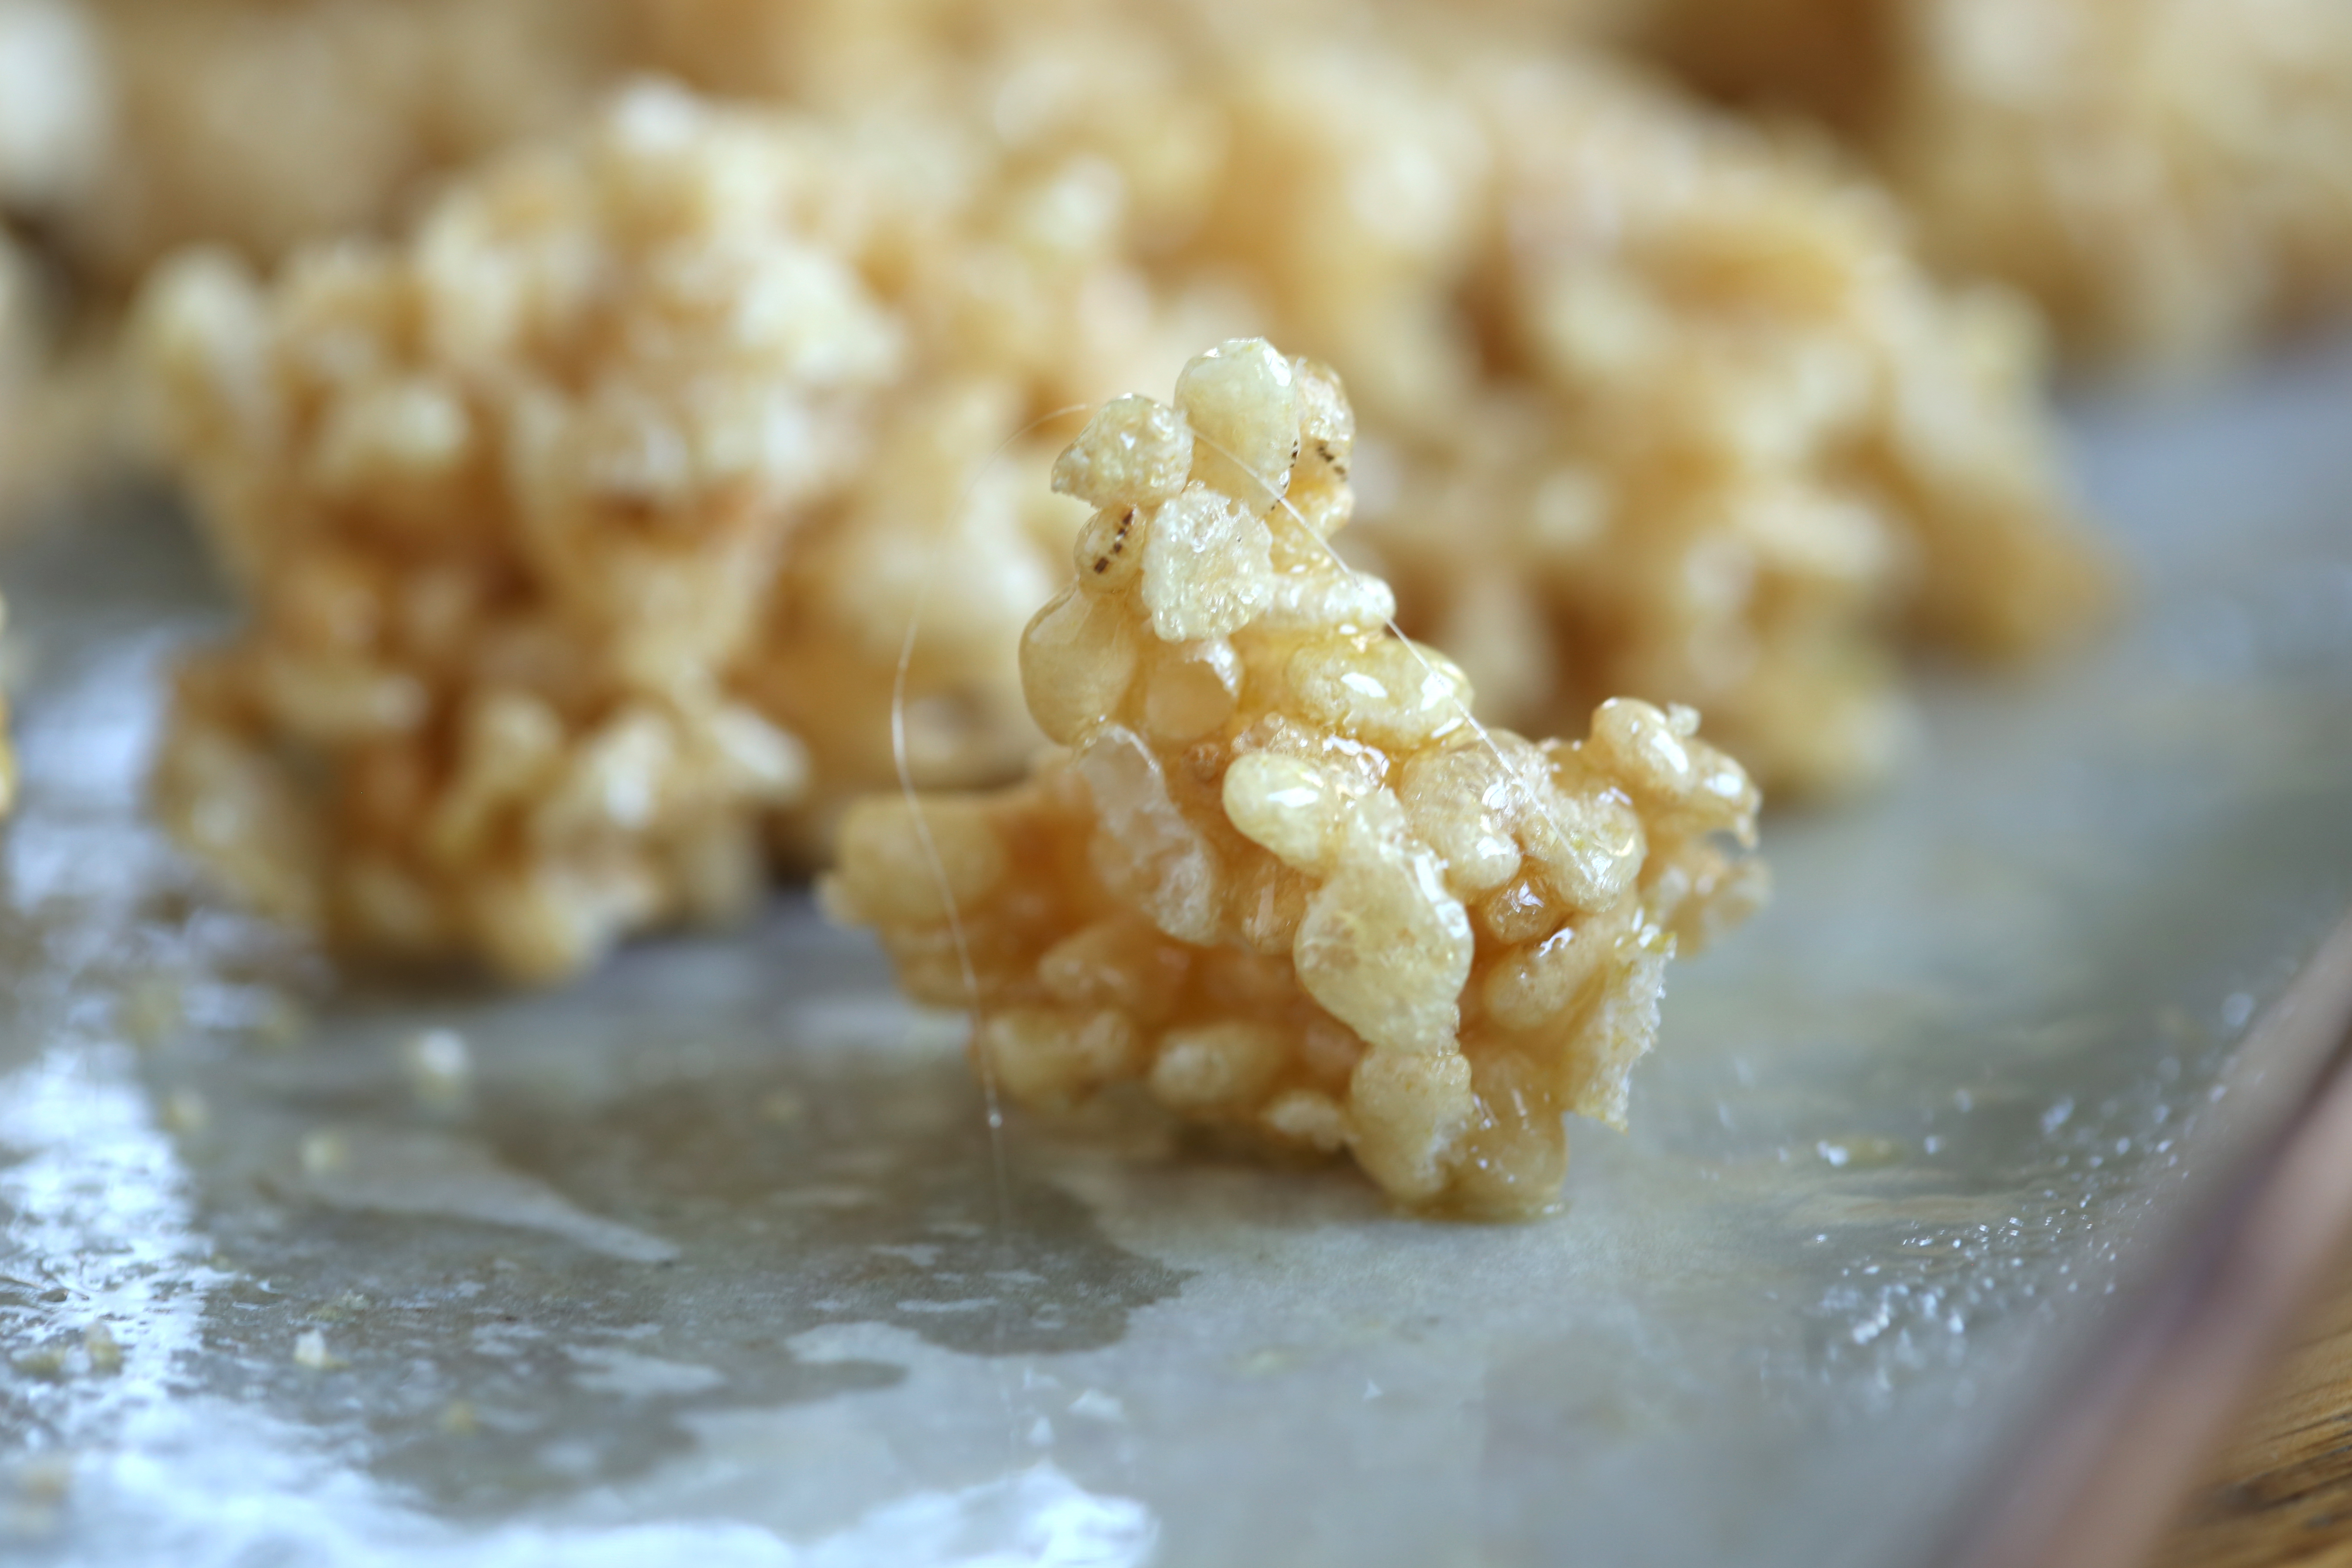
  Do not be intimidated by the call for rolling out the cookies with parchment paper. Over the years, I have rolled out thousands and thousands of cookies and one issue I have always encountered, the added flour from rolling out the cookies can change the consistency of the dough. If you have read any of my posts on rolling cookies, I have always instructed that you brush off as much of the flour as possible to prevent the dough from changing. Dorie has a brilliant suggestion in her recipe; place the dough between two sheets of parchment paper and skip the flour! For small quantities, this is absolutely the way to go and it is definitely a technique I will use again. The parchment paper takes the place of the flour and the consistency of the dough remains the same from start to finish. Keep in mind, repeatedly rolling out the dough will toughen it as the gluten becomes developed but for small quantities like this, you won’t have to worry about that happening.
 If you enjoyed this post, think about baking along with us. Pick up a copy of Dorie’s Cookies and bake cookies to share! Sweeten the world one cookie recipe at a time! To see what the rest of the gang did with their cookies,
 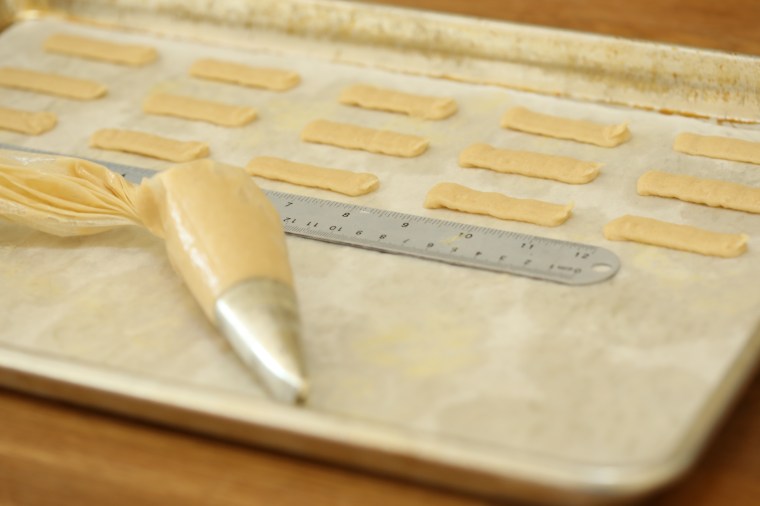 When I was a child, a really young child, I would spend weekends with my grandmother and great-grandparents. They would indulge me in many ways, especially sweets. My great-grandmother always had a batch of jello in the fridge. For as long as I could remember, my grandmother took great pleasure in telling the story of my “disappearance” while I was visiting one weekend. Apparently, I climbed out of my crib and went on a midnight jello raid and fell asleep on the dining room floor. The three of them frantically searched for me and in their panicked state, they did not see me in the corner of the room. Luckily, they found me before they called the police or worse yet, my parents. Over the years, we shared many laughs with each retelling of this story.
 Another story my grandmother loved to tell was how I would sit with my great-grandfather and watch tv with him. According to my grandmother, he had a favorite show-I think it may have been the Jackie Gleason Show but I was too young to remember. What I do recall is that I had a little yellow chair with a cane seat and that I would sit along side of him as he watched the program. He also had a thing for Milano cookies and he would share the with me as we sat together.
 Now to the filling…While I may know a lot about baking, I am not an expert on everything but I do know this, boiling chocolate is not the best idea. The filling recipe calls for simmering the ingredients until they “break” and then to blend them back together. The mixture of cream, sugar, unsweetened chocolate and butter being simmered and it thickened as it cooked.
 After 45 minutes or so, it finally got real thick and broke. The fat separated out and floated on top. Unfortunately, I do not own an immersion blender and had to rely on a whisk to mix back together. The whisk did not do the job and the filling was a little grainy. More importantly, it did not taste anything like what I remember the filling of a Milano cookie tastes like.
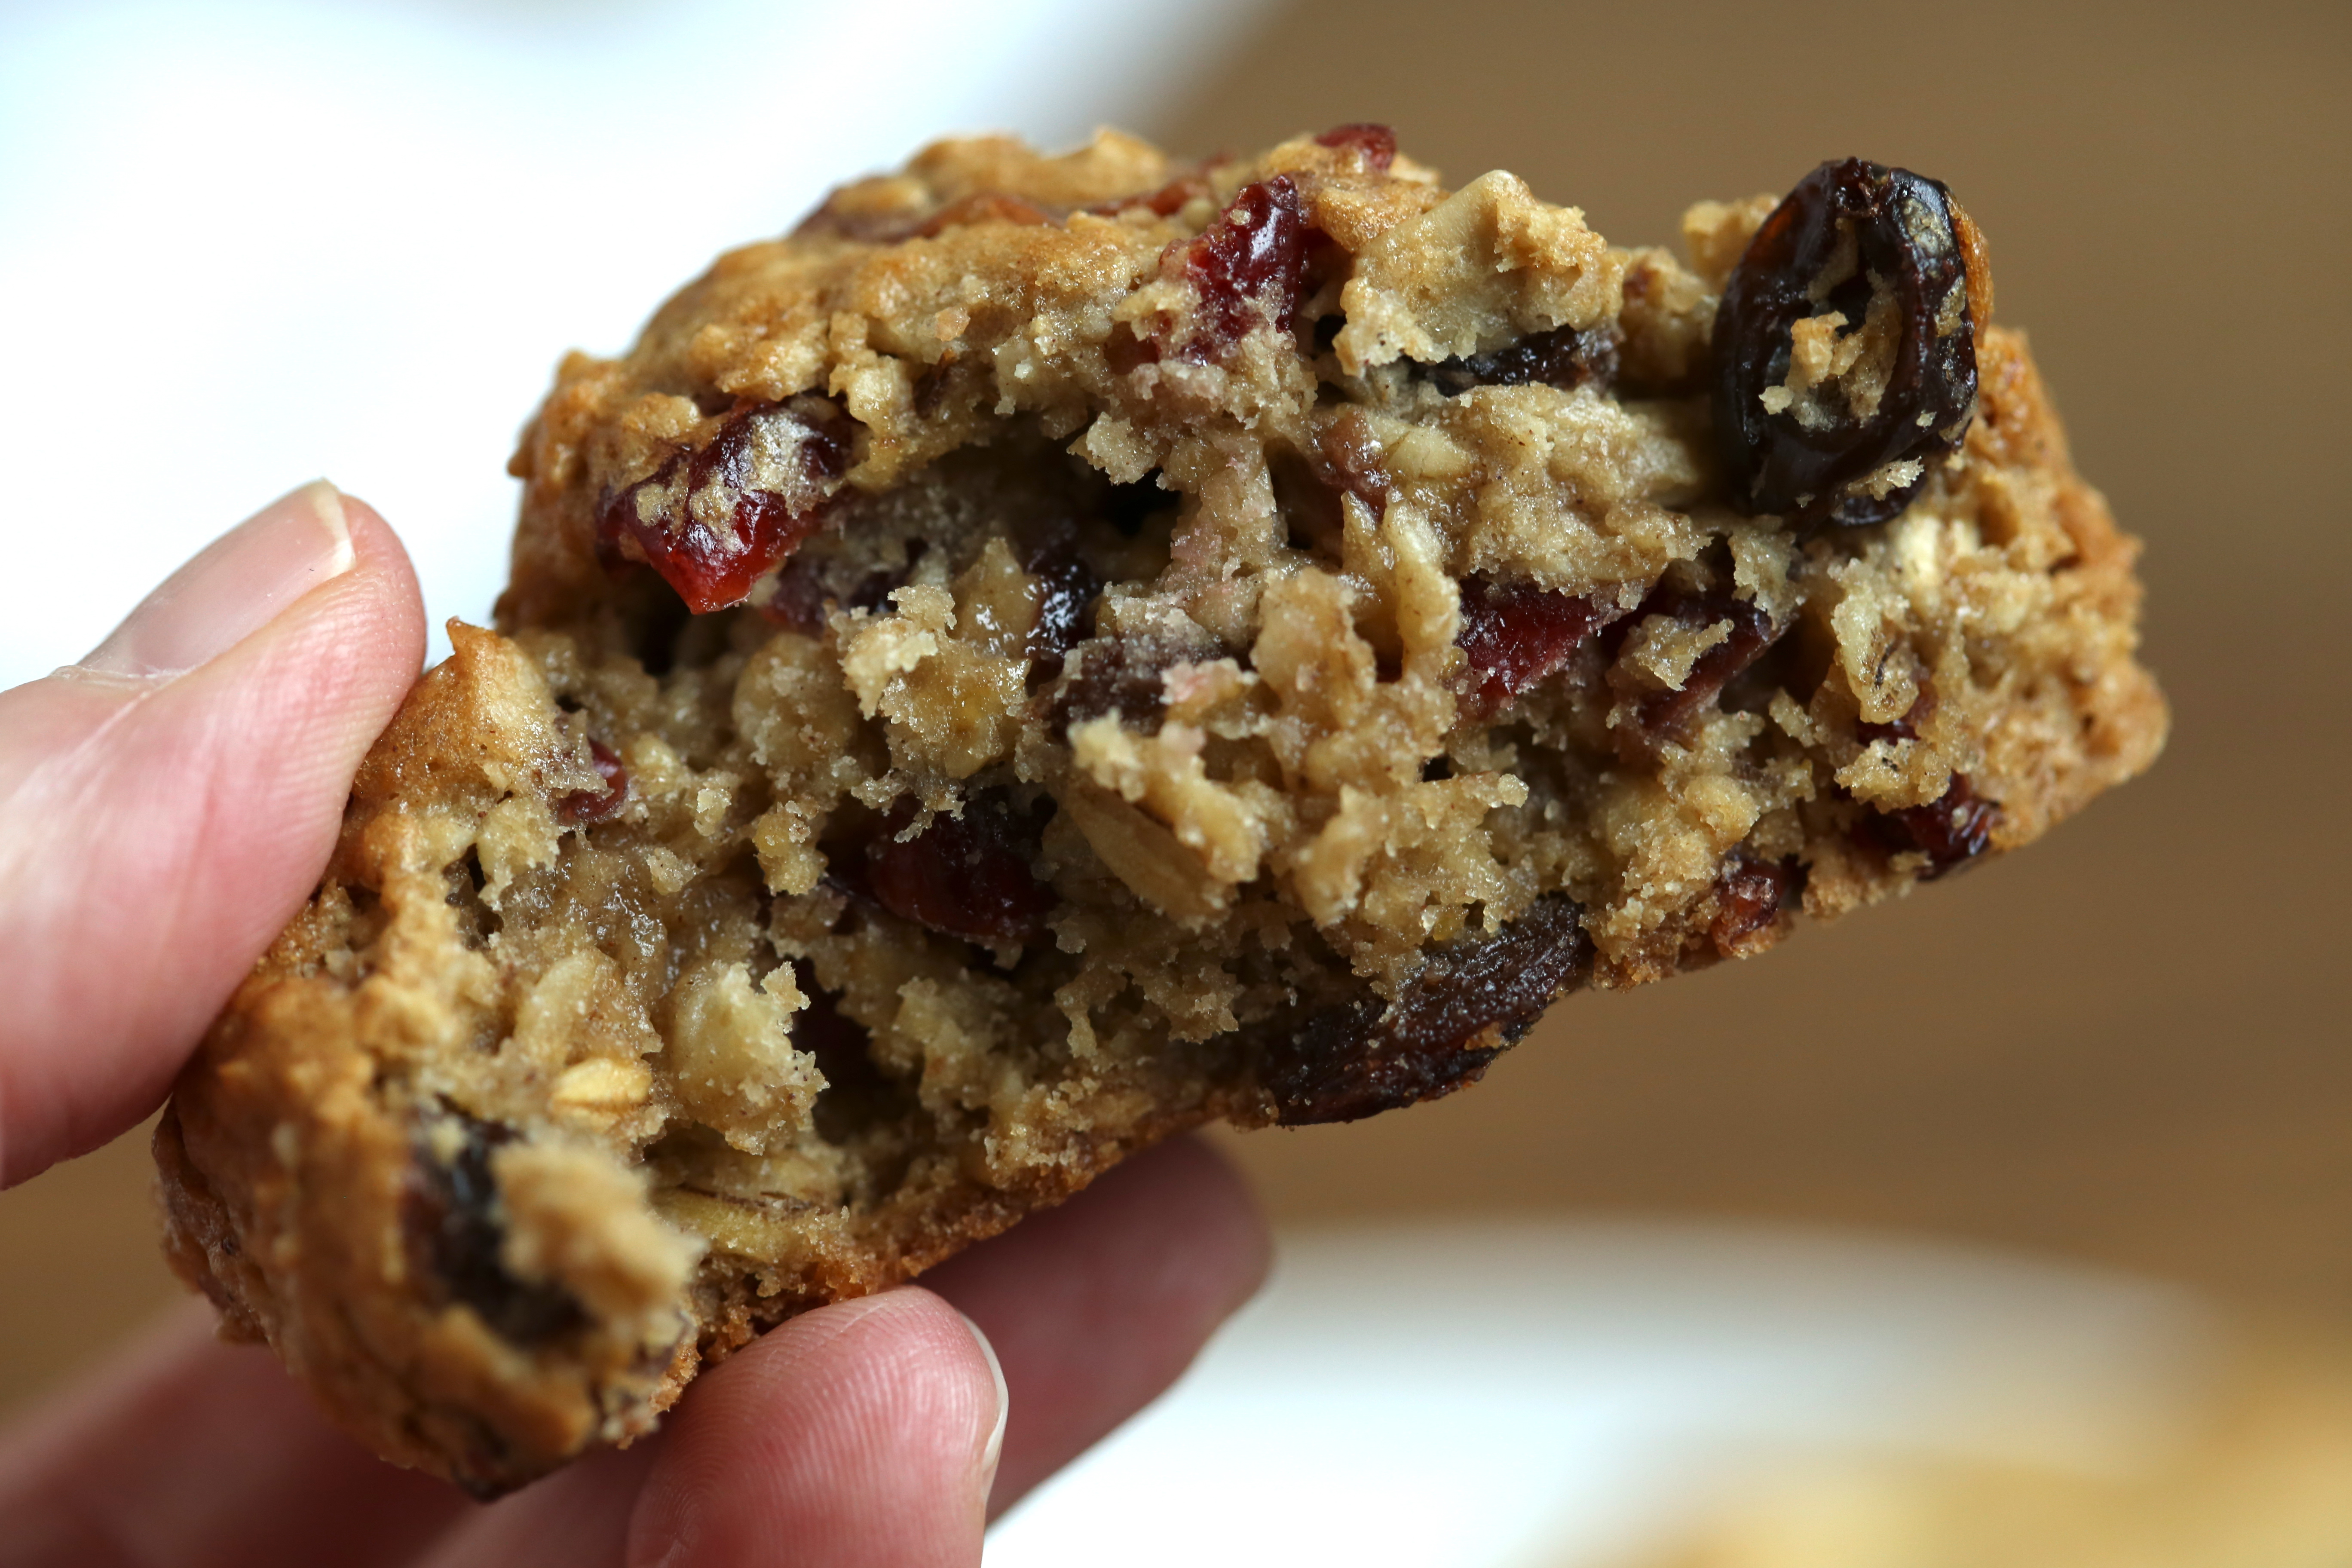
 If you look closely, you can see the grainy bits of chocolate in the filling that I mentioned. Despite this, my family members enjoyed them. While I may make these again, most likely will make these again, I will not make the filling again and I think I will probably just make some dark chocolate ganache to fill the cookies.
 Over the years, Darry and I have lived in different cities on the East coast, the West coast and in between and some how, I still have this little chair. It is showing its age, well, so am I if you must know.