Well, it goes without saying, I have neglected this blog lately. As spring approached, things in the garden at home and in the Demonstration Garden got busy, very busy. As we have worked to prepare the Demonstration Garden, a small team of volunteers worked on getting the word out. The result, a chance to tape two segments for a local TV show, Talk of the Town. The plan, tie the garden into the Royal wedding happening this Saturday. The result, a Blackberry-Lime Julep Cake and opportunity to talk about flowers.
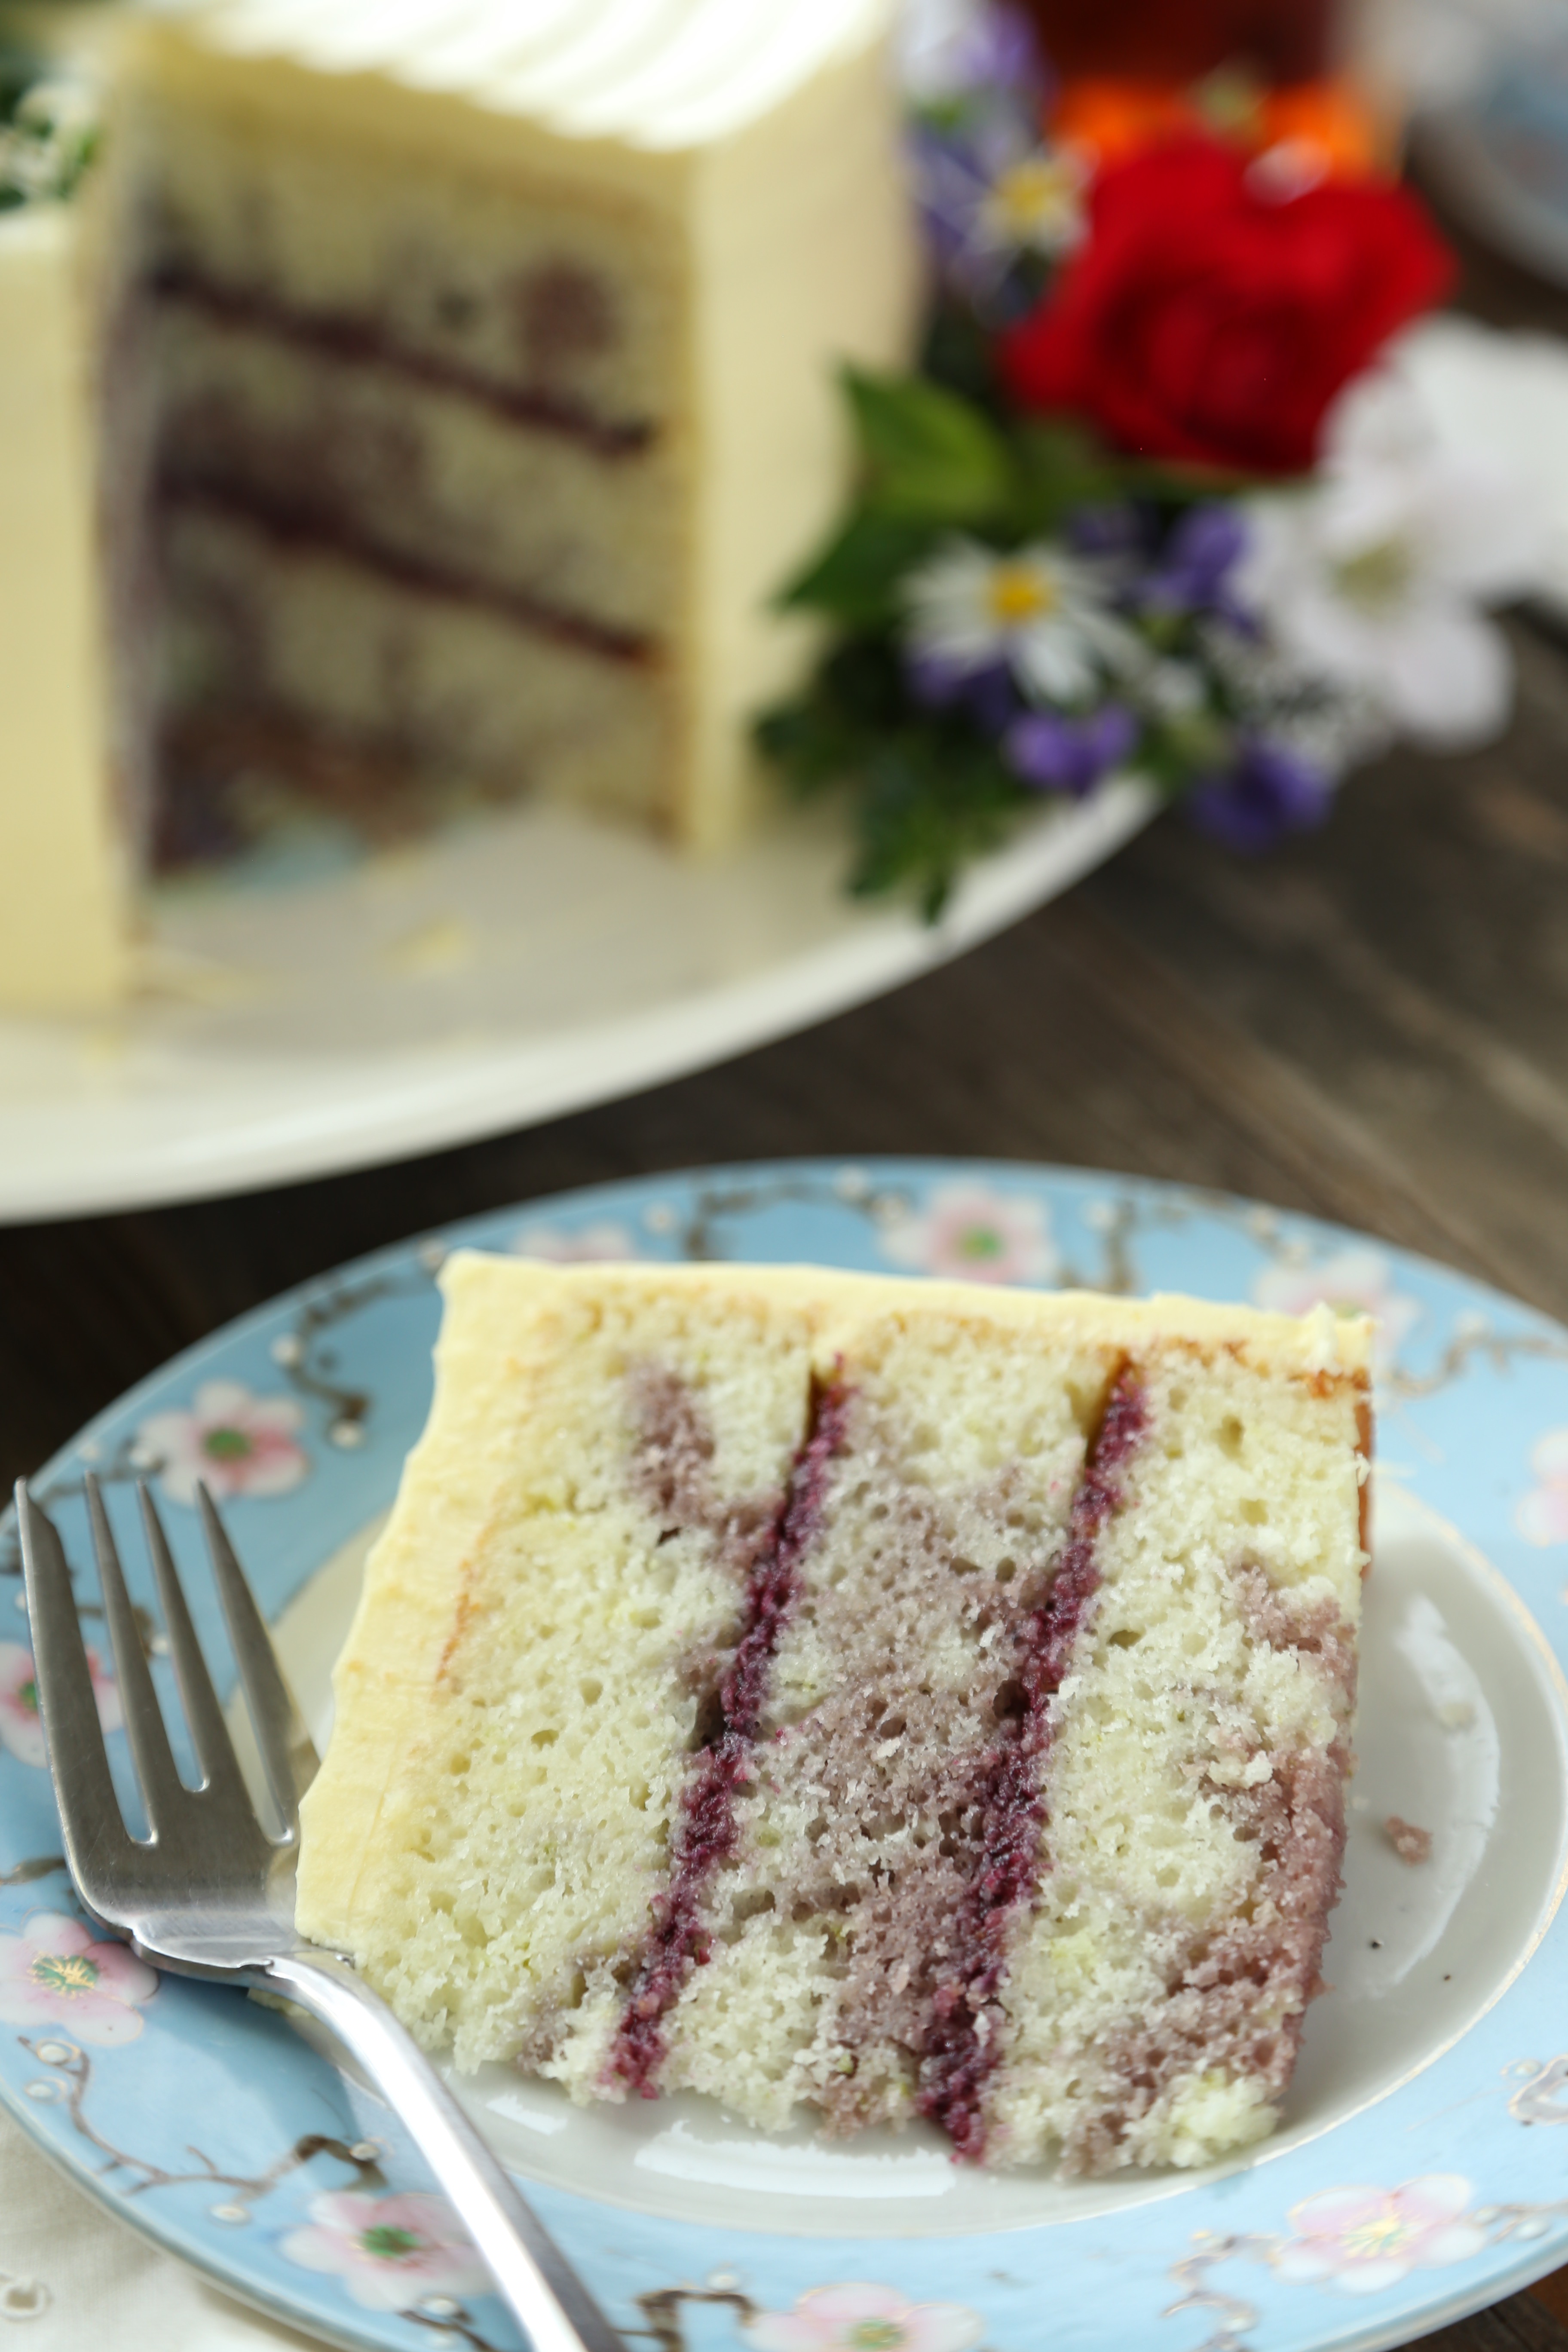
While the cake the royal couple chose sounds delicious, I had to give it a southern spin. Spring in the south means horse races, lots of flowers and a bit of bourbon drinking in the form of mint juleps. For a cake, those things all work well. Elderflowers are not easy to come by but blackberries are so I decided to make a cake that combined blackberries and lime with a rich bourbon buttercream. And for those of you that are shaking your head and wondering about the mint, I chose to use it to decorate the cake. In the photo above, you can see Mountain Mint, False Blue Indigo, Red roses, Blackberry blossoms, Cilantro blossoms, Chamomile blossoms, Tansy leaves and Thyme. If you want to use fresh flowers or herbs to decorate a cake, be sure that they have not been treated with any chemicals. These all came from the garden and were grown without any chemicals, and with the exception of the Tansy and the False Blue Indigo, they are all edible.
And because I love to swirl colors together, I marbleized the layers of the cake and I suggest you do this too! The pale green color of the lime batter contrasted nicely with the purple blackberry batter. Honestly, you could do this with blueberries as well, the recipe was adapted from one in my first book, Sky High Irresistible Triple Layer Cakes.
Blackberry Julep Cake
Makes 1 (8-inch) triple layer cake to serve about 16
2 sticks (8 ounces) unsalted butter, at room temperature
2 cups sugar
1 tablespoon freshly grated lime zest
½ teaspoon salt
7 egg whites
3 cups cake flour
4 teaspoons baking powder
1-1/4 cups milk
Blackberry-Lime Preserves, recipe follows
Bourbon Buttercream, recipe follows
Fresh flowers, mint sprigs and blackberries for decoration
1. Preheat the oven to 350 degrees F. Grease 3 (8”) cake pans, line them with parchment paper and grease the paper. In a mixer bowl, cream the butter with the sugar, lime zest and salt until light and fluffy. Gradually add the egg whites, 2-3 at a time, beating well between additions and stopping to scrape the bowl.
2. Combine the flour with the baking powder and whisk gently to blend. In 2-3 alternating additions, beat the dry ingredients and milk into the butter mixture, scraping down the sides of the bowl several times. Beat on medium-high speed for about 1 minute to smooth out any lumps and aerate the batter.
3. Scoop out 1 cup of the batter into a small bowl. Divide the remainder equally among the 3 prepared pans, smoothing out the tops with a rubber spatula. Mix 2-1/2 tablespoons of the Blackberry-Lime Preserves to the reserved batter and blend well. Drizzle heaping teaspoons of this blackberry mixture over the batter in the pans. Using a skewer or paring knife, swirl the blackberry mixture in short strokes to drag it down through the batter but take care not to mix it in.
4. Bake for about 25 minutes or until a cake tester or toothpick stuck into the center comes out clean and the cake begins to pull away from the sides of the pan. Let the layers cool in the pan for about 10 minutes, then turn them out onto wire racks, remove the parchment paper and allow them to cool completely.
5. To assemble the cake, place a layer, flat side up on a cake stand or serving plate. Spread half of the Blackberry-Lime Preserves over the top. Place a second layer on top of the first and spread the remaining preserves over it. Finally, place the third layer on top of the second and frost the sides and top of the cake with the Bourbon Buttercream Frosting. Arrange the flowers, mint and berries around the top of the cake and the serving plate.
Blackberry-Lime Preserves
Makes about 1 cup
3 cups frozen blackberries, fresh or frozen
¾ cups sugar
2 tablespoons freshly squeezed lime juice
2 teaspoons freshly grated lime zest
1 teaspoon grated fresh ginger
1. If using frozen blackberries, allow them to thaw and the juices to accumulate. Place the berries and the juice into a blender. Puree the berries and pass them through a strainer to remove the seeds.
2. In a heavy medium nonreactive saucepan, combine the blackberry puree with the sugar, lime juice, lime zest and the ginger. Bring to a gentle boil over medium heat, stirring frequently dissolve the sugar. Continue cooking, stirring often, for 20 minutes, until the preserves have thickened and are reduced to 1 cup.
Bourbon Buttercream
Makes about 3-1/2 cups
1 cup sugar
6 tablespoons Bourbon
2 eggs
3 sticks (12 ounces) unsalted butter, at room temperature
2 tablesoons freshly squeezed lime juice
1. In a small nonreactive saucepan, combine the sugar and Bourbon. Bring to a boil over medium heat, stirring to dissolve the sugar. Continue to boil with out stirring, occasionally washing down the sides of the pan with a wet pastry brush, until the syrup reaches the soft-ball stage, 238 degrees F, on a candy thermometer. Immediately remove from the heat.
2. In a large mixer bowl with the mixer on medium speed, beat the eggs briefly. Slowly add the hot syrup in a thin stream, pouring it down the sides of the bowl; be careful to avoid hitting the beaters or the syrup will splatter. When all of the syrup has been added, raise the speed to medium-high and beat until the mixture is very fluffy and cooled to body temperature. This can take 15 minutes or longer.
3. Reduce the mixer speed to medium-low and gradually add the softened butter 2-3 tablespoons at a time, beating well between additions. As you’re adding the last few tablespoons of butter, the frosting will appear to break, then suddenly come together like whipped butter. Beat in the lime juice, and the frosting is ready for use.

Many thanks to Tuwanda Coleman and Talk of the Town for the opportunity to tape the segments and for promoting the Urban Gardening Festival. To see the segments from Talk of the Town, follow these links:
Blackberry-Julep Cake
The Royal Bouquet


 It has been a while since I have had the time to join in with the
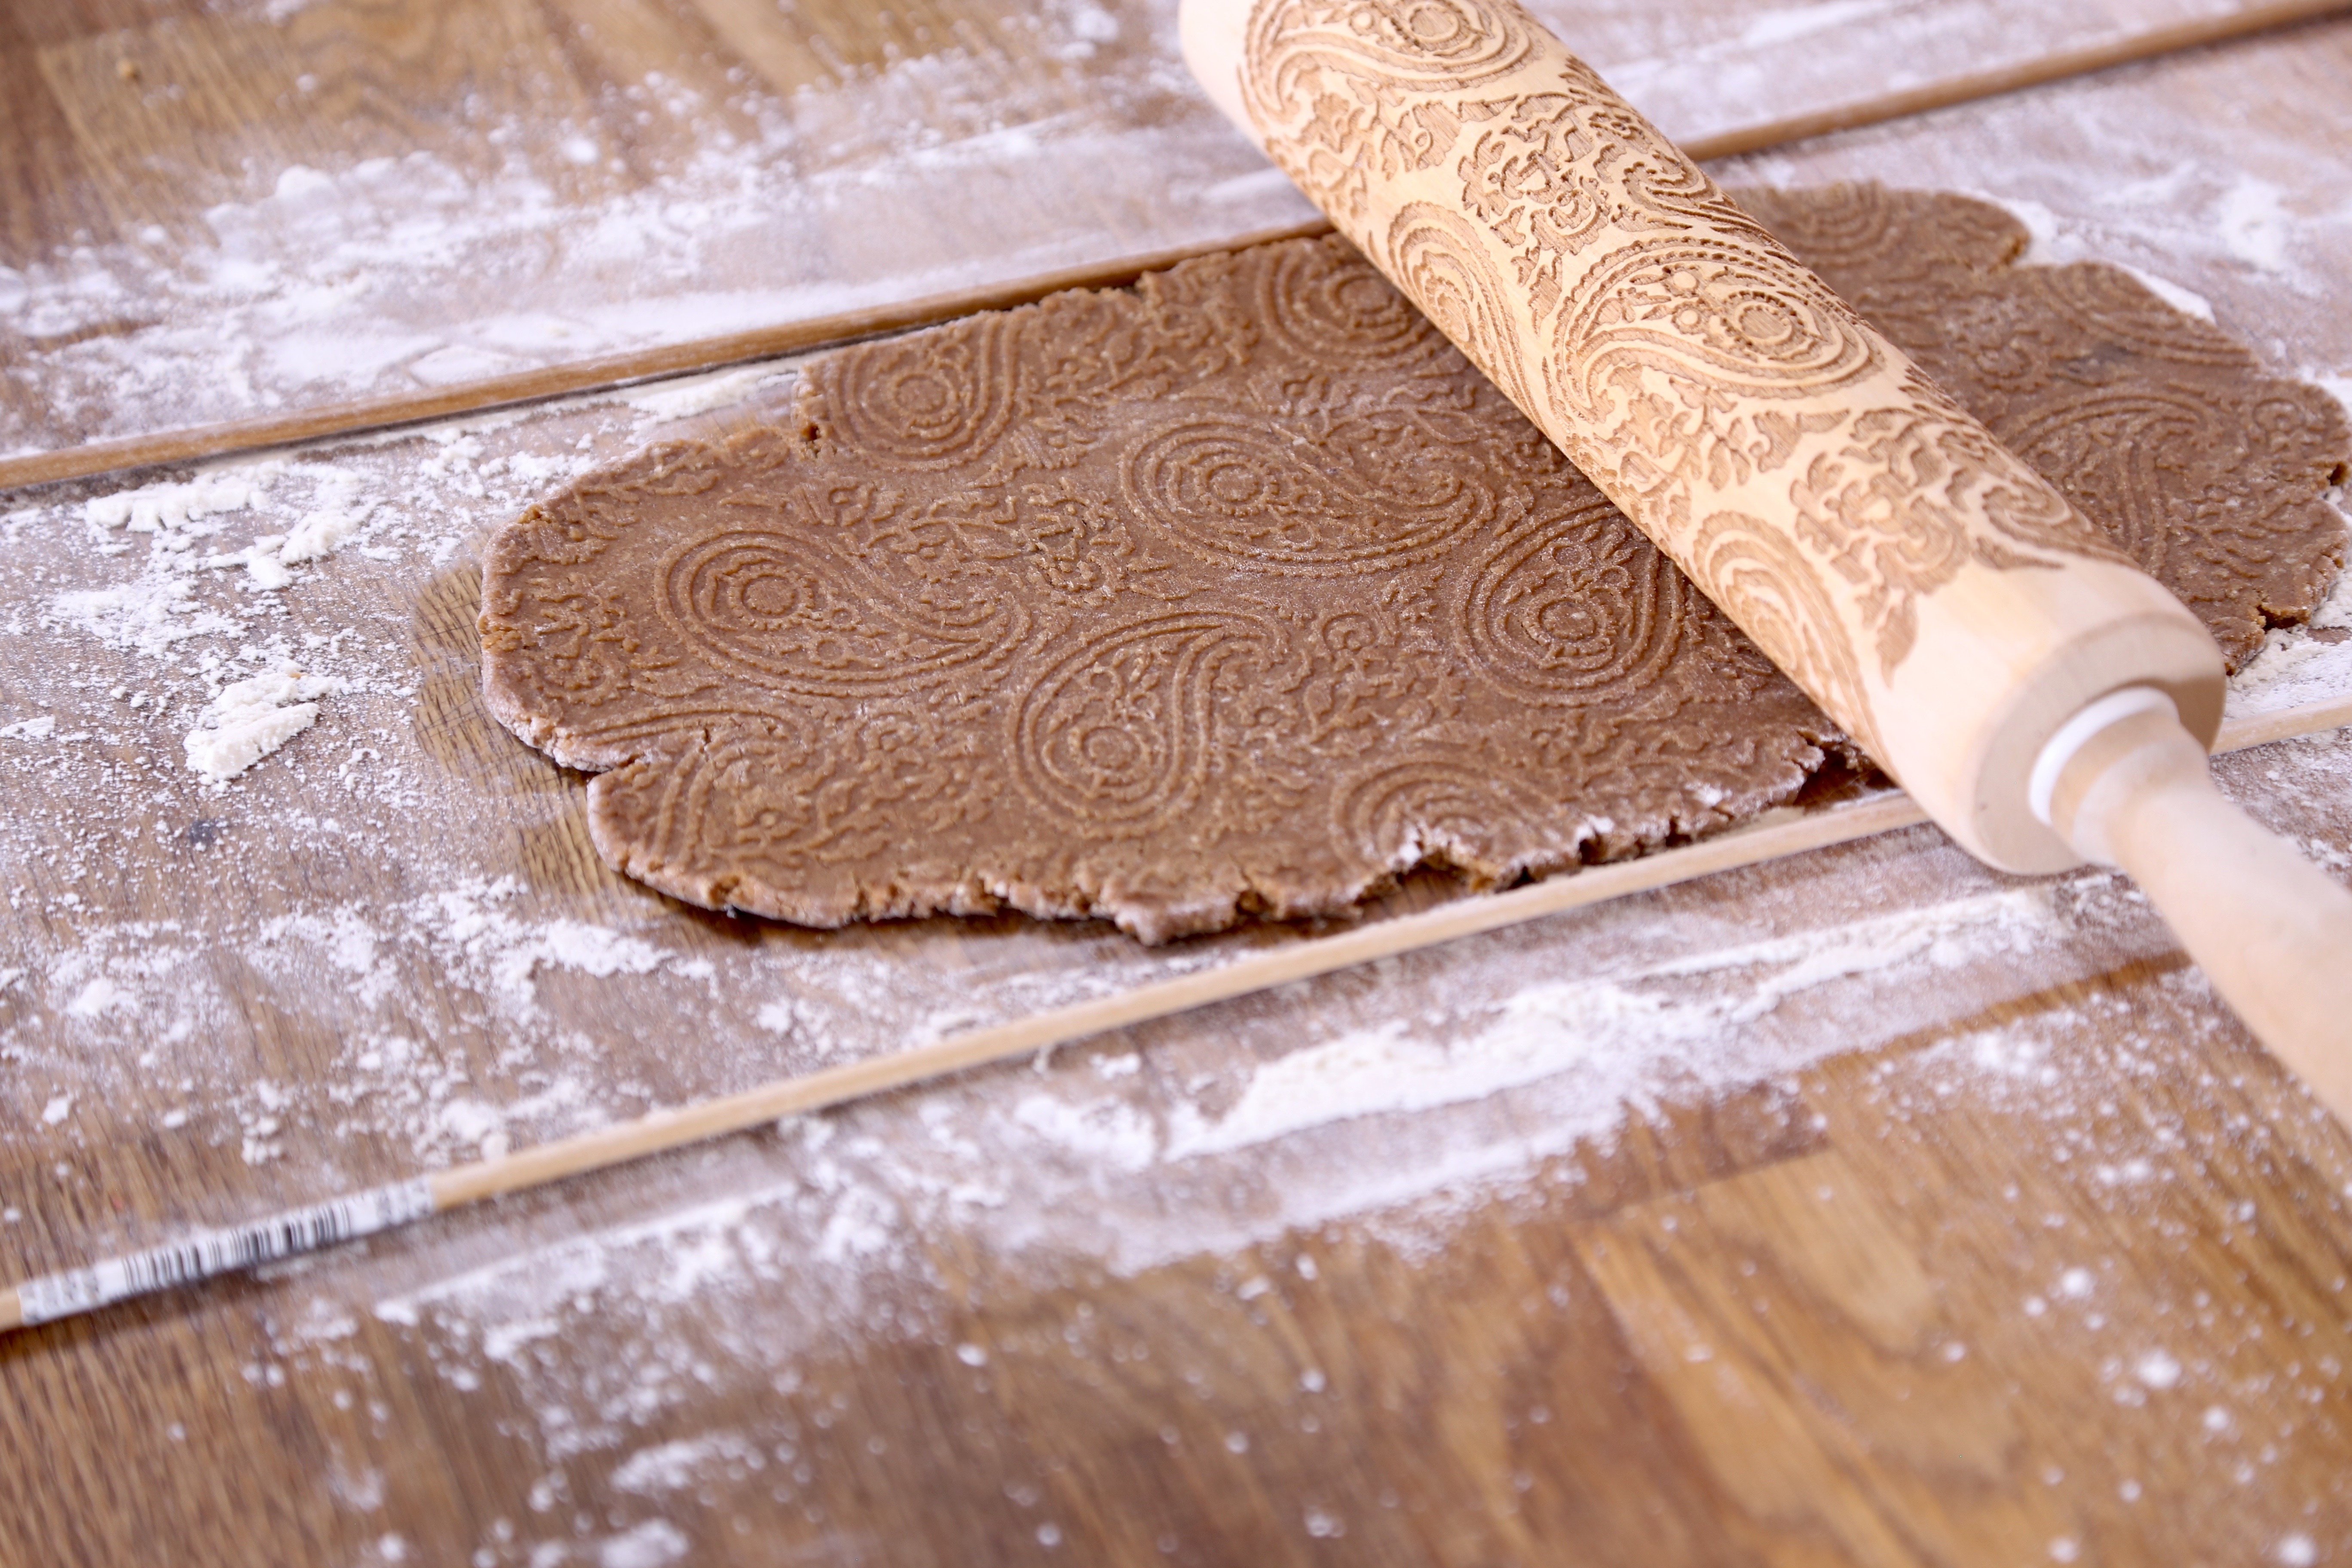
 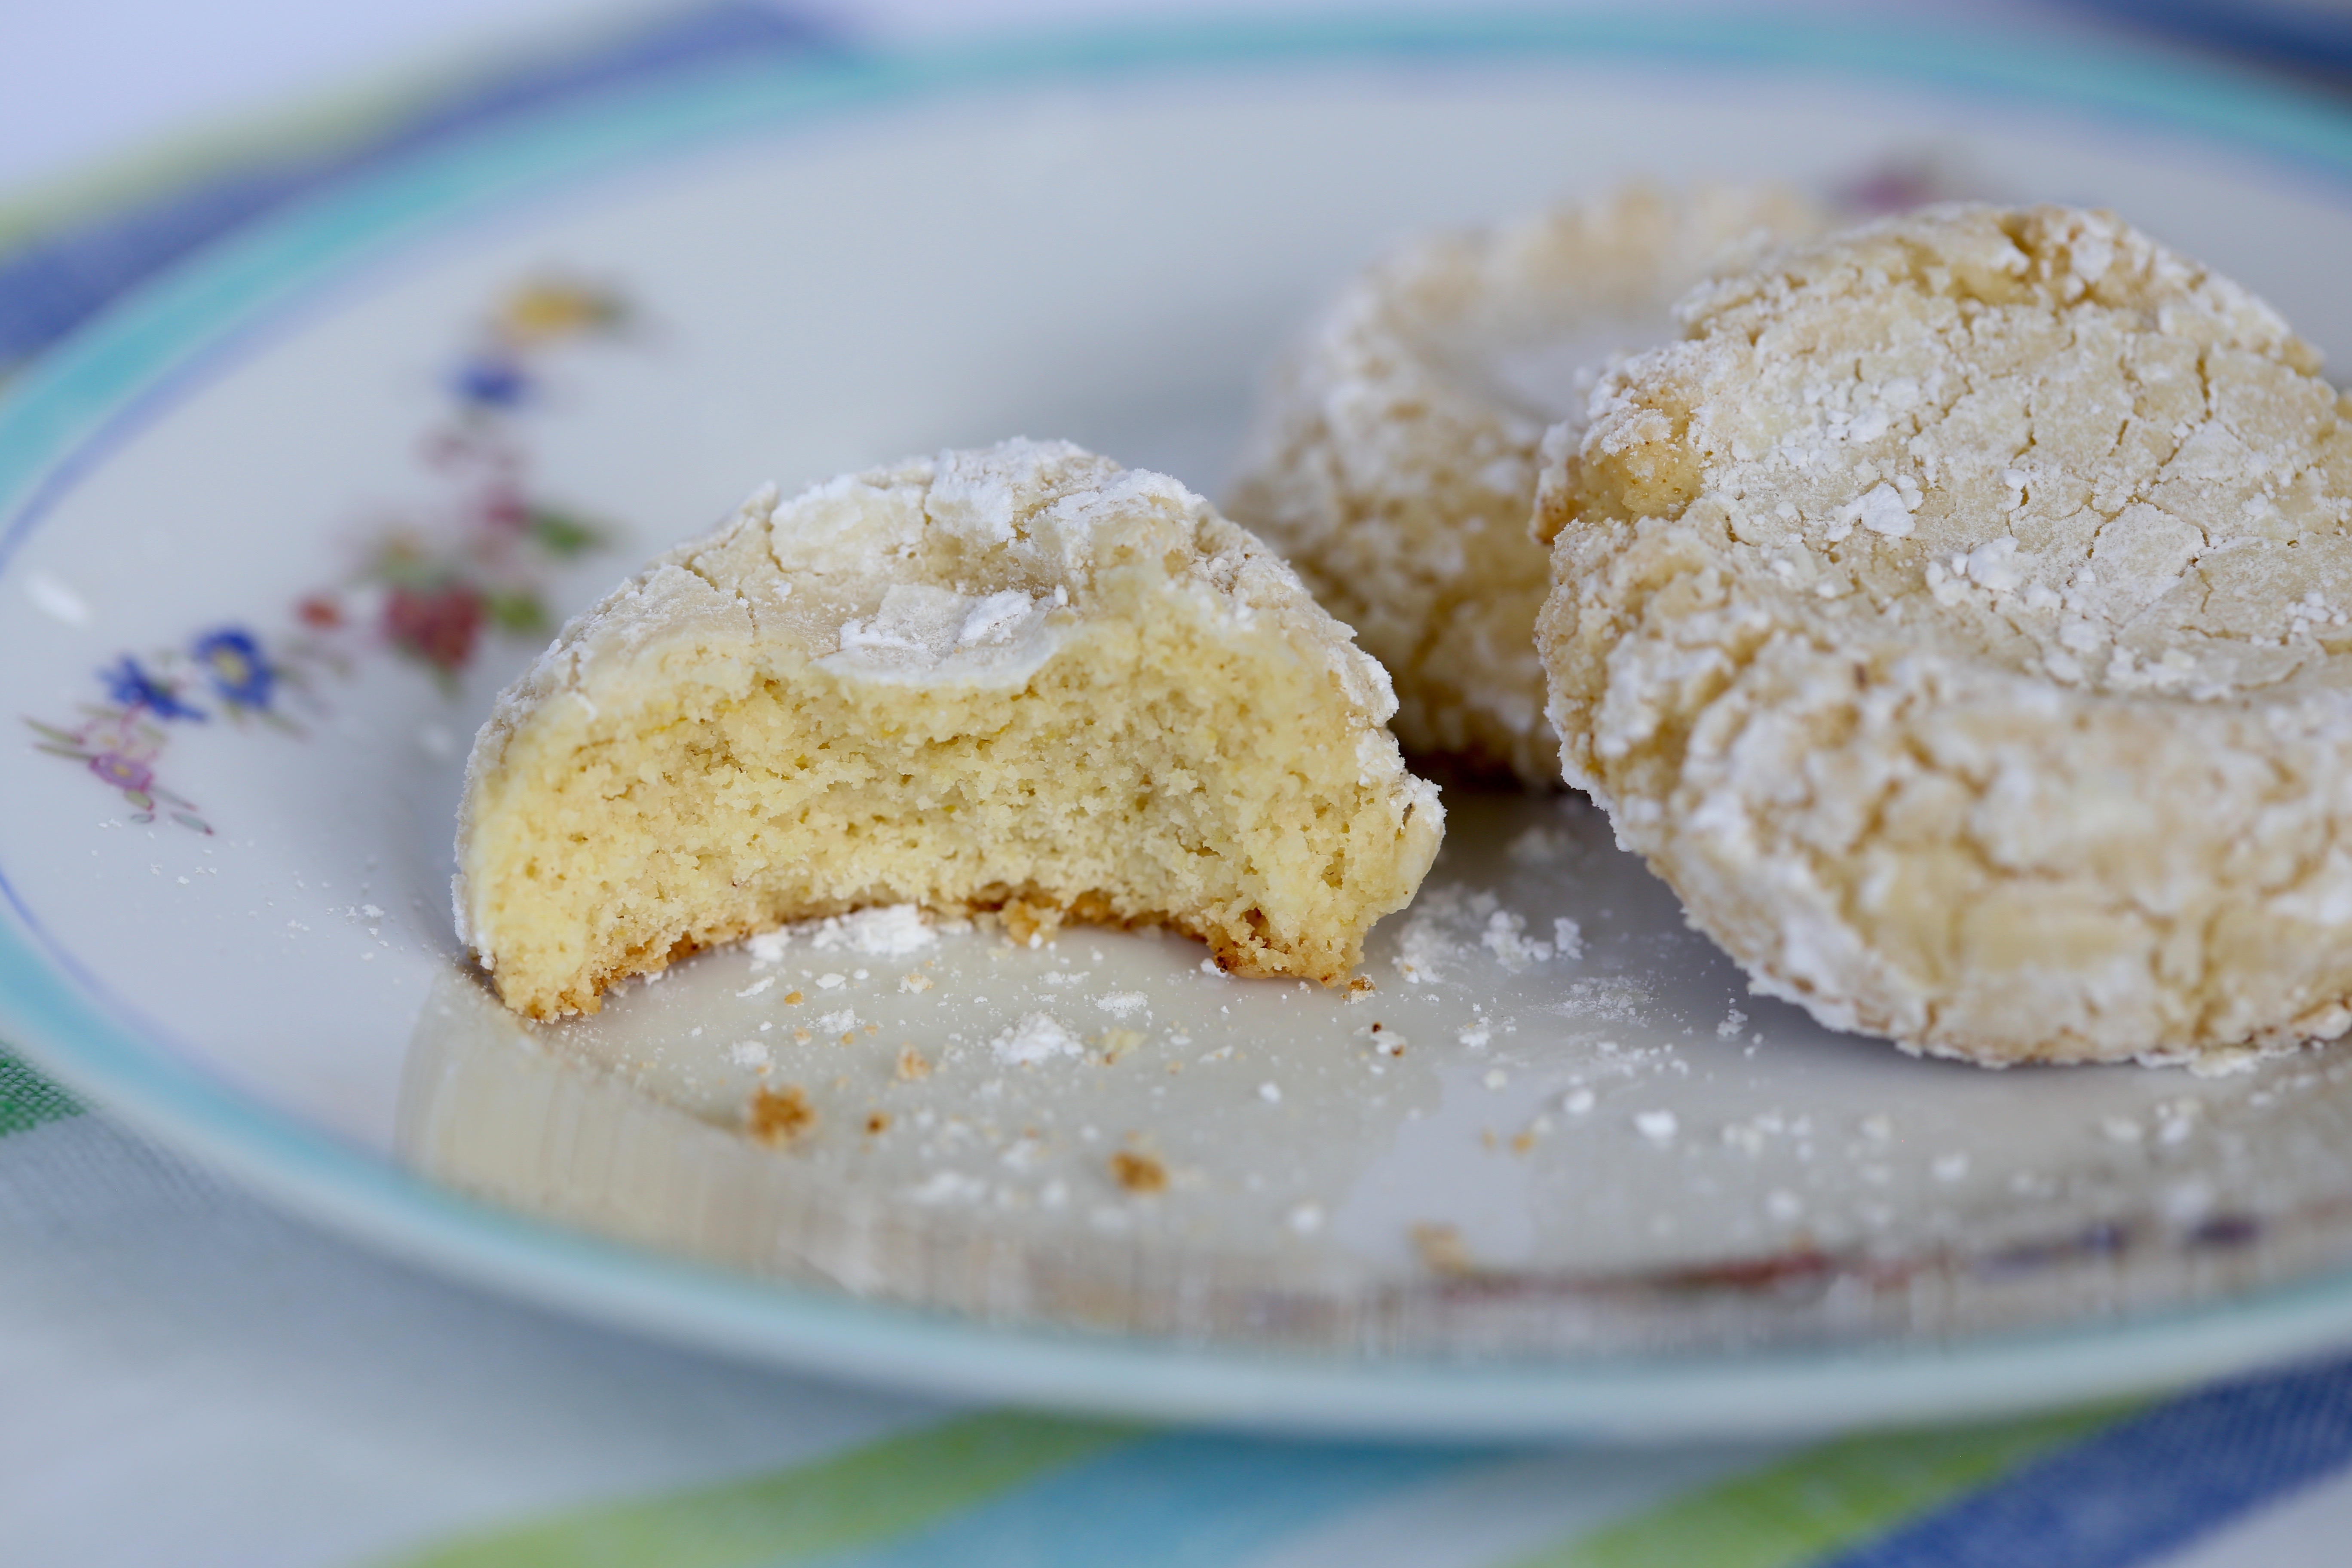 But enough about me, let’s talk about these cookies! What I love most about the book Dorie’s Cookies is the size of the recipes. It may sound like an odd thing to say but large recipes are really inconvenient in my kitchen. My oven is so small that I cannot put anything larger than 15 inches in it; 15 inches wide or 15 inches deep. This means that most standard sized cookie sheets will not fit and that leaves me with few options. What does fit is quarter sized sheet pans and then, only 2 at a time with about a dozen cookies on each pan. If I make a large number of cookies, I can spend an hour or more just baking them. This book eliminates that problem since most of the recipes are so small that I find I can usually get them baked in only two batches.
 The bottom line, buy the book and make the cookies, seriously, you won’t regret it. And if you are wondering, we never publish the recipes out of respect for the author, so you will need to buy or borrow
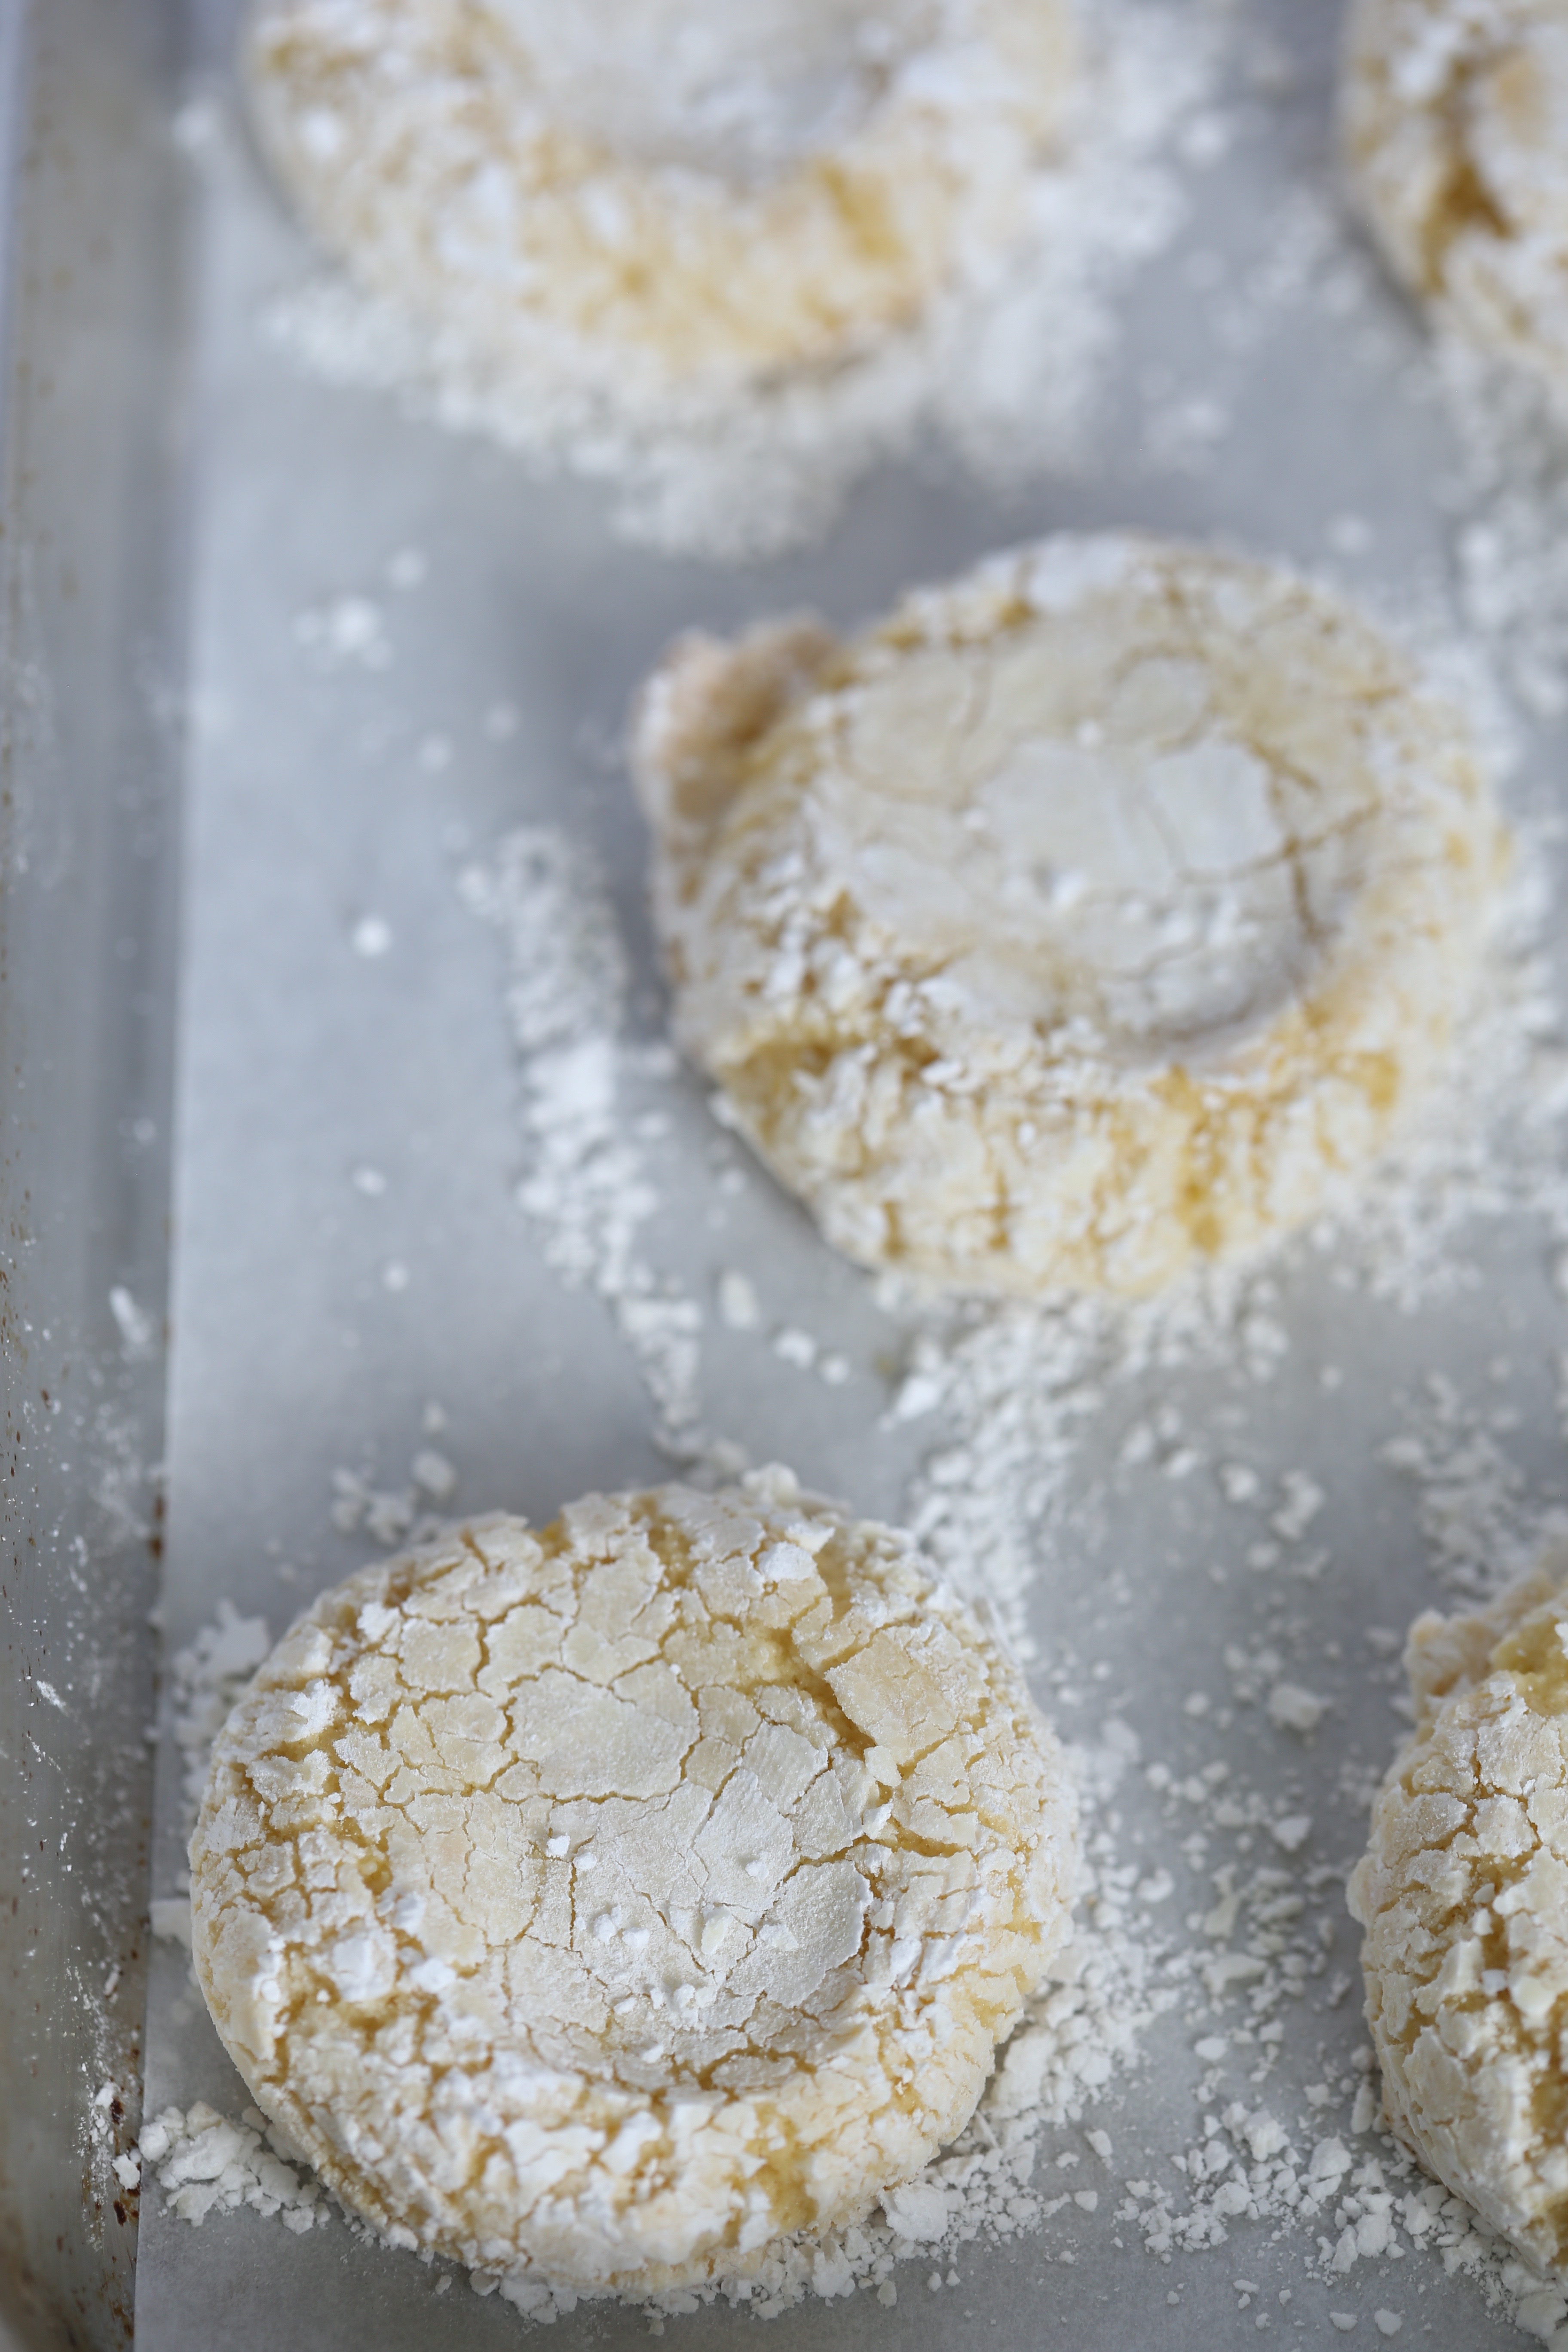
 It has been a busy summer and even though fall has arrived, things are not slowing down! We have picked a freezer full of vegetables and I have canned more tomatoes than I can count! Here are some photos of the garden to give you an idea of what we have been up to. Above is a lousy photo of one of our ginger lilies in bloom-they are so fragrant!
 Back in May, I brought home 7 tire planters from the Urban Gardening Festival. This one is full of shade loving plants and they have really filled in, now I need to figure out how to keep it alive over the winter-these plants are not cold hardy!
 The other 6 tires look like this and I just replanted them with fall flowers-now they need to fill in. The strawberries have spread like crazy and we are hoping for fruit by the bowl next year. The strawberries have also helped the rhubarb crowns get established and we were able to harvest from each plant.
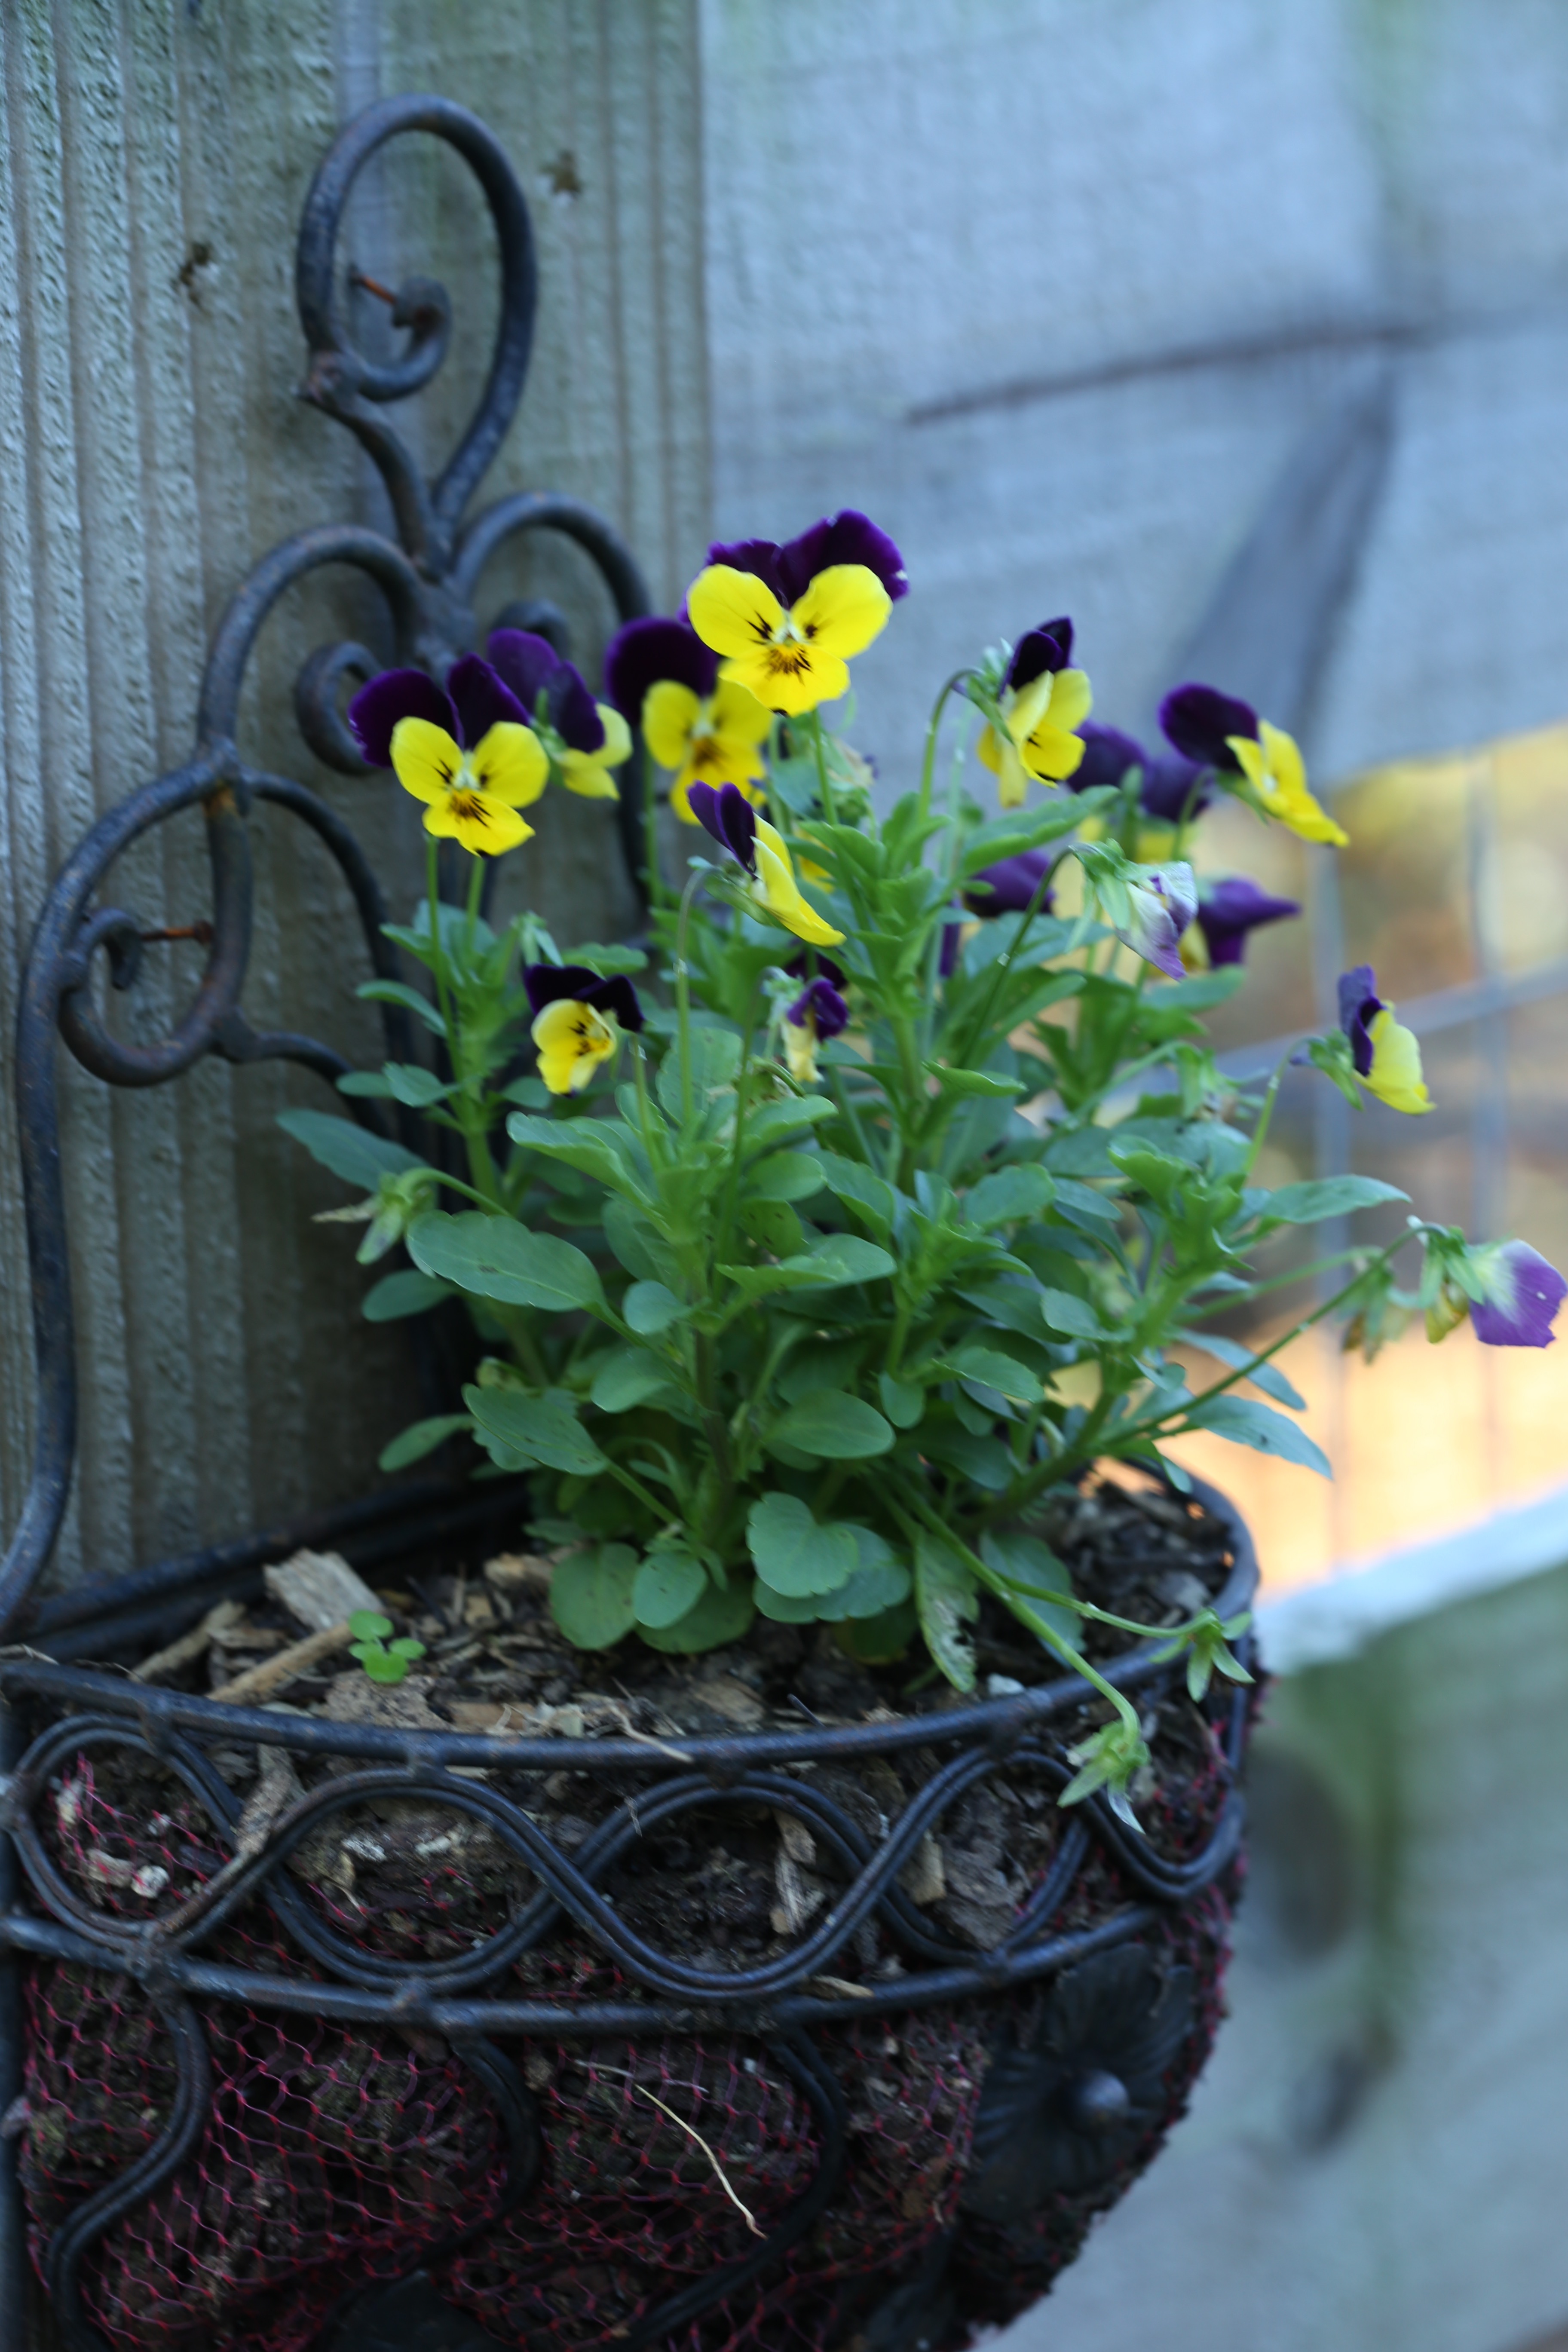 Gate greeters-love the little faces that greet me as I enter the garden.
 The chair planters I made this spring have filled in.
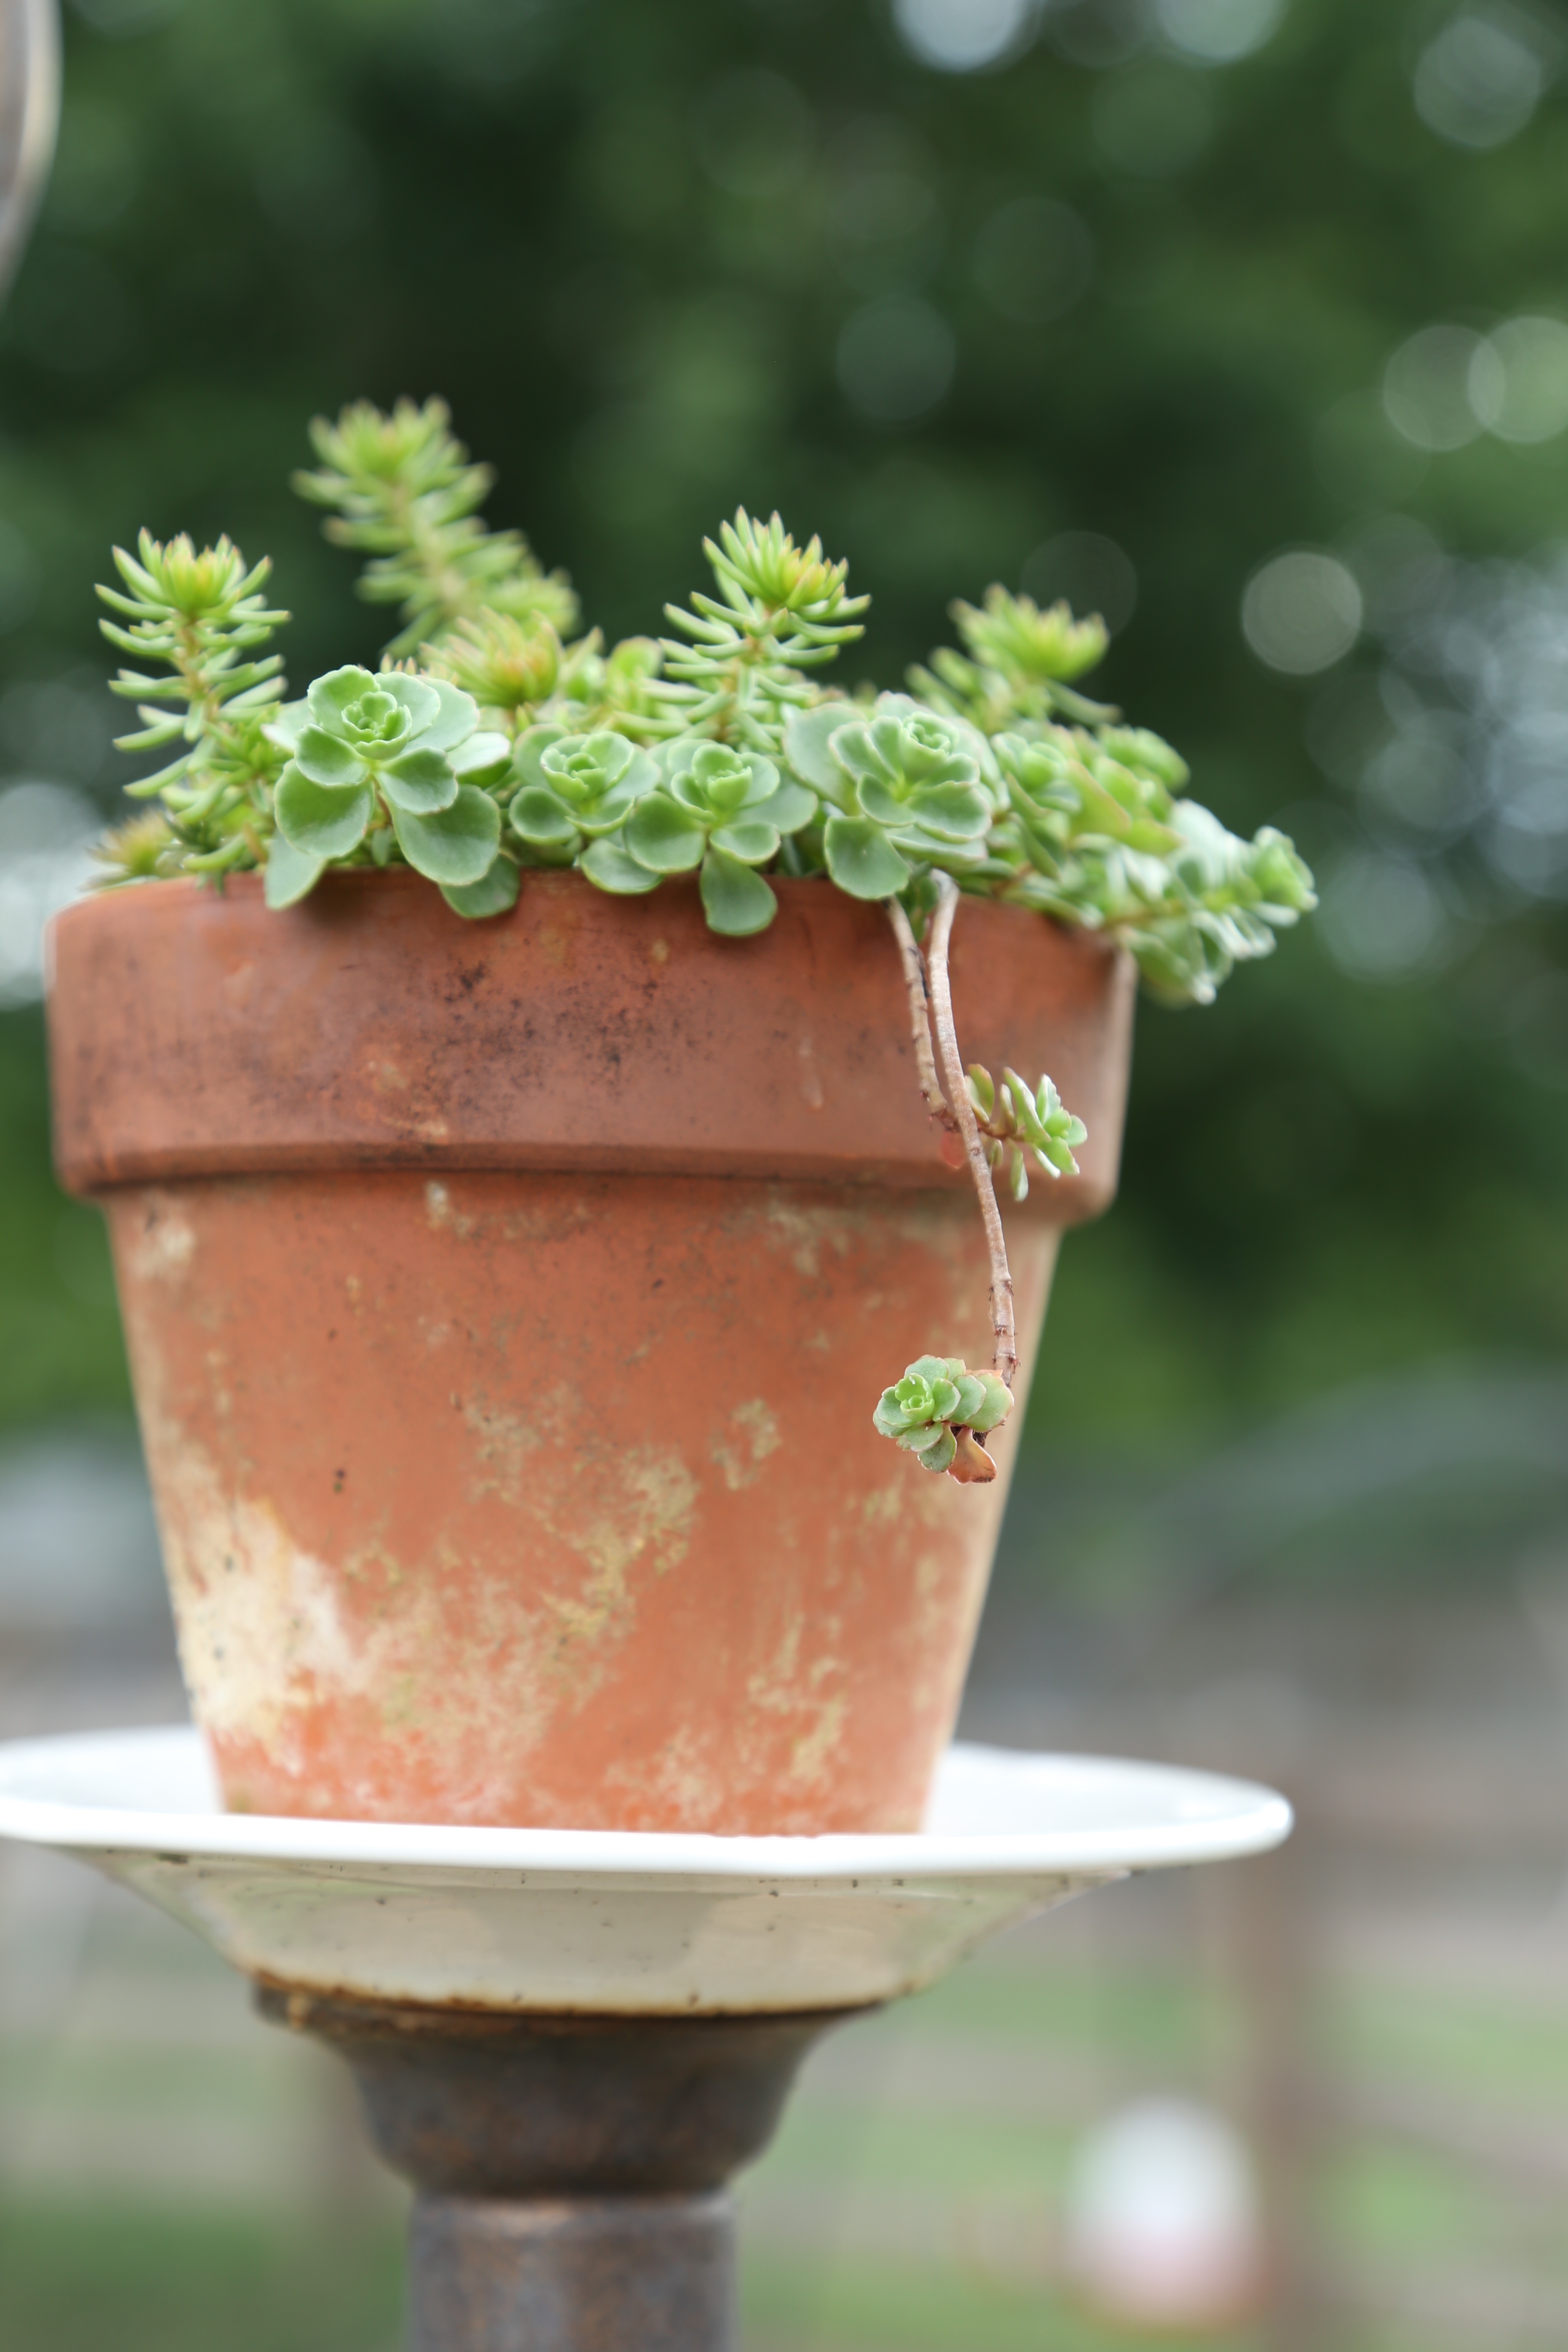
 How can you not love sedum? These plants are so hardy and can survive the neglect they sometimes get in this busy garden.
 Love the colors and textures they add too and bees love the blossoms.
 All of this heat has been just what the peppers needed and they are coming in by the bowl.
 Poblanos
 Sweet banana
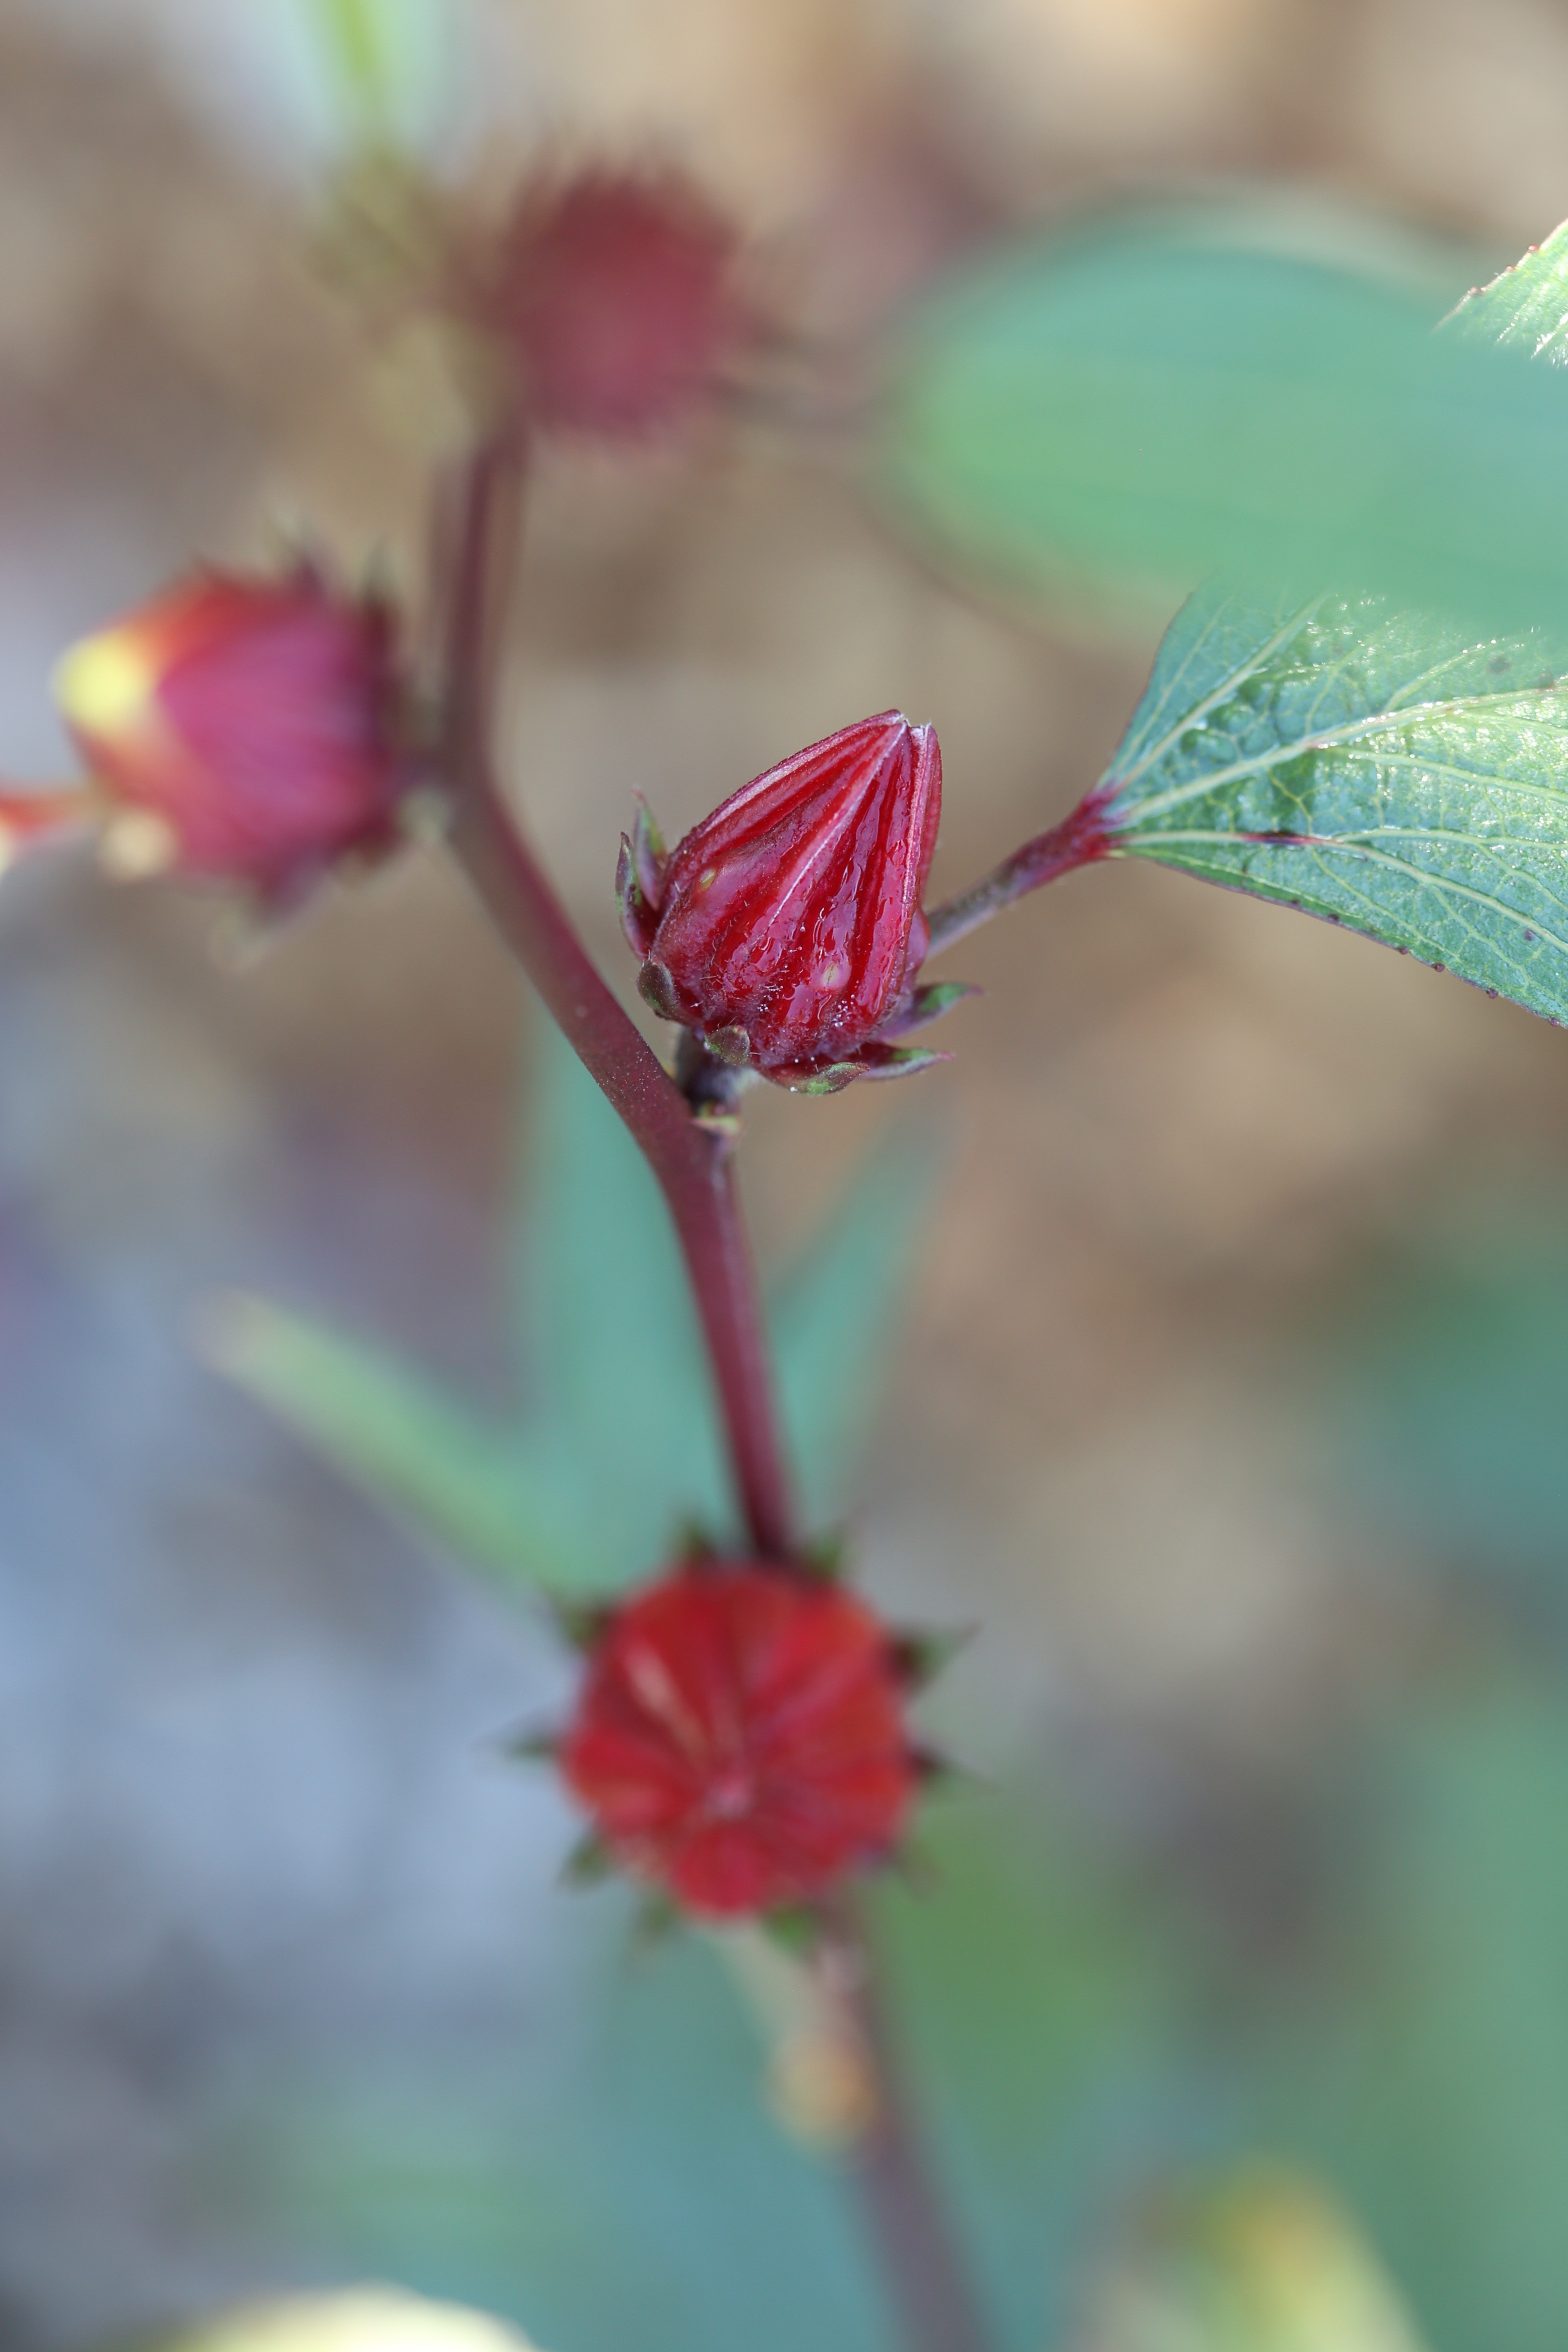 Roselle Hibiscus is one of my favorite plants in the garden. This year I am experimenting with jam. The first batch is in jars but I see room for improvement and will be making more.
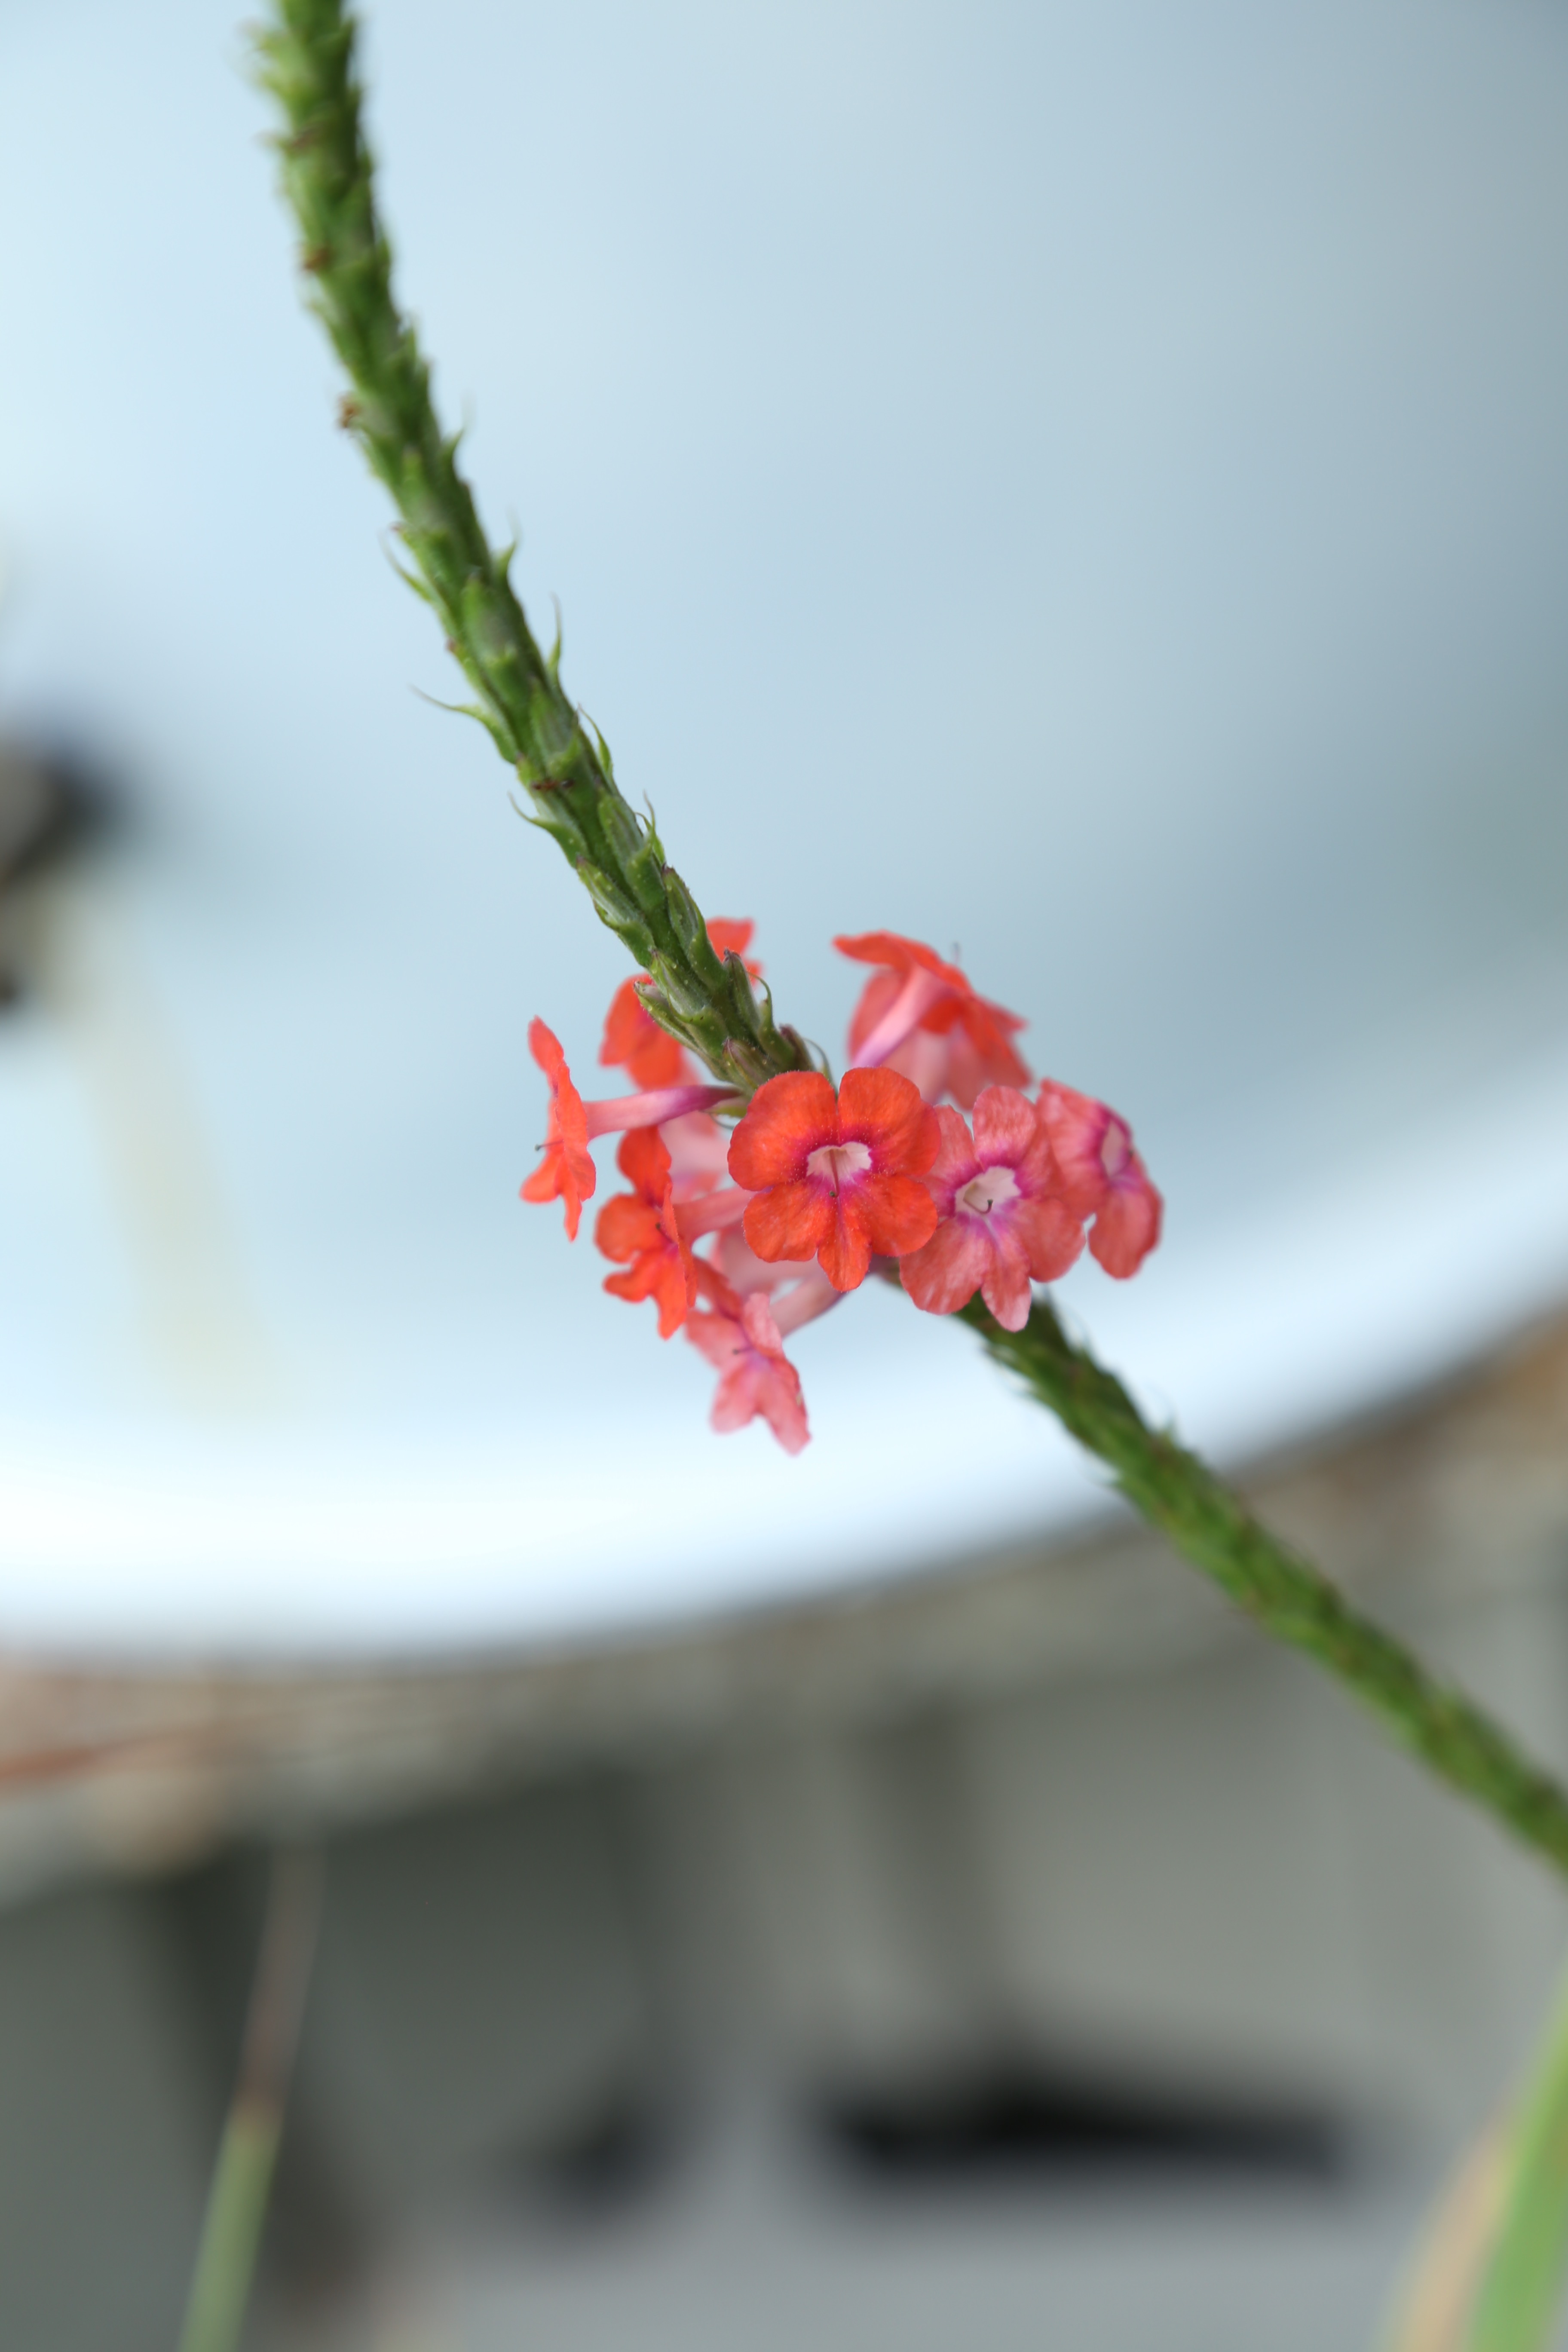
 Someone asked me why I planted flowers in the garden. The short answer, I like them! But more importantly, so do pollinators and butterflies. This little skipper is drinking from a noodle bean flower.
 New to us this year is Cardinal Basil. Those flower heads can get as big as a softball and the leaves are huge as well. The flavor is an intense, classic sweet basil flavor and it has made its way into a lot of tomato sauce this summer!
 The change of seasons means a change of plants. Extra Dwarf Pak Choy is actually ready to harvest and we have picked some already.
 The last of the canning tomatoes-finally done with it for the year!
 Where ever I go in the garden, they watch us work
 Lady Bird, our only Americauna hen is a little shy in comparison to the others
 The watermelon jungle. First one we picked wasn’t ready and the chickens ended up with a nice treat. This one looks ready to go.
 Glass chicken.
 The bottle tree.
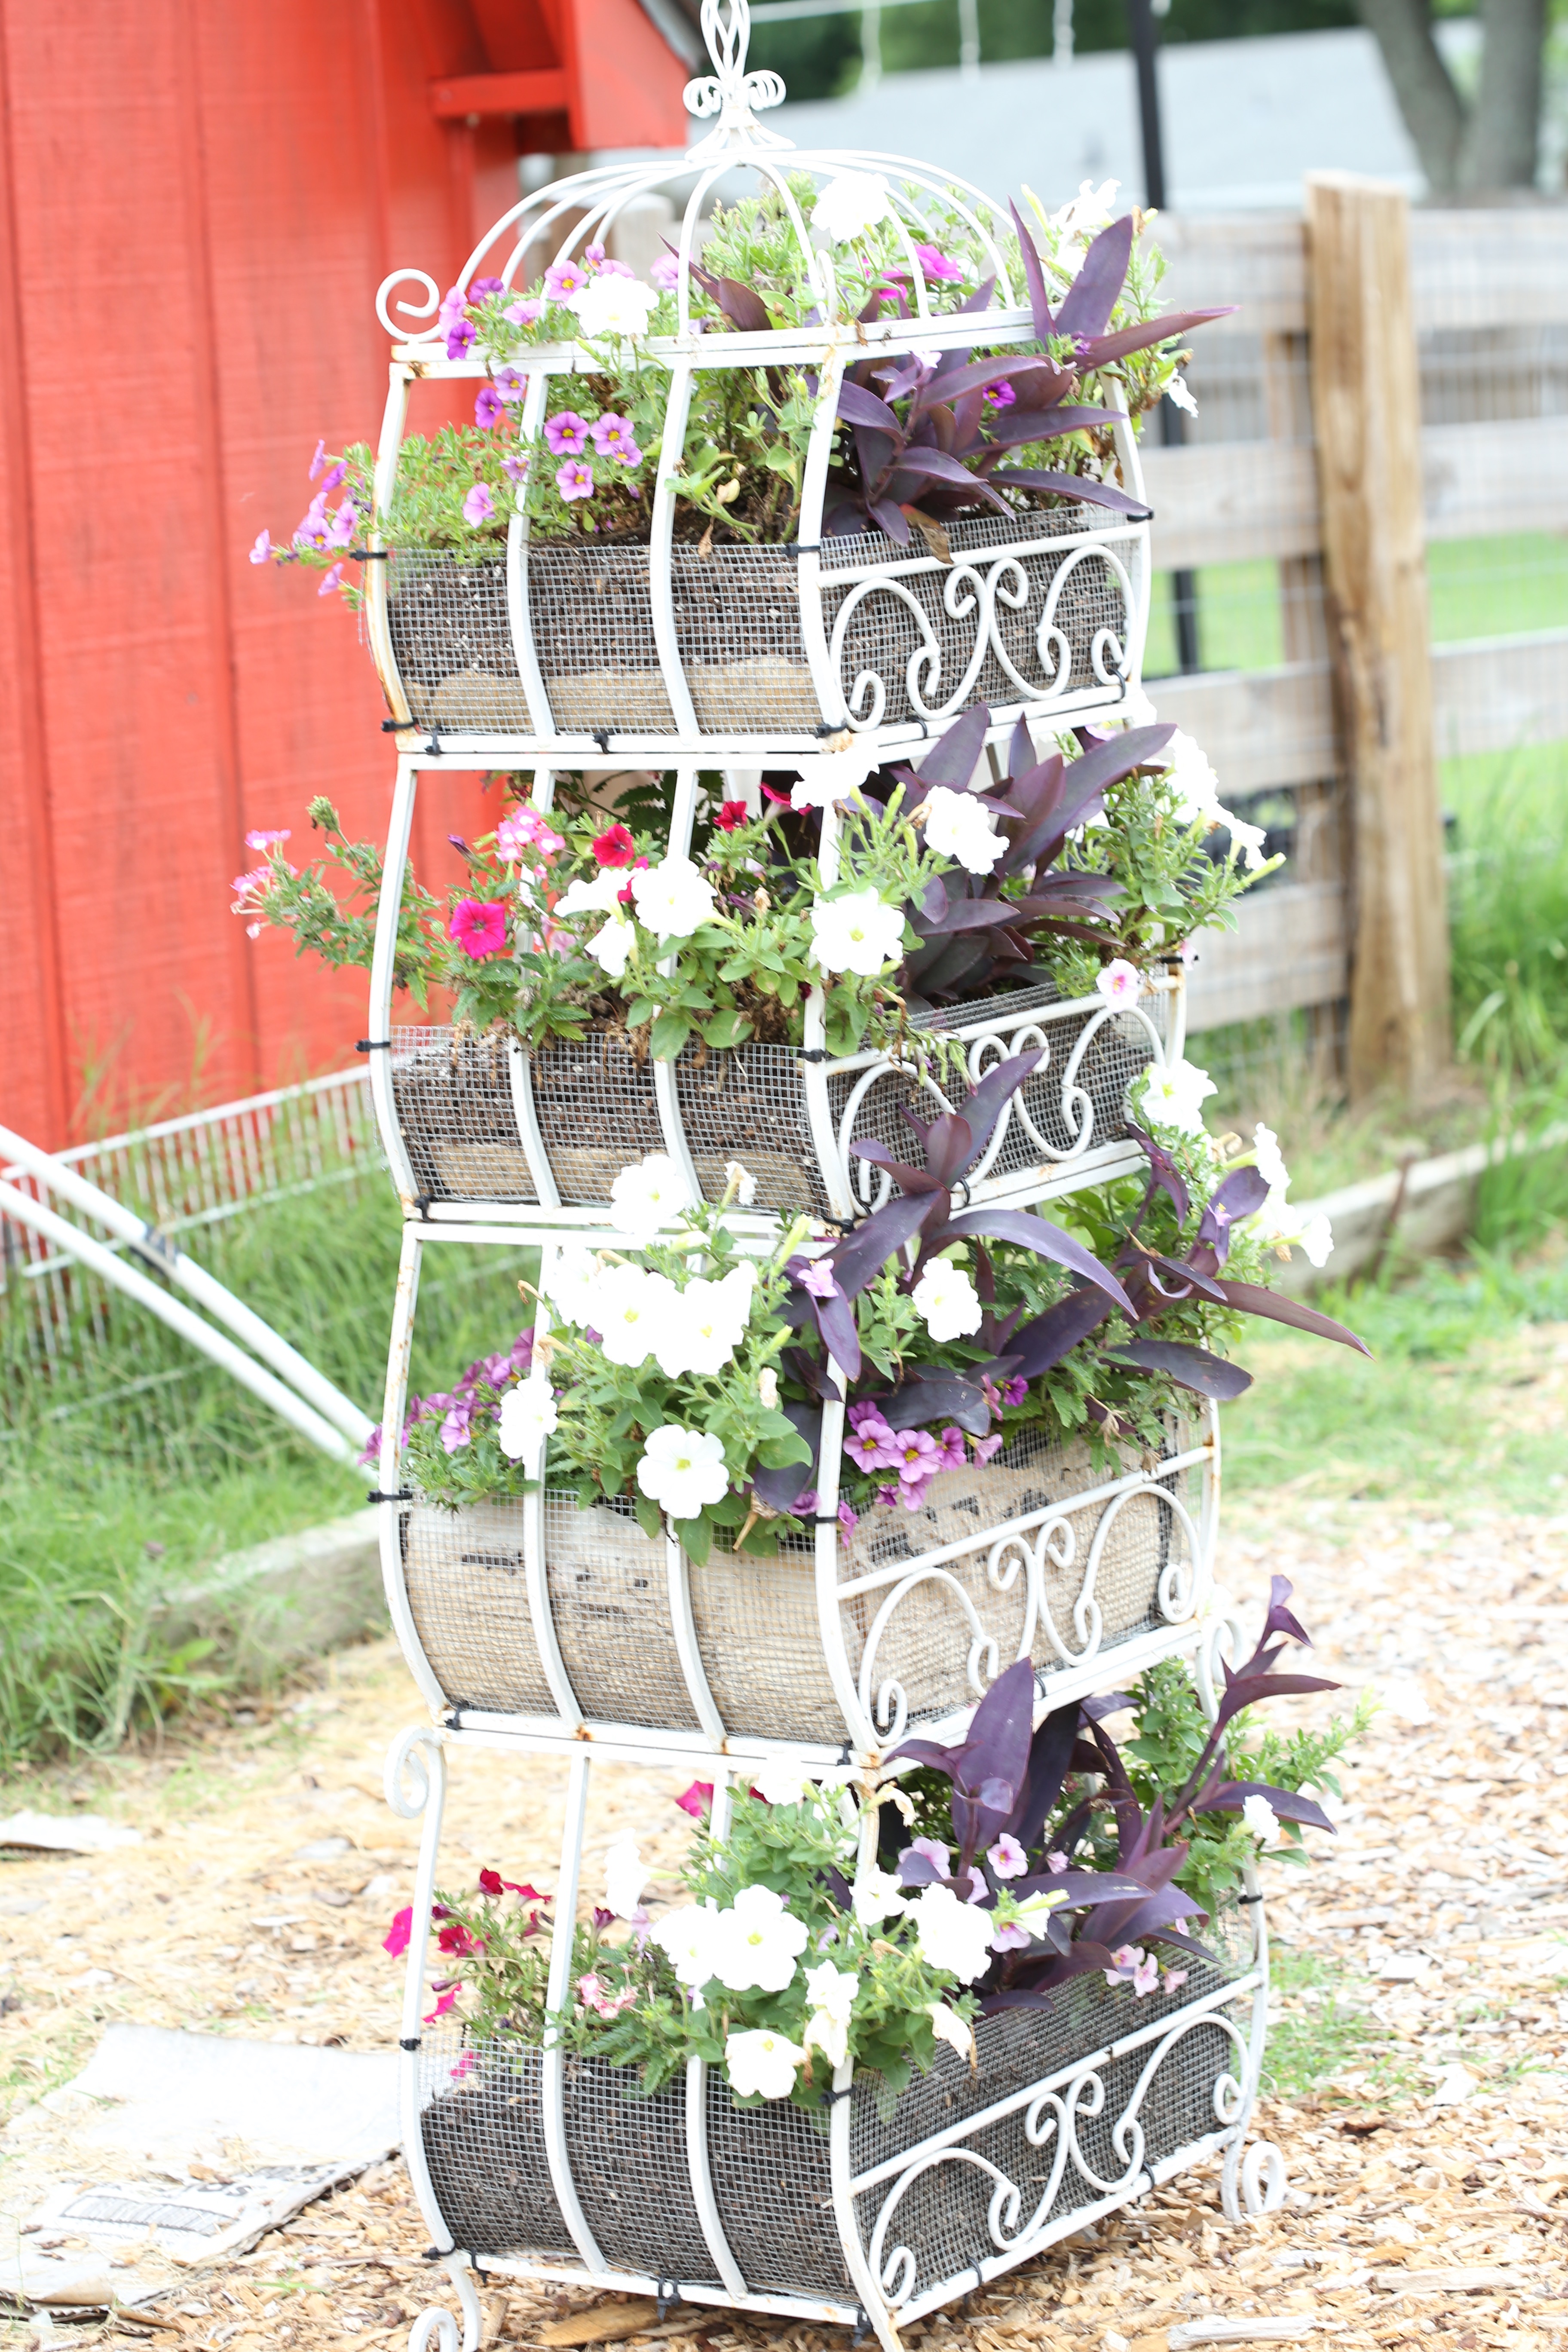
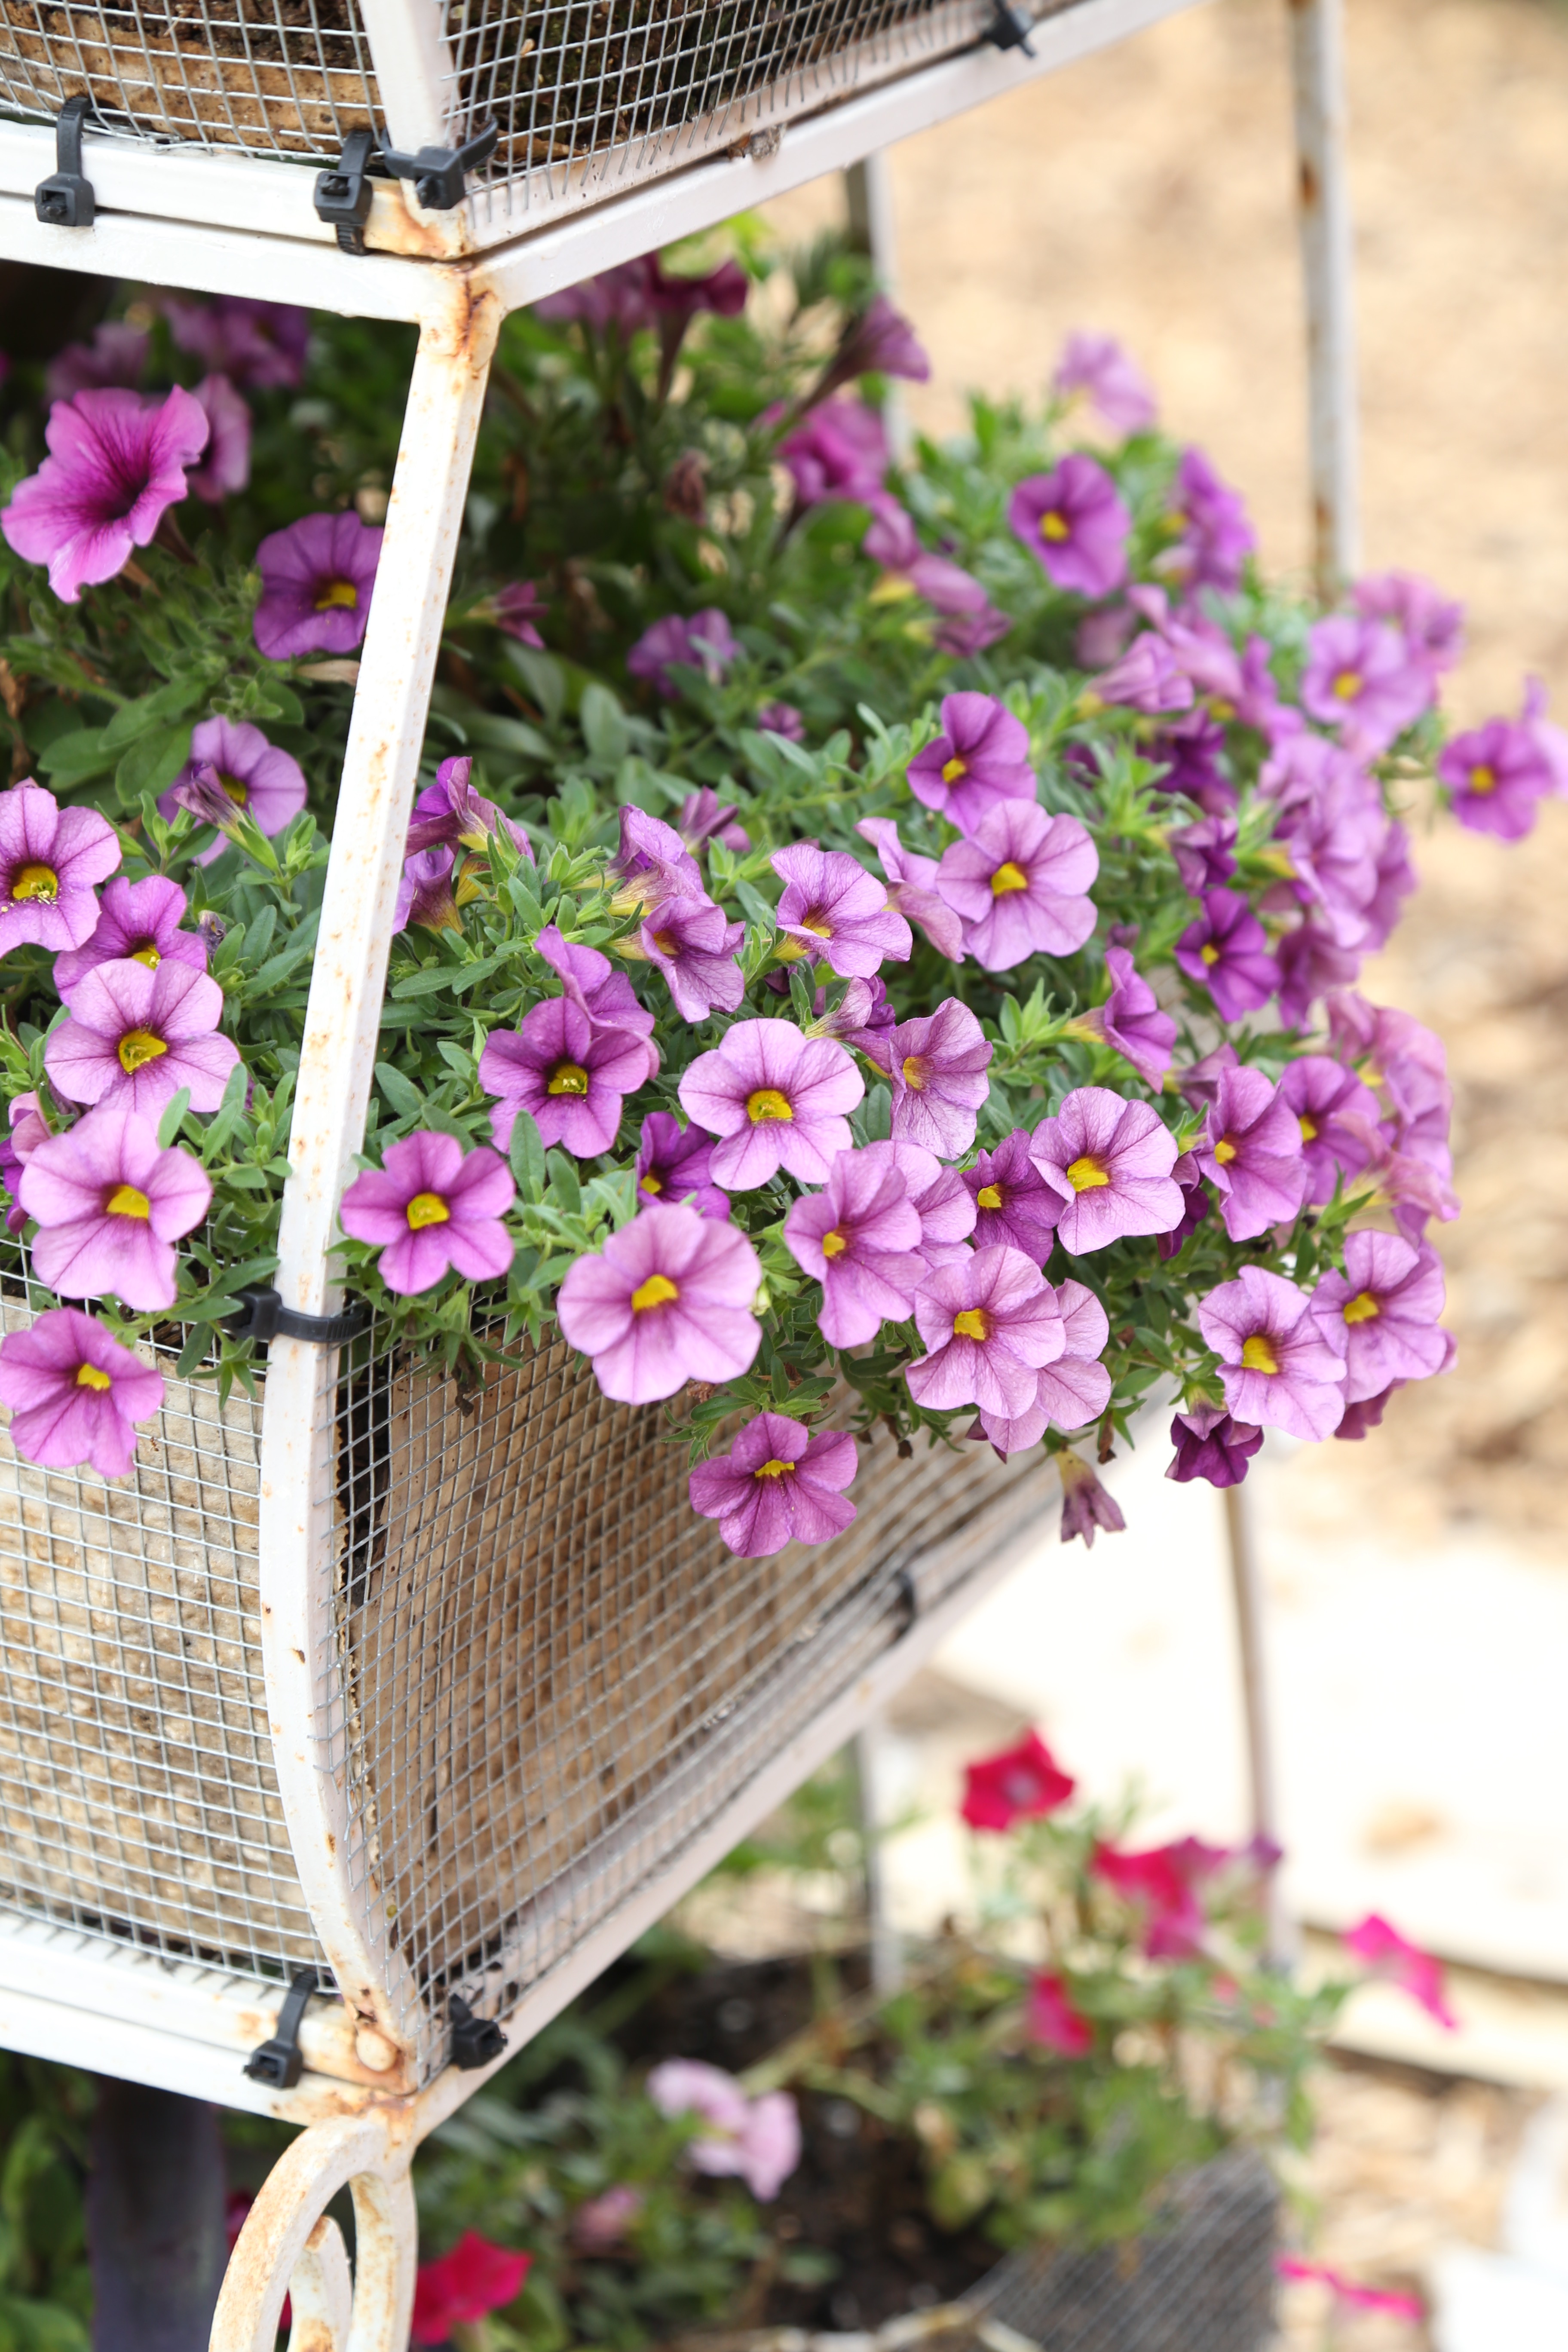
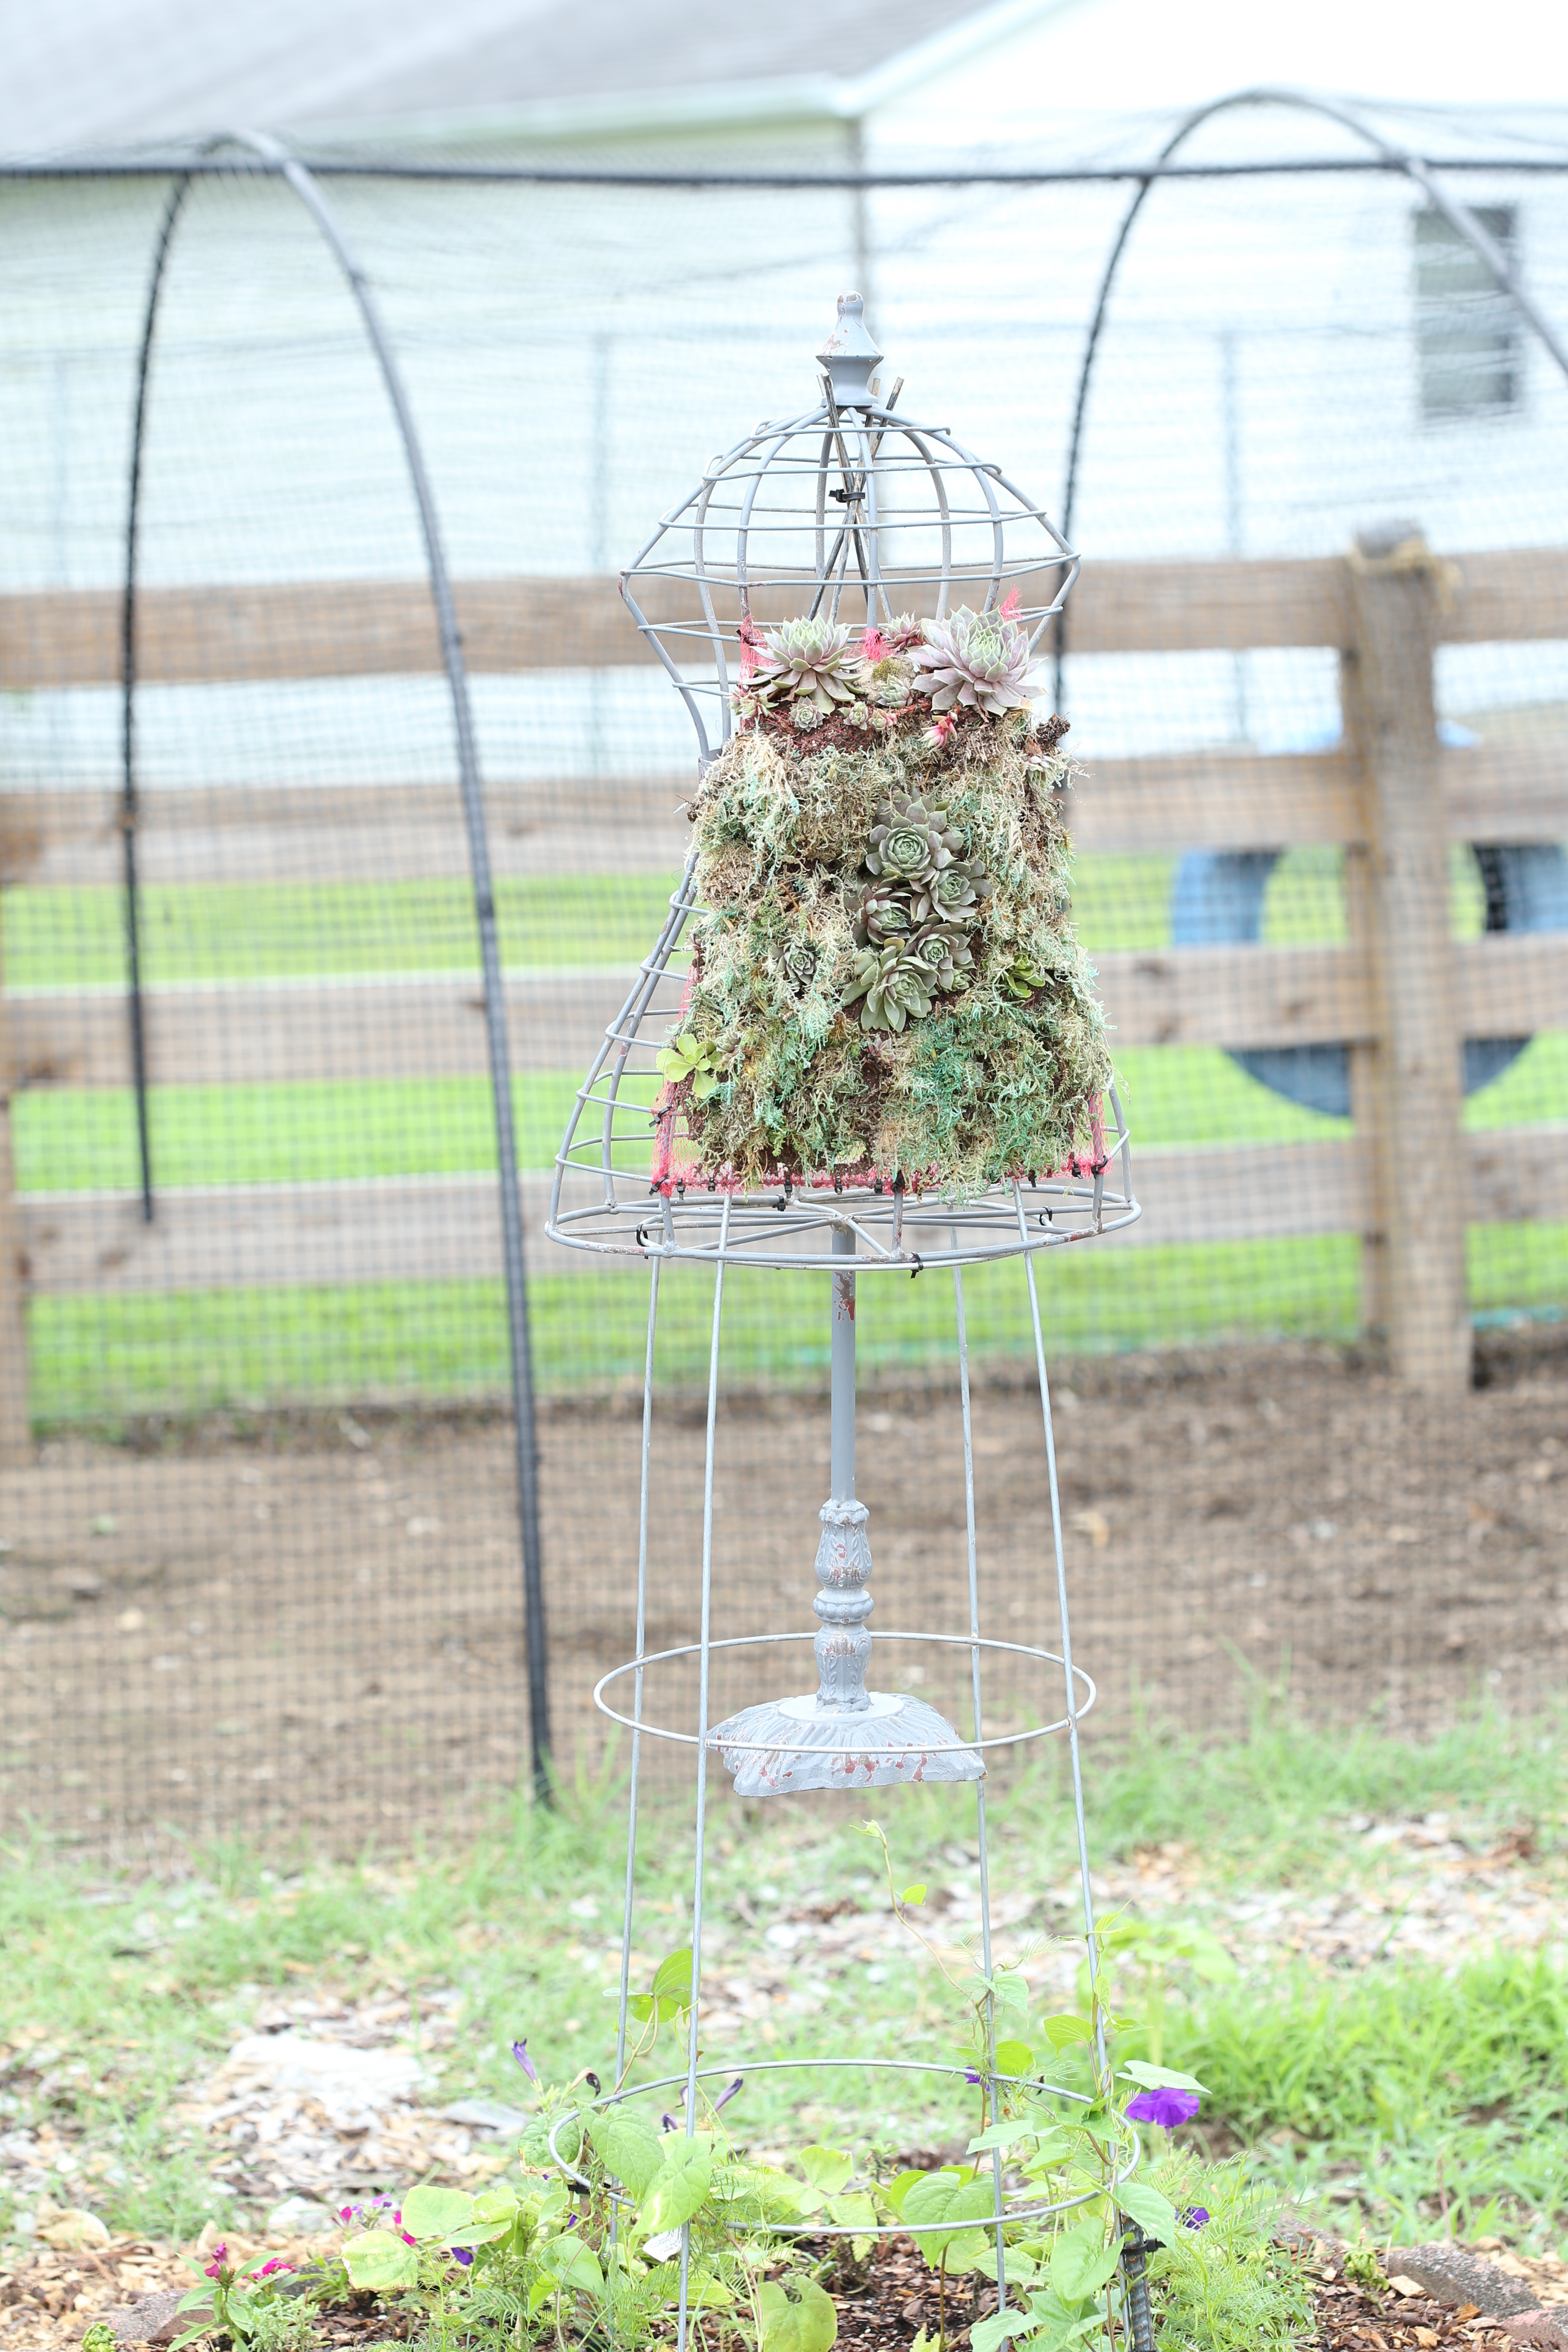
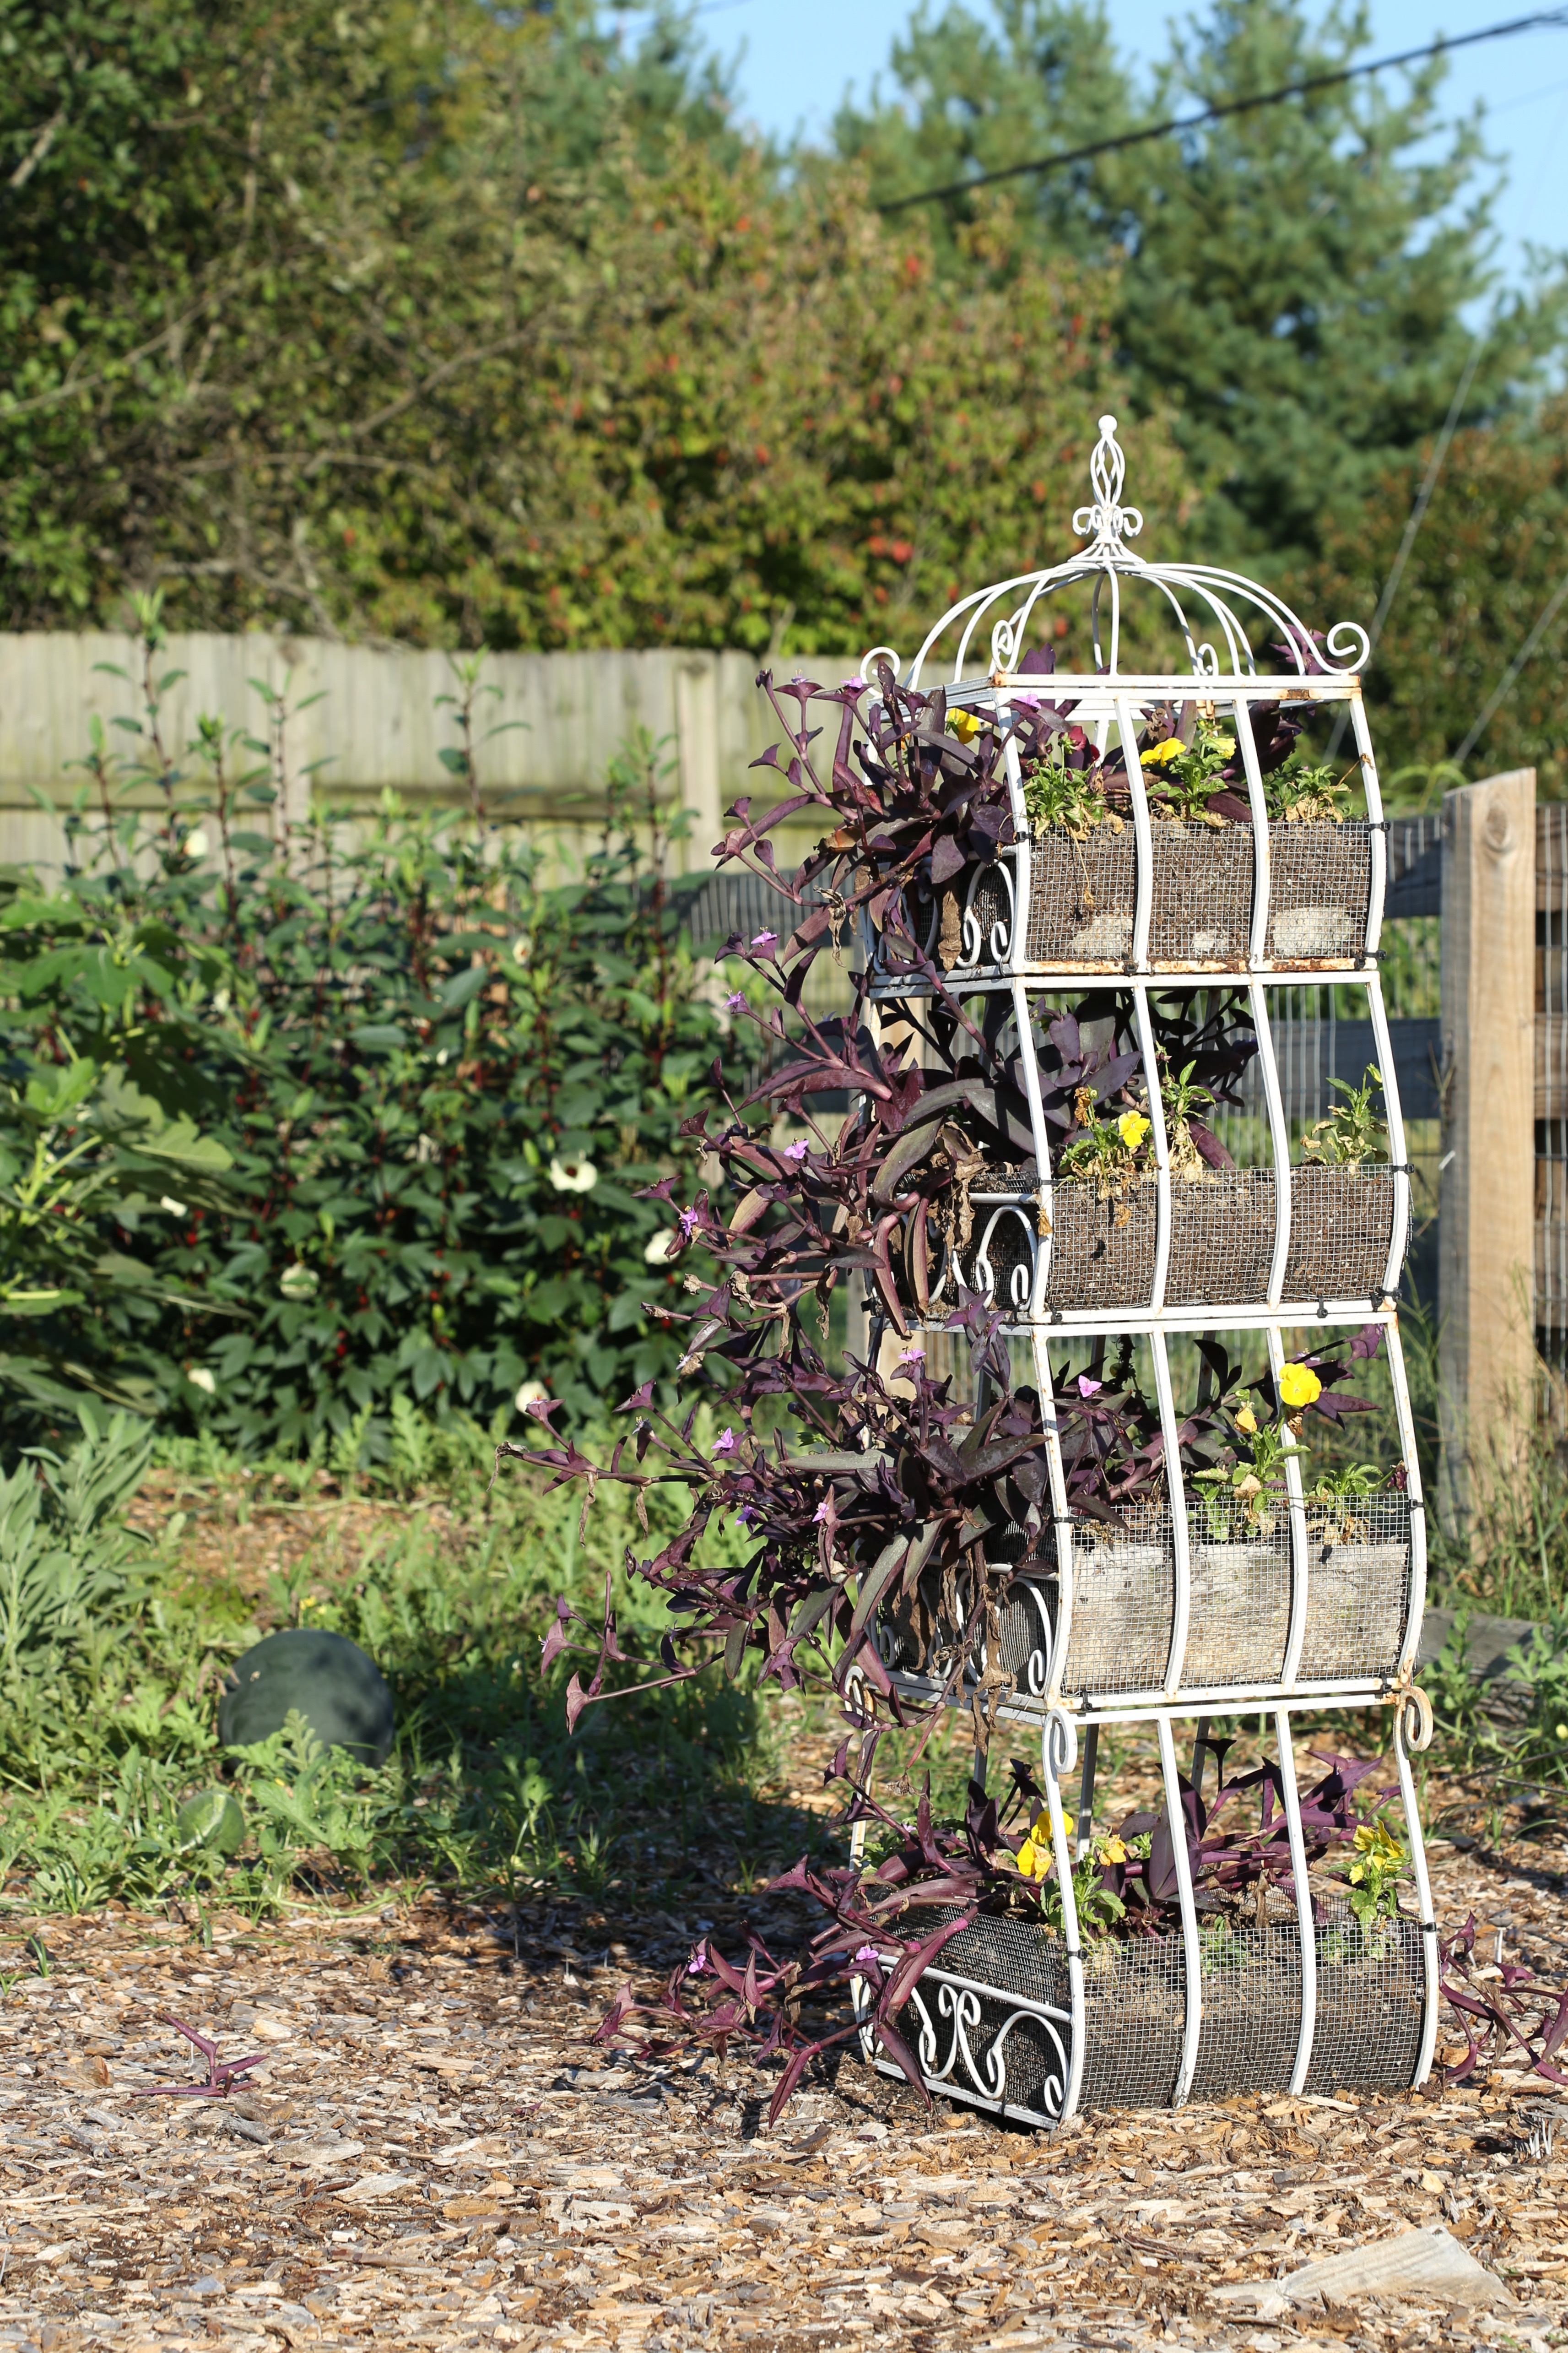 The flower tower
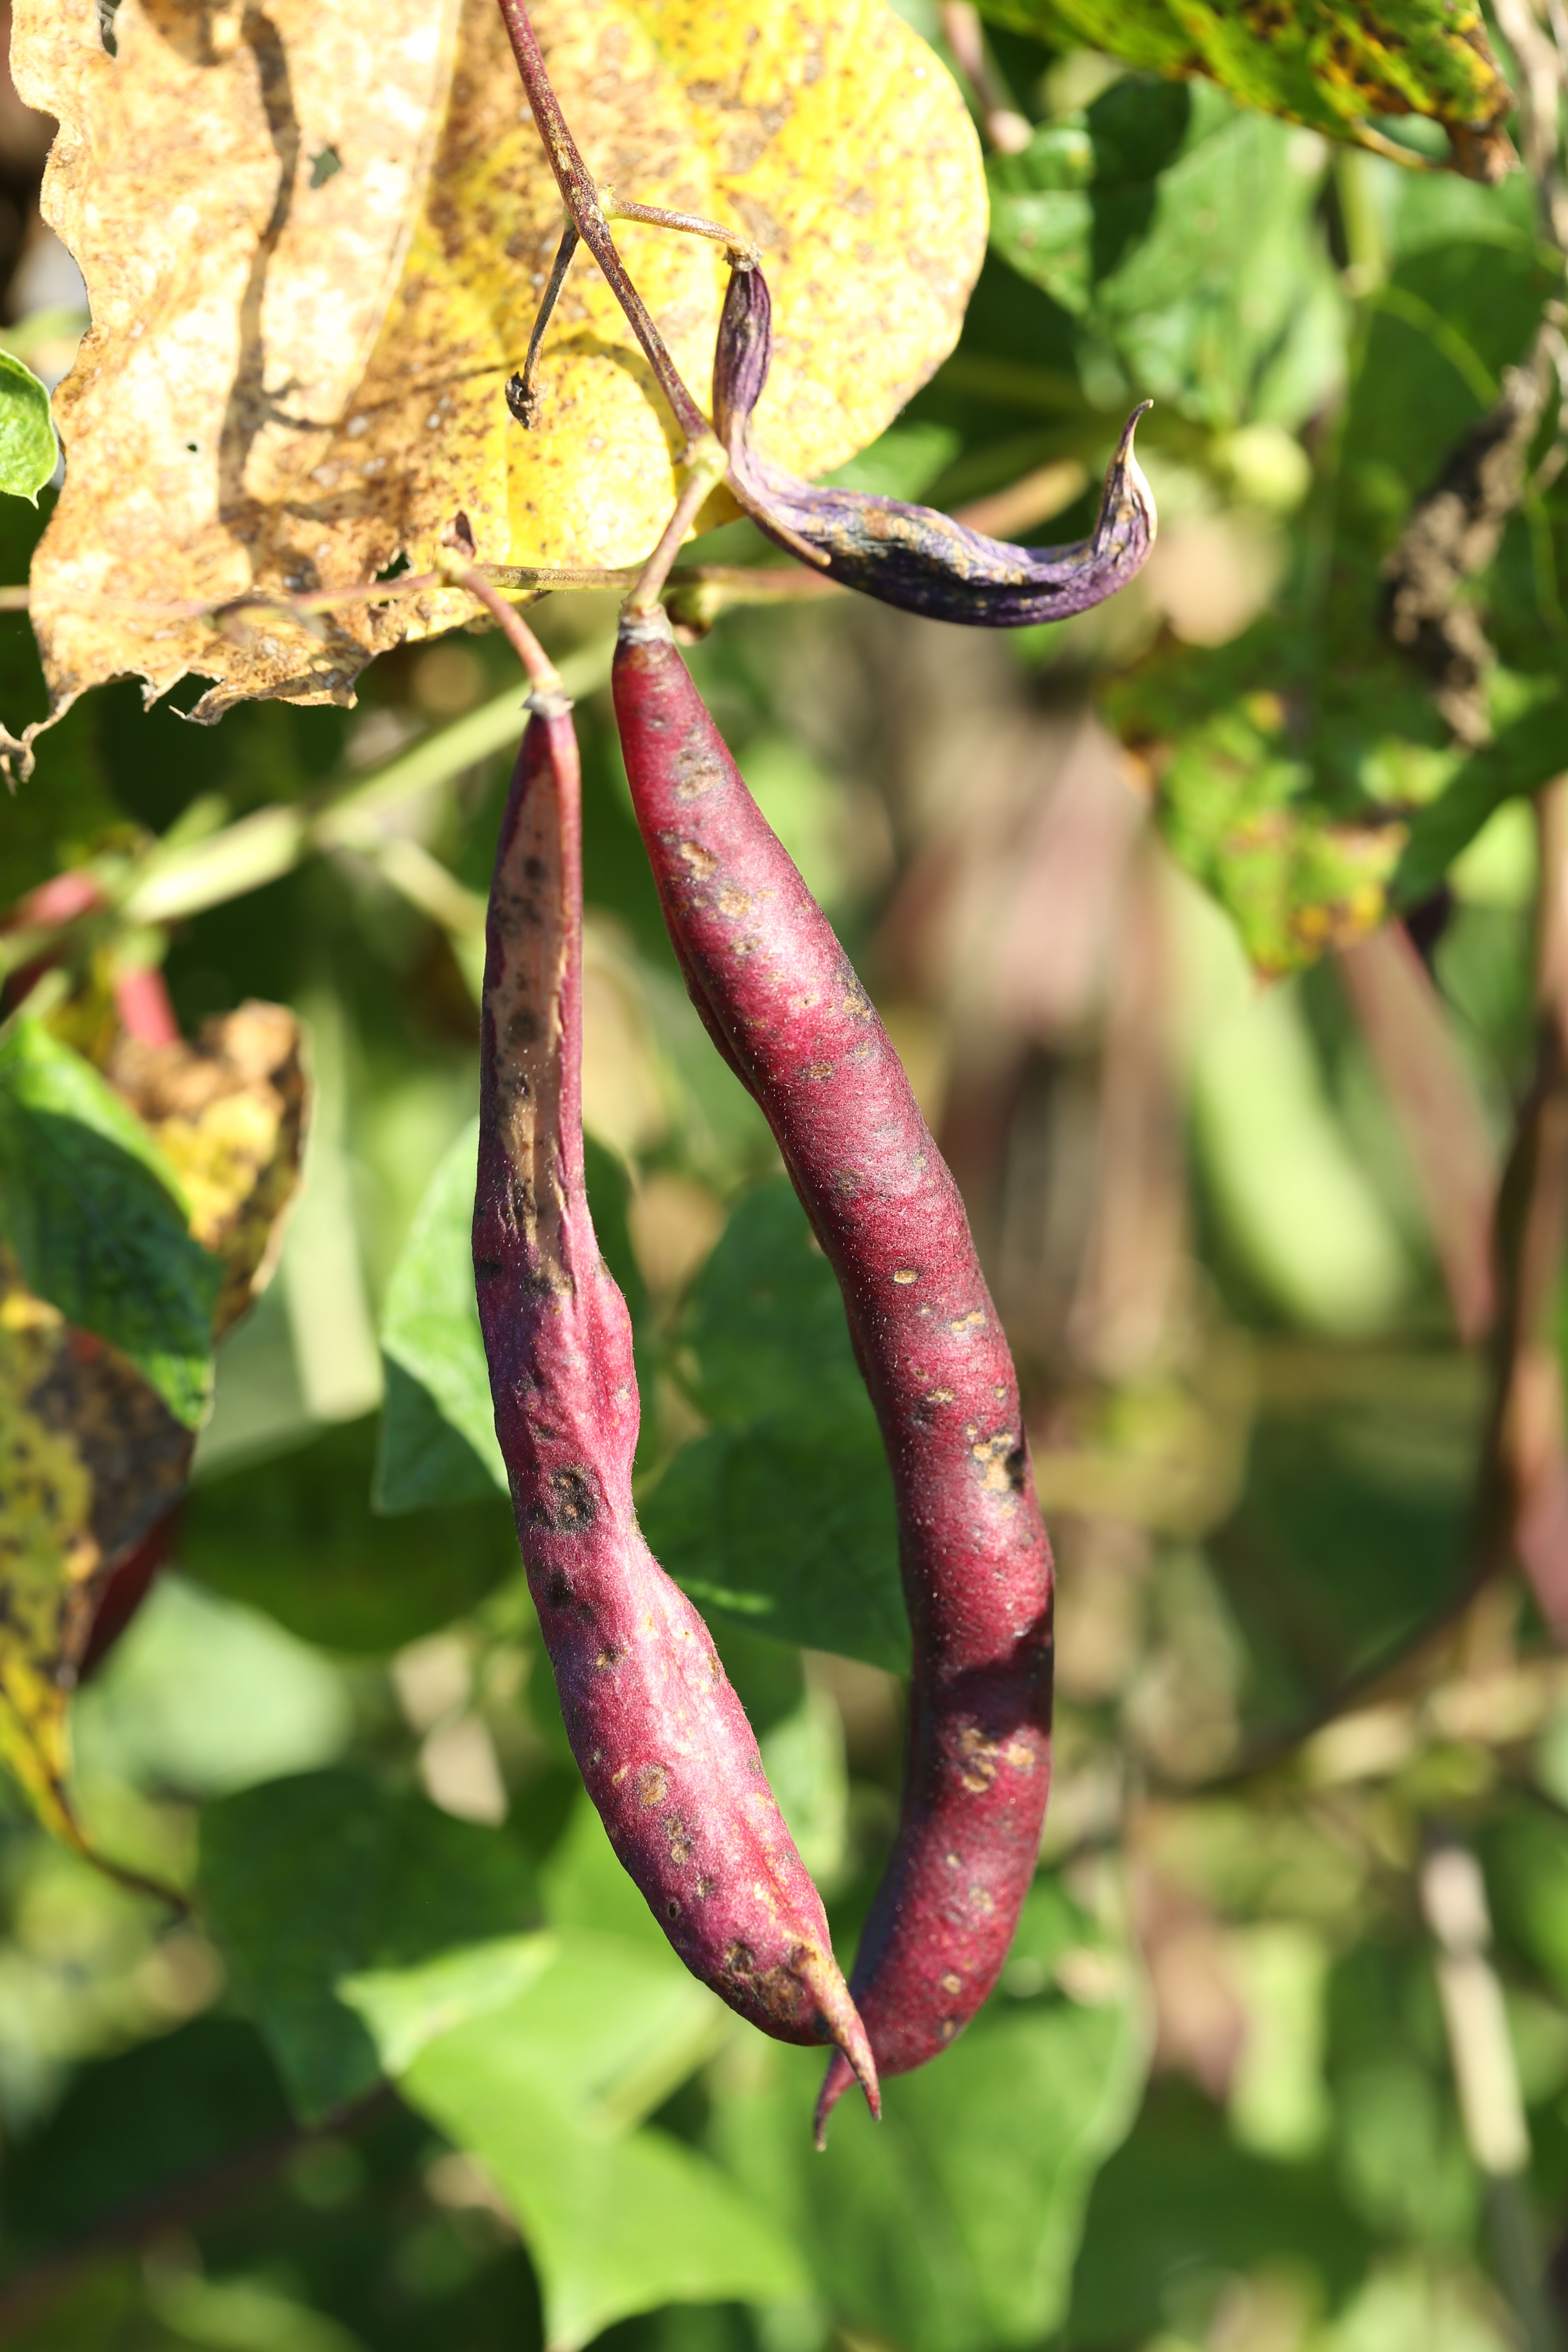 Cherokee Trail of Tears beans are one of the best heirloom beans. We let a bunch go to seed so we will have plants next year. We can also dry out the seeds and cook them like other dried beans.
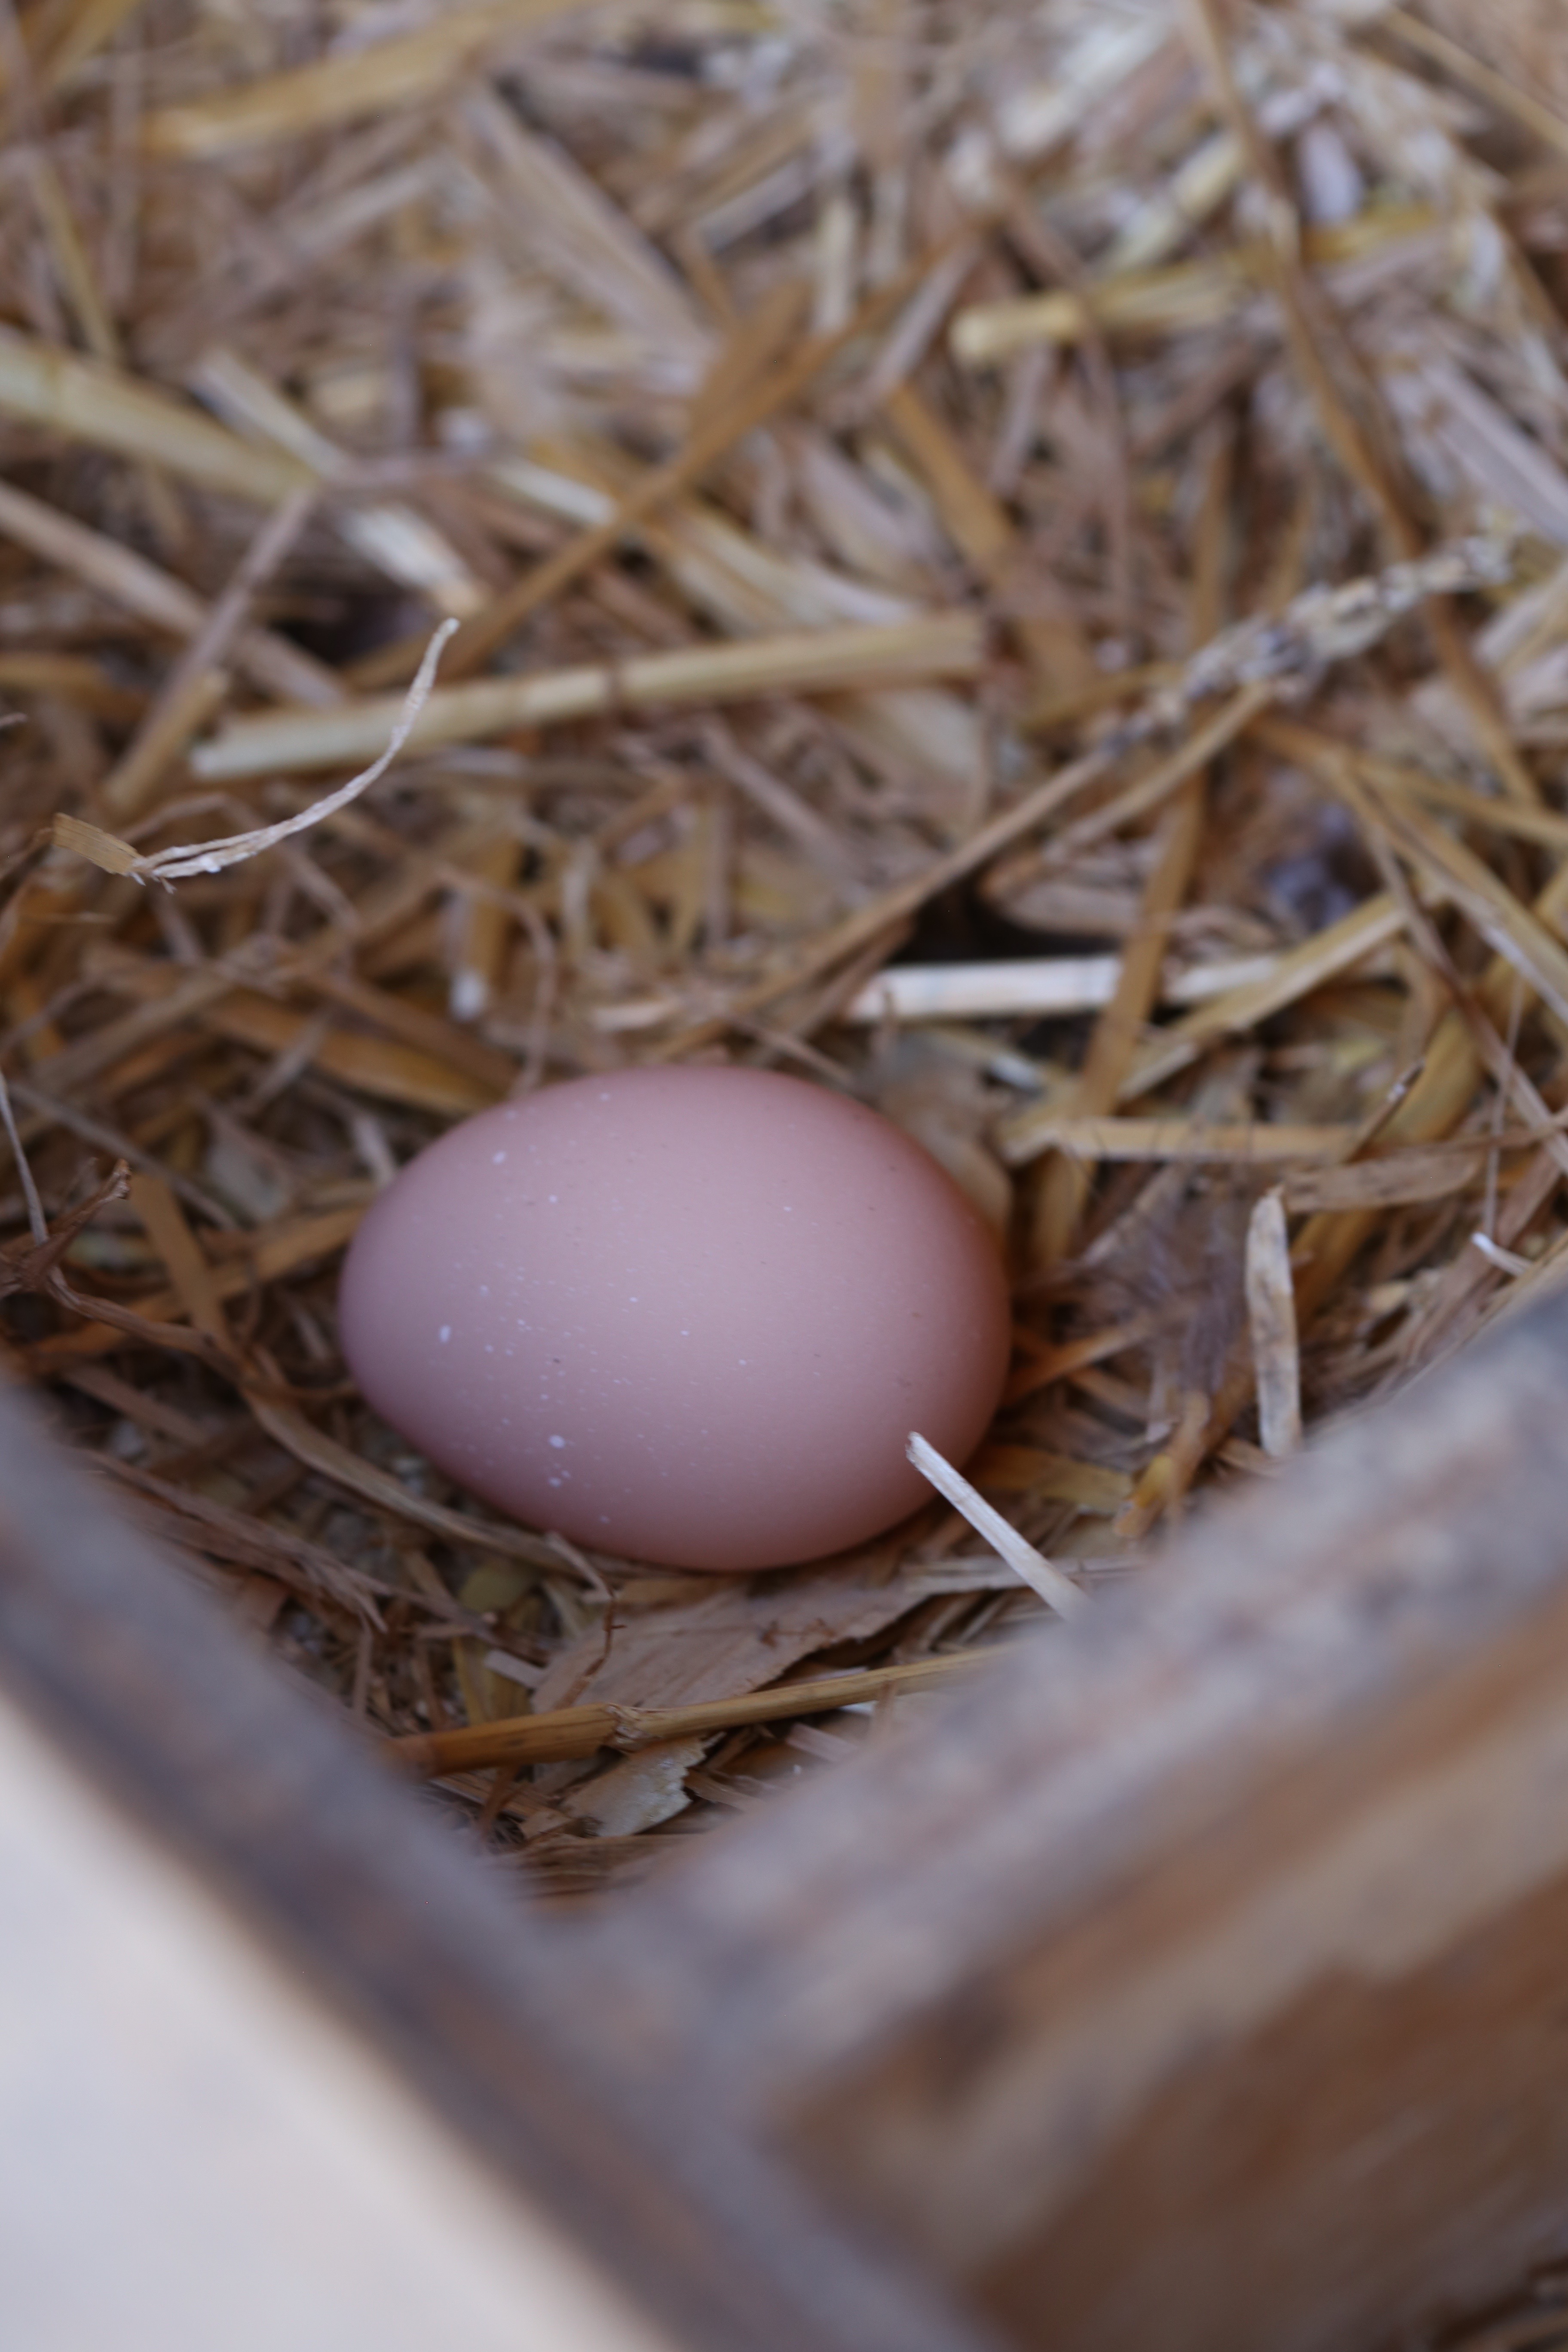 Finding an egg in the box is something that never gets old.
 We harvested the sweet potatoes and pulled up about 40 pounds from the six plants in the bed. So, there you have it, what we have been up to the last couple of months. Come back and visit soon!
 Rhubarb is not easy to grow in the south. The high heat and humidity make it challenging for this Siberian transplant. Some of the varieties can survive in our area, Nashville zone 7a, such as Victoria, Canada Red, Cherry Red or Valentine, but afternoon shade is the key. Plant the crowns on a Northern slope or in an area that gets shade in the afternoon so that the soil temperatures stay cooler, be sure it gets plenty of water too. In my garden, I have four Victoria crowns growing, the most commonly found variety here in Nashville, and I use large, plastic bread racks to provide shade for the plants during the hottest periods of summer.
 This year, I was surprised at how quickly all of the crowns grew and I was able to harvest some stalks to both make this cake and to freeze for later. One of my favorite cakes to bake is an upside-down cake. Being able to turn a fully decorated cake out of a pan is so much better than having to frost and decorate layers. As beautiful as it is, the stalks made me think of celery-luckily, it didn’t taste like celery!
 This recipe is a work in progress and I am not posting it here but it is based on a Persian Love cake made with pistachios, lemon zest, cardamom and rosewater. To decorate it a little after turning it out of the pan, I sprinkled chopped pistachios and rose petals around the edges. Because this was a large cake, 9″x13″, I took it to a Master Gardener meeting and potluck dinner, I came home with a very small piece; I ate it for breakfast the next day.
 There are so many things to see in the garden, too many to share. This is a glimpse of what is going on now. Enjoy the view!
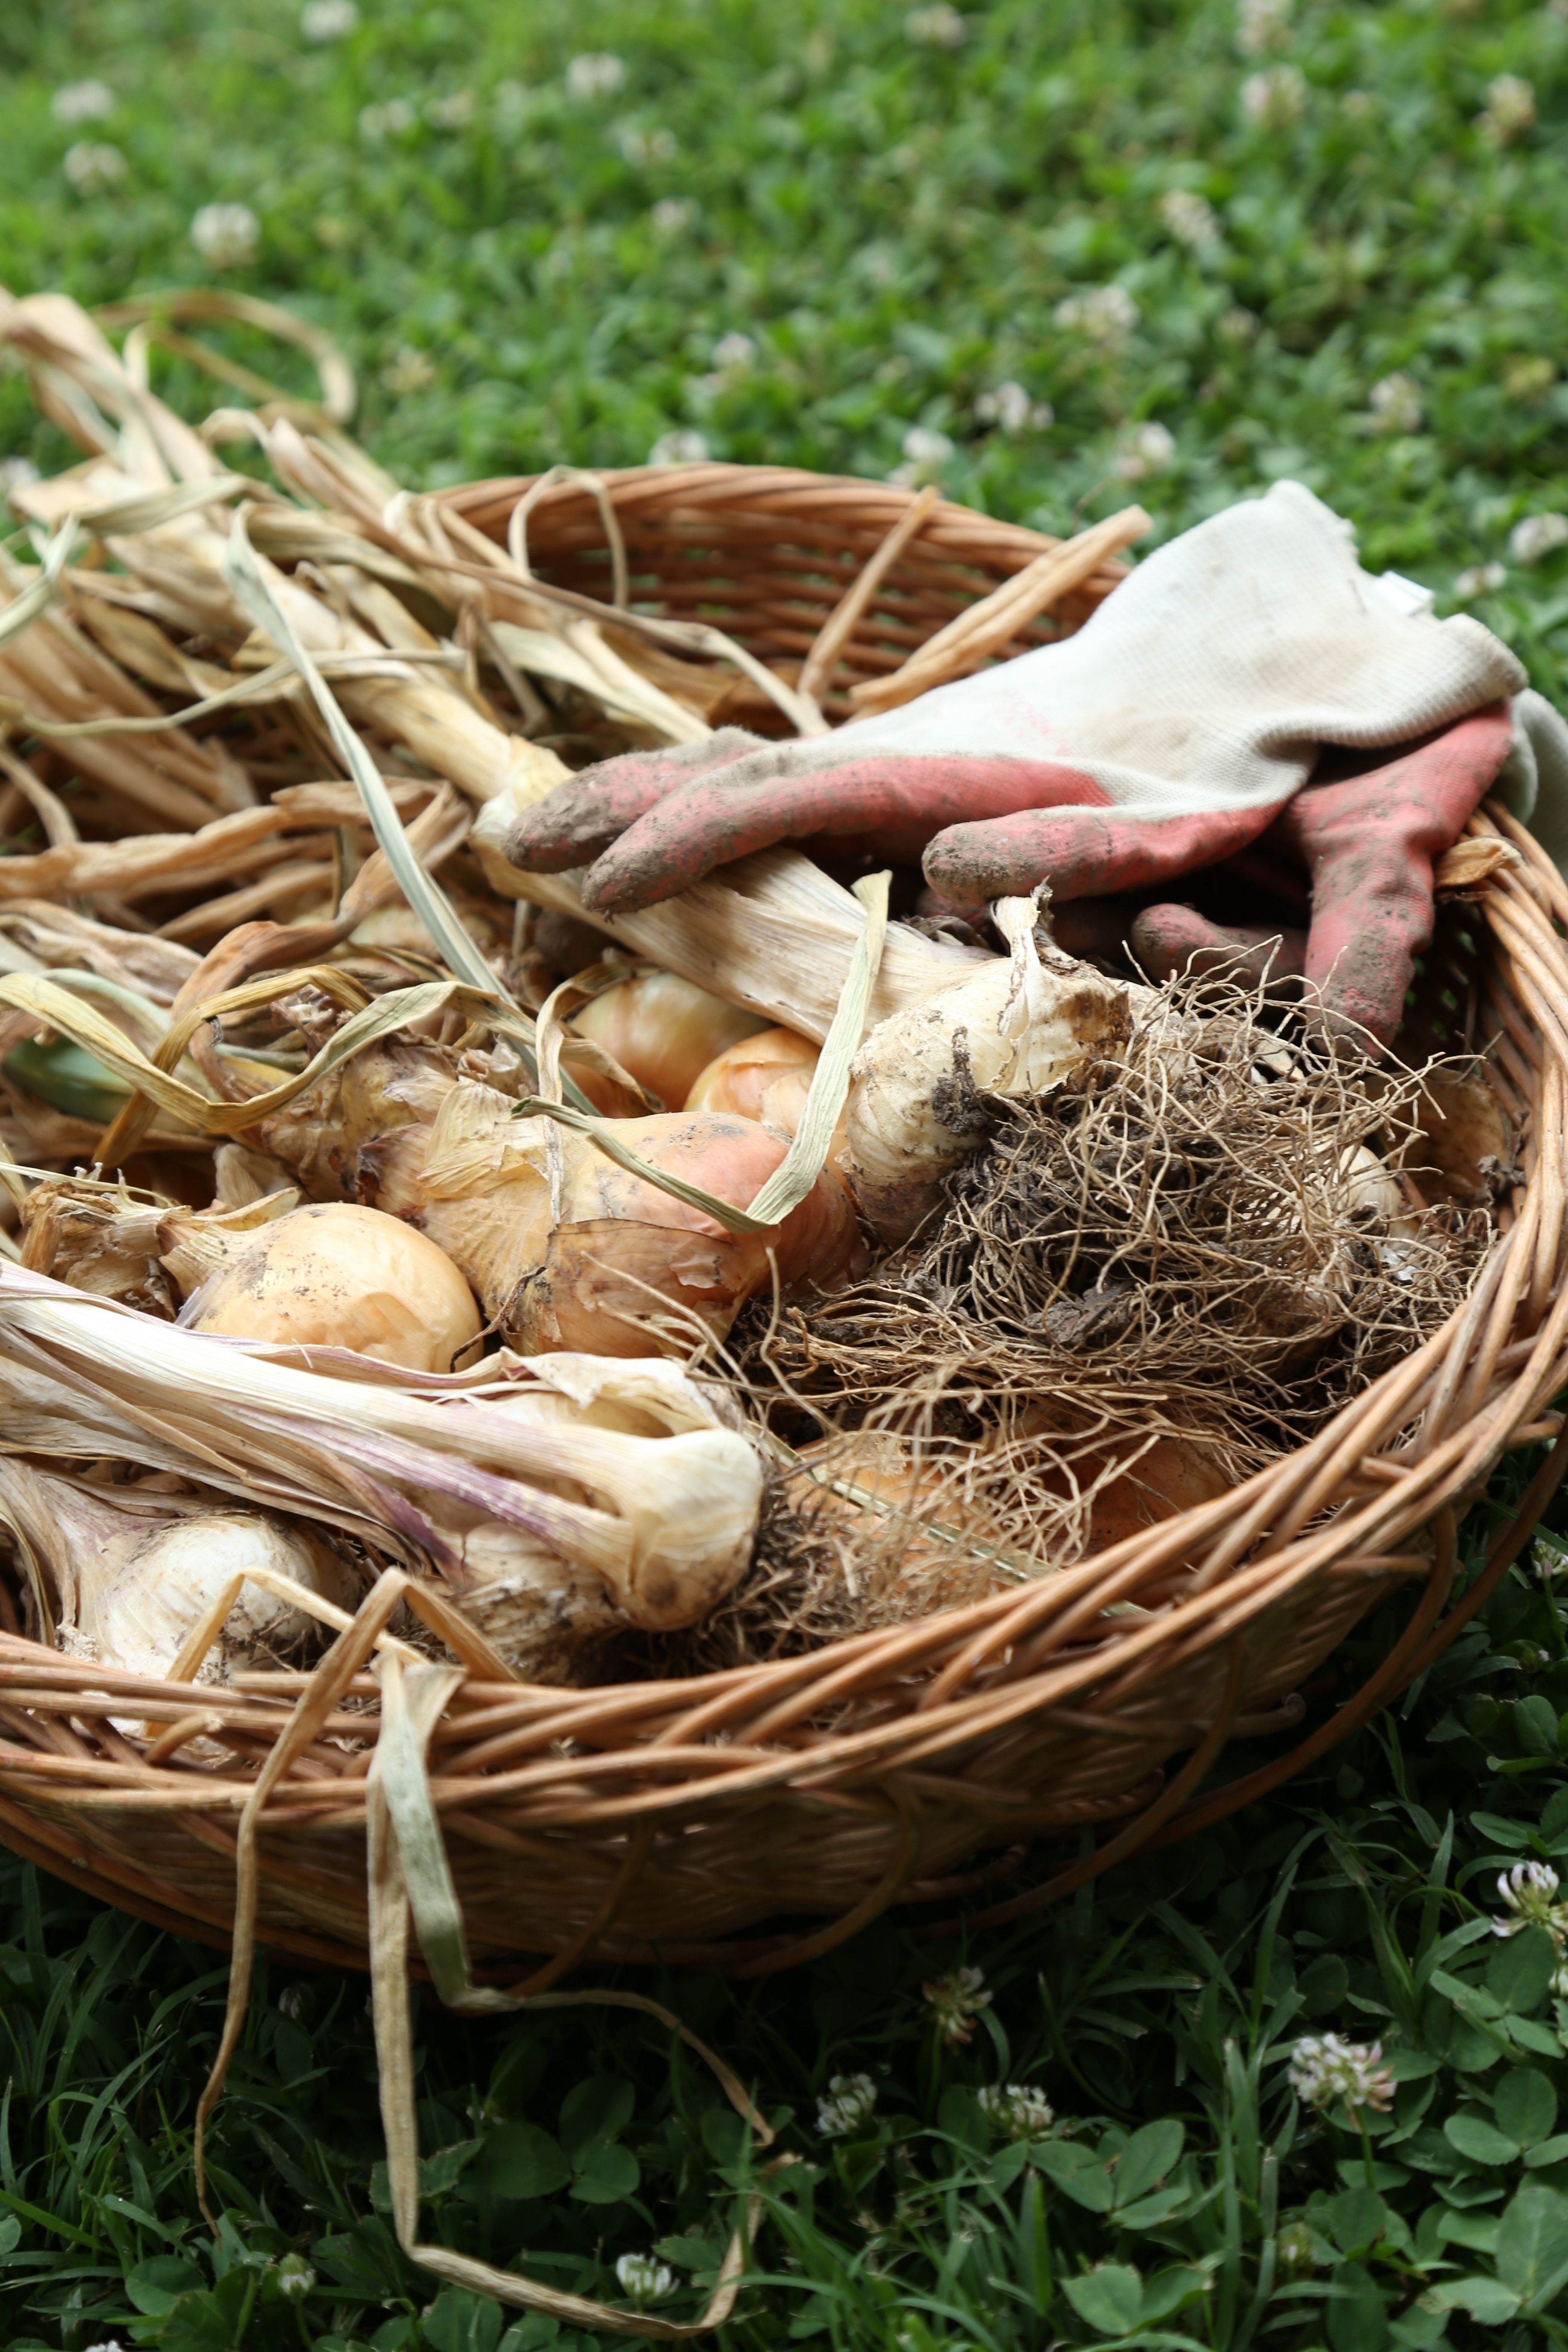


 Back in September, I learned we were relocating again. After a few bumps in the road, we have landed back in Nashville and are settling into our new home. During the move, one of the things I missed the most was being able to bake in my own kitchen and now that I have a kitchen again, I am also baking again!
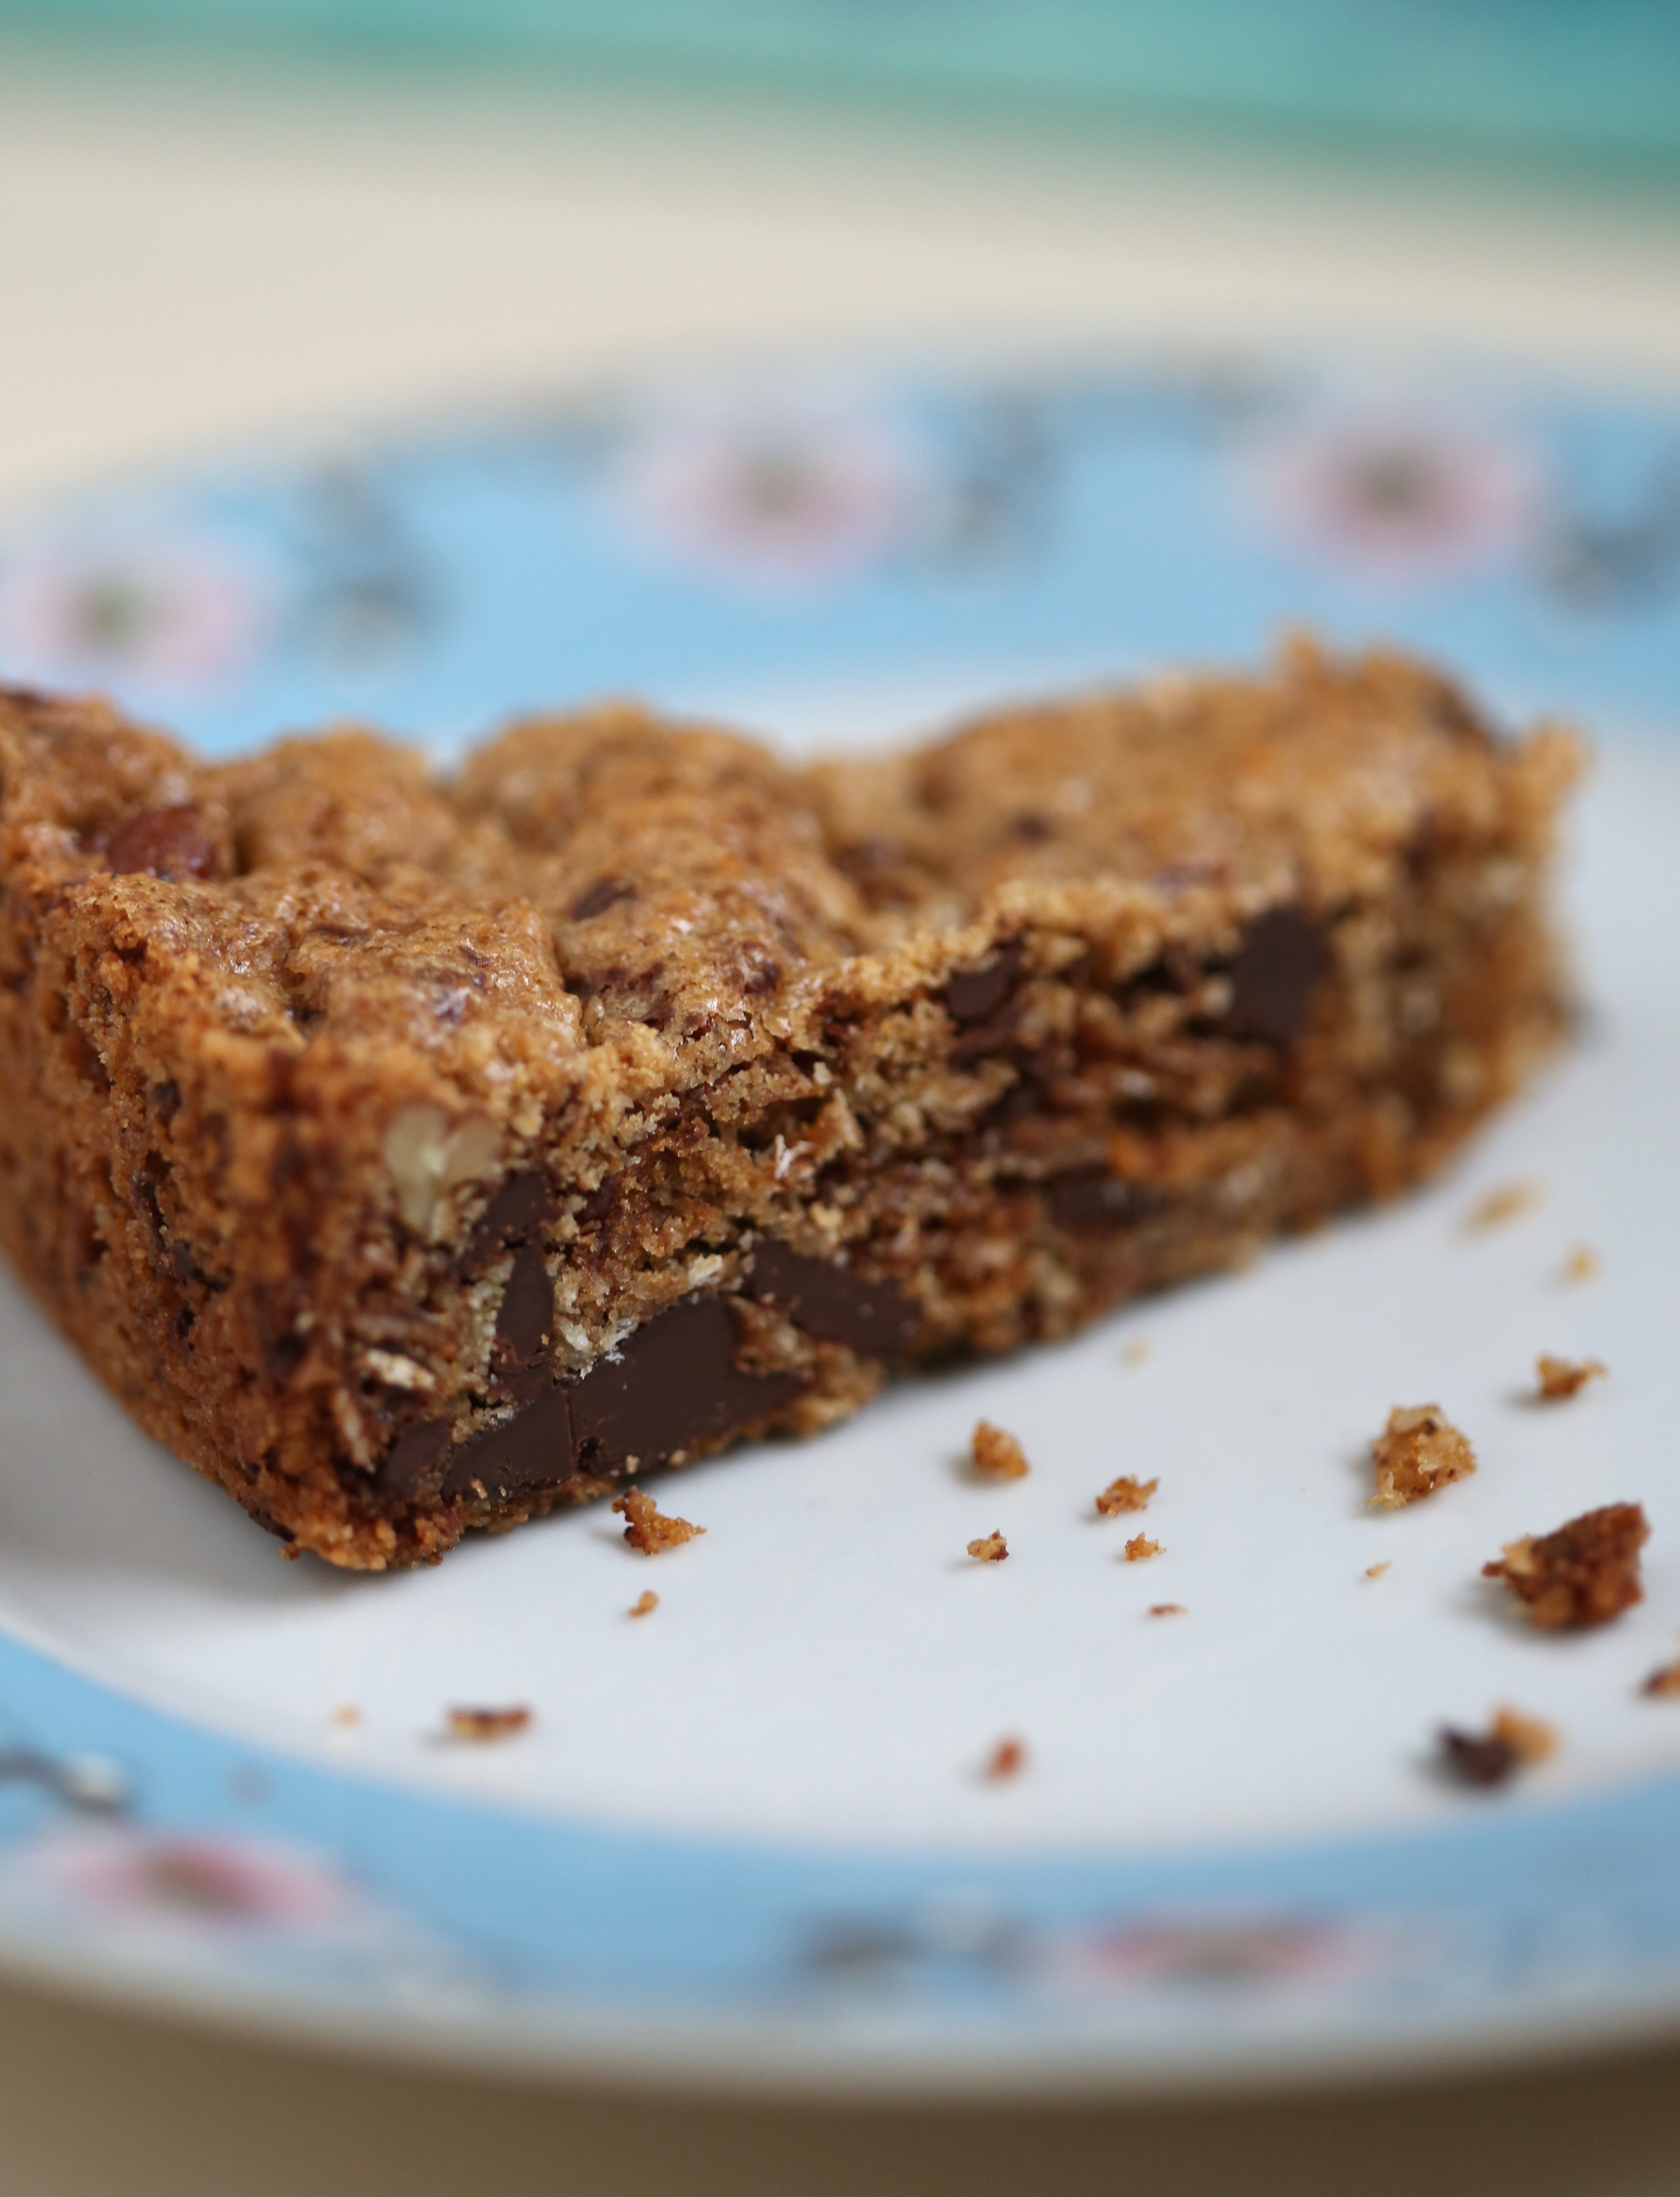 The recipe calls for bittersweet chocolate, shredded coconut and granola which all combine to make the flavor similar to an oatmeal cookie with coconut and chocolate chips. The only thing you need to know, use a good quality granola because it is a large part of the flavor and texture of the cake. With this in mind, I made a small batch of my own granola rather than buy it.
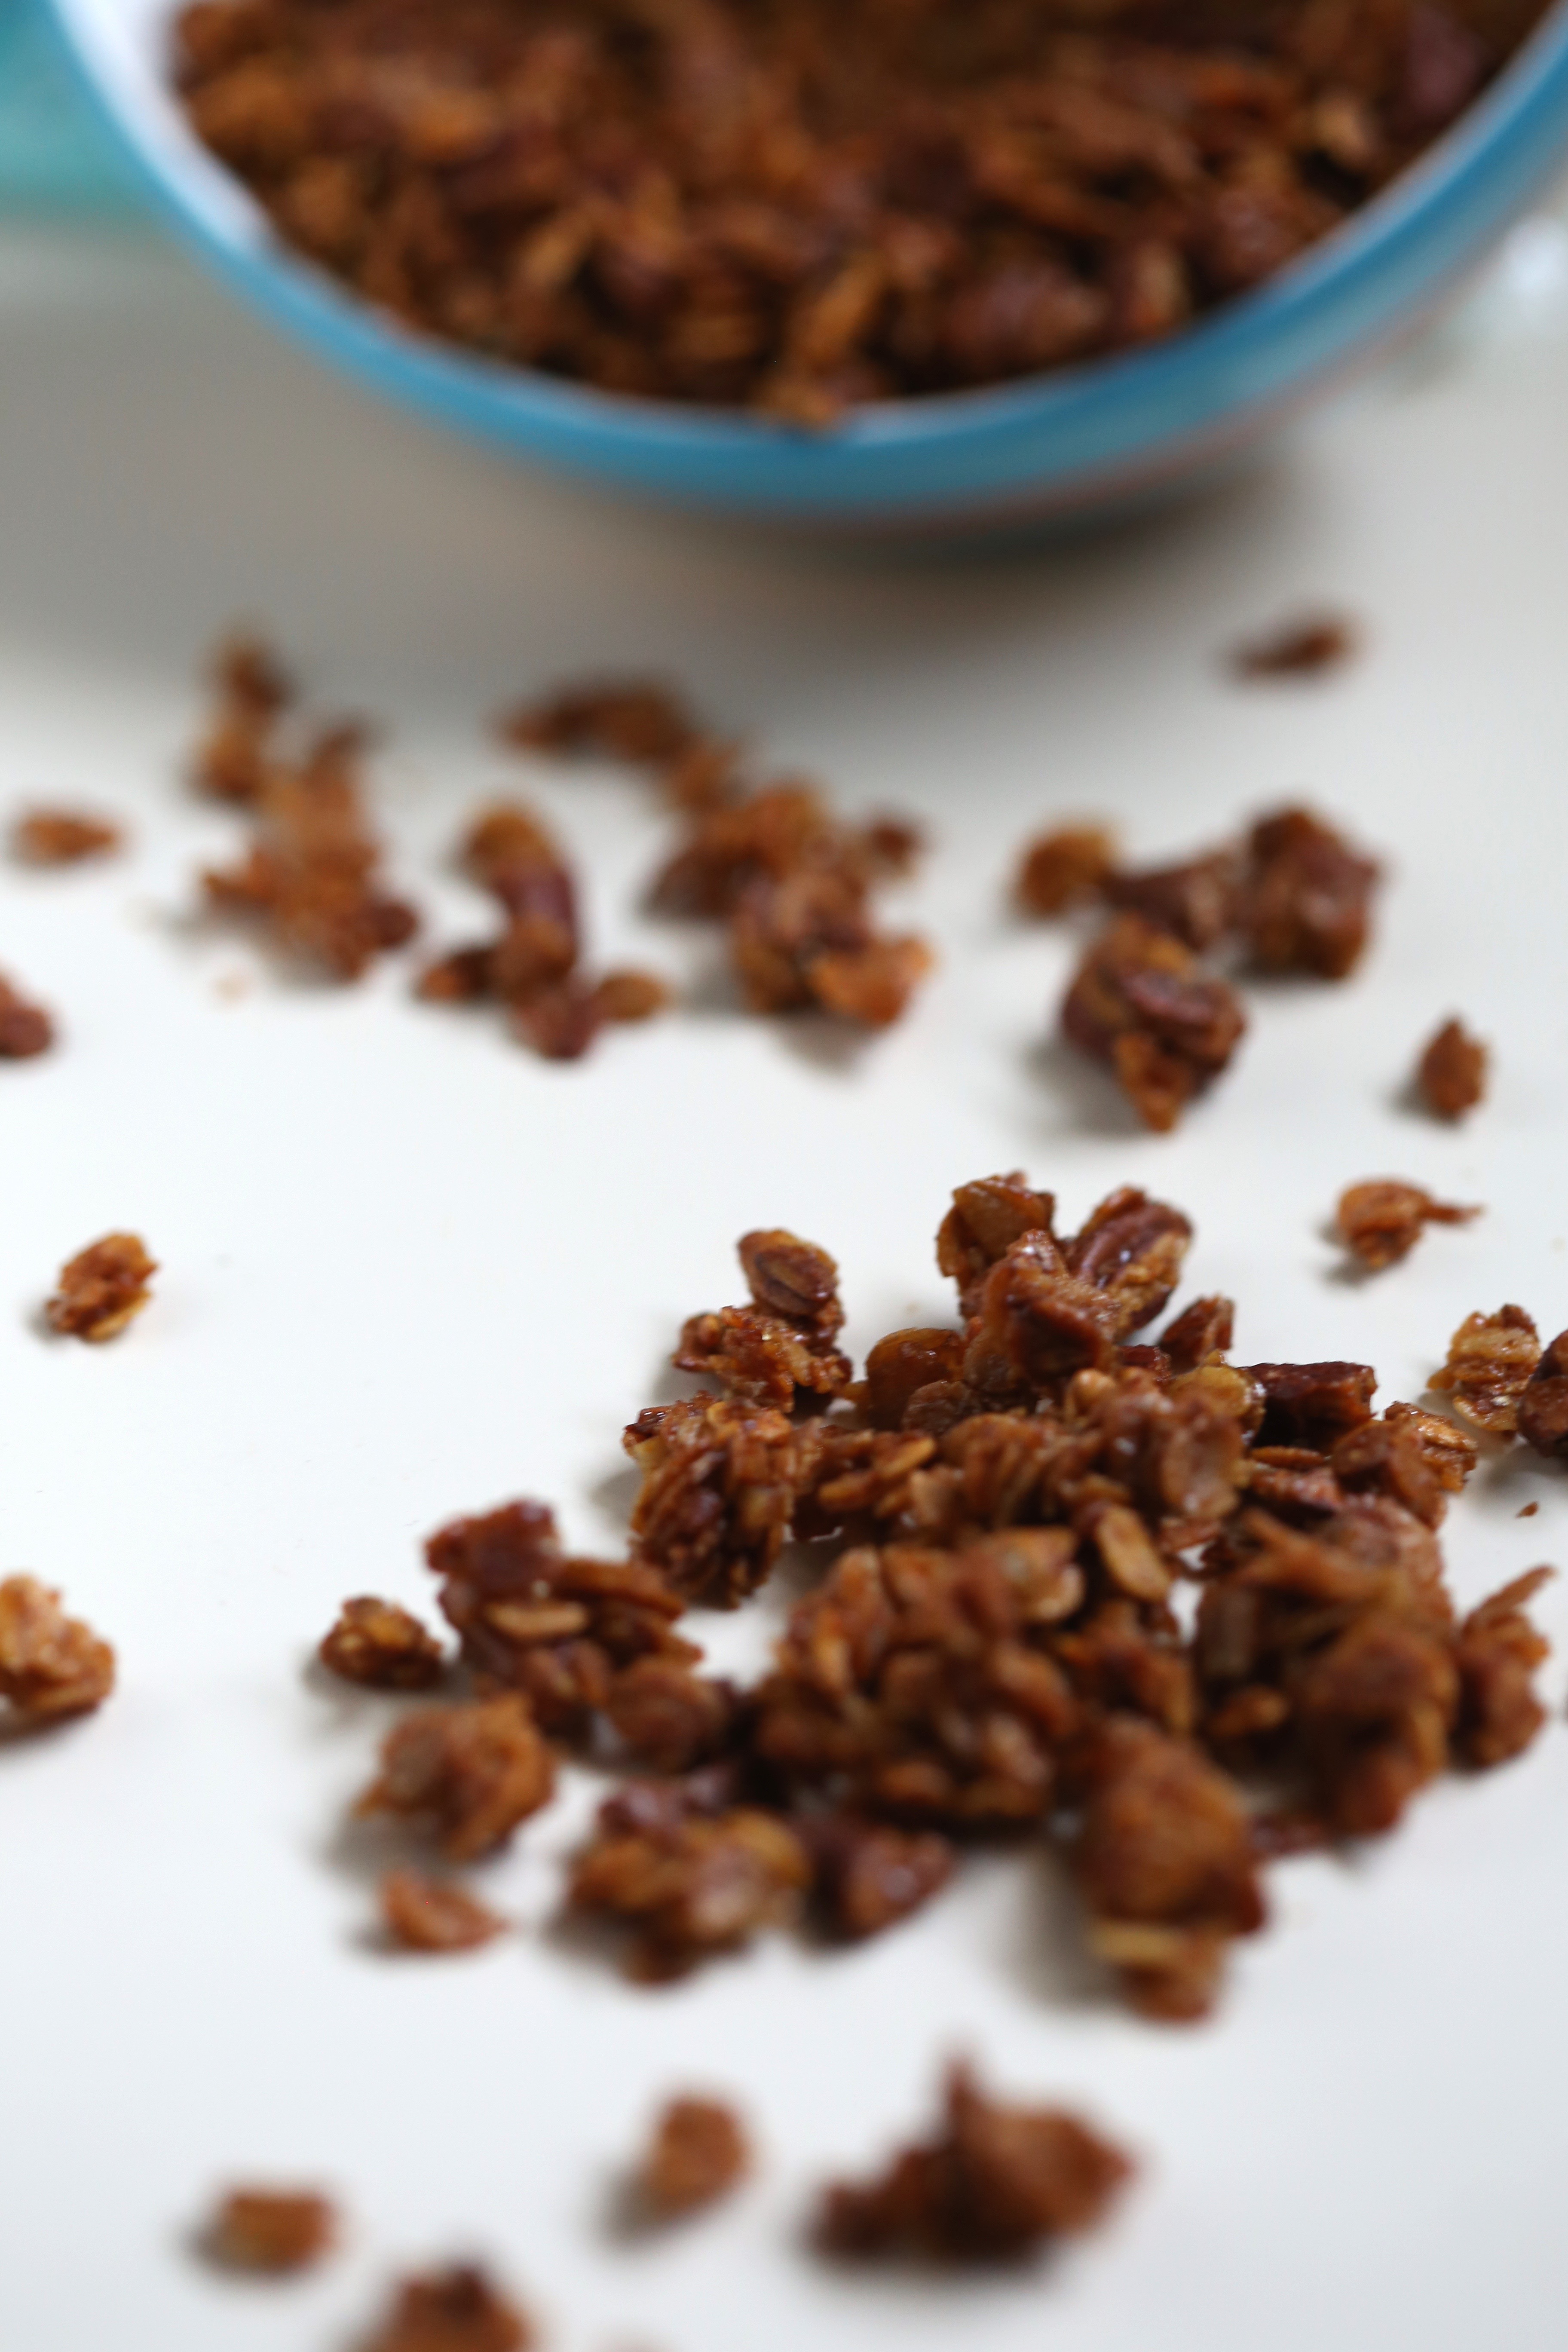 Granola
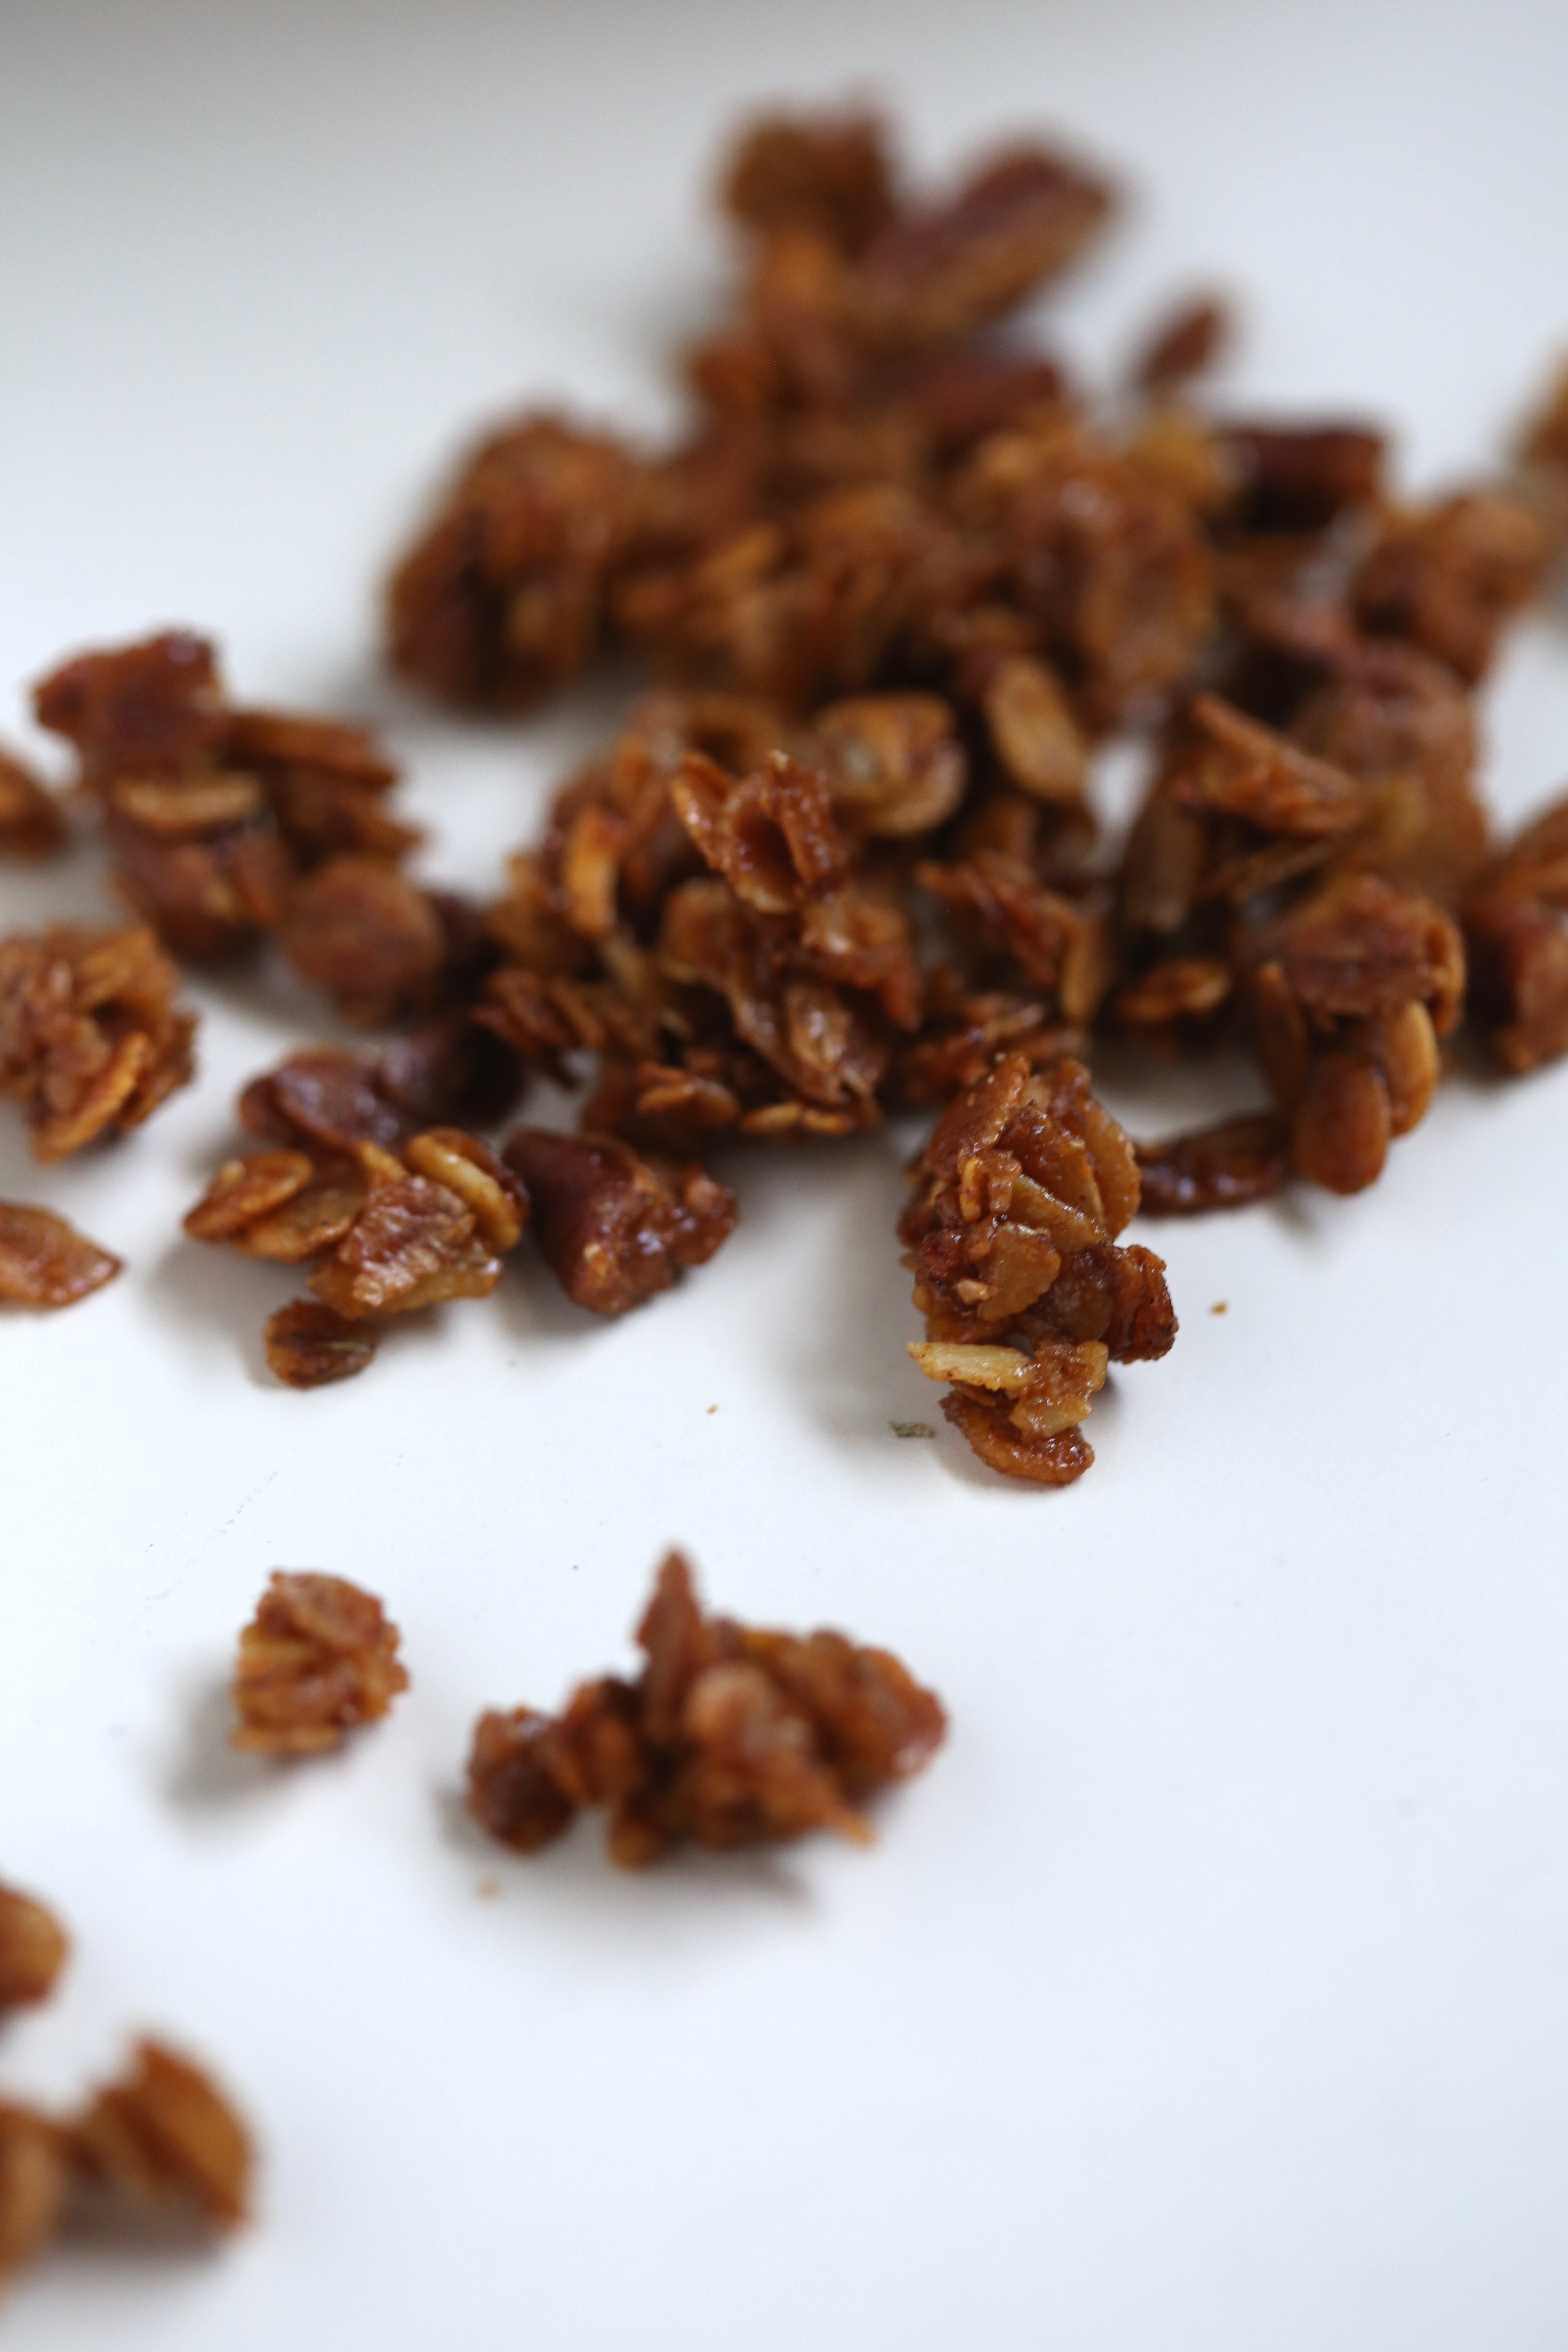 Want to bake along with us? Pick up a copy of the


 Things are moving along here. Our appraisal came back and we are waiting on a closing dated. Moving in day cannot come soon enough. While it seems a bit like turmoil, it is actually a little liberating; no obligations, no chores, just waiting. It has given me a chance to look through so many photos of our time in Williamsburg and I really will miss exploring there.
 Everything in the reconstructed building was a reproduction but it still served to show just how things were. Williamsburg was a fairly sophisticated place and even though I knew that about the Colonial era, it was still surprising to see just what they produced. We tend to think of the colonists as living in little cabins with the bare essentials and while many did live like that, the folks living in the city of Williamsburg were able to live a little better.