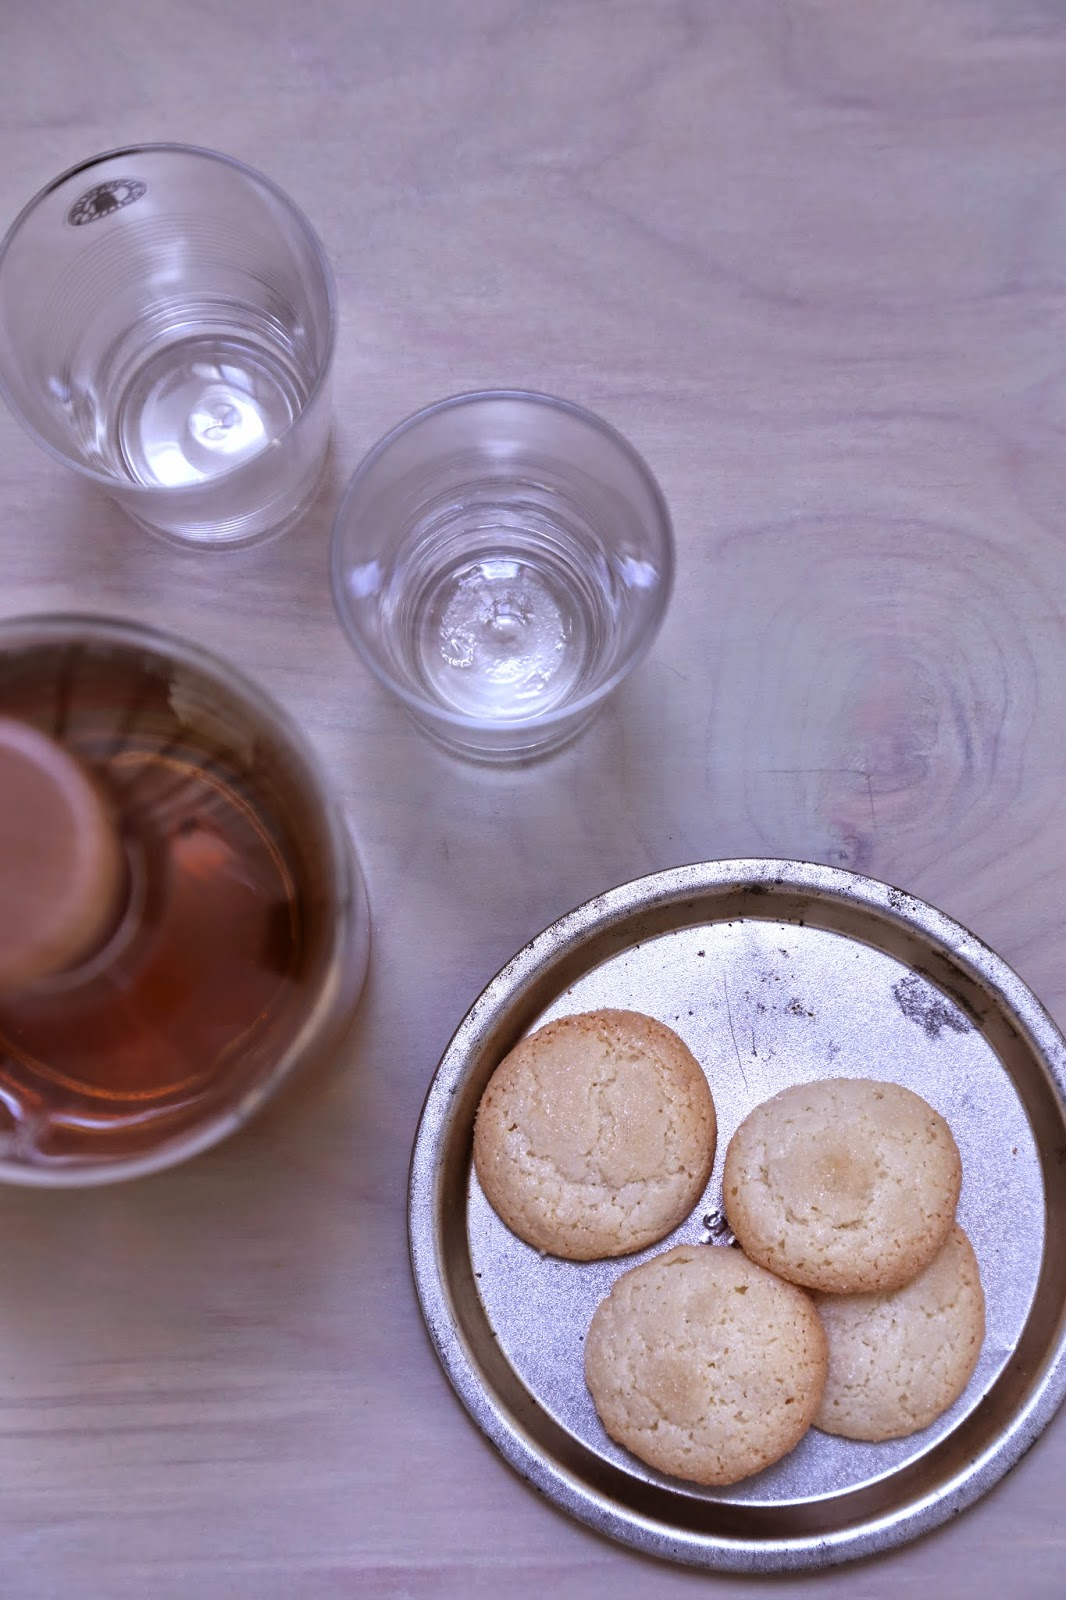
The fact that I have a sweet tooth is no secret, it should probably be called an unhealthy obsession. Generally, I keep it in control by not buying sweets and not baking them unless I am bringing them to someone else. It’s a good plan, most of the time. But every now and then, I cave. Lately, when that has happened, Darry and I have gone out for ice cream. With the extreme heat we have had lately, how could you blame us? In the evening, as the sun goes down, we like to go to the Village and visit the local ice cream shop and then walk around.
But this week, I felt like having cookies. Oatmeal cookies, with raisins. The kind that stay a little on the soft side and would probably make great ice cream sandwiches, but I will not be trying that anytime soon…feel free to do it though, and report back to me if you do.
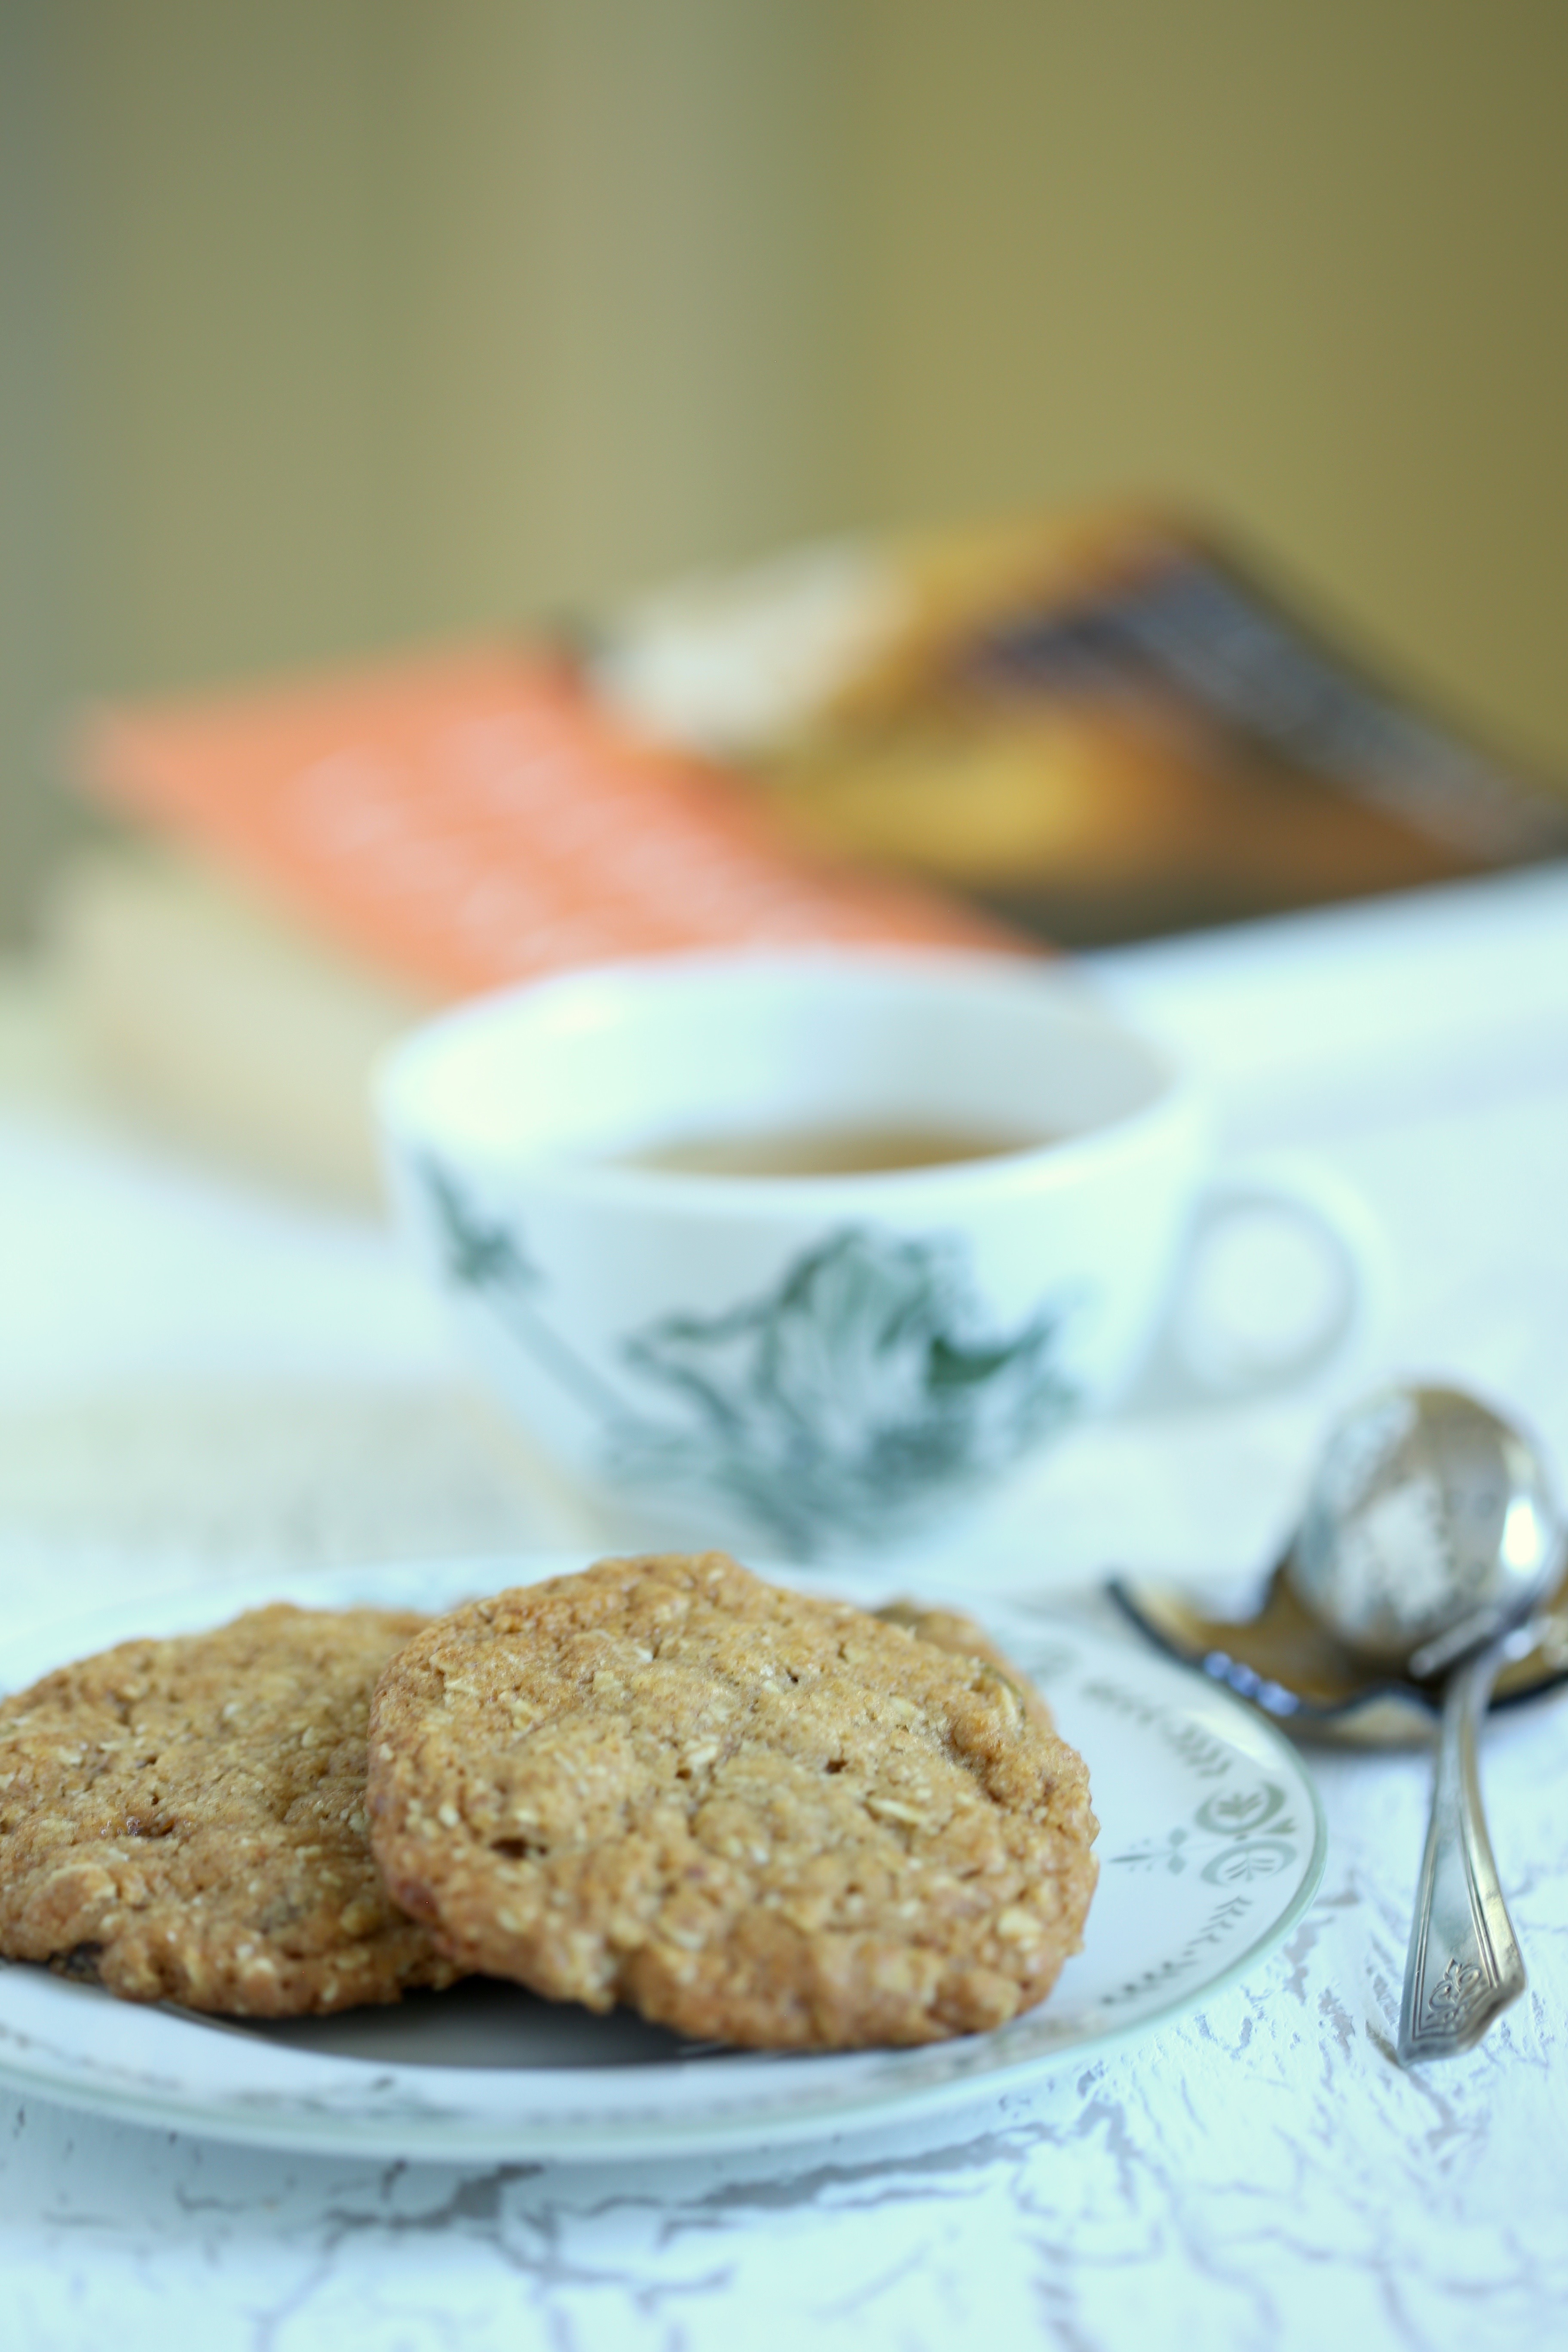 Over the years, I have made oatmeal cookies with any number of added goodies. Dried currants are my favorite choice but dried peaches and figs are really good too. This batch has raisins, dark raisins but when I use raisins, I usually prefer the golden ones. My husband likes them with dried cranberries. While I love nuts, I hardly ever add them and more often than not, I see them with chocolate chips but even though I am a huge chocolate fan, I cannot stand oatmeal cookies with chocolate chips in them.
My pantry is a little over stocked and I made the choice of dark raisins; all part of the effort to clean out the pantry. Helpful hint, if your fruit is dried out and leathery, don’t toss it out! Put it in a pot, cover with water, place over medium heat and let the raisins get hot, just about boiling. Remove them from the heat and let the fruit cool completely. Dump the raisins into a mesh strainer and press gently to remove the excess water. Then add them to the dough. Once baked, the raisins will be nice and soft and will also add a little moisture to the dough but too much moisture can lengthen the baking time.
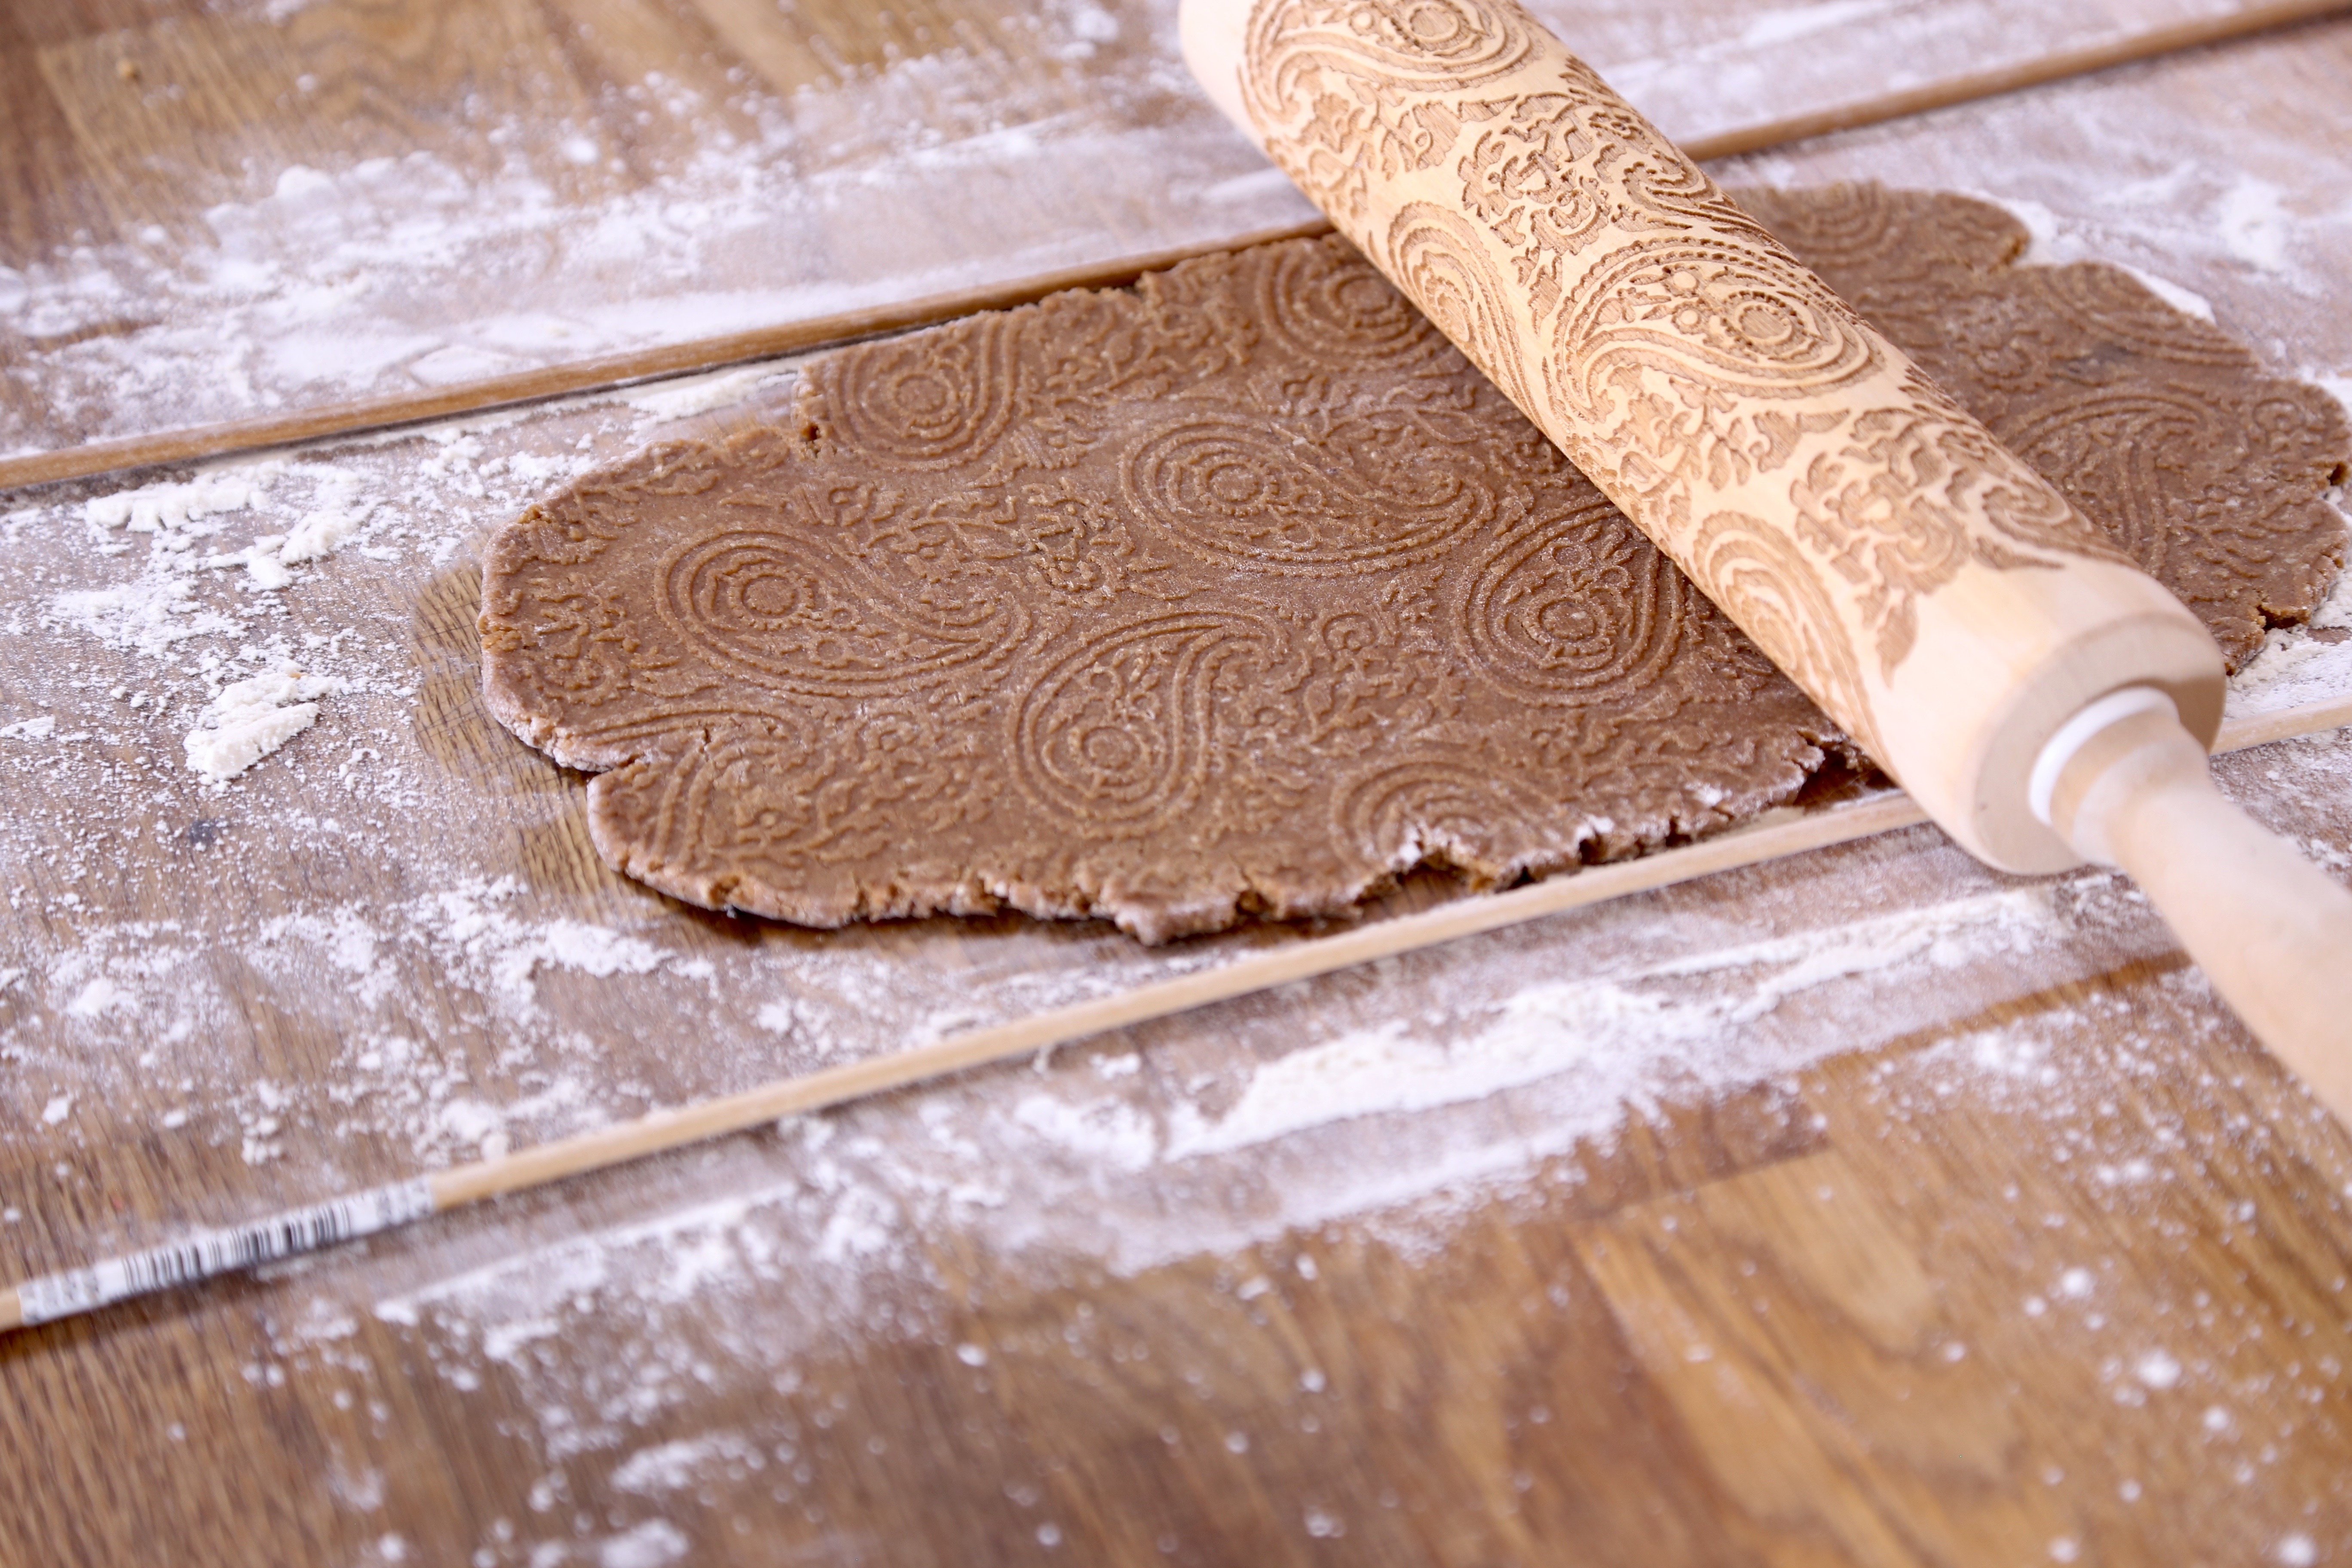
 One of the nice things about oatmeal cookies, it is easy to hide whole grains in them. Besides using whole grain rolled oats, you can also use whole wheat flour and trust me, no one will know! The oats can also be swapped out for other whole/rolled grains. Trader Joe’s sells a mixture of rolled whole grain made from a mixture of oats, wheat, barley and rye and that would work in this cookie too!
 A few notes to ponder:
Because I do try to make better eating choices, I made the batch of dough, scooped it out using a restaurant style portion scoop and chilled the balls of dough. When it was time to bake them, I only pulled 8 scoops of the dough and froze the rest in a ziplock bag. Now I do not have to worry about eating too many at once! My scoops were 1 ounce a piece and the best size scoop for that is a #40 scoop. What does that mean? Food service portion scoops are somewhat standardized. A #40 scoop will most likely have a purple handle and the number stands for the amount of scoops needed to equal a quart. Look for this scoop in your local restaurant supply shop or online, you will not regret purchasing one because it will help you get a consistent size and make quick work of the scooping.
Recently, I wrote a guest post for fellow Virginia Blogger, Liz of I Heart Vegetables, on the importance of proper measuring in baking. While using a scale is something I have done all of my professional life, it isn’t always the way I do things at home. Until now, this recipe and the majority of recipes to follow will be written using weights. If you like what you see, you will need to use a scale to make it. Before you panic, you can easily find one at the store-even the grocery store, and the majority of them cost less than $20.
Quite a few of the ingredients in this recipe are interchangeable on a 1:1 basis. While I could have used butter, I chose coconut oil because I wanted to add the flavor without adding the texture to the cookies. When I bake, if a recipe calls for molasses, I almost always reach for sorghum instead. It is milder in flavor and a little lighter in color but most importantly, it tastes so much better! Sorghum is a traditional Southern syrup made by cooking down the juices extracted from sorghum canes. It is sweet and turns a deep amber as it cooks which gives it a molasses-like flavor and for that reason, it can be referred to as sorghum molasses. It can be tricky to find in other areas of the country so you may have to purchase it online. Remember when I mentioned using whole wheat flour? Well, sometimes I use only whole wheat, other times, I blend it half and half with all purpose and if I am not paying attention, I am likely to just use the all purpose. Don’t sweat it, use what you like, and if you want to add a little fiber to your diet, use whole wheat, you will still love the cookies!
 Oatmeal Cookies with Raisins
makes about 24 (1 ounce) cookies
4 ounces of raisins or your favorite dried fruit
6 ounces unbleached all purpose flour
5 ounces rolled oats
1 teaspoon baking soda
1/2 teaspoon ground cinnamon
4 ounces organic coconut oil
6 ounces granulated sugar
2 tablespoons molasses or sorghum
1/4 teaspoon salt
1 teaspoon vanilla
1 egg
If the raisins are a bit dry, place them in a pot and fill with water to just cover them. Heat the raisins over medium heat until steam begins to rise from the water and small bubbles start to form around the edges. Turn off the heat and set the fruit aside to plump until cooled. Dump the raisins into a mesh strainer and gently press out the extra moisture. Adding a lot of extra water will cause them to spread like crazy and will ruin the texture of the cookie.
Place the flour, oats, baking soda and cinnamon into a small bowl and whisk to combine, set aside for now. In the bowl of a stand mixer, combine the coconut oil with the sugar, molasses, vanilla and salt. Begin to cream the mixture, scrape the bowl and allow it to cream for 2-3 minutes. Add the egg, mix it in, scrape the bowl and mix again. Add the flour mixture followed by the raisins. Using a spatula or wooden spoon, mix by hand until it is thoroughly blended.
Using the portion scoop, carefully scoop the dough and place on a pan lined with parchment. Chill completely. Before baking, preheat the oven to 350. Place the desired amount of dough at least two inches apart on parchment lined pans (or silpats) and allow them to sit and soften a bit. Press down on the cookies to form a thick disk (will encourage spreading) or leave them in the shape of the scoop (for thicker cookies). Bake for 6 minutes, turn the pan and rotate top to bottom, and bake for another 6 minutes for soft cookies, 8 for crispy ones. Allow the cookies to cool on the pans for a few minutes then carefully lift them off and place onto a cooling rack to finish setting. Store airtight at room temperature, will stay soft for about 3-4 days after which they will get crispy but will still taste good!
If you chose not to bake all of the dough, place the rest of the chilled scoops into a ziplock bag and freeze for a later day. Allow to thaw before baking, will keep in the freezer for about a month.


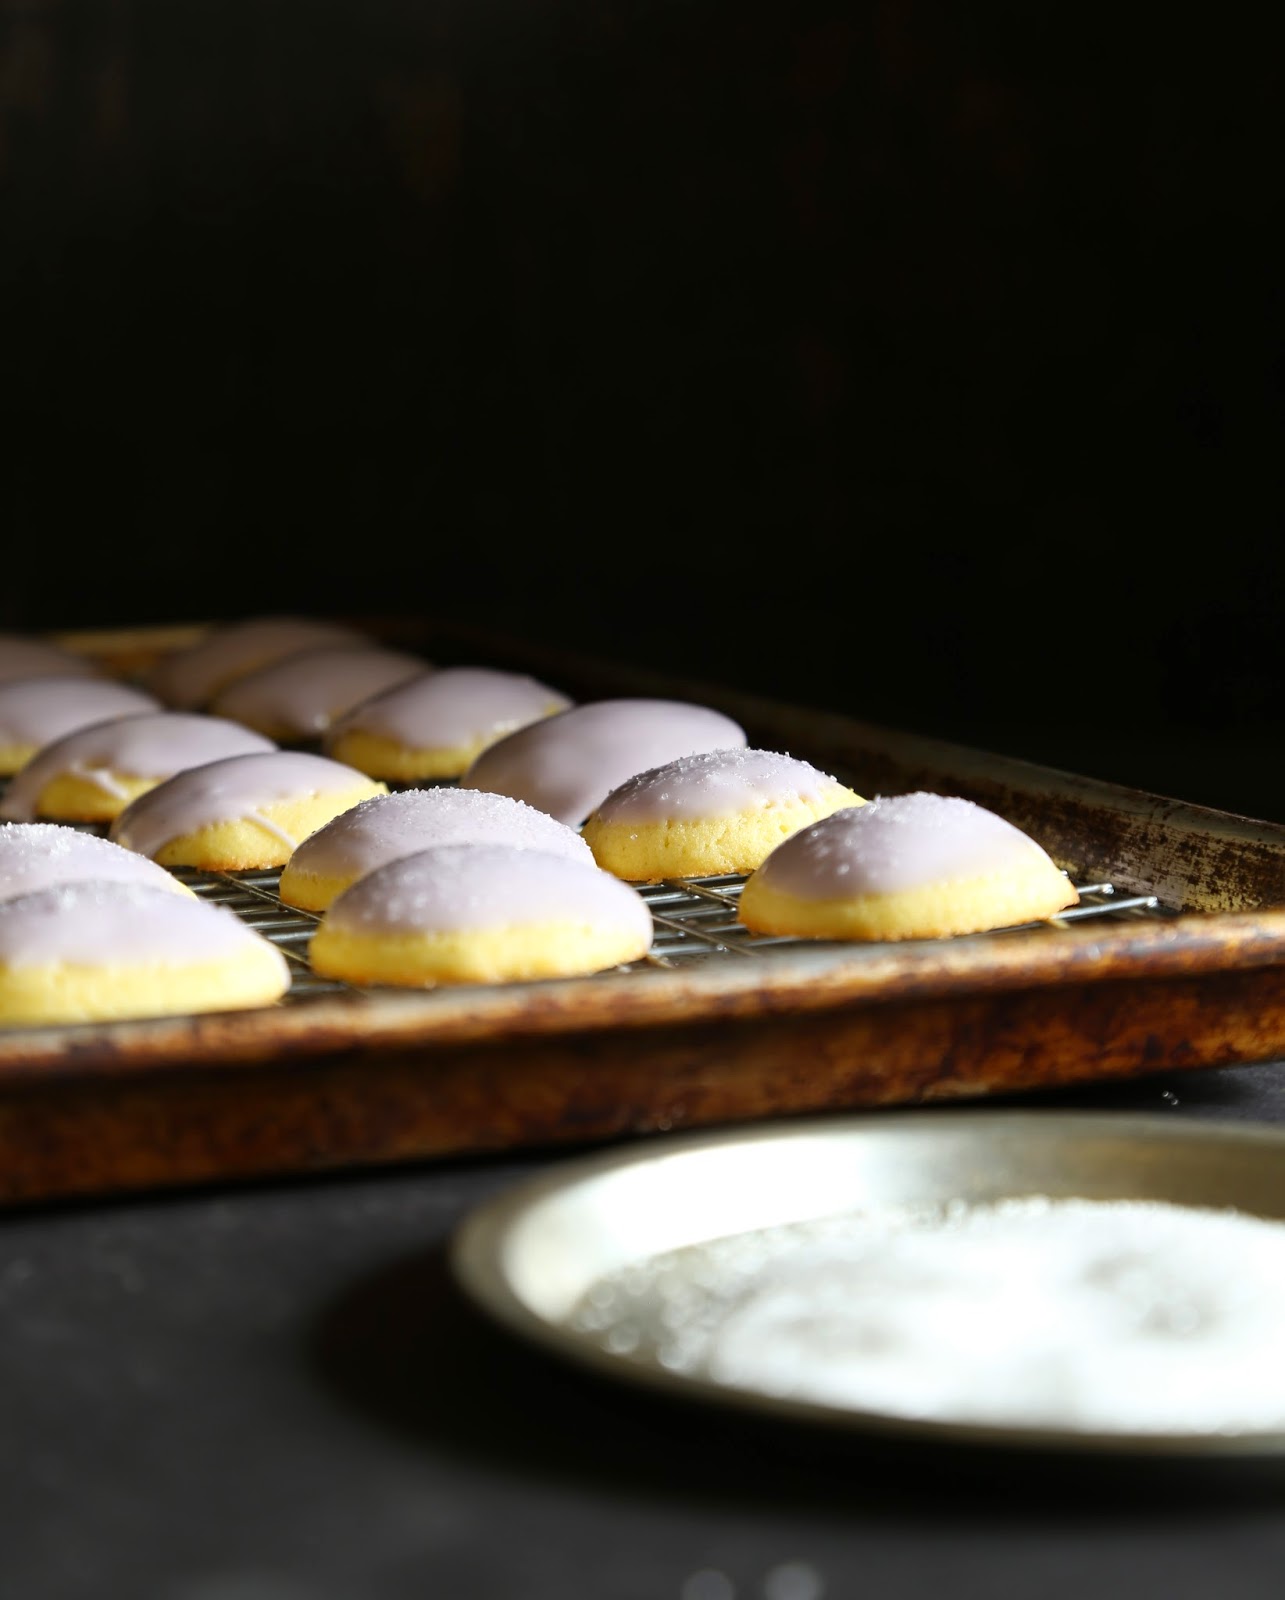
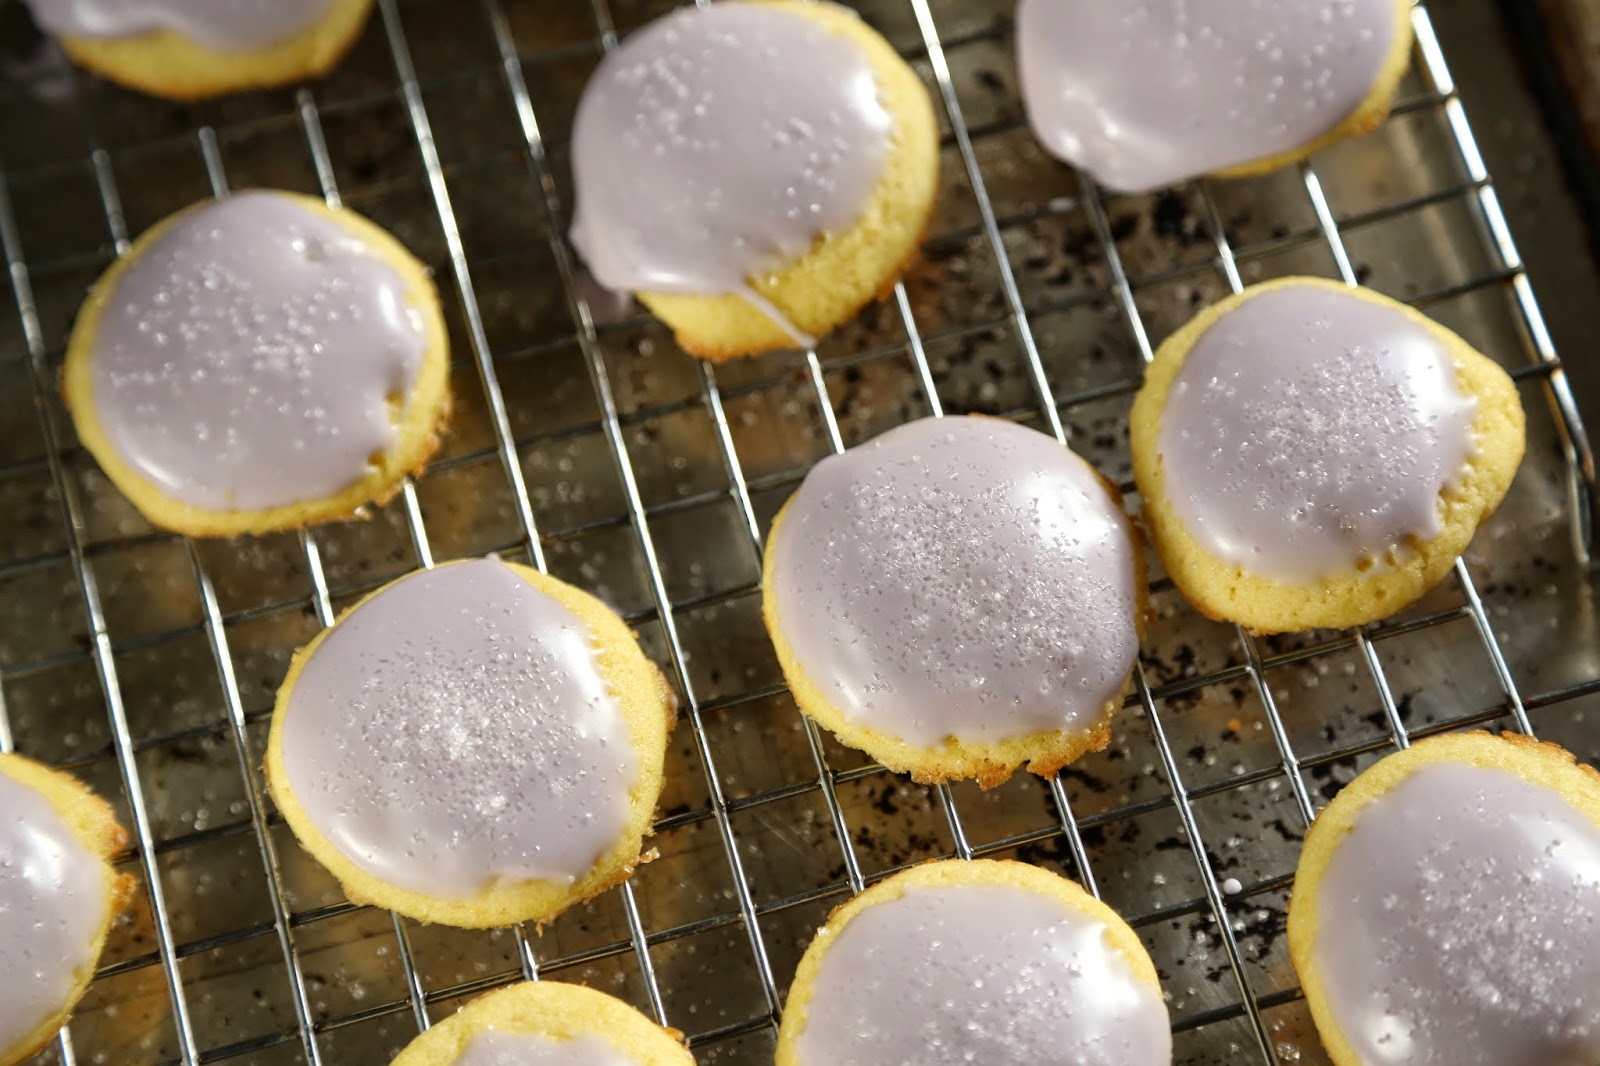
 If you are like 99% of the people I know, you are in a hurry and trying to get everything done; baking, cooking, cleaning, shopping, wrapping and more. Even though I am still trying to get my house unpacked from the move, I am also trying to do some holiday baking because it just isn’t Christmas without a small truckload of cookies in the house! The good news is, that I have found one of the quickest and easiest recipes to prepare.
 Coconut Spritz Cookies
 When I was a child, a really young child, I would spend weekends with my grandmother and great-grandparents. They would indulge me in many ways, especially sweets. My great-grandmother always had a batch of jello in the fridge. For as long as I could remember, my grandmother took great pleasure in telling the story of my “disappearance” while I was visiting one weekend. Apparently, I climbed out of my crib and went on a midnight jello raid and fell asleep on the dining room floor. The three of them frantically searched for me and in their panicked state, they did not see me in the corner of the room. Luckily, they found me before they called the police or worse yet, my parents. Over the years, we shared many laughs with each retelling of this story.
 Another story my grandmother loved to tell was how I would sit with my great-grandfather and watch tv with him. According to my grandmother, he had a favorite show-I think it may have been the Jackie Gleason Show but I was too young to remember. What I do recall is that I had a little yellow chair with a cane seat and that I would sit along side of him as he watched the program. He also had a thing for Milano cookies and he would share the with me as we sat together.
 Now to the filling…While I may know a lot about baking, I am not an expert on everything but I do know this, boiling chocolate is not the best idea. The filling recipe calls for simmering the ingredients until they “break” and then to blend them back together. The mixture of cream, sugar, unsweetened chocolate and butter being simmered and it thickened as it cooked.
 After 45 minutes or so, it finally got real thick and broke. The fat separated out and floated on top. Unfortunately, I do not own an immersion blender and had to rely on a whisk to mix back together. The whisk did not do the job and the filling was a little grainy. More importantly, it did not taste anything like what I remember the filling of a Milano cookie tastes like.
 If you look closely, you can see the grainy bits of chocolate in the filling that I mentioned. Despite this, my family members enjoyed them. While I may make these again, most likely will make these again, I will not make the filling again and I think I will probably just make some dark chocolate ganache to fill the cookies.
 Over the years, Darry and I have lived in different cities on the East coast, the West coast and in between and some how, I still have this little chair. It is showing its age, well, so am I if you must know.
 When I was 15, my sister Kristen was born. Needless to say, we haven’t had much of a chance to spend time together; she lived with my father and stepmother, I lived with my mother. Did I mention that I was 15 at the time? You know, a teenager? Before I knew it, I was shipping off to the Culinary Institute of America. Then suddenly, I was married-Kristen was our flower girl, and Darry and I started our migration. We had moved away by the time she was seven and now that we are back on the east coast, we are still pretty far apart; we are in Southern Virginia and she is near Boston. We rarely find ourselves in the same location.
 When I was growing up, my mother would always say she was 27. Year after year, she was 27, again and again. Not surprising since her father, my grandfather, had stopped having birthdays after his 39th. Then when our first daughter Alix was born, on my father’s birthday, he made the decision to hand over the reins to her and he has been 46 ever since. As it stands, I am 10 years older than my mother, 2 years younger than my grandfather was when he passed away, 9 years younger than my father and exactly the same age as my sister. Gotta love math…
 Making macarons is a new thing for me. They just seemed too fussy and annoying to make. Too many rules. Then I found an article from
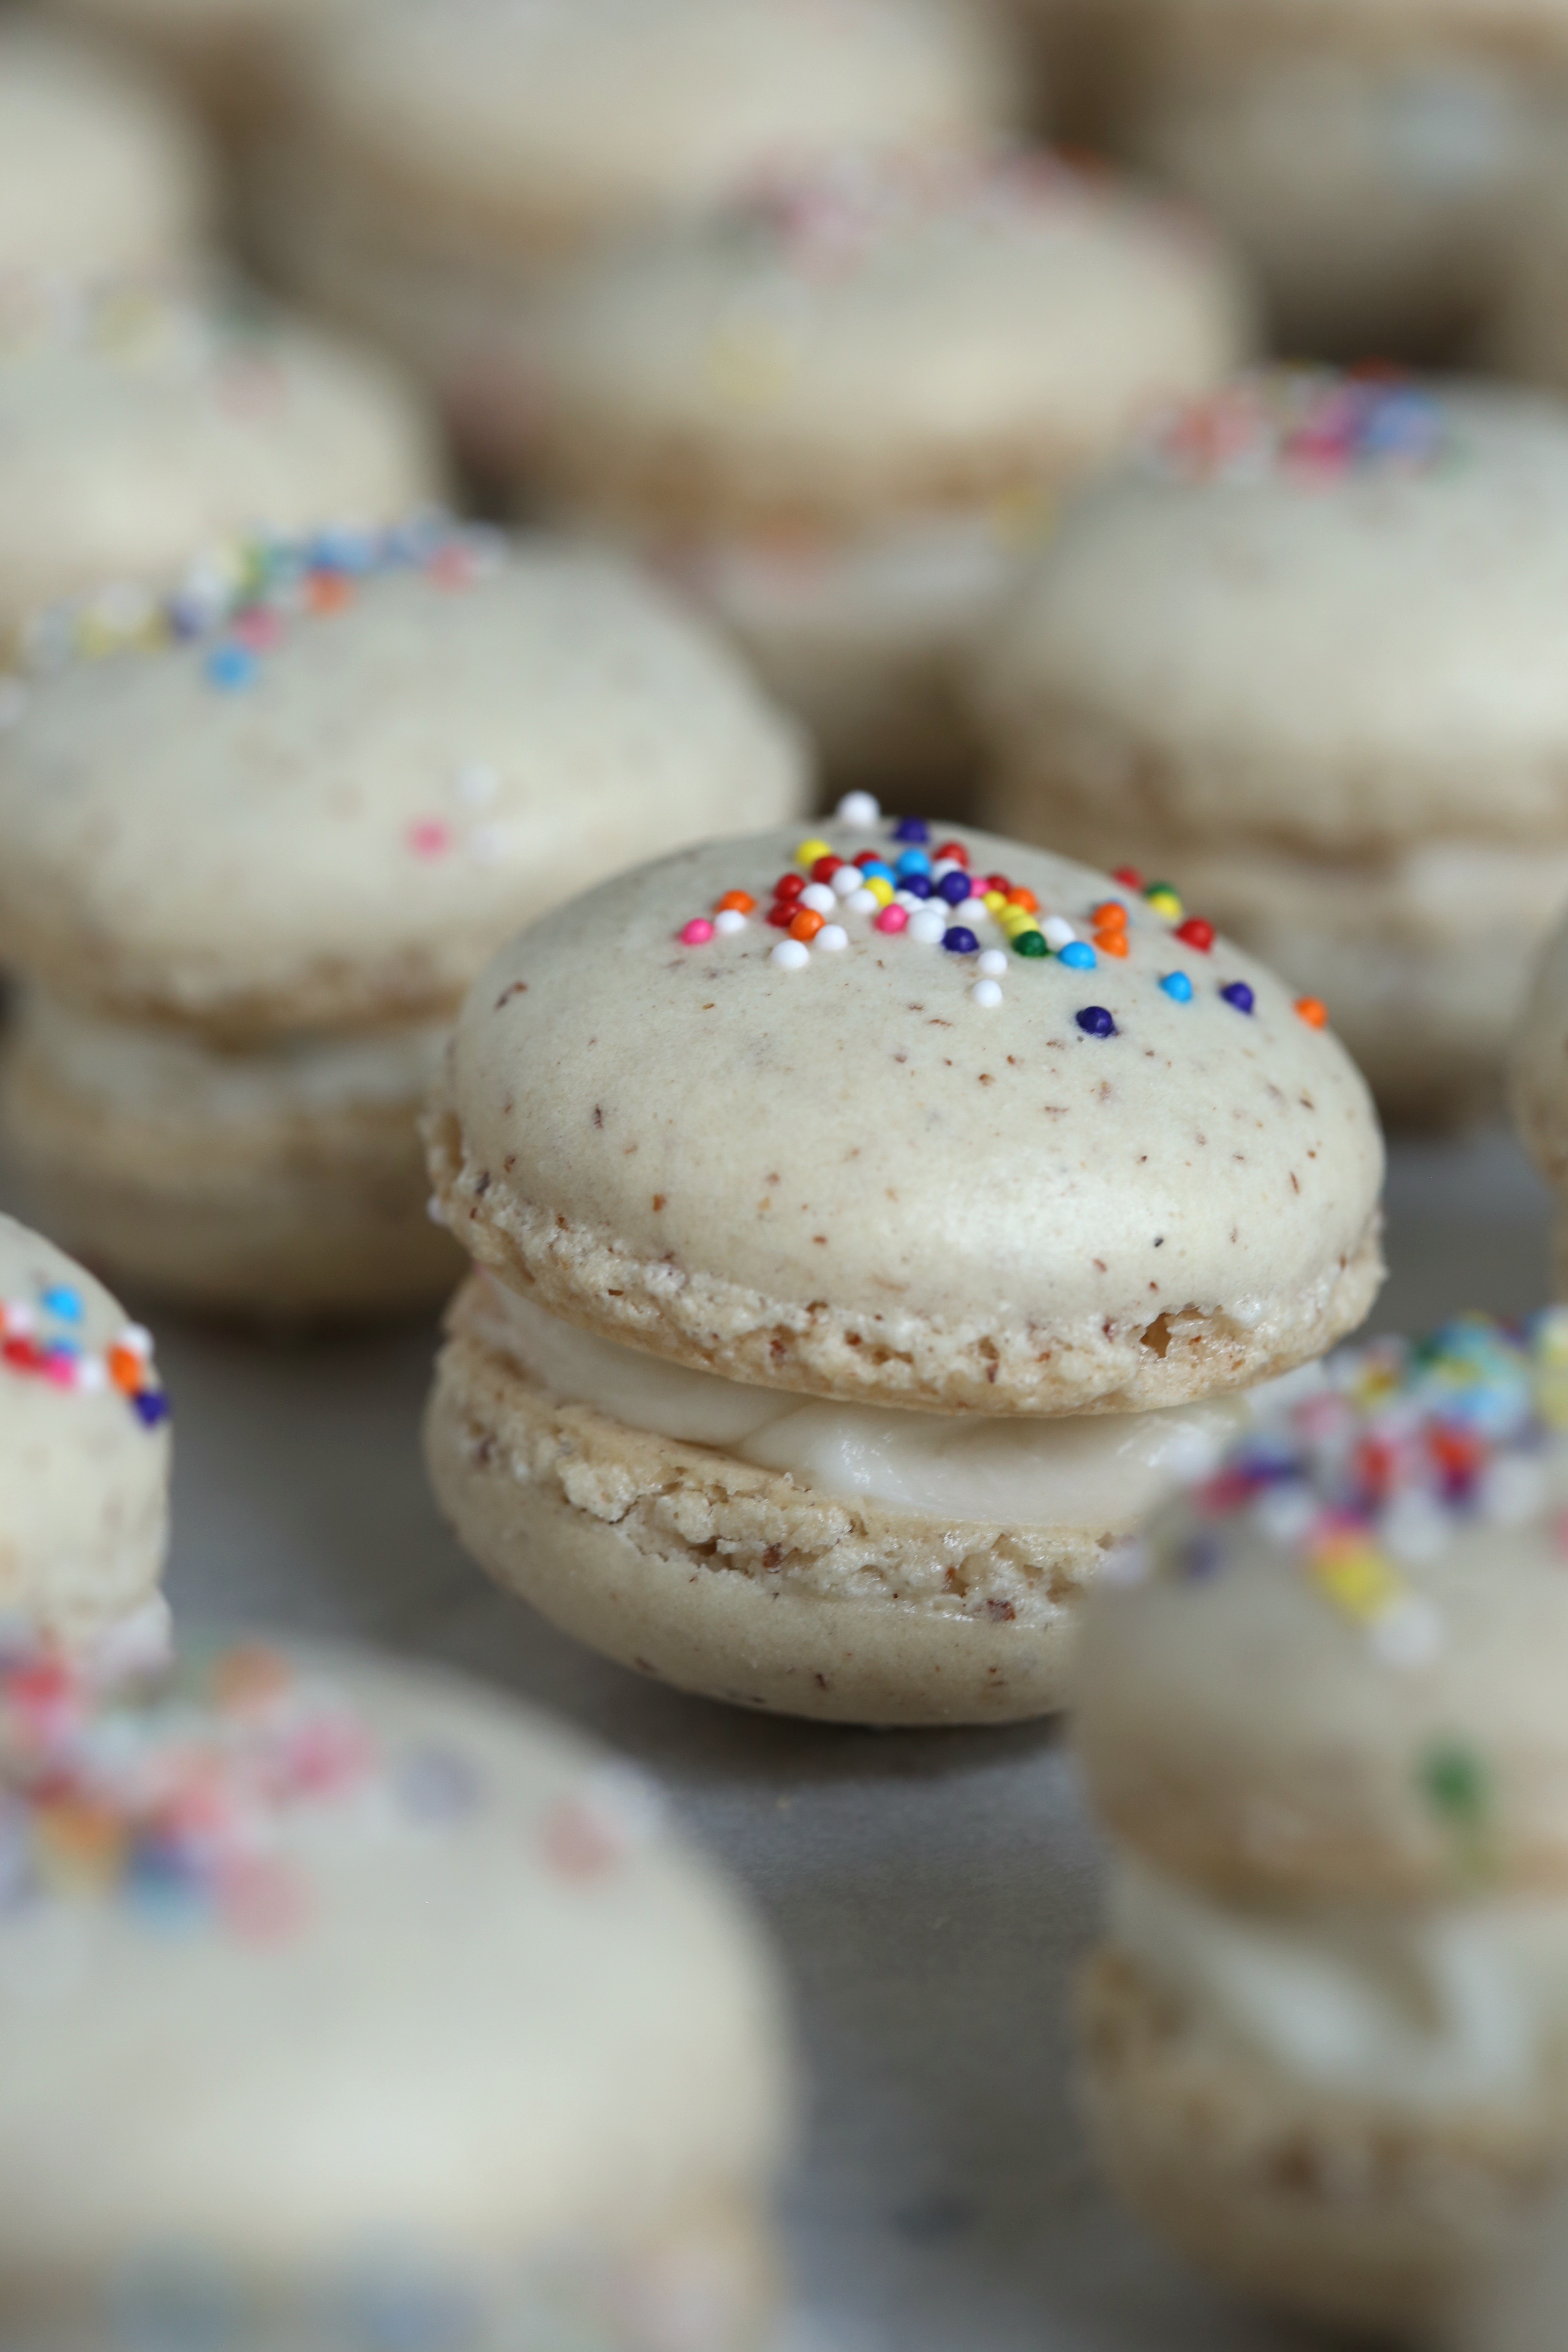
 All packed up and ready to ship out to Boston.
 Because macarons are delicate, I knitted a scarf/wrap to keep them safe on the trip. It seems that I have been doing a lot of knitting in recent months-it keeps idle hands busy. This yarn is so soft too, found it one day while wandering through Tuesday Morning and could not resist. When I walked out of the store that day, every skein of
  Everybody join in and help me wish my sister a big, Happy 37th Birthday!!!
 It seems that to call yourself a pastry chef, one must know how to make macarons. Well, maybe not but that is the impression I have been given. A baker’s version of the Holy Grail, your cookies must be perfect little circles with slightly glossy, smooth tops sans cracks, and those famous “feet” and they are also the thing anxiety attacks are made of. They are fussy, subject to all kinds of results (and not many that you want) and quite capable of intimidating even the most experienced bakers. Of course I am speaking with experience. My own efforts landed with mixed results and I was beginning to hate the little things. This was only aggravated by the plethora of blogposts and pinterest posts from bakers and their dogs bragging about how easy they were to make…It was time to take action and by action, I mean that it was time to get over my fear of failure (again) and to actually try making them. First I needed to find a better recipe and I did; Joanne Chang has a
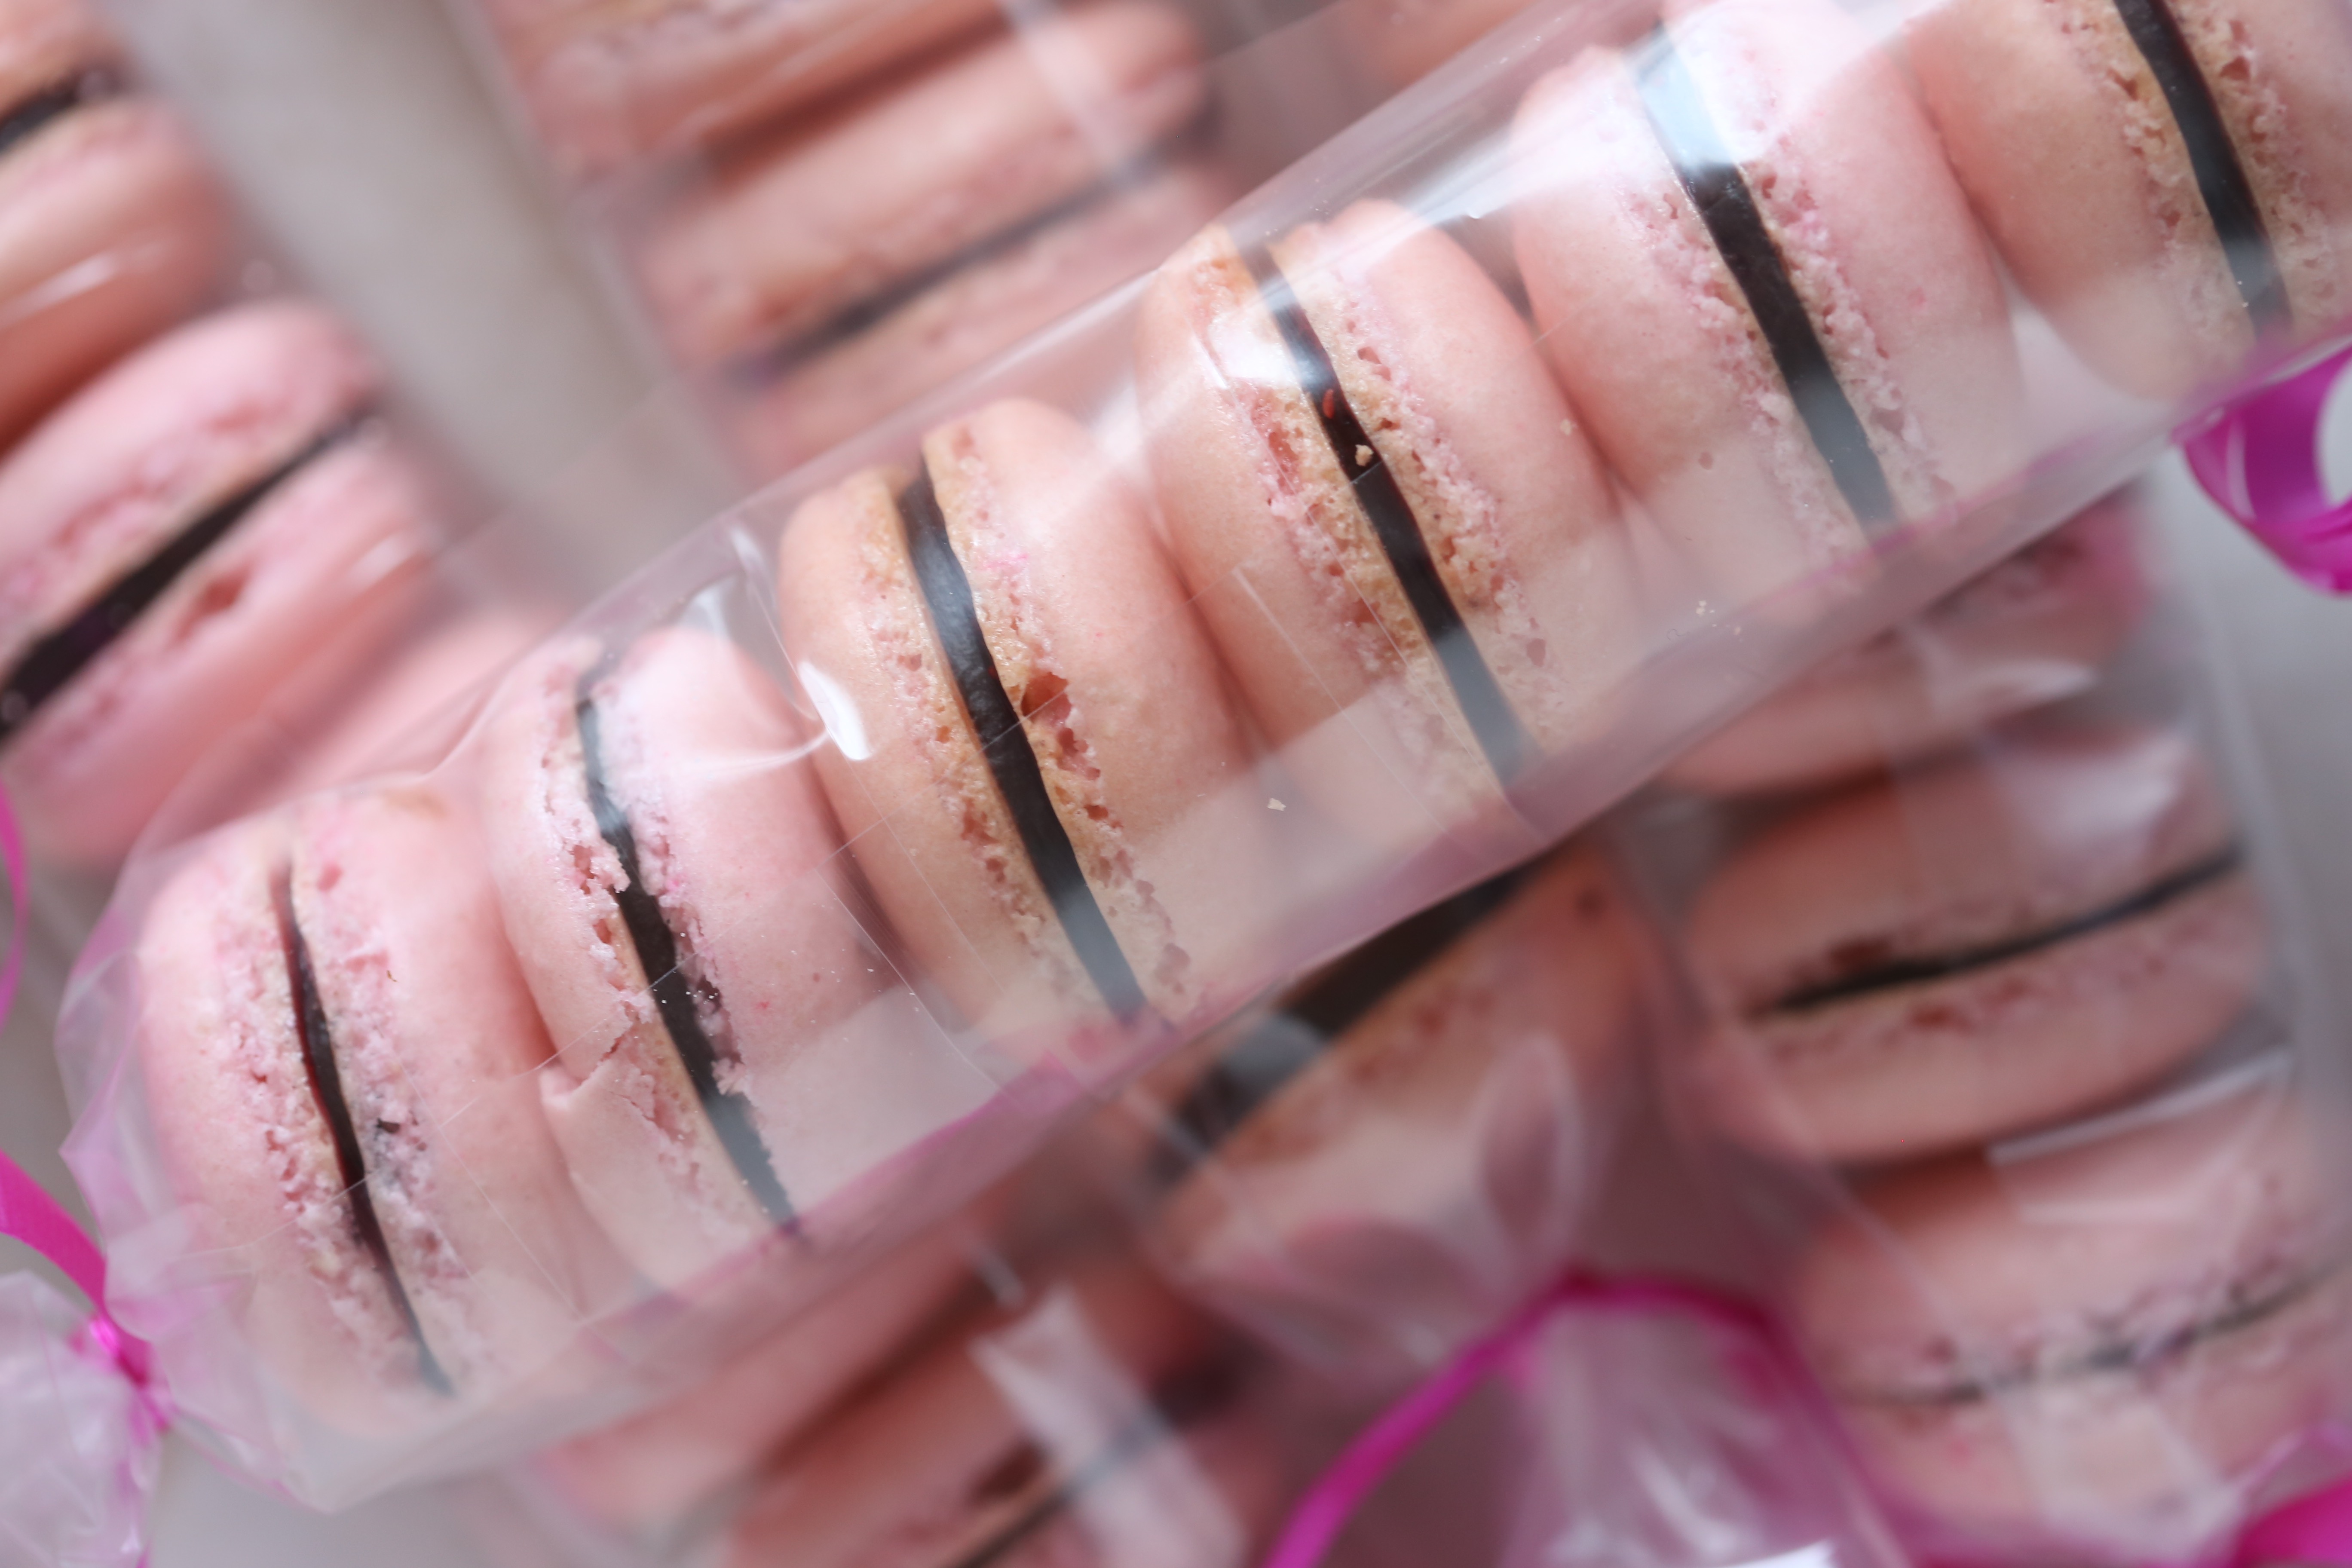
 It has been a while since I baked with the TWD gang. The holiday season is generally a hectic one for me and with all that I was baking for gifts, I just decided not to bake anything more, because baking it means eating it and I have gained more weight than I care to admit at this point. (thanks menopause…)
 Stone ground cornmeal is always more coarse than the regular grind but the bloody butcher had a large range in particle sizes and makes it very easy to see the meal in the dough. This particular batch was grown and ground right here in Virginia and it is from
 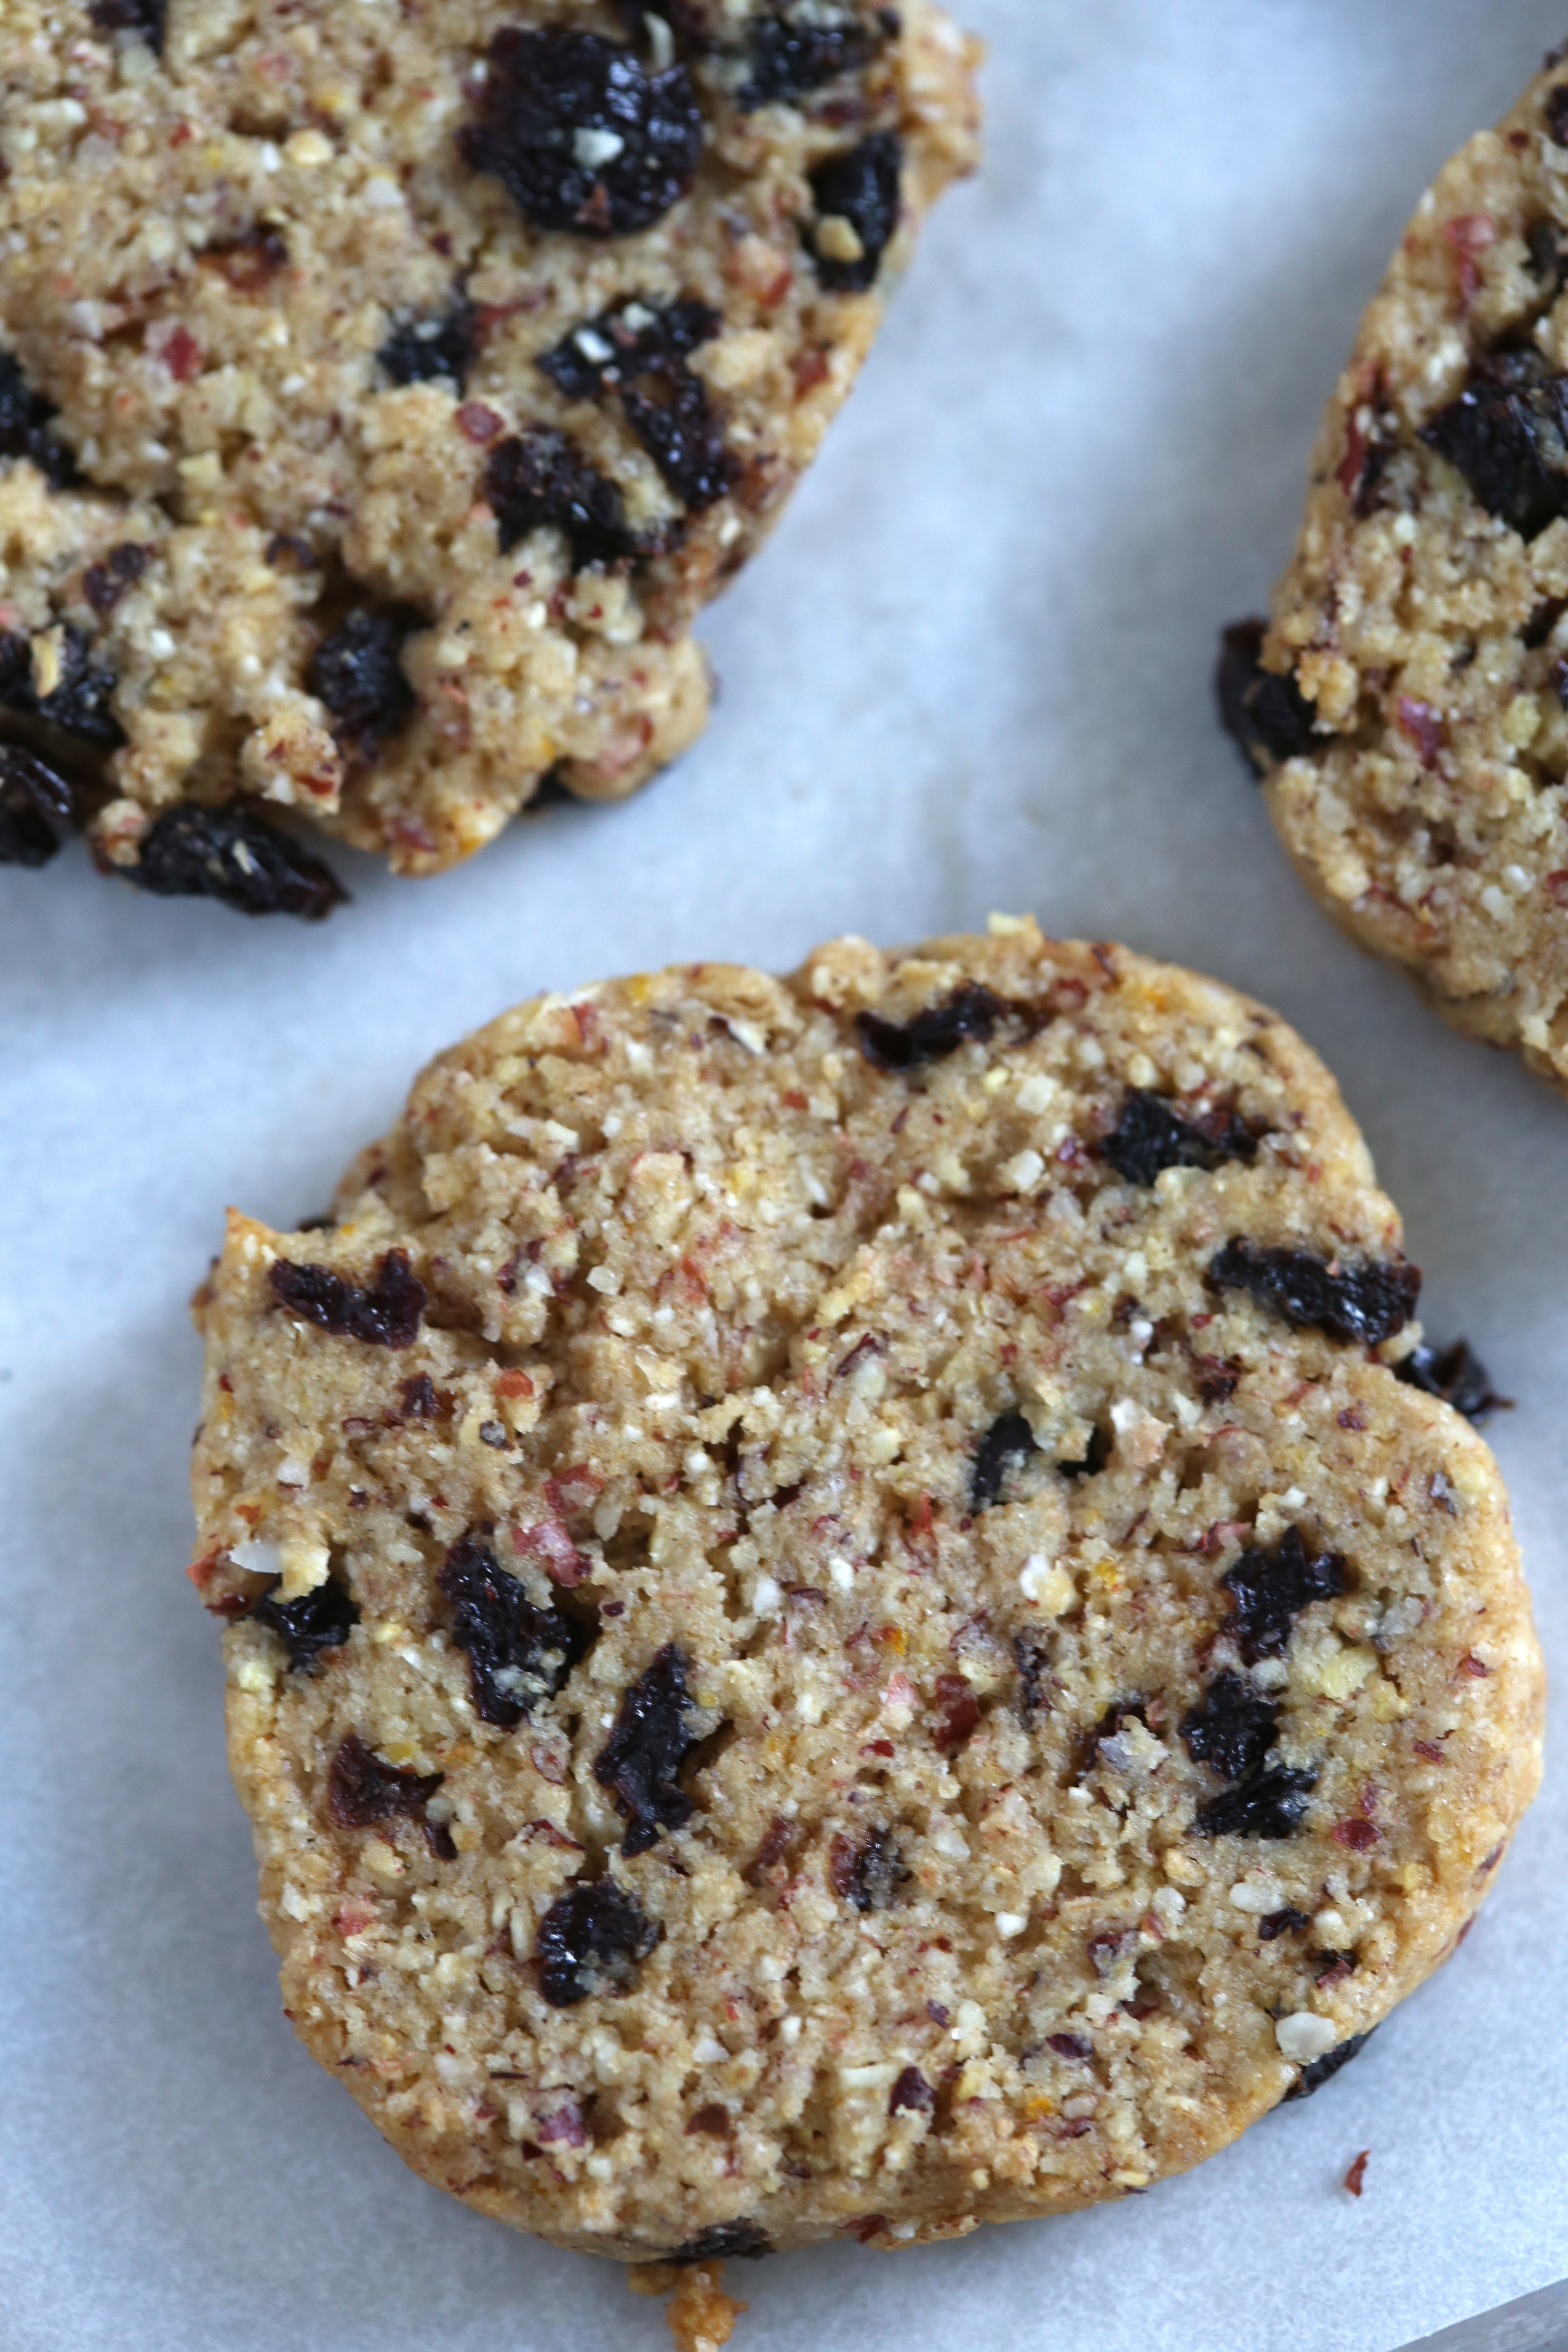 There was a box of currants lurking in the pantry and since they were a little dry, I added several tablespoons of dark rum to them and heated them so that they would plump up. To offset the extra liquid, I cut out the extra egg yolk and that made the dough slightly drier than I would have preferred. However, now that we have our own egg laying hens, I hate the thought of wasting an egg white. The recipe calls for the dough to be formed into a log and cut into scone-like wedges. After asking one of the other TWD bakers how they worked out like that, I decided to go with a slice and bake log which is what most of the recipes I read called for. The result was a crunchy, crumbly cookie.
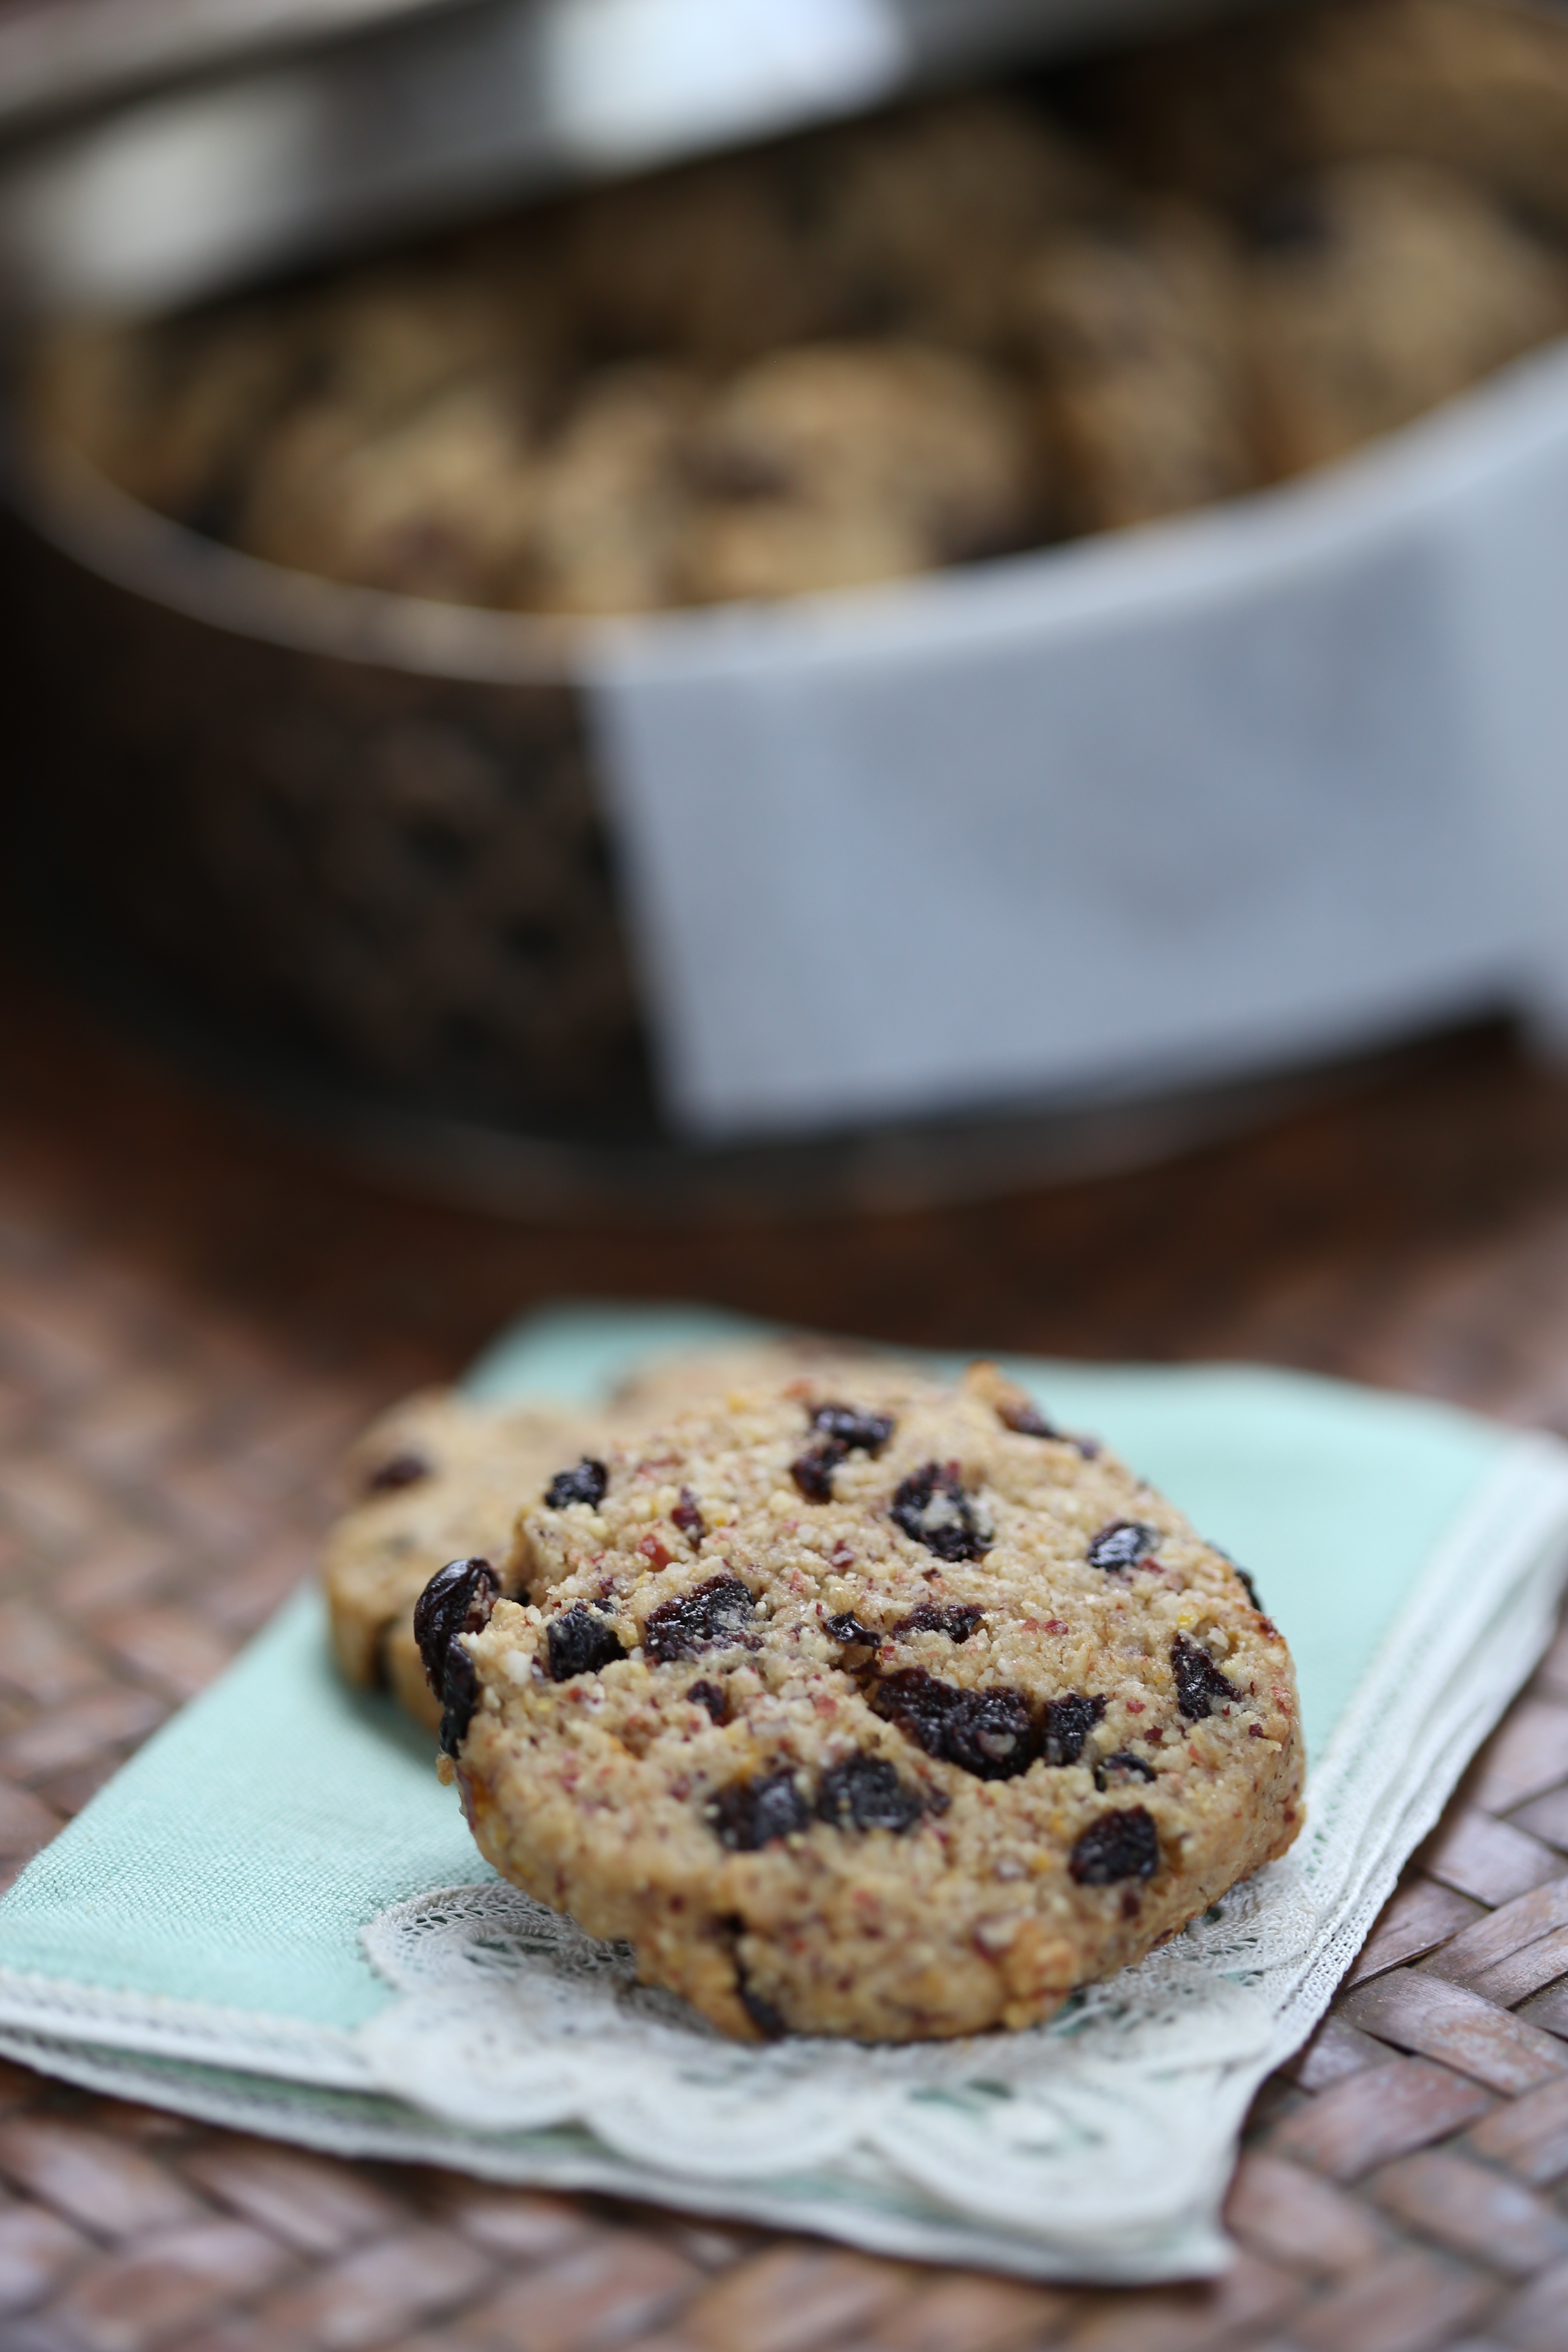 The weather took a sudden turn towards winter today and turning on the oven was comforting in many ways and so was the scent of cookies baking-although, I really do not need to be eating cookies at this point! The bottom line, I love currants and cornmeal but it is not likely that I would think to make these again, at least not with this recipe. Personally, I would like them to be a little sweeter and a little crispier. Either way, these cookies are a lovely accompaniment to a cup of hot tea, especially on a chilly day!