marquise au chocolat and salsa quitza; a tuesdays with dorie post

IMG_3055

After a weeks absence, I am back in the kitchen, completely.  Let’s just say that if you have the chance to avoid the flu-do it.  It has been more than 10 years since I was that sick and honestly, I hope it doesn’t happen again for a long time!  The simplicity of this recipe was the perfect way to ease back into the kitchen.

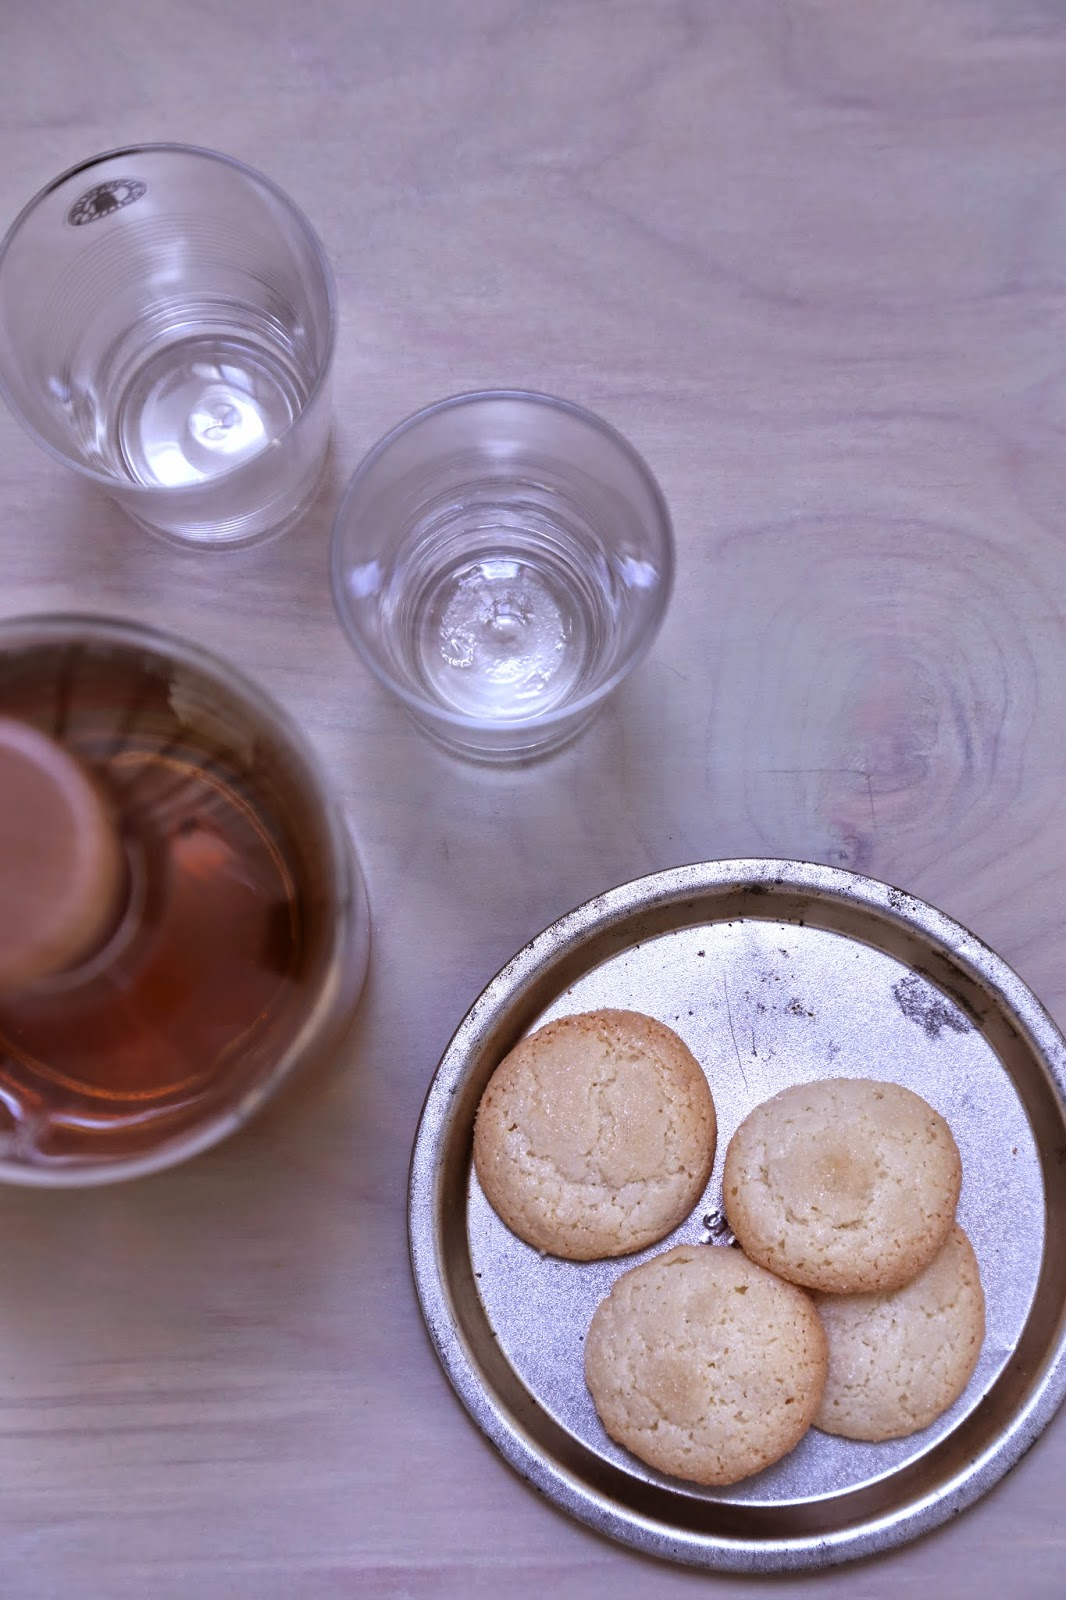
The recipe for Marquise au Chocolat makes a large, rich loaf of frozen chocolate mousse which is meant to be served in slices.  Since there are just two of us, I cut the recipe and made only a quarter of the batch and since it was so small, I made the decision to press the filling into a six-inch round cake pan that I had lined with lady fingers.  This will be the perfect little pick-me-up since I also spiked it with some single barrel Kentucky Bourbon.  Finally, a drizzle of blackberry syrup and a few plump berries and dessert is served!  Something tells me my husband will not think twice about eating this one!


IMG_3046

As I mentioned earlier, I was sick last week, came down with it all so that I was too sick to make the Salsa Quitza which was my plan for Superbowl Sunday.  We were supposed to go to a friends house to watch the game but since we were both miserable, we sprawled out on the couch and did not move all day.  Needless to say, my plan of making the quitza to bring to the party was cancelled.  If you ask me, that wasn’t such a bad thing.  Honestly, I was doubting the results as stated in the recipe and after reading the comments from plenty of the other bakers last Tuesday, I am glad I had a chance to follow my personal instincts.

The idea of spreading the dough out into a large cake pan and topping it with cream cheese had me thinking it would be messy to eat and for the two of us, just too cheesey.  My bakers sense (kinda like Spiderman’s “spidey” sense…) had me thinking it would make a nice focaccia.  Guess what-it did!  With just half a batch of dough, I made a quarter sheet pan sized piece of focaccia that was the perfect side dish for our dinner of grilled swordfish and salad.

IMG_3042
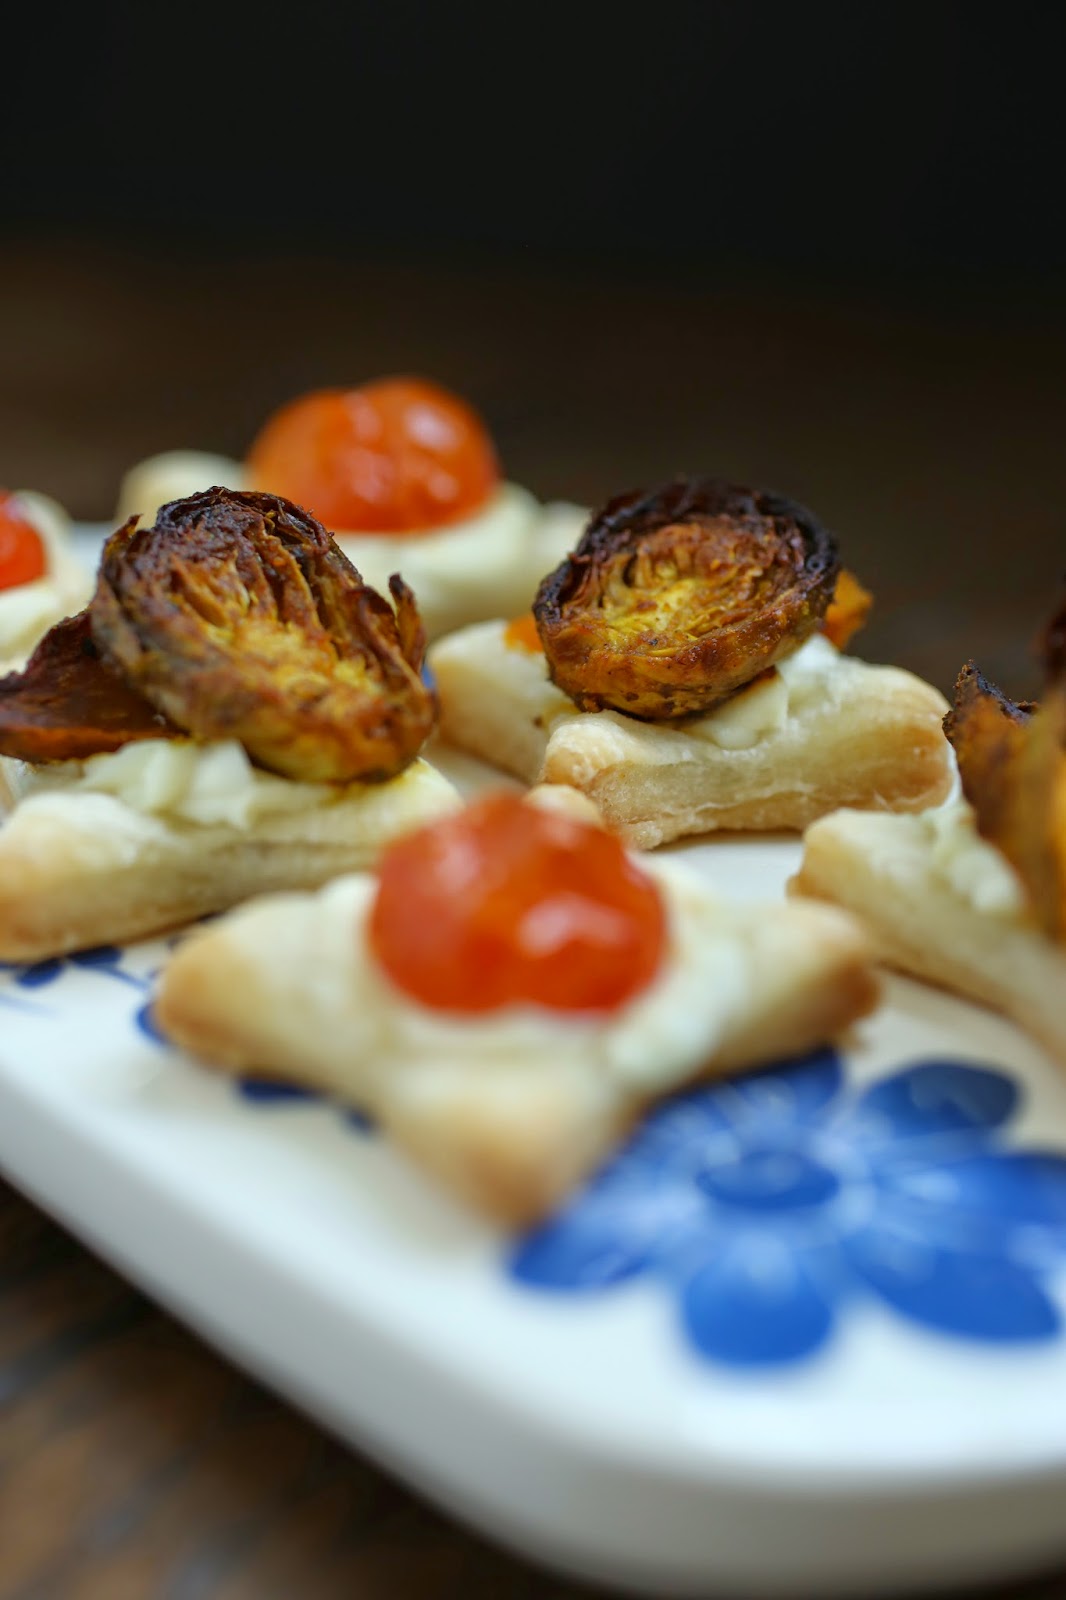
If you want to make this the way I did, use blue corn meal.  Believe it or not, it doesn’t lend any color to the dough but it does add a nice nutty flavor along with dark flecks and crunch.  Several bakers commented on the salsa being really wet and I honestly think that the recipe probably should call for “pico de gallo” and not chunky salsa.  If you aren’t familiar with pico de gallo, it is a fresh mixture of finely chopped tomatoes, peppers, onions and cilantro with lemon juice.  I measured out nearly a cup and let it sit in a strainer for about an hour to drip dry and then sprinkled it over the top of the dough after shaping.  A generous topping of shredded Mexican cheeses over the salsa and then into the oven it went.  It baked up fast, just 20 minutes and it was done.  After cooling for a while, I sliced off strips and cut them into diamonds; two-bite pieces to pair with dinner.

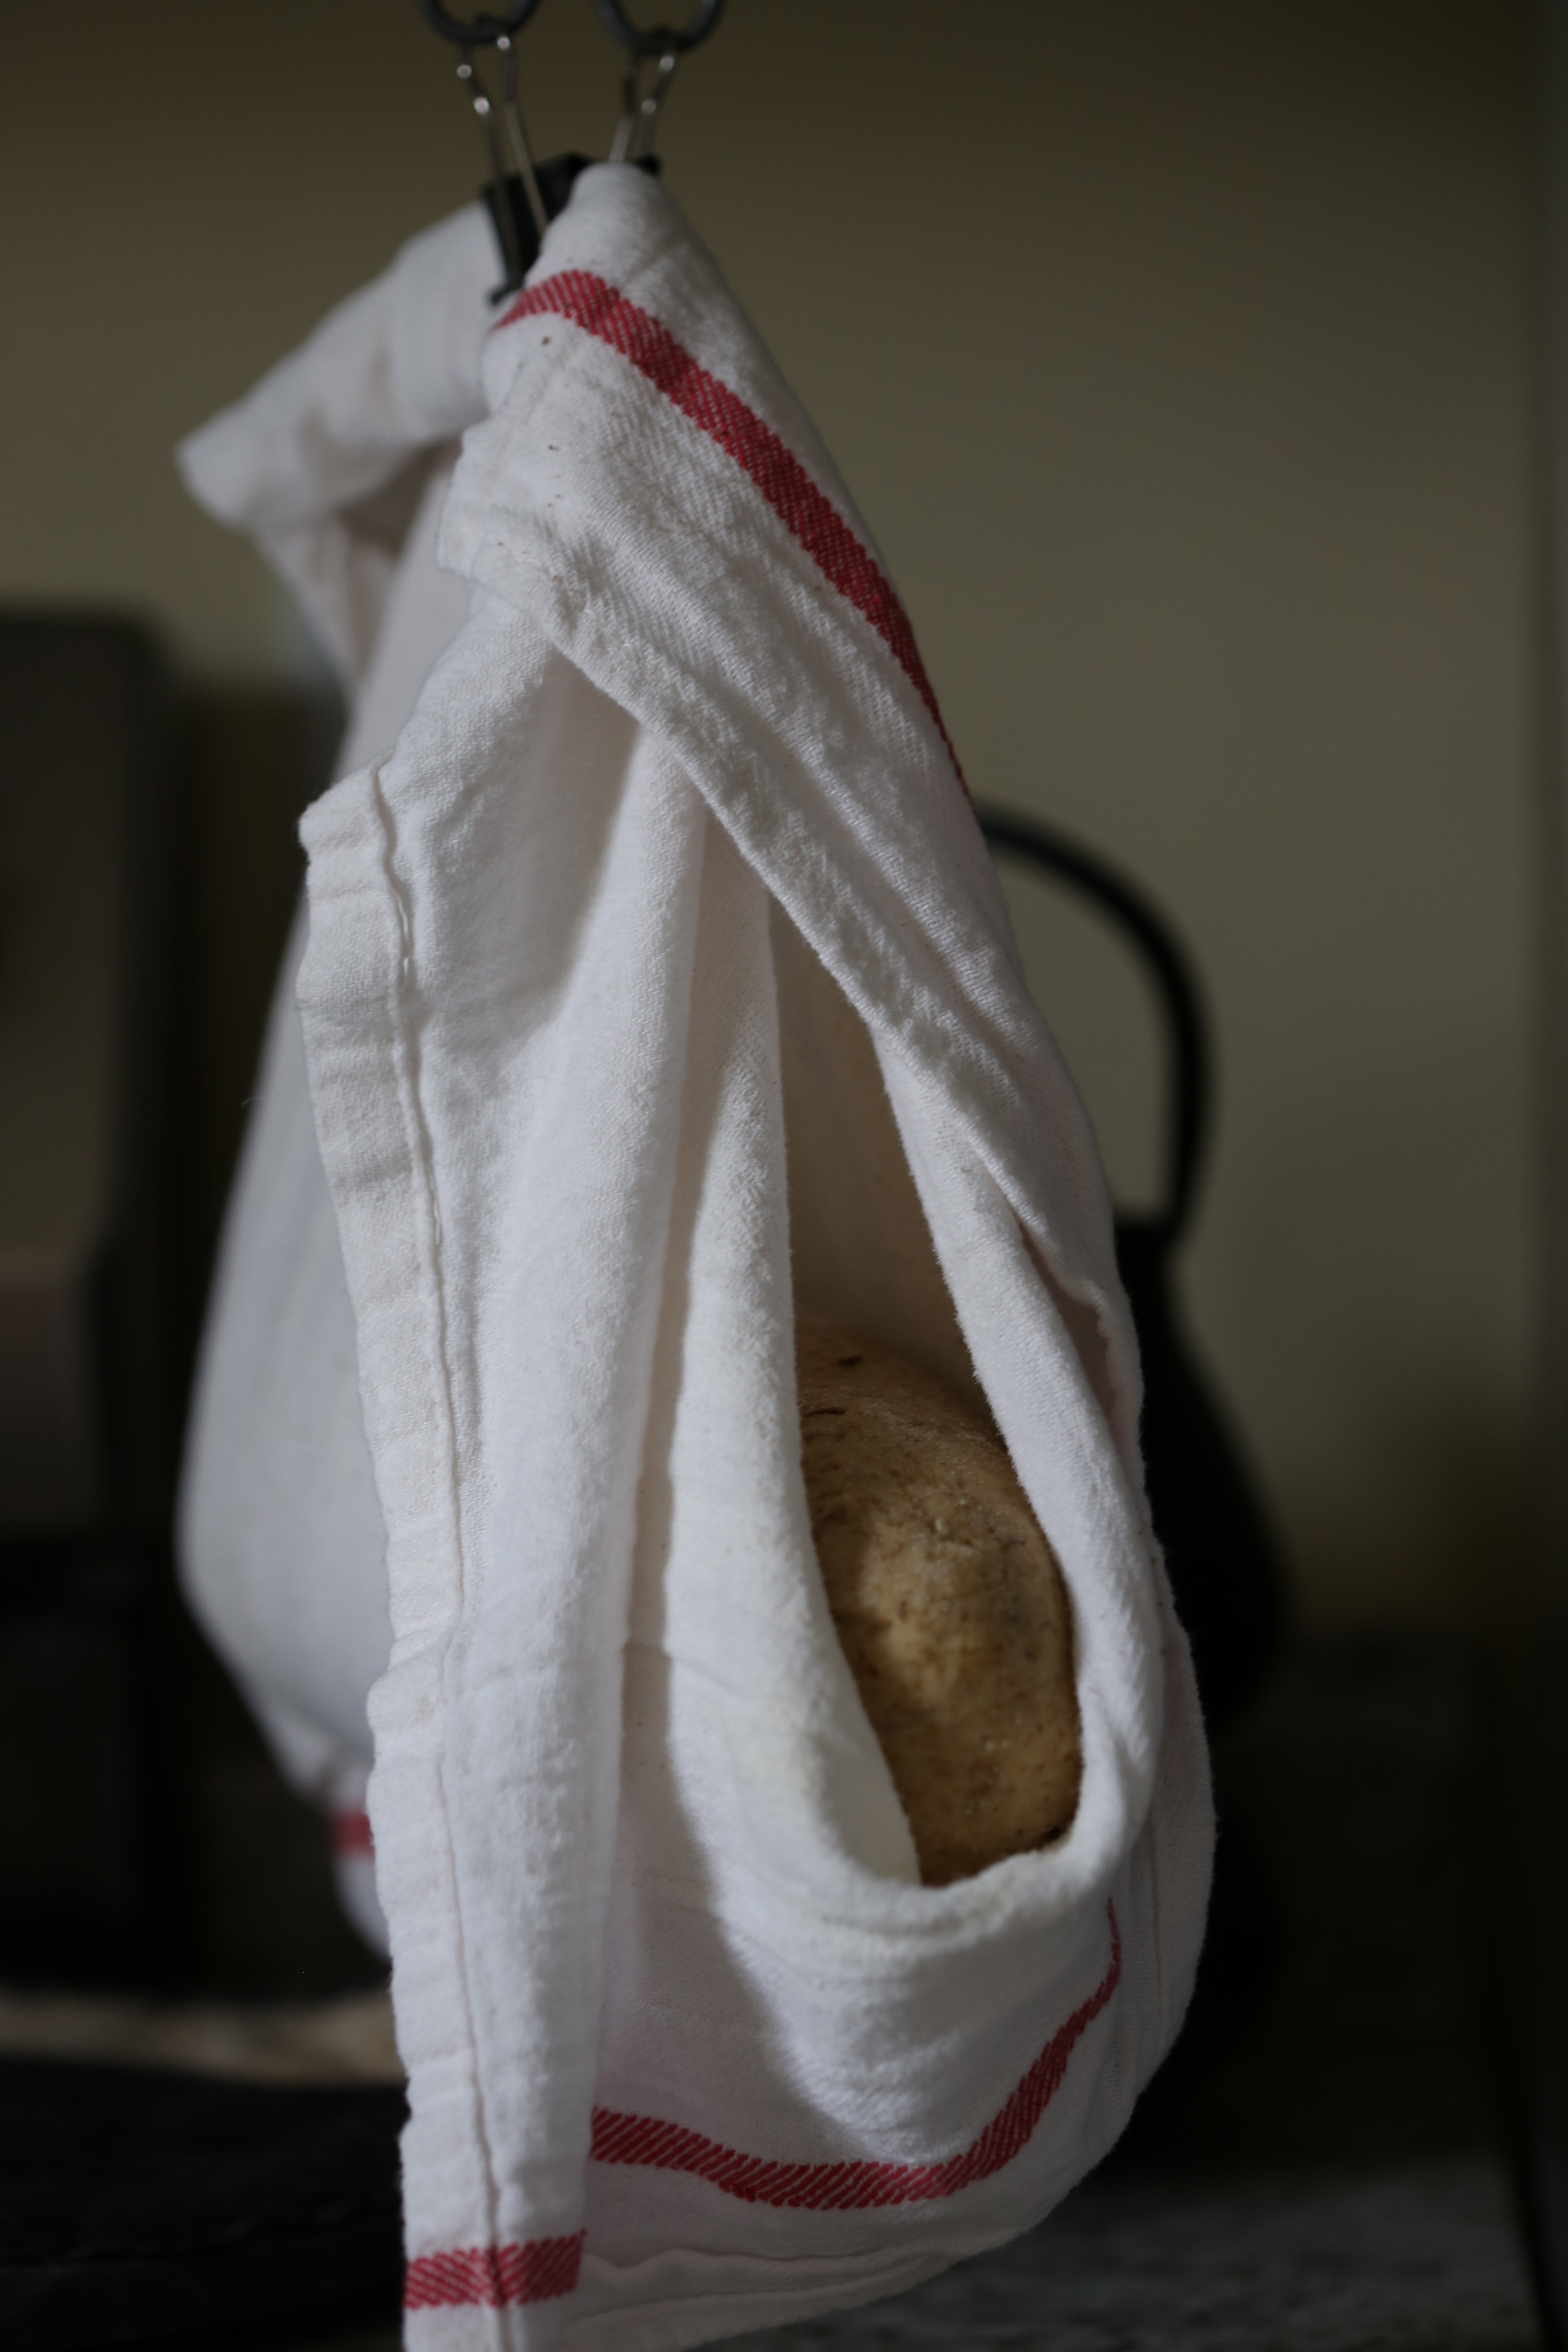
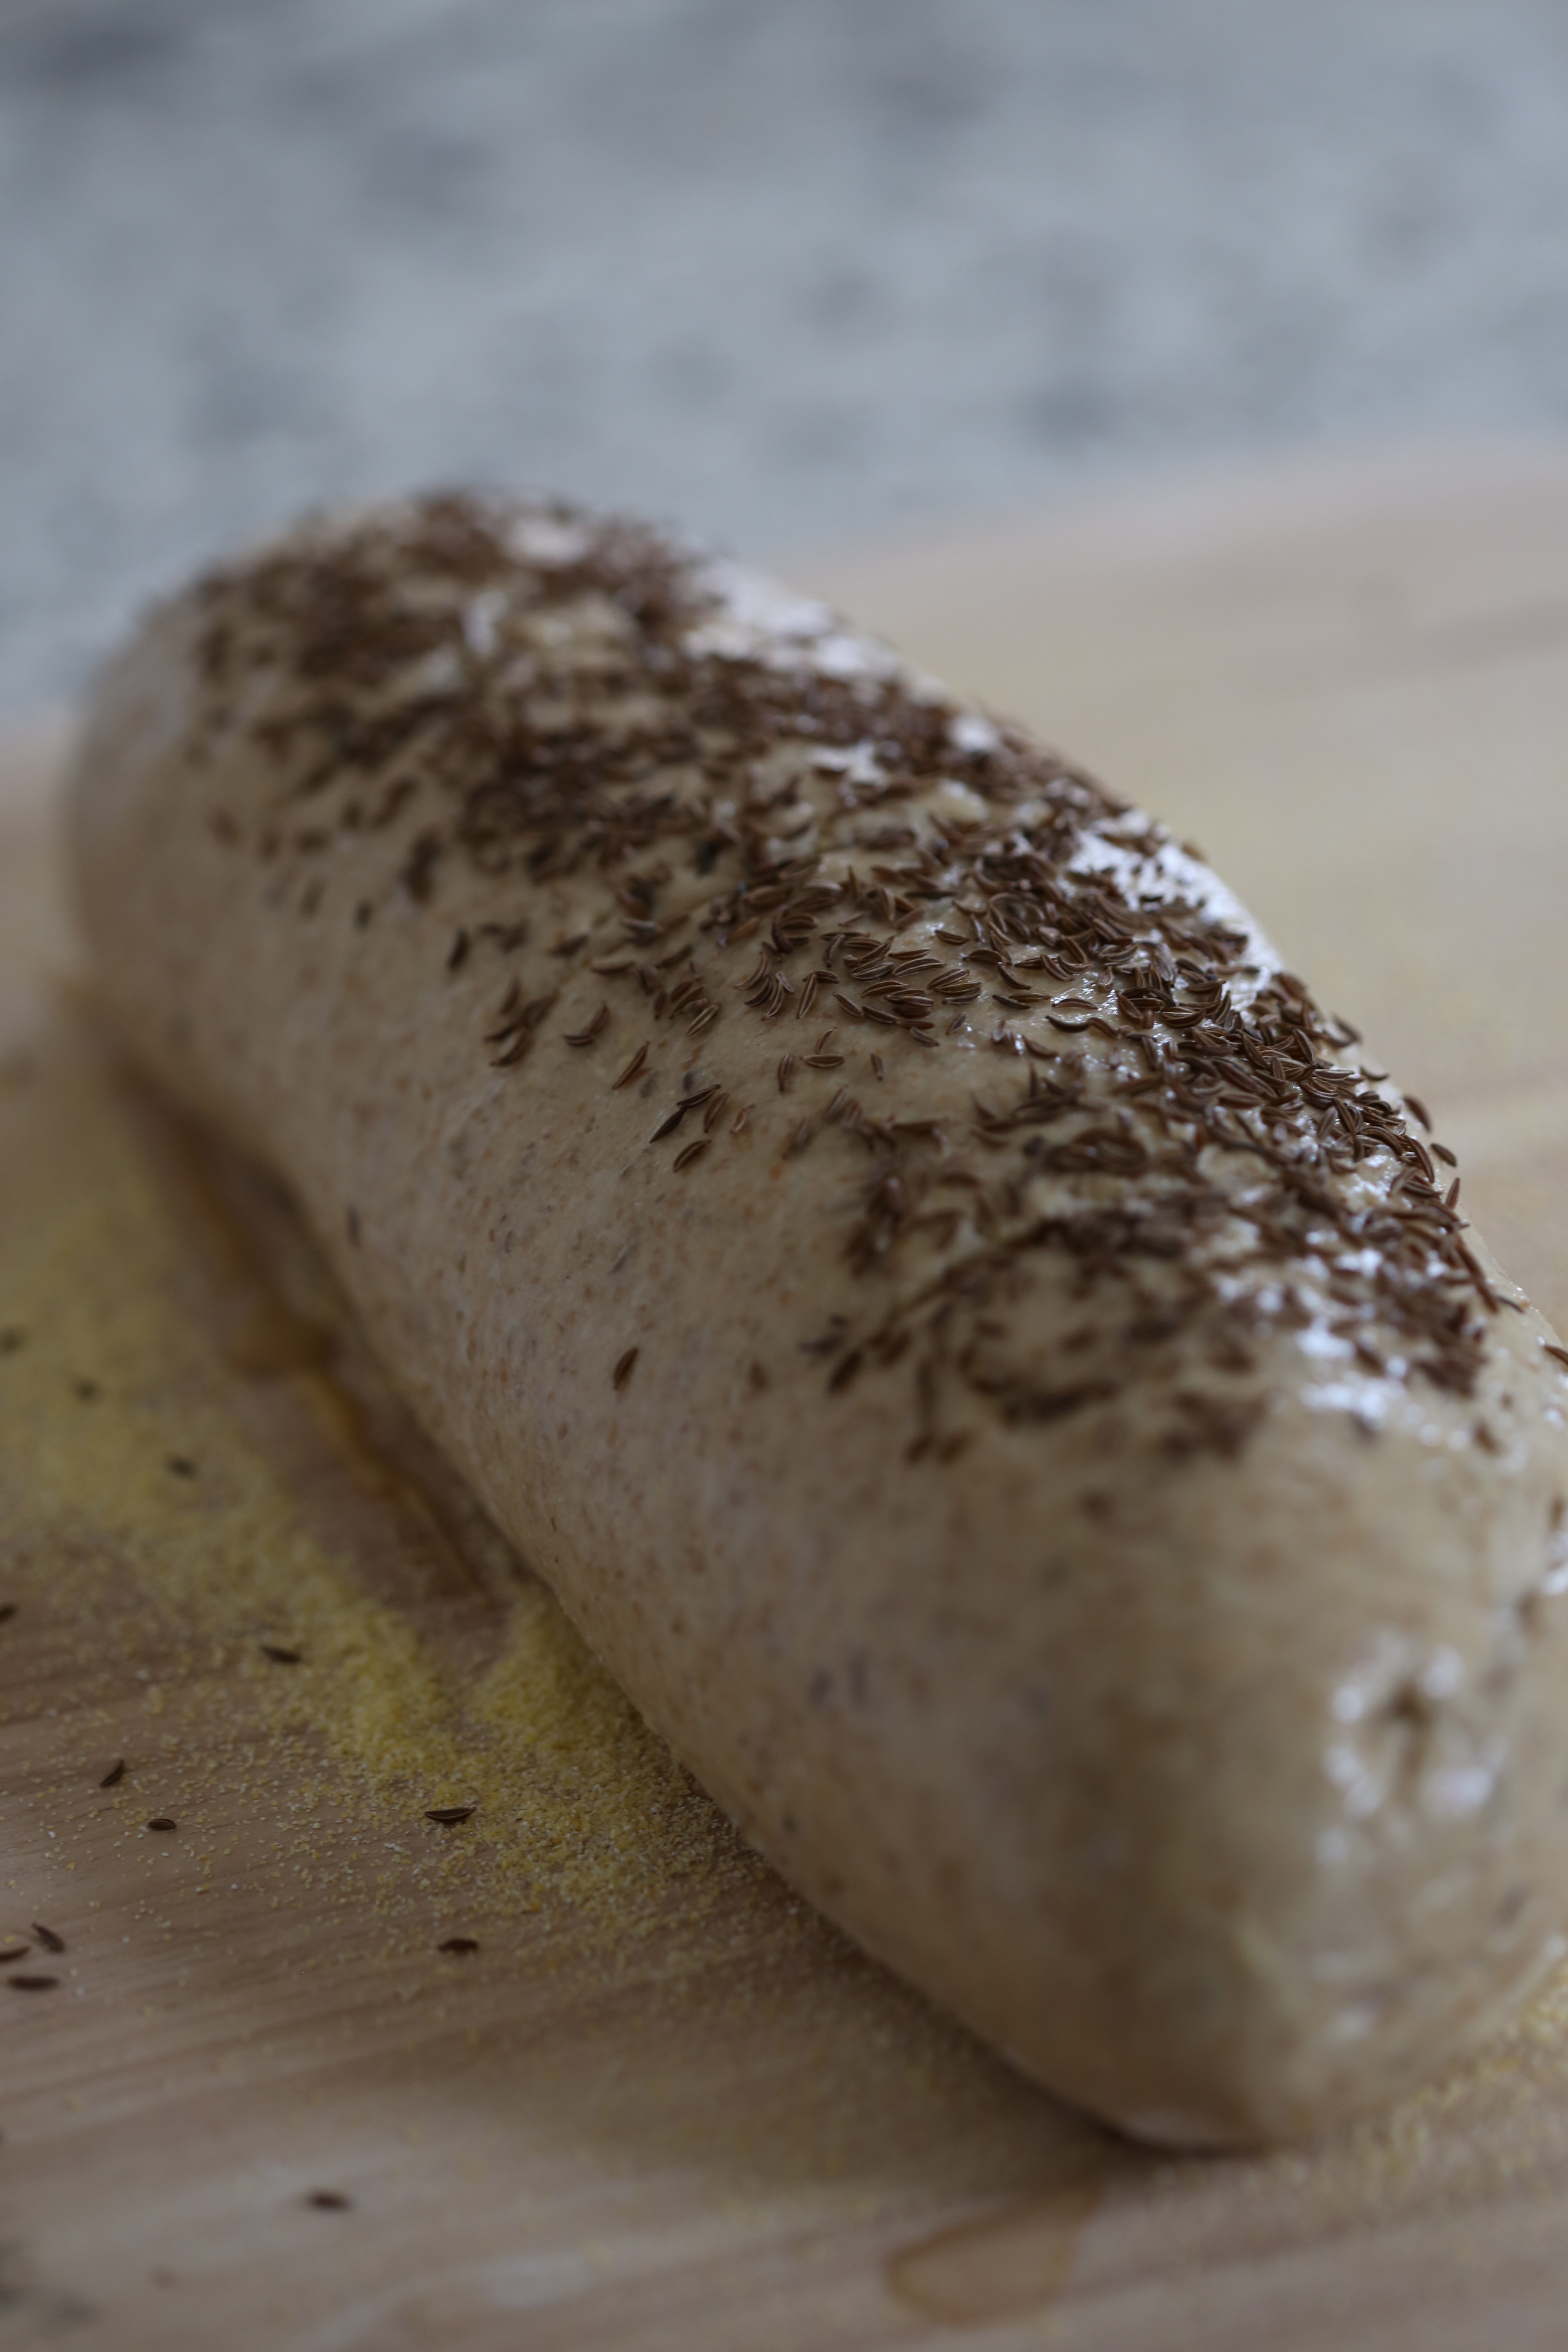
The dough itself was fairly easy to make with a mixer if you do not have a bread machine.  It was a bit soft and sticky but after mixing it for about 2 minutes, I turned the mixer off and let the dough sit in the bowl for 10 minutes.  This rest, autolyse is the technical term, let the dough absorb all of moisture and as a result, it was not quite as sticky as it could have been.  This is definitely a dough recipe worth having in my repertoire.  It just might make another appearance in my kitchen.

To see what the other bakers came up with, visit the Tuesdays with Dorie website and look for the LYL (leave your links) page.  If this seems interesting to you, consider baking along with us as we prepare each of the recipes in Baking with Julia and Baking Chez Moi.  You will have to purchase or borrow the books if you do not already have them; out of respect for the author, we do not publish the recipes!

european rye bread; a tuesdays with dorie post

IMG_2470

Rye bread is one of those things people either love or hate.  In my opinion, I think it is more likely related to whether or not you like caraway seeds.  Most of it would probably be better off labeled caraway bread since the distinct flavor of the seeds is all you can taste in commercially prepared rye bread.  However, as a lover of toast, rye bread, loaded with caraway and slathered in salted butter, is one of my favorite breakfasts.

This week, the Tuesdays with Dorie bakers are sharing their experiences with European Rye Bread from Baking with Julia.  If you recall, we made a similar recipe from the book, Pumpernickel loaves, a while back.  Both recipes were contributed by Lauren Groveman and they each call for the unusual step of hanging the loaf in a sling for the final rise of the shaped loaf.

IMG_2874The bread is fairly easy to mix and since it is a rye bread, the ingredient list is simple.  The only confusing part about it, finding the proper rye flour.  Allow me to wish you well with this endeavor.  Every rye bread recipe I read calls for a specific type of rye flour and not all millers produce them equally.  Essentially, the amount of whole grain used in the flour is the difference and if you would like a better understanding of what each type of rye flour is, this chart from the Whole Grains Council may help you understand it all.   While the chart does explain things, they also make it a point to mention, repeatedly, that not all millers produce equal products; the chart is more of a suggestion than a standard.  As for my bread, I have only been able to find Hodgson Mill 100% stone ground rye flour which according to the chart makes it a dark rye flour.

IMG_2451The whole grain flour gives the dough a lot of texture and it also makes it a bit denser than I like.  Working with a half batch of dough, I made just one loaf and I stuck to the recipe pretty closely.  Bread baking is not really my strong point and I really wanted to make a loaf as described by the head note of the recipe, with a brittle crust that snaps into small flakes and a soft, slightly moist and a little springy inside.

IMG_2455

Just as the recipe instructed, I hung the shaped loaf in a towel sling and heated the oven.  As the bread hung in kitchen, it continued to rise and I could see it splitting and I knew it would not get any better in the oven.  Rather than get mad, I decided to take this as a lesson and make another half batch.  This time though, I would make a few changes.

First thing I did was to cut back on the amount of rye flour.  Since I was using whole grain, I knew it would be denser and I figured a little less would have to do.  Second change I made, a lot more kneading but not all at once.  After adding the majority of the flour to the yeast and water, I mixed the dough until it came together and formed a ball which took about 2-3 minutes and then I simply turned off the machine and let it sit there for about 10 minutes.  Once the dough was allowed to sit and rest, I resumed kneading on medium-low speed for about 12-14 minutes.  To be sure I had kneaded it enough, I attempted a window pane test and while it wasn’t perfect, I could see a huge improvement from the first loaf.

IMG_2459

After hanging this loaf in the sling, here it is on the peel just before I put it in the oven.  This time, I gave it a wash of straight egg whites-no water and plenty of caraway seeds.  Just before I slid it into the oven, I gave it a few slashes and crossed my fingers; it couldn’t hurt…

IMG_2466As you can see from the photo, the top loaf is little more than a train wreck.  It split all over and really wasn’t very pretty.  The second loaf is on the bottom and while it is not perfect, it is easy to see that it worked out much better.  This is destined to be one of those recipes I return to multiple times in the hope of getting it right.

IMG_2463The last thing about the recipe that I found difficult to follow from reading it, the shaping method.  Rolling, stand it on the side, pinch, poke, and so on.  Hospital corners-we are talking about bread, right?  For my second loaf, on the left, I just ignored all the fussy instructions and tried to use a little common sense instead.  Looks like it worked out okay, it seems to have held the shape better.  To see the inside of the loaf, refer to the very first photo above, the second loaf is on the left and I think I like the color of that bread better than the first loaf which is on the right.

To see what the other bakers came up with, be sure to visit the Tuesdays with Dorie website and look for the LYL (leave your links) page.

mixed starter bread; a tuesdays with dorie post

IMG_2112This is the Tuesdays with Dorie/Baking with Julia tale of two breads; the train wreck version and the fingers crossed I hope it works version.

Bread baking has always been one aspect of my career that I completely lack confidence in.  There are so many variables and so many ways for it to go wrong and yes, baking in general is often a disaster waiting to happen, but bread is where I have had so many more failures.  As you know, baking is science oriented and when you add a living creature, yeast specifically, there are just so many more rules that must be followed.  In my world, a baguette has always fallen into the buy it not bake it category because I have never achieved good results when baking one at home.

So it was with the greatest of expectations and hopes that I set off to bake this bread.  When I read the instructions, I saw that I could actually make four different shapes if I followed the recipe, and I was determined to make at least three of the shapes.  But, as the Steinbeck wrote, “even the best laid schemes of mice and men, often go awry.”

First mistake; no bread dough to make the starter with.  Not a problem, I subbed a small amount (1/4 cup) of my homemade starter.  While this sounds good in theory, it made the starter very wet and it set the stage for more problems as I followed the recipe.  In the final rise stage, my dough was simply too soft and probably could have used another half cup of flour to make up for the added moisture in the starter I used.  However, the mistakes are not all mine.  Did anyone else notice the rather large discrepancy between the photo tutorial on page 116 and the directions in the recipe on page 117?

Give me a moment to vent and then I shall stumble down off my soapbox.  First let me state that I admire Dorie greatly.  She has helped put women bakers up in front of the crowd and to show the world that yes, women can be pastry chefs too.  She has in a lot of ways done for baking what women like Alice Waters and Julia Child did for cooking as far as convincing the world that women can do this and do it just as well if not better than men.  But editing is editing and as a published cookbook author, I can say that if the words under the photo do not match the words in the recipe, we’ve got a problem.  While this may have been fixed in later editions, my $3 flea market find is actually a first edition and I had a major mishap as a result.

My complaint is simple, step 3 of the photo tutorial instructs you to fold the dough down again (the folding process starts in step 2) and to seal the seam…it then goes on to tell you to repeat this process once or twice to form a short log shape with a tight skin.  That right there is it, one of the largest factors that my bread dough simply spread out rather than rise up and why it was not possible to get it off the floured towel without deflating it.  If you read the recipe, it only tells you to complete the folding and rolling once.  The tight skin is crucial not only to the success of a crispy, flaky skin but to the shape and the height of the loaf as well.

After having nurtured this dough along for 2 days, arranging our day around the baking schedule and then having such a flop that I had to go out and buy bread for dinner, I was truly annoyed with myself for not succeeding.  As I dumped half of the batch in the trash, I made the decision to save a piece of the dough and start again.  Then, while standing there in my kitchen peeling the rest of the dough off of a floured towel, I could not bring myself to tossing it in the trash.  Stubborn determination had me grabbing my basket and shaping the remaining dough.  The dough was soft and a little sticky at first but as I worked at shaping it into a smooth ball, I saw a change in the texture, it was no longer soft and shapeless and it was now tight and structured.  It rose beautifully in the basket and when it had doubled, I dumped it out on to the baking peel, slashed the top, slid it onto the heated stone in the oven and poured the water into the pan in the bottom of the oven.  Voila!  Picture perfect bread, and a lesson learned!

IMG_2125

The crust was thin and crispy, just like a good baguette and despite the many missteps and the extra rise time, it has absolutely no sour taste.

IMG_2141Just look at the interior of the loaf, all of the open bubbles you would expect after reading the recipe, but not the photo tutorial as it does not advise you to retain the open structure and air bubbles by handling it gently and not to deflate or mash it.  In the end, I am better prepared to make a baguette and my second batch is nearing the final rise.  Stay tuned fellow bakers, I will post additional photos when I get a decent loaf!

To see what the other Tuesdays with Dorie bakers came up with, visit the website.

amaretti; a tuesdays with dorie post

Amaretti, even the name sounds delicious.  These little cookies are so simple to make, it is almost a crime not to whip up a batch.  Of course, you have to be a fan of the bitter almond flavor the almond paste contributes to the cookie.

Traditionally, these cookies are served with a cup of coffee or bit of wine or liqueur.  In our house, they are consumed by themselves, two or three at a time, every time we pass by the box they are stored in.  Needless to say, I will not be making these again for a while-my clothes are getting tight…

Way back when, in my days of working at the World Trade Center in New York City, I was a pastry cook in the hotel that sat between the two towers.  Our pastry chef, who was from France, had us make these all the time but he called them macaroons or maybe macarons, it was a long time ago and I cannot remember.  The recipe was nearly identical to the one we used at the hotel.  This I do remember because I still have the recipe and I make them from time to time.

The crazy thing about all of this, I was probably toiling away, below the plaza while Nick Malgieri, the contributor of this recipe to Baking with Julia, was working away at the top of the towers in the world famous restaurant, Windows on the World.  Small world, isn’t it?

To see what the other Tuesdays with Dorie-Baking with Julia bakers came up with, be sure to check the homepage.  Consider baking along with us if you have the book, or buy/borrow one and join in on the fun.  We are also baking our way through Dorie’s new book, Baking Chez Moi.

puff pastry pizzettes; a tuesdays with dorie post

How can you not love a recipe that isn’t actually a recipe?  These little pastries were simply a quickly thrown together snack to use up homemade puff pastry scraps; it is a crime to waste something that you put so much effort into preparing.  That said, I am afraid I just did not care for them.

The recipe is from Baking with Julia and was contributed by Michel Richard and it truly does call for the use of scraps from previously prepared puff pastry recipes.  The recipe, which really isn’t much more than a guidline, instructs you to place cherry tomatoes halves onto two inch rounds of dough and to top it with a little goat cheese before popping it into the oven to bake.  Honestly, as soon as I saw cherry tomatoes and goat cheese, I knew I was in trouble!

Sad but true fact, this Italian girl only likes cooked tomatoes if they are in the form of tomato sauce, otherwise, I avoid it like the plague.  Yes, I am that person who will pick the tomato chunks out of soup, don’t get me started on goat cheese, I have never been able to eat it!   However, in the spirit of following the “recipe” as it is written, I topped my little squares with a rosette of goat milk cream cheese from Trader Joe’s. If you shop there, they sell it with the cream cheese and it tastes just like regular cream cheese, at least pretty close to it.  With the cherry tomato halves in place, into the oven they went.

But that was just too simple.  Out of curiosity, I cut up some curried roasted vegetables and made a few squares.  Brussels sprout halves and thick slabs of kabocha squash were pressed into the cheese and baked along side of the tomato bites.  All in all, about 15 minutes of work for a few quick bites to give my husband a treat-he works so many hours that I really have become a kitchen widow.

Well, all is not lost, I have a lot more puff pastry dough in the freezer which means I will have scraps to work with again at some point and next time, I’m going with chocolate, or caramel, or maybe chocolate and caramel…

What I had to do to get that shot.  Yes, on the landing in the middle of the stairs but look at that window!  It let’s in the most amazing morning light and none of it was direct.  It is taking time to figure it all out but I have a feeling that I will be spending a lot of time on the stairs with my camera and a plate of food!

To see what the other bakers came up with, be sure to visit the Tuesdays with Dorie website and if you have a copy of the book, Baking with Julia, bake along with us as we bake our way through the book.  If that isn’t enough for you, we will also be baking from Dorie Greenspans new book, Baking Chez Moi starting in November.