skillet fried chicken cakes; putting leftovers to work

IMG_1781


Tis the holiday season and days full of hunting and gathering.  Shopping for gifts, planning for parties, wrapping gifts, writing cards and so on.  Often, dinner is an after thought and most of us grab something from the market or a favorite take-out spot that we can dump on the table with little to no effort.  When the stress associated with getting everything done, the cookies, the gift wrapping and the decorating, who wants to make dinner?


Even so, a nice dinner on the table at the end of a busy day is just what I want and now that there are just two of us to cook for, I actually look forward to the task.  Generally, helpful hints for the homemaker (laughable isn’t it-me a homemaker?) call for cooking large batches of stuff and serving it all week long or they instruct you to divide it up and freeze it for days like this when cooking is not an option.  That is a sound plan and good advice, just not for me.  When I am faced with eating my way through two gallons of chili or a ginormous pan of baked pasta, I get tired of it quickly.  More often than I care to admit, good food ends up putrefying in the back of the fridge.


One way I have managed to get a menu together that covers the whole week is to pick a few ingredients, purchase them in bulk and prepare different dishes from them so that even though I am essentially eating the same thing, there is enough variety to keep me from getting bored.  Remember my recent series on One Bag of Kale?  A large, one pound bag of kale appeared in four separate meals and no boredom was detected!  This time around, I used a whole, roasted chicken, two of them actually, to fill my menu.  We feasted on soup, creamy chicken and vegetables over rice and a new favorite dish, Skillet Fried Chicken Cakes.


IMG_1798

As you may know, we recently relocated to Williamsburg, Virginia and if you are familiar with the geography of the area, you also know that we are a hop, skip and short trip across a couple of bridges from the Chesapeake Bay.  In culinary terms, that means we are smack dab in the middle of oyster and crab country.  Amazingly enough, I am not a huge fan of either one.  Mussels, absolutely!  Calimari, duh, I am Italian, calimari is a given here.  Lobster, now you’re talkin!!!  Crab, meh; I’ll stick with shrimp and lobster.  Oysters, eeewww-can’t even think about them.  However, I can shuck ’em all day long thanks to my first real job after graduating from the CIA.


My husband, on the other hand, has a thing for crab cakes, specifically Maryland Crab Cakes.  Since I do not eat them, I naturally assumed from the name that the cakes were made of blue crabs from the nearby Chesapeake Bay.  However, the difference between other crab cakes and Maryland crab cakes is huge.  In this part of the country, folks like their cakes to be made from fresh crab and little else.  They like them large and pan fried in patties that are so tender they barely stay together and are eaten with little more than a bit of remoulade sauce.   Not being a fan of remoulade sauce or it’s low brow cousin, supermarket tartar sauce in a jar, I never even consider ordering the crab cake special in a restaurant, much less making them at home!


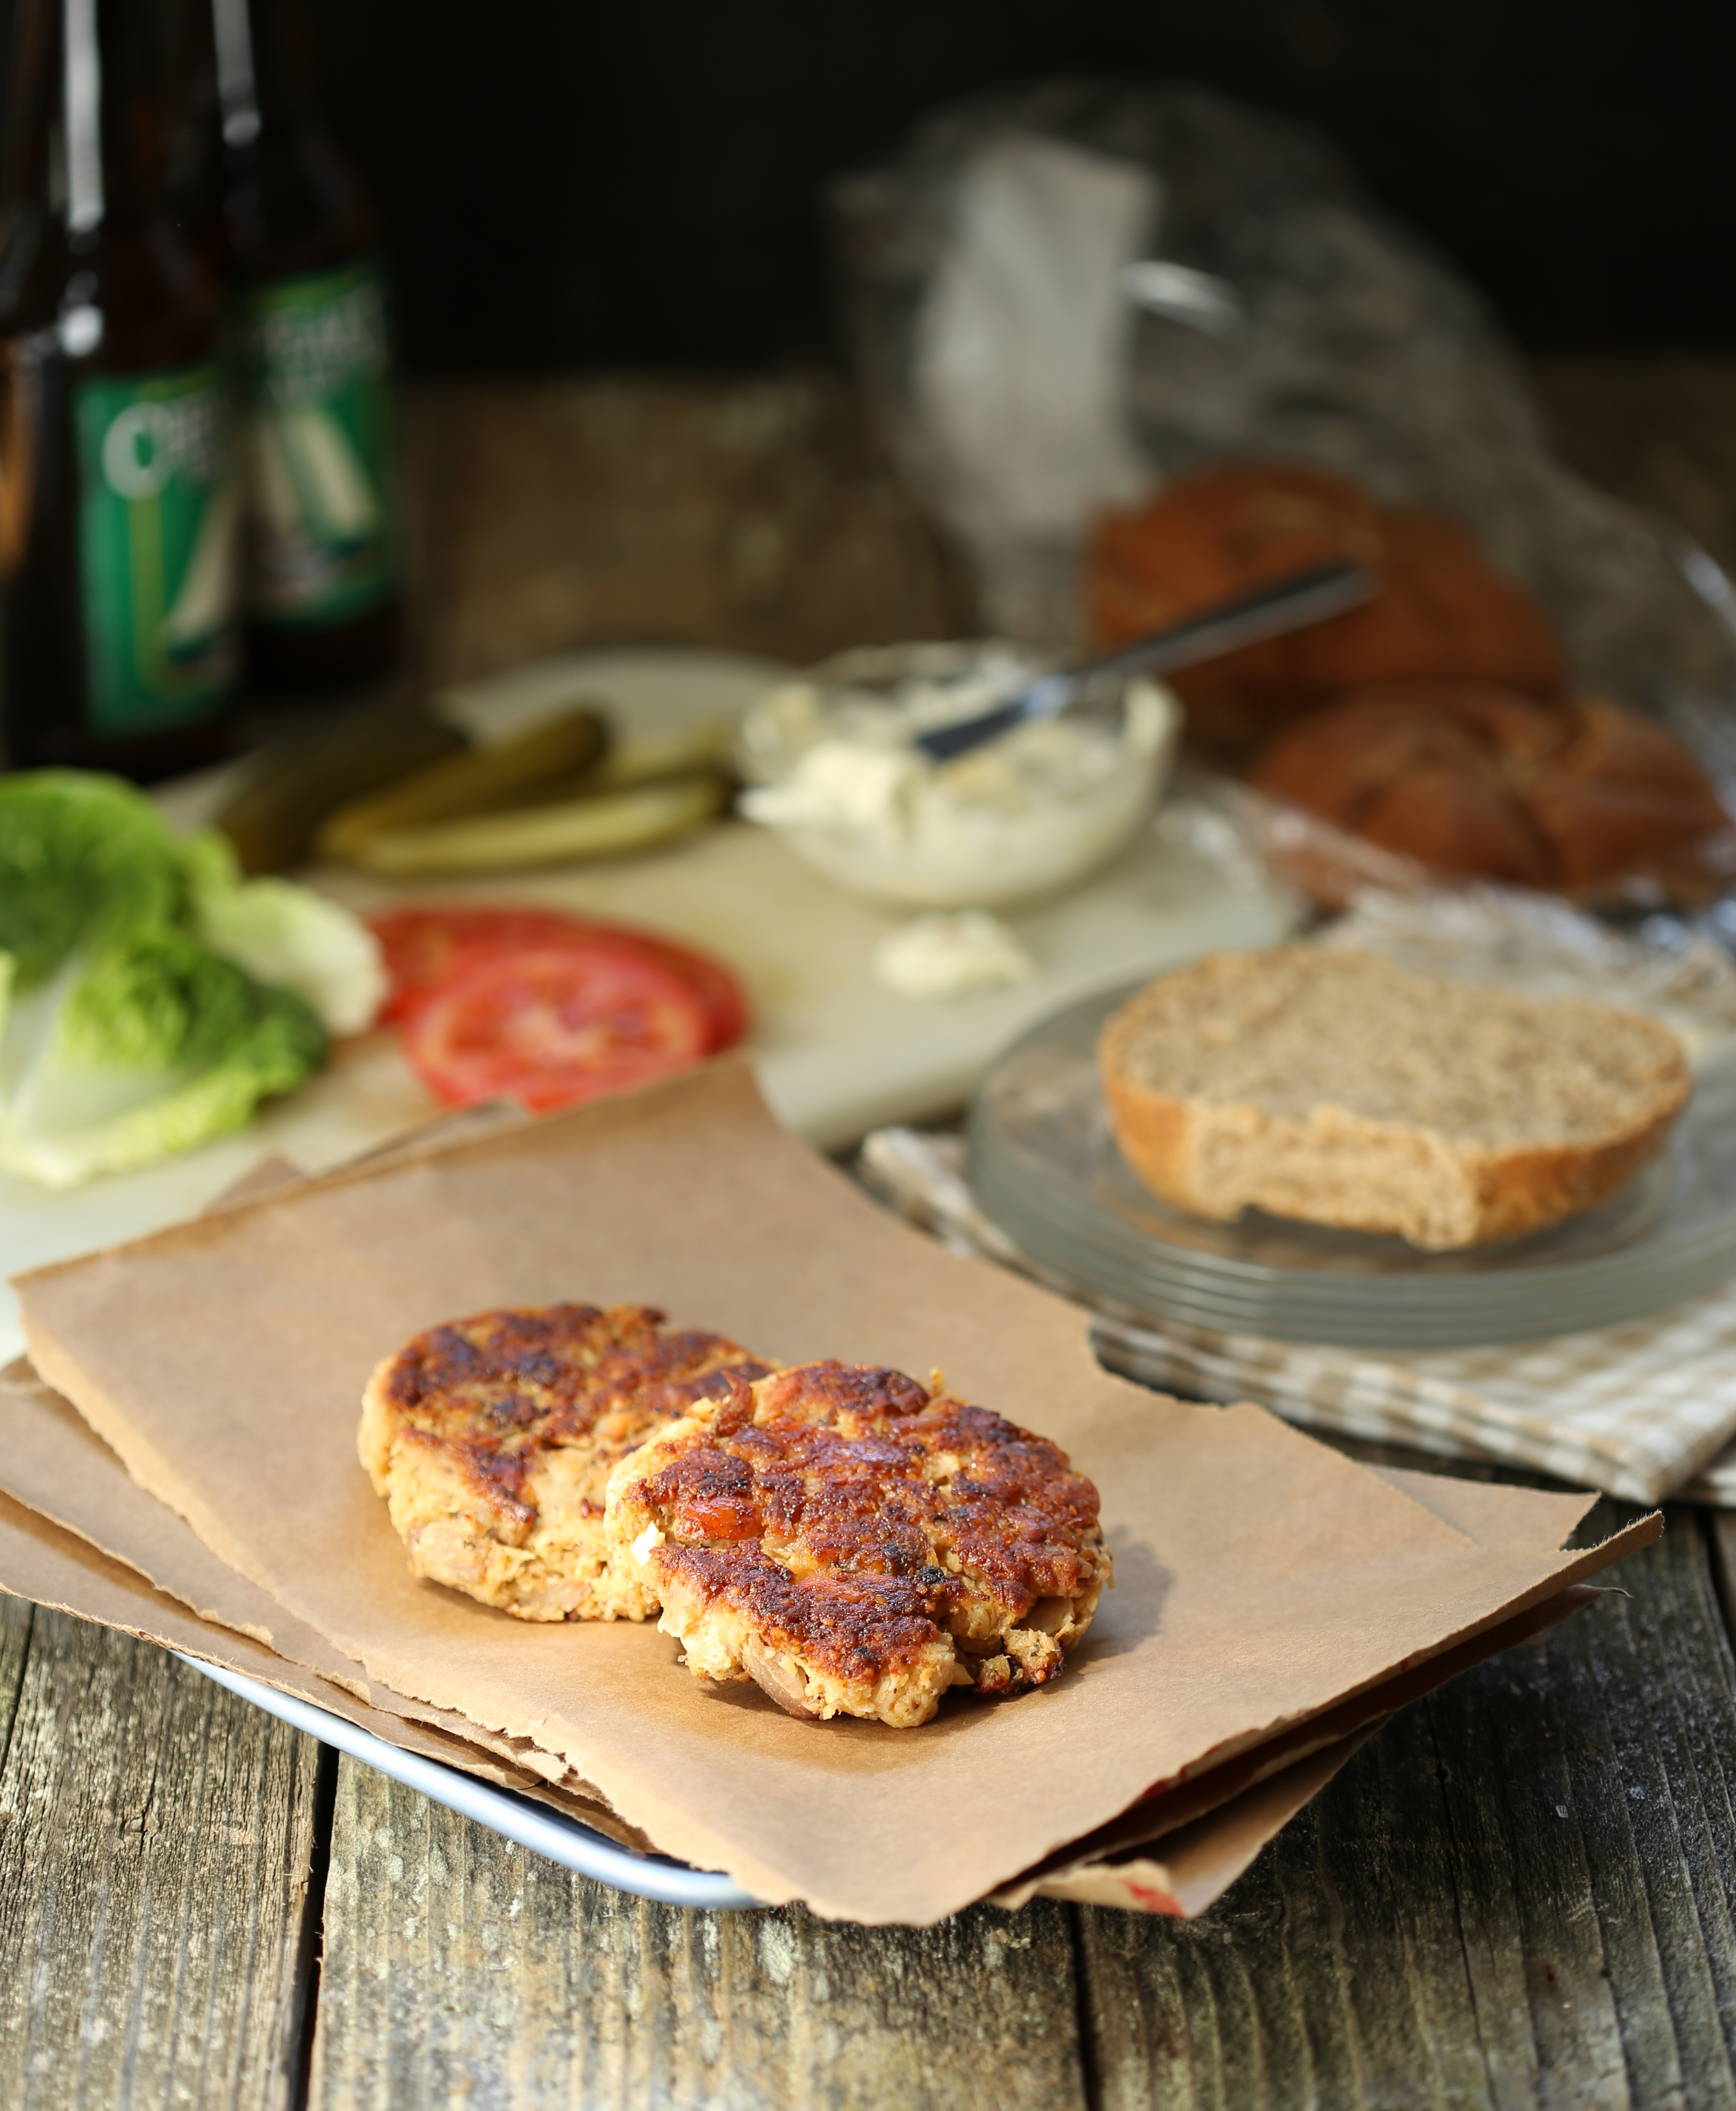
Oddly enough, the dish does sound tasty to me, except for the crab part, and it had me wondering, if we can call tuna the chicken of the sea, could we let a chicken take a deep sea dive?  Would replacing the crab meat with freshly pulled chicken meat work in a crab cake recipe?  You bet it does and despite my enthusiasm for this compromise, I was skeptical that my husband would agree.  The long and short of it all, he devoured them and did not even miss the crab.  Success!


But how can this be a time saver?  Easy, next time you are going to roast a chicken, roast two or three if you can.  Pull one (or two) chicken(s) to pieces, separate out the meat, discard the skin and save the bones and carcass for soup.  Weigh out (yes, weigh it out-a scale is easy to find and surprisingly affordable!!!) a pound of pulled meat for a batch of cakes and set aside the remaining meat for soup, white chili or another of my favorites, chicken and black bean tacos.  You can freeze it until you need it or spend a day in the kitchen making everything-personally, I prefer to freeze components and then thaw and cook them as needed.  The recipe is quick to make and easily doubled if you want to plan ahead; just freeze the cakes and thaw and cook when you want to serve them.


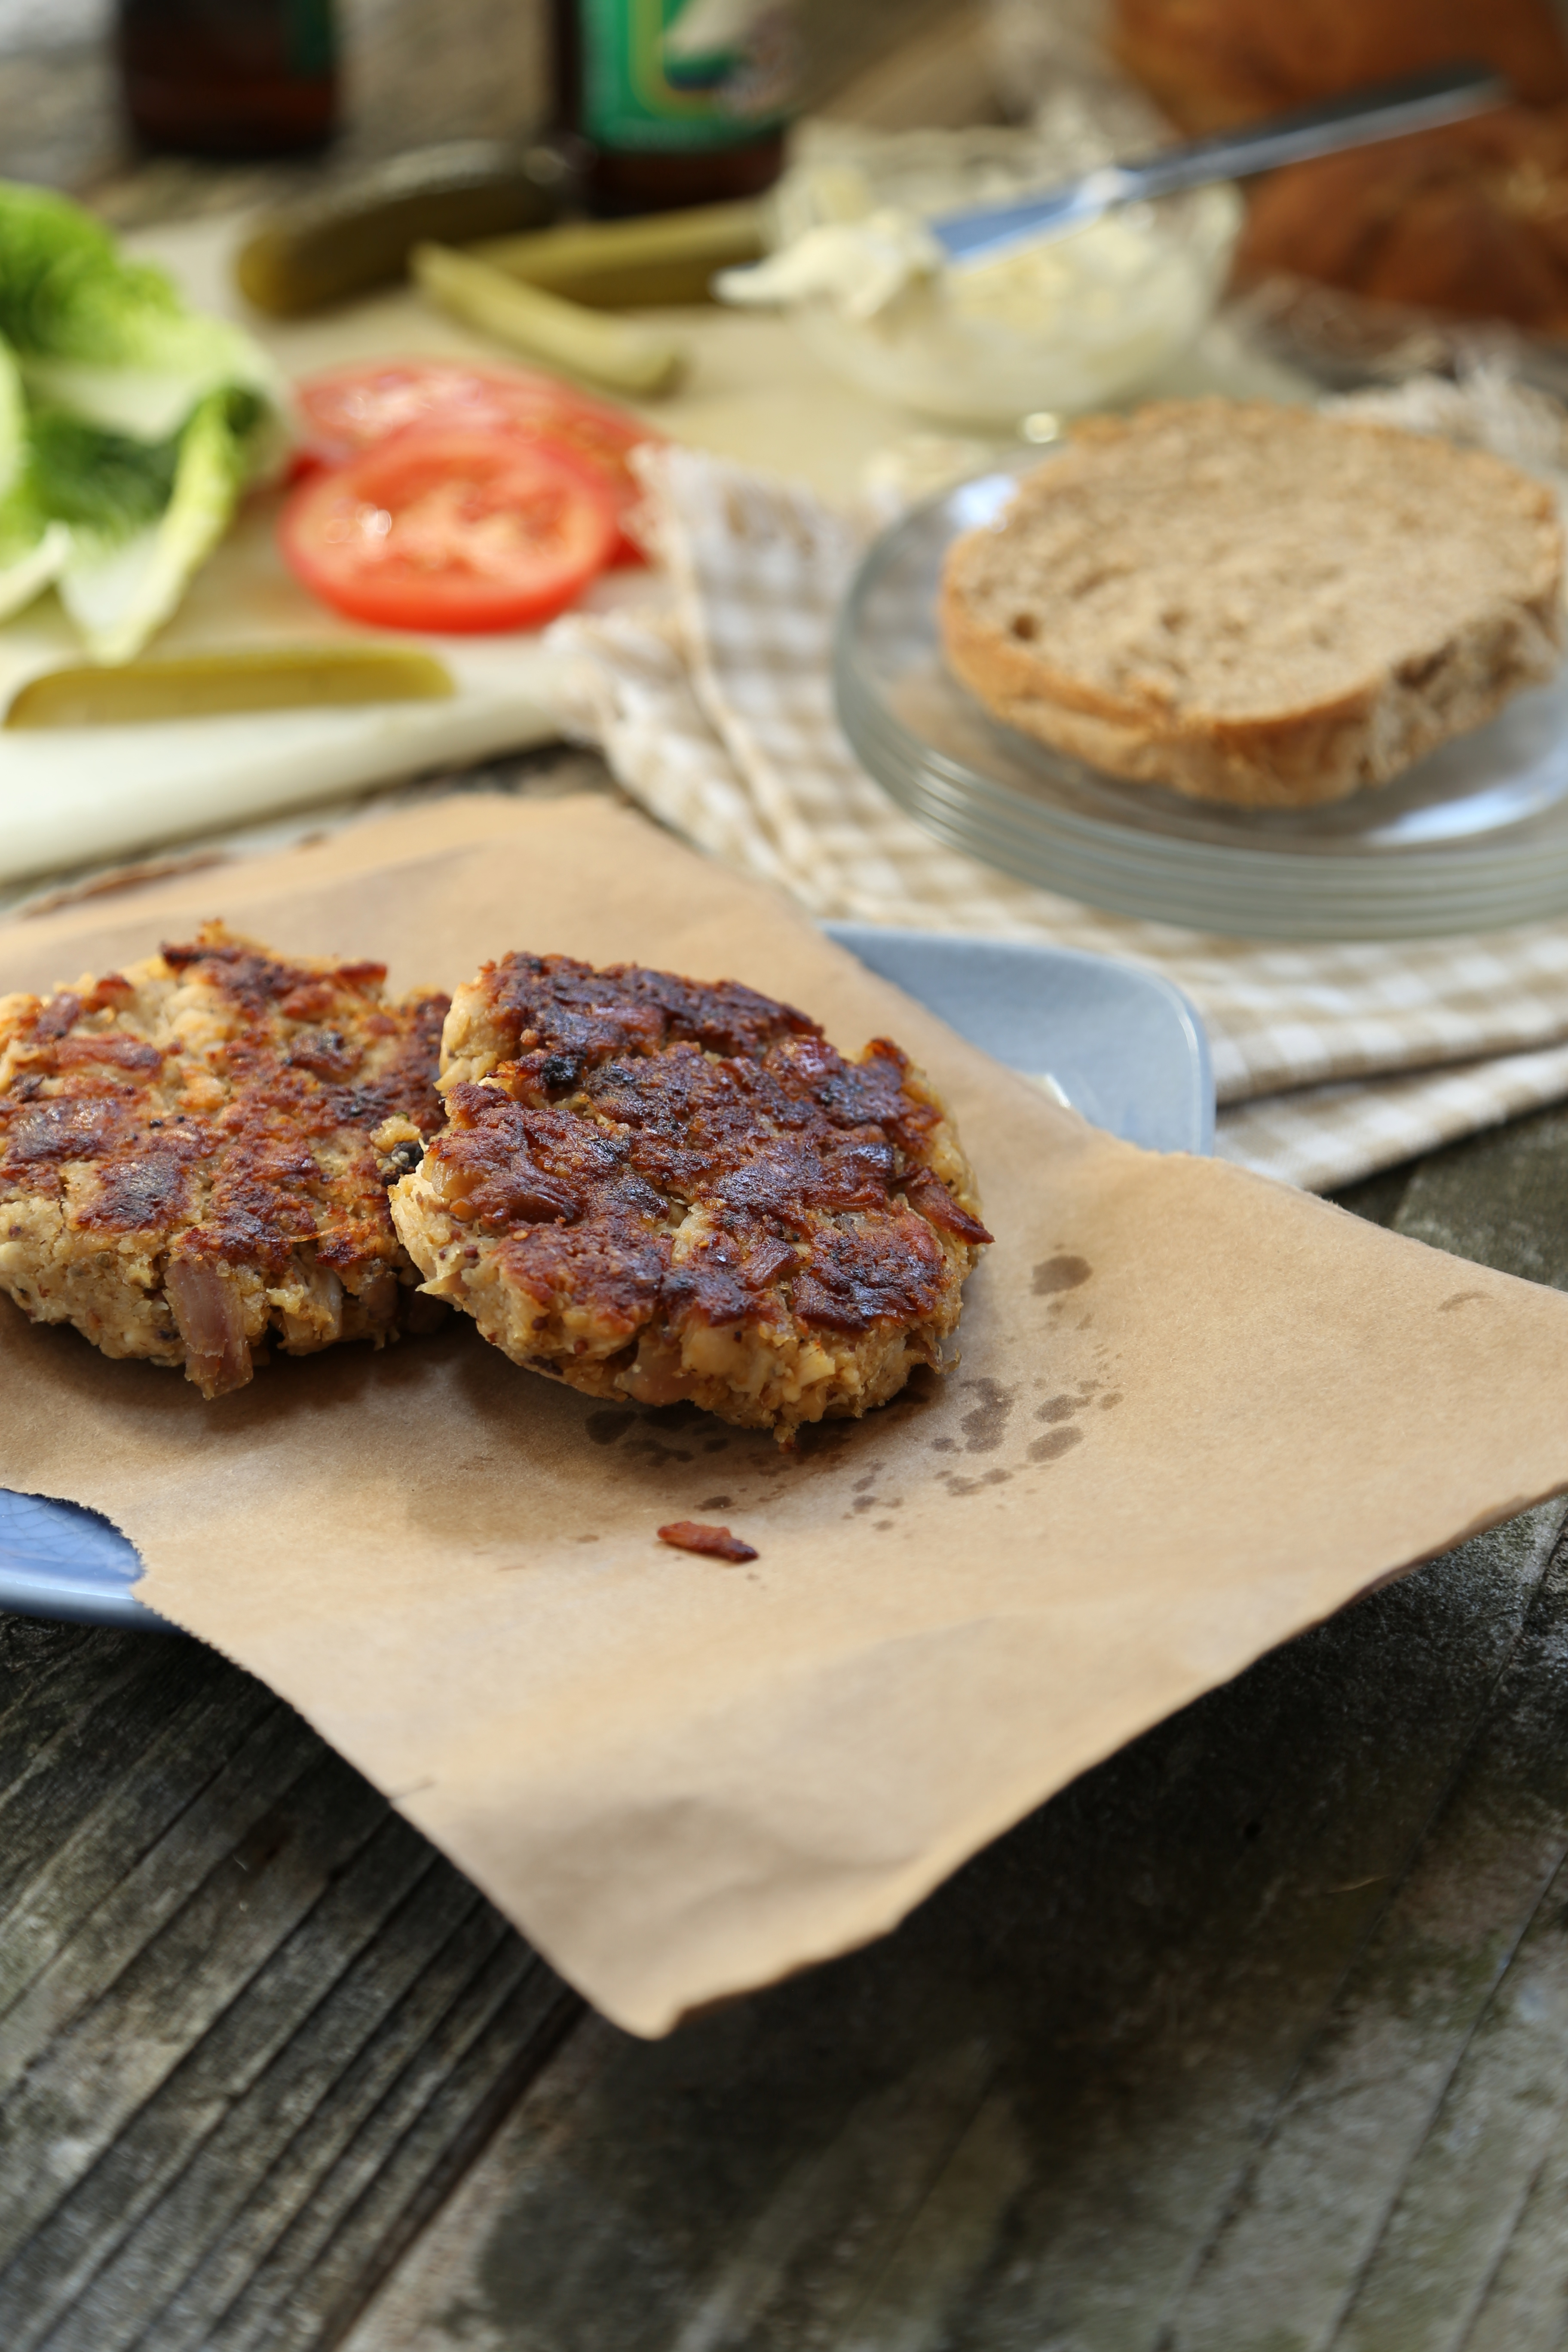
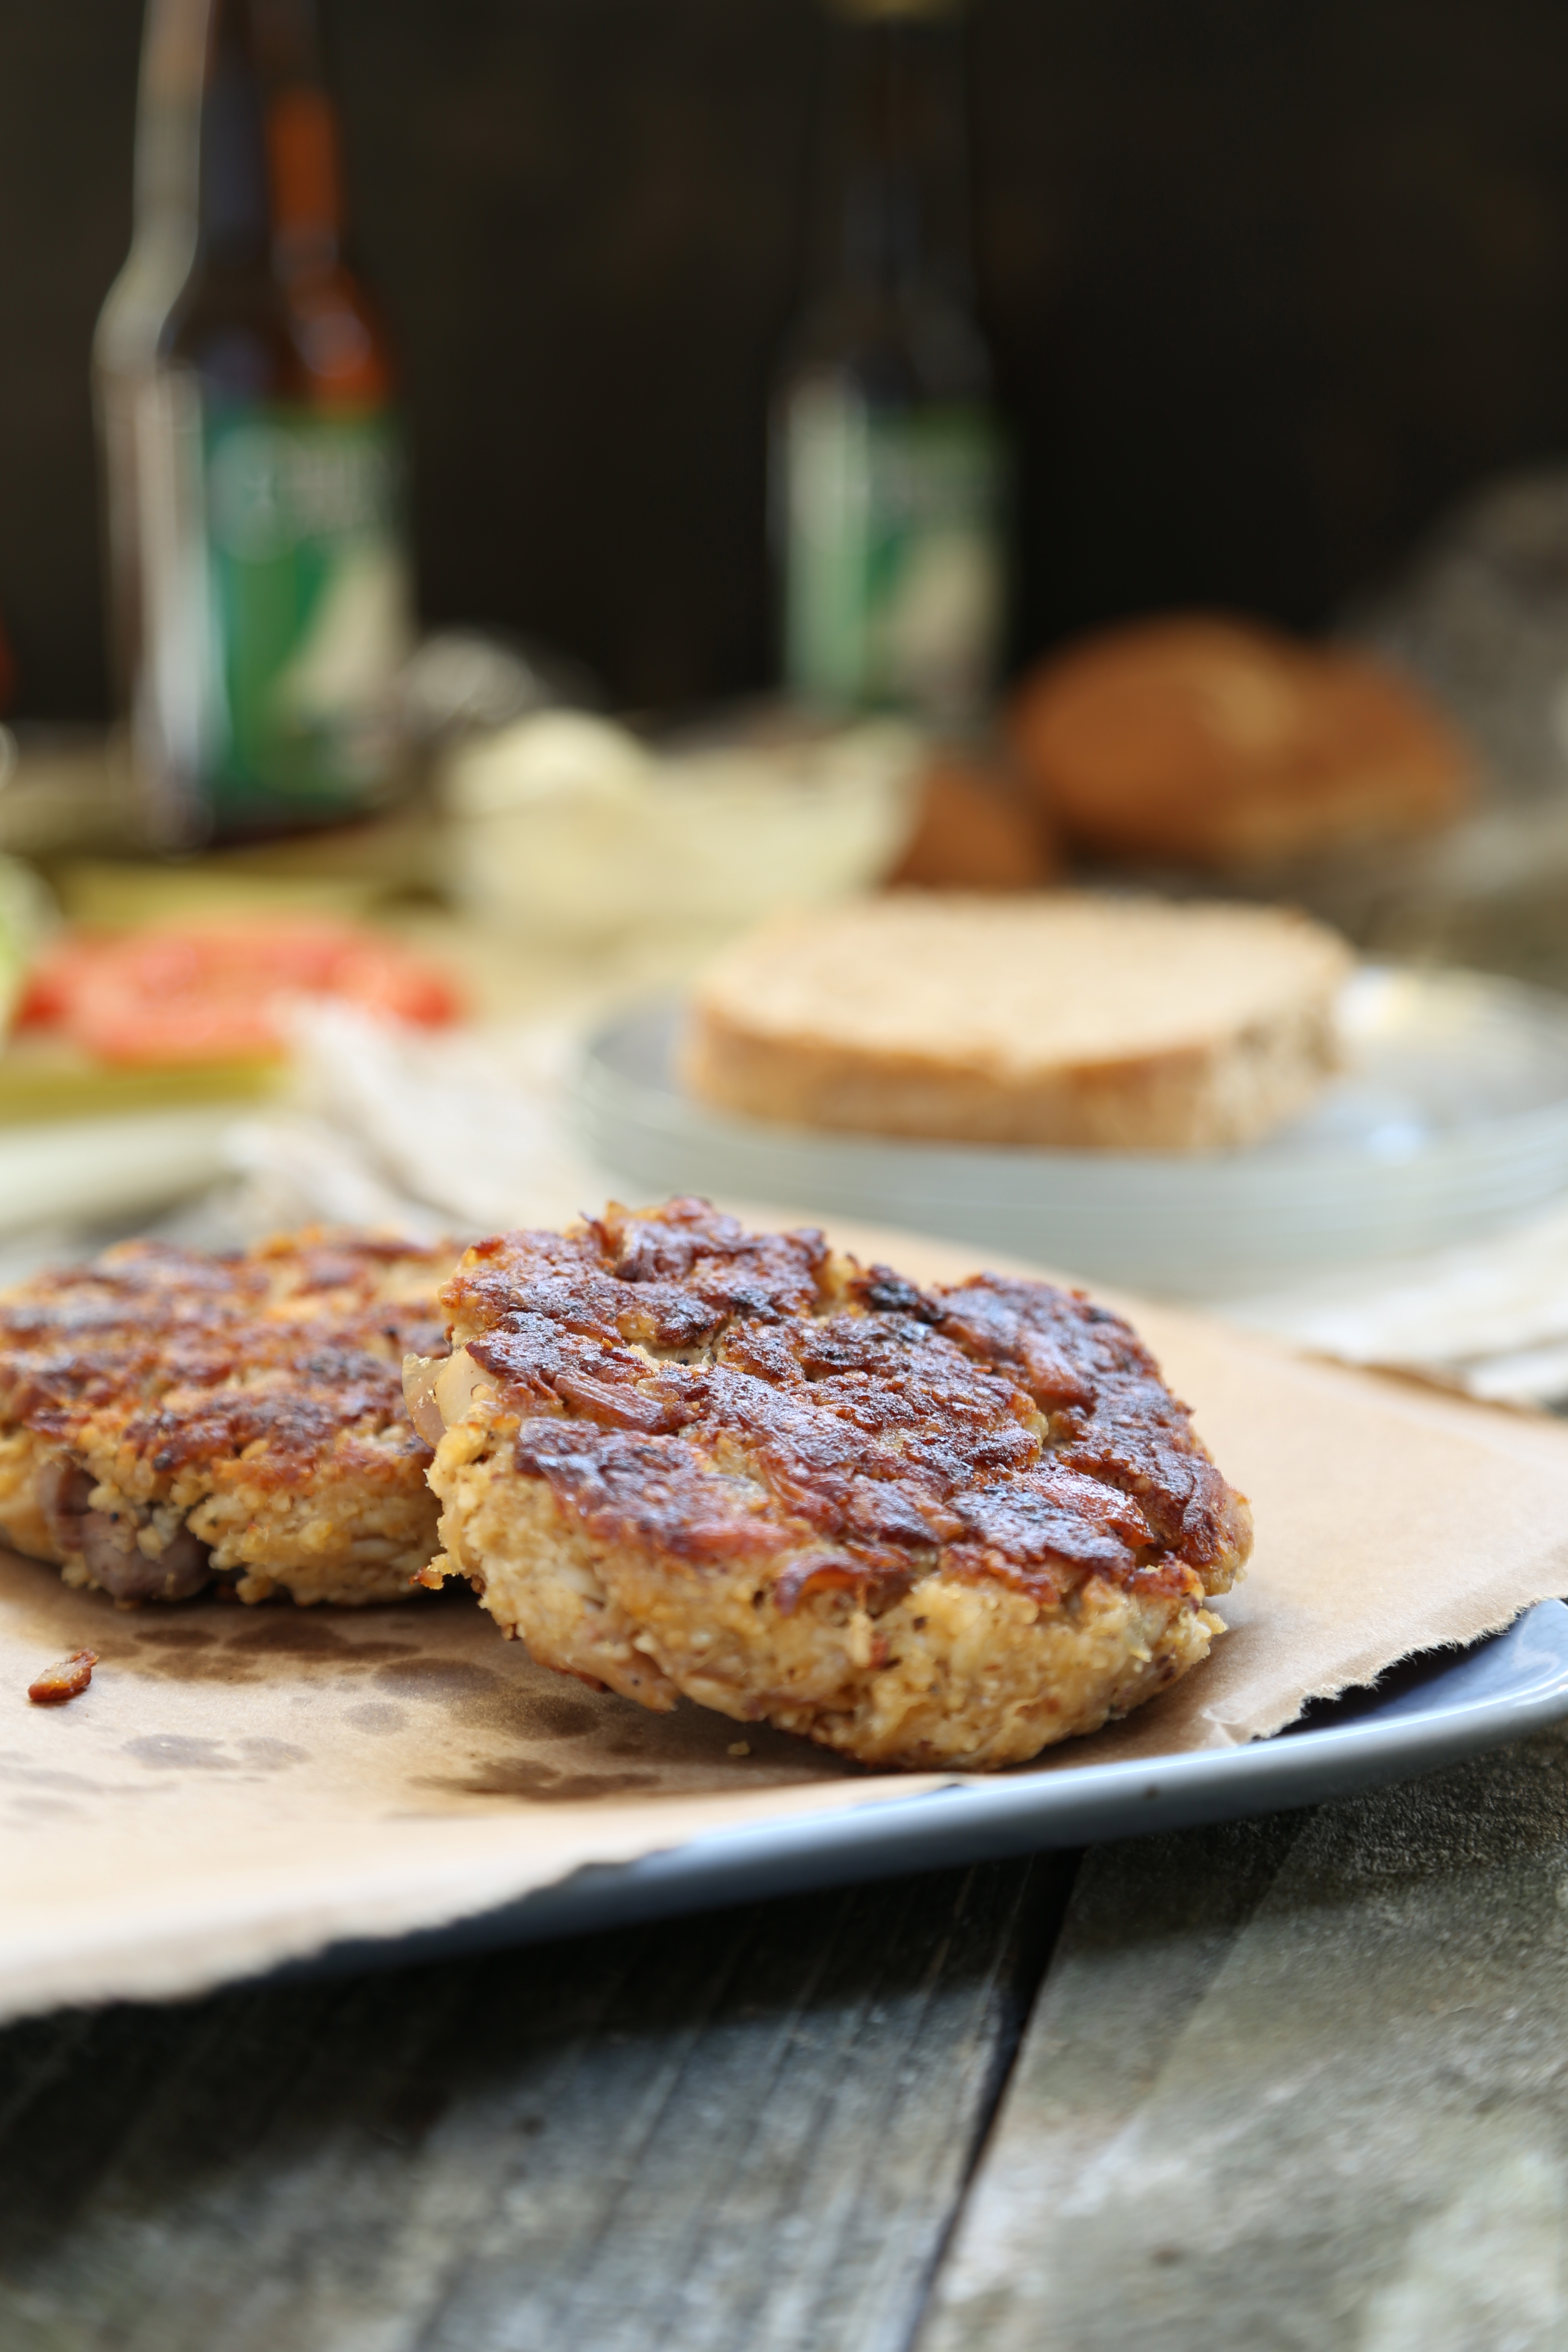
Make these cakes as long as one day ahead, cook them when you plan to serve them and put them on the table with your favorite buns (kaiser rolls for me if I am buying them, homemade otherwise!) and fixings, a local brew and secretly wish for the chaos season to end and for  summer to arrive…

Skillet Fried Chicken Cakes

IMG_1806Recipe is adapted from one that appeared in Food and Wine and was written by Andrew Zimmern.  See the original recipe here.  And for the crab lovers out there, just prepare the recipe as written in the link, I am pretty sure Chef Zimmern knows what he is talking about here!

Makes 8 cakes, serves about 4


1 pound cooked, pulled chicken meat

1/2 cup mayonnaise

1 large egg

1 tablespoon mustard, preferably whole grain

1 tablespoon worcestershire sauce

1-2 teaspoons Creole spice mix

1 teaspoon hot sauce

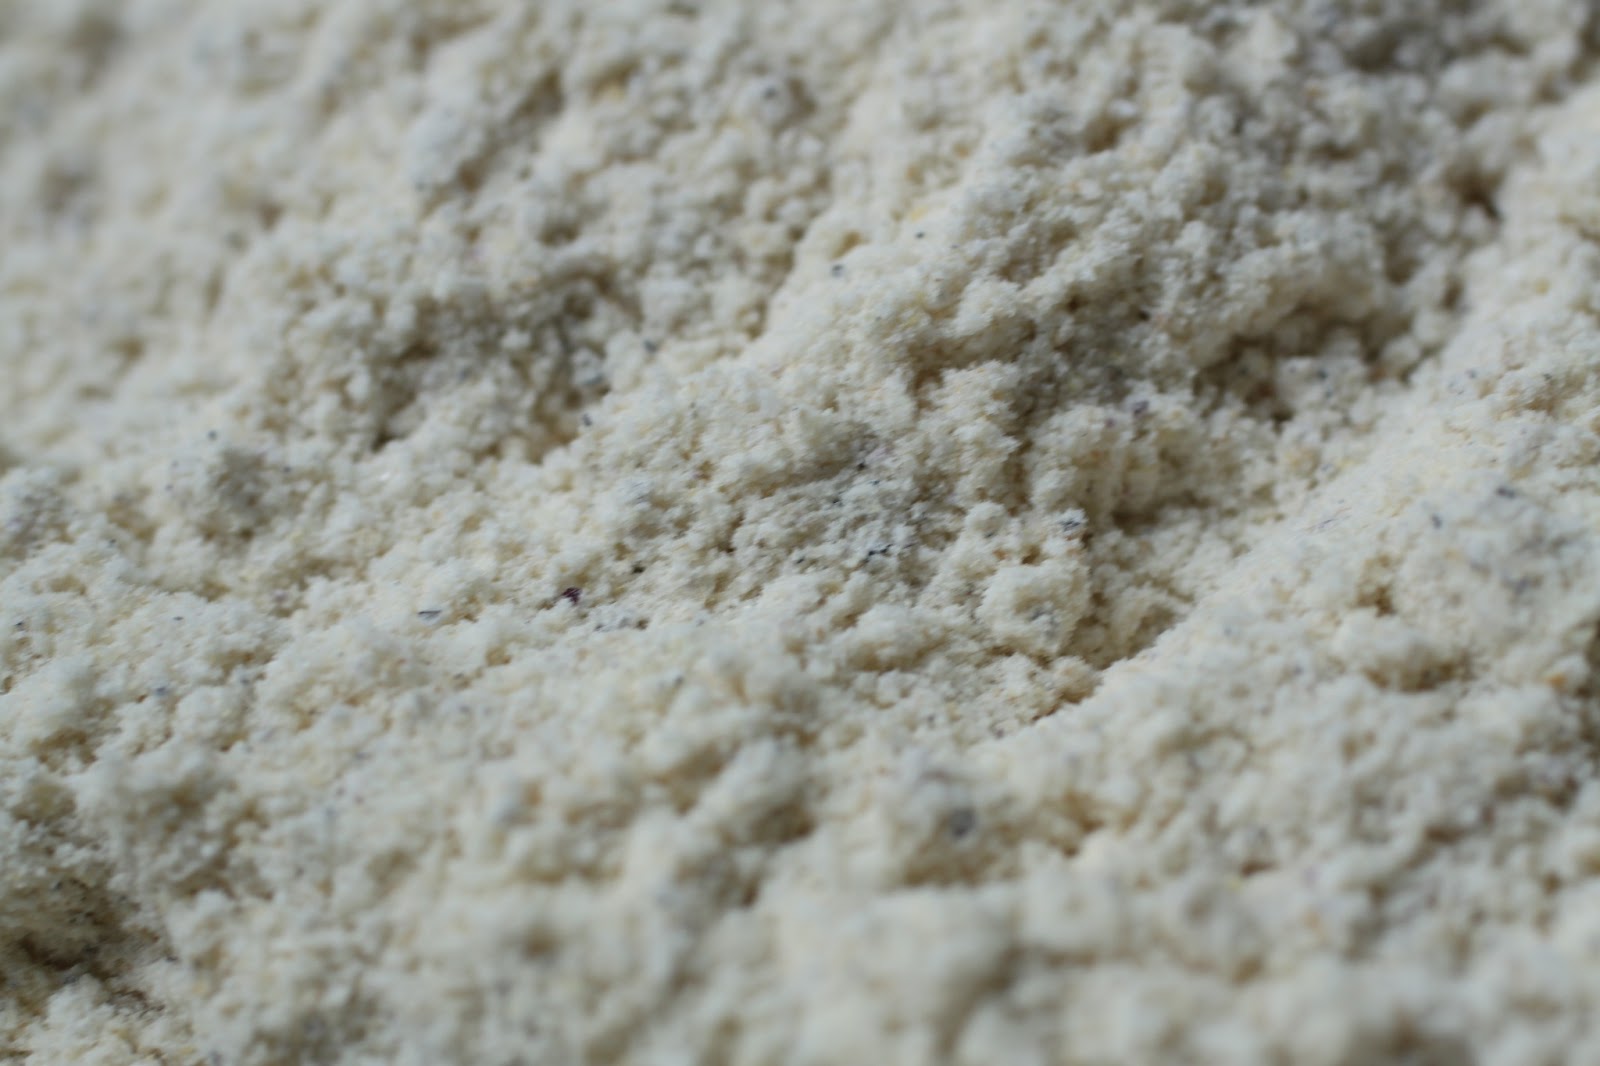
3/4 cup cracker crumbs, about 20 saltines

Oil for frying

Buns, sandwich fixins, pickles


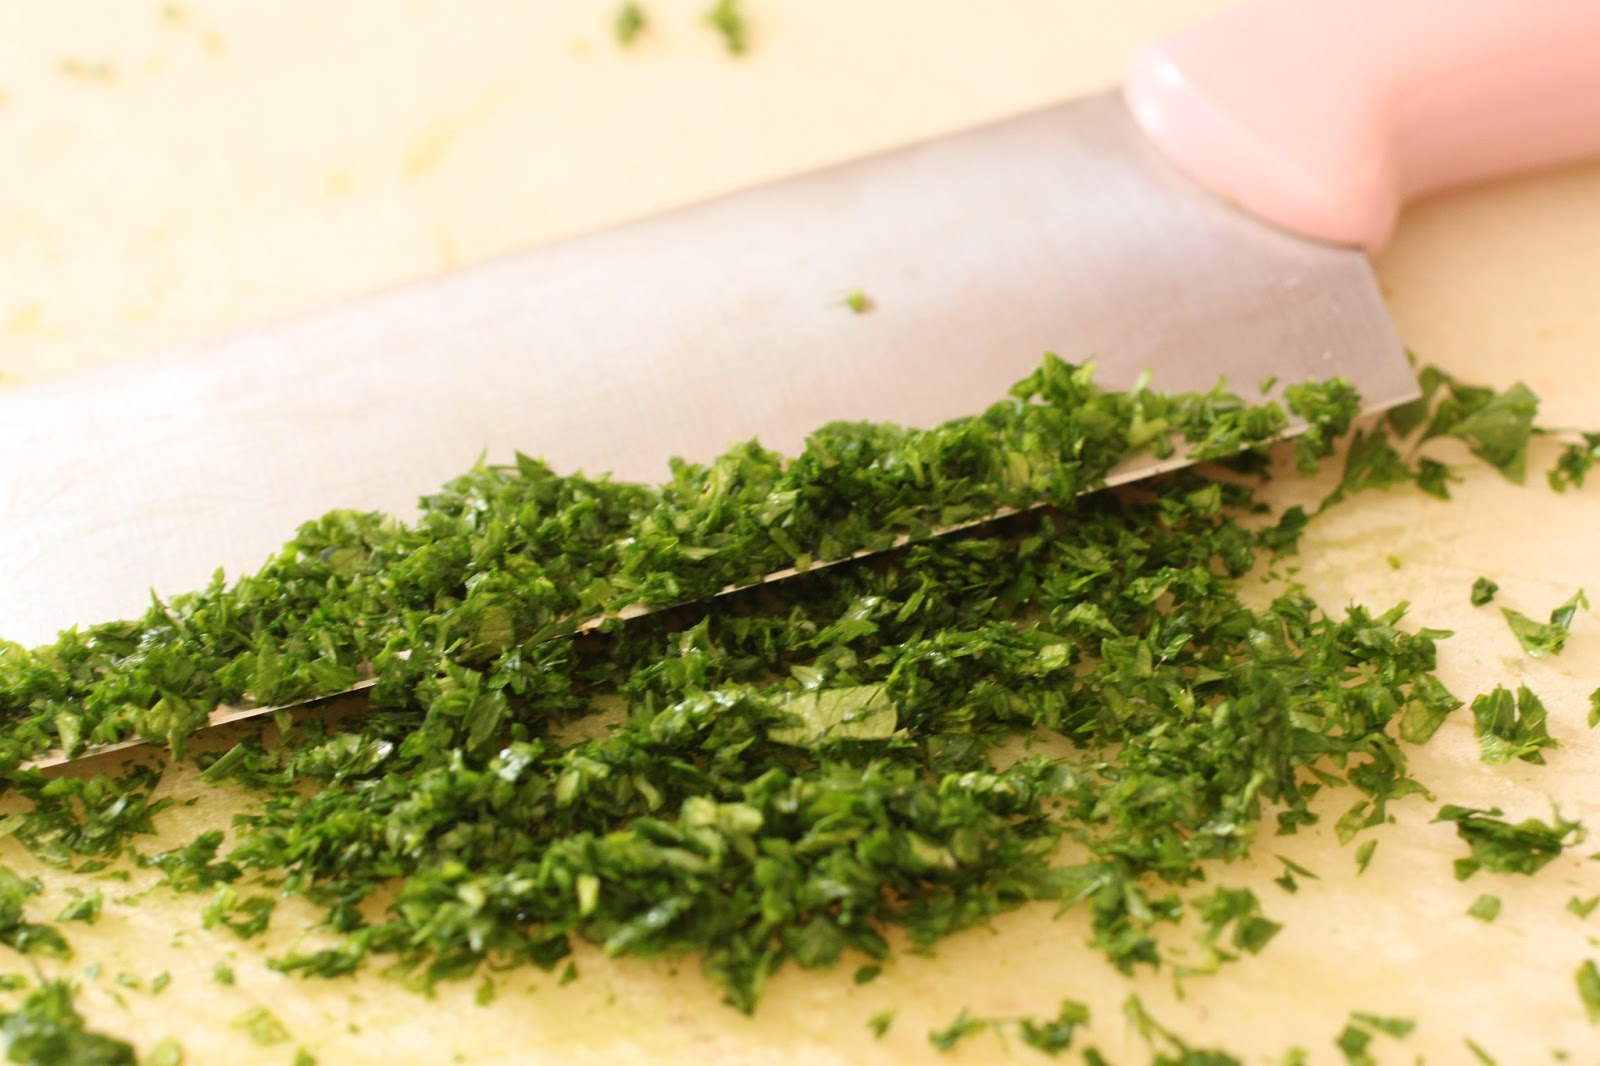
Pull the chicken meat so that it is shaggy and rough, cubes will not bind!  In a small bowl, whisk together the mayonnaise, mustard, worcestershire, spice mix and hot sauce.  Add the chicken meat and the cracker crumbs and gently mix to combine but take care not to mash it to a paste.  Divide the mixture evenly and form patties.

Pour enough oil into a large skillet so that the entire surface is covered by an 1/8th of an inch over medium heat.  Carefully add the cakes and fry on one side until browned.  Turn the patties and fry the other side until nicely browned and hot in the center.  Lift the cakes from the oil and set them on a tray lined with brown paper or paper towels, serve immediately.


For the OCD, make your own buns, I do when I can and freeze them, find my recipe here


puff pastry pizzettes; a tuesdays with dorie post

How can you not love a recipe that isn’t actually a recipe?  These little pastries were simply a quickly thrown together snack to use up homemade puff pastry scraps; it is a crime to waste something that you put so much effort into preparing.  That said, I am afraid I just did not care for them.

The recipe is from Baking with Julia and was contributed by Michel Richard and it truly does call for the use of scraps from previously prepared puff pastry recipes.  The recipe, which really isn’t much more than a guidline, instructs you to place cherry tomatoes halves onto two inch rounds of dough and to top it with a little goat cheese before popping it into the oven to bake.  Honestly, as soon as I saw cherry tomatoes and goat cheese, I knew I was in trouble!

Sad but true fact, this Italian girl only likes cooked tomatoes if they are in the form of tomato sauce, otherwise, I avoid it like the plague.  Yes, I am that person who will pick the tomato chunks out of soup, don’t get me started on goat cheese, I have never been able to eat it!   However, in the spirit of following the “recipe” as it is written, I topped my little squares with a rosette of goat milk cream cheese from Trader Joe’s. If you shop there, they sell it with the cream cheese and it tastes just like regular cream cheese, at least pretty close to it.  With the cherry tomato halves in place, into the oven they went.

But that was just too simple.  Out of curiosity, I cut up some curried roasted vegetables and made a few squares.  Brussels sprout halves and thick slabs of kabocha squash were pressed into the cheese and baked along side of the tomato bites.  All in all, about 15 minutes of work for a few quick bites to give my husband a treat-he works so many hours that I really have become a kitchen widow.

Well, all is not lost, I have a lot more puff pastry dough in the freezer which means I will have scraps to work with again at some point and next time, I’m going with chocolate, or caramel, or maybe chocolate and caramel…

What I had to do to get that shot.  Yes, on the landing in the middle of the stairs but look at that window!  It let’s in the most amazing morning light and none of it was direct.  It is taking time to figure it all out but I have a feeling that I will be spending a lot of time on the stairs with my camera and a plate of food!

To see what the other bakers came up with, be sure to visit the Tuesdays with Dorie website and if you have a copy of the book, Baking with Julia, bake along with us as we bake our way through the book.  If that isn’t enough for you, we will also be baking from Dorie Greenspans new book, Baking Chez Moi starting in November.

pimento cheese; it’s a southern thing

having lived in the south for a while, i have come to appreciate many “southern” foods.  sorghum has to be pretty close to the top spot on the list.  how can you not love hummingbird cake or homemade chess pie?  didn’t think i could but when they are homemade using a good, handed down from generation to generation recipe, both are hard to pass up.  never mind the stuff that is mass produced and sold in the grocery store; we won’t even talk about what they sell in the mini mart at the gas station…
where am i going with this?  pimento cheese, that’s where.  for years, i would see the tubs of bright yellow/orange goo in the cheese section of the grocery store and wonder who could eat that-why would they eat that?  then i had my first taste of good homemade pimento cheese.  those of you who have lived in nashville longer than i have will most likely remember a little shop in green hills, clayton blackmon.  two ladies owned the shop, it grew out of their successful catering business, and if you ask me, they made the best pimento cheese, ever.  by using a blend of freshly grated cheeses, possibly mild cheddar or colby and monterey jack, and mixing it with pimentos and mayonnaise, it was amazing.  and until recently, i didn’t think i could ever find something close to it.  
when my coworkers and i went to the beard house in february, we served the guests at the event pimento cheese made from a family recipe of one of our team members that had been handed down several generations.  that started me on a quest to find the recipe to make pimento cheese like the one that lives in my memory…

this batch was made from the recipe we used at the beard house.  it produces a spread that is almost like a dip.  it is dangerous-you can spread it on crackers or bread and before you know it, you’ve eaten the whole batch…to make this for yourself, visit the loveless website for the recipe.  to see pictures from the trip to new york city and the dinner, part 1, part 2.

being who i am, i had to try my own take on this recipe.  first stop was the deli counter in the grocery store; i had them hack me off a thick slab of the american cheese that they sell by the pound.  it is the american cheese i grew up with.  my mother never bought the stuff that comes wrapped by the slice.  then i grabbed a piece of smoked gouda.  first i shredded the cheese and then by using the food processor and pulsing it carefully to combine it with the buttermilk, i was able to get a chunky consistency.  while it isn’t as creamy at first, it does soften and almost liquefy as it sits because the buttermilk does that to the cheese.  it was just as deadly to my waistline and cholesterol count as the previous batch.

then i made an open face grilled cheese sandwich with it.  need to step away from the cheese!  try making the recipe by substituting the amounts ounce for ounce with your favorite blend of cheeses.  you will not regret this, trust me.

like many others, once i get started on something, i cannot stop.  when i go to the monthly pot luck dinner held by the master gardeners, i asked a fellow member for her recipe.  she frequently brings pimento cheese sandwiches to the dinners and i almost always grab one.  katherine’s recipe is rather simple.  half a pound of shredded mild cheddar cheese, a little minced raw onion, a small jar of diced pimentos with the juice and enough mayonnaise to hold it together which ends up being a few tablespoons.  mix it all up and let it sit a while.  then spread it on fresh bread for wonderful snacks or put it on crackers.  be warned, you may have to step away from the counter to prevent it from disappearing.

for my version, i went with some white cheeses; medium white cheddar and gruyere.  a jar of roasted red and yellow peppers from trader joe’s came in handy since my garden was lacking bell peppers and  i used some unsweetened mayonnaise to hold it together.  this stuff was awesome and i am no longer wondering how they made it-now i have a small arsenal of recipes and a plethora of cheeses available to try out.  this could get dangerous…

katherine’s pimento cheese 
8 ounces shredded, mild cheddar
1 (4 oz) jar diced pimentos,  not drained
1 tablespoon minced onions
1/3 cup mayonnaise
stir together just to combine.  serve with crackers or spread it on bread for sandwiches.  keep refrigerated, providing it lasts that long

cooking the books: szechuan green beans and shrimp fried rice

i am a cookbook hoarder.  i’m not ashamed, it’s a habit that i can live with and speak of out loud without fear of the consequences.  after all, i am a cookbook author, it’s only fair that i collect the books of other authors if i expect anyone to collect mine.  my husband might disagree, he suggests getting rid of the ones i do not use on a regular basis.  i have become adept at getting around this.  my current strategy is to cook from the books that have gathered a little dust.  he is enjoying the results and asks when i will make something again, also asks “what did you cook for dinner today?” with a level of enthusiasm i am not accustomed to.  so you see, my plan is working, for now at least because men can easily be manipulated with food, sometimes.
long, long ago, before children, i bought a copy of irene kuo’s book, the key to chinese cooking.  it was published in 1977 and i have had it since the 80’s when i purchased it most likely from a book club-remember those?  oh how i have dated myself with this post…  this book has been lugged around, cross country twice and recently, i decided i needed to use it or lose it.  
while i have always enjoyed chinese food, it is not something i crave.  but i must admit, i have always loved the stir fries served in restaurants.  the texture of meat and poultry is always so tender and moist.  the secret is the velveting technique and using the recipe in this book works.  to test the theory, i made my husband cook a chicken stir fry using the recipe-after all, he was the one who said you have to velvet the meat to make it tender.  he is fussy about meals so when i see him getting cranky about food-i make him cook it.  but to be fair, i try to make meals that he will enjoy.  and recently, i picked up this book and made him a batch of szechuan green beans and shrimp fried rice.  the garden dumped a bowl of beans on me and it was the perfect recipe to use them in.

between our garden and the demonstration garden i work in, i had several types of beans to work with.  from the left; pole beans, royal purple beans, blue lake bush beans, haricot verts and asparagus long beans wrap around the bunch.  i cut them all to the size of the verts to make cooking them easier.

the first and most important step, deep frying them.  the purple beans lose the color and go green pretty quickly.  after frying them, the beans are set aside.  the remaining ingredients are quickly stir fried and the beans added to the mixture at the end.

i could eat these all day.  

the recipe calls for hot bean paste, something i did not have.  my solution was to add a small piece of finely diced cowhorn pepper.  it added more than enough heat!  the recipe also called for ground pork or beef and i opted to omit that completely-the dish was flavorful and filling without it.

to complete the meal, i used ms. kuo’s recipe for shrimp fried rice.  it calls for cooked rice which is a great way to use leftover rice but who keeps 3 1/2 cups of cooked rice in the fridge?  not me!  so i cheated and used a multi-grain rice from trader joe’s.  it is a frozen-cooked product but i know it will be better than anything i could have cooked on short notice.  i need to work on my rice cooking skills. for the purists, it takes about 1 up raw rice to make the needed 3 1/2 cups cooked rice.  and just to make it interesting, i added a few veggies for color; carrots and corn were what i a had available.

szechuan green beans and shrimp fried rice
both recipes are adapted from the key to chinese cooking by irene kuo

green beans
1 pound green beans, cleaned and cut in half
1 teaspoon minced ginger
1 scallion, finely chopped
1 clove garlic, minced
1 tablespoon minced cowhorn or other spicy pepper(can be omitted or reduced)
1 teaspoon sugar
1 tablespoon soy sauce

1 tablespoon dry sherry
2 cups vegetable oil
1/4 cup vegetable broth
1 teaspoon vinegar-cider or rice
1 teaspoon sesame oil
sesame seeds for sprinkling on top

the book uses a technique of preparing a working platter and it is very helpful so i will use it here as well.  place the beans on the platter.  as you prepare the ginger, scallion, garlic and hot pepper,  place them in separate piles on the platter.  in a small bowl, stir together the sugar, soy sauce and sherry and set it aside.  have a heat proof bowl with a strainer ready for the beans.  using a wok, heat the oil to 375.  add the beans slowly by scattering them across the surface of the oil a few at a time to keep the temp from dropping quickly.  stir them constantly to fry them until they look wrinkly, about 3 minutes.  dump the beans and oil into the strainer.  save the oil, you will need 2 tablespoons for the rest of the recipe, keep the remaining oil in the fridge and use it anytime you need oil for a savory dish.

over medium heat add the 2 tablespoons of saved oil to the wok and swirl it around to coat the surface.  add the ginger, garlic, scallion and pepper and stir a few times.  add the sauce, broth and the beans and quickly toss it to coat the beans.  finally, add the vinegar and sesame oil, stir a few times and dump out onto a serving dish and finish it with a sprinkle of sesame seeds.

shrimp fried rice
4 ounces raw shrimp-weight is without the shells, only the meat
1/4 teaspoon salt
1 teaspoon cornstarch dissolved in 2 teaspoons water
5 tablespoons oil (remember the oil you saved from the beans?)
2 large eggs
3 1/2 cups cooked rice
2 large scallions, chopped finely
1/2 cup cooked vegetables-frozen and thawed veggies will work here, i used corn and carrots
soy sauce and sesame oil to taste

if the shrimp are large, chop them into 1/2 inch pieces.  toss them in the cornstarch/water mixture.  heat the wok over medium-high heat and add 2 tablespoons of oil.  swirl it to coat the wok, turn the heat to medium and scatter in the shrimp.  stir them quickly to cook them and then dump them into a dish and set aside.

wipe out the wok, heat it again over medium-high heat and add the remaining 3 tablespoons of oil.  again, swirl the oil to coat the wok and heat the oil.  add the eggs.  as they cook around the edges, push them to one side of the wok to allow the still liquid eggs to run into the oil and cook.  tilt the pan if needed and continue to do this until the eggs are no longer runny but are soft and fluffy-almost like an omelet.  scrape them out into a dish and set aside.

reheat the wok over medium heat, no more oil is needed at this point.  add the rice and stir it to heat it, about 1 minute.  add the scallions and cooked veggies and stir rapidly to heat them.  add the shrimp and the eggs and using your spatula (bamboo works well here-it will not melt!), fold the sides into the middle to mix it and to chop the eggs.  drizzle in a little soy and sesame and stir to combine, pour into a serving dish.  

carrot-ginger dressing

back in june, i attended a food styling workshop hosted by the nashville food bloggers.  it was not only a fun way to spend a saturday morning, it was very informative.  we learned how to style a salad.  sounds easy doesn’t it?  well, while it isn’t rocket science, it is complicated in that you have to arrange things just right or it doesn’t look appetizing and won’t photograph well.

the class was led by teresa blackburn and she showed us two techniques.  first, how to plate an actual salad and all of the components in it and then how to tell the same story with just a forkful of food.  my photos below will tell my story.

when we go out to japanese restaurants, my favorite dish always ends up being the salad served while waiting for sushi to arrive.  more than once, our daughters, and sometimes my husband too,  have passed their bowls to me.  weird, isn’t it?  what could be so wonderful about iceberg lettuce covered in pureed carrots?  well, for me, it’s the dressing.  there has always been something about that dressing for me.  it must be the combination of fresh, raw carrots with ginger and soy sauce, some of my favorite flavors.  recently, i found a recipe for carrot-ginger dressing from saveur magazine.  after making a few subtle changes, our own honey for the sugar and a little sesame oil, i had more than a pint of dressing to  keep me fed for the next week!  then i realized it was a chance to try and photograph a salad using my newly acquired skills.

for the actual bowl of salad, i attempted to use props with an asian flair to them.  i carefully arranged the salad but left it undressed.  next i staged the shot, set up the bounce card on a tripod, put the camera on another tripod and began taking test shots.  finally, i dressed the salad and took some shots.  meh…so disappointing.  i fussed and futzed and so on and so forth.  nothing.  no matter what, it just looked blah.  the lighting was not very interesting either.  it was late afternoon heading to early evening and the light was bordering on harsh.  i almost gave up completely but then had a thought; what if i broke it down and told the story of the salad with just a forkful of food?

it was if the stars suddenly aligned.  the lighting changed and it made the tomatoes and the dressing glow.  the shot isn’t perfect, but i didn’t expect perfection-just a chance to practice the skill.  and of course, to eat a small boatload of salad with carrot-ginger dressing.

saveur carrot-ginger dressing
makes about 4 cups dressing

1 cup vegetable oil-i poured 2 tablespoons sesame oil into the measuring cup and then filled it with canola oil
1/2 cup rice vinegar
1/4 cup soy sauce
1 tablespoons sugar-i used wildflower honey from our bees
1 1/2 teaspoon freshly grated ginger
8 ounces carrots, raw-peeled and chopped into pieces
6 ounces onions, diced

the directions call for processing all of the ingredients in a food processor until smooth.  i did this but my food processor left it too chunky for me, i dumped it in the blender and blended it until smooth.  season with salt and pepper if desired.  serve over wedges of iceberg lettuce.  

eastern mediteranean pizzas; a tuesdays with dorie recipe

tomatoes are in season, finally.  we were so late at getting them into the garden due to a cool, wet spring that i was beginning to think that we would never have them.  this recipe was the perfect way to use a few ripe ones. 
 the simple recipe calls for few ingredients.  yeast is stirred into water.
 whole wheat flour is added and stirred until silky smooth.

 the sponge is allowed to rest and develop flavor; mine sat for 5 hours.  when i was traveling last year, i brought home a shower cap from the hotel i stayed in.  they are perfect for covering a bowl of dough and they are reusable.

 after resting, all purpose flour is added and stirred in.  once the dough is too stiff to stir, it is kneaded.

 eight to ten minutes later, the dough is ready to rise and double.

 the topping is simple too.  onions and garlic are sauteed.  the recipe calls for the addition of ground lamb but i didn’t want to buy a pound of it for just the needed four ounces; i used a vegetarian ground meat substitute.

 tomatoes from the garden were diced up and added.  after a few minutes of sauteing, they needed to be drained of the juices.  finally, traditional spices were added.

 can you believe the size of this tomato?  have i mentioned how much i love my garden?

 the dough doubled in less than two hours.

 the dough is rolled out by hand.  the directions call to use a well floured surface.  my advice, go lightly with the flour or the dough will not cooperate and will slide around the table.

 the topping is spread around the dough and into the hot oven they went.  i baked them on a stone.

 they baked up quickly.

 the recipe calls for half the dough, i made pita bread with the rest.  i used a cast iron skillet and “baked” them on the stove top.

 the rounds of dough puff up slowly in the skillet.
 suddenly, they will expand
 and you have, pita pockets!

perfect for sandwiches and so much more!  to see what the other bakers came up with, check out the tuesdays with dorie page.  to participate, buy the book, baking with julia.

summer vegetable tart; a tuesdays with dorie challenge

this week, we made a vegetable tart using phyllo dough for the crust.  i knew i had a package lurking in the freezer and i decided to use it rather than buy a new package.  should have just bought the new one…this dough, even though it thawed in the fridge for a day, was not going to cooperate.  it came apart in pieces.  there was no way to get the required 4 sheets and cut them in half.  there was no way to make a shell using 8 half sheets, layed in an overlapping manner.  my shell was a total hack job and i am certain i used more than 4 sheets.

and that folks, is as pretty as it gets.  the directions called for 1/2 a cup of clarified butter.  i simply melted 3 tablespoons and and honestly, it was more than enough-i used about half.  after prebaking the shell, i worked on the filling.

banana peppers from the garden, portobello mushrooms, onions, spinach, garlic, a few cherry tomatoes and a handful of basil, oregano and thyme.  to keep the tart from weeping excessively, i cooked it slowly over low heat.

we watch our cheese consumption here and i am not a goat cheese fan.  this tart had about a cup of blended feta, fontina and romano cheeses, most of it sprinkled over the top.  a quick trip under the broiler gave it a little bit of a melt but not much.

it was mostly vegetable, perfect for summer.  honestly, i would rather have this on a pizza crust with a little white sauce.  the phyllo dough crust just didn’t do much for me.  it certainly was not easy to serve-it was hard to cut cleanly, the crust was not strong enough to support the weight of the filling.  the cheese did not glue it together either.  from a cookbook authors point of view, it was easy to see why they did not include a photo, even a small black and white one; this thing was not pretty.  even so, my husband devoured it and declared it a success.  go figure…

to see what all the other participants made, check out the tuesdays with dorie page.  interested in baking along?  get a copy of the book and jump right in, we’d love to have you join us!

herbs are summer workhorses in the garden; homemade buttermilk ranch dressing

what is one of the best kept secrets of gardening?  herbs thrive in poor conditions.  they can be a bit like weeds.  just about the only thing they cannot do without is water.  most of them will even soldier on in less than full sun conditions.  the hardest part of caring for fresh herbs is to keep the annuals from setting blooms; once they flower, they go into seed production and stop producing the leafy parts we cook with.  unlike zucchini,  there is no shortage of recipes to use them in.  one of my favorite recipes is for homemade ranch dressing.  when you are trimming off the flower stalks to parsley and dill, go a little further and take enough off the plant to mix up a batch of fresh buttermilk ranch dressing.

in my herb garden, i have a combination of green onions, chives and chinese leeks.  on the left, those are green onions-scallions if you prefer.  on the right, chinese leeks which are very similar to garlic chives.  the difference is in how they produce the leaves.  chinese leeks and garlic chives look very similar to miniature leeks-the greens branch out from the top of the white part.  for chives, each one is single tube with a bulb.

parsley is a great plant in the garden.  it is a host plant for butterflies such as swallowtails.  it makes an edible border or edging plant and it will help attract beneficial insects such as minute pirate bugs and tachinid flies.

parsley is a biennial plant.  that means the first year, it will grow and produce leaves and a strong root system.  the second year, it will shift into the production of flowers and ultimately, seeds, called bolting.  because parsley will bolt, many gardeners treat it as an annual and pull it out at the end of the season. the large leaves on the left are from a plant that has not bolted while the smaller ones on the right are from a plant that has begun to bolt.  since the leaves are no longer the primary function of the plant, it is spending less energy on them and they are smaller.  even so, they both taste pretty good.

dill is an annual and cannot take any freezing.  it too will shift into seed production each year, usually when the temperatures hit the high points in mid summer.  in my garden, i remove the flower heads as they form to keep the plant producing edible foliage.  like many other plants, dill can also help attract beneficial insects to the garden so if you let some of it flower, do not despair.  those flower heads will help bring in ladybugs, parasitic wasps and tachinid flies.

pick the herbs early in the day when the plants are not wilting from the sun.  wash them by letting them soak in cold water, give it a swish or two.  let them sit for a while so the soil has a chance to sink to the bottom of the bowl.  carefully lift the leaves out and dry them before using.  trial and error has led me to using my salad spinner to dry the leaves if i have a lot.  for small amounts, such as what this recipe calls for, i spread them out on a clean, dry towel and then roll it up to remove the moisture.  chopping by hand requires a little effort and a sharp knife.

buttermilk ranch dressing
yields about 1 1/2 cups
1/4 cup mayonnaise
2 teaspoons freshly squeezed lemon juice
1 tablespoon freshly chopped chives
1 tablespoon freshly chopped dill
1 tablespoon freshly chopped parsley
1/2 teaspoon salt
1/4 teaspoon dry mustard
1/4 teaspoon granulated (or powdered) garlic (dried, fresh will turn quickly in this)
1/8 teaspoon black pepper, ground 
1/8 teaspoon smoked paprika
1 cup buttermilk
in a mixing bowl, whisk the mayonnaise with the lemon juice, spices and herbs to make a thick paste.  carefully whisk in the buttermilk to make a somewhat thin dressing.  chill for an hour to let the flavor develop and the dressing thicken from the fresh lemon juice.  
to make peppercorn ranch, add cracked peppercorns to your taste, a couple teaspoons should do it!

tuesdays with dorie: tomato and cheese galette

 for this weeks challenge, we have chosen to make tomato and cheese galettes.  sigh.  big sigh…tomatoes are not in season yet here in tennessee.  the spring weather was so cold and wet so late in the season that our tomato plants didn’t go into the ground until the third week of may.  oh well, off to market i go.

in between stops, i ducked into my local publix supermarket.  generally, i can expect them to have a better than average selection of produce.  finding heirloom tomatoes shouldn’t be a problem there and i didn’t have time to go across town to whole foods to over pay for said tomatoes.  all i can say is that if tomatoes are not in season in tennessee, it is unlikely that tomatoes from ontario (yes, ontario in canada) will be better.  way to go publix!  at least 75% of what they had available was listed as produce of canada.  honestly, can we not grow our own tasteless hot house tomatoes?  do we really need to import them???  my options were severely limited, i chose a tomato from florida and made the decision to focus on mushrooms and onions-at least i knew they were going to have some flavor.

we have begun to go hostless here at tuesdays with dorie so to see the original recipes, buy the book!  or you can check it out on this heart of mine, blogger amy posted the recipes for the dough and the galette back in 2011 and it is word for word from the book.

 my first bit of tinkering was with the flour for the galette.  i have a bag of atta flour-indian flour made from durham wheat and wheat bran, and the only cornmeal i like to bake with is blue.

 when combined, it looks a little grey.
 i cut the butter in by hand and it looks a little lumpy when done properly.

 the recipe cautions that it is a soft dough.  trust me it is.  however, i think that is more due to the mixing instructions than the nature of the dough.  you are instructed to use sour cream or an equal portion of yogurt or buttermilk and to whisk it into the water.  however, the ingredient list suggests that you may not need all of the water.  so why would you combine the sour cream with all of the water?  it should tell you to add the sour cream (buttermilk in my case) and begin mixing and to add the water bit by bit as needed to get the proper consistency.  my dough was a little on the sticky side.  luckily, i know how to work with sticky dough, i partially froze it and worked with it cold.  while the dough chilled, i made the topping.

 one thing i do know, it is chanterelle season here in tennessee; we picked some last week.  these are a little past their prime but would be fine for the topping
.

 the herb garden is pumping out leaves all over the place so finding them was easy.  exit back door, snip, snip, snip… i quickly had basil, oregano, thyme and sage leaves.

 first step, caramelize some sweet onions.  to this i added a little garlic but was careful not to burn it.

 in went baby portobello mushrooms and the chanterelles.
 the herbs were last.  i let the filling sit and cool while i rolled out the dough.

 the texture of the whole grain flours gives the dough a nice crunch and a little color.

 close up you can see the dark flecks of blue cornmeal and little bits of wheat bran.

 first on was a layer of fontina and romano cheese.  i used about 3/4 of it on the bottom.  then came the flavorless florida tomatoes (sigh) and the onions and mushrooms.  the last bit of cheese was sprinkled over the top.

 honestly, the dough was too soft to do much with so i quickly folded it up and into the oven it went.

 it took the full 40 minutes to bake but it was nice and bubbly with just a little color.  the house smelled like pizza and it almost tasted like it until you got the crust-that made it taste like a tart.  a winner if you ask me, but next time, can we do this when tomatoes are in season?  please???

to see what the other bakers came up with, visit the tuesdays with dorie page!

stuffed artichokes; almost as good as grandma’s

growing up in northern new jersey, i knew a few things were certain.  you were likely to be catholic and quite possibly jewish if you weren’t catholic.  if you were catholic, like my family is, then the chances that you were irish or italian were pretty high.  for me and my siblings, there was no either or, we are both irish and italian.  
like most families, our food traditions were firmly based around our ethnicity.  for my mother’s family, my irish side, it was new england yankee all the way.  we can trace our roots back before the civil war on this side making the menu a traditional american one.  not so much on my father’s italian side.  they came to america long after the civil war, just around the turn of the century making them italian americans.  my great grandmother held on to the tradition of an italian woman; she did a lot of cooking and almost all of it from scratch, including some of the pasta dishes.  the sunday dinners looked more like a feast and we won’t even get started on holiday dinners.  ask my father about them, he can speak at length to the tradition of the seven fishes on christmas eve.  all i can remember is the jello she would make for me and all of the milano cookies my great grandfather would share with me.
my grandmother however was not a traditional woman.  she was a career woman.  having lost her husband to world war two, she went to work as a secretary in an office in new york city.  after my great grandmother passed away, she began cooking and sunday dinner became her responsibility.  what i remember most from those dinners; mountains of fusilli, meat balls so unbelievably tender, a salad served after the meal and it was often little more than chickory with red wine vinegar, the occasional plate of raw fennel slices, and artichokes filled with a moist bread stuffing.
more than once, i shared an artichoke with a friend who did not know what they were.  after explaining how you just scraped the leaves on your teeth to get the flesh, i mainly got odd looks and a hasty “no thanks”.  when my children came along, i shared this with them as well.  luckily for me, my husband knew all about artichokes and enjoyed them almost as much as i do.  both of my girls will dig into one with out any coaxing.  so it shouldn’t surprise anyone that we planted some in our garden.  earlier this week, i picked our first three and they were part of our dinner that night.

 artichokes are members of the thistle family and if you let the blooms mature, they look like thistle flowers on steroids.

 the flower heads consist of leaves with a tiny thorn on the end of each one.  the thorns must be trimmed away before eating.

 each main flower is located on the end of the branch but each leaf on the branch also develops a side bloom.

 since we do not use any chemicals on our vegetables, they needed a good cleaning.  i soaked the trimmed heads in salt water to help flush out the critters.

 to fill the centers, i mixed up some plain bread crumbs with fresh parsley, salt, pepper and a little granulated garlic.  after combining this, i added a little olive oil to moisten it and then filled the centers.  to make it worth the effort, i packed it in there as best as i could.

 to cook them, i placed them in a pot with about an inch or so of vegetable stock and let them simmer, covered, for an hour and a half.  to keep them moist, i replenished the vegetable stock as it reduced.

they are done when you can pull a leaf out easily-pull one half way between the top and bottom towards the middle of the choke to get the best idea.  taste it, it should be creamy and soft not at all chalky or astringent.  now for the hard part, waiting for more to grow…