|
| The butternut squash with it’s coating of spices and oil before going into the oven |
Kale, it’s everywhere, it’s added to every dish you can think of including sweet breakfast smoothies. Get over it already. Kale isn’t meant to be added to a smoothie. Honestly, have you ever listened to someone go on and on and on as they list the ingredients in the 24 ounce smoothie they just whipped up at home? Seems to me that if you are going to eat an apple, a banana, a tub of Greek yogurt, a scoop of peanut butter a handful of kale, a scoop of…and so on, you are probably slurping down way more than you really need and that could explain why you haven’t lost much weight. Ranting a bit, aren’t I. Well, can you blame me? As a gardener and a trained chef, it irritates me to see something as nutritionally packed and tasty as kale is being so over used.
So let me start this all over again. Kale is one of those plants that loves cold weather and is so easy to grow that it is almost impossible not to have a few plants in your garden. As a matter of fact, kale is a plant that you can grow 3 out of 4 seasons simply by harvesting just the outer leaves and if it sends out a flower stalk, cut it out and add that to the pile of leaves you are going to cook! One simple rule of thumb, kale should not be grown in the hotter months and for most of us, that means between May and August; not only will it bolt(go to seed) it will attract all sorts of undesirable insects to your garden. To keep it interesting, search seed catalogs for the different varieties available; we generally grow 2 or 3 types in our garden for variety.
But what if you do not have a garden or do not want to grow your own kale? Head to the grocery store and buy a bag of kale. Most grocery stores offer large bags of cut cooking greens, usually kale or collard greens and they weigh a pound. While most stores offer the traditional curly kale, some carry Tuscan kale in large bags too.
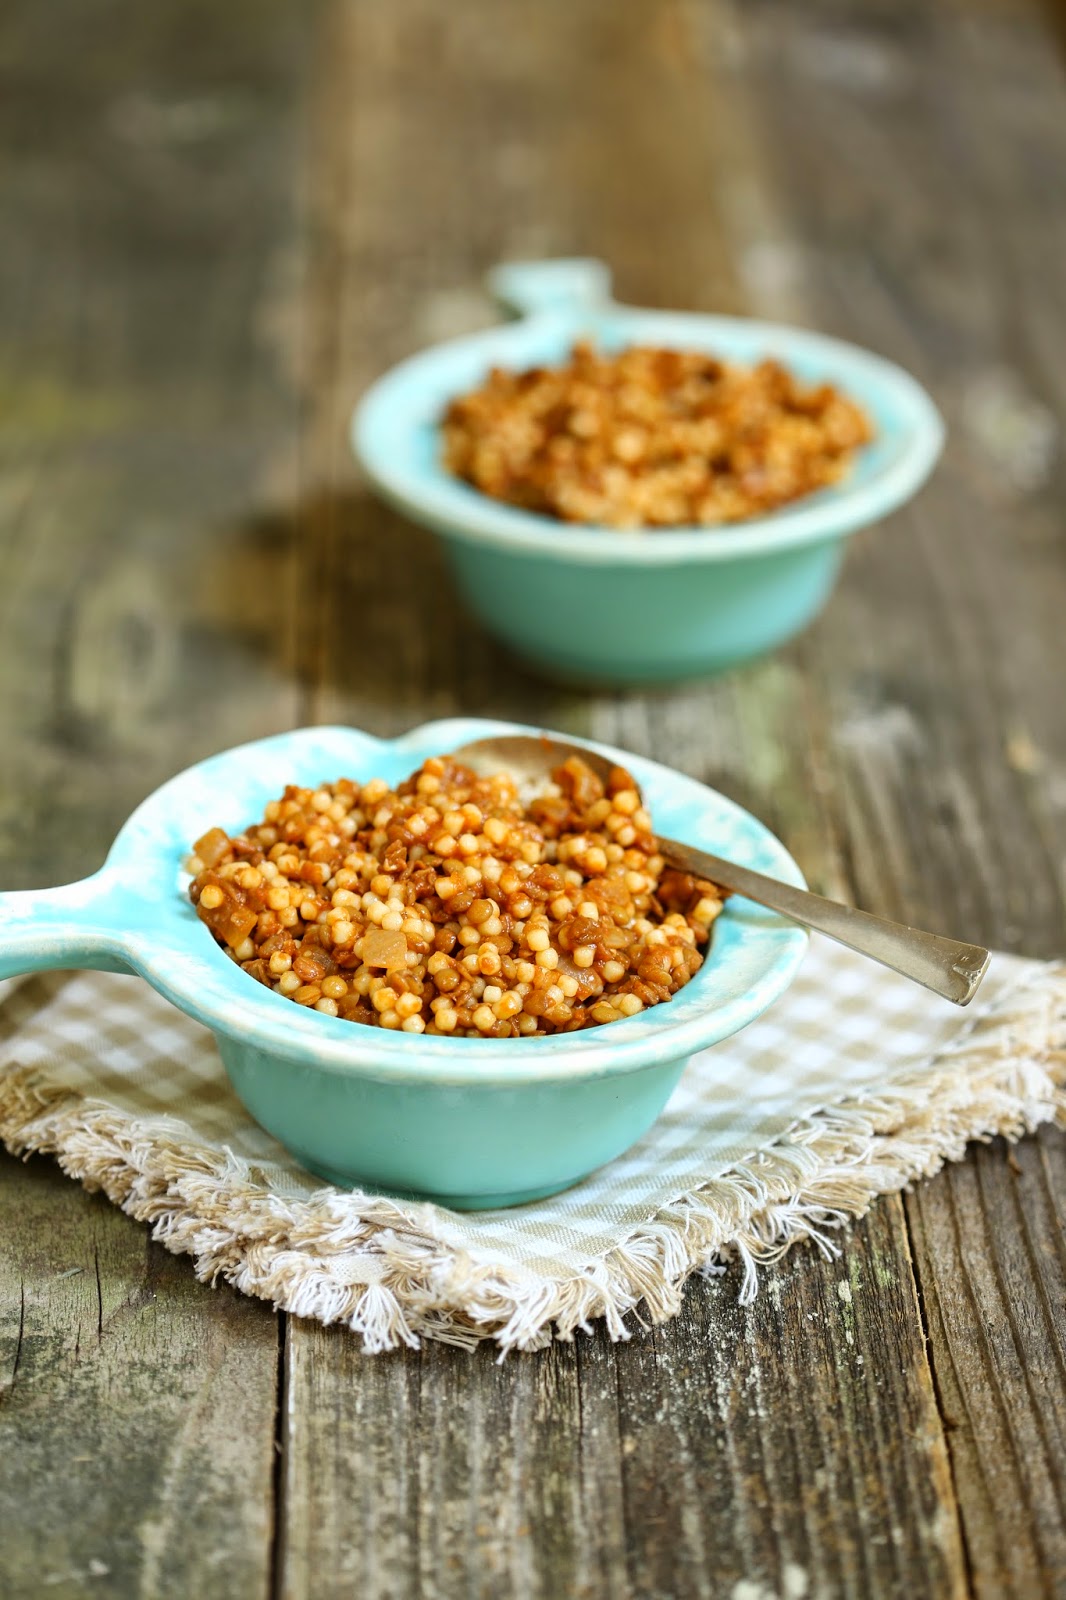
The bag is almost big enough to be a pillow and I can hear you now: “that’s a lot of kale, I won’t be able to eat all of that!” Well guess what? You can eat all of that, you will not waste any of it and you will not get tired of eating it. Why buy it in a bag instead of by the bunch even though it is a smaller amount? Because the bag is cheaper, the kale is already cleaned and the larger, woody stems are removed making every bit in the bag usable. This is the first of 4 posts on the blog showing you how to use the entire bag.
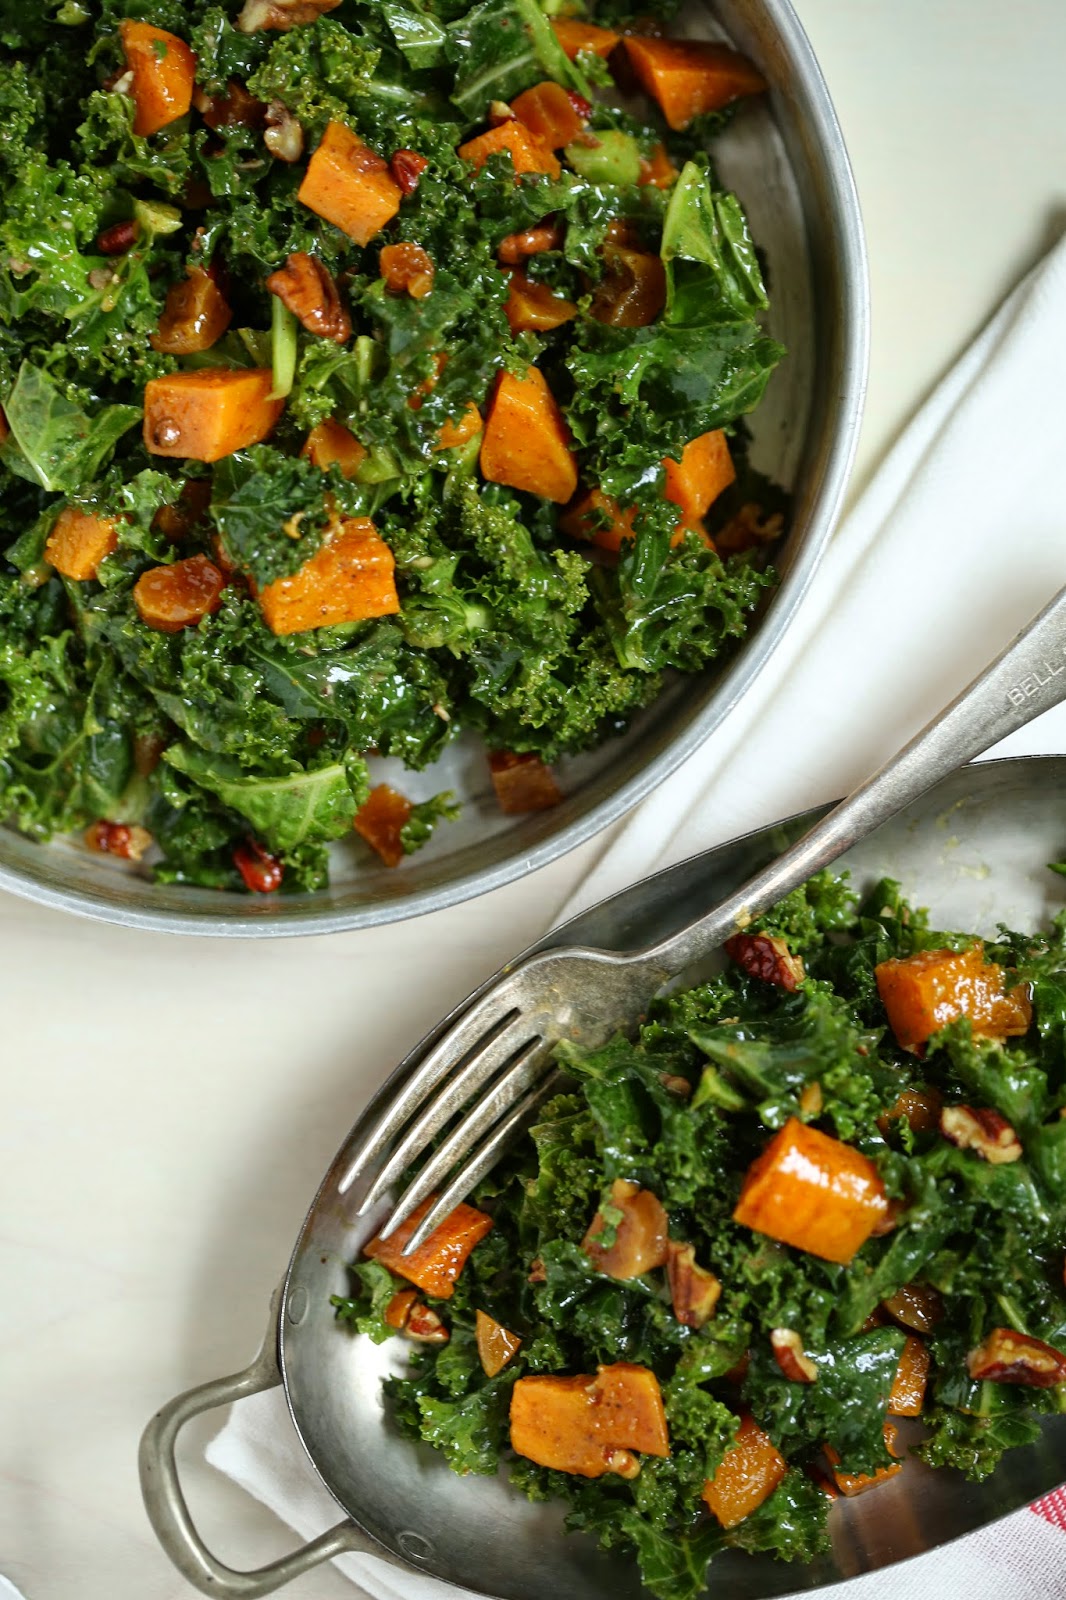
For the first recipe, I have decided to make a salad. The only thing that gets cooked is the butternut squash and while the squash is in the oven, you can prep the rest of the recipe. This salad tastes a lot better if it is allowed to sit for a few hours in the fridge and if you make it a day ahead, it will be just fine. It actually holds up pretty well in the fridge for a couple days but it will not be as crunchy by the second day.
To get started, first divide the contents of the bag in two. Place on half in a large mixing bowl and set it aside for the salad. Take the remaining kale and divide it in half as well. Place one half into the bag it came in and then divide the last portion in half again and bag each of these separately; one will be used in a hash recipe and one will be used in a soup recipe. Store the other portions of kale in the fridge until you are ready to make the other recipes.
The recipe for the salad comes to me from a fellow blogger, Angela Roberts of The Spinach Tiger. My husband came with me to a potluck and Angela made the salad for the party. He liked it so much that he actually looked her recipe up and he has been using it ever since. We both enjoy it and often use the recipe as a starting point. For this version, I used a butternut squash instead of the sweet potatoes and I subbed dried apricots and smoked pecans for the dried cranberries and pumpkin seeds.
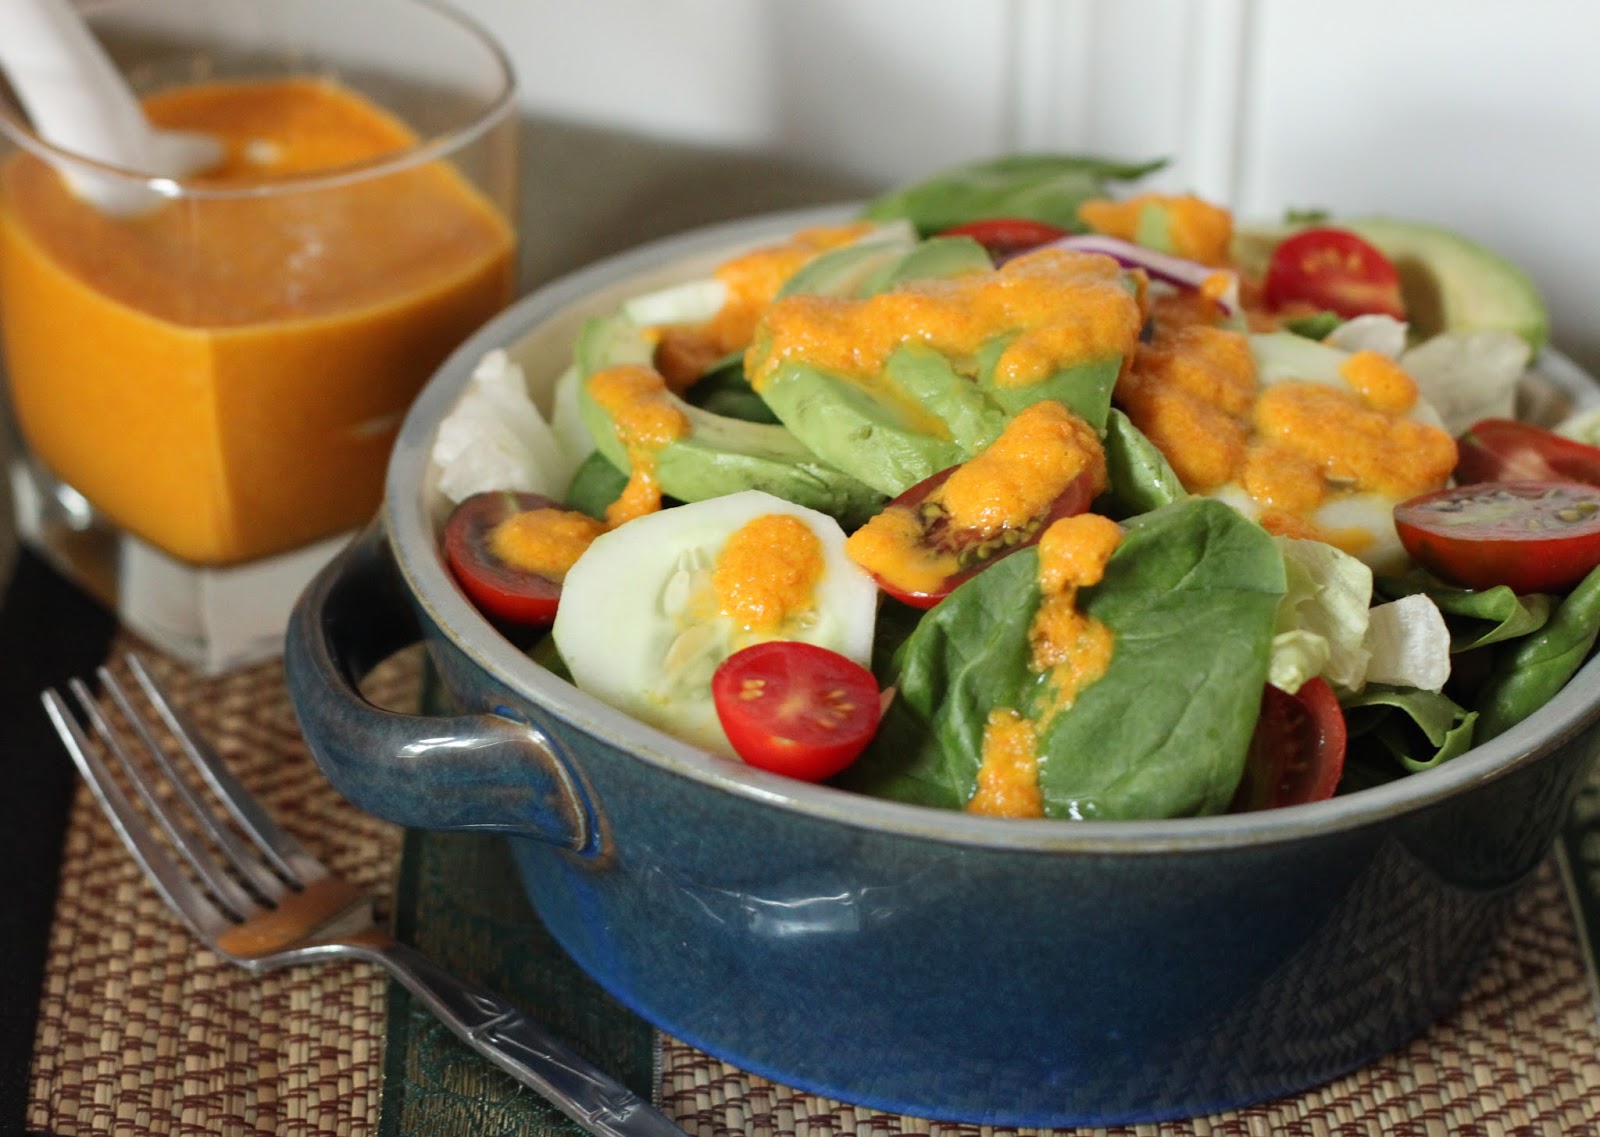
This is also one of those dishes that you can serve as a vegetarian entree or serve it on the side with grilled poultry or fish-you choose. As a matter of fact, the recipe is so flexible that you can get creative with what you add to it. You could easily swap out the kale for another green, arugula comes to mind, just be mindful that a softer green will not hold up as well as kale in the long run.
The addition of nuts adds protein so if you are keeping this vegetarian or vegan, feel free to add more than the recipe calls for.
Autumn Kale Salad with Butternut Squash
Makes enough salad for 2 large entree sized portions or 4 side salads
8 ounces chopped kale, half of a bag
1 small butternut squash, peeled and cubed
1 tablespoon olive oil
1 tablespoon maple syrup
1/2 teaspoon salt
1/4 teaspoon cinnamon
1/4 teaspoon cayenne pepper
1/4 teaspoon turmeric
1/8 teaspoon black pepper
1/8 teaspoon nutmeg
Vinaigrette dressing, recipe follows
1/4 cup diced dried apricots
1/4 cup chopped smoked pecans
additional dried fruit and nuts for garnishing the salad if desired
Preheat the oven to 400. Place the kale in a large bowl and set aside. Toss the butternut squash with the olive oil, maple syrup, salt and the spices, place it on a baking tray and roast until soft, about 15 minutes. Remove from the oven and let it cool. While the squash cools, make the vinaigrette dressing.
To make the salad, add the squash, apricots, pecans and the vinaigrette to the kale in the bowl and toss to combine. Place the salad in the fridge and let it sit for a few hours to soften.
Vinaigrette Dressing
4 tablespoons cider vinegar
1 clove of garlic, minced
1 tablespoon maple syrup
1 tablespoon Dijon mustard
2 tablespoons pumpkin seed oil
6 tablespoons olive oil (or all olive oil)
1/2 teaspoon salt
1/4 teaspoon black pepper
Place the vinegar, garlic, maple syrup and mustard into the canister of a blender. Turn the machine on to a low speed and with it running, pour the oils in in a steady stream to emulsify. Add the salt and pepper while it is still running.
 Recently, I overheard my husband telling a friend how he enjoys having hens because they are pets that feed you. Honestly, I never really looked at it that way. For me, I wanted the added bonus of fresh manure for the garden, the eggs are just a bonus. Either way, we end up with plenty of eggs to eat and to share.
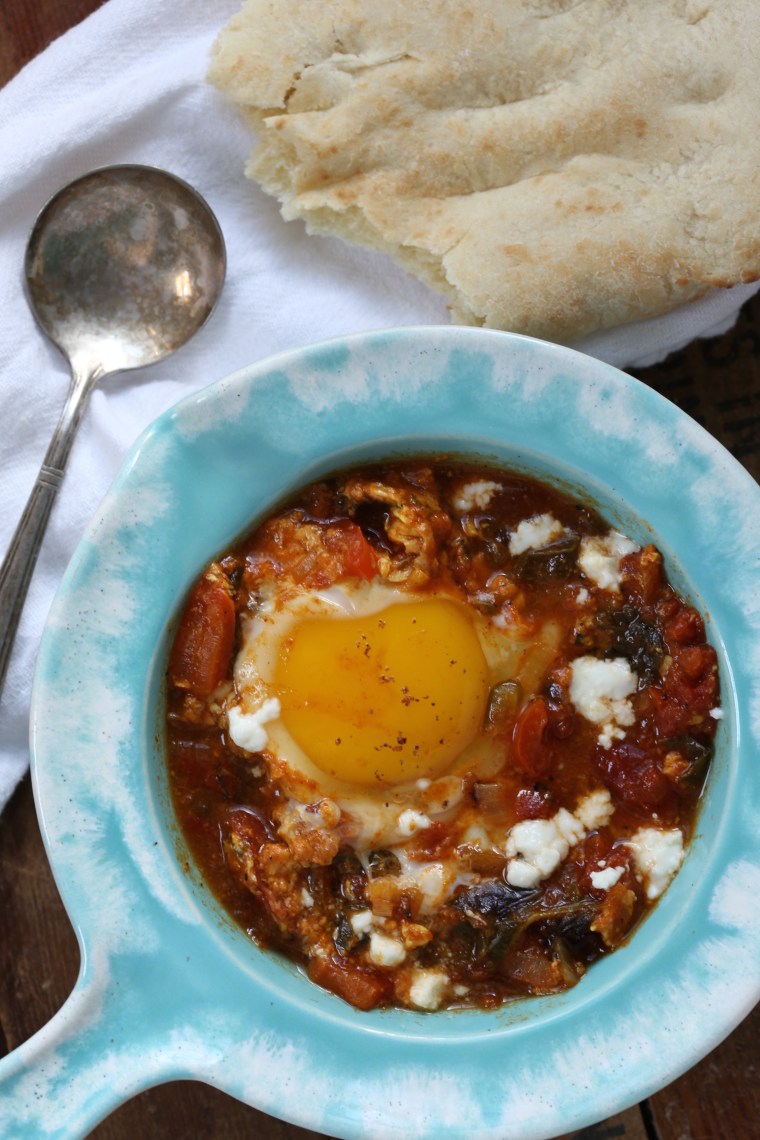
 As the stew was simmering, I cracked four fresh eggs from our hens and carefully added them to the pot. To make it easier on myself, I baked the stew to finish the eggs and you can too because the recipe explains both methods. Because David says to serve it with crusty bread to soak up the sauce, I heated several rounds to naan and we stuffed ourselves with the spicy, tomato-y sauce. Now that I know how to make this dish and cook the eggs to that perfect solid white and runny yolk state, I will be making this again-we certainly have enough eggs! And for those of you that do not have laying hens, pick up some fresh local eggs and make a batch of this stew; you will not regret this at all!