carrot-ginger dressing

back in june, i attended a food styling workshop hosted by the nashville food bloggers.  it was not only a fun way to spend a saturday morning, it was very informative.  we learned how to style a salad.  sounds easy doesn’t it?  well, while it isn’t rocket science, it is complicated in that you have to arrange things just right or it doesn’t look appetizing and won’t photograph well.

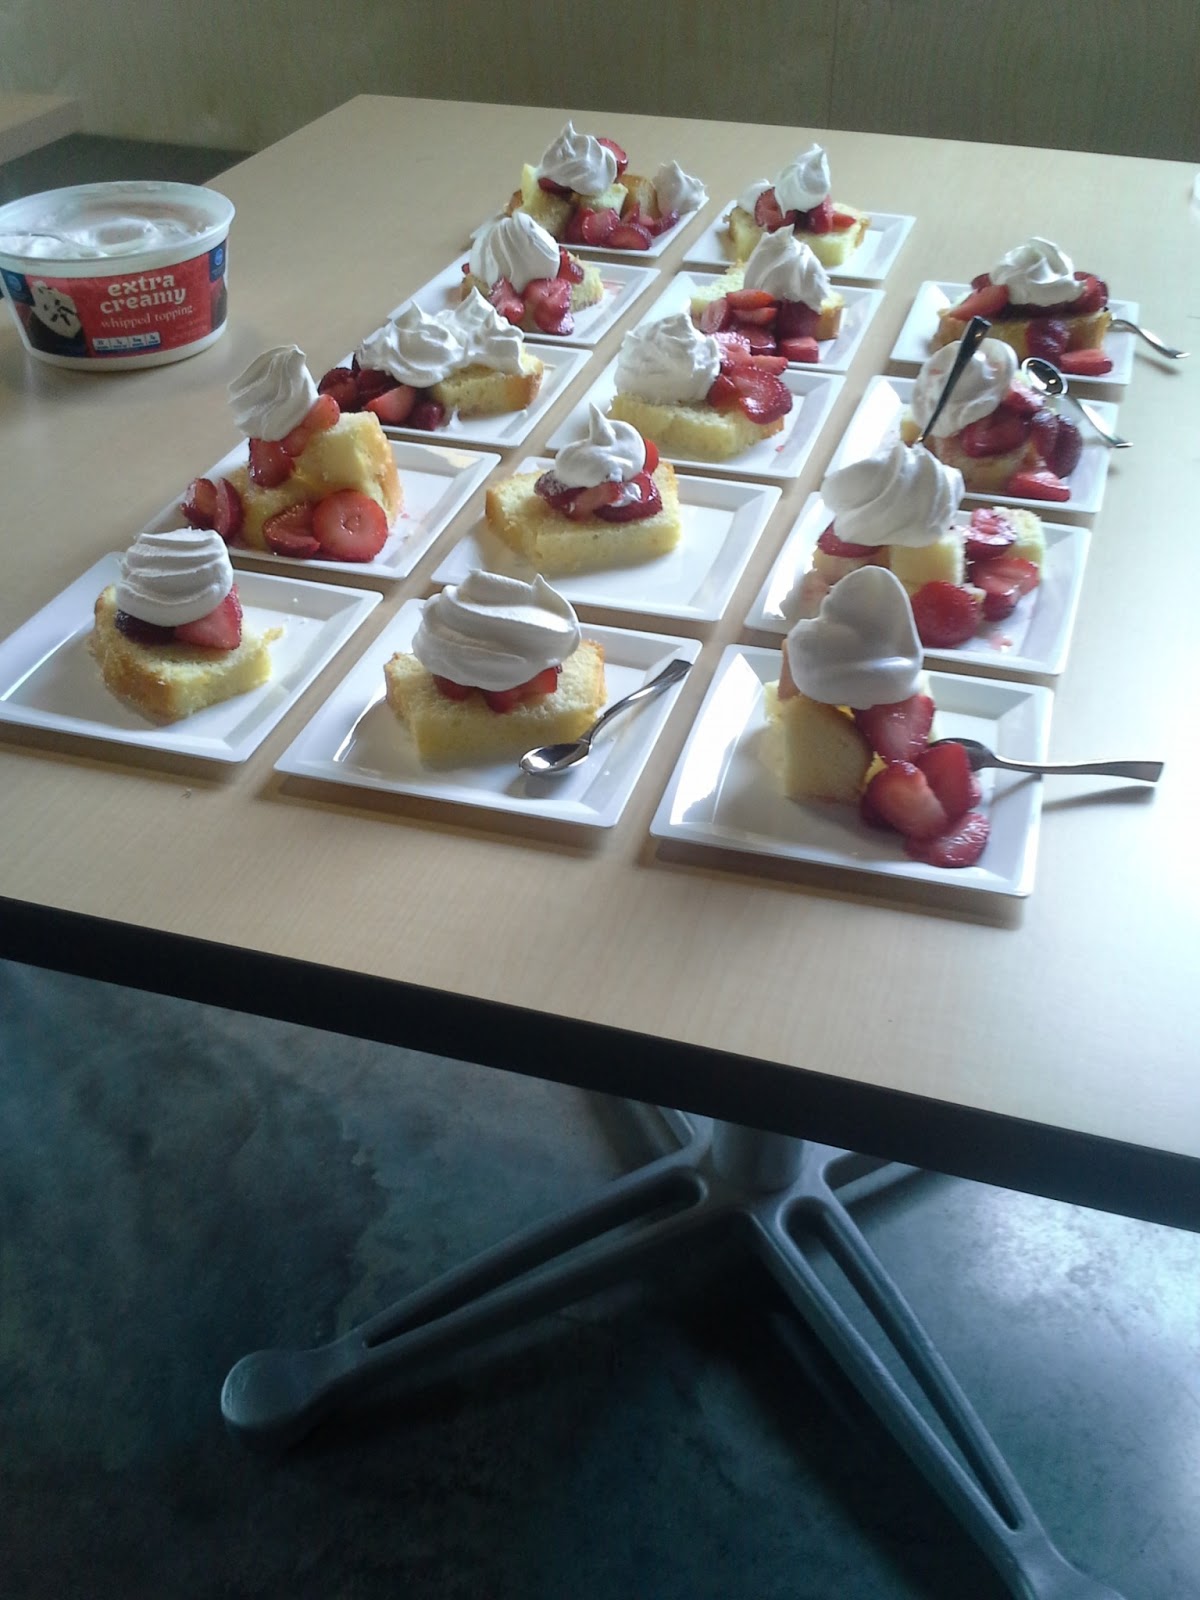
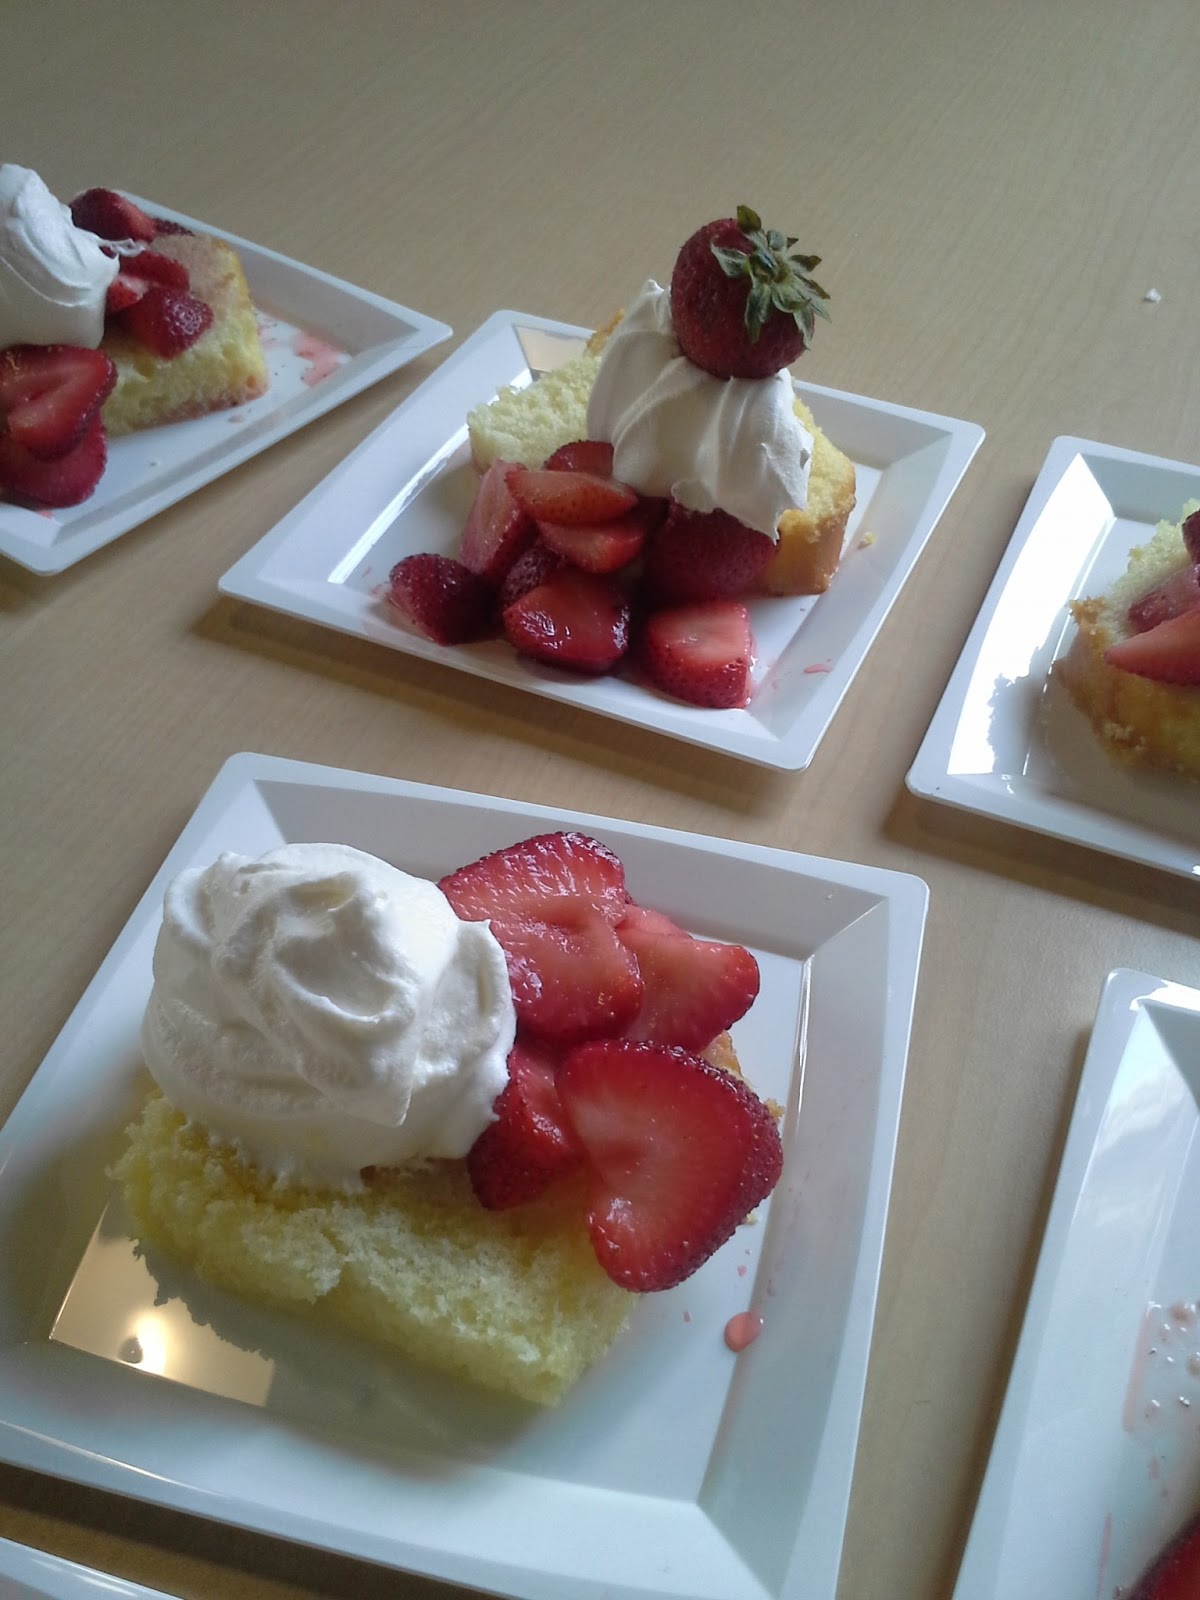
the class was led by teresa blackburn and she showed us two techniques.  first, how to plate an actual salad and all of the components in it and then how to tell the same story with just a forkful of food.  my photos below will tell my story.

when we go out to japanese restaurants, my favorite dish always ends up being the salad served while waiting for sushi to arrive.  more than once, our daughters, and sometimes my husband too,  have passed their bowls to me.  weird, isn’t it?  what could be so wonderful about iceberg lettuce covered in pureed carrots?  well, for me, it’s the dressing.  there has always been something about that dressing for me.  it must be the combination of fresh, raw carrots with ginger and soy sauce, some of my favorite flavors.  recently, i found a recipe for carrot-ginger dressing from saveur magazine.  after making a few subtle changes, our own honey for the sugar and a little sesame oil, i had more than a pint of dressing to  keep me fed for the next week!  then i realized it was a chance to try and photograph a salad using my newly acquired skills.

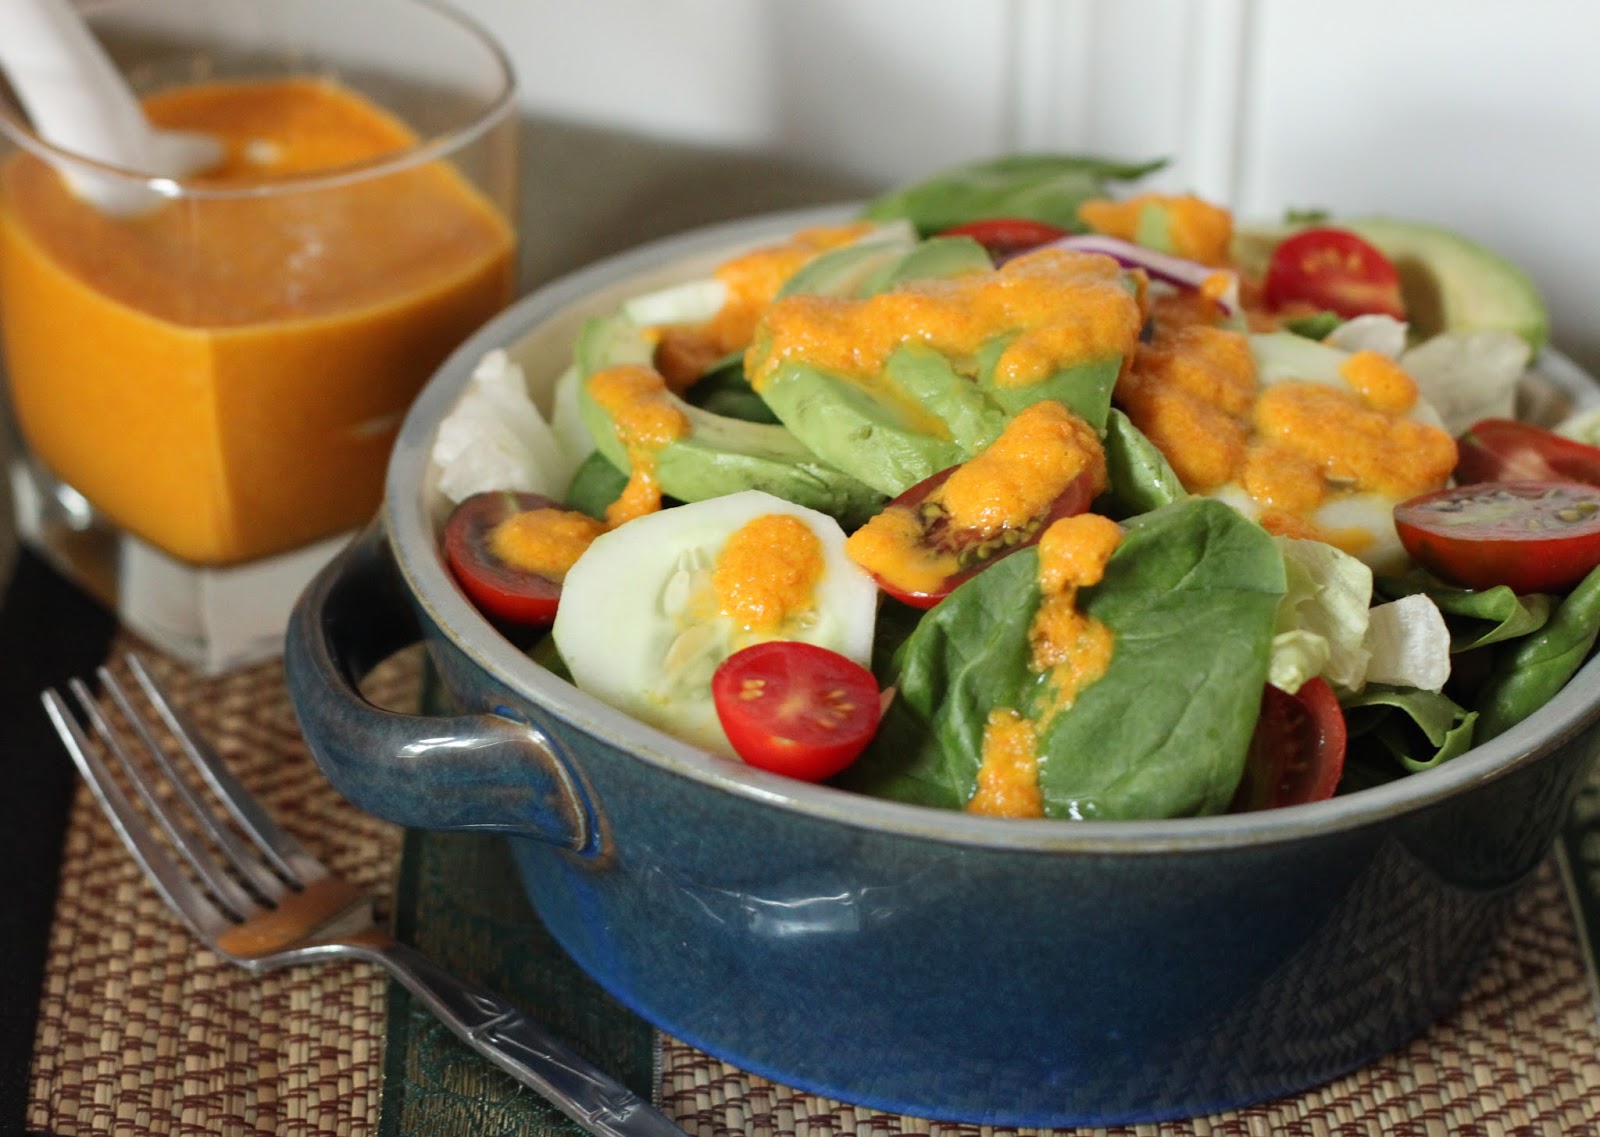
for the actual bowl of salad, i attempted to use props with an asian flair to them.  i carefully arranged the salad but left it undressed.  next i staged the shot, set up the bounce card on a tripod, put the camera on another tripod and began taking test shots.  finally, i dressed the salad and took some shots.  meh…so disappointing.  i fussed and futzed and so on and so forth.  nothing.  no matter what, it just looked blah.  the lighting was not very interesting either.  it was late afternoon heading to early evening and the light was bordering on harsh.  i almost gave up completely but then had a thought; what if i broke it down and told the story of the salad with just a forkful of food?

it was if the stars suddenly aligned.  the lighting changed and it made the tomatoes and the dressing glow.  the shot isn’t perfect, but i didn’t expect perfection-just a chance to practice the skill.  and of course, to eat a small boatload of salad with carrot-ginger dressing.

saveur carrot-ginger dressing
makes about 4 cups dressing

1 cup vegetable oil-i poured 2 tablespoons sesame oil into the measuring cup and then filled it with canola oil
1/2 cup rice vinegar
1/4 cup soy sauce
1 tablespoons sugar-i used wildflower honey from our bees
1 1/2 teaspoon freshly grated ginger
8 ounces carrots, raw-peeled and chopped into pieces
6 ounces onions, diced

the directions call for processing all of the ingredients in a food processor until smooth.  i did this but my food processor left it too chunky for me, i dumped it in the blender and blended it until smooth.  season with salt and pepper if desired.  serve over wedges of iceberg lettuce.  

food styling 101 and a strawberry ribbon cake

strawberry ribbon cake
photo by lindsay of love and olive oil
styled by teresa blackburn of food on fifth
learning to use a digital camera can be challenging.  my suggestion, take a few classes.  seriously, check out community colleges or art schools and take a few adult/community education classes on digital photography.  personally, i took basic classes during last summer and then again last fall and having the knowledge of the different camera functions has made a world of difference in my photos.
even so, i am by no means an expert but at least i have a better idea of how to go about things.  just as tricky is making the food look good enough to eat.  another big challenge.  staging a shot, picking props, lighting and so on.  it helps if you have the chance to watch and work with a pro.  when i wrote my first book, i had the chance to watch a very talented food stylist during the photo shoot.  but watching wasn’t enough.  when i wrote my second book, i had to actually prepare all of the food to be used in the photo shoots.  even with all of that experience, it still wasn’t enough.  but that hasn’t stopped my from trying.  
then came an opportunity to take a class with a successful food stylist.  as a member of the nashville food bloggers, i learned about a workshop to be put on by local food stylist, teresa blackburn; i quickly signed up.  we watched in awe as she quickly arranged a salad in a plate.  sounds goofy doesn’t it?  but it was how she did things that made it so amazing to watch.  she arranged the salad, leaf by leaf, garnish by garnish.  a drizzle of dressing, addition of background props.  it all came to a beautiful shot.
well beautiful when taken with something besides a cellphone camera!  however, i think you get the idea.  and the next time i try to photograph a salad, i will know exactly how to arrange the components so that it looks good enough to eat! 
one of the other tricks we learned was how to make the perfect dollop of cream.  first of all, it has to be non dairy whipped topping.  something no pastry chef wants to hear…but the technique was so simple, that i will have to practice it till it’s perfect.  but even so, we all had fun smoothing it out, creating furrows across the top and then scooping out the perfect dollop.  
 everyone’s plate arranged on the table for a group photo
teresa liked mine enough to use it to demonstrate adding a whole berry so that it will not sink into the cream.  it was all good fun and informative.  hopefully, there will be additional opportunities like this-i love learning something new.   if you are interested in seeing more of the photos, the nashville food bloggers website has a complete album of the photos that lindsay took during the workshop 
since this was a class centered around food, we were all invited to bring along a snack to share.  i brought my strawberry ribbon cake and if you go back to the photo at the top, you can see how wonderful it looked by the time teresa styled it and lindsay shot it.  and as always, when i go to the garden on sunday mornings, i take a cake.  this time, i took the leftover strawberry ribbon cake and tried to use some of the tips and tricks to get a good photo.  it was a challenge.  the lighting in the garden wasn’t the greatest and i was unable to bring any props.  but i must say, i at least know how to go about this better.  
strawberry ribbon cake
makes 1 (8″) square cake
adapted from the cake bible by rose levy beranbaum
(sour cream coffee cake)
crumb topping

1/4 cup dark brown sugar
1/2 cup nuts-your choice
3/4 teaspoon cinnamon
1/4 cup cake flour
2 tablespoons unsalted butter, cold and cut into cubes

cake batter
2 eggs
2/3 cup buttermilk
1 1/2 teaspoons vanilla
2 cups cake flour
1 cup sugar
1/2 teaspoon baking powder
1/2 teaspoon baking soda
1/4 teaspoon salt
6 ounces unsalted butter, softened
1/2 cup strawberry preserves
powdered sugar

preheat the oven to 350.  grease and flour an 8″ square baking pan.  to make the crumb topping, place all of the ingredients in the bowl of a food processor and pulse to chop the nuts and continue pulsing until it begins to clump.  don’t over do it or it will be one large clump rather than free flowing smaller lumps.  set this aside while you prepare the cake.

in a small mixing bowl, whisk the eggs with 1/4 of the buttermilk and the vanilla, set aside.  place the dry ingredients in a large mixing bowl and with the machine on low, allow it to mix to combine the ingredients.  add the butter and the remaining buttermilk and mix on low to combine.  scrape the bowl and turn the mixer to medium and allow it to cream until a little light and fluffy, 1-2 minutes.  add the egg mixture in thirds and mix to combine.  be sure to scrape the bowl.  scrape half of the batter into the prepared pan and smooth out the top.  spread the preserves evenly over the top of the cake.  add the remaining batter and carefully spread it evenly over the preserves-this is a little tricky so take your time. top it all off by sprinkling the crumb mixture over the top.  bake until a pick comes out clean, about an hour.  allow the cake to cool in the pan for 15-20 minutes.  turn it out and invert it onto a rack to cool completely.  just before serving, dust it generously with the powdered sugar.