In my final recipe of the series, I give you one of my favorite recipes. This recipe is adapted from one by famed vegan chef, Isa Chandra Moskowitz and can be found in her book, Appetite for Reduction and on her website, theppk.com.
Living in the south for as long as I have has influenced many aspects of my life and my meal choices reflect my current location frequently. The biggest change on my plate is the heap of cooked greens and beans, two things I have never disliked but I also never thought to make a meal of them either. The difference from the ones I feast on and the ones typically found in the south it that there is no pig on my plate. Yes, I am a meat eater, yes, I like bacon but truth be told, I like my greens without the added pork products. Honestly, if they are made well, they do not need the bacon because they have tons of flavor all on their own.
Despite the fact that I am technically a trained chef, while I can bake just about anything, my cooking skills sometimes are lacking and that is where Isa Chandra comes in, specifically her cookbook. By using her book, I have learned how to make vegetable dishes every bit as amazing as the desserts I produce in my professional life. Appetite for Reduction as well as Veganomicon and Vegan with a Vengeance are some of the most used books on my shelf and I highly recommend picking any of them up if you come across them.
This recipe uses the last portion of the big bag of kale, it calls for approximately 4 ounces or about 4 cups of kale or any other cooking green. If you have been following this series, this is approximately 1/4 of the 1 pound bag; part 1 used half of the bag, part 2 and 3 each used 1/8 of the bag and this recipe uses the remaining 1/4. To repeat the dividing process, for part one, use half the bag. Take the remaining half of the bag and divide it in half. Place one half into a storage bag and place it in the fridge till you need it. Divide the remaining portion into two equal parts and bag each separately and store until needed. For those of you that are not kale fans, try using mustard, collards or any other green suitable for cooking in place of the kale.
While I used white beans, specifically white kidney beans, you can use any bean you like. The original recipe calls for black eyed peas, one of my favorites but I have made this recipe with chick peas, fava beans, butter beans and several different white beans, all with delicious results. Do what you like, you’re the one who is going to eat it!
Greens and Beans
serves 2 as a main dish, 4 as a side
1 tablespoon olive oil
1 small onion, diced
1-2 cloves garlic, minced
4 cups, packed, torn kale with stems removed, about 4 ounces
3/4 cup broth, divided
1/4 teaspoon salt
1 (14.5oz) can white beans, drained and rinsed
3/4 cup tomato sauce or crushed tomatoes
1 tablespoon sriracha or other hot sauce
1/4 teaspoon smoked paprika
1/4 teaspoon liquid smoke, optional
In a large, deep pot, heat the olive oil and saute the onions over medium heat until translucent, about 3-5 minutes. Add the garlic and cook about 1 minute longer. Dump in the kale, salt and 1/4 cup of the broth and immediately cover the pot for at least 1 minute. Stir the greens and keep it covered to allow them the time to cook down, about 10-15 minutes and be sure to stir them occasionally to make sure they are cooking evenly. Reduce the heat to medium low and add the beans, tomato sauce and the remaining broth and allow to cook for at least 5 minutes, covered. Stir in the sriracha, paprika and the smoke flavor and allow it to simmer for another 5-10 minutes. Check the seasoning and add additional salt and hot sauce as needed.
One Bag of Kale Recipes:
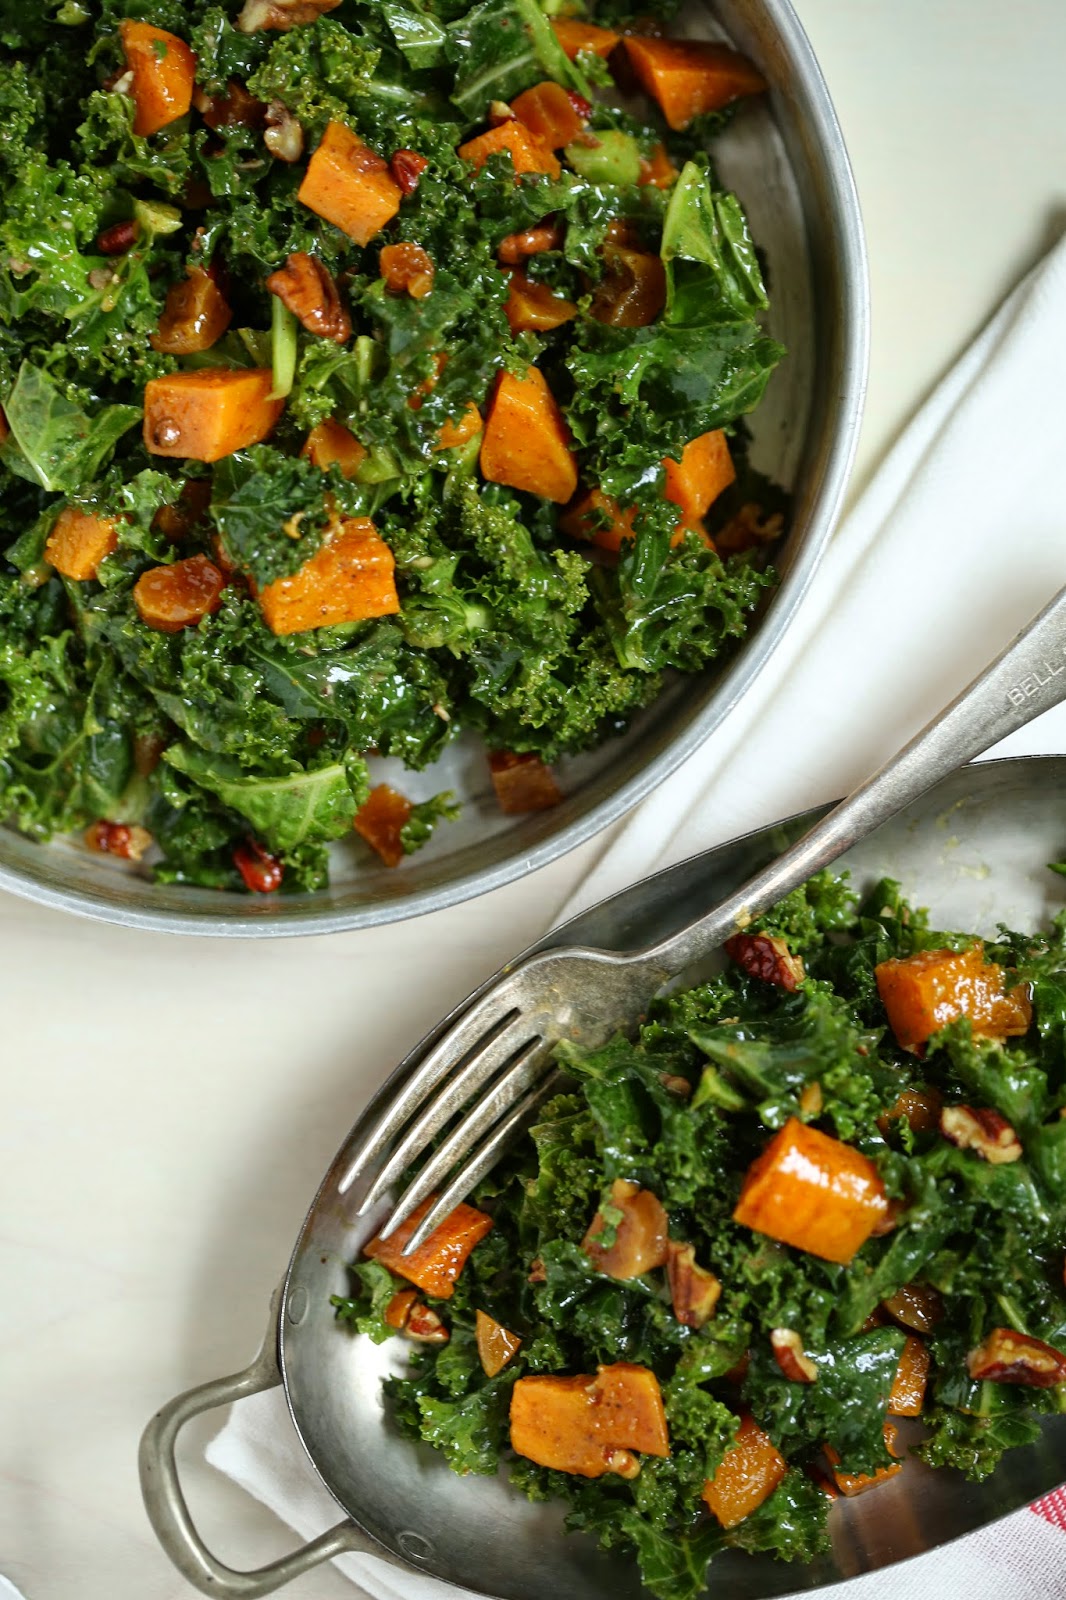
Autumn Kale Salad with Butternut Squash