want to know a secret? gardeners are optimists. honest, scouts honor. think about it for a minute; we put teeny, tiny little seeds into large dirt plots and assume plants will emerge. as if that wasn’t crazy enough, we nurture those plants with the expectations of picking fruits and vegetables to feed ourselves. in those terms, it almost sounds as if gardeners are a little on the crazy side. and truth be told, we are. who else but a dedicated gardener would go outside while the temperatures are just barely above freezing to plant peas and greens?
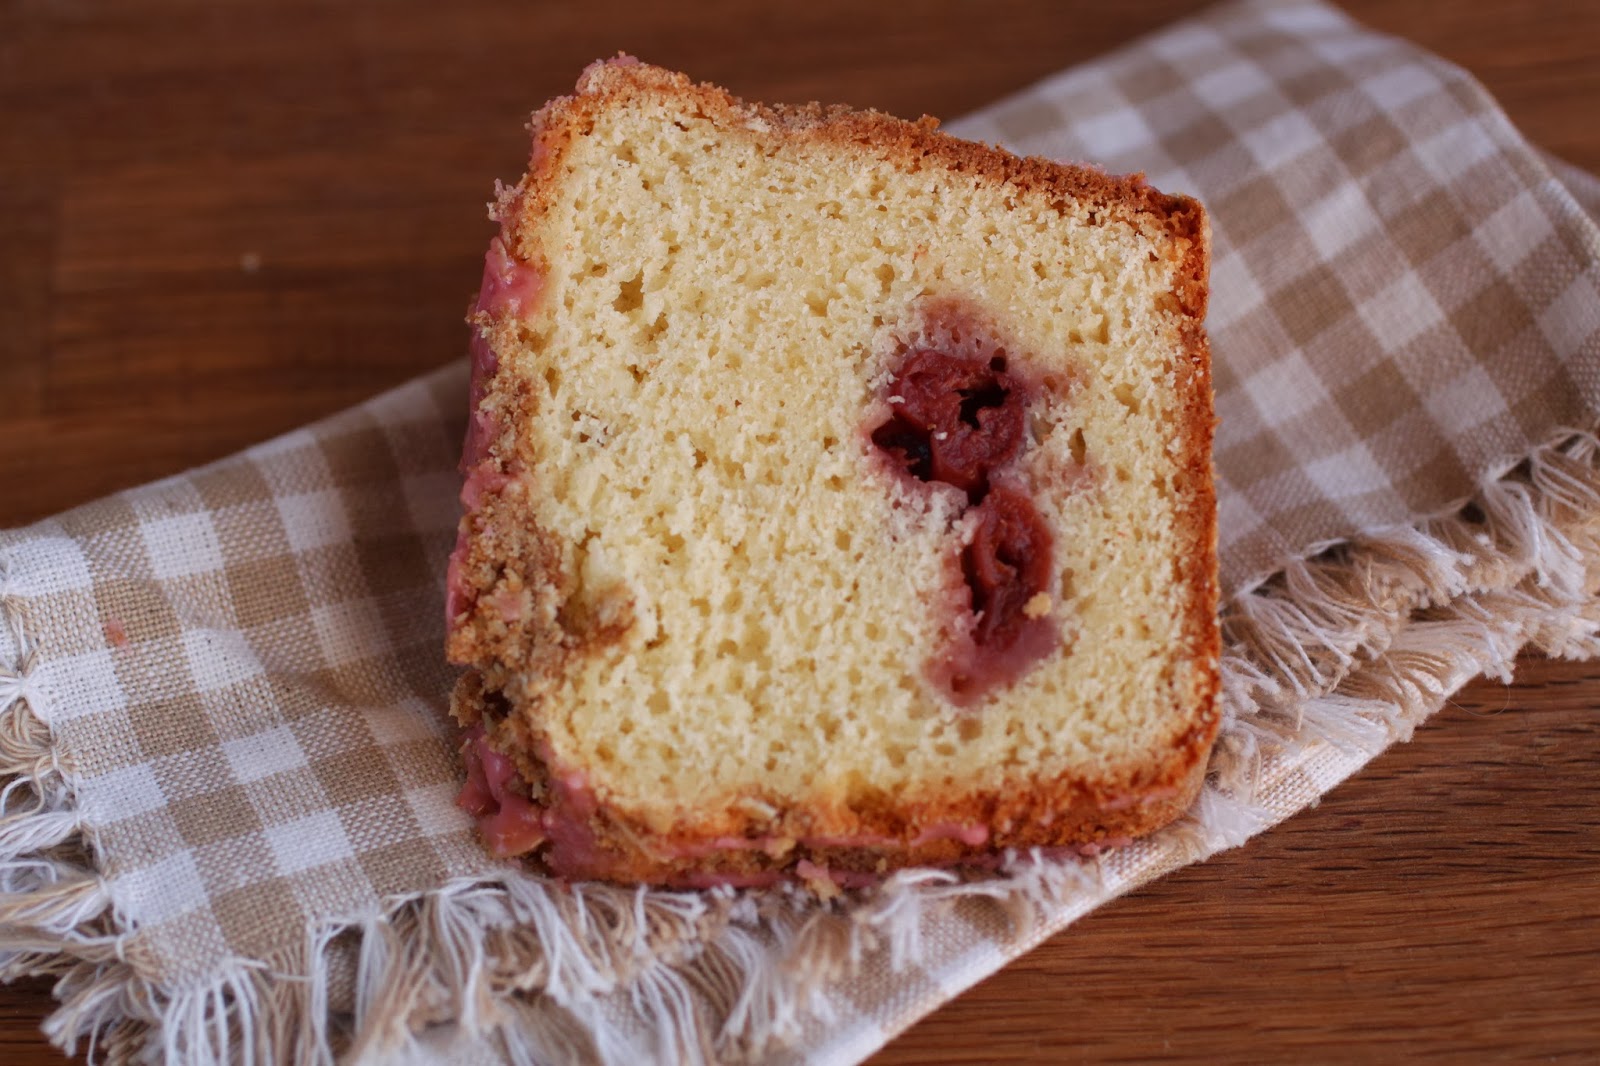
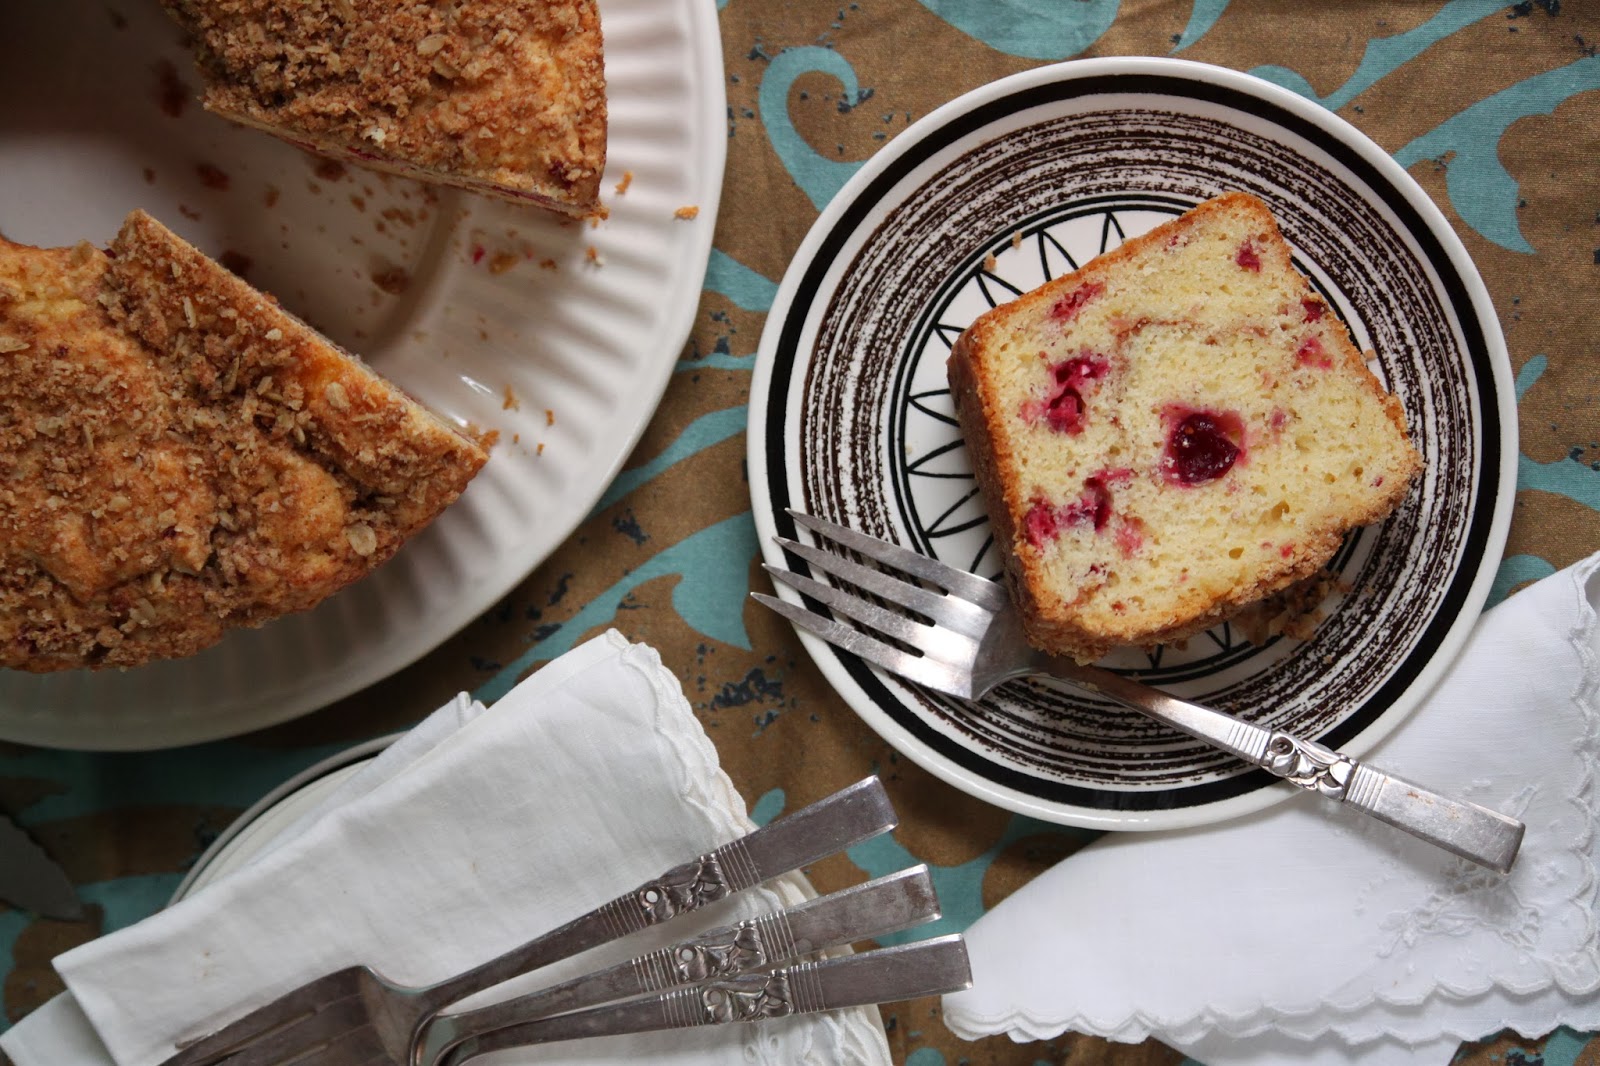
by now, you must be wondering what gardening has to do with a winter pick-me-up of cranberry-orange coffee cake. it actually has nothing to do with actual gardening but it does lead back to the gardeners themselves. each january, the master gardeners of davidson county, tennessee, begin the annual 14 week training class. every thursday evening, the new interns attend a lecture related to gardening and a few of the certified members, like myself, are on hand for mentoring, answering questions and offering support. we also provide refreshments and snacks. they quickly learn that i am known as “the cake lady from the demo garden.” it could be worse, i suppose.
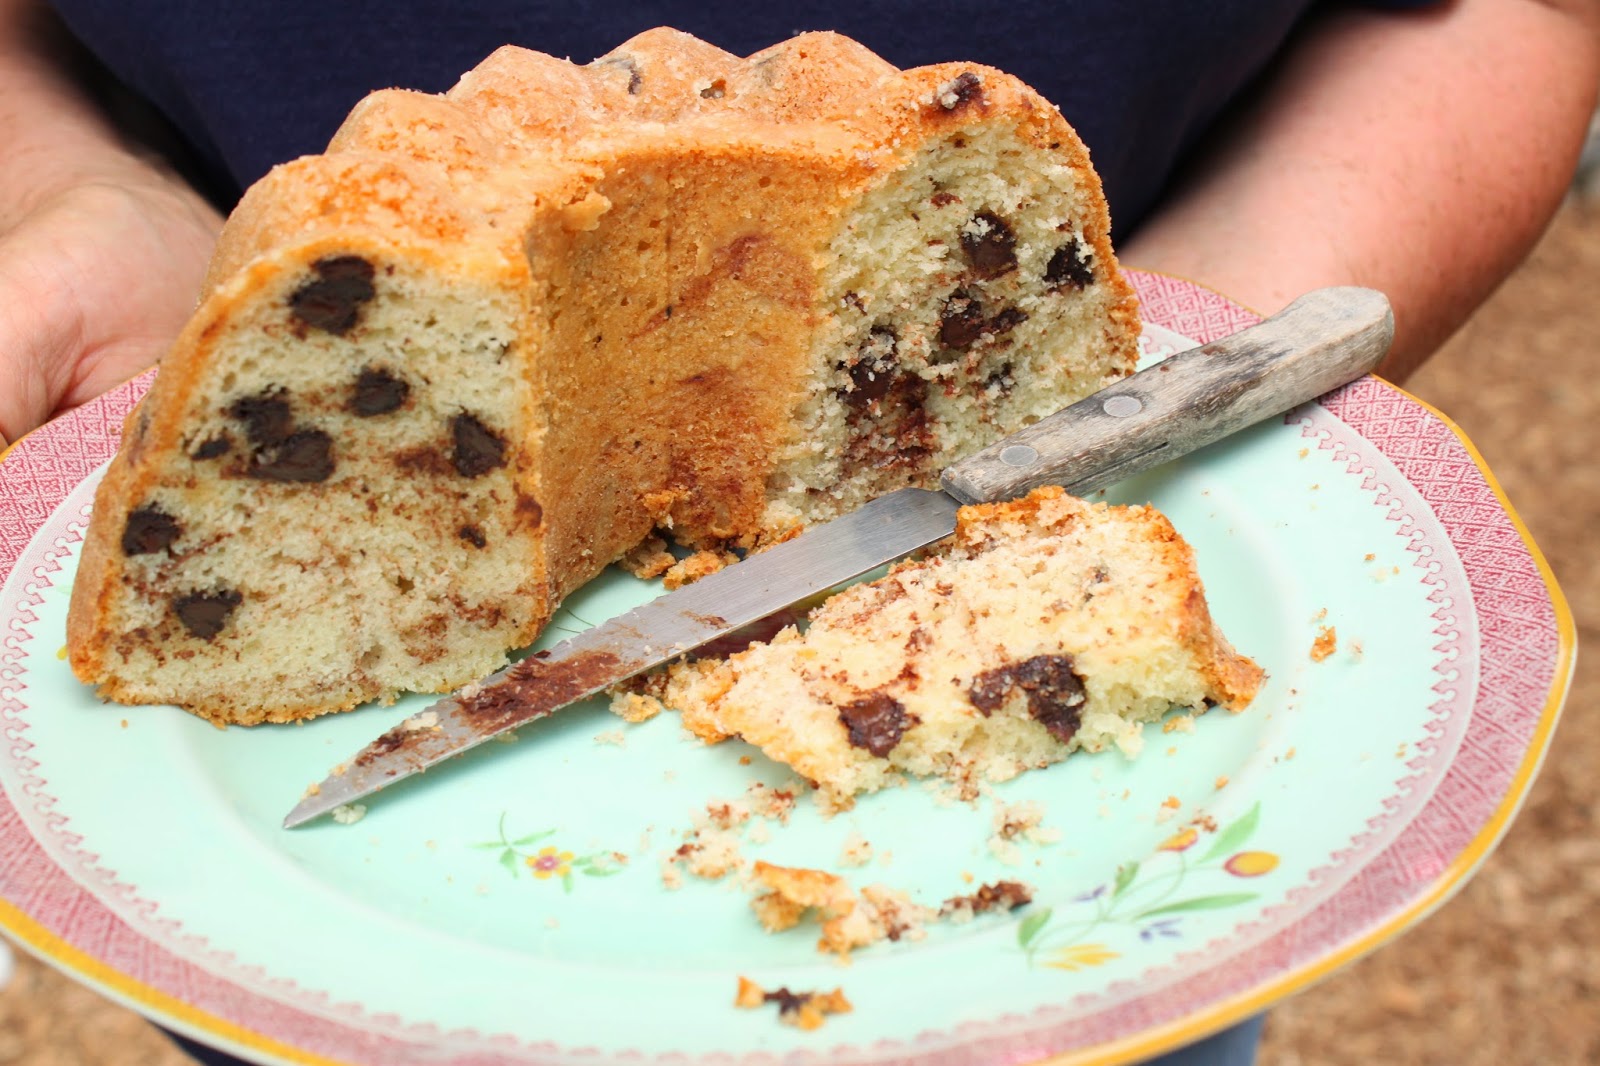
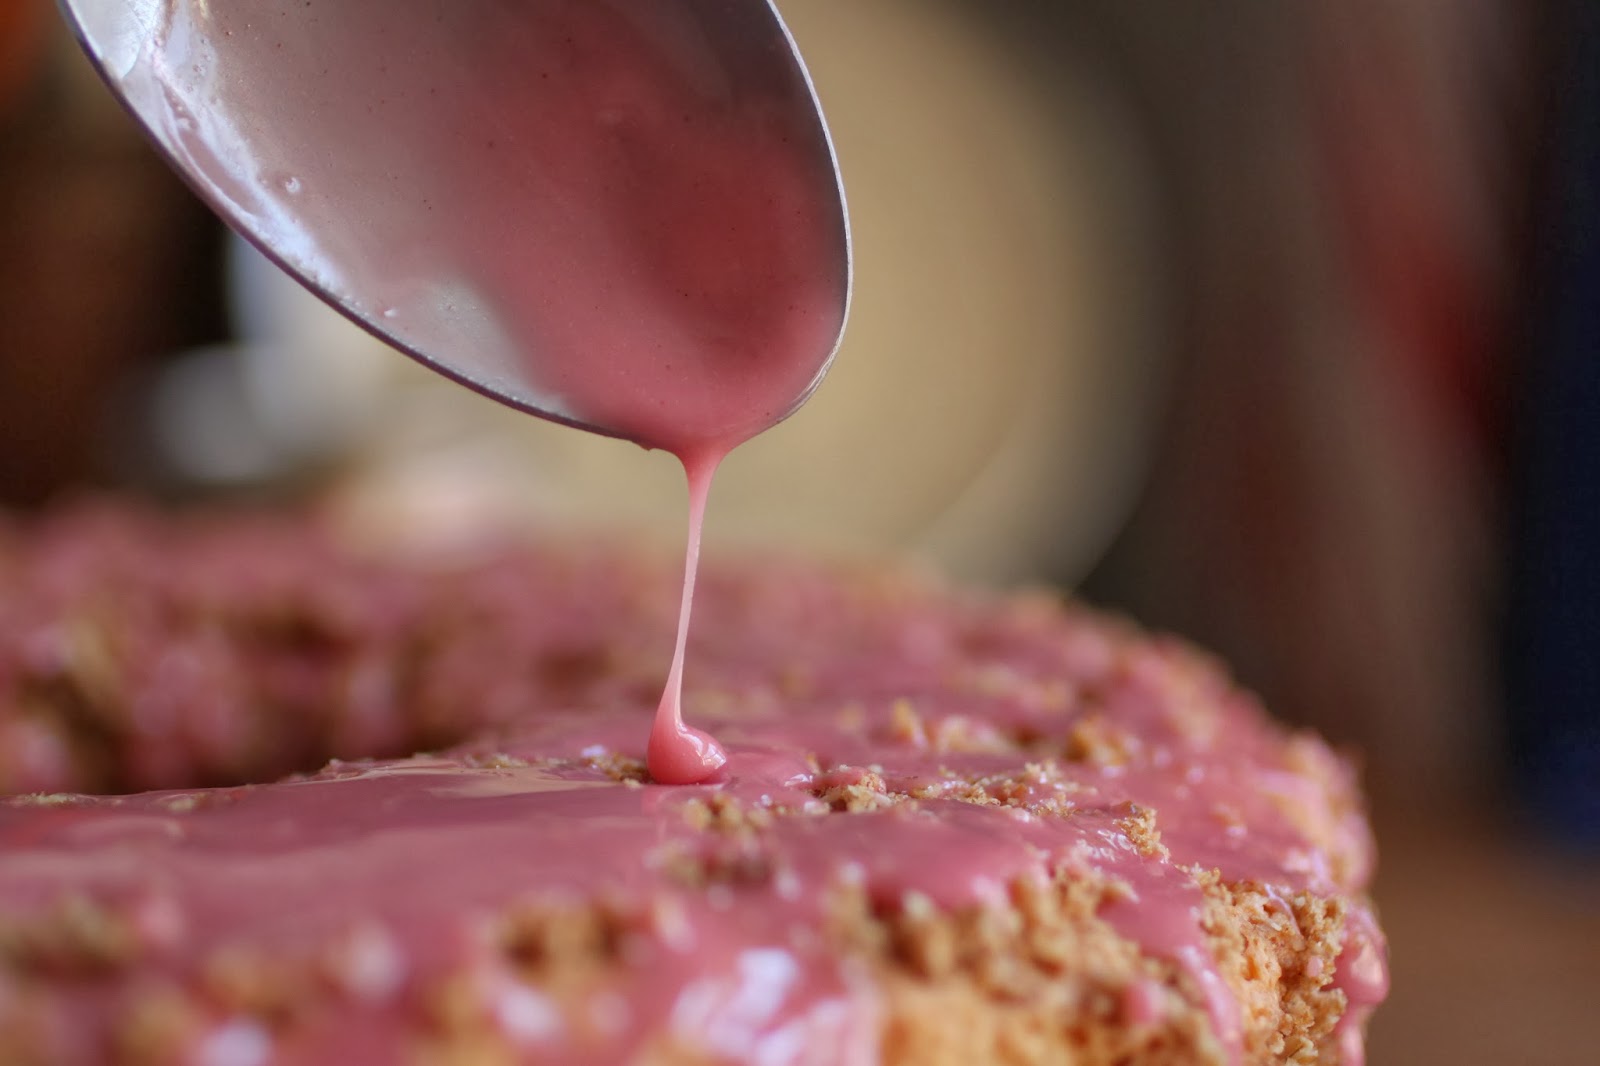
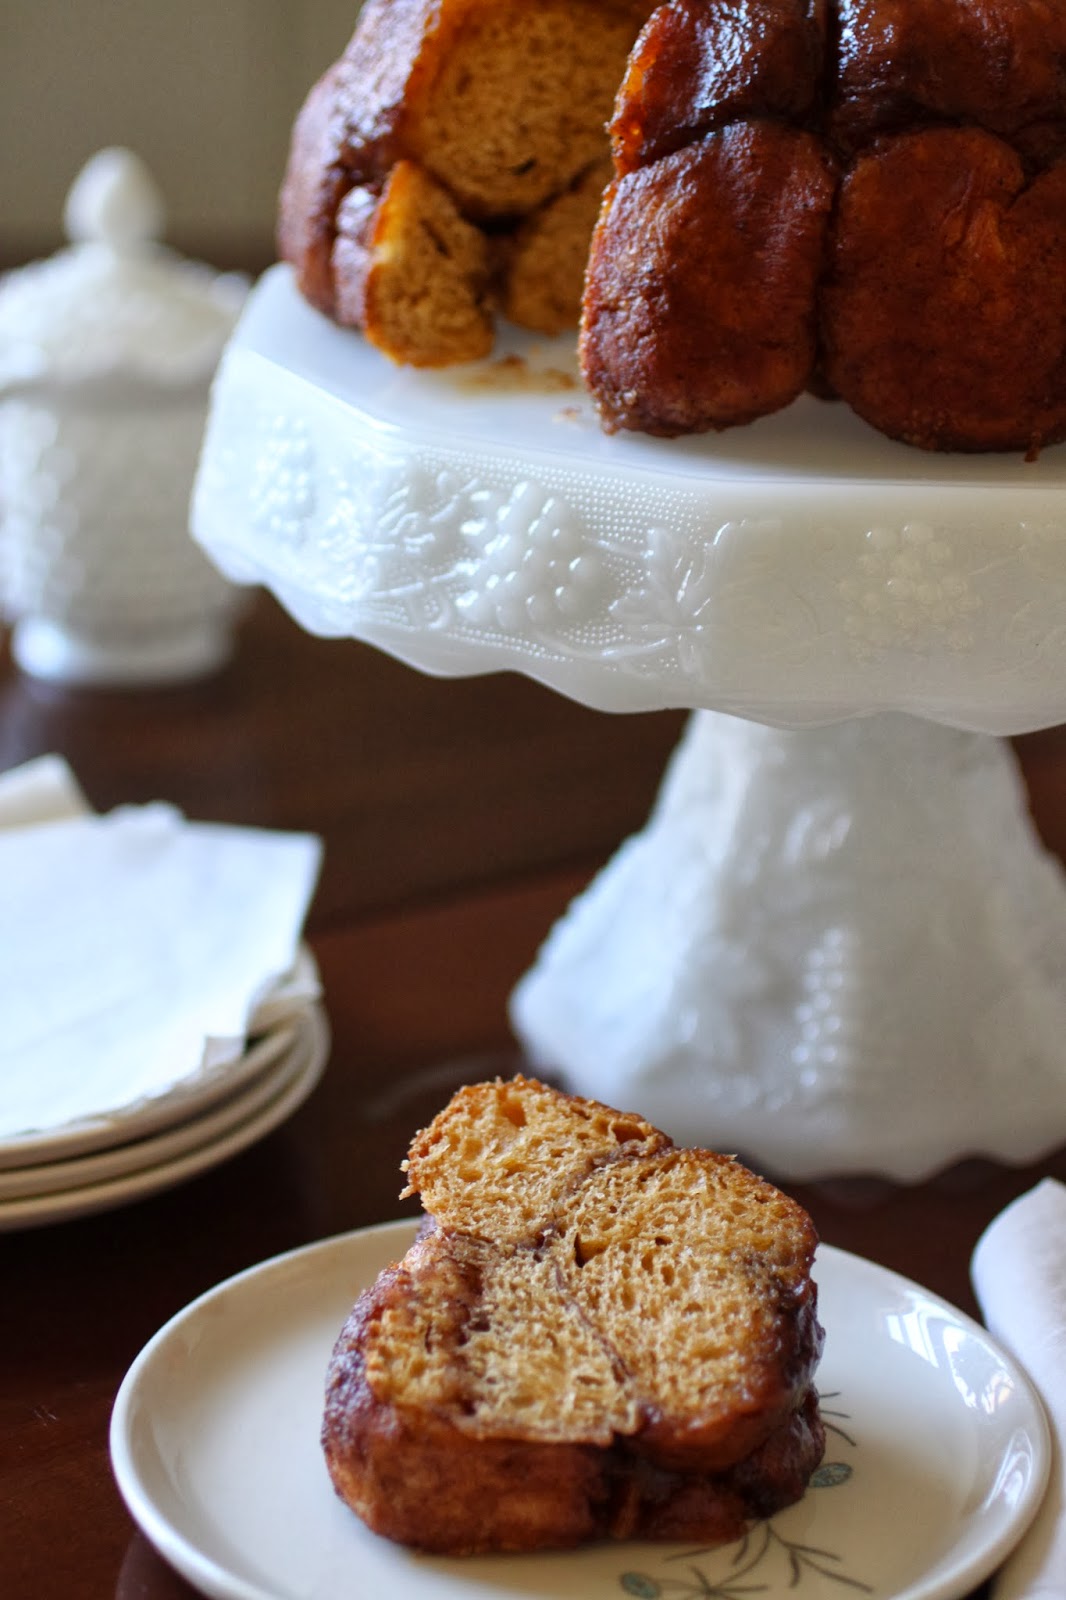
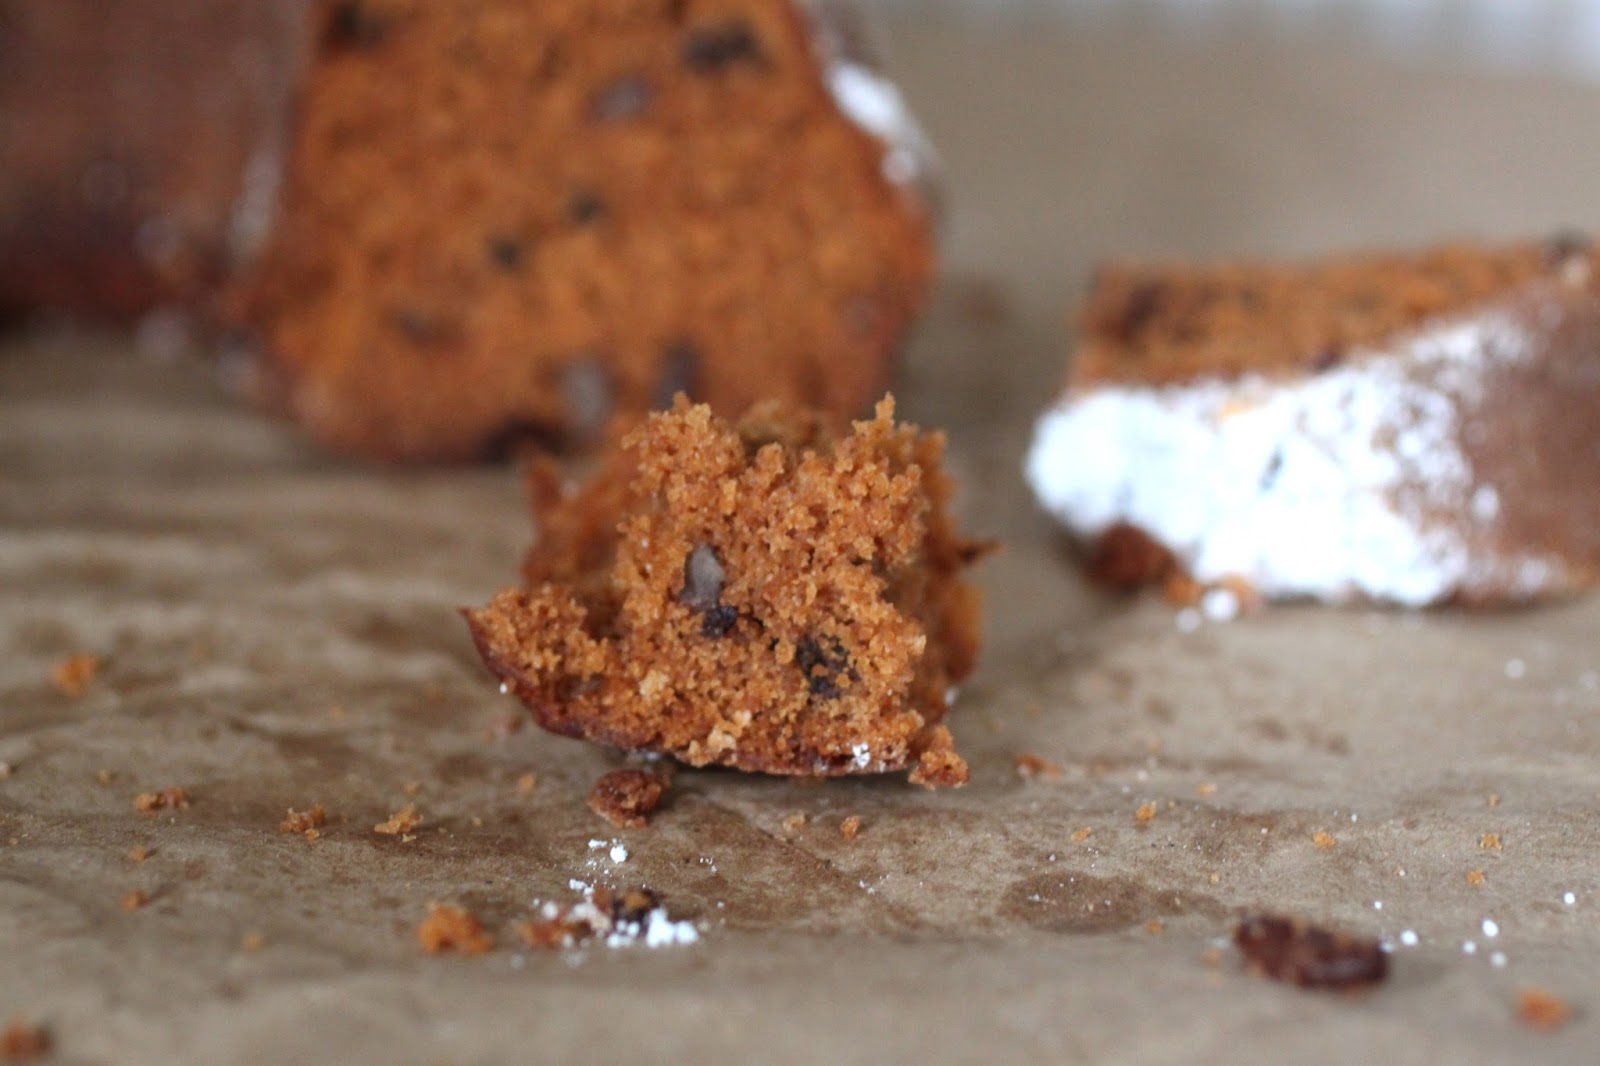
with a schedule of lectures lasting 14 weeks, finding a new(or different) recipe for each week is a challenge. oddly enough, chocolate by itself, does not go over well. if it is a ribbon or a handful of chips, okay; but just chocolate, not so much. having a few good base recipes and a well stocked larder make all of the difference. the recipe for the cake in the photos can easily be manipulated to use different fruits with the same level of success as the cranberries. it is the perfect “go to” recipe for someone who bakes frequently and tires of making the same thing again and again.

one big advantage to this recipe is that the majority of it can be completed in the bowl of a food processor. a few quick pulses to make the crumb topping, a few pulses more to coarsely chop the cranberries and a final round to cream the butter, sugar and eggs for the batter. the batter is rather forgiving and nearly foolproof so even the least experienced of bakers can mix up the recipe using the food processor and be guaranteed excellent results.
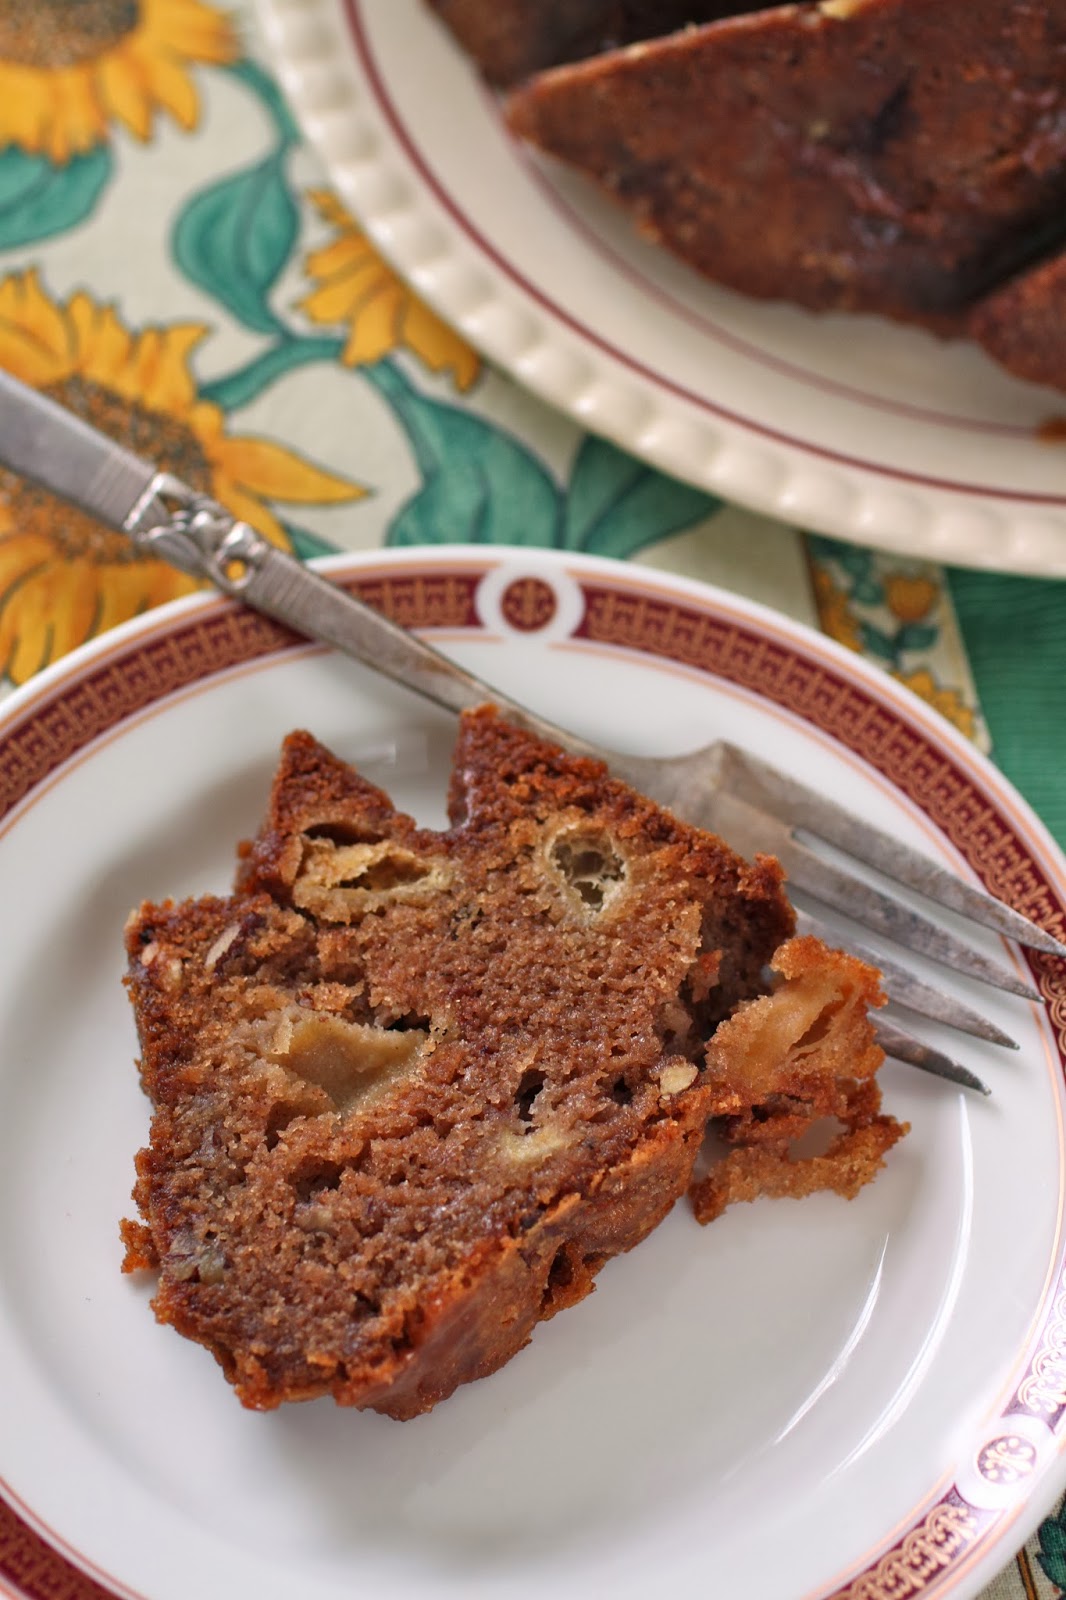
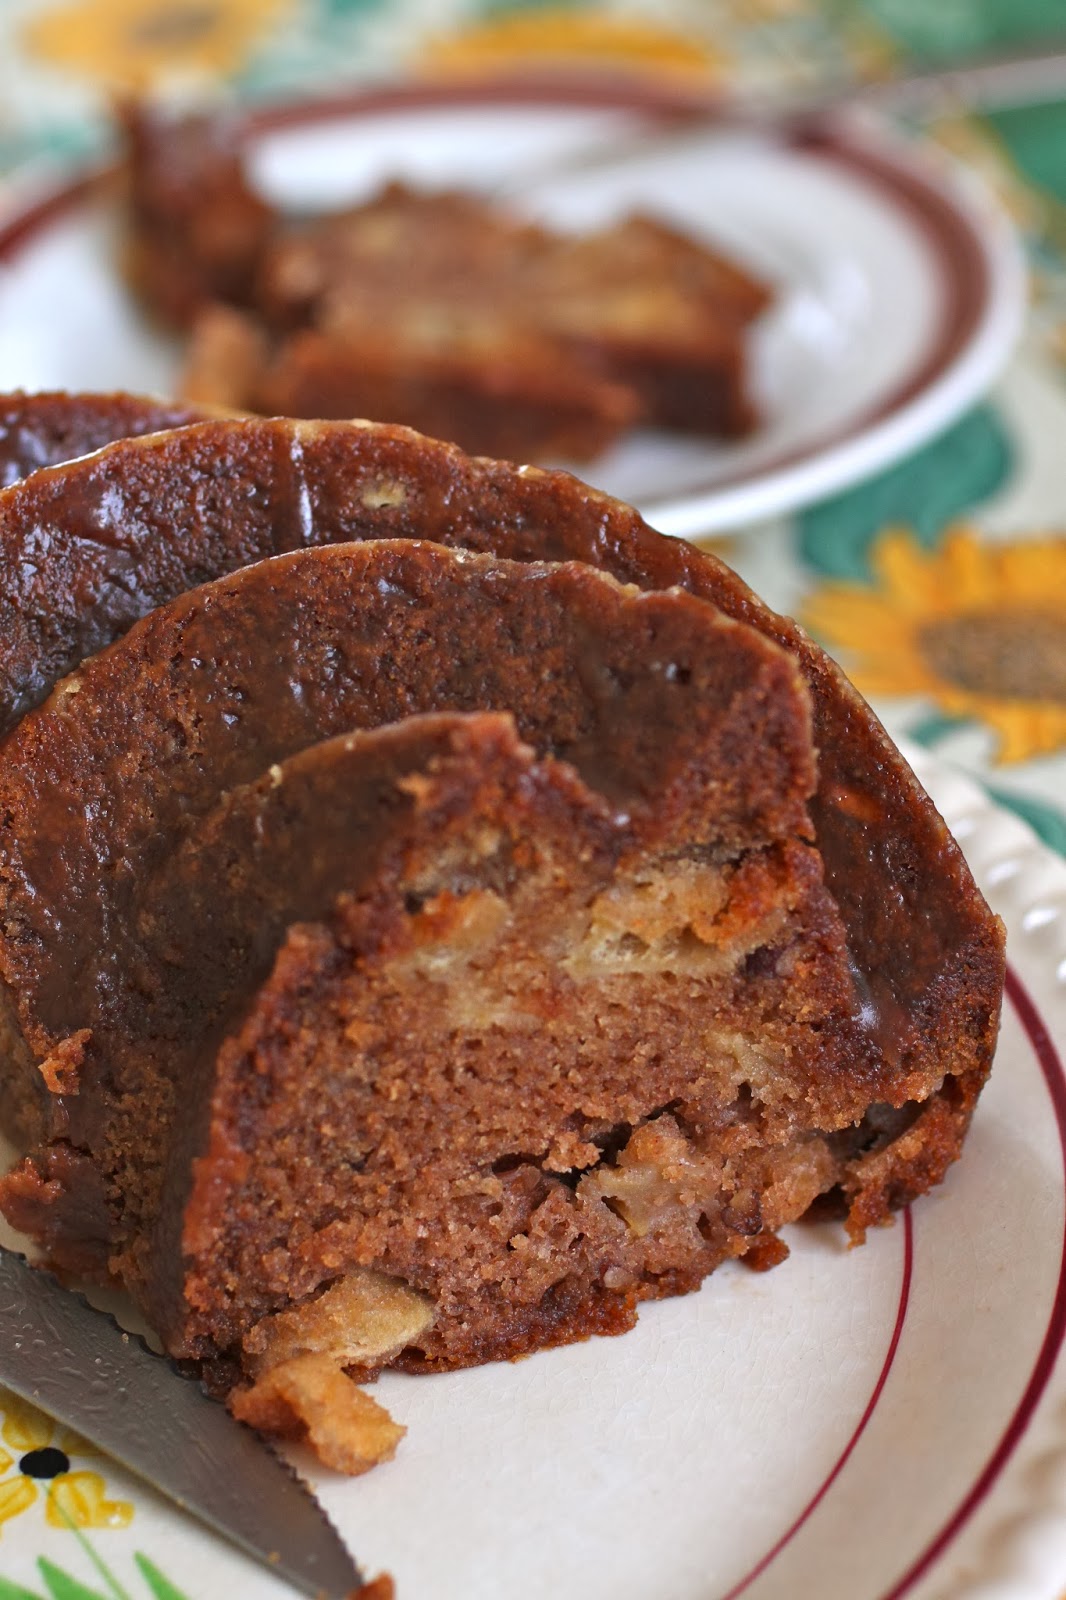
simple manipulations, such as swapping lemon zest for the orange or blueberries for the cranberries will still yield a beautiful cake even if the fruit is frozen. for the more daring, shred some zucchini and carrots, toss in a generous helping of walnuts and a bit of cinnamon. this cake is also the perfect solution for using that last, over ripe banana or that lonely apple resting in the bottom of the basket. whichever route you take, this versatile recipe is sure to produce a well deserved pick-me-up to brighten a dreary winter day.
cranberry-orange coffee cake
makes 1 (10″) tube cake serving about 16
crumb topping
1/2 cup unbleached all purpose flour
1/2 cup rolled oats
1/3 cup dark brown sugar
1/2 teaspoon ground cinnamon
1/8 teaspoon baking soda
4 tablespoons unsalted butter, cold and cut into small cubes
cake
1 cup fresh cranberries (can be frozen-do not thaw!)
12 tablespoons (6 ounces) unsalted butter, softened
2 cups granulated sugar
1/2 teaspoon salt
zest of 1 orange
3 eggs
3 cups all purpose flour
1 tablespoon baking powder
3/4 cup buttermilk
1/4 cup cinnamon sugar (3 1/2 tablespoons sugar, 1 1/2 teaspoons cinnamon)
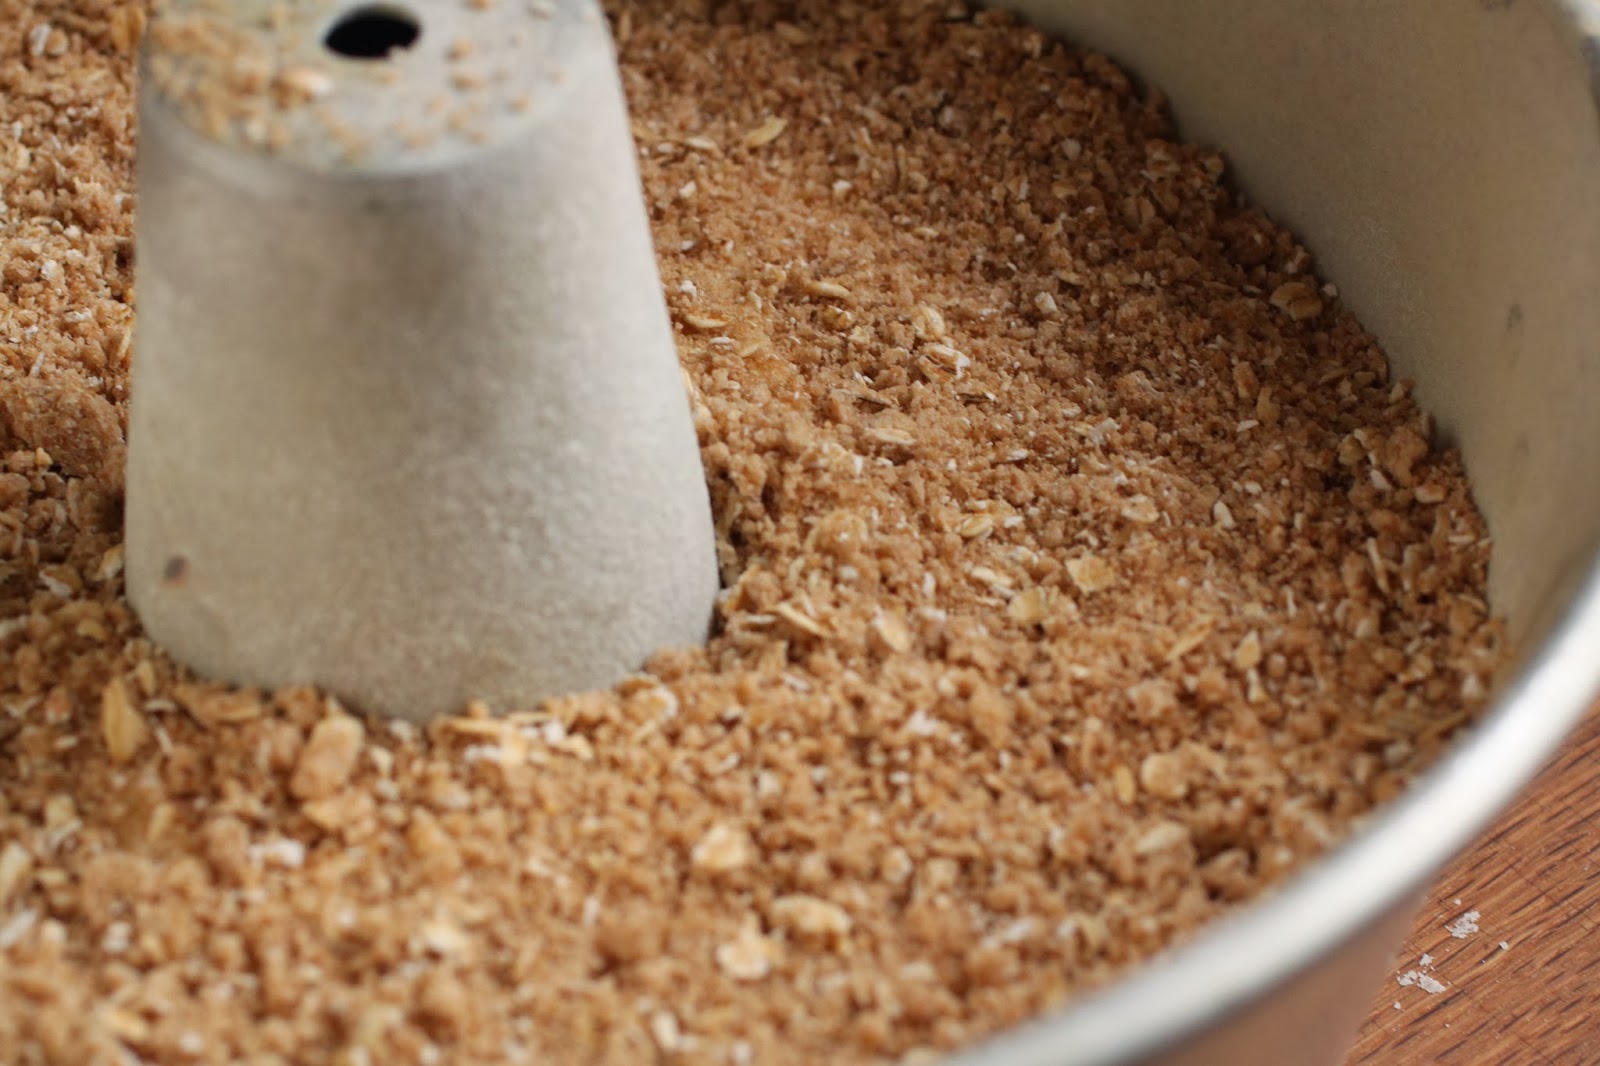
to make the crumb topping, place the flour, oats, brown sugar, cinnamon and baking soda into the bowl of a food processor. pulse a few times to combine. sprinkle the butter cubes over the top of the mixture and pulse to cut it together. continue to process the mixture until it begins to clump. dump the mixture out of the bowl and set it aside.
preheat the oven to 350. grease and flour the tube pan and set it aside. place the cranberries into the processor bowl and pulse to coarsely chop them. if they are frozen, do not thaw them or they will streak the cake batter so be sure to keep the chopped berries in the freezer until needed.
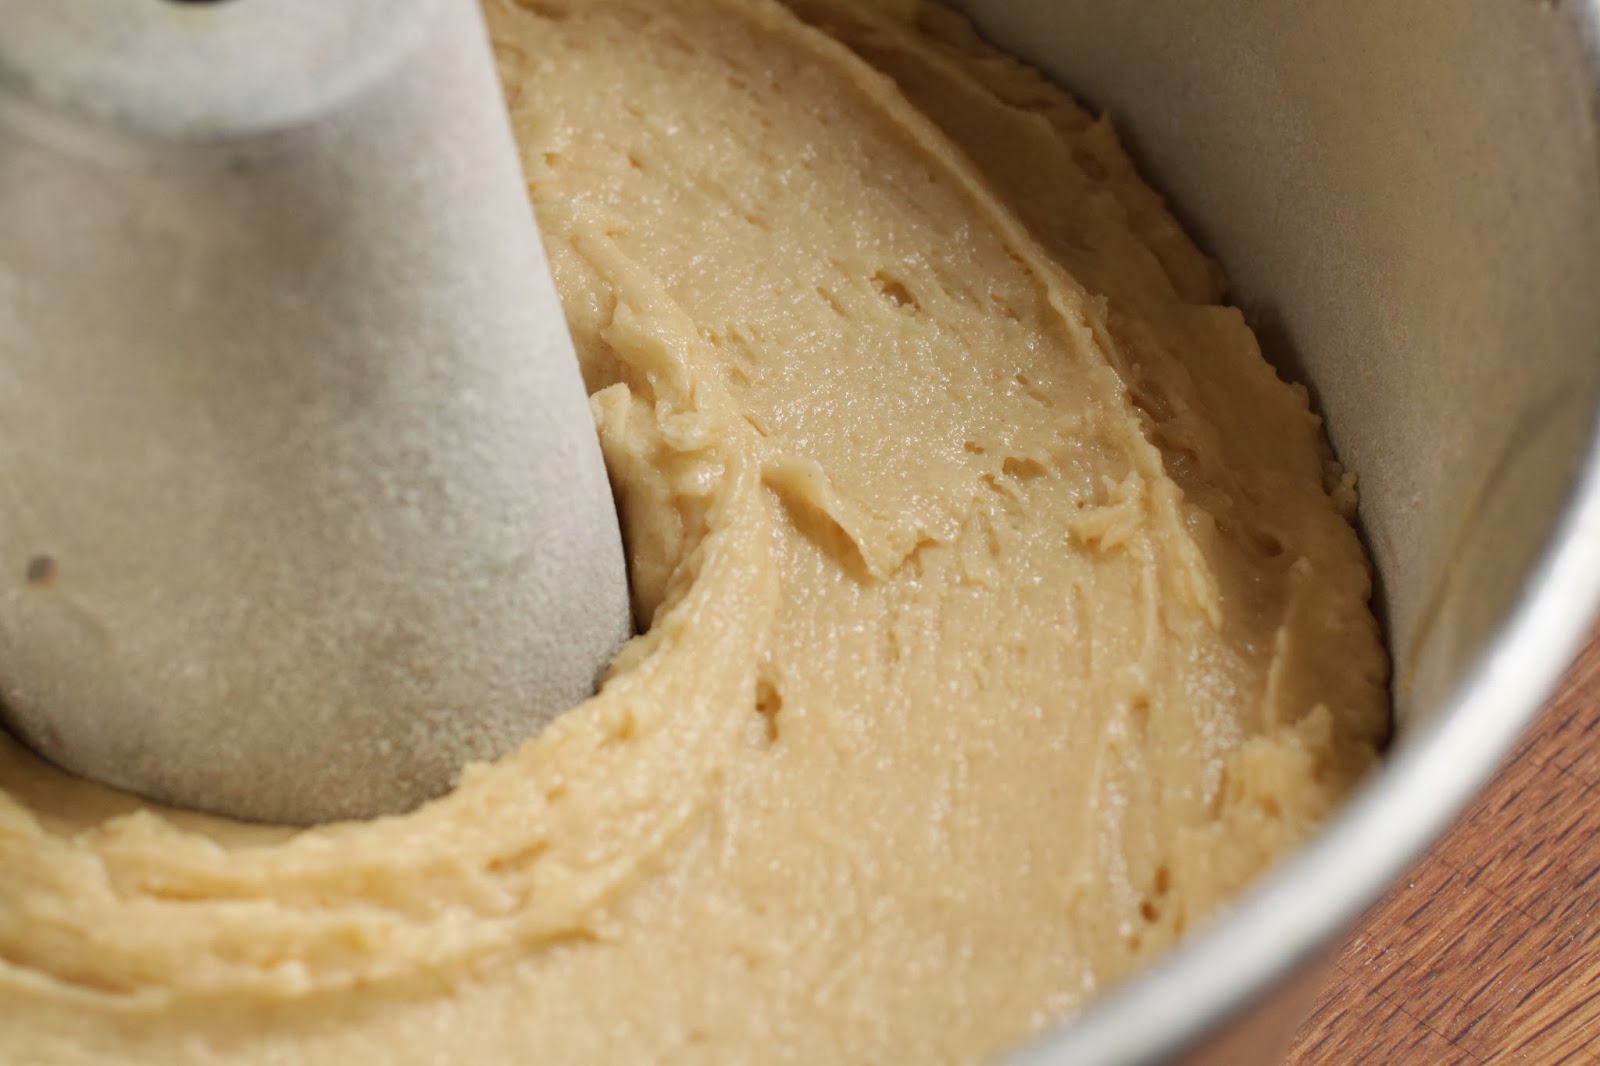
to make the batter, place the butter, sugar, salt and orange zest into the processor bowl and process until smooth. with the motor running, add the eggs, one at a time and process until mixed. scrape the bowl and pulse a few times to be sure it is combined. dump the batter into a large mixing bowl; the rest of the recipe is combined by hand with a rubber spatula or a large wooden spoon.
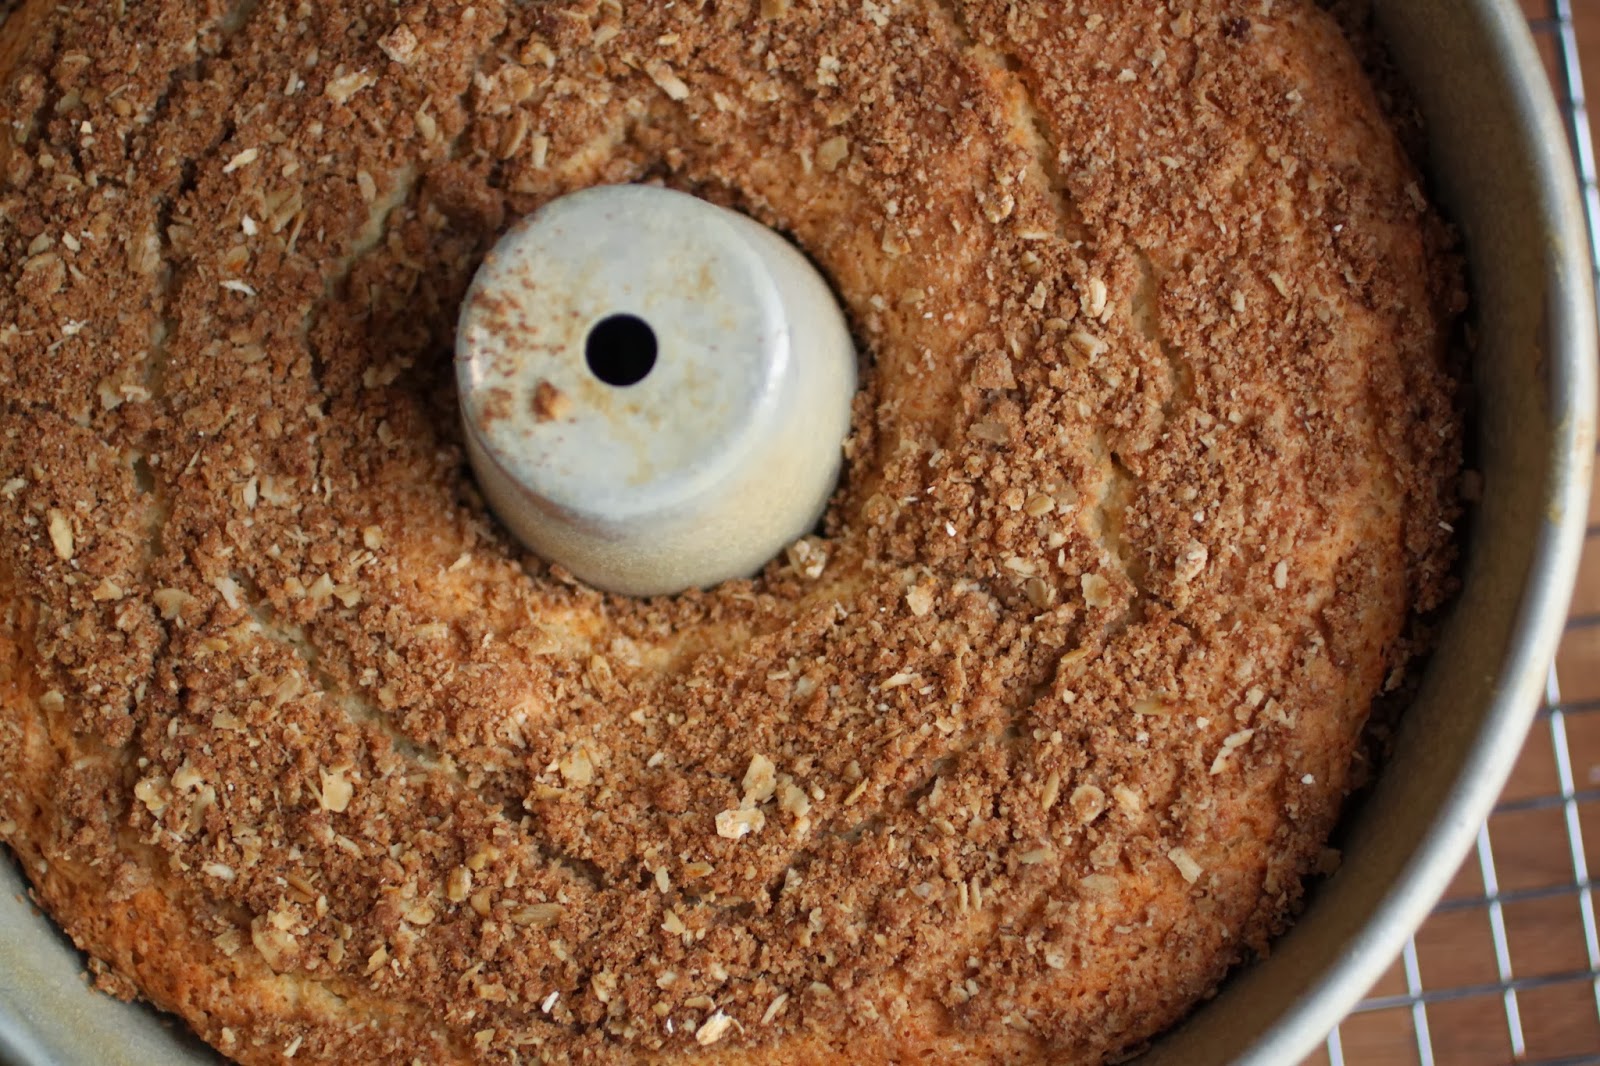
place the flour and baking powder into a sifter or a mesh strainer and sift it over the batter. sprinkle the cranberries over the top of the flour. fold the mixture a few times to coat the berries with the flour and to begin incorporating them. sprinkle the buttermilk over the batter and fold it together. carefully place half of the batter into the prepared pan and spread it out so there are not huge gaps and vacant areas-it does not need to be perfectly level. sprinkle the cinnamon sugar over the batter in the pan and top it with the remaining batter. sprinkle the crumb topping evenly over the cake and bake until a pick inserted comes out clean, about 1 hour. cool the cake in the pan for 20 minutes and then remove it from the pan and allow it to cool completely on a rack.
the cake is best cut when completely cool. to store, keep it covered in a cake container at room temperature up to 2 days. to store in the freezer for up to a month, cut and wrap slices well in plastic and place them in a plastic container or bag before freezing. thaw the slices, still wrapped in plastic, at room temperature.