yet another experiment with pennington’s strawberry rye but this one is chocolate! to see the full recipe and find links to the others, visit my new blog page by clicking on this link.
yet another experiment with pennington’s strawberry rye but this one is chocolate! to see the full recipe and find links to the others, visit my new blog page by clicking on this link.
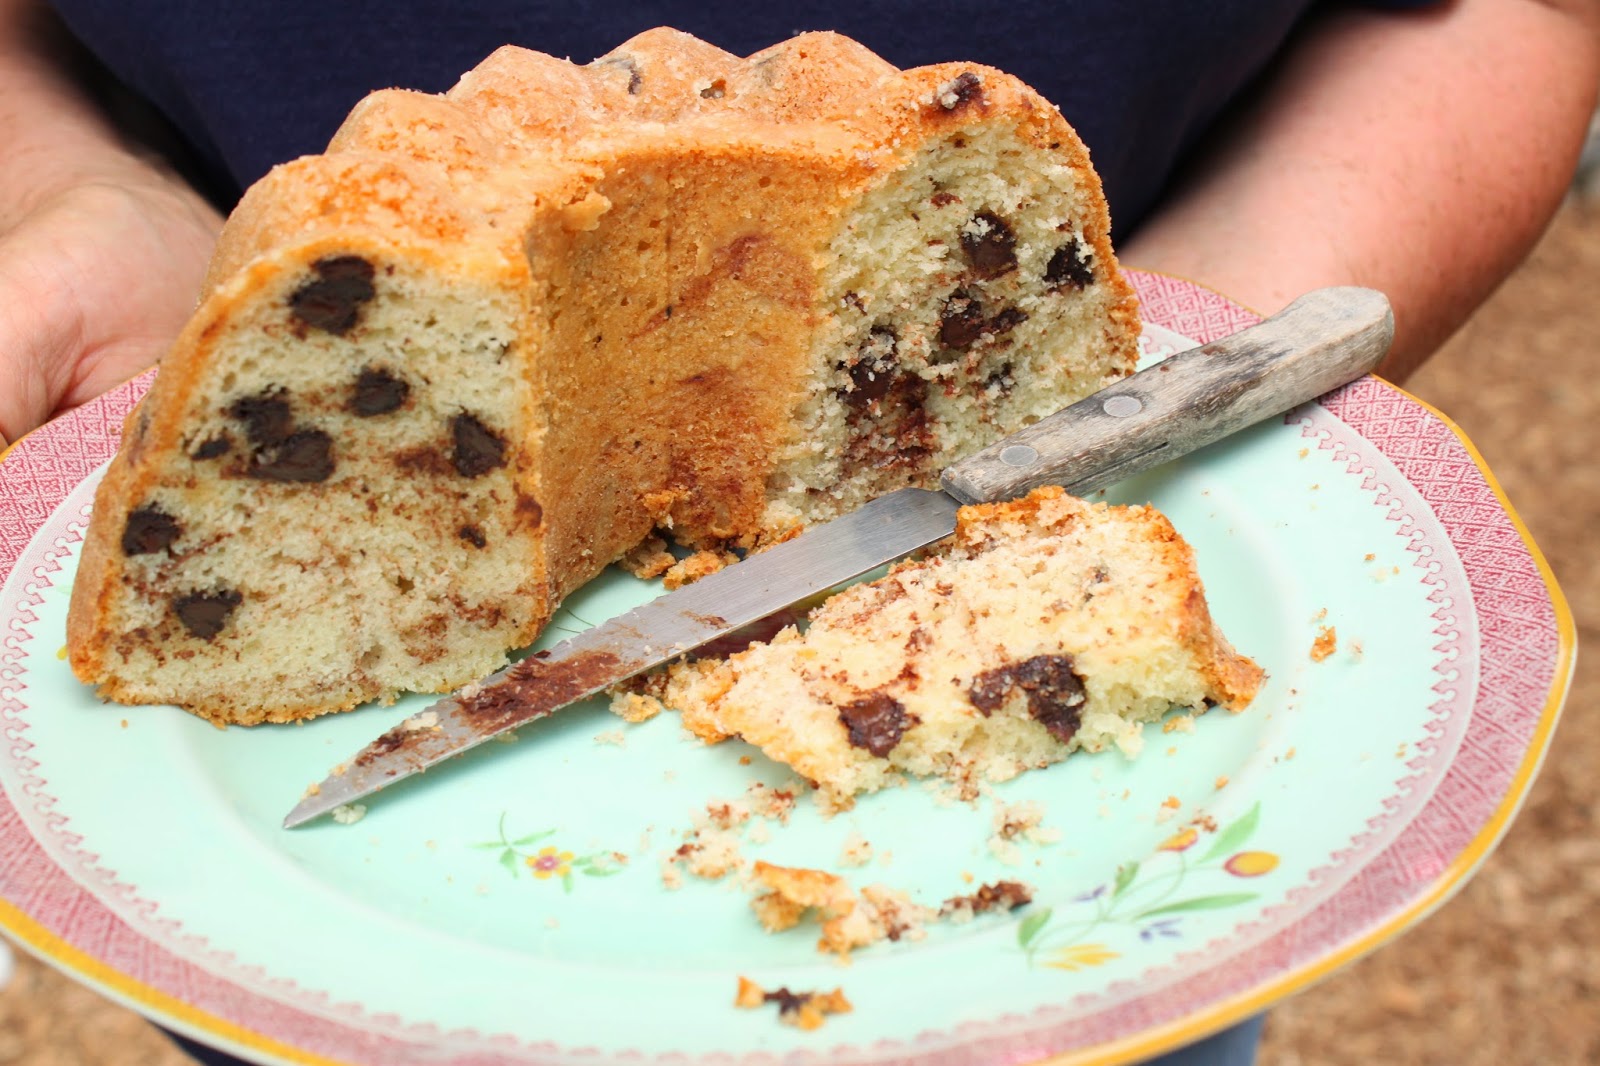
sunday mornings are perfect for gardening. there is a certain sense of peace that the demonstration garden has early in the day which i find comforting. today i went out to the garden with a chocolate chip bundt cake and spent a few hours weeding the beds and chatting with my fellow master gardeners. as master gardeners, we spend time preparing gardens for tours and on occasion, those gardens are our own. it is a chance to share our most prized possession with fellow gardeners. this afternoon, i had the pleasure of visiting the garden of one of my fellow demonstration garden volunteers.
to read the whole post, visit my new blog page
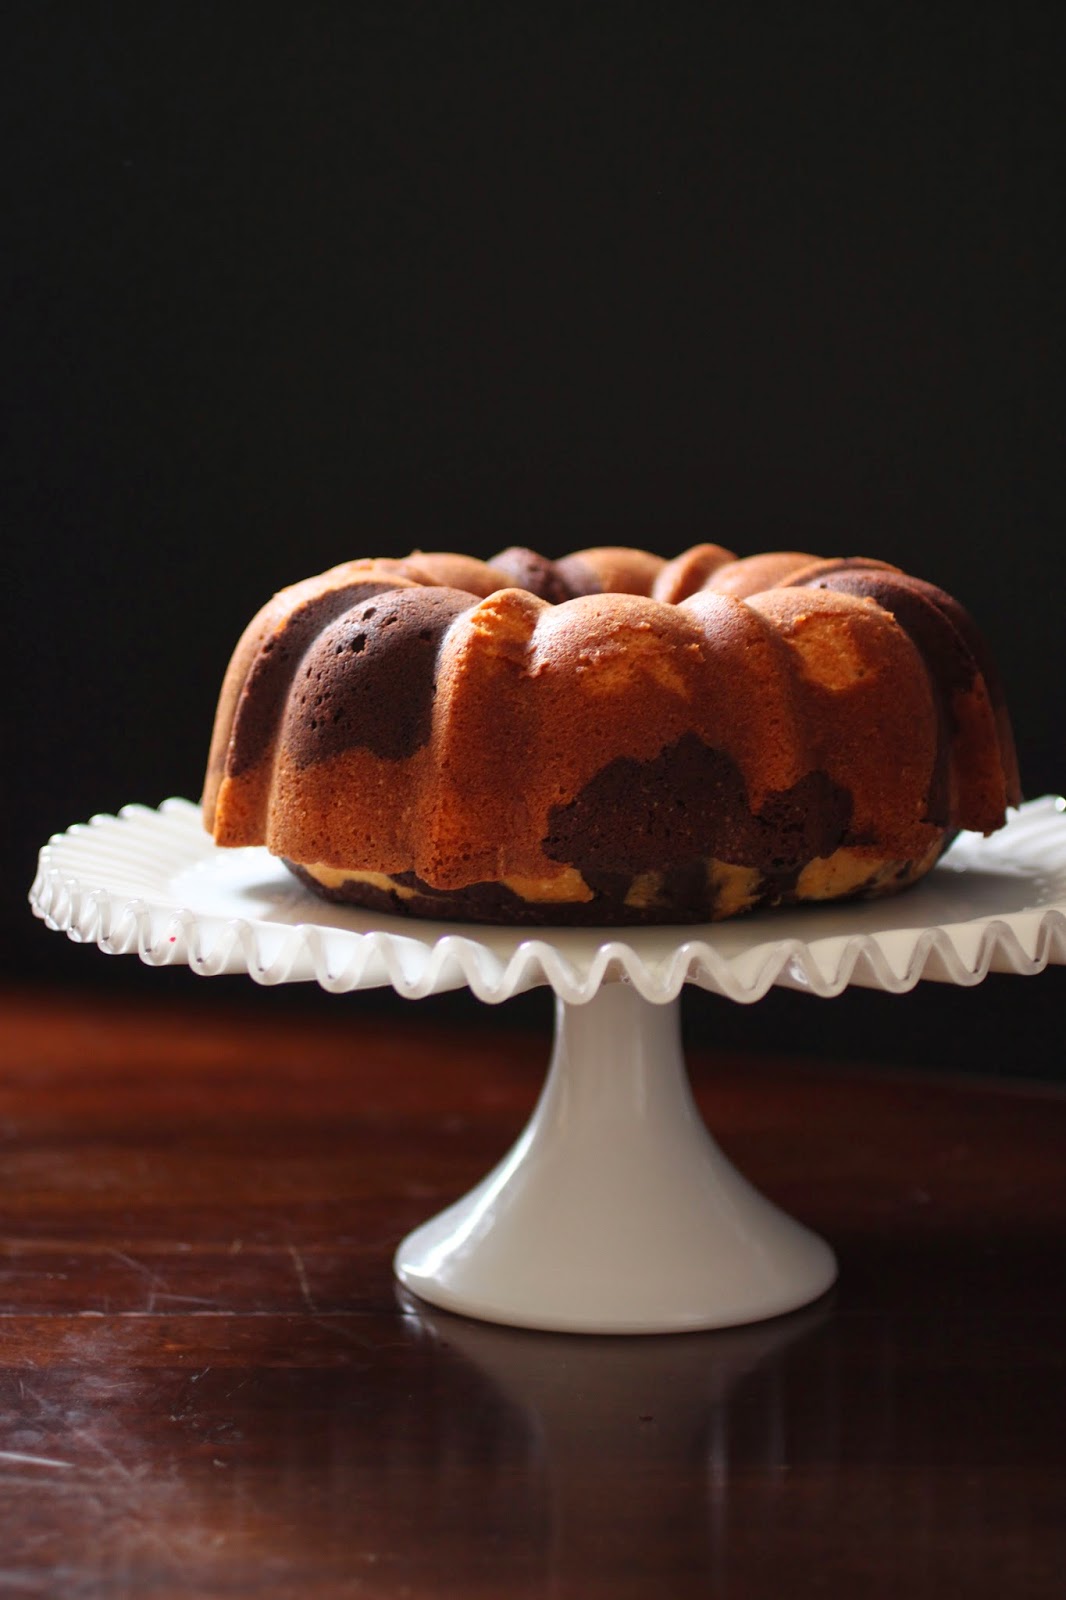
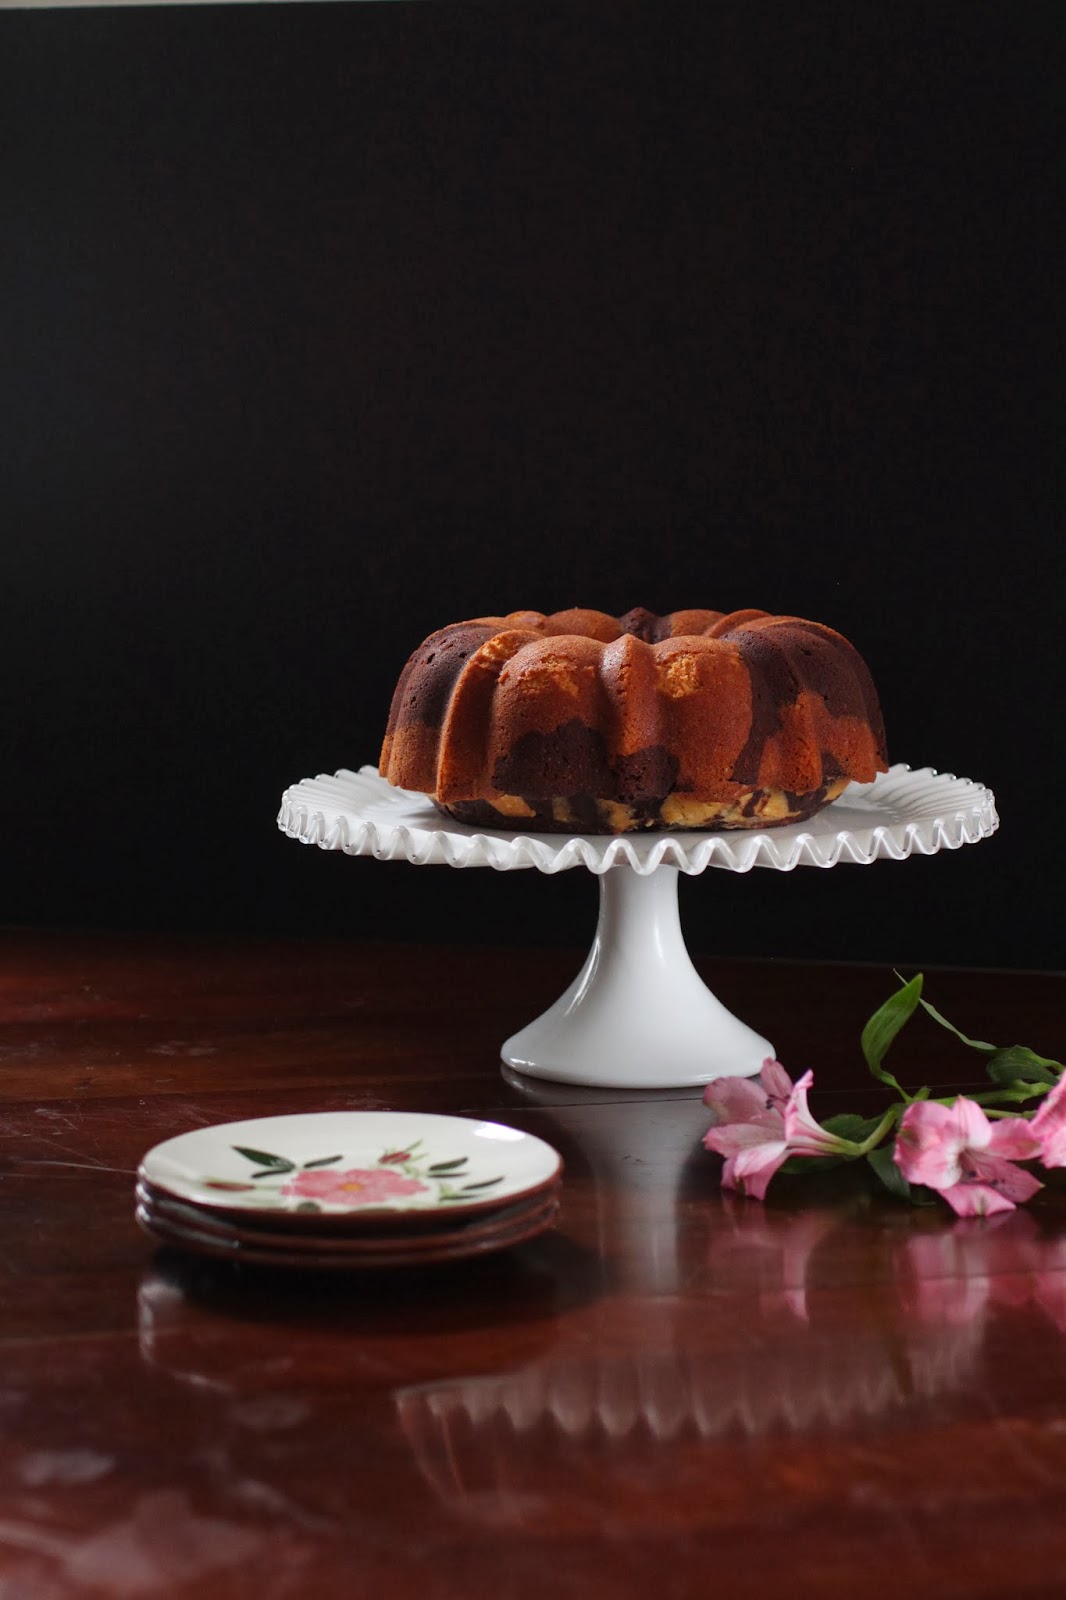
two of my favorite things; bundt cake and pound cake. two of my favorite things rolled into one; even better! put it on an awesome vintage fenton cake plate; nearly perfection! this cake plate came to us from my mother in law. she sent it to us at thanksgiving and i have used it several times now. apparently, i have a milk glass fetish and everyone in the family has caught on to it. this cake plate makes even the simplest cake look rather elegant-it’s the ruffled edge that does it.

for the last 2 years, i have been taking classes and workshops centering on photography and food styling. it has been an amazing experience. the people i have met, from professional photographers and food stylists to other bloggers like myself, have taught me so many things that have helped me to improve my photos.
to take the photo of this cake, i used black foam core boards to give it a dark background. for the lighting, i let natural sunlight illuminate the scene and positioned bounce cards to fill in the dark spots. then i let my collection of plates fill the shot. these vintage stangl plates were a steal at the thrift store- just 69 cents a piece!
it was interesting to see how the shot changed as i moved things around, added and deleted things.
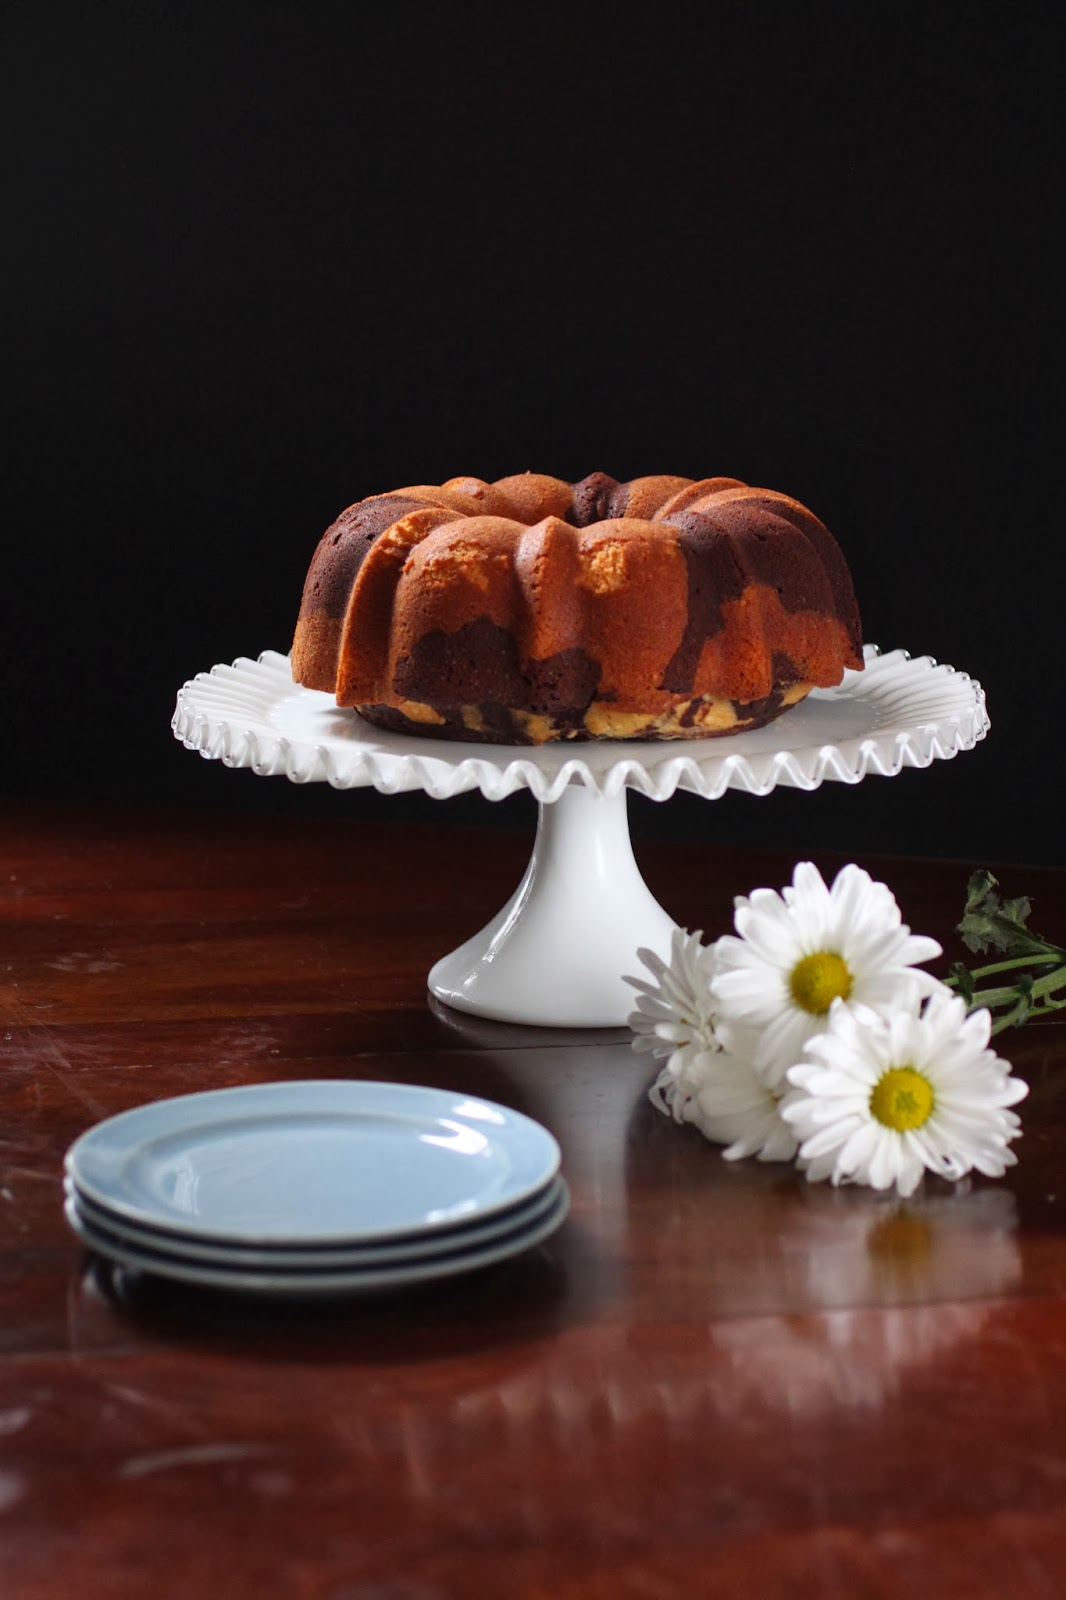
as much as i liked the stangl plates, i was afraid the pattern would distract from the marbled cake slices once i put them on the plates. a quick change to vintage lu-ray pastels in blue with some daisies.

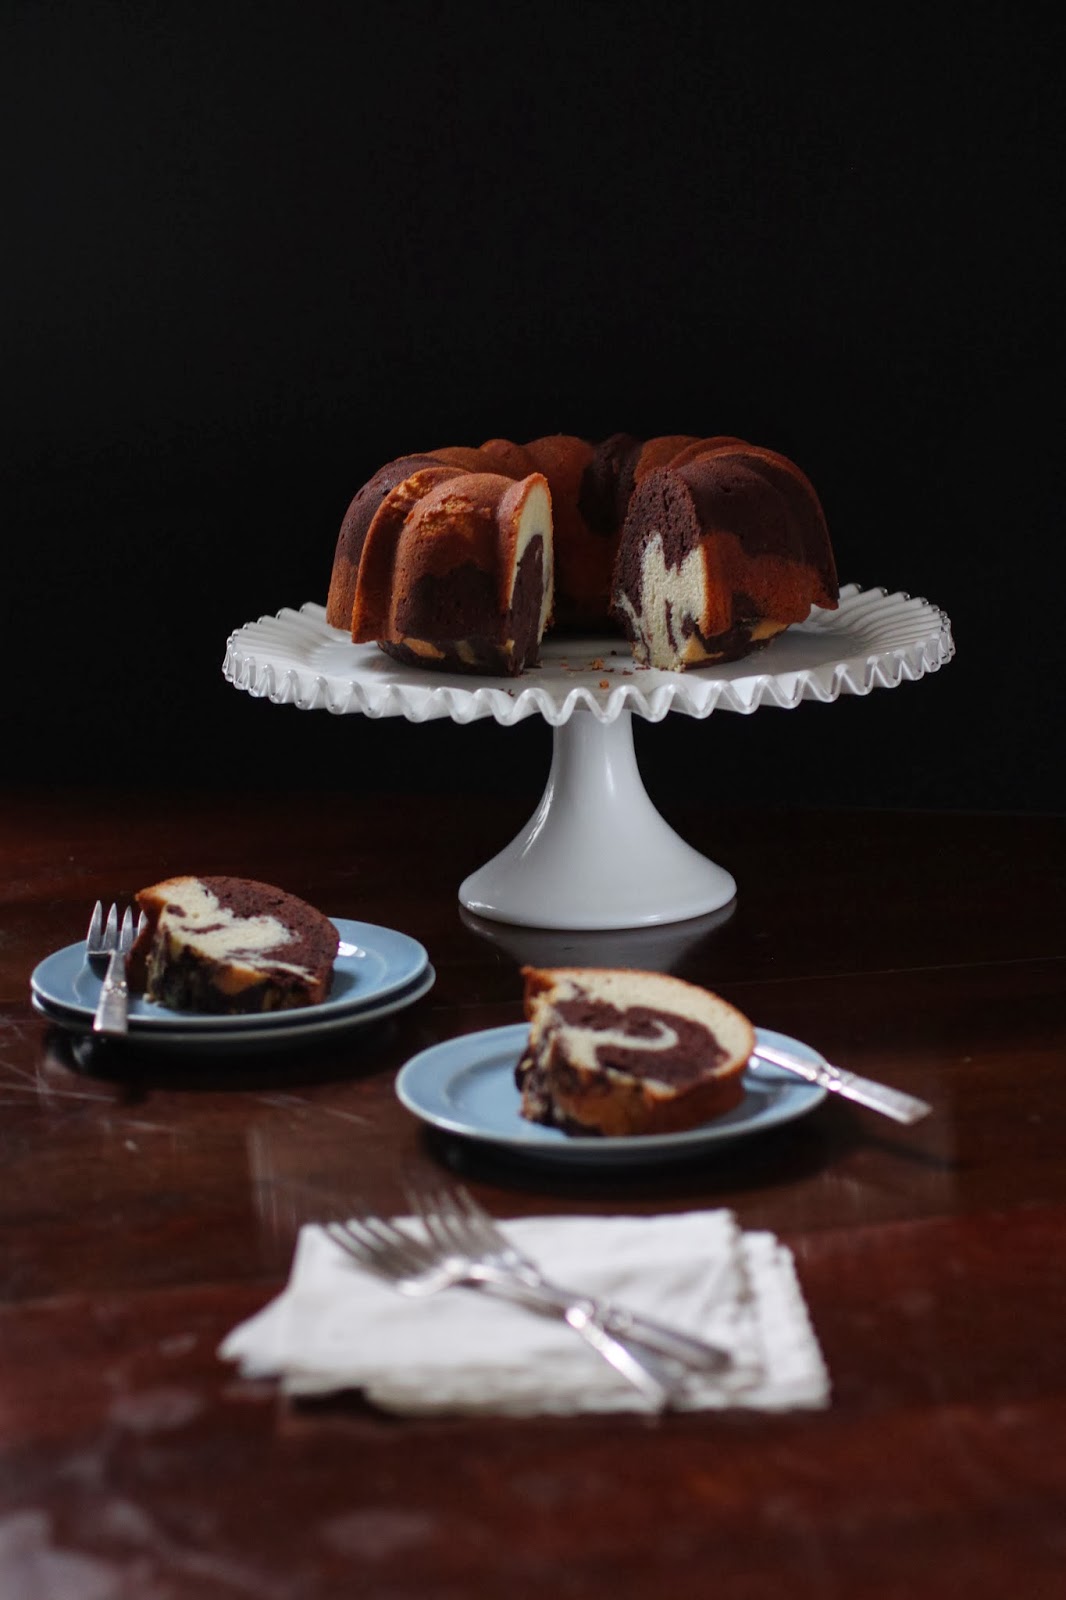
out went the daisies, in came some cocktail napkins and silver plate cake forks. these items were also thrift store finds. the silverware is actually from a partial set i found one day, over 20 pieces of silver plate marked community that is actually an oneida pattern. my collection cost me less than $10 but an internet search found it priced at $130 for a service of 4: SCORE!!!
yes, i still have much to learn in the world of photography and food styling, and i look forward to learning all i can. but as far as thrift store finds go, i think i have mastered that part!
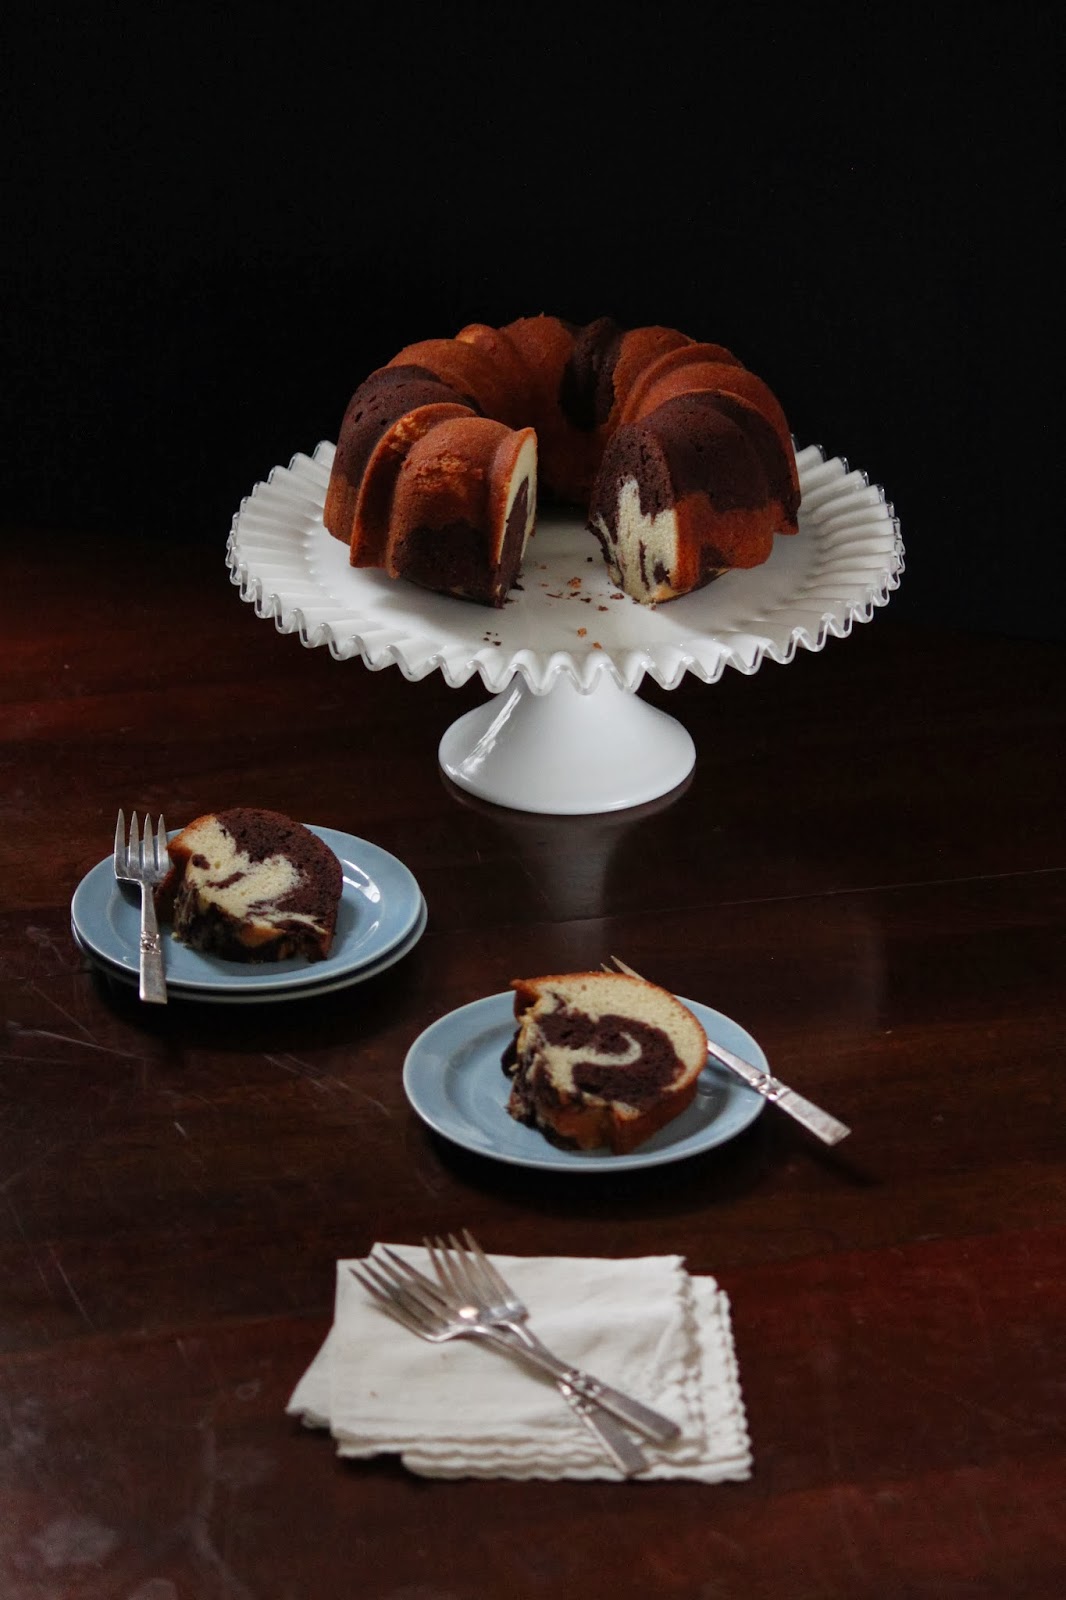
amazing how the shot changed as the sun came out and then again ducked behind the clouds. when photographers talk about chasing light-they aren’t kidding. you can have your shot all lined up, settings all correct and in the blink of an eye, it is gone. this dark shot is so moody, and almost depressing. but at the same time, when the sun came out and lit up the set, it was just as interesting(see the next shot to view the difference). be sure to visit here often, see what i have learned and what i have scored at the thrift store!

nothing says valentine’s day more than chocolate so the timing perfect was perfect for the tuesdays with dorie bakers to mix up a chocolate-mascarpone cheesecake. my only wish was that i would actually enjoy it. sadly, i am one of those people that just does not like the combination of chocolate and cream cheese and this cheesecake did little for me. to compound matters, my husband has to limit his intake of dairy products because despite how much he loves them, they do not like him much at all! the good news, we were attending a white elephant/pot luck lunch and this was the perfect treat to bring along to share.
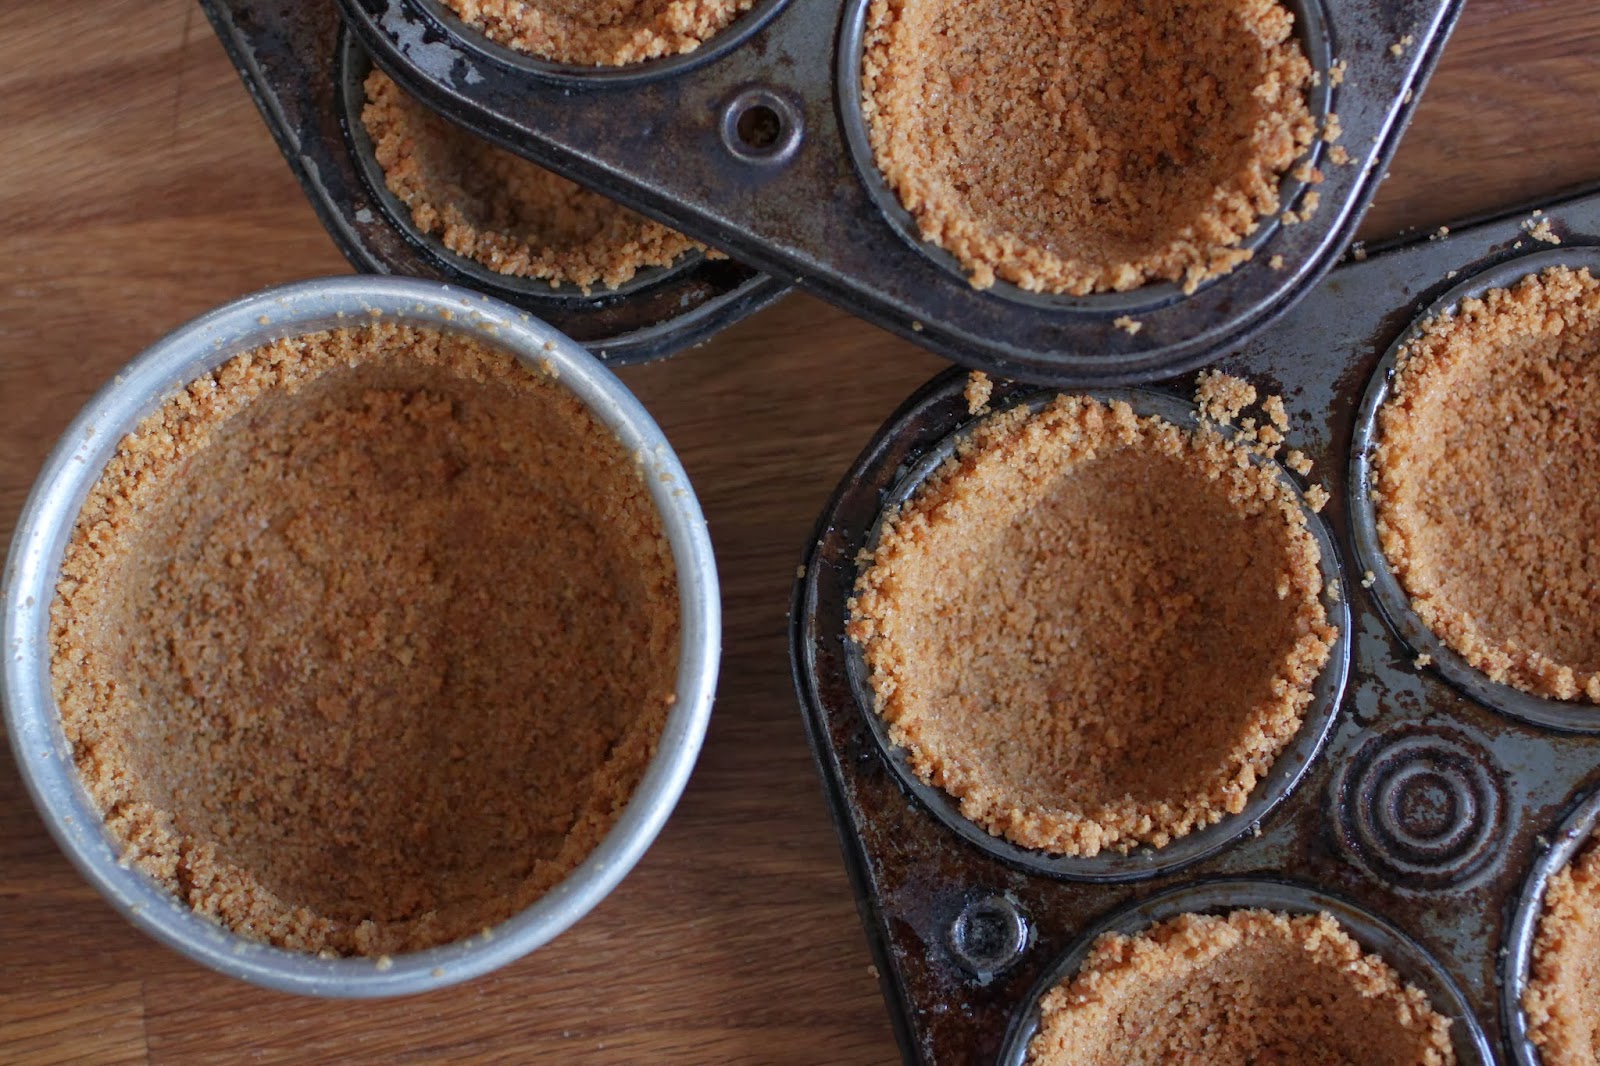
to make the cakes so that serving them at a potluck would be easy, i filled muffin tins with a crumb crust and baked little individual cakes. the recipe called for using cookie crumbs to coat the bottom of cake after it is baked and turned out of the pan. this idea sounded a little wacky to me, actually it sounded like a lot of work that just wasn’t necessary. but this is the sort of thing you will encounter every time you bake a cheesecake in a water bath while using a springform pan or one of those specialty cheesecake pans with a removable bottom. a very long time ago, i abandoned this method because water baths are a pain in the…well, you know what i mean.
on more than one occasion, i have listed my fool proof hints for baking a perfect cheesecake and you can read some of them here or read the entire article here-i apologize in advance for the commercial. but if you read them, they will help you reach cheesecake nirvana. one of my rules for cheesecakes is to bypass the graham cracker crumbs. they are an awful addition to a cake that you have just invested a bit money on-chocolate and cheesecake are not necessarily cheap. my preference is to use my own cookie crumbs made from my biscotti recipe. by mixing up a batch of my own cookies, i can flavor them how ever i see fit and i can tailor the crust to the cake. biscotti crumbs also keep well in the closet. if you are not inclined to mix up a batch, buy some that have not been dipped in chocolate so that they are not oily after you grind them up.

air is the enemy. it is so easy to over mix a cheesecake batter and if you incorporate a lot of unneeded air, your cake will souffle and could crack. it will also sink as it chills and it can kill the texture. to prevent this, your food processor is your best friend. it will do a much better job of incorporating the ingredients, especially the chocolate without aerating the custard. no, i am not mistaken, cheesecake is a custard that is treated like a cake. think about it for a moment; large quantities of cream cheese mixed with sugar, eggs, more dairy products and chocolate with a tiny bit of flour make it more like a baked custard. if you approach the recipe with this attitude, and treat it like you would a baked custard, it is suddenly so much easier to understand and succeed.

to fill the cups, i used a portion scoop, a #20 scoop which usually has a yellow handle. the recipe made 18 muffin sized cakes and a 4″ cake that my husband thoroughly enjoyed.

for standard size muffins, they did not take much time in the oven, maybe 20 minutes. i hate to say this but i didn’t really time them, i just watched them like a hawk and when i saw the tops getting a little “dry and blistery” across the top and a little puffy, i pulled them out of the oven. they cooled just as quickly and i popped them out of the pans.

because a cheesecake by itself almost seems criminal, i cooked up a batch of cherry topping to go with it. this is the little 4″ cake that my husband and i shared. well, i tasted it, he ate the rest. to be honest, i did not get any flavor from the mascarpone-the chocolate completely overpowered it. if i were to use the recipe again, which is not likely, i would omit the mascarpone and use more sour cream; it would give more flavor and cost a lot less. the texture of the cake was simply too dense for me, i like my cheesecake to be more on the creamy side.

with a generous helping of cherries and syrup, the cake was pretty good, but if i had my choice, it would not have had any chocolate in it! however, my husband disagreed, whole heartedly-he enjoyed it with and without the cherry topping.
to see what the other bakers came up with, be sure to visit the tuesdays with dorie page.


when i am making a cake, i like to get all of the ingredients measured out so that they are ready to go as i need them.

the egg yolks are whisked with the water, oil and vanilla. the recipe calls for 2 tablespoon of vanilla. while i wholeheartedly suggest that you not skimp on the vanilla extract most recipes call for, go ahead this time, cut it in half! one tablespoon is more than enough!!!

whipping the whites with the sugar until they are still a little soft and shiny is key. under whip them and they will not have the ability to lift the cake. over whip them and the cake will collapse. it is always best to err on the side of under whipping-the air bubbles will still expand and will not burst during the baking which is what happens when the whites are over whipped.


my cake was attempting to escape the pan-the batter is just a little more than needed. next time, i might try using a 12″ x 18″ cake pan rather than a half sheet pan. and like all of the other bakers mentioned, the baking time is definitely wrong. it needed at least 20 minutes in the oven rather than the 10-12 minutes the recipe calls for.

the mousse filling is a little unusual. it calls for heating the egg yolks and then whipping them with a cooked sugar syrup. it is whipped to a fairly stiff ribbon. the walnuts for the filling are ground in a food processor and the oil is added to form a smooth paste. then the melted chocolate is added to make a base for the mousse. typical of a mousse, the eggs and chocolate get folded together, carefully, and the filling is allowed to sit in the fridge to set.
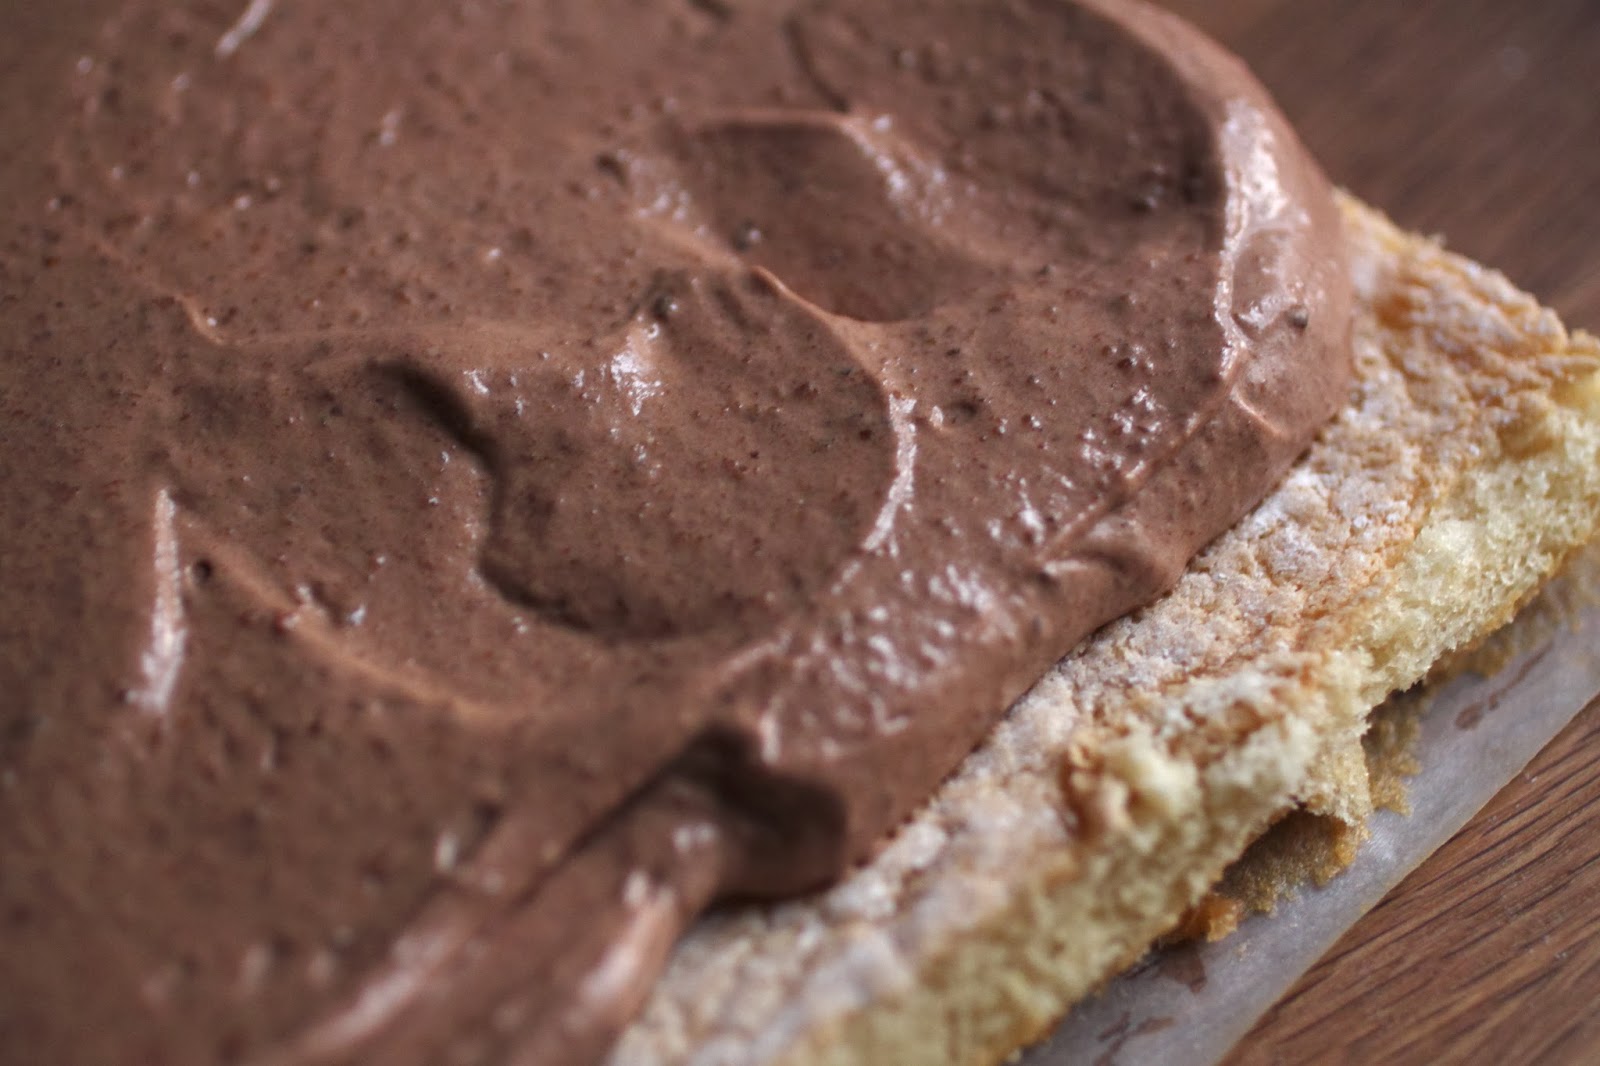
the filling is spread over the cake and it is rolled up. a few observations and opinions; there is too much cake and too much filling to make rolling it up easy. if i were to do this again, i would definitely cut the two recipes back by a third-or as close to a third as i could get it. the mousse recipe calls for walnut oil which is something i did not have and did not want to buy. i added a little sesame oil to give it a nutty flavor. if you chose to do this, add 2 teaspoons to a tablespoon-a little goes a long way and i added too much!

when cutting the cake, i saved the two end pieces since i was bringing the finished cake to a pot luck dinner. candied walnuts were not an option since i only had chopped walnuts to work with but i did have some homemade caramel sauce for the plate.

the filling actually held well once cut; despite the lack of gelatin, it never collapsed or oozed out.

pink champagne was the perfect choice to accompany our slices of cake. not…the truth, i shot these photos in the middle of the afternoon and i didn’t have any pink champagne. a bit of homemade komobucha with a little of berry juice mixed in was my stand in; it is naturally fizzy!
for those of you wanting to bake one, here is the link to the recipe. to see how the other bakers did, check out the tuesdays with dorie page

minty oreos just scream christmas! to make these, i used my chocolate wafer recipe which you can find by clicking on this link.

for fun, i pressed each cookie with a cookie stamp so that they would be a little fancier. to fill them, i used this recipe from wayne harley brachman’s book retro desserts. since i did not use that chocolate wafer recipe, i cannot comment on it but the filling recipe worked out very nicely and was pretty close to the real thing. one thing to keep in mind, the moisture content in butter will cause the cookies to soften a bit after a couple days. this did not bother me but for those of you expecting a really crispy cookie sandwich, they are best filled the day you will serve them.

to make the pattern on the cookies, i pulled this set of glass cookie stamps out of the drawer. they were given to me more than 20 years ago and were purchased in williams sonoma. they no longer sell this set but if you do an internet search, they will come up on various sites as “vintage” and are not terribly expensive.

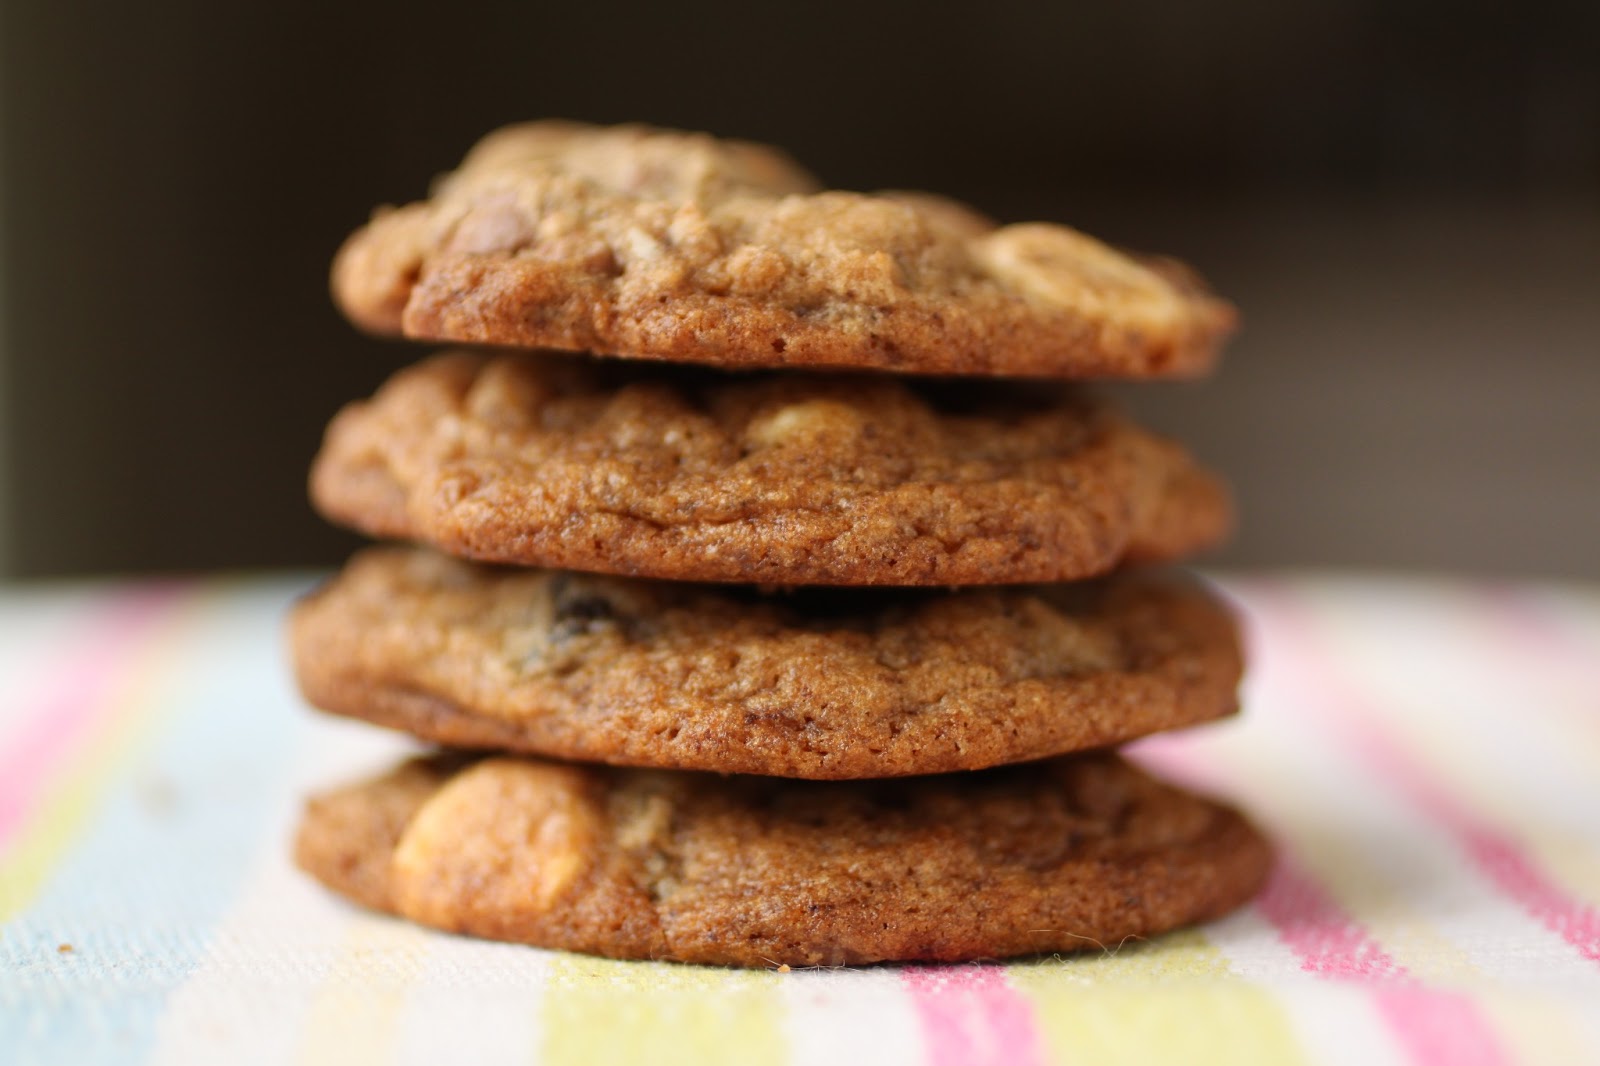
this weeks recipe for tuesdays with dorie was a simple one. actually, that was exactly what i needed, a simple cookie recipe. a chocolate cookie can do many things and after the craziness of travelling for a week, chocolate cookies were just what i needed. to make the recipe, pick up a copy of baking with julia by dorie greenspan.

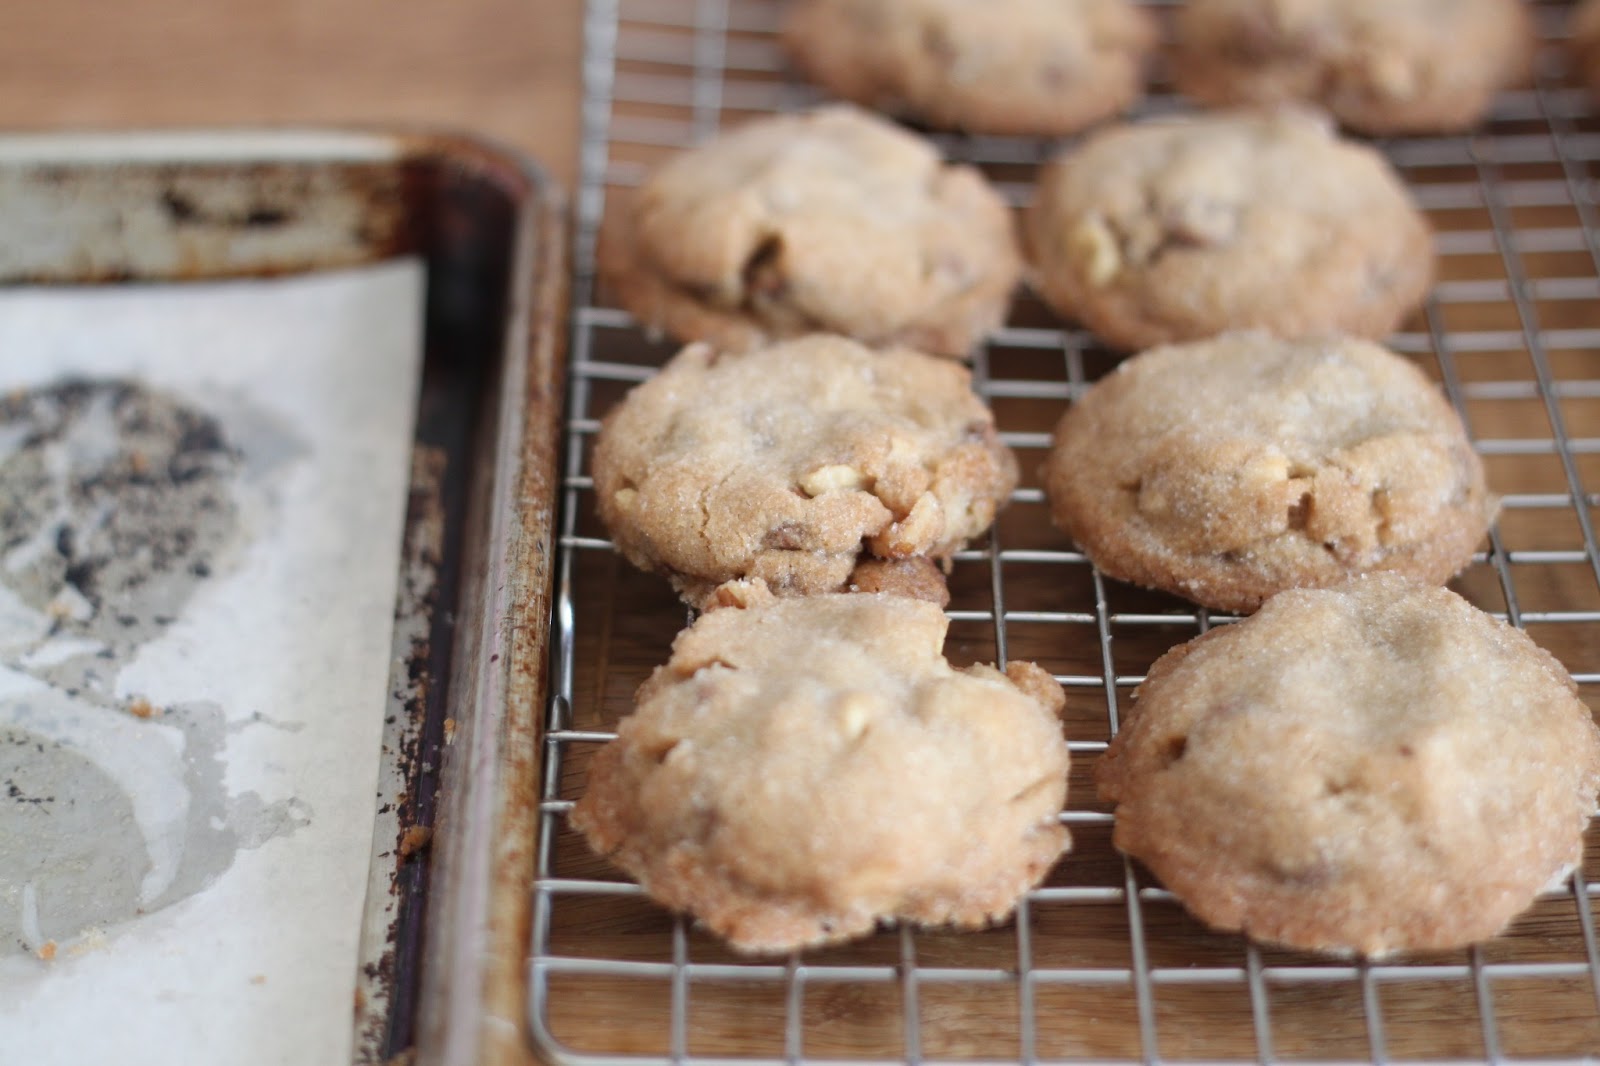
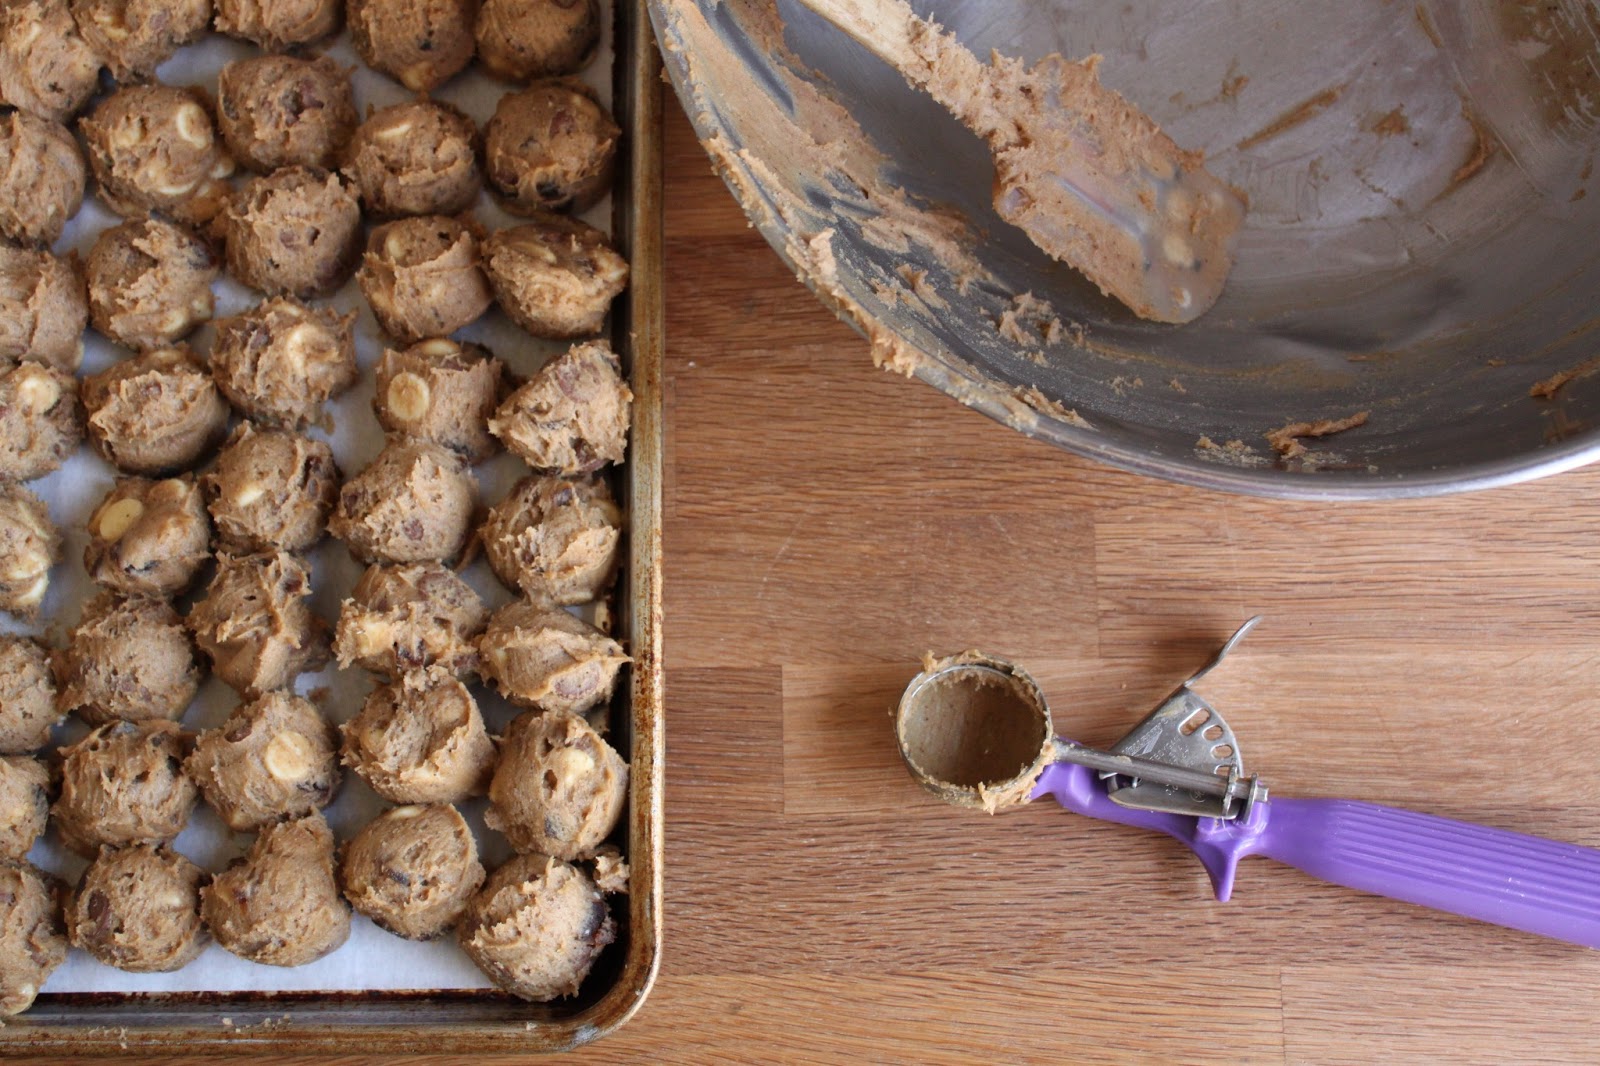
the recipe uses a pound of chocolate. twelve ounces of bittersweet chocolate and four ounces of unsweetened chocolate. the recipe instructs you to melt half of the bittersweet chocolate with the unsweetened chocolate. the other six ounces of bittersweet chocolate is cut into chunks and stirred into the batter. since i think there can never be too much chocolate, i went ahead and added an additional six ounces of white chocolate chunks with the bittersweet chunks.
the recipe calls for chilling the dough for at least three hours if not longer. but before you try to scoop them out, let them soften a bit; chilling makes the dough about as hard as cement. i used a portion scoop, size 40 which will have a purple handle if you buy it from a restaurant supply. my yield was almost 4 dozen after adding the extra chocolate. the recipe states that you will get 24 large cookies and they are “spreaders” but i did not think they spread much at all. the baking time was accurate; don’t go over the 12 minutes or they will not be fudgy.

these cookies are somewhere between a cookie and a brownie making this recipe worth the pound of chocolate it calls for. but don’t let that stop you from adding extra chunks-white, milk or dark. they are best when warm so don’t hesitate to reheat the leftovers in the oven for a minute or two. be warned, they are addictive.
generally, i ask people to buy a book but if that is not an option, consider borrowing it from a library or a friend. however, many of these recipes are up online already and you can find it by searching for “double chocolate cookies baking with julia”.

we all have vivid food memories. that ability to recall and reminisce a flavor or a texture or the fragrance of foods we have eaten. whether it is connected to a happy, family event or a person special to us, or maybe some other reason, the fact is, we can smell it or taste it in our memory.

one of my memories surrounds chocolate chip cookies. the kind that come from old fashioned bakeries in the north east. they were a little sandy, a little salty but crispy and were loaded with chocolate chips. at that first bite, little crumbs would rain down. i love the salty-sandy texture in a cookie. crispy but not hard; no threat to the dental work.
my yearning for that texture, that flavor had me searching for old fashioned cookies and i came across a recipe from daily delicious. i made a test batch, 1/4 of the recipe. in place of butter and oil called for in the recipe, i used only coconut oil. i also added a few extra chocolate chips (just to land at an even amount) and some walnuts because i like them in a chocolate chip cookie. they were good. not what i was hoping for, but still good. the memory persists so the search will continue…

when you join a group of bloggers dedicated to preparing every recipe in a specific book, you do not always have a say in what is made next. we put it to a vote but as votes go, the recipe with the most votes is the one chosen to be prepared next. some recipes are simple and quick, others are time consuming, stretching across several days from start to finish and the latter describes our previous challenge. after the hard work of making croissants from scratch, we were rewarded with a simple as well as easy batch of cookies. to see the full recipe, consider buying or borrowing (from a library) the book, baking with julia. and for those not so inclined, visit the website of this weeks host, peggy of galettista.


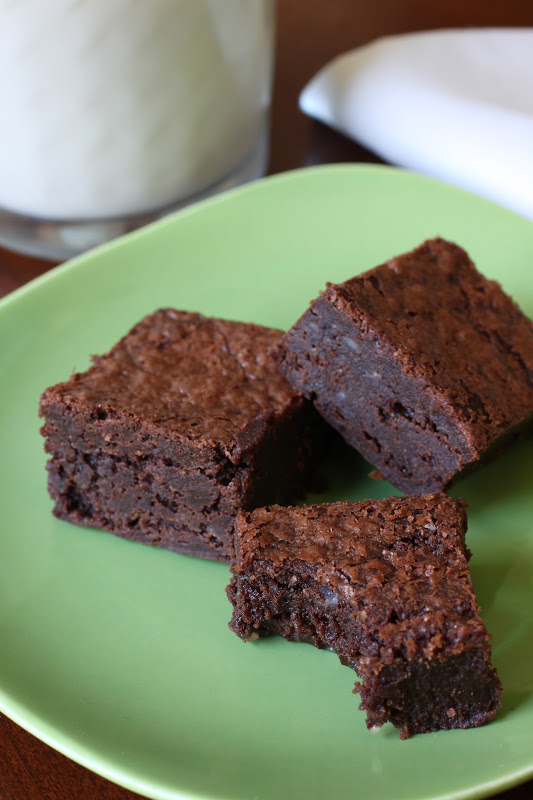
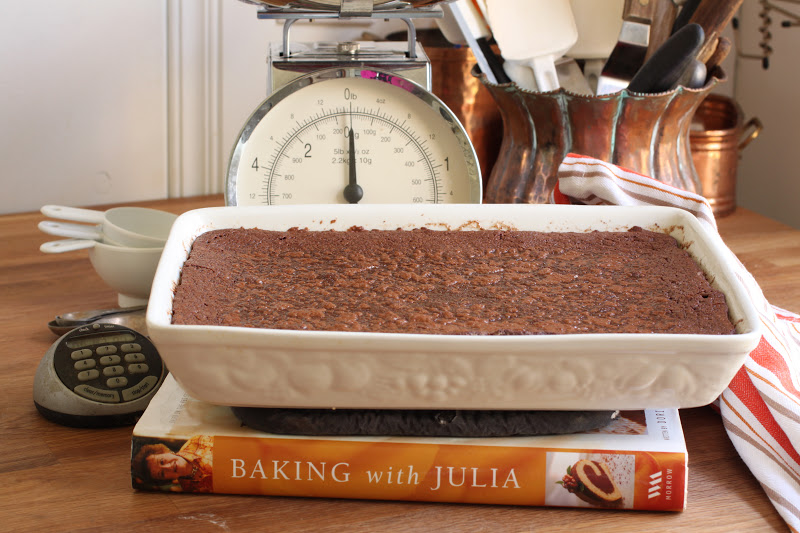
once again, it’s tuesday so that means it is time to bake with julia. this week’s adventure is brought to you by monica of a beautiful mess. if you read the title of this post, then you know we made the “best ever brownies.” that is one opinion, just not mine.
first off, i did not care for the way the instructions were written. it is always a challenge when a recipe is split onto more than one page but if those to pages do not face each other, it is even harder to prevent confusion or mishaps. the instructions called for splitting the eggs and sugar, whipping some and incorporating the others and then finally, incorporating the whipped eggs into the batter. that paragraph was written in such a way that i had to read it multiple times. it would have flowed better if the exact amounts of eggs and sugar for each addition in that step were listed as they were to be added rather than just instructing you to add “half” of them.
while the baking times seemed to present more issues for many of the other bakers, i did not have any problems and they baked within the suggested time frame. the results were more like a flourless chocolate cake and i really didn’t enjoy them. honestly, i like brownies but i like mine to have more than just a fudge like texture; i like them a little cakey and these were no where near that.
be sure to visit monica’s page for the recipe but an even better idea would be to buy the book. be sure to visit the tuesdays with dorie page to find the links of all the participants.