
Over the years, I have tried making madeleines. Each recipe gave me a glimmer of hope; maybe this batch will have the coveted hump… Face it, the madeleines themselves aren’t much to get excited about. Spongy little cakes, not so sweet and a little to dry to eat without a cup of tea or coffee. But like any other recipe, it is all about achieving the expected results. Baking this batch of madeleines wasn’t any different from the others in that respect. It was all about the hump.

The only factor that differentiates it from the majority of recipes is the two chilling periods. First the completed batter is chilled for an hour and then the filled pans are chilled for an additional hour. Getting the batter cold and keeping it cold until the moment it goes into the oven is crucial in as far as the hump is concerned. Cold batter in a cold pan put in a hot oven will react differently than warm batter in a room temperature pan would. By the time the center most portion of batter heats up, the outer edges have baked and the structure is set. The only place for that bit of batter to do is out the top which is what causes the hump.
The final touch, a lemon glaze, which each madeleine is dipped into before returning them to the oven for a minute or two to heat up so it can sink into the surface. Most recipes just call for brushing a syrup over the warm madeleines but this recipe allows them to cool completely. They are then dipped, hump sides only, placed on a rack and returned to a piping hot oven just long enough for the glaze to melt and turn clear. The instructions say to remove them at the first sign of a bubble. Obviously, I fell asleep at the wheel on that one. My glaze bubbled a bit and formed a sweet, crusty edge on the hump sides.

Close up, you can see the crusty glaze. The moisture in the madeleines has kept it from being crunchy and it is flaky like a glazed donut.

Because I know how much my husband likes to have something to dunk in his coffee or tea, I made a double batch. The recipe suggests that it will make 12, doubled that is 24 but I either under filled my pans or the yield is off because I ended up with 30. My first batch, the ones on the right, came out a little flat and without pronounced humps. My guess is that placing the madeleine pan onto a hot sheet pan insulated them and allowed for even baking. For the second batch, I removed the sheet pans from the oven and placed the madeleine pan directly on the rack. The madeleines on the left have a more pronounced hump.
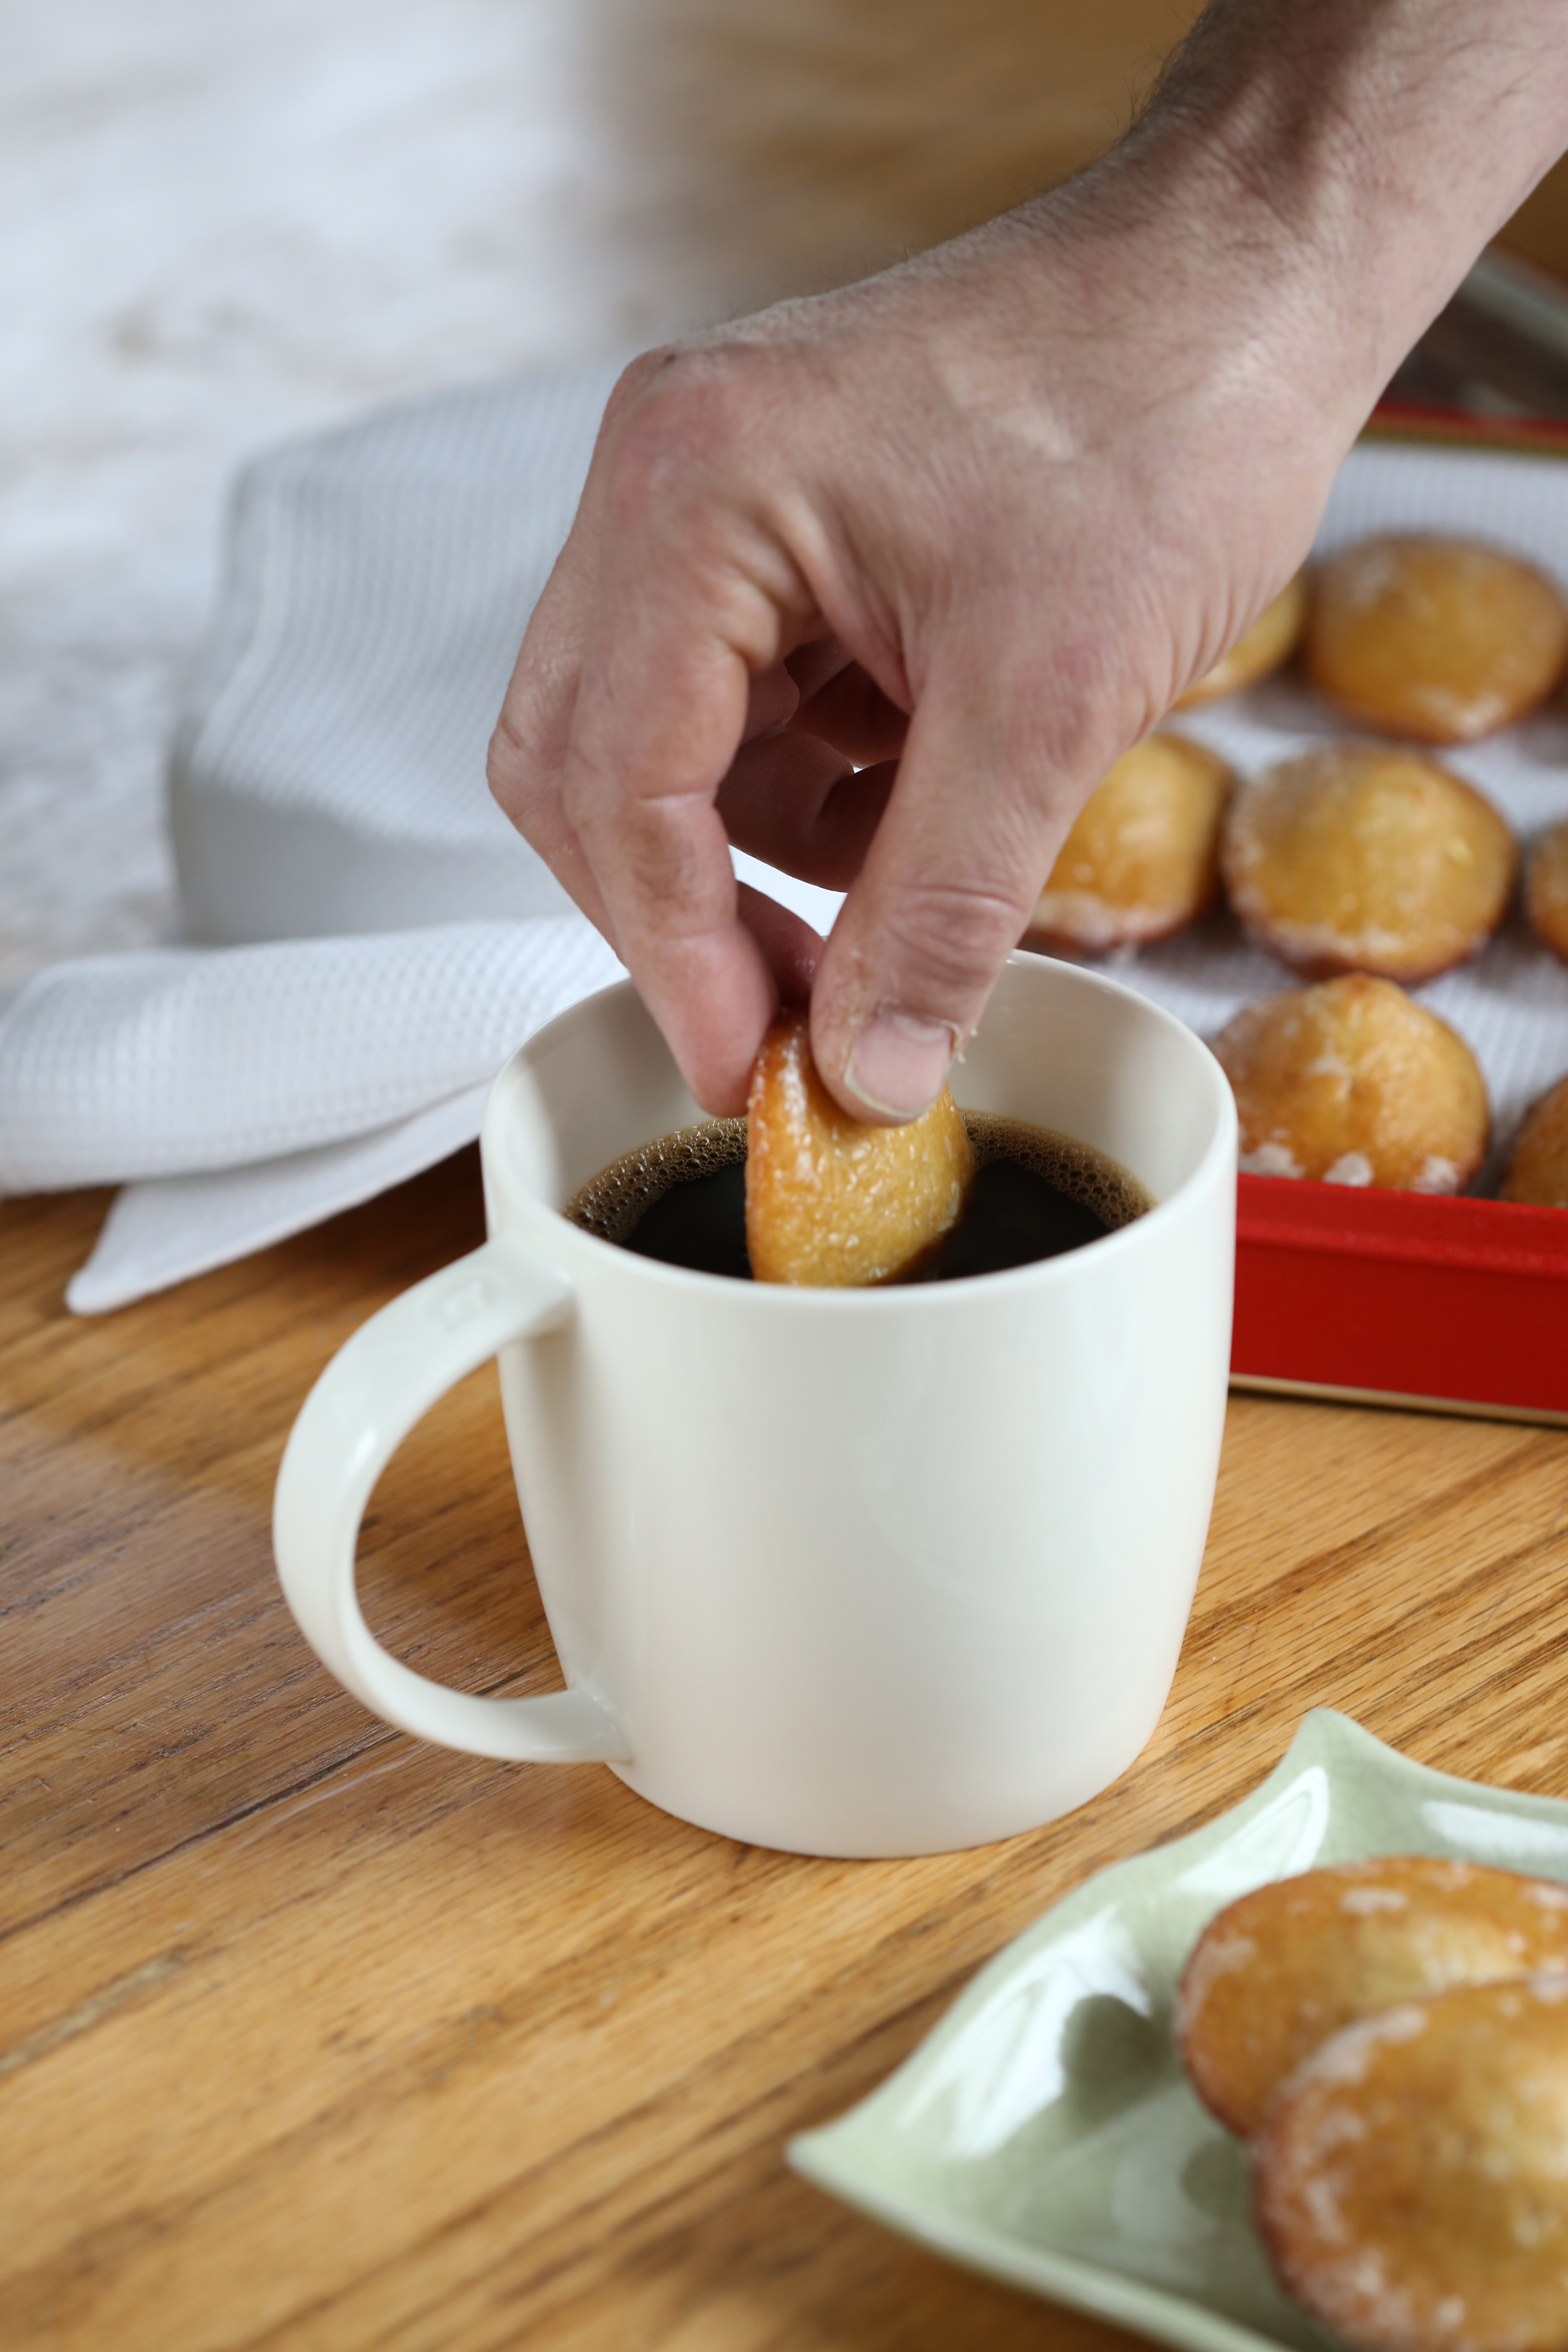
Honestly, my husband does not care about the hump. For him, it is all about dunkability. As you can see, he did not waste any time testing them out.
 And as far as he is concerned, these will do. Dunk away dear, dunk away…
To see what the other bakers came up with, visit the Tuesdays with Dorie website and check out the LYL page. Want to give it a try? Pick up a copy of the book, Baking Chez Moi, and bake along with us; we do not post recipes so you will need to have a copy of the book.

Lovely photos! My family did not care about the hump either! 🙂
LikeLike
I love the photo of the dunk!
LikeLike
You photos are lovely (and so are your cookies!).
LikeLike
Perfect dippers!! And you had wonderful humps!
LikeLike
I do love how humpy these Madeleines got. Yum!
LikeLike
Very nice pictures! I am a huge fan of the crusty sugar glaze.
LikeLike
They look wonderful; I particularly like the flaky glaze.
LikeLike
Your madeleines are lovely! I would have to try them with the glaze the next time!
Dunking these little treats in coffee looks yummy!
LikeLike
Perfectly beautiful madeleines!! I loved this recipe and the wonderful lemon glaze!
LikeLike
mmm…your “donut glaze” makes these look really appealing to me!
LikeLike
Great photos, and I love the explanation of why the hump occurs!
LikeLike
Gorgeous looking!! And humps to boot!
LikeLike
Love those dunking pictures-they are excellent! It looks like you got some very impressive humps and now that I think about it the batch I didn’t use a sheet had better ones. I may have to re-test this both ways.
LikeLike