When I actually began my sourdough starter is a little sketchy. My best guestimations are late summer in 2009 with grapes grown in the demonstration garden I worked in. As we packed up the house in Nashville in preparation for our move to Virginia, I knew the starter was coming with me; a souvenir of time spent in the garden with friends. Now that things have settled here, it was time to test it and see if it still could produce a loaf of bread.

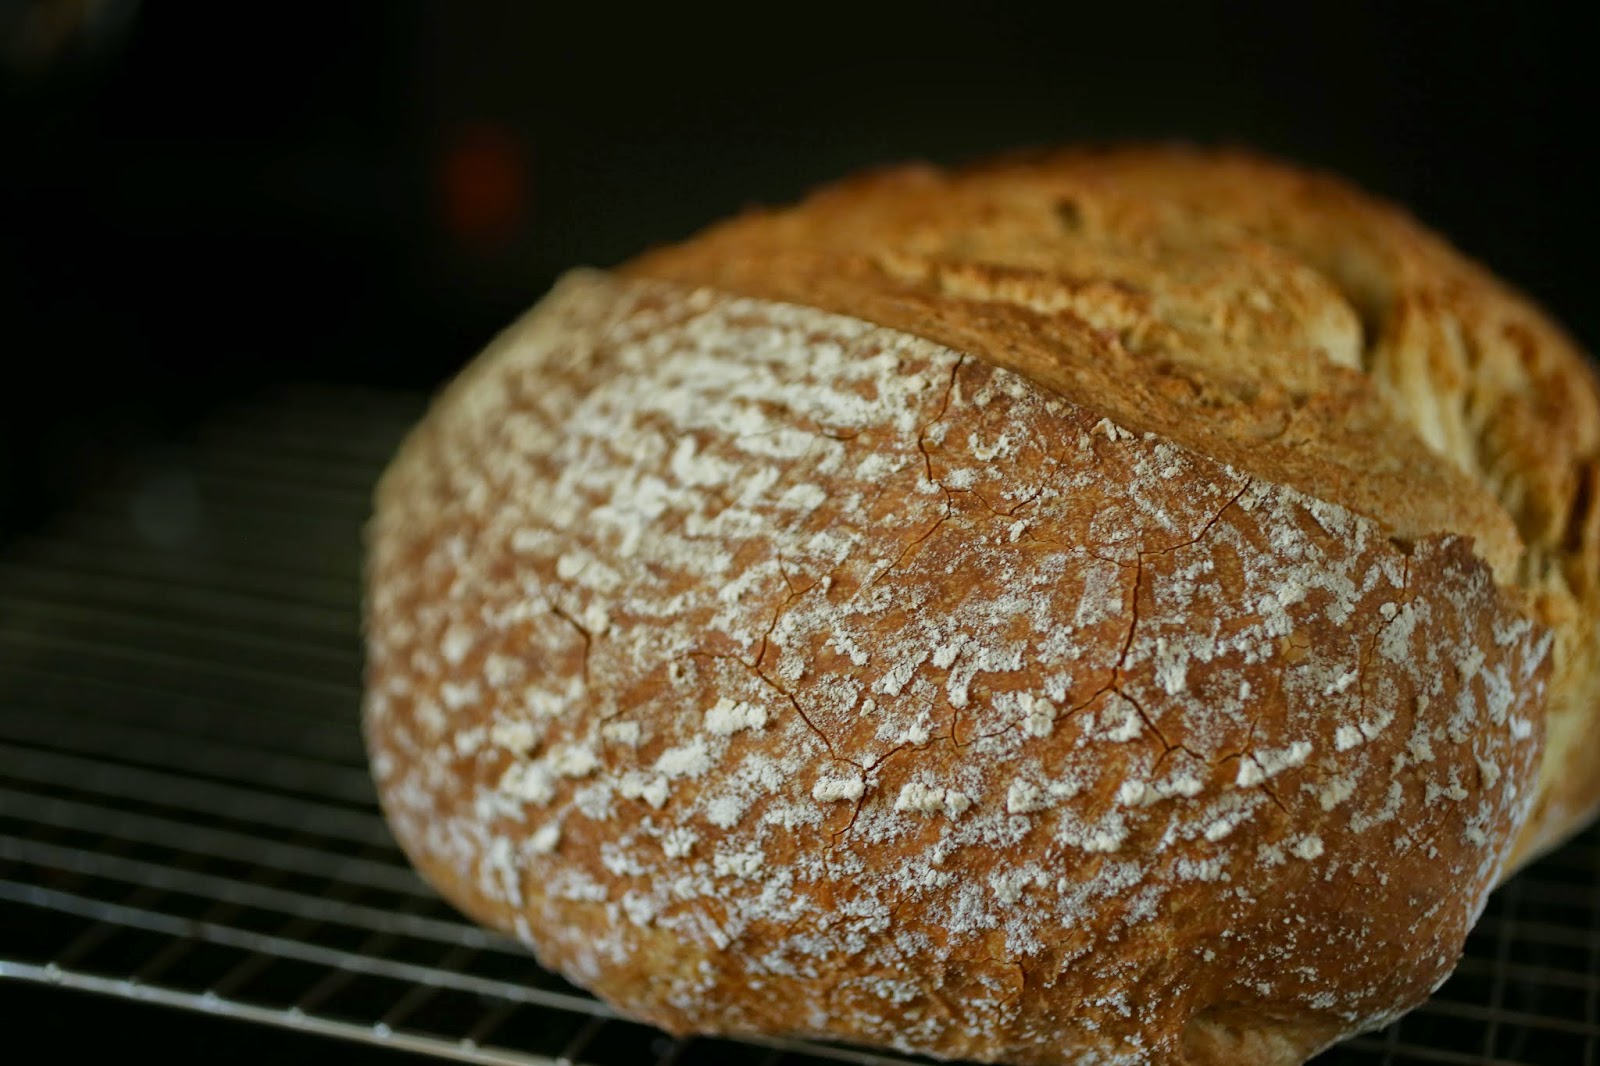
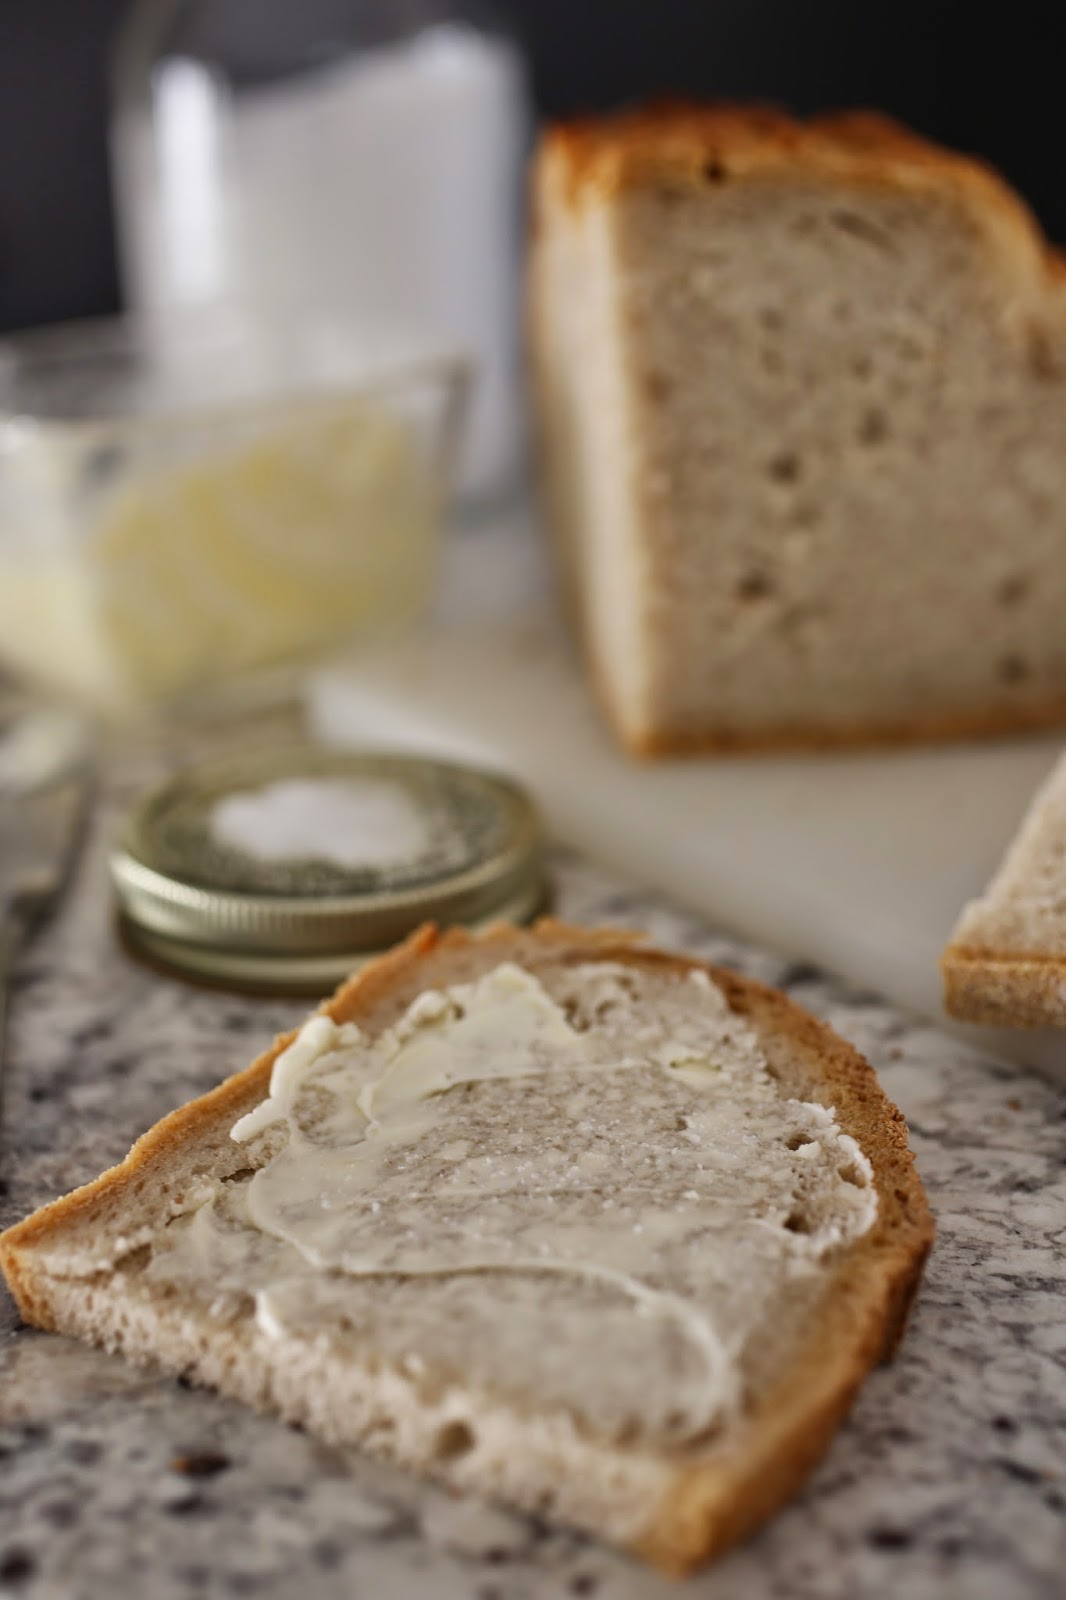
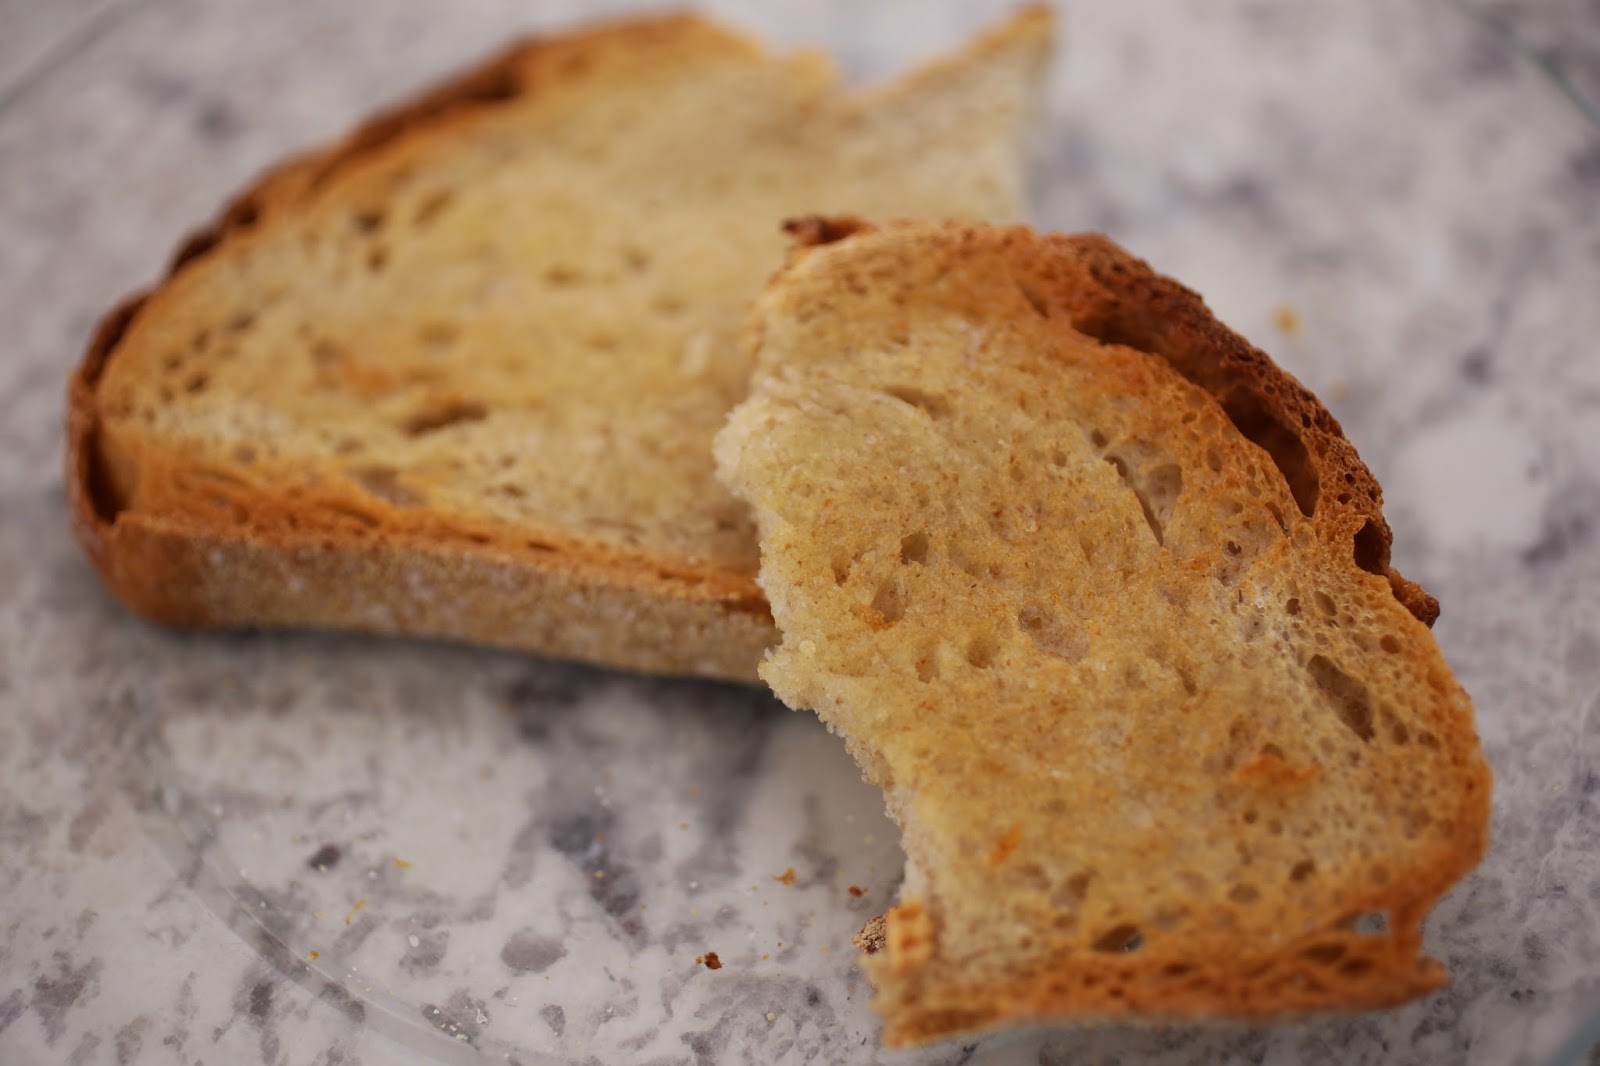
Despite the fact that the starter is stuffed into the back of the fridge and neglected for months at a time, it still produces a nice loaf of bread! As it is with any loaf of freshly baked bread in our house, most of it gets eaten by the slice, slathered in butter and sprinkled with salt. When it gets a little dry, it becomes toast, slathered in butter and sprinkled with salt. Is there anything better than that? In my opinion, there isn’t much that can compare to a thick slab of freshly baked sourdough bread slathered in butter and sprinkled with salt…
To make some starter, follow this recipe on food.com from Nancy Silverton, it is the one I used to get my starter going. If you are successful, you can use it in any recipe that calls for a starter. My favorite sourdough bread recipe is from Nick Malgieri’s wonderful book, How to Bake. The easy to use recipe also tells you how to make and maintain a starter but I just substitute my own starter and proceed with the recipe. This is a true sourdough bread which means that it can take several days to make not counting the time needed to make a starter from scratch, so be sure to plan ahead.
If your starter has been dormant, take the time to refresh and feed it and give it a couple days to become active. Once you are sure that it is ready to go, mix up the sponge and allow it to sit for about 24 hours to develop the best flavor.
Nick Malgieri’s Sourdough bread
1 loaf
sponge:
1 cup warm water, 110 F
1 cup active sourdough starter
1 1/2 cups unbleached all purpose flour or bread flour
1/2 cup whole wheat flour
dough:
the sponge
1 1/2 cups to 1 3/4 cups unbleached all purpose flour or bread flour
2 teaspoons salt
additional flour and cornmeal for sprinkling
To make the sponge, whisk the starter and water together in a large bowl. Stir in the flour and cover the bowl tightly. Allow it to sit at room temperature for at least 8 hours, and up to 24.
To make the dough, stir the sponge to deflate it, stir in 1 1/2 cups of the flour and the salt. You can knead by hand or machine to form a smooth, elastic and slightly sticky dough for about 5 minutes. Add additional flour as needed to make the dough manageable.
Coat the dough in oil and rise it in a large bowl, covered with plastic, until doubled. This can take an hour or more-the temperature of your kitchen will control this. Most often, I let my dough rise in a cold oven(one that has not been heated) with the light on-you would be amazed at how much heat an oven light can produce!
When the dough is ready, first set the oven up, then shape the dough. Place a rack in the center of the oven with your baking stone on it. Set a rack below the stone and place a heavy pan on it-this will be for adding steam to the oven so be sure it is a heavy gauge metal pan that can handle a sudden addition of water. Set a cup of water nearby. To shape the dough, scrape it out of the bowl and deflate it. Form it into and even round ball and be sure to seal the bottom seam well. Place it seam side up in a well floured bread basket or a bowl lined with a towel and is heavily floured. Cover the basket with plastic and allow the dough to rise until doubled, at least 1 hour.
Thirty minutes before baking, turn the oven on to 500 degrees to heat the stone properly. Invert the loaf onto a baking peel that has a generous sprinkle of cornmeal, slash the top and slide the loaf onto the stone. Quickly pour the water into the tray and close the oven. After 20 minutes, reduce the oven temperature to 350 and continue to bake. After about 20 minutes, check the internal temperature of the bread with a thermometer-it will be 210F when finished. Bake the loaf at 350 for however long it takes to reach that temperature, it could be as long as 40 minutes total. Remove the bread from the stone and cool it completely on a rack before slicing.
The bread will last a couple days at room temp but is best the day it is baked. To refresh it, wrap it in foil and bake it at 350 for 15 minutes but keep in mind, it will be pretty crispy when it cools-use the leftovers for bread crumbs, croutons or stuffing.