beware of the angry peach

august is national peach month.  it has been nothing but peach pies, peach cobblers, peach upside down cakes-you name it, if it has peaches in it, i probably baked it in the cafe this month.  from oatmeal cookies with dried peaches to peach cheesecakes, the desserts were well received and many peaches were peeled and sliced.  then i ran into this guy.  he wasn’t too thrilled with the carnage on the cutting board.  time to move on to a new flavor and quickly-angry peach has got fangs…

sriracha

 by the end of summer, the tomatoes and cucumbers are long gone but the pepper plants are still pumping out the produce.  i have wanted to make some sriracha and have been waiting for the peppers to ripen.  pictured above, starting from 12 o’clock:  tobacco peppers, hot banana peppers in a range of colors and sizes, thai chiles, korean chiles and in the center-cayenne peppers.  the korean pepper plant gave up its fruit long before the others and i ended up throwing them in the freezer while i waited for the others to catch up.  the process is surprisingly simple and easy and this recipe from viet world kitchen is fool proof.

 the recipe calls for palm sugar or light brown sugar but i had a cone of piloncillo sitting in the closet and decided to use that despite the recipe suggesting it could lend a darker color.  to get the amount needed, i simply used the large holes on a box grater.

 the peppers simmering with the other ingredients: water, vinegar, sugar(piloncillo) and salt.

 running it through the food mill-you need to let it completely cool first and then blend it before straining it.  warning never try to blend hot liquids in a conventional blender-they will blow the top off and shoot hot liquid everywhere!

 i can feel the heat just looking at that puree!
 such a beautiful shade of spicy hot

it will be interesting to try it out, we have an old bottle of the rooster in the fridge and i will have to compare them.  my taste of this one was of course very hot but it also had a fruity flavor that i can only guess was caused by the combination of peppers-oh to repeat that blend….

buckwheat popovers; tuesdays with dorie

welcome to the learning curve…this week’s lesson is brought to you by tuesdays with dorie/baking with julia and is hosted by none other than paula of vintage kitchen notes and amy of bake with amy.  the subject of this week’s lesson is popovers.  sounds simple enough but don’t let that cute name fool you; many cooks and bakers have been schooled by these seemingly easy to bake puffs of crispy deliciousness.  and it looks like i am just another name on that list…

a quick note from one of our sponsors:  to find the recipe, please consider buying the book, baking with julia.  consider it a way to keep her memory alive after all, it would have been her 100th birthday last week!  if not, visit either paula’s or amy’s blog page to find the complete recipe and then bake a batch in memory of julia!

first of all, let me say that i didn’t want to make just plain white flour popovers, i wanted to add a whole grain to the mix since i have a fridge full of flours to choose from, literally.  and i also have a husband wanting me to use up said flours in the fridge-not sure why he is in such a hurry, what could he possibly want with the space???  anyway, i grabbed the buckwheat flour and was off and running.  next came the realization that i had absolutely no milk in the house other than unsweetened soy milk, it was that or nothing.  i don’t own a popover pan although i would love to have a large one and a small one (because if you are going to go for it, go all the way! who’s with me on that?)

batch number 1:  can you say disaster?  i can only say it sounds more like “$#*@, i’m going to have to make another batch!”  all the while my husband rolls his eyes and walks out of the room muttering his fool proof methods and the “i never heard of using soy milk” comments(what do you expect from a chef?)  i used a 50-50 split on the flour and soy milk for the whole milk.  i also placed my muffin pans on sheet pans and heated them first; one of those “fool proof methods” my husband swears by and another is to use the fat of the animal you are serving them with-beef, pork, etc.  we were having them with salad, i used cooking spray.

batch number 2:  wow, look at the difference.  this time around, i used a ratio of 2 parts white flour to 1 part buckwheat (2/3 cup white, 1/3 cup buckwheat)  and for the milk, i used 1/4 cup half and half and 3/4 cup soy milk.  this time around, i used a heavy duty muffin pan that has 24 cups in it and i did not heat it; it went into the oven cold and filled with room temperature batter.

 look at the difference between the batches.  number 1 on the left, number 2 on the right.  the ratio of whole grain makes a difference as does the heat.  so forget about preheating the pans, don’t bother with placing them on sheet pans (unless you are using individual cups) because it prevents good heat circulation and place the oven rack in the top third of the oven.

 inside view of batch number 1; the walls are thick and sections were not even hollow but rather cake-like, dense and rubbery and eggy cake, um, eeww.

 inside view of batch number 2; thinner, crispier walls with less eggy-cakey parts in the middle.

can you tell which ones were part of batch number 1?  just look for the hockey pucks.  they will be going out to the possums tonight.  as for batch number 2, they were individually wrapped and frozen for the next time i am in need of a little something to fill a menu.  and if you must know, i left them sitting on the counter unwrapped all night and they didn’t get soft-they were still crispy in the morning!

and so ends this week’s lesson.  yes, i have been schooled on popovers and i am now eager to move on to something less complicated…many thanks to this week’s hosts, paula and amy and a big round of applause to this weeks newest sponsor-my new oven!  and last but certainly not least, happy birthday to julia!

just loafing around

it has been a little tough for me since the passing of mr. kemore.  yeah, tough to decide what to make first!!!  do i use the top oven or the bottom?  convection or conventional heat…decisions, decisions.  what’s a girl to do???  bake damn near everything she can think of that’s what!!!

those are some nice buns you’ve got there…
nothing quite like the smell of fresh bread baking…
now, getting back to those buns…lookin’ good
perfectly soft and wonderful
and multi-grain too, oooohhh…
nice buns
by Michael McLaughlin
makes 16 buns, 2 loaves or 1 loaf and 8 buns
1 1/2 cup buttermilk(or regular milk)
1 cup slightly warm water
4 tablespoons unsalted butter, melted
1 tablespoon sugar
1 tablespoon salt
1 package active dry yeast (2 1/4 teaspoons)
about 5 cups unbleached all purpose flour
in a mixing bowl, mix the buttermilk, water, butter, sugar, salt and yeast.  allow it to stand until foamy, about 5 minutes.  stir in about 4 cups of the flour and mix to form a somewhat sticky dough.  you can turn the dough out onto a floured surface and knead this by hand or use a stand mixer, either way, continue to add flour as needed to form a soft dough.  continue mixing until smooth and elastic, about 5 minutes.  shape the dough into a ball and place it in an oiled bowl, coating it completely with oil, cover it and allow it to rise until double, about 1 1/2 hours.
punch the dough down and turn it out onto a cutting board.  cut it in half and form two loaves by flattening the pieces into rectangles.  roll up the dough, starting on the short side and form a thick log.  place the dough logs into 2 greased 9x5x3 inch pans, cover and allow to rise until it comes just above the top of the pan.  bake in a preheated 375 oven until golden on top and bottom, about 45 minutes.  remove from pan and cool on rack completely before slicing.
to make buns, divide the dough into 4 ounce pieces or for those without scales, cut it in half, then in half again and continue this until you have 16 even pieces.  shape them by rolling into tight buns by placing the dough in your hands and moving in a circular motion on the table/counter top until the bun is smooth and no visible seams show.  place 8 buns on a pan that has been generously sprinkled with cornmeal.  allow to rise until double and bake in a 400 degree preheated oven until golden all over.
to make a multi grain version, replace 2 cups of the flour with a combination of whole wheat, rolled oats and multi-grain hot cereal such as hodgson mills.  to improve the texture of the multi grain bread, you can also use a bread flour in place of the all purpose flour.
and if you need me, i will be in the kitchen with my new friend…

fig and peach galette; tuesdays with dorie

ordinarily, i have my act together; i don’t miss appointments, i am usually early so that i am not late, i remember things.  not this week.  instead of being on the ball, i have been hit by it.  somehow, i managed to miss, and i mean completely miss, this weeks challenge for tuesdays with dorie.  i read the post, i knew it was coming.  i just assumed it was next week.  time to get my head out of my (insert the noun of your choice here) and get to work.
the challenge this week is the berry galette and it is hosted by lisa of tomato thymes in the kitchen and andrea of the kitchen lioness.  to read the full recipes, visit either of their sites and to see the entries from the other members, visit tuesdays with dorie.
i love to make galettes.  they are easy to assemble and they aren’t supposed to look picture perfect.  how can you not love that?  the dough is quickly mixed up in the food processor.  the recipe called for 1/4 cup of cornmeal and i immediately went to the freezer and pulled out the bag of blue cornmeal that i keep stashed in there.  blue cornmeal gives doughs and odd shade of grey but the nutty flavor and slight crunch it adds make it a wonderful addition to any recipe calling for cornmeal.
blue cornmeal

 the instructions for using a food processor tell you to pulse it to a consistency of moist curds and that is just what it looks like when it is properly mixed.  according to those instructions, you can use it without a resting period but are cautioned to use ample flour to prevent sticking.  that sounded like work and a set up for failure to me.  needless to say, i chilled the dough by setting it in the freezer while i made the filling.

 our fig tree was producing figs like crazy two weeks ago but it has slowed down considerably.  i found  a flat in the fridge that had been forgotten and decided to use them.  since it was only about 3/4 cups, i threw in some chopped up peaches too.  a little lemon zest, vanilla bean and cardamom finished it off.

 the chilled dough rolled out easily with absolutely not sticking.  to eliminate the flour, brush off the top of the dough.  turn it over onto the baking pan and then brush the flour off the other side-this can be done easily if the dough is chilled since it will not tear and stretch as much.
 look at the blue cornmeal flecks in the dough

 once the filling is on the dough round, you are instructed to sprinkle sugar and honey over it.  well, i skipped the sugar and used a double dip of the honey from our bees.

 ready to go into the oven…
beautiful!
a special thanks to our hostesses with the mostesses-truly a job well done!

my ode to an oven

my old friend mr. kenmore, may he rest in pieces
when we bought our house 9 years ago, there were many firsts.  it was my first home; i had always lived as a renter.  even as a child i lived in rentals.  the previous owners of this house, the original owners since they bought it when it was built in 1957, had left behind two non-working stoves.  their children must have taken any appliance still working so we had a list of firsts to buy:  washer, dryer, refrigerator and stove.  so we purchased our first stove.  
mr. kenmore was an inexpensive stove from the outlet store-he was cheap because he was dented and scratched.  we didn’t care, we needed a stove to feed the kids.  and now that we were homeowners, we were officially broke, as if the kids hadn’t already managed that, the house sure would.
in a perfect world, we would have installed something more fitting for a pair of professional chefs.  six burners and a double oven came to mind.  sleek and stainless and like the ones you see in all of the magazines-something professional, something that used gas.  but no, we had to go with what we could afford and dream of the day that we could replace it with something better.

and there he is in all of his former glory, poor mr. kenmore who is no more.  when i think back to all of the breakfasts, lunches and dinners he cooked.  that first thanksgiving dinner when it poured rain and our dreams of a trash can turkey in the back yard were soaked.  he came through, he cooked dinner.  i wrote two books using the oven nonstop and he came through, he baked the cakes and pies.  all of the cookies to give as christmas gifts, he came through.  so many pots of soup, he cooked them.  that time my mother taught me to make spaghetti sauce with meatballs the way my great-grandmother taught her, he came through, he splattered the sauce like a pro.  when i baked a pie each week for 52 weeks and blogged about it, he came through-but then, there was that time that the oven coil burned up and we had to replace it…but after a week or so, he was at it again.

but he did so much more than that.  he occasionally gave josie a warm place to sprawl out.  honestly, shouldn’t every cat sleep on top of a warm oven???  he told us the time, without fail, hour after hour.  he could also be quite the prankster.  that front burner that would be working just fine, and then it would not, so amusing at times.  and not at others…that little red light that would not turn off.  how many times did i stop and check to see that the burners were off?  you are so funny, mr. kenmore!  you got me again!!!

he could be kind.  for 9 years the little lady chef spoon rest had a home on this stove top.  she has taken a bit of a beating but he kept her safe and i am thankful.  she is irreplaceable since my grandmother gave her to me about 25 years ago.  back then, it was unusual to see a real woman in the role of chef much less a spoon rest in the shape of a woman chef.  i didn’t see the importance of her at the time, but years later, you will find tchotchke of a pig or a bear wearing a chef’s hat much quicker than you will find one featuring a woman.  somewhat odd since there are so many women holding the title of chef today.  anyway, she is precious to me in some strange way and i am grateful to still have her even if she is now completely homeless.

the last straw, that piece of tape.  how could tape be so definitive?  and not just by serving to remind us not to touch that knob!  the last time i used that back burner, the knob became a smoke stack spewing that smell that only burning electronics can emit.  in 9 years, we had the front burner rewired twice at a cost of more than what we paid for the oven initially.  add to that the cost of a new oven coil and light bulb and it was time to pull the plug, literally.

electric coils; why would anyone think cooking on these things is good idea?  for 9 years my husband and i argued over the fact that he could only seem to cook on this stove if he set the burners on incinerate.  and incinerate he did.  he burned more pans and food in pans than i can to remember.  he smoked up the house and started fires more often than i care to recall.  i have scrubbed more of the ceiling than i hope to ever do again.  those little burner trays below became graveyards for things daring to escape the holy hell of the pan my husband was attempting to crucify.

and no matter how hard i would scrub the top, the build up of carbon was always there.  always serving as a reminder that i hate to cook with electricity.

our crowded countertop meant that mr. kenmore had to endure the constant rub of the mesh strainer in the bucket next to him.  after time, it wore the paint off, built character some might say.

and now that he is gone, and i truly mean gone since the delivery crew took him out when they dropped off his replacement, i miss him.  miss him but not MISS HIM.   for all of the cups of tea, packs of ramen noodles and boxes of mac and cheese these coils made, i thank you mr. kenmore.  and for all of the pot holders you torched and grease fires you set, the fire department commends us for having a fire extinguisher.

honestly now, i’m a little hungry and can’t cook anything until the plumber comes.   yup, that’s right, the plumber.  you see, we have natural gas in the house.  the previous owners had the lines run in for the heating system and that unit is in the basement right below the kitchen.  all the plumber will have to do is run pipe up to the kitchen and connect the stove.  and what a stove it is.  it may not be a hand made  $40,000 work of art from le cornue, if only i could afford that.  it may not be an aga cooker or a professional model made for the home like a wolf range or a viking.  but it is a 5 burner range (almost made it to 6) with a cast iron grate that goes across the whole stove top with a double oven.  the top oven is a broiler and a warmer but can also be a baking oven and the bottom oven has a convection system.  for this baker, it is the equivalent of my very own amusement park right here at home.  the best part, it is all gas.  no more burned up pans-well not incinerated anyway.  yes, now i’m cooking with gas…

thanks for the memories mr. kenmore, may he rest in pieces

mr. kenmore’s last stand; fresh fig upside down cake

my husband robbed the bees of some honey.  we have had bees in our front yard for 3 years now and this is the first time that we were able to harvest honey.  my mother never kept much in the house when i was growing up so most of my experiences with honey were the stuff from the supermarket-you know, the little bear shaped squeeze bottles.  ask a bee keeper about that stuff and they will scoff at the idea of using it.  first of all, it most likely isn’t pure honey-quite possibly it is flavored syrup mixed with honey. another concern is that the honey is processed to remove the pollen and bee parts-yes, bees can die during the harvest.  lastly, most of mass marketed honey is made from blends from all over the world and much of the flavor is lost in the process.  
several years ago, while writing my second cookbook, i had a honey epiphany.  i had the chance to taste pure wild flower honey that was produced by bees being kept by a group of menonite farmers.  knowing that these folks didn’t use many of the practices of the big commercial producers, it was an eye opening experience.  i didn’t know honey could taste that good; better than good, more like uh-may-zing!!!  that was it, no more little bears for me, just local wild flower honey from a reputable bee keeper.  
about that time, my husband and i became master gardeners and he caught the bee buzz.  we took classes, we studied, we asked questions and then we dove in feet first…honestly, the girls(what we call the bees) do the work, we just barge in on them every now and then to make sure all is well.  

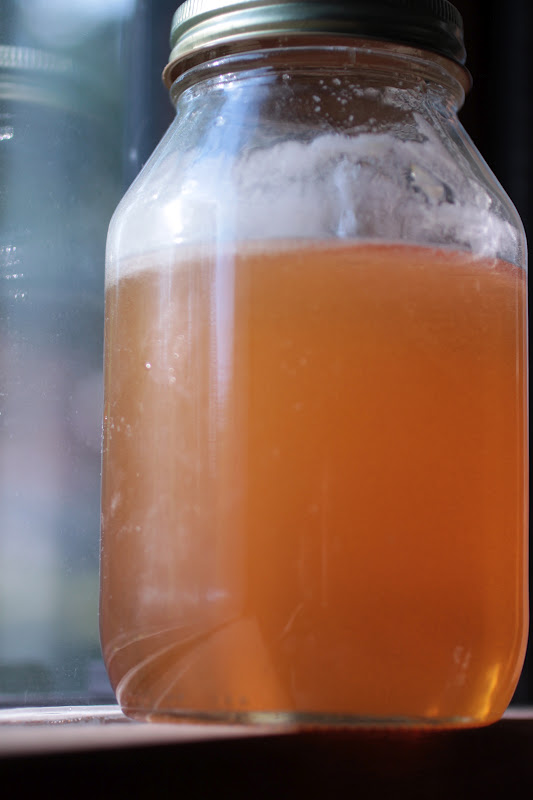
 after borrowing an extractor-a hand cranked centrifuge, my husband got to work.  it didn’t go smoothly and the comb was destroyed in the process, but he learned all about the process and will do it again soon.  his efforts yielded nearly 2 quarts of honey.

 i love the way it glows when the sunlight shines through it.  knowing that i needed to make a cake for my trip to the garden, i chose to make an upside down cake just so i could include some of that honey.

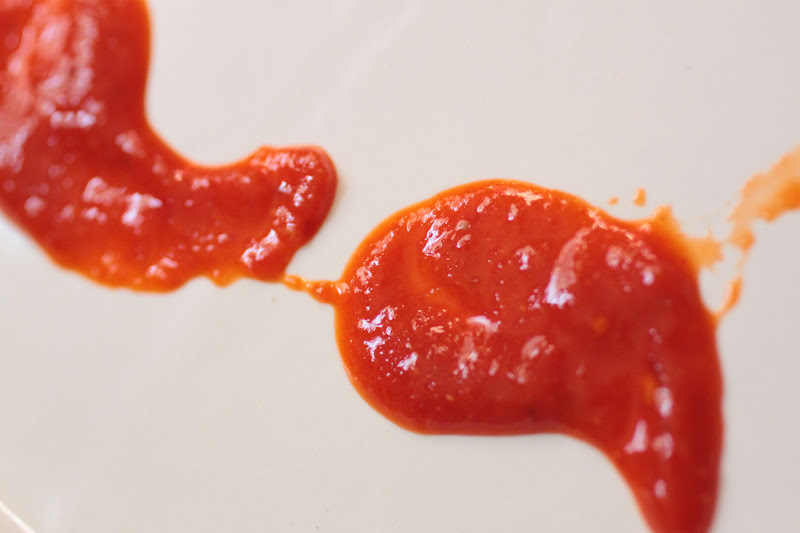
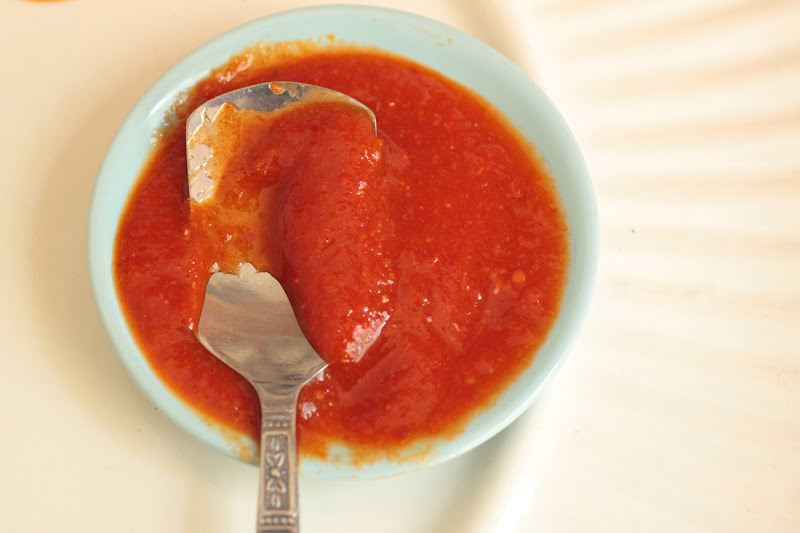
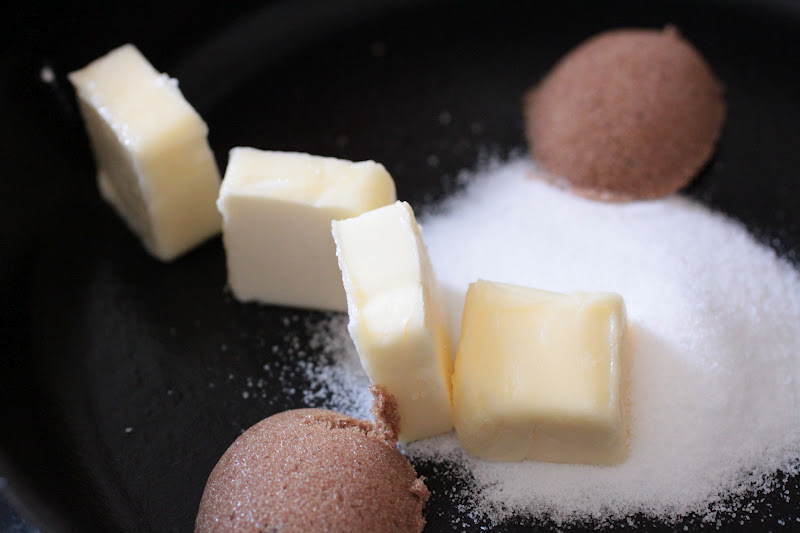
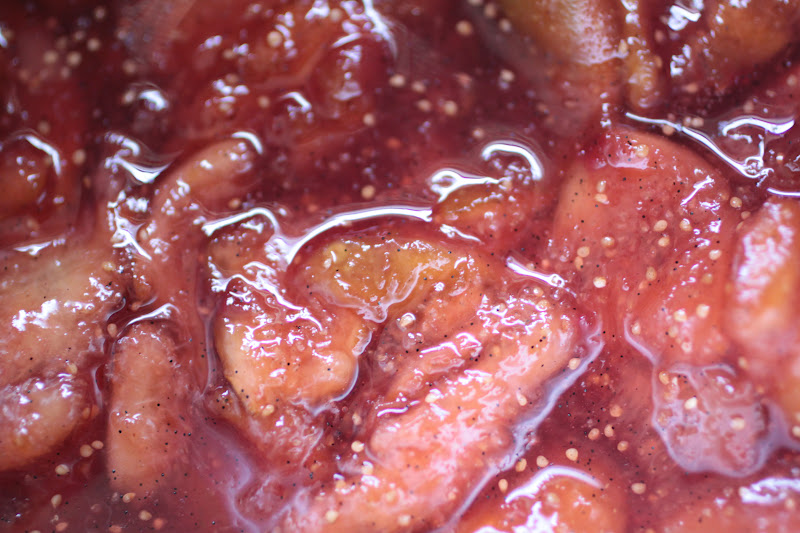
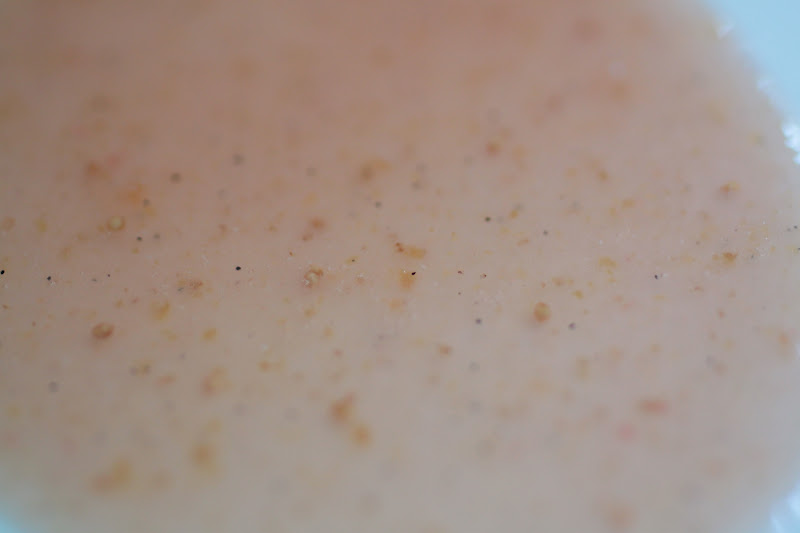
 in my favorite cast iron skillet, i melted butter, sugar, brown sugar and honey.
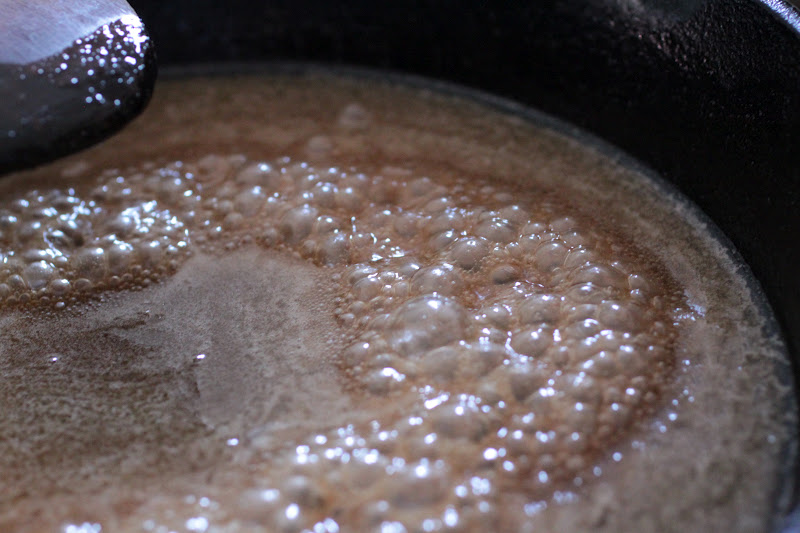
 mmmmmmm……honey
 it is allowed to melt and then boiled a bit to thicken.  

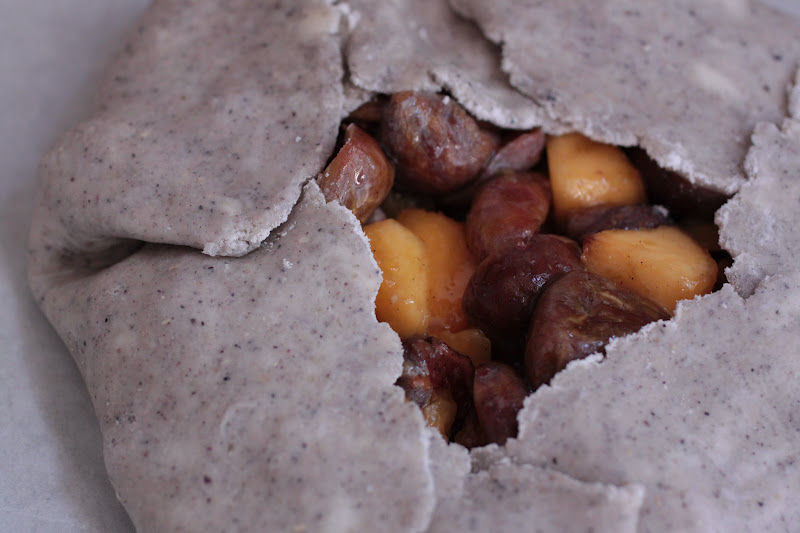
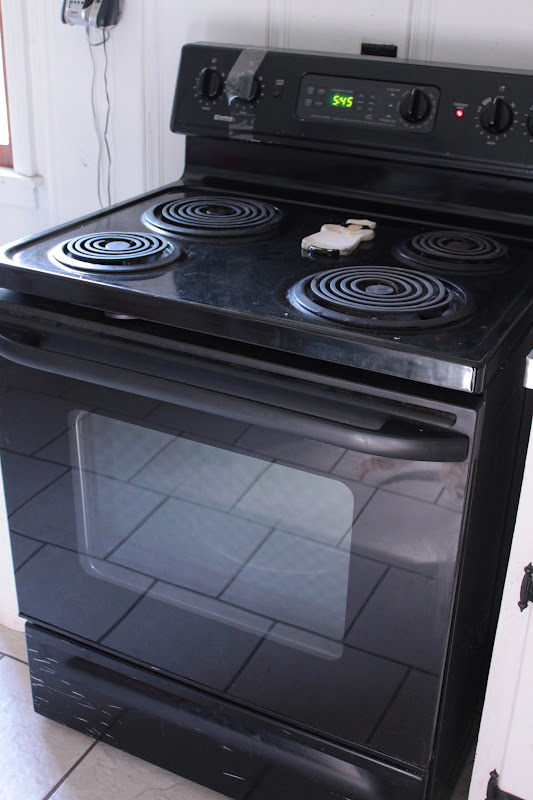
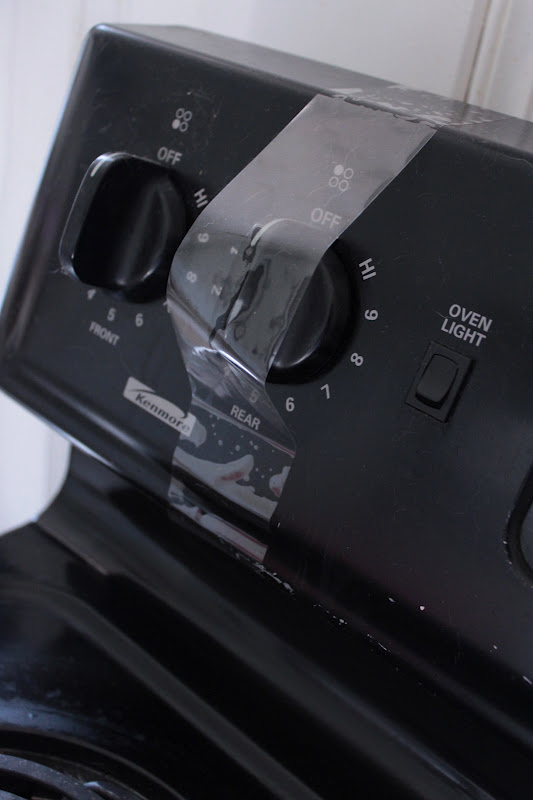
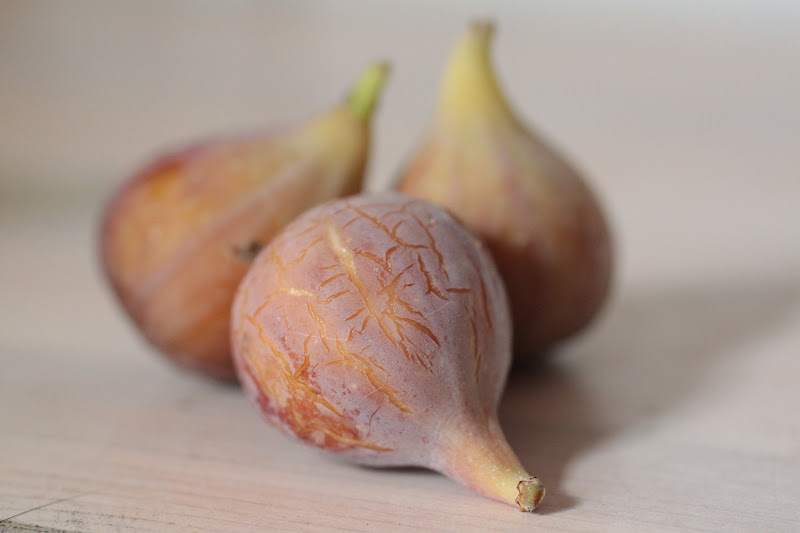
 since this would be the last cake i could bake in my old faithful oven, mr. kenmore, i decided to go all out.  not only did i use honey from our bees, i picked figs from our tree.  for mr. kenmore’s last stand, he would bake a fig upside down cake.  the figs are cut in half and laid cut side down in the syrup.

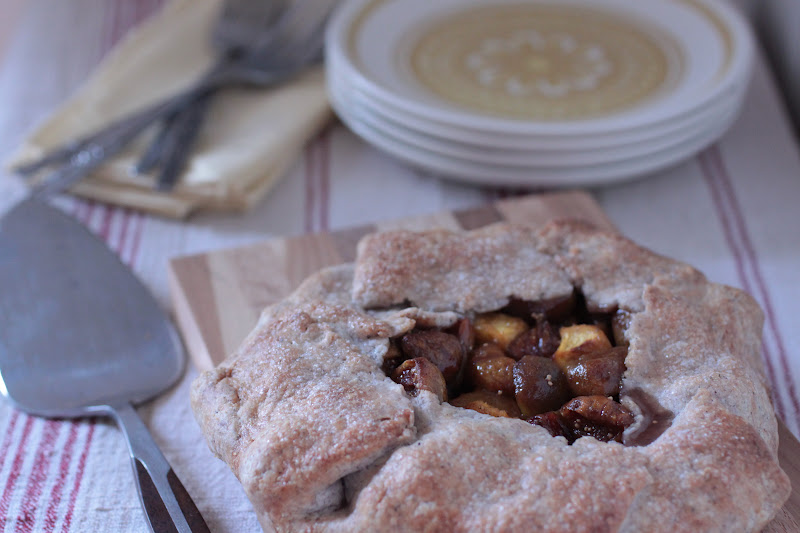
 after baking, the cake is allowed to set for a few minutes and then it is turned out onto a serving dish.

fresh fig upside down cake
1 (10″) skillet cake that serves 8-10
adapted from my own book!
fresh figs-amount needed will depend on size, the ones from our tree are small and it took about two dozen to decorate the top and have the amount needed for the cake batter-1/3 cup, cut into chunks.  
12 tablespoons unsalted butter, softened
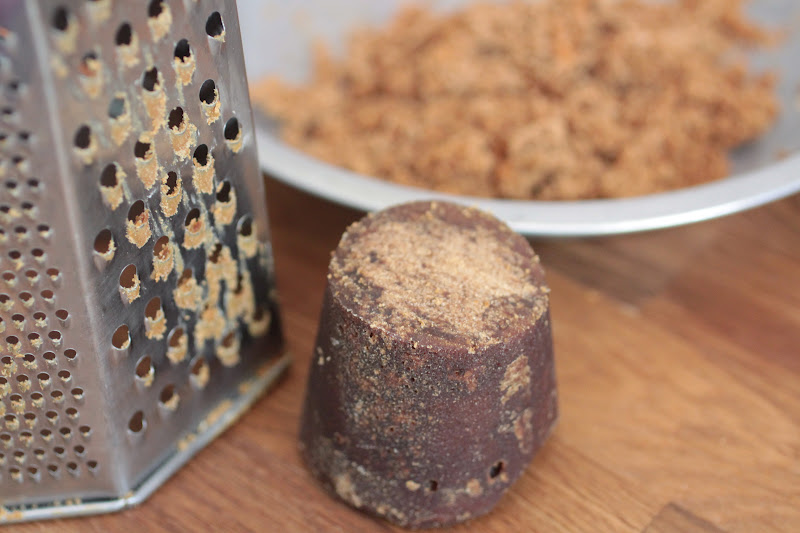
1/4 cup packed light brown sugar (or 2 tablespoons dark brown sugar and 2 tablespoons granulated sugar as in the photo above-i ran out of light…)
1/4 cup pure wildflower honey
1 1/3 cup granulated sugar
1 teaspoon vanilla
1/4 teaspoon salt
2 eggs
2 1/3 cup cake flour
2 teaspoons baking powder
1/3 cup buttermilk
place an empty baking sheet on the lower rack of the oven to catch drips and preheat the oven to 350.  place a cast iron skillet over low heat and melt 4 tablespoons of the butter with the brown sugar and honey.  stir to combine and when it is melted, raise the heat to medium and bring to a gentle boil.  allow it to boil, stirring continuously, until it thickens a little-about 2 minutes.  remove from the heat.
place the halved figs, cut side down, in the syrup in a random pattern that covers as much as the top as possible.  make sure there aren’t many large spaces between the figs or there will be large gaps in the design when the cake is unmolded.
to mix the cake batter, cream the remaining butter with the granulated sugar, vanilla and salt.  when it is light and fluffy, add the eggs, one at a time and be sure to scrape the bowl well.  sift the cake flour and baking powder over the batter, sprinkle the buttermilk on top and fold a few times.  add the chopped figs and fold completely.  dollop the batter over the prepared pan gently so that you do not disturb the pattern.  carefully smooth out the batter and bake until a pick inserted comes out clean, about 40 minutes.  allow the cake to stand for 5-10 minutes and carefully turn it out onto a serving dish.  
note that if you do not have a cast iron skillet, you can use any oven proof dish or pan, including standard cake pans, to make this cake.  just be sure to use one that is at least 9″ in diameter and no larger than 10″.  my cast iron skillet is 8″ in diameter on the bottom and flairs out to 10″ at the top.  if you use anything other than cast iron, be sure to keep a close eye on the cake, thinner and lighter metal pans, as well as glass and ceramic,  may bake faster.
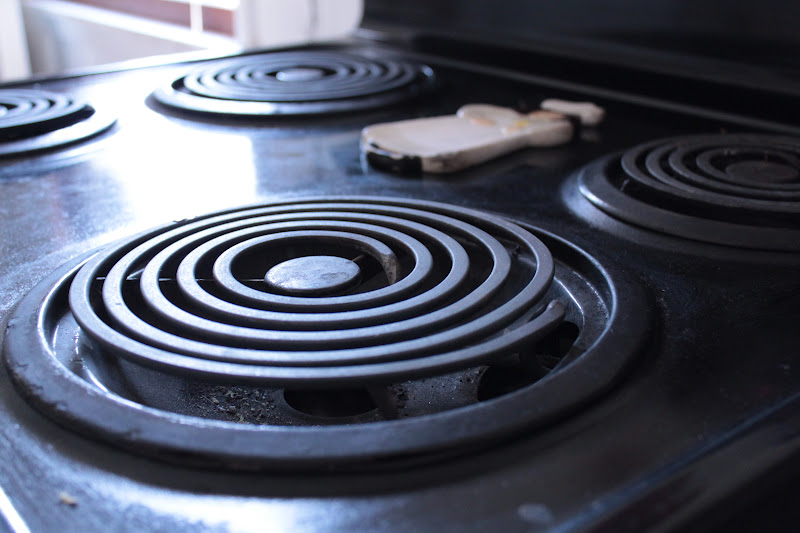
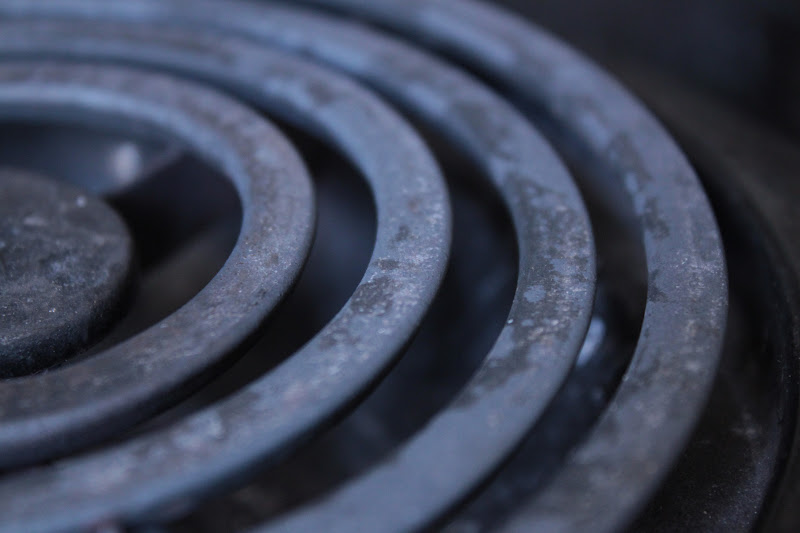
and now, everybody join me in a moment of silence to mark poor mr. kenmore’s passing.  may he rest in pieces…

blueberry-nectarine pie

this month, good things come in threes, as in three things made using the book “baking with julia” for the tuesdays with dorie challenge.  this week, we made blueberry-nectarine pie and the event was hosted by hillary of manchego’s kitchen and liz of that skinny chick can bake .  be sure to visit either of their websites to see the recipe or buy the book!

first step was to mix the pie dough.  the recipe gives three methods for mixing the dough; by hand, by mixer or by food processor.  i chose to mix mine in the food processor.

the recipe is pretty simple but it does something most recipes do not, it calls for a combination of real butter and shortening.  most importantly, it calls for chilling the shortening and cutting it into neat little cubes.  it also requires a somewhat lengthy chilling time(several hours) for the dough and a short chill time for the completed pie prior to baking.  i didn’t adhere to the chilling times and can honestly say, the soft dough was easy to work with and the baked pie looked fine.  perhaps i should also mention that making and baking pies is a large part of my job and maybe this is easy for me since i am accustomed to working with pie dough.  maybe, but it could also be that this time, i was lucky.

so there i was shopping in trader joe’s with the husband as i picked up two baskets of blueberries, selected half a dozen white nectarines all the while hoping that there would be extra fruit for me…

 white nectarines are very delicate in flavor, kind of like a washed out peach but they are still tasty.

 the recipe calls for cooking the filling prior to making the pie.  knowing how much the blueberries would color the filling, i doubled up the amount of flour, actually i think i may have added more than double, and just gently tossed the filling and then scraped it into the pie shell.  i wanted to preserve the color combination that you see above; pale slices of nectarines swimming in a purple blueberry pool.

i remember reading the recipe and the author states to use only 2 teaspoons of lemon juice so that the pie isn’t tart.  this perplexed me.  two teaspoons surely wouldn’t have the power to do that.  and no, it didn’t.  to add more flavor, i also included some cardamom and vanilla bean paste.

 when the pie was finished in the oven, it was obvious that it was a blueberry pie.  despite my efforts, the nectarines lost their battle with the blueberries since it dominated both the color and the flavor profile of the pie.  next time, i would reverse the proportions and use 2 cups blueberries with 3 cups nectarines or better still, 3 cups peaches (or apricots, just throwing that out there).

love the color of the filling, the pie tasted pretty good too…

the little fig tree that could

gardening; love it or hate it, you choose.  personally, i love it no matter how frustrating and unsuccessful it is for me at times.  why?  because sometimes, it all falls into place, the stars align and magic happens in the garden.  in my case, the little fig tree on the sunny side of the house has decided that this is the year to really produce fruit and we have been enjoying the bounty.

about 5 years ago, we went on a typical beach trip down to the gulf of mexico.  while we were there, we stopped in at one of the sketchiest flea markets we have ever encountered-scary, almost.  when we spotted a vendor selling plants, we stopped to see what was available and took a chance on a tiny fig tree.  the first few years, the little tree hung on as we moved it from spot to spot hoping to find a happy home for it.  we diligently wrapped it up in cardboard and blankets and covered it in plastic each winter.  it wasn’t until we put it in it’s current spot that it decided to grow and grow it has-about 9 feet tall now.  better still is the fact that it is producing fruit at a rate that has me picking figs by the dozen.

brown turkey figs fresh from the tree

on a couple of days, i picked full flats of figs
while i had lots of fruit to work with, it just wasn’t enough to make a batch of jam-my first choice.  so, what to do???  sorbet, that’s what!!!  after a quick search on the internet, i had a recipe to start with.
 i cooked the figs with a little vanilla paste

 the recipe called for only 1/3 cup sugar so i added a couple tablespoons of pure honey

 after cooking, the mixture is pureed and water, wine and lemon juice is added.  the recipe called for port but we were out of port so i subbed cabernet sauvignon.

 beautiful puree with little flecks of vanilla bean and fig seeds.

 after processing, it went into the freezer to set.  perfect for a hot summer day

looking forward to next year, there are visions of fig jam in my future…

tomato season means blt’s!!!!

this week’s tuesdays with dorie post featured a loaf of freshly baked semolina bread.  it was over 90 degrees, it was too hot and humid to bake bread, but i went ahead and did it anyway.  actually, the day i was baking the bread was rainy and gloomy and the oven didn’t heat up the house too badly for a change.

with just the two of us in the house, it can sometimes be difficult to finish a loaf of bread before it becomes a deadly weapon or turns green and fuzzy.  but this is tomato season and the challenge now is to have enough bread and bacon to eat all of the tomatoes we picked from the garden.  i know, it’s a tough job but somebody’s got to do it…

for the last 8 years, i have worked in a restaurant that is famous for its breakfast fare.  needless to say, i am well aware of the best methods for cooking (and burning) bacon.  so how does a busy restaurant cook tons (literally tons each year) of bacon?  they do it in an oven, on a sheet pan and not on a grill or a stove top-that’s too labor intensive.

first of all, start off with a decent bacon.  i use one that is uncured and dry rubbed.  next, line a heavy duty pan (i use restaurant style half-sheet pans) with a piece of baking paper (not waxed paper!) and then i lay out the bacon so that it slightly overlaps.  by shingling the bacon, you slow down the process and allow it to cook without crisping to quickly.

 heat the oven to 350.  if you used a convection mode, you will need to watch it closely, or you can turn down the temp by 25 degrees.  to keep it soft and pliable, you will need to take the bacon out of the oven after about 10-15 minutes and turn it over.  then bake it for about another 10 minutes so that all of the white parts are slightly translucent and just beginning to show signs of caramelizing.  remove it from the oven at that point.  remember that the bacon will continue to cook after it comes out of the oven so stopping here allows for the carryover of heat to finish the job out of the oven.

place a few sheets of paper towel on a clean tray and gently lift some of the warm bacon off the baking tray and place it on the paper to blot the grease.  top it off with more paper and repeat until all of the bacon is blotted dry.  now you have cooked bacon that isn’t greasy and isn’t likely to break into little shards when you bite into your sandwich-nothing worse than hard, crunchy bacon shards falling out all over your lap!

 vine ripened tomatoes…what a concept!  everyone should have a tomato plant or two just so that they can make tomato sandwiches (a true southern obsession) as well as blt’s!

 the spread-we had kohlrabi slaw using freshly picked kohlrabi from our garden.  right now is not the season for lettuces and other salad greens due to the heat but that didn’t stop a few rogue arugula plants from popping up.  needless to say, we ate our sammiches with arugula.

 the bread; a really simple loaf to make, i highly suggest making one.  if you do not have a copy of baking with julia or how to bake, find the recipe here or here(with the nice addition of rosemary)
.

now that’s a sandwich!