currant-rosemary bread

the rosemary put on quite a show in the herb garden.  not only was it about 4 feet tall, it was covered in blooms.  the honeybees were working those flowers like crazy too.  not one person walked through without noticing the shrub, yes shrub-it is that big now.  hard to believe that just two years ago, it was in a tiny little plastic pot from the nursery.  we only placed it in the bed to fill a hole.  if only i had this much luck with everything i plant!
with the bumper crop of rosemary, i decided to make a yeast bread rather than a cake to take to the garden.  then, while skimming through some of my cookbooks, i found an interesting recipe in a book that has been living on my shelf but has seen very little use.  i cannot remember when i bought this copy of beth hensperger’s “bread for all seasons” but the recipe for rosemary raisin bread was the perfect compromise; a yeast raised coffee cake that is both bread and cake.  brilliant, just brilliant i say!  best part, very little kneading!!!  best part, the bread toasts nicely so don’t worry about it getting stale, just slice it and toast it.
since i prefer currants, i used them in place of the raisins and i gave them a good soak first.  it is important that you plump up the currants in some hot water or they will dry out the bread.  first, measure the currants while they are small and dry.  place them in a pan and cover them with water.  bring the water to a boil over medium heat.  immediately turn off the heat, remove the pan from the burner and allow the currants to sit in the water until they cool.  drain off any excess liquid before using the currants.  while the recipe calls for 1-2 teaspoons of dried rosemary, i used fresh leaves from the garden.  since the flavor of dried herbs are usually a little stronger, i would generally say to use half but for this recipe, i think using more of the fresh is a good thing.  the fact that it is softer than dry rosemary is also a plus since there aren’t any twig like pieces to pick out.  
currant rosemary bread
1 large bundt or tube cake serving 16
2 cups currants
1 tablespoon active dry yeast
pinch of sugar
1 cup warm water, 105-115 degrees
5 1/4 to 5 3/4 cup unbleached all purpose flour
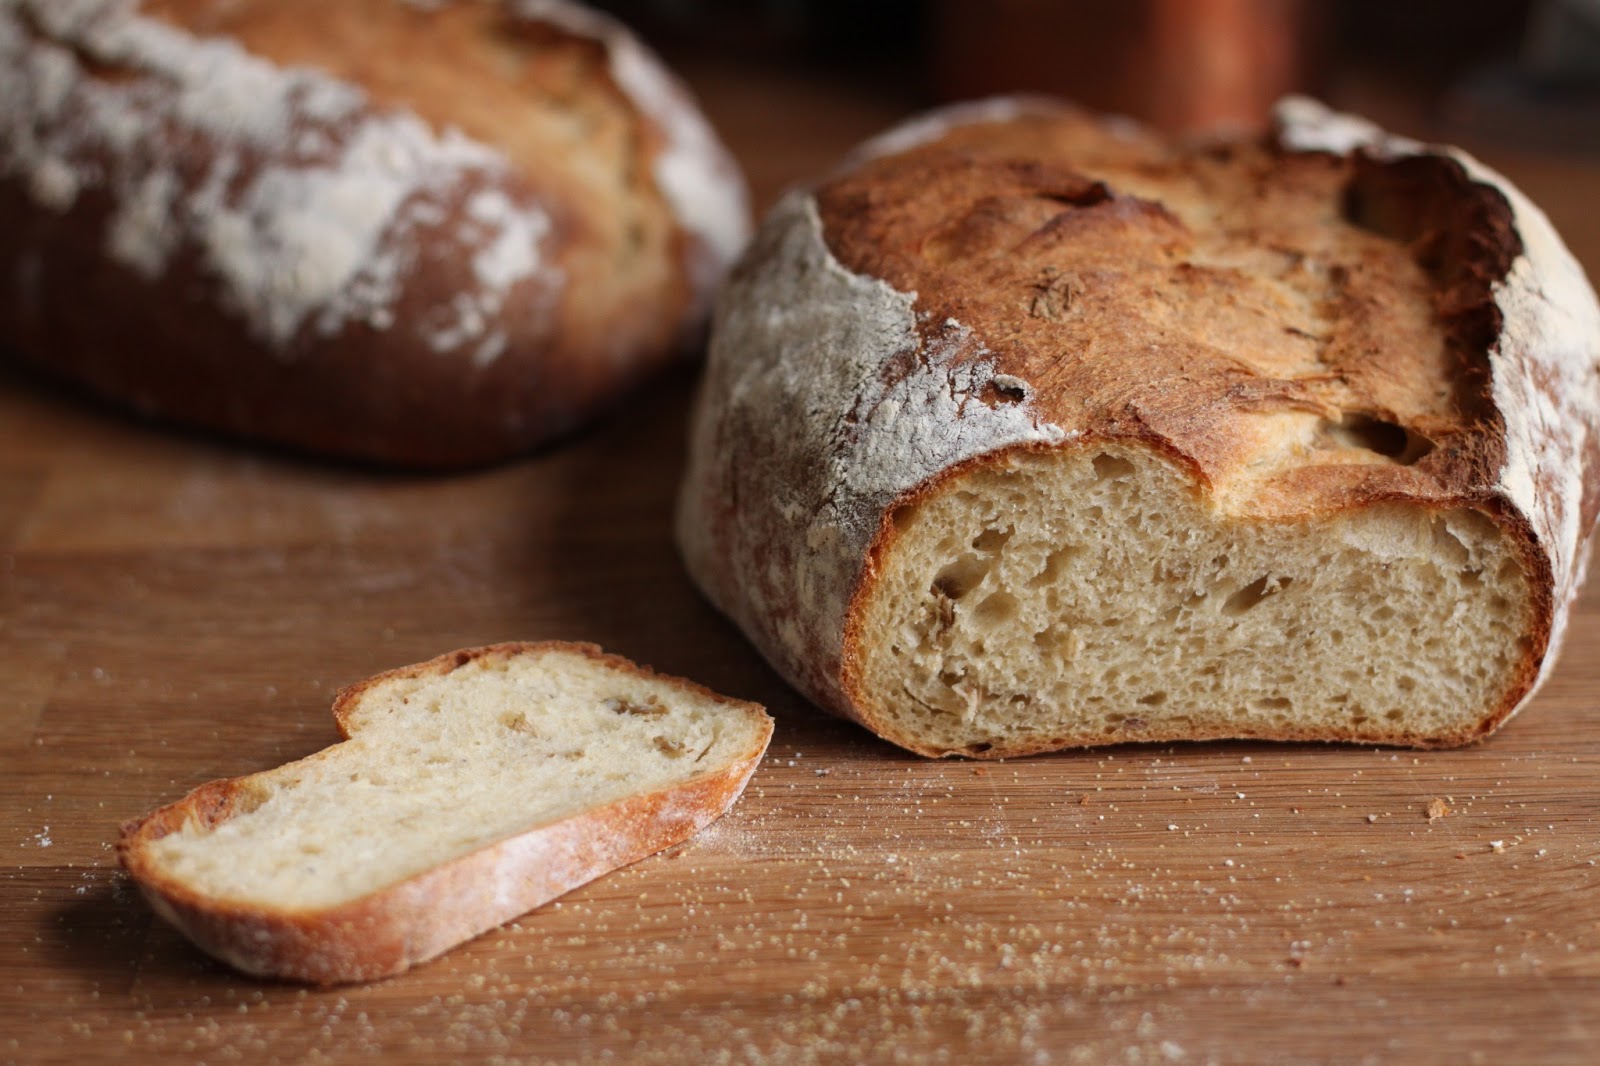
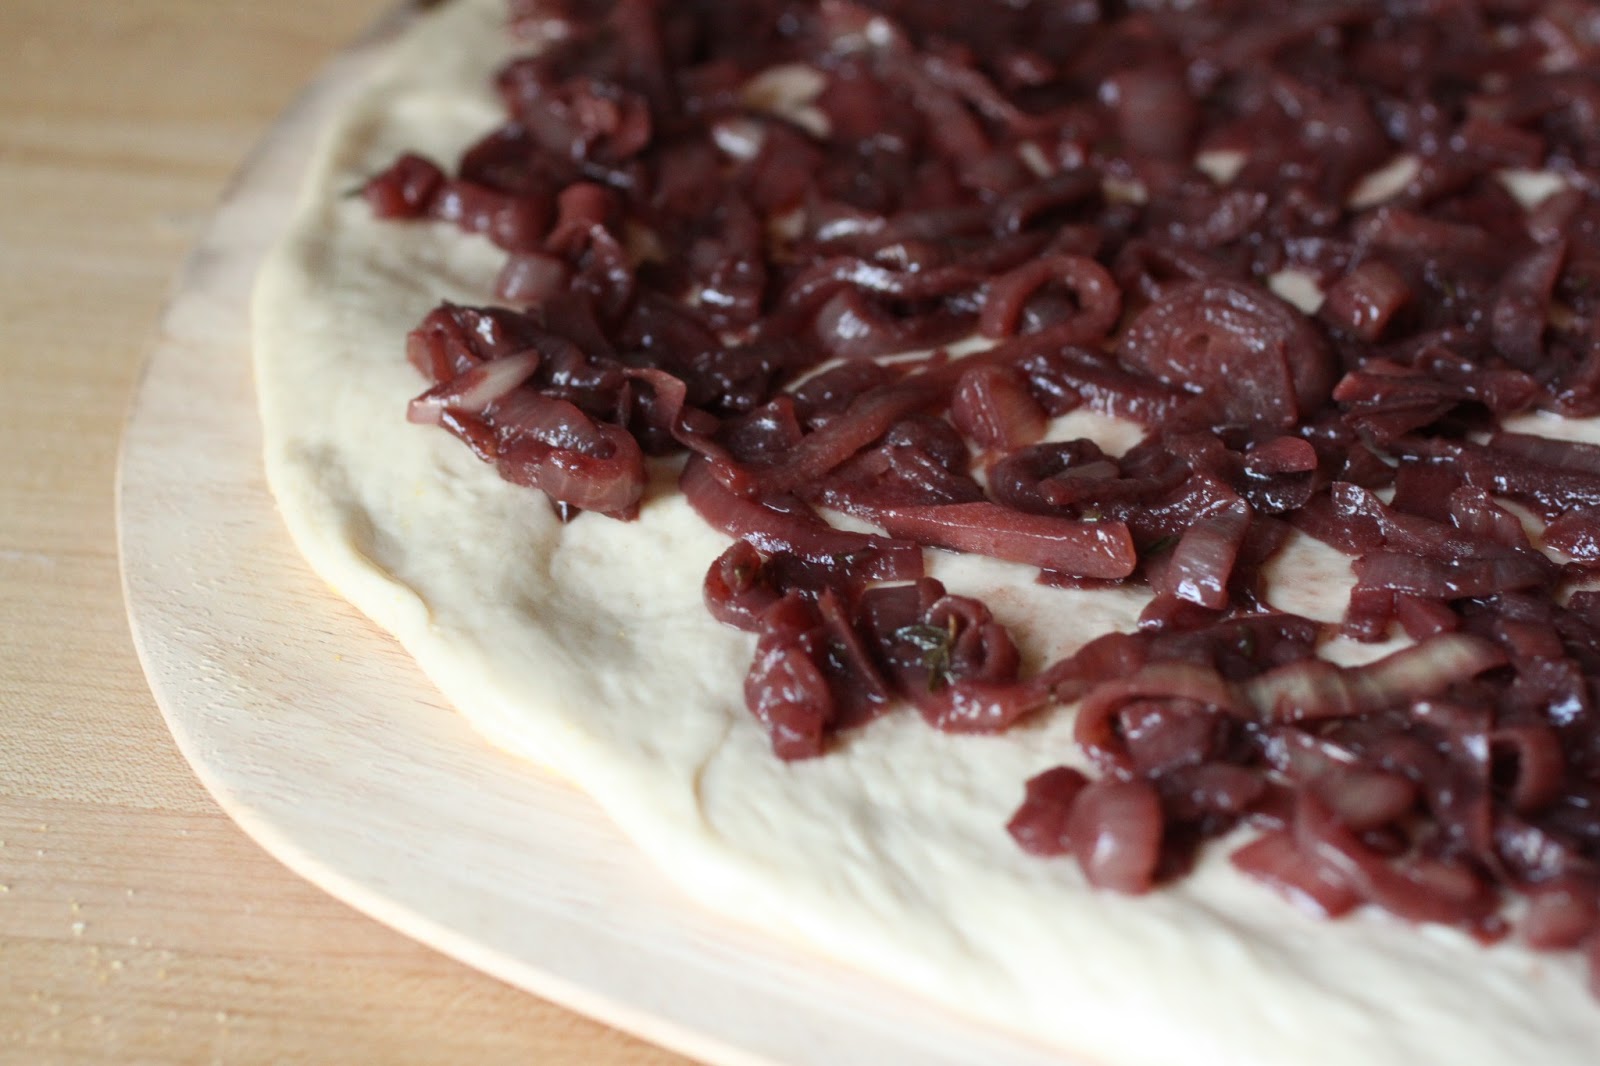
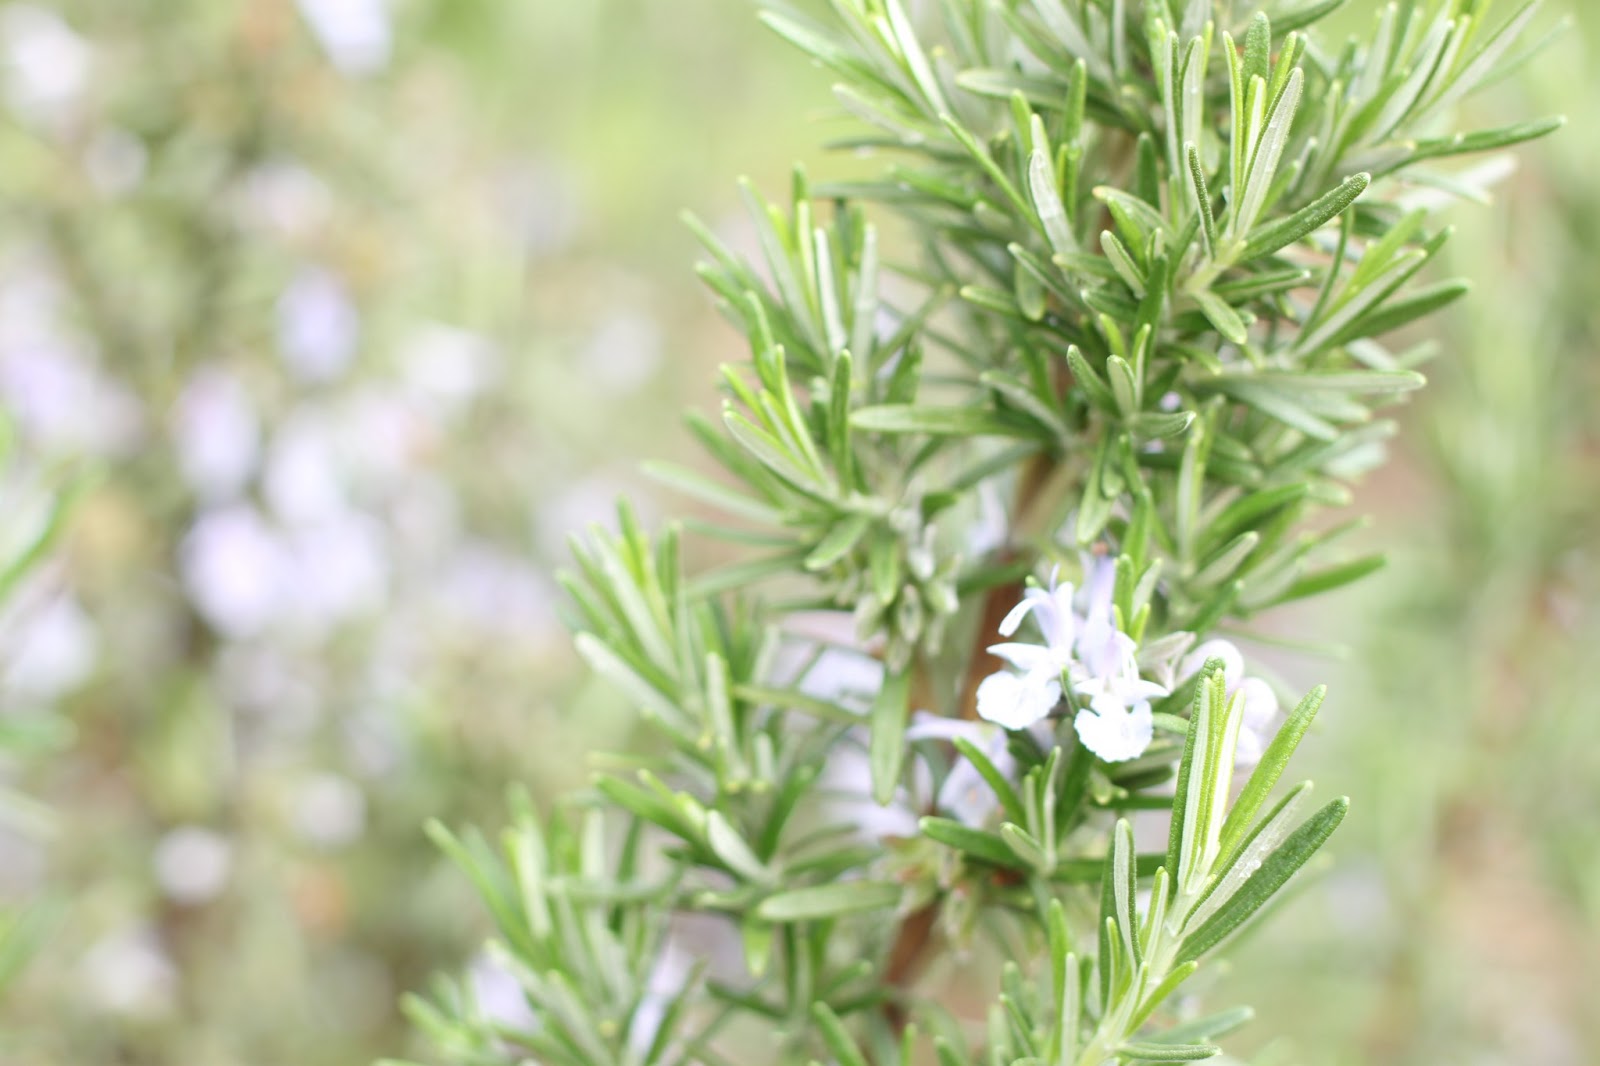
1 tablespoon fresh rosemary, chopped a bit
2/3 cup nonfat dry milk powder
1/2 cup sugar
1 tablespoon salt
1/2 cup extra virgin olive oil
4 eggs

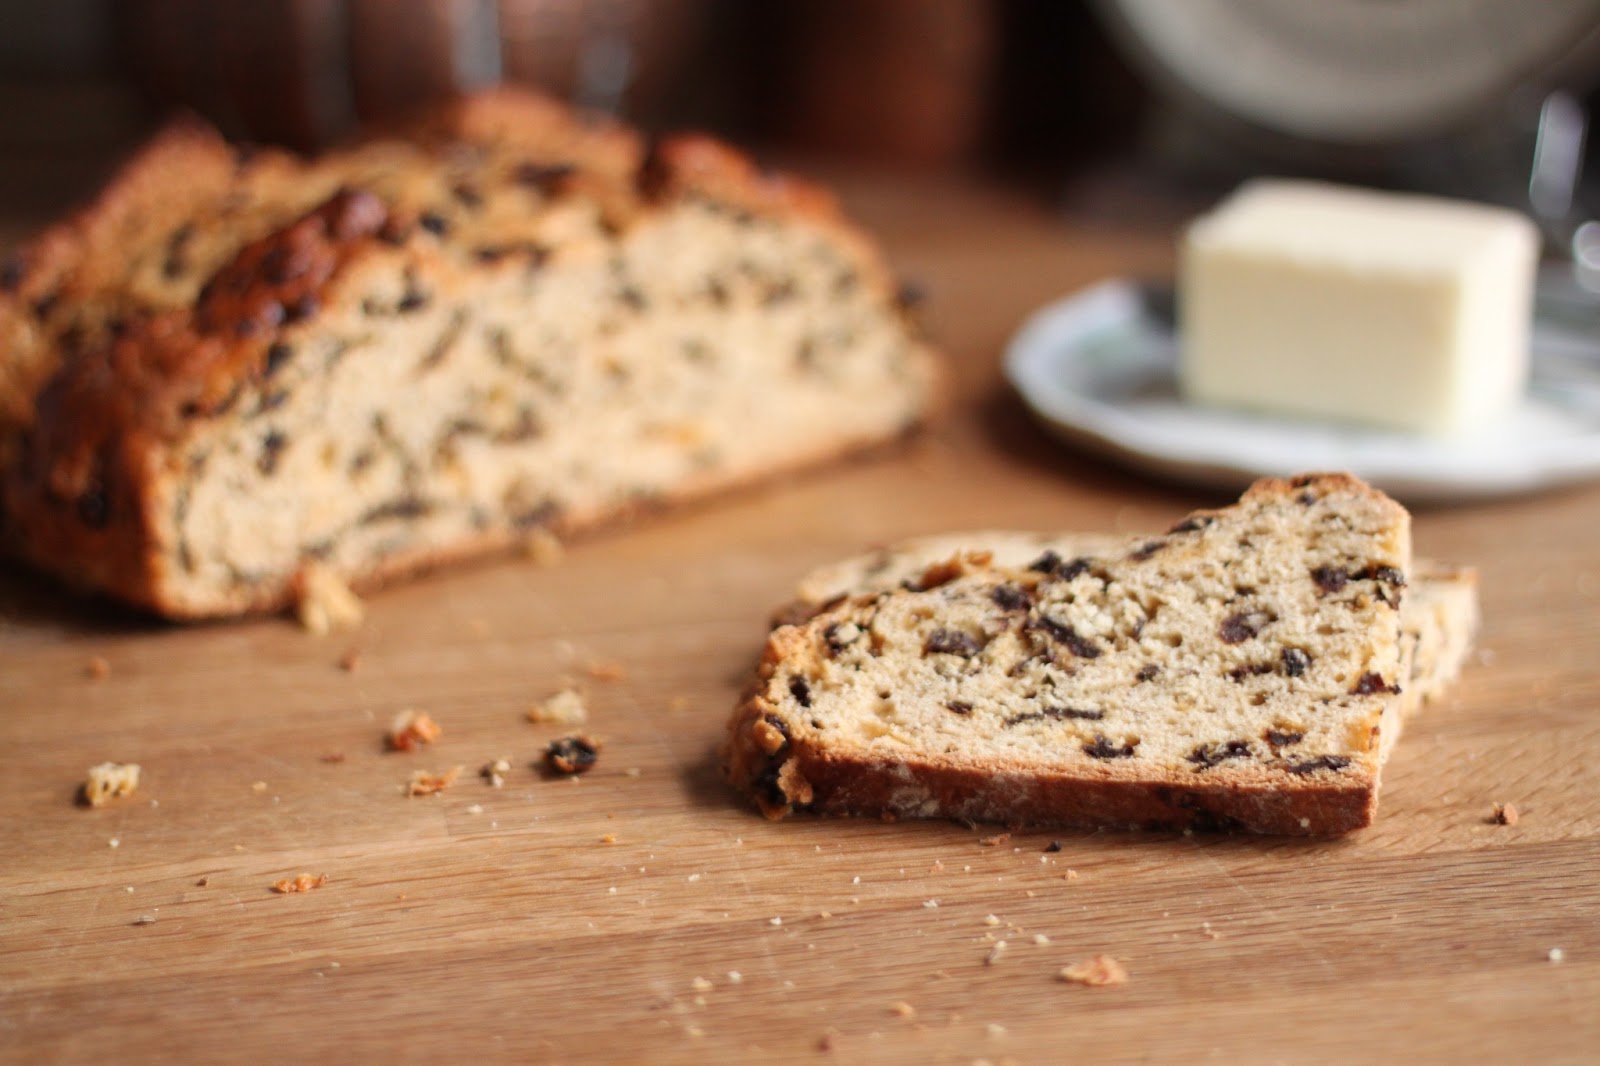
plump the currants by covering them with water in a sauce pan and bringing them to a boil.  immediately turn off the heat and set the pan aside to cool, 20 minutes or so.  strain them well before using.  in a small bowl, combine the yeast with the pinch of sugar and the warm water.  stir to dissolve and then let it sit until foamy, about 10 minutes.  spray a large bundt or tube pan with grease, or brush it with some oil, set it aside.

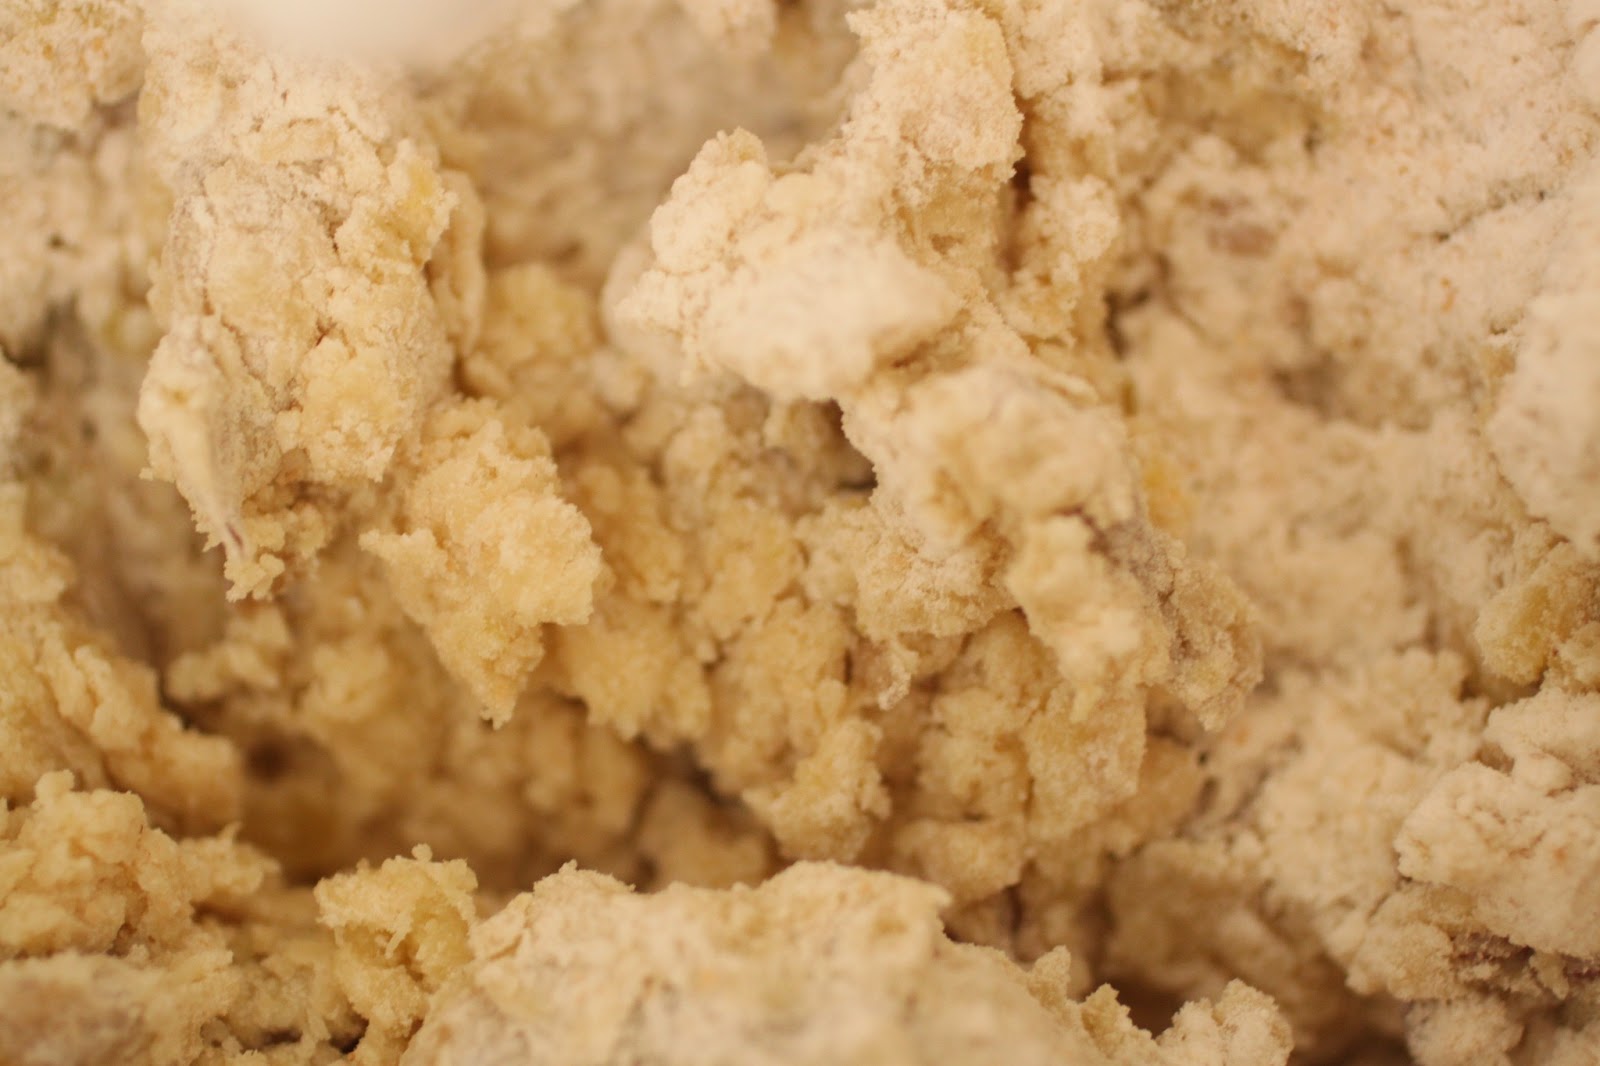
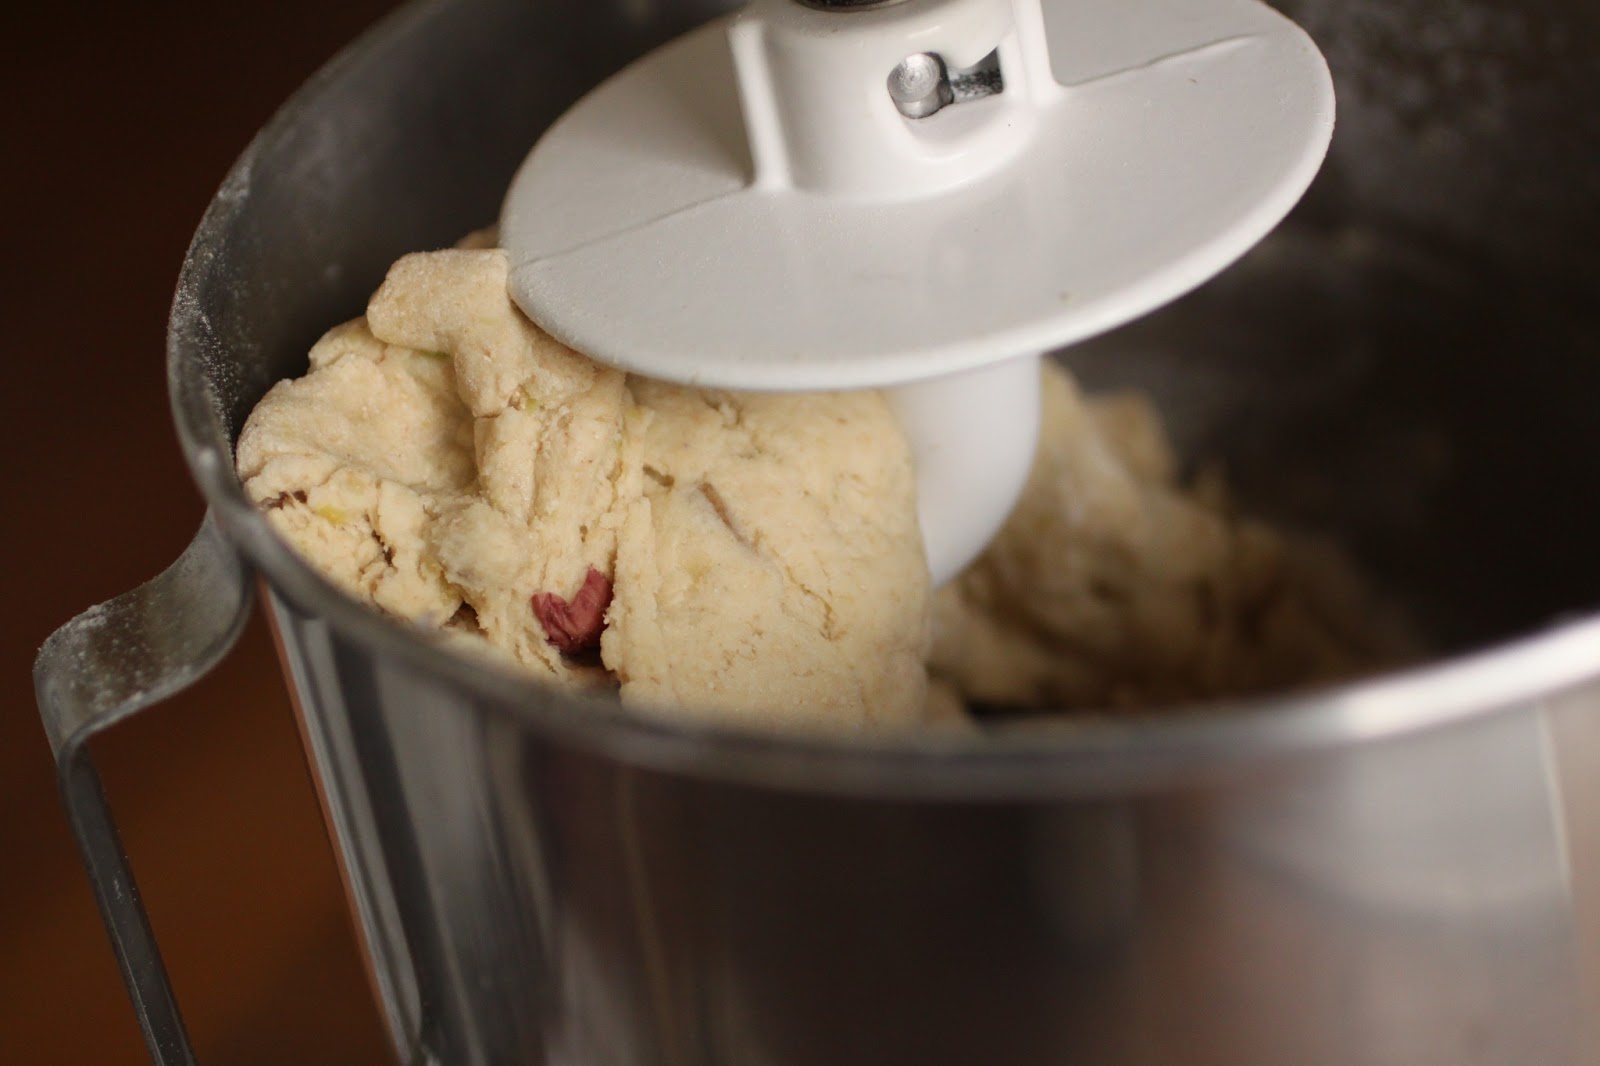
in a large bowl, or the bowl of a stand mixer with the paddle attachment, combine 1 cup of the flour, dry milk, sugar, rosemary, salt, olive oil and the eggs.  beat this mixture until smooth.  add the yeast mixture and 1 1/2 cups more of the flour.  beat for 1 minute and then let it sit for 20-30 minutes.  add the currants, and the remaining flour 1/2 cup at a time until a soft dough forms that clears the sides of the bowl.  if necessary, mix by had at this point.  the dough is capable of absorbing a lot of flour so add it cautiously-it should not stick to the bowl much and will no longer have a “wet” appearance.

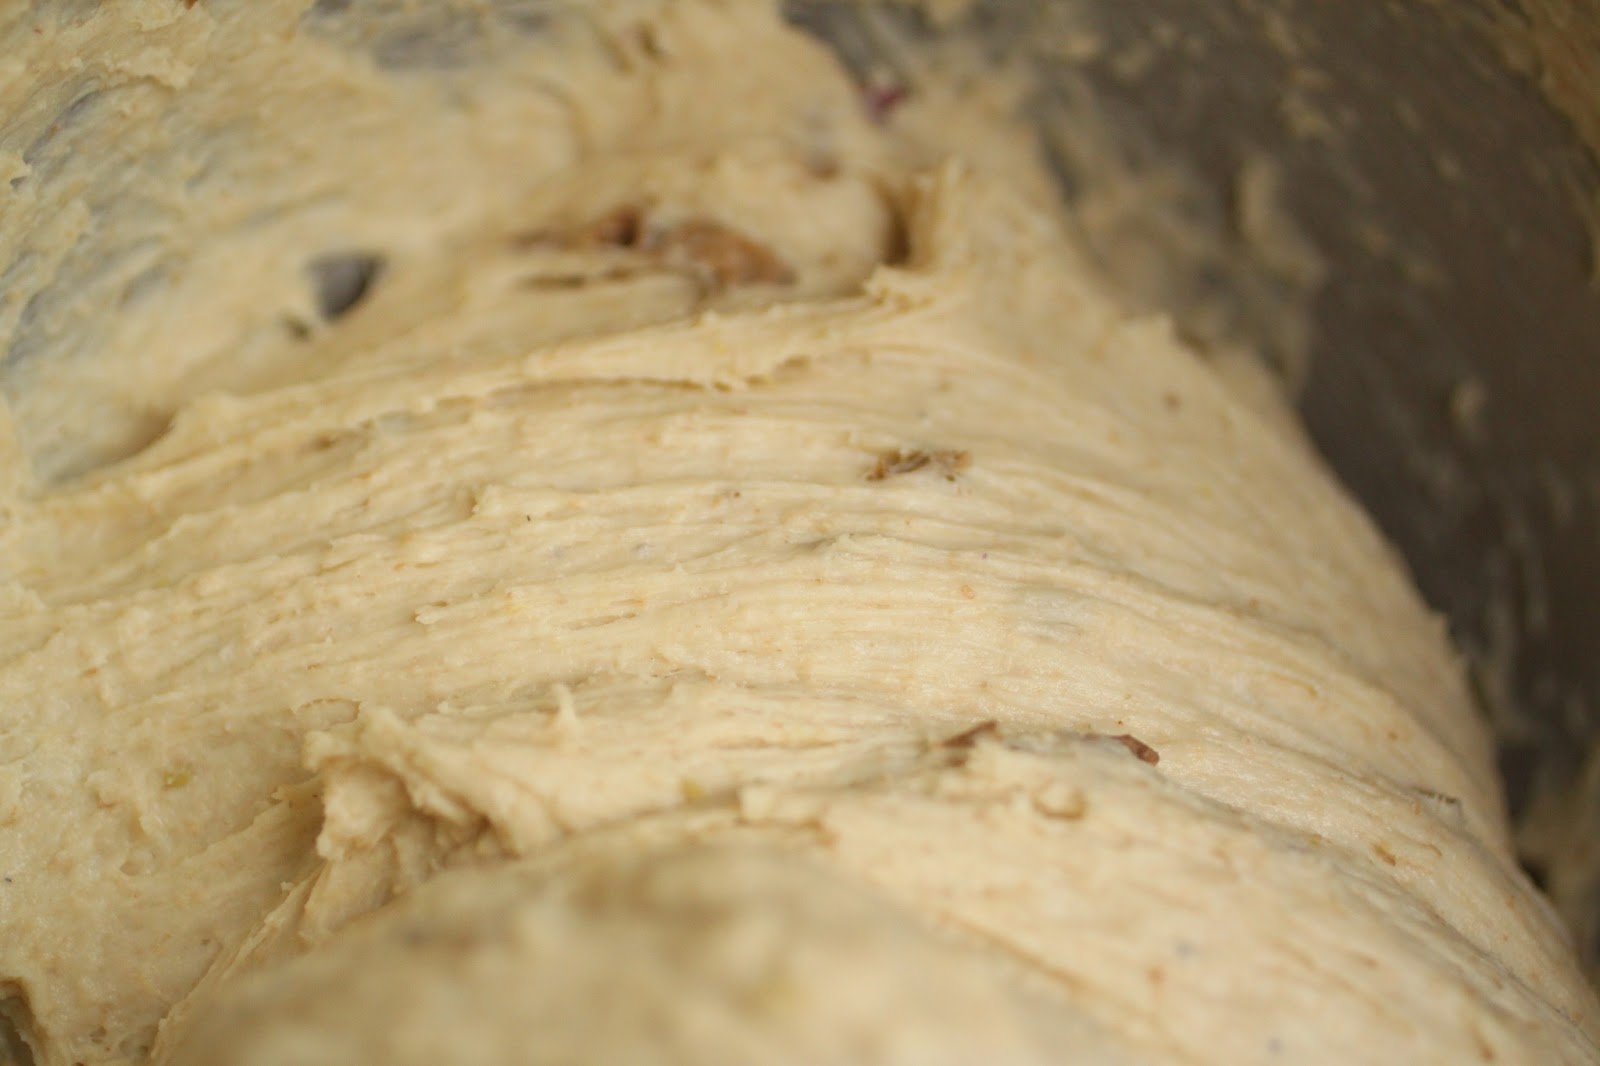
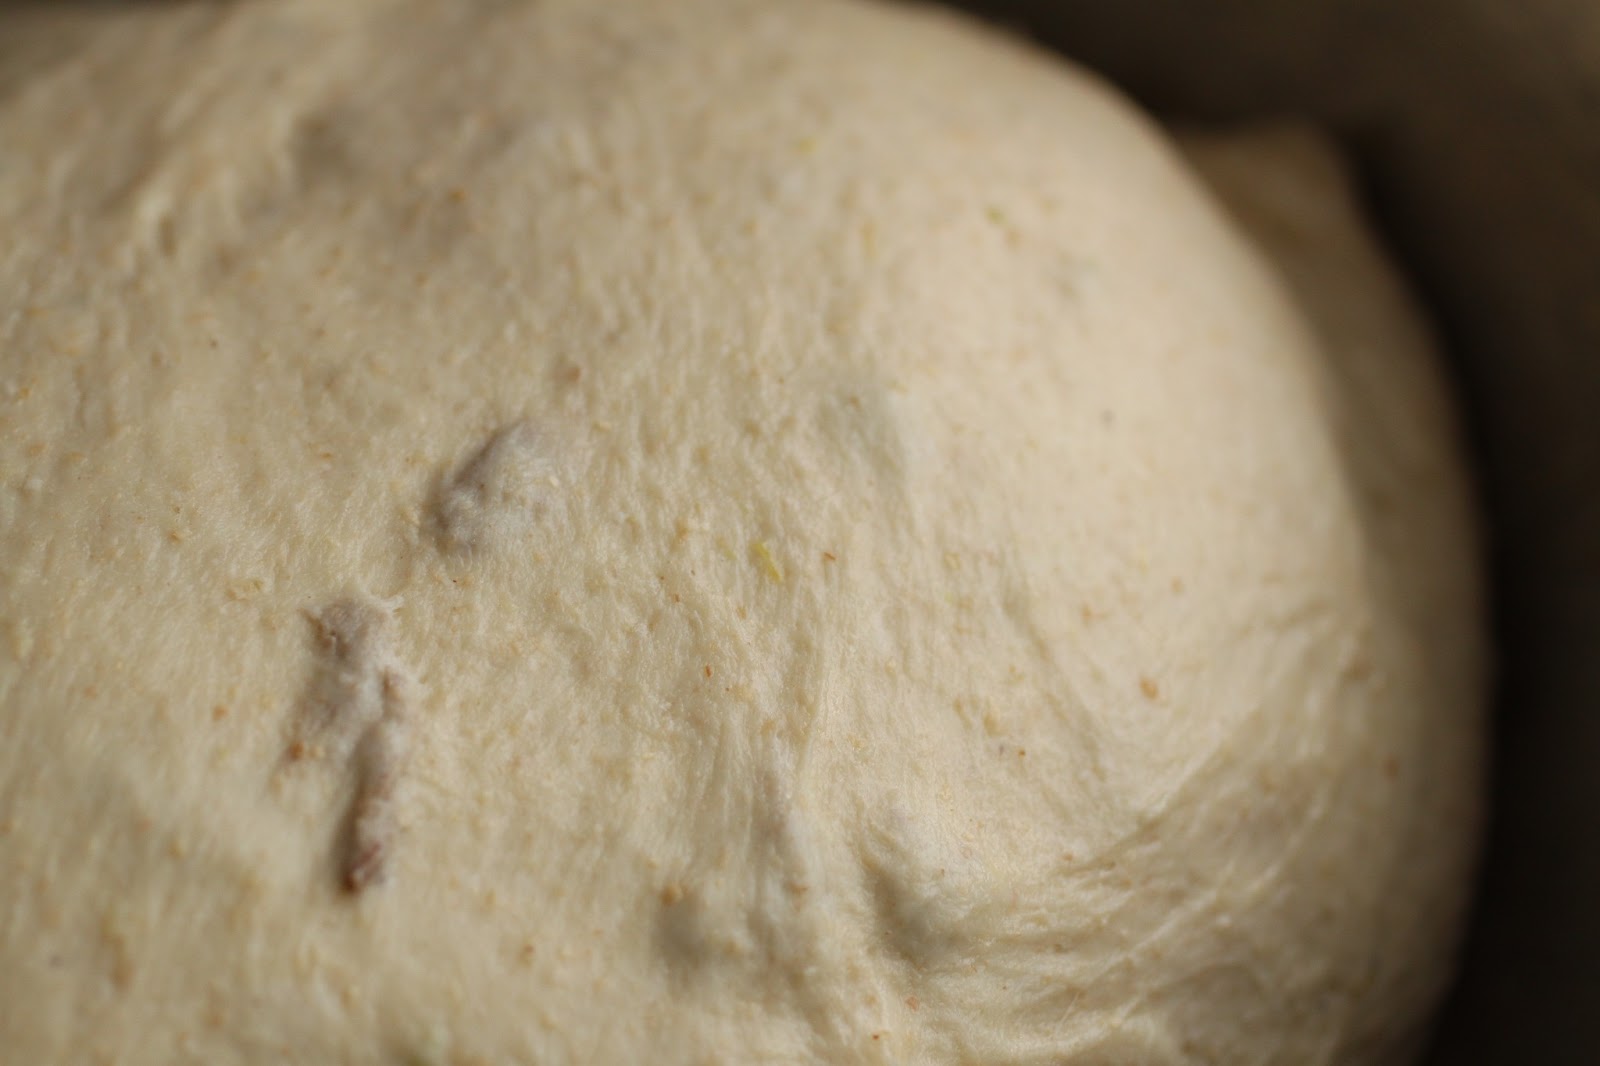
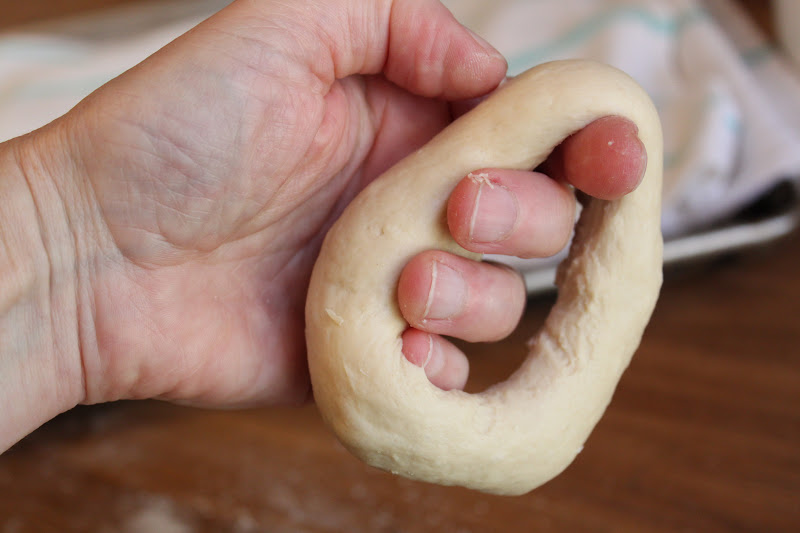
turn out the dough onto a floured work surface and knead until smooth and springy, about 3 minutes.  if needed, add additional flour 1 tablespoon at a time to prevent sticking.  form the dough into a cylinder that will fill the tube pan evenly.  you can place it in the pan and squeeze it and shape it to fit the pan evenly.  brush it with a little oil, cover with plastic and allow it to rise at room temp until double, about 2 hours.  about 20 minutes ahead of baking, preheat the oven to 350.

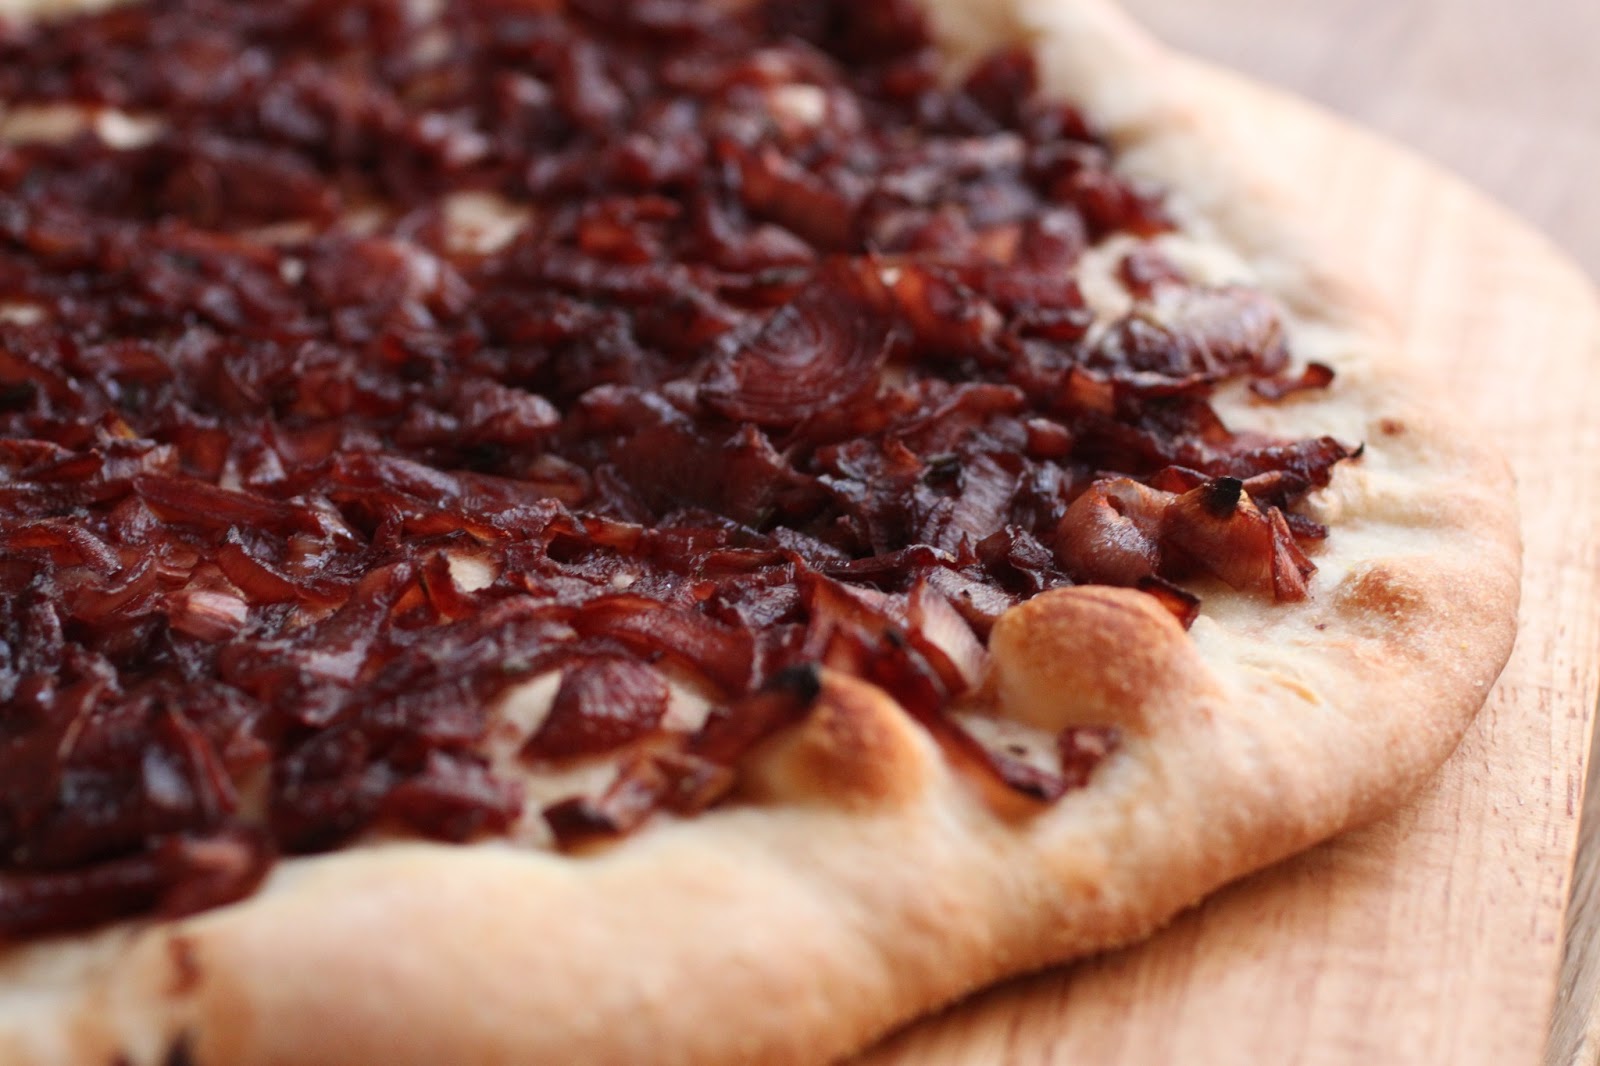
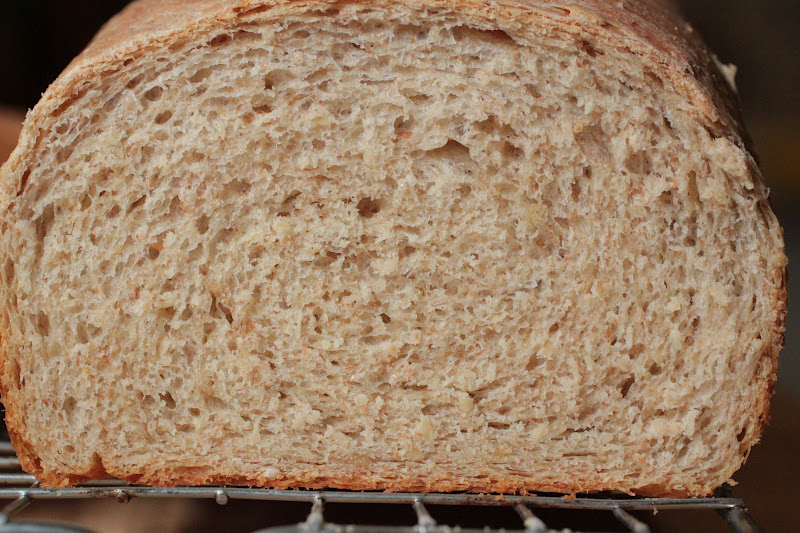
bake the cake until it has filled the pan, is evenly browned and firm to the touch.  this will take about 45 minutes to an hour, a cake tester can be used to check the interior.  when done, turn it out of the pan onto a rack to cool completely.  serve with softened butter and jam if you like.  the leftovers make amazing toast too so none should go to waste!

potato bread

it’s confession time.  i’ve made this bread before-several times actually.  making it for this weeks tuesdays with dorie challenge was not much of a challenge for me.  actually, i was looking forward to the bread-it is simple and almost guaranteed to work each time.  this weeks challenge is hosted by dawn of simply sweet so if you are looking for the recipe, buy the book or visit dawn’s blog.

this right here was the only hiccup in my plan:  no russet potatoes in the house!  actually, i made the bread with a combination of yukon gold and russian banana fingerlings and of course, 1 lonely rose potato.

when cooked, they were a buttery yellow, except that rose colored one which stayed a subtle pink shade.

all mashed up and ready to mix-the pink is no longer obvious

when the potatoes were mashed and mixed into the dough, it wasn’t very obvious that i used potatoes with color.  the directions tell you the first mixing stage will resemble pie dough and that was a very accurate description.

it starts off looking dry and then transforms into a soft and sticky dough.

as stated in the mixing directions, the dough is very similar to brioche in behavior as well as appearance.

but when the mixer stops, after the full 11 minutes, it is most definitely a bread dough.

the loaves are easy to shape and quick to rise.

and just as quick to bake!
restraining myself was the hard part-who can resist warm bread?

just look at the interior!  i subbed a cup of whole wheat flour for the all purpose flour and split the remaining amount evenly with bread flour and all purpose flour to make up for the lack of structure of the creamy potatoes.  in the end, it worked like a charm and i will not hesitate to use different potato varieties in the future.  bake on friends and be sure to visit the tuesdays with dorie page to see how the other bakers did!

this year’s baking of the bread, joan’s irish soda bread

can you believe it is that time again?  well it is, and i did it again.  every year on or around st. patrick’s day, i make a loaf (or two) of my aunt joan’s irish soda bread.  this year was no different except that i took it out to the garden to share it with my volunteers.  since i have posted the recipe before, here is the link.  my request, bake a loaf and make a promise-help keep the roads safe, don’t drink and drive and please, stop someone who has been drinking from driving.  stay safe my friends.

this is how i roll; croissants, anyone?

 so, if it is tuesday, it is time to bake with julia, right?  oh, that’s right, it’s wednesday and i am a day behind.  such is life, my life, a day late and a dollar short.  whatever.  luckily for me, this week’s challenge was one that i was really excited about.  back in the day, i made croissants daily.  but back then, i did it with a dough sheeter, not a rolling pin.  this was going to be a bit of a challenge after all.

if you aren’t already familiar with the tuesdays with dorie group, we are a bunch of bakers working our way through the book, baking with julia.  for the recipe to this week’s challenge, visit the page of this weeks host, amanda of girl + food = love.  if you would like to see how the rest of the group did, check out the tuesdays with dorie page.

before we get started, let me share a few of my observations, opinions and what nots.  first of all, i only followed the instructions for assembling the dough and making the folds.  and if you ask me, the directions were not always easy to follow.  and judging by some of the other bakers results, i was not the only one who had this issue.  needless to say, i did not always do as instructed by the recipe.

 every month, i attend a potluck dinner with my fellow master gardeners and i decided to make the croissants my contribution.  in order to share them with everyone, i made mini croissants.  i rolled the dough out to the required 15″x24″ and cut it into 3 (5″) strips.  i marked the strips every 3 inches on one long side.  to get triangles, starting at the other long edge, i marked it 1.5″in from the edge and then again every 3″ across.  using a rotary cutter, i cut the dough by going from bottom to top and back down to the bottom-connecting the cuts to make triangles.   i did this with the other strips as well.

 to shape them, i carefully stretched the dough and rolled them up.  as i placed them on the pans, i curved the edges in a little.   here is another way i departed from the instructions, i bagged the trays and put them in the fridge to rise slowly overnight rather than using the oven to proof them (more on that in a moment).

 so easy to do

 perfectly proofed.  now, about the rising time.  i noticed on a couple of the bakers blogs that their croissants melted.  my guess is that the instructions were not clear.  the contributing baker suggested rising them in an oven that was turned off.  that gives the impression that at some point, the oven was turned on and heated then turned off.  what she should have said was an unheated oven or a cold oven with a pilot light or an oven light turned on.  a heated oven would cause all of the butter to melt out and the croissants would collapse in a puddle.

 how do you know if you proofed them long enough, they should be more than double in size but still slightly firm to the touch.  left-proofed, right-not proofed.

 perfectly bronzed, and crispy and flaky

look at the lovely interior.  a little chewy and a little flaky-tasty any way you look at it!  thanks for hosting amanda.  and one more note, these are for you grandma, something tells me that you would have enjoyed them…

sundried tomato focaccia

 when it comes to simple and easy bread, focaccia is the only one you need to make.  you can slice it into strips and serve it with a salad, cut squares and stuff them for sandwiches or you can simply eat pieces of it.  there isn’t any intricate shaping or special pan required; just your finger tips will do.  the best part, the dough is so forgiving that mistakes are hard to see.  even better is the fact that you can add just about anything to the dough and still get a good result.

this weeks recipe from baking with julia is the focaccia featured on page 143 and is hosted by sharmini of wandering through.  be sure to visit her page to see the recipe or better yet, pick up a copy of baking with julia-it is worth every bit of space on the shelf.  to see what the other 100 or so bakers have come up with, visit the tuesdays with dorie page.

a few notes to share.  since there is just two of us in the house, i cut the recipe in half and made two small squares.  while the recipe called for a 24-36 hour rest in the fridge, my life could only accomodate about 16-18 hour period.  that is probably why i did not get all of the little bubbles on the surface.  maybe next time, or maybe not.  the bread was nice and light; the shorter resting did not seem to be a huge issue.  since i was pressed for time, i didn’t bother with the fresh herbs and just sprinkled a little sea salt on top of each loaf.

 my sundried tomatoes came packed in olive oil.  to add even more flavor to the bread, i used some of that oil in the bread too.  it gave it a nice tomato orange shade.

the window pane test for gluten development.  if you can stretch it out to a transparent window without tearing, it is ready.

shaped and waiting to be baked

 after a light brush of olive oil, this loaf of bread is waiting its turn in the oven.
  
 fresh from the oven.  

be sure to check out the tuesdays with dorie page and bake along with us sometime!

pizza with onion confit; tuesdays with dorie/baking with julia

this week, the tuesdays with dorie challenge called for making a pizza topped with an onion confit.  sounds like dinner to me.  and it was, literally.  after a trip to the garden to pick some fresh lettuce and arugula, i made a big salad to accompany the pizza.  this was such an easy recipe that i think everyone should try it.  if you do not already have a copy of baking with julia, buy it, or head over to host paul’s blog, the boy can bake to find the recipe.

the most time consuming part of the recipe was to cook the onions.

i used a combination of yellow onions, shallots and garlic to make my pizza.  and i say that singularly because the recipe can easily be halved-i only wanted one pizza.  however, according to the recipe, the extra piece of dough could have been frozen for another time.

the idea is to slowly cook the onions so that they caramelize as well as soften.
the recipe calls for thyme leaves or sprigs.  that is one of the best parts of having an herb garden.  it is so wonderful to walk out the door and clip fresh herbs as needed.  luckily, thyme is an evergreen and has leaves in winter.  
i picked the leaves off the stems and chopped them a little

the onions cook and take on lots of color.  then a combination of red wine and red wine vinegar is added to them.  at this time, it is important to keep the heat very low so that the onions have time to absorb the color and flavor of the wine.  they will continue to soften as well.

after about 35-40 minutes, my pan was nearly dry and the onions were a deep shade of red, cabernet sauvignon red to be exact.

the onions almost look like little strips of meat in this photo.  

the dough rises and is stretched or rolled out to a large circle that is about 1/4 inch thick.  the onions are spread over the top in an even layer.  at this time, you can add whatever else you like.  the recipe suggested kalamata olives or cheese but i decided to keep it simple and just use the onions.

the results, close to a classic pissaladiere, a tasty flat bread with onions; the perfect side for a salad.

be sure to check out the tuesdays with dorie page to see what the other participants came up with.  bake on friends, and happy new year to all!!!

onion-poppy seed bagels; twd/bwj

there is a bit of excitement and suspense for those of us who participate in the tuesdays with dorie/baking with julia challenges.  each month, we nominate possible recipes from the book and then we wait to see what our challenges will be.  for me, this weeks challenge of bagels, hosted by heather of heather’s bytes was one i looked forward to.  as a jersey girl(originally), i have a certain fondness for true new york bagels.  then i read the recipe…so many steps, so much to coordinate, so many factors to alter the outcome of said bagels.
to say that the recipe was a little daunting is an understatement.  mix the dough, let it rise, deflate it, refrigerate it for a few hours or a couple of days and then move on to the shaping/baking process.  all the steps to coordinate along with floured towels and extra pans and boiling water and an oven at 500 degrees while shaping the dough and boiling the dough and glazing the dough…definitely not a recipe for an impatient or inattentive baker-there are too many things to do.  
first thing i did, cut the recipe in half.  with just two of us in the house, i didn’t need much less want 10 large bagels.  for the sugar called for in the dough, i simply used malt syrup.  then i added a generous tablespoon of dried onions.  since my favorite bagels are ones with seeds, i chose to add poppy seeds to the outside since they blend so well with onions.  

 the dough is easy to mix and next time(if there is a next time-the jury is still out on this one), i will add two tablespoons of the onions and a little extra salt.  i used my scale to weigh out 8 (3)ounce pieces of dough and began the shaping process.  it was a sticky process and i used very small amounts of flour on my fingers and the table to make it manageable.

 they do look like big rings while they are shaped but as soon as you set them onto the floured towel, they contract and fatten up a bit.  i did them 4 at a time so that they would fit in the pot with room to spare.

 they boiled up easily and i did not pay enough attention to the time on the first batch so i was sure to set the timer for the second batch.

 out of the water bath and onto the prepared peel for the glaze and seeds.  the cornmeal did nothing to stop them from sticking; i had to lift each one and place it on my stone in the oven.

 my oven needs to be calibrated.  the setting of 500 ended up at nearly 600 and the bagels came out a little crispy.  the process of baking for 25 minutes, oven off with door closed for 5 minutes and then door open for 5 minutes was enough to make that first batch really crispy-artisan bread crispy!  for the second batch, the shaped bagels rested in the fridge for at least 30 minutes and i skipped the 5 minutes with the door closed and 5 minutes with the door open.  i simply baked them for 25 minutes and pulled them out.  the reduced size should have triggered a response in me-they needed less time, but i was so caught up in all of the steps that it did not occur to me until just now…

they baked up an interesting ivory almost beige shade on the inside and had just a hint of onion flavor.

many thanks to heather for hosting this weeks bakefest!  to try this at home, visit heather’s bytes for the complete recipe or better yet, buy a copy of baking with julia.  and if you want to watch the process, look it up on you tube-the video is split into 2 parts and full of hints and tips, look for it under baking with julia, bagels-lauren groveman parts 1 and 2.

persimmon bread with cranberries

this recipe came up just in time for one of the best persimmon crops we’ve ever had.  last year was such a disappointment because there just wasn’t any fruit on our tree or any of the other trees nearby.  when we started finding the ripe fruits on the ground last week, we were surprised; our first frost is still several weeks away.  we can only assume that the early spring and the month long drought had something to do with them ripening so early.

lucky for me, this weeks baking challenge for tuesdays with dorie/baking with julia is a loaf of bread that calls for pumpkin puree.  with all of these persimmons just begging to be run through the food mill, i couldn’t help but substitute the persimmon pulp for the pumpkin puree called for in the recipe!

native persimmons are small, about the size of a walnut in its shell or smaller.  they are also full of large seeds.  they can only be eaten if they are dark orange and squishy soft otherwise, they are so astringent you will literally feel the insides of your cheeks seal onto the surface of your teeth.  the best thing to do with them is to wash the fruit you find on the ground under the tree-those will be so ripe that they have fallen from the branches.  drain the fruit and run it through a food mill, it will take a lot to get any kind of volume.  i collect them through the season, puree the fruit and store it in sandwich bags in the freezer.  then i can take it out and thaw it as i need to.

as with any heavy, sweet dough, this one took a long time-easily double the time called for in the directions.  it took at least 8 hours to come to 64 degrees and about 3 hours for the loaves to rise in the pans.  honestly, they didn’t do much in the oven.  it seems to me that there is just too much in there to make it light and rise quickly.

 i didn’t have any small pans so i used two 8x5x3 loaves.  they baked up in about 45-50 minutes, i used a thermometer and waited until the internal temp came up to 200 degrees.

this cheery loaf of bread brightened up a dark and dreary, rainy monday.  it was so dark that i couldn’t get a nice color balance in the photo, my bread isn’t nearly that orange!

special thanks to our hostess with the mostess, rebecca of this bountiful backyard!  bake on, may the force be with you…

whole wheat loaves: tuesdays with dorie/baking with julia

the last couple of weeks have been a blur.  mom and i traveled to atlanta to visit my daughter.  our days were filled with trips in and out of antique shops and restaurants with a few stops at bakeries and asian markets in-between.  now that we are back in nashville, it is about the same-you name it, if it is an antique shop or a thrift store, we have probably been in there.  needless to say, whether i would have the chance to spend some time at home in my kitchen baking the challenge for this week’s tuesdays with dorie/baking with julia challenge was questionable.

the saving grace, we ran out of bread-an opportunity or an excuse, to get to work and make a loaf of bread.  better yet, it is a simple loaf of whole wheat bread that was quick to mix up in the kitchen aid.  the only note, i did not need all of the flour called for; of the 6 1/2 cups of white and wheat flour that are mixed together, i had about 1/4 cup left over and still had a slightly tacky dough.  once the machine kneaded dough was in the pans, it rose quickly.  word to the wise, this isn’t a good time to run out to the store while the bread rises…

this is why, it rises up real quick and before you know it, it is hanging over the sides of the pan like a drunk on a stool.  but in their defense, i will say that the directions to use an 8 1/2″x4 1/2″ loaf pan may not be the best idea.  if i make this again, i will have to remember to follow my first instinct and use my slightly larger 9″x5″x3″ pans.

looking a little like a plumbers gut hanging over the top of his pants, my loaves baked in the suggested 35 minutes but i took them out of the pans at about 32 minutes and baked them on the oven rack for a few extra minutes.

the next morning, it sliced beautifully and tasted wonderful with a little salted butter.  thanks to our hostesses, michele of veggie num nums and teresa of the family that bakes together.  be sure to check out the tuesdays with dorie page to find the links of all of this week’s participants and see how they did. and if you are interested in baking a batch of this wonderful bread, buy the book or visit michele’s or teresa’s blog pages.  bake on friends!

just loafing around

it has been a little tough for me since the passing of mr. kemore.  yeah, tough to decide what to make first!!!  do i use the top oven or the bottom?  convection or conventional heat…decisions, decisions.  what’s a girl to do???  bake damn near everything she can think of that’s what!!!

those are some nice buns you’ve got there…
nothing quite like the smell of fresh bread baking…
now, getting back to those buns…lookin’ good
perfectly soft and wonderful
and multi-grain too, oooohhh…
nice buns
by Michael McLaughlin
makes 16 buns, 2 loaves or 1 loaf and 8 buns
1 1/2 cup buttermilk(or regular milk)
1 cup slightly warm water
4 tablespoons unsalted butter, melted
1 tablespoon sugar
1 tablespoon salt
1 package active dry yeast (2 1/4 teaspoons)
about 5 cups unbleached all purpose flour
in a mixing bowl, mix the buttermilk, water, butter, sugar, salt and yeast.  allow it to stand until foamy, about 5 minutes.  stir in about 4 cups of the flour and mix to form a somewhat sticky dough.  you can turn the dough out onto a floured surface and knead this by hand or use a stand mixer, either way, continue to add flour as needed to form a soft dough.  continue mixing until smooth and elastic, about 5 minutes.  shape the dough into a ball and place it in an oiled bowl, coating it completely with oil, cover it and allow it to rise until double, about 1 1/2 hours.
punch the dough down and turn it out onto a cutting board.  cut it in half and form two loaves by flattening the pieces into rectangles.  roll up the dough, starting on the short side and form a thick log.  place the dough logs into 2 greased 9x5x3 inch pans, cover and allow to rise until it comes just above the top of the pan.  bake in a preheated 375 oven until golden on top and bottom, about 45 minutes.  remove from pan and cool on rack completely before slicing.
to make buns, divide the dough into 4 ounce pieces or for those without scales, cut it in half, then in half again and continue this until you have 16 even pieces.  shape them by rolling into tight buns by placing the dough in your hands and moving in a circular motion on the table/counter top until the bun is smooth and no visible seams show.  place 8 buns on a pan that has been generously sprinkled with cornmeal.  allow to rise until double and bake in a 400 degree preheated oven until golden all over.
to make a multi grain version, replace 2 cups of the flour with a combination of whole wheat, rolled oats and multi-grain hot cereal such as hodgson mills.  to improve the texture of the multi grain bread, you can also use a bread flour in place of the all purpose flour.
and if you need me, i will be in the kitchen with my new friend…