 One of the best decisions I have ever made was to become a Master Gardener. Not only have I learned a lot about the hows and whys of all things gardening, I have had a chance to make wonderful friends! Earlier in the summer, I was talking with a fellow MG member and I mentioned that I really wanted to learn how to make hypertufa pots and that I was more than willing to plan a get together at my home with some of our gardening friends. It was if the walls, or maybe the hostas were listening in on my plans because as quickly as I mentioned this, we learned that one of our fellow MG members was offering a tufa pot workshop in her backyard. Needless to say, I quickly signed up for the class!
Georgeann may be known for her love of hostas and her beautiful garden (watch this episode of Volunteer Gardener for more information) but in our circle, she is well known for her knowledge and craftwork with hypertufa. If you are not familiar with hypertufa, it is a mixture made from peat moss, portland cement and vermiculite and when it is completely cured, it is just as strong and durable as cement but not nearly as heavy.
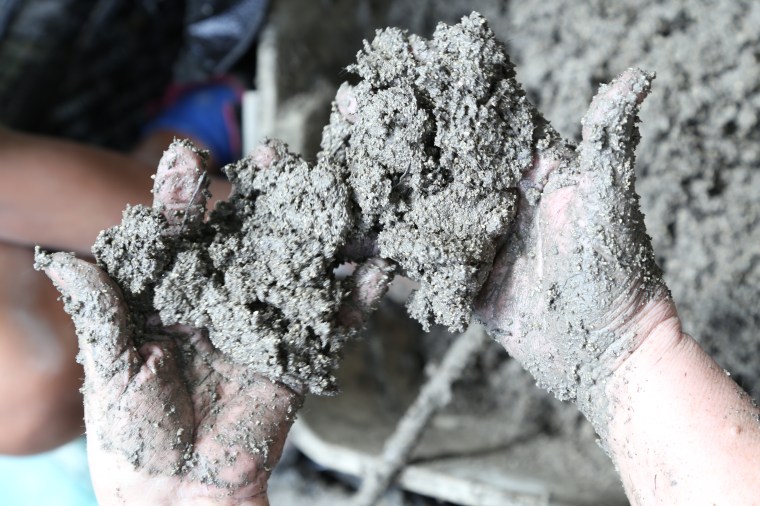
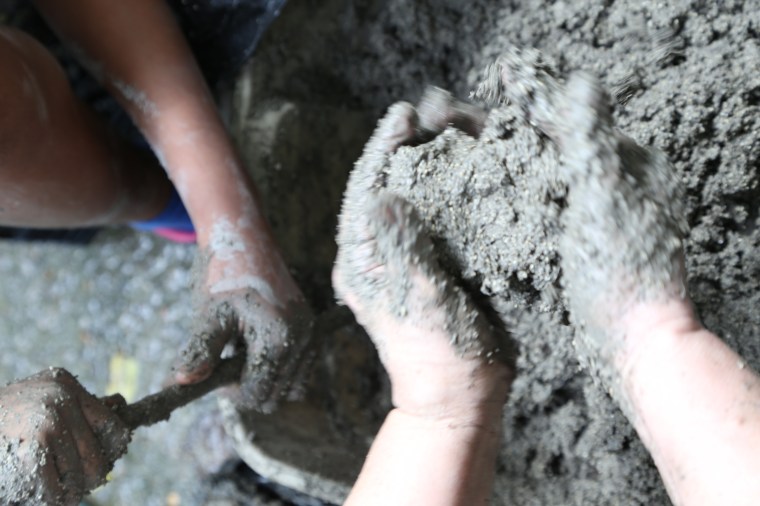

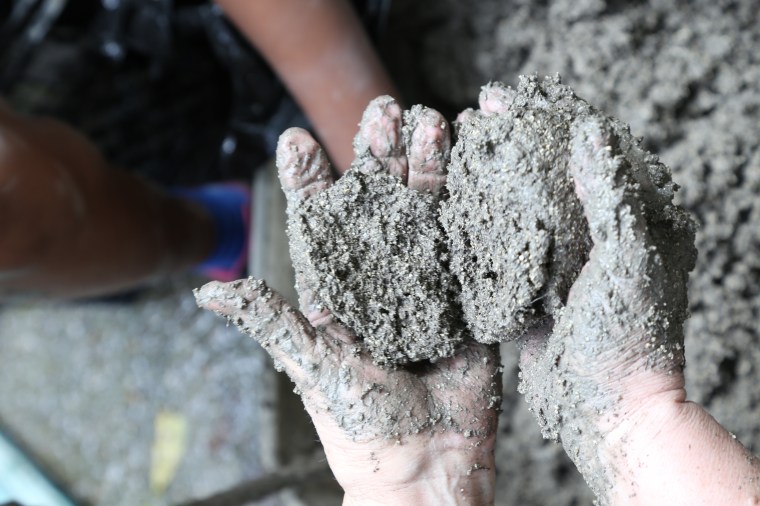 Making the mixture is fairly easy, it takes a little elbow grease but it is not at all difficult to make. In a large container with a wide opening, combine 3 parts peat moss, 3 parts vermiculite and 2 parts portland cement. For extra strength and durability, you can throw a handful or two of fiberglass reinforcing fibers. Add water to the container and mix it until it is moistened but holds its shape-refer to the photos above. Do not do this with bare hands!!! (nevermind Georgeann’s bare hands, she warned us about the consequences) Portland cement can be a bit caustic and it will dry your skin to the point of irritation.
 Select a mold with a wide opening and grease the inside with spray or a thin coat of shortening. Line it with a couple of plastic bags or a sheet of plastic drop cloth. Do not worry about the crinkles and wrinkles, they will add texture to the pot.
 Press handfuls of the mixture into the bottom so that it is at least an inch and a half thick. Using your fingers, make a hole for drainage. Keep building up the sides so that they are at least an inch thick but when it comes to the top edge, make it a little thicker and rounded so that it is stronger. Let it cure, out of direct sun-in full shade, gently lift the plastic sheet to remove the pot from the mold after a day or two. At this point, you can carefully shape the edges or carve designs into the surface of the pot. Use a metal brush or a file to sand the edges and small chisels for the carving. Replace it into the mold to finish curing. You want to do this to ensure that you can get it out of the mold at all-a lesson I learned the hard way!
Allow the pot to dry in the mold for at least a week and then pull it out and peel off the plastic liner. Keep the pot in the shade to finish the curing and it is best to keep it slightly moist and wrapped in plastic. The longer and slower the curing process is, the stronger the pot will be.
 If you walk around Georgeann’s garden, you will find tufa pots. This one is home to just one of many hosta plants.
 The pots are very durable and can even spend the winter outdoors. Even though the cement mixture is on the alkaline side, plants can thrive in them and so can moss.
 The moss is a plus in my opinion, I just love the character it adds to the pots.
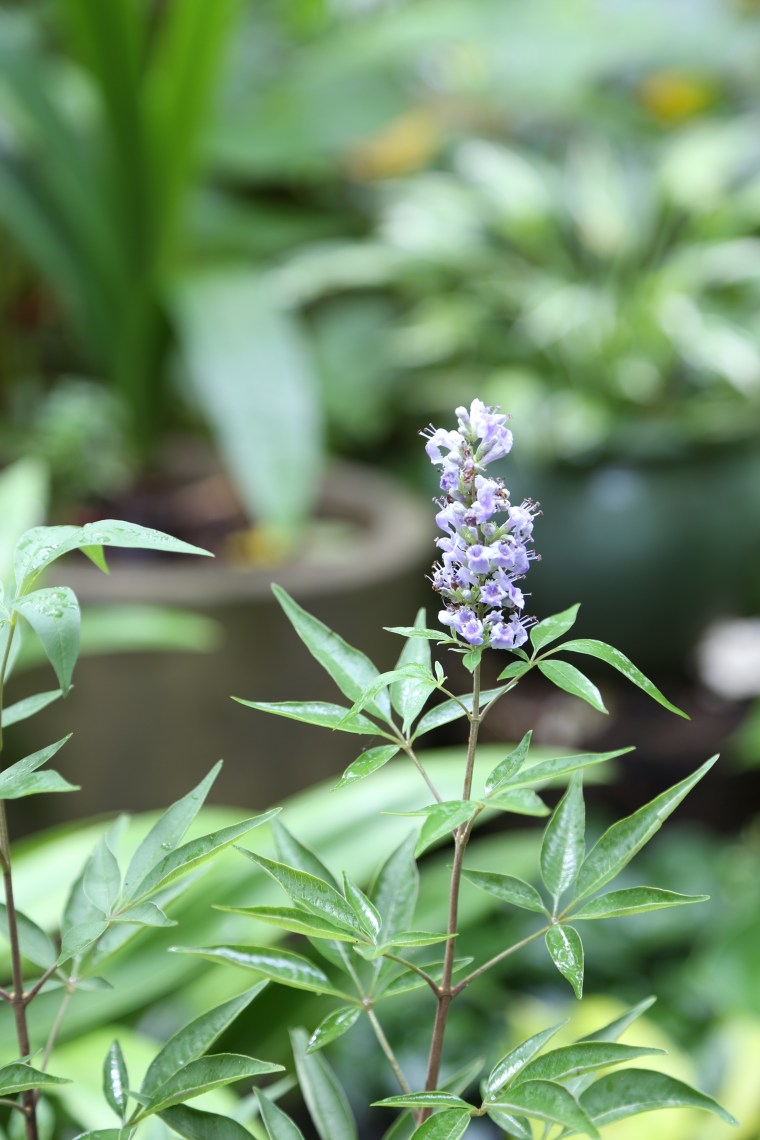 As a beekeeper, I love seeing Vitex (Chaste Tree) in gardens.
 All through the garden, I found little surprises like this mosaic of a Blue Jay.
 And this Earth ball.
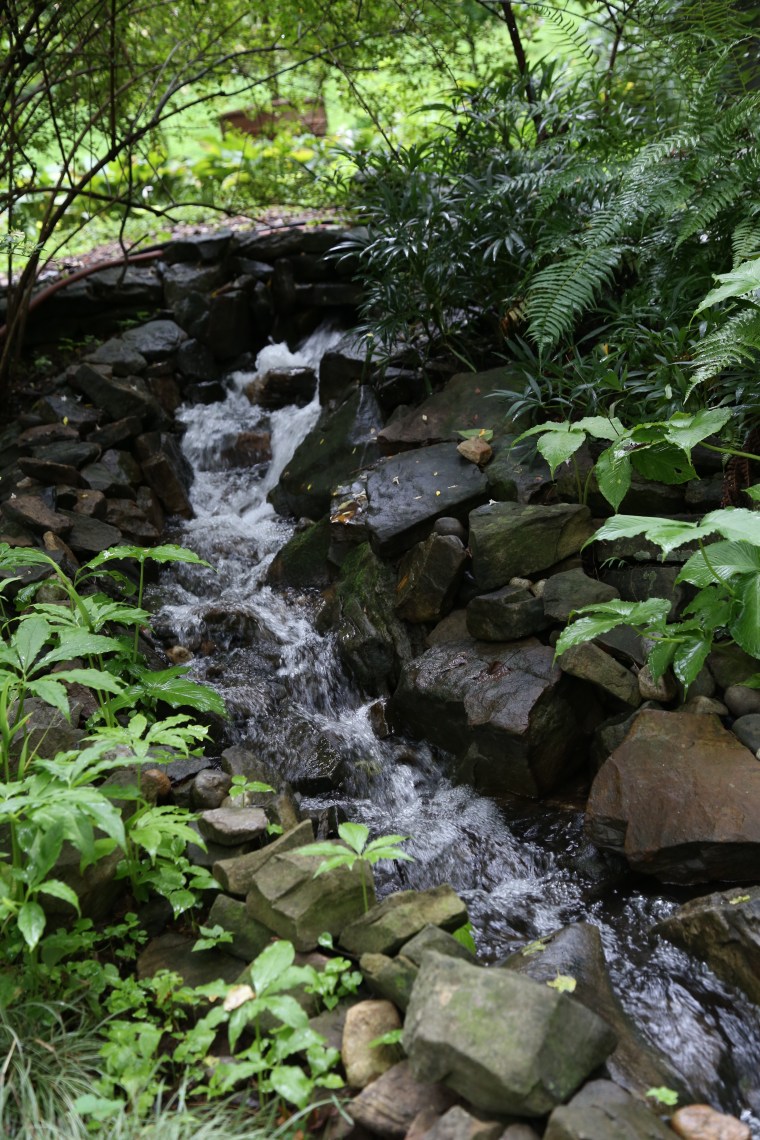 The waterfall is actually a water feature that recirculates but it is no less beautiful than a real stream!
 Of course, there are plenty of Hostas to admire, too!
 As much as I love Hostas, I really love Hydrangeas!
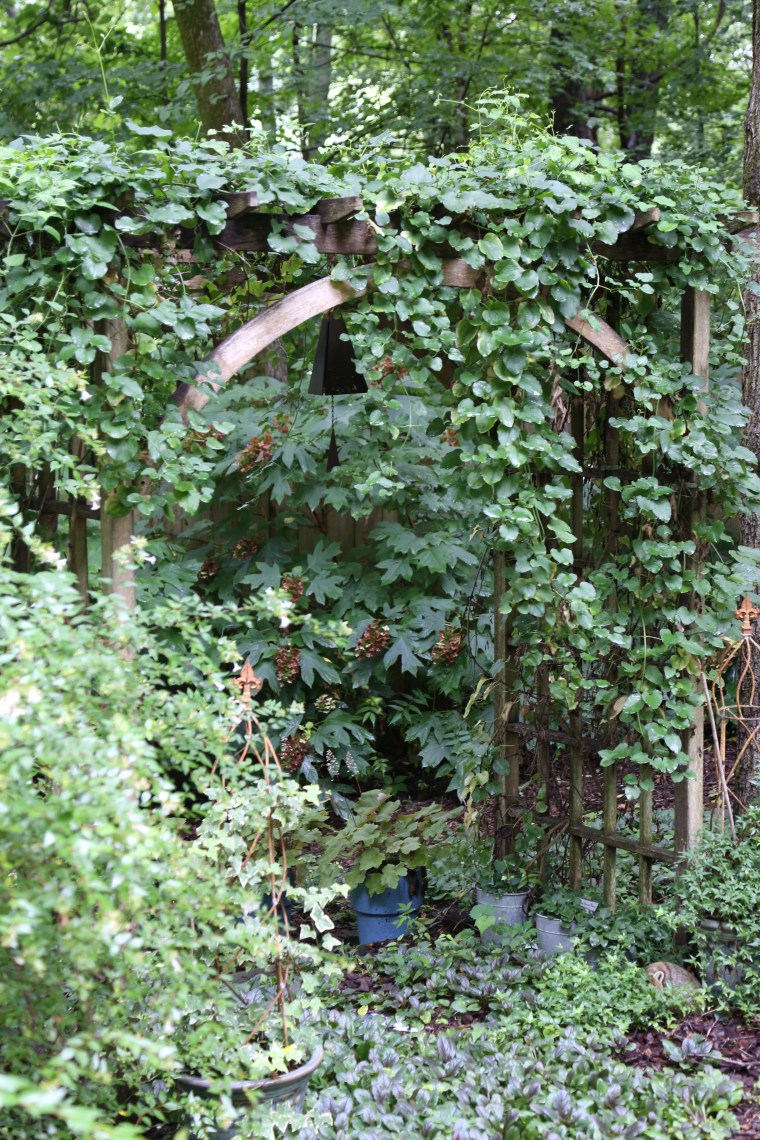 Arbors are everywhere in the garden.
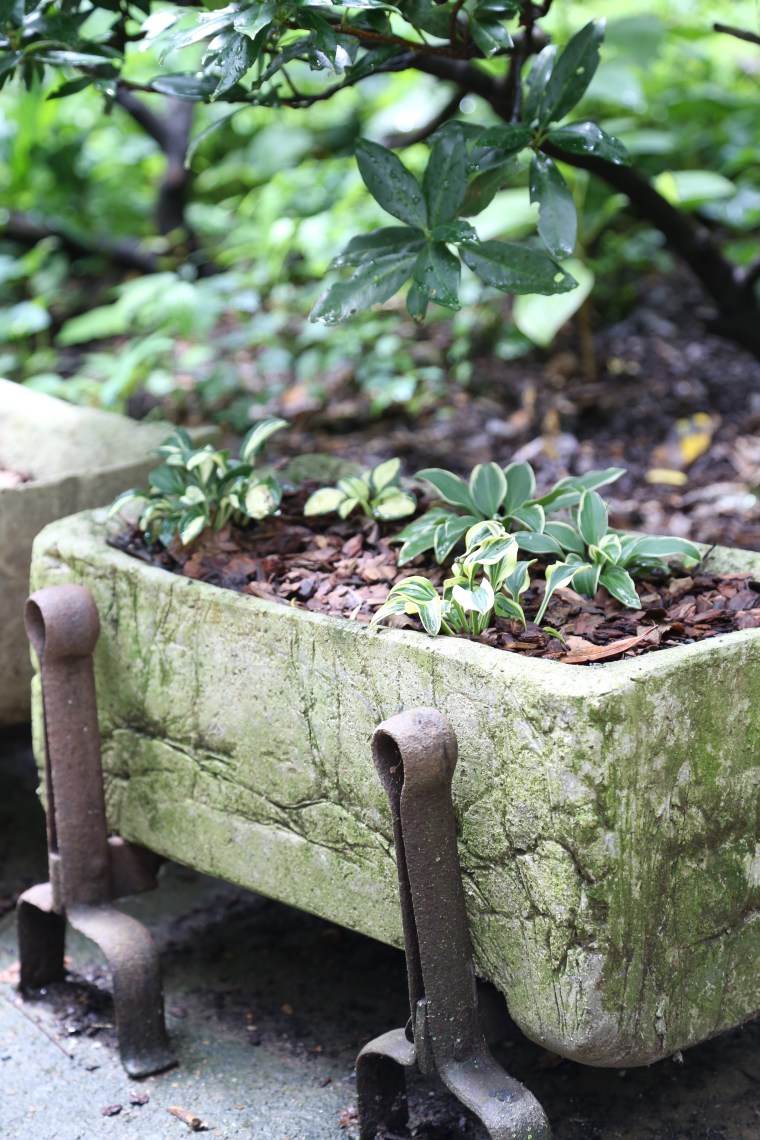 Another of Georgeann’s tufa pots, this time it is a trough. Remember what I said about the crinkles and wrinkles in the plastic liner? They really do add a lovely texture to the finished pot.
  Everywhere you look, there is something to see, and in my case, covet!
 Don’t you just love this little cottage?


 This swing is hidden from view in most of the yard but I was still hesitant to sit on it for fear of acting like a child…
 If this were my garden, I have a feeling that I would be spending a lot of time sitting out in front of the cottage at this table.
 Caladiums are quickly becoming one of my favorite plants to add color to a shade garden.
 This stone sits at the start of the path that leads up to the cottage and if you ask me, it is an accurate description of Georgeann’s garden.
 So the moral of this story; if a Master Gardener opens their home to you, go! You really have no idea what you will discover or learn until you walk through someone’s garden and I am genuinely grateful that I had the chance to spend a morning exploring this beautiful garden. And in case you were wondering, there was definitely cake; I brought my Guess Again Tomato Cake and the recipe will be posted soon!
 To say it has been cold here is an understatement. Yes, I know that plenty of places are much colder and covered in snow, so what! We moved south to escape snow and frigid temperatures and the last two weeks have been brutal here. So rather than dwell on the cold or debate who has it worse and all that, let’s just look at photos from the fall taken out at the Demonstration Garden in Ellington Ag Center. Before the frost. When it was still warm… Mexican Sage in bloom.
 Love the fuzzy blooms, so do the bees.
 Vietnamese coriander in bloom. So delicate and tiny.
 The swamp monster that tried to eat the garden-Swamp sunflowers in bloom
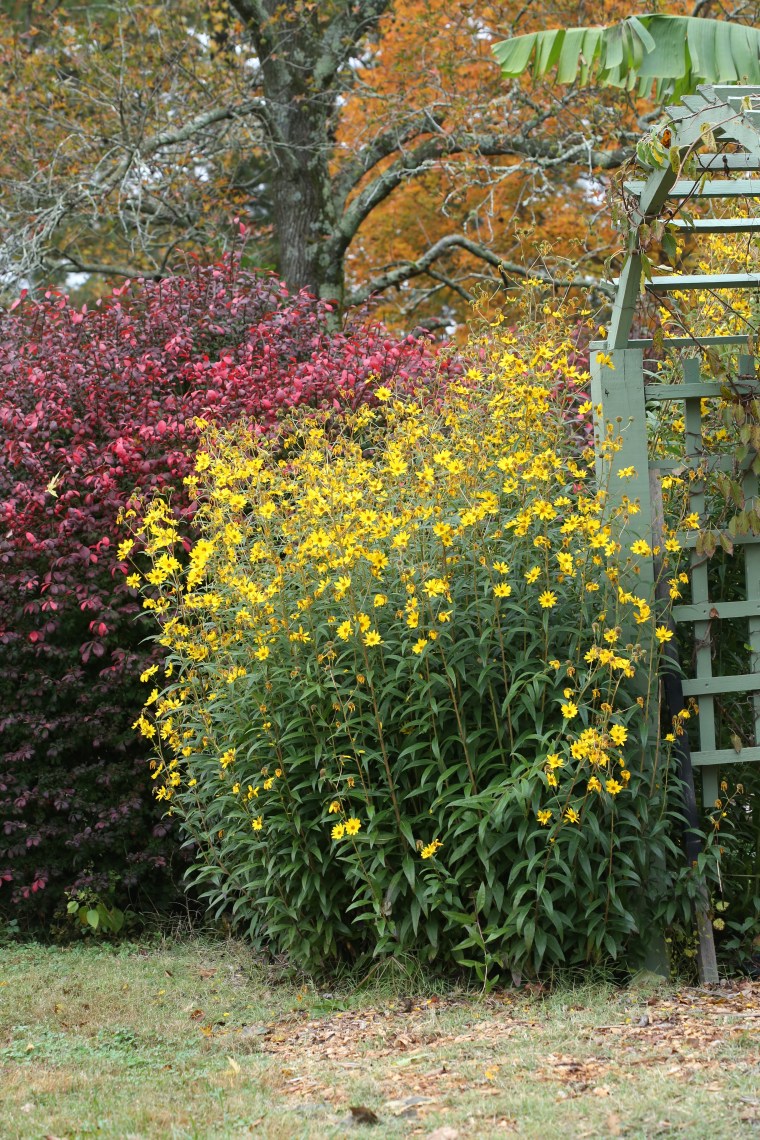 The swamp sunflowers were about 8 feet tall and they are spreading out. Don’t they look beautiful with the Burning Bushes?
 Want to plant something that bees and hummingbirds love? Fill your garden with salvias and one of my favorites is Pineapple Sage. The leaves smell like a pineapple lifesaver candy when you rub them and they are edible meaning you can use them as you would most other edible herbs. Honey bees love them and if you have a colony nearby, you might just find enough of them in it to make the whole plant buzz and vibrate. Hummingbirds will visit them too but only if they stay in your area through the fall. Pineapple sages tends to put this show on late in the season and this was taken around the first week of November.
 Just look at those pollen baskets!
 We built this out at the Bee Garden and we are hoping that beneficial insects are nesting here.
 This garden is just full of color and blooms.
 Our climate here allows for tropical plants to grow and thrive during the warmer months but the fruit never has a chance to mature and ripen.
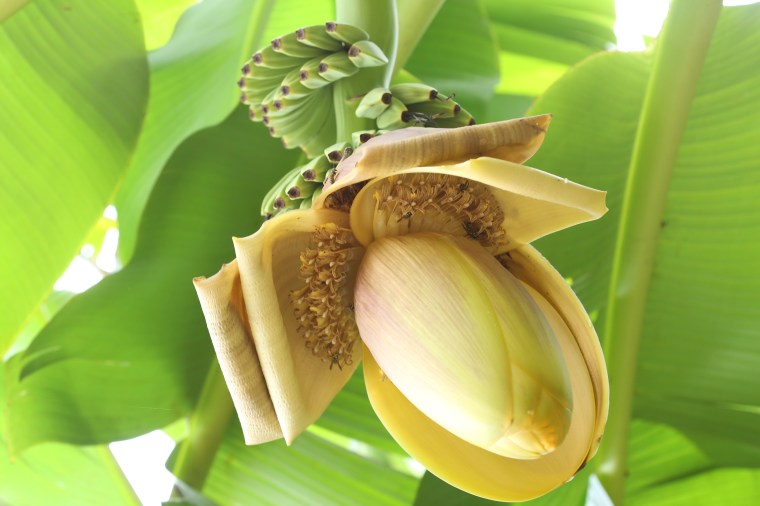 We can only dream about bananas; these did not make it and were killed by frost shortly after I took the photos but while it was blooming, the wasps and bees loved the nectar and pollen.