
There’s no point in explaining my absence; nothing has been as it should for the last 23 months and we all know that. However, I did finally decide to try and get back to keeping this page relevant and posting about the things that have kept me busy during this long stretch seemed fitting.
This page is focused on baking and gardening because that is what I do; I bake and I garden and sometimes, I bake with what I have grown in the garden. Lately though, many days have been spent canning things from the garden; pickles, jams, tomatoes in all forms, vinegar and vegetables. We actually produce enough food in the garden to feed ourselves through the year. There is a real feeling of satisfaction when I peek into the cupboard in search of ingredients and I pull out a jar that is filled with something that I grew and canned myself.
When my husband gave me a pressure canner one Christmas, I was excited; I could finally do more than just tomatoes or pickles! The cupboard is now stuffed full of single serving jars of soup that I made to keep me fed this winter. It may seem like work but when you do the math, it is almost always a lot cheaper than buying cans of soup and it certainly doesn’t contain the preservatives and crap that most cans of soup are full of.
The biggest bargain I have found is to buy bags of dried beans and then can them. A one pound bag of beans will yield four pints of cooked beans once they are canned and you figure it out, a jar ends up costing about 35 cents. By canning them you also have jars of beans that are ready to be added to a dish without having to soak and cook them; a real win-win in my kitchen.

Hummus is a staple in our house and I was not really fond of making it from store bought chick peas. No matter what I did, even using the Vitamix, just did not make it as creamy as I would like. Then I began canning my own chick peas; what a difference in consistency!

Navy and Great Northern beans are interchangeable in recipes if you ask me. Just look at the photo, Navy on the left, Great Northern on the right. The only real difference is size. Either one works in a bowl of soup or as a side dish or straight out of the jar with a spoon… Yes, I’ve done that when I am too lazy to cook although I will heat them up most of the time.

Recently, I made a batch of Cuban Black Bean Soup and having jars of cooked beans ready to go meant that I didn’t have to cook them first. That batch of soup was finished quickly and into jars it went. Now I have a supply of black bean soup and black beans in the cupboard.

The last batch of beans was a half bag of Blackeyed Peas. We had a major infestation of pantry moths over the summer and had to toss out so much dry food that leaving an open bag of beans in the cupboard was a bit of a risk. Besides, if I am really going to eat a bowl of beans for dinner, these will be my first choice. Saute some onions and garlic, drain the beans and add them to the pan with some broth and just let it simmer; bacon or ham can be added too but i generally skip that. Dinner in less than ten minutes.
Since this page really is about gardening, I feel I must take it full circle. Did you know that you can easily grow your own dried beans? Granted it takes some space and patience but most pole beans will produce pods faster than you can find them on the vines. Every year I plant a variety of green beans called Cherokee Trail of Tears. The vines can grow 15 long and they produce tons of green pods. When young, they are some of the tastiest green beans and we always process a bunch, vacuum seal and freeze them for use over the winter but we have also found that it is just as easy to let some of them go to seed. If you let the pods mature and dry on the vine, you will be able to harvest them and then shuck the beans. This particular variety produces black beans and we have done this a few times. The beans are small but tasty and we have enjoyed them in soup and chili. If you grow your own, do be certain the mature beans are edible, some such as Hyacinth beans can be poisonous.

Now get out there and plant some beans!
 When I was plotting the garden earlier this year, I planned on using a large amount of space for cucumbers because I think nothing beats a freshly picked cucumber when making a salad. Whether it is a bowl of lettuce topped with tomatoes and cucumbers or a bowl of slices in a hot-sweet, vinegar marinade, cucumbers are one of my favorite guilt-free pleasures. This year, I made sure to plant plenty of them so that I could have them all summer long.
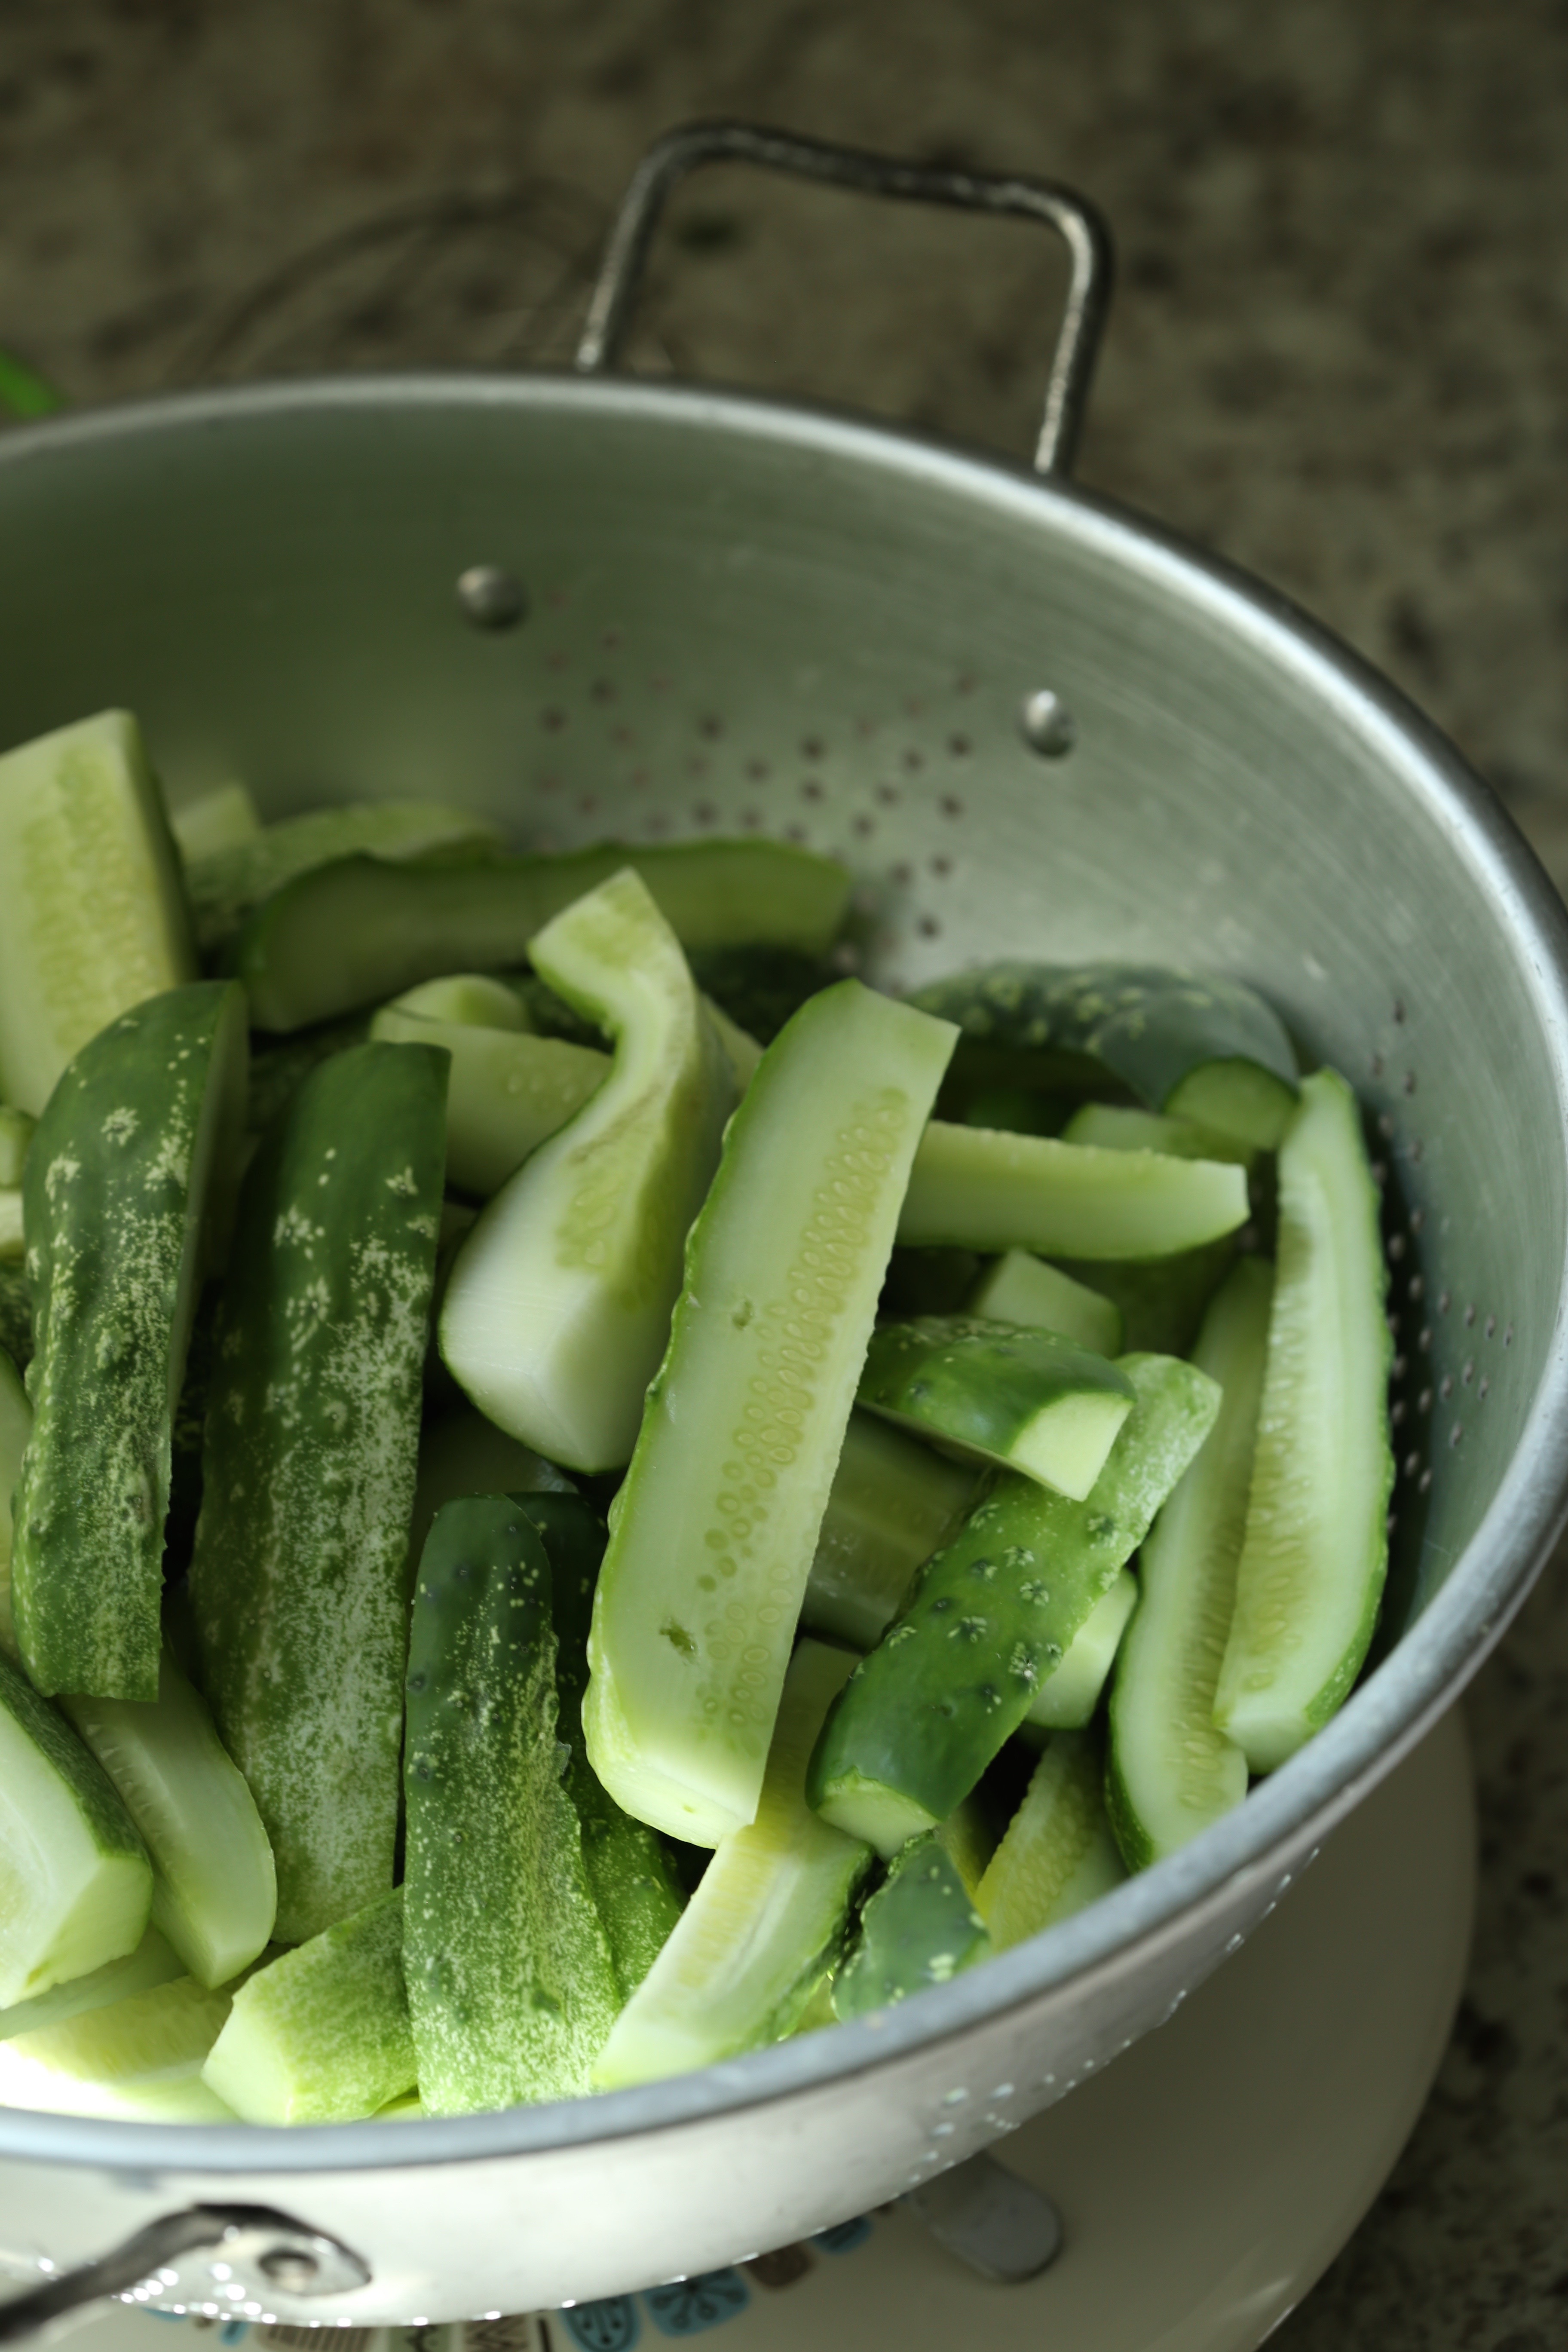 The light in the kitchen is beautiful in the morning. It is one of the things I like most about our home. The windows allow a lot of light in and in the summer, we can go most of the day and into evening without turning on lights in the kitchen.
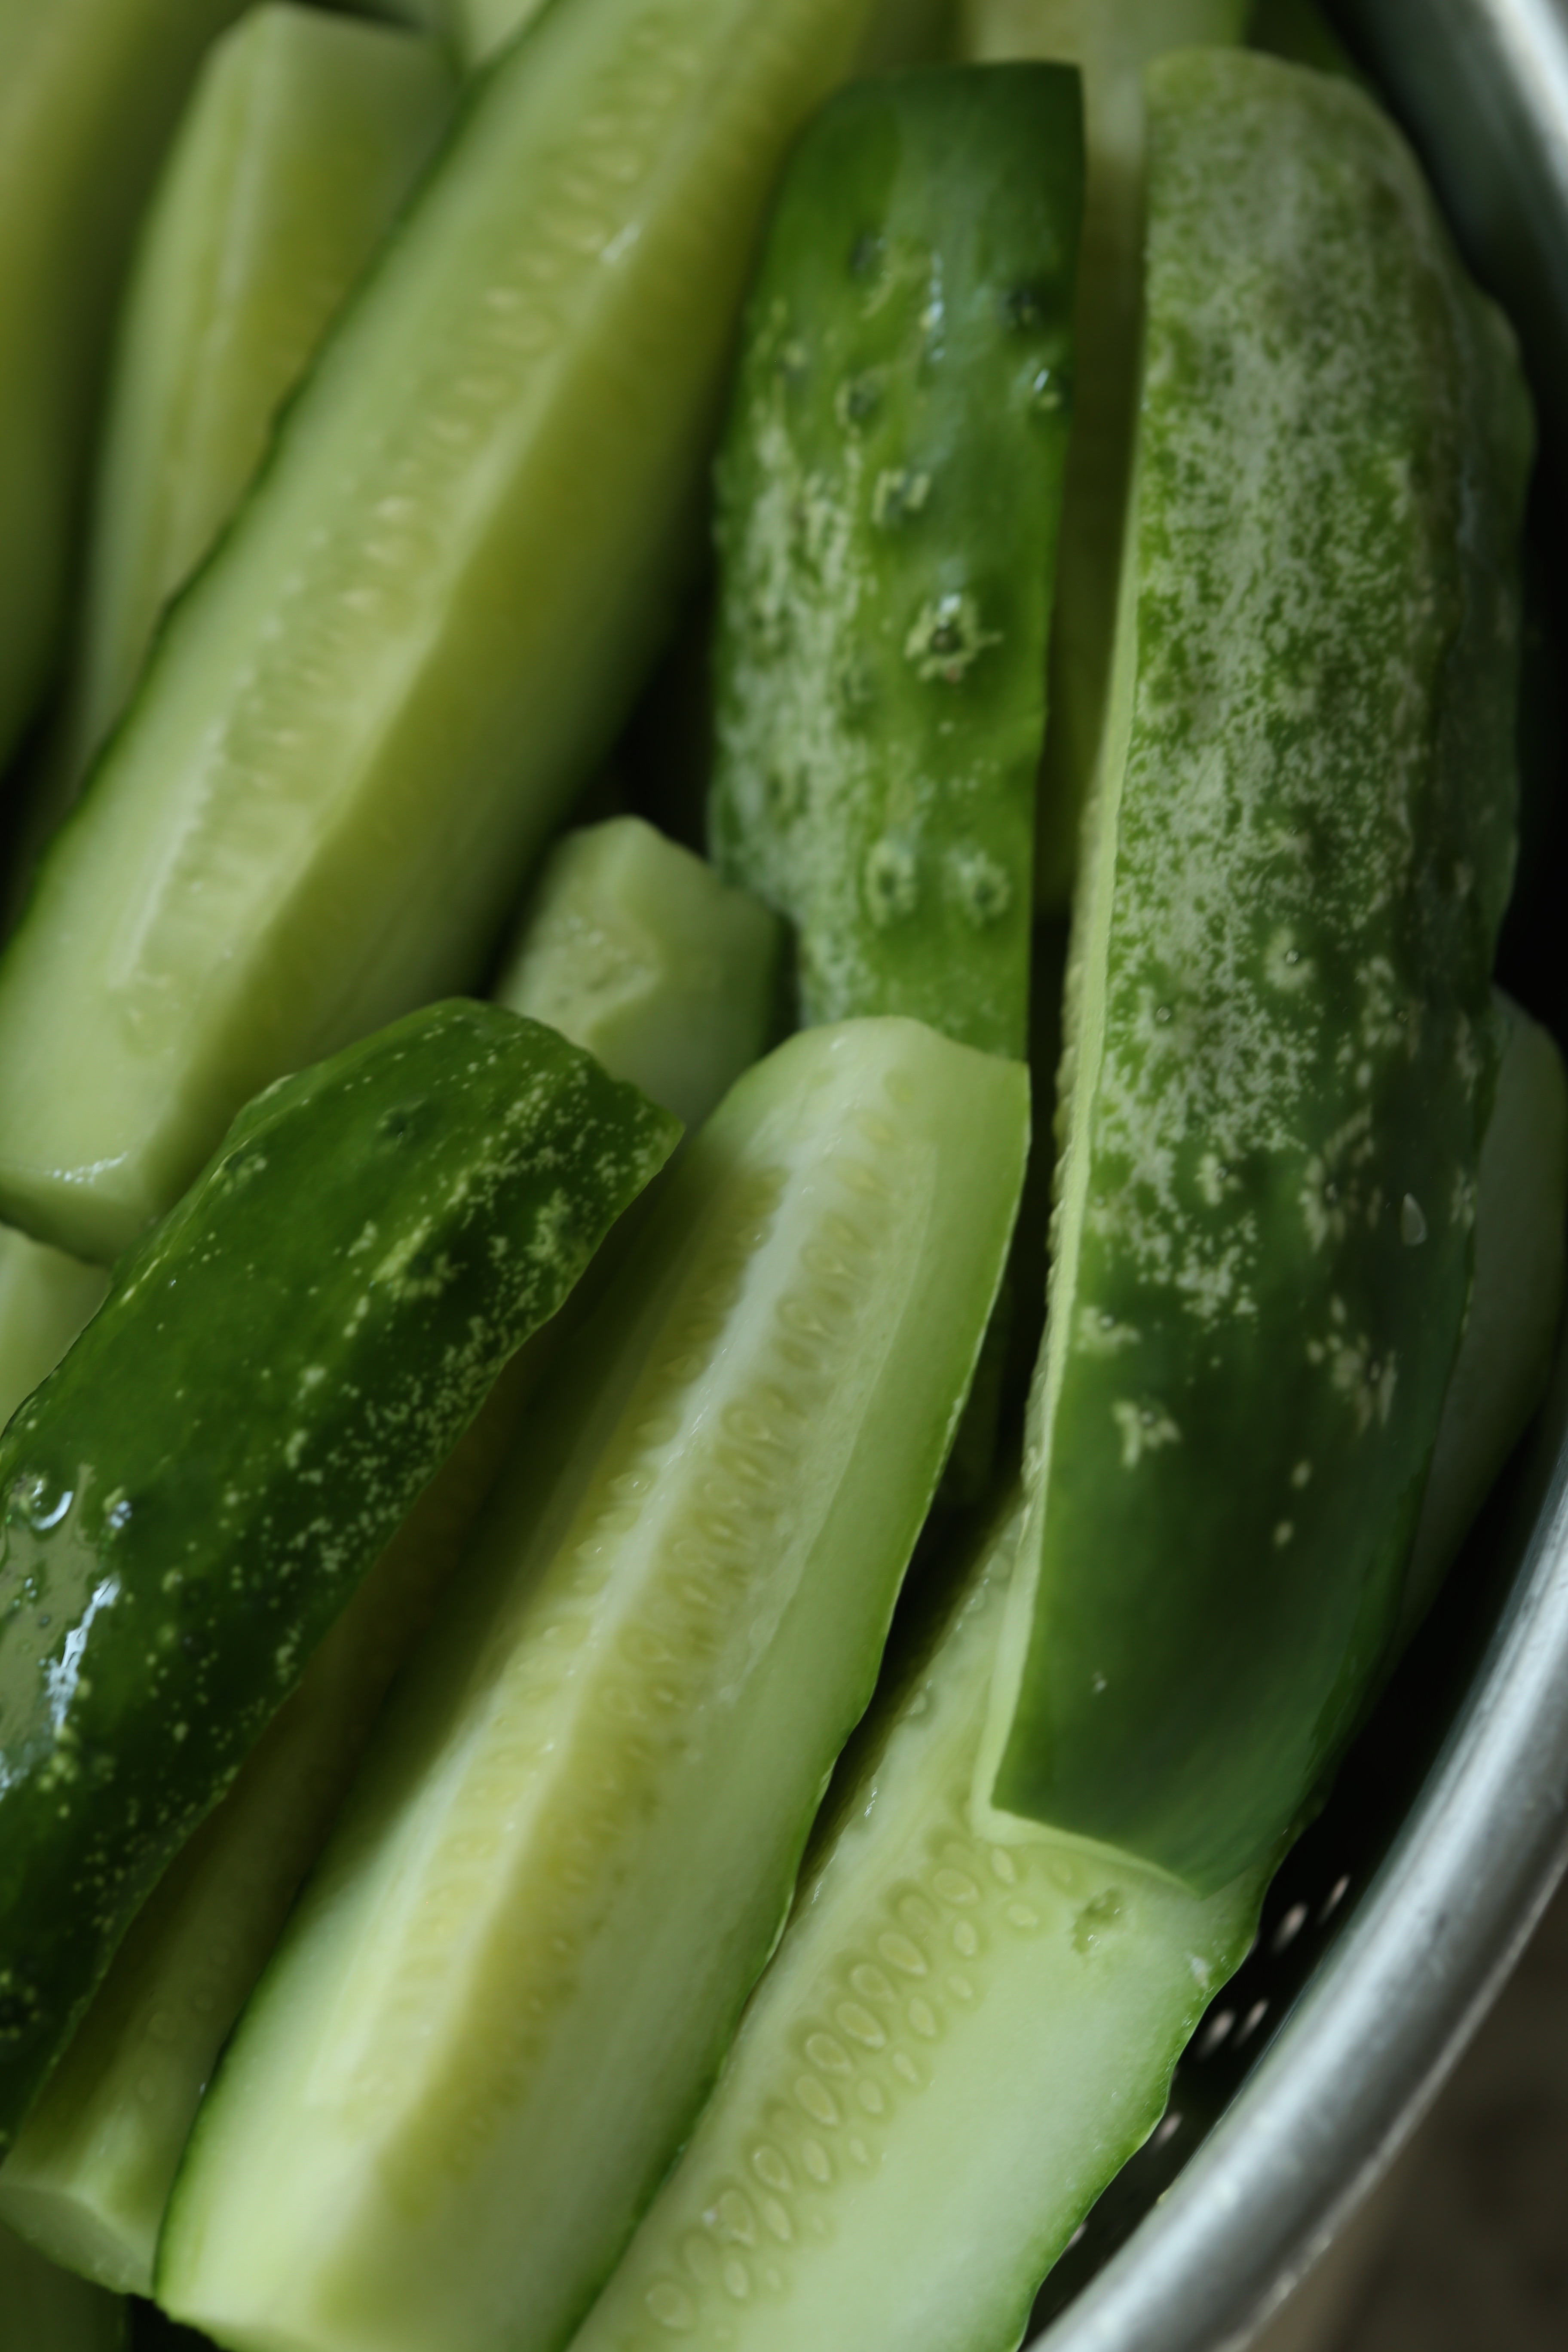 These cucumbers have good flavor, soft skin and did not get bitter even when left on the vine too long-a few got missed in the leaves, swelled up and still did not turn bitter. These have been soaked overnight in a brine and are draining while the jars boil and the vinegar mixture is prepared.
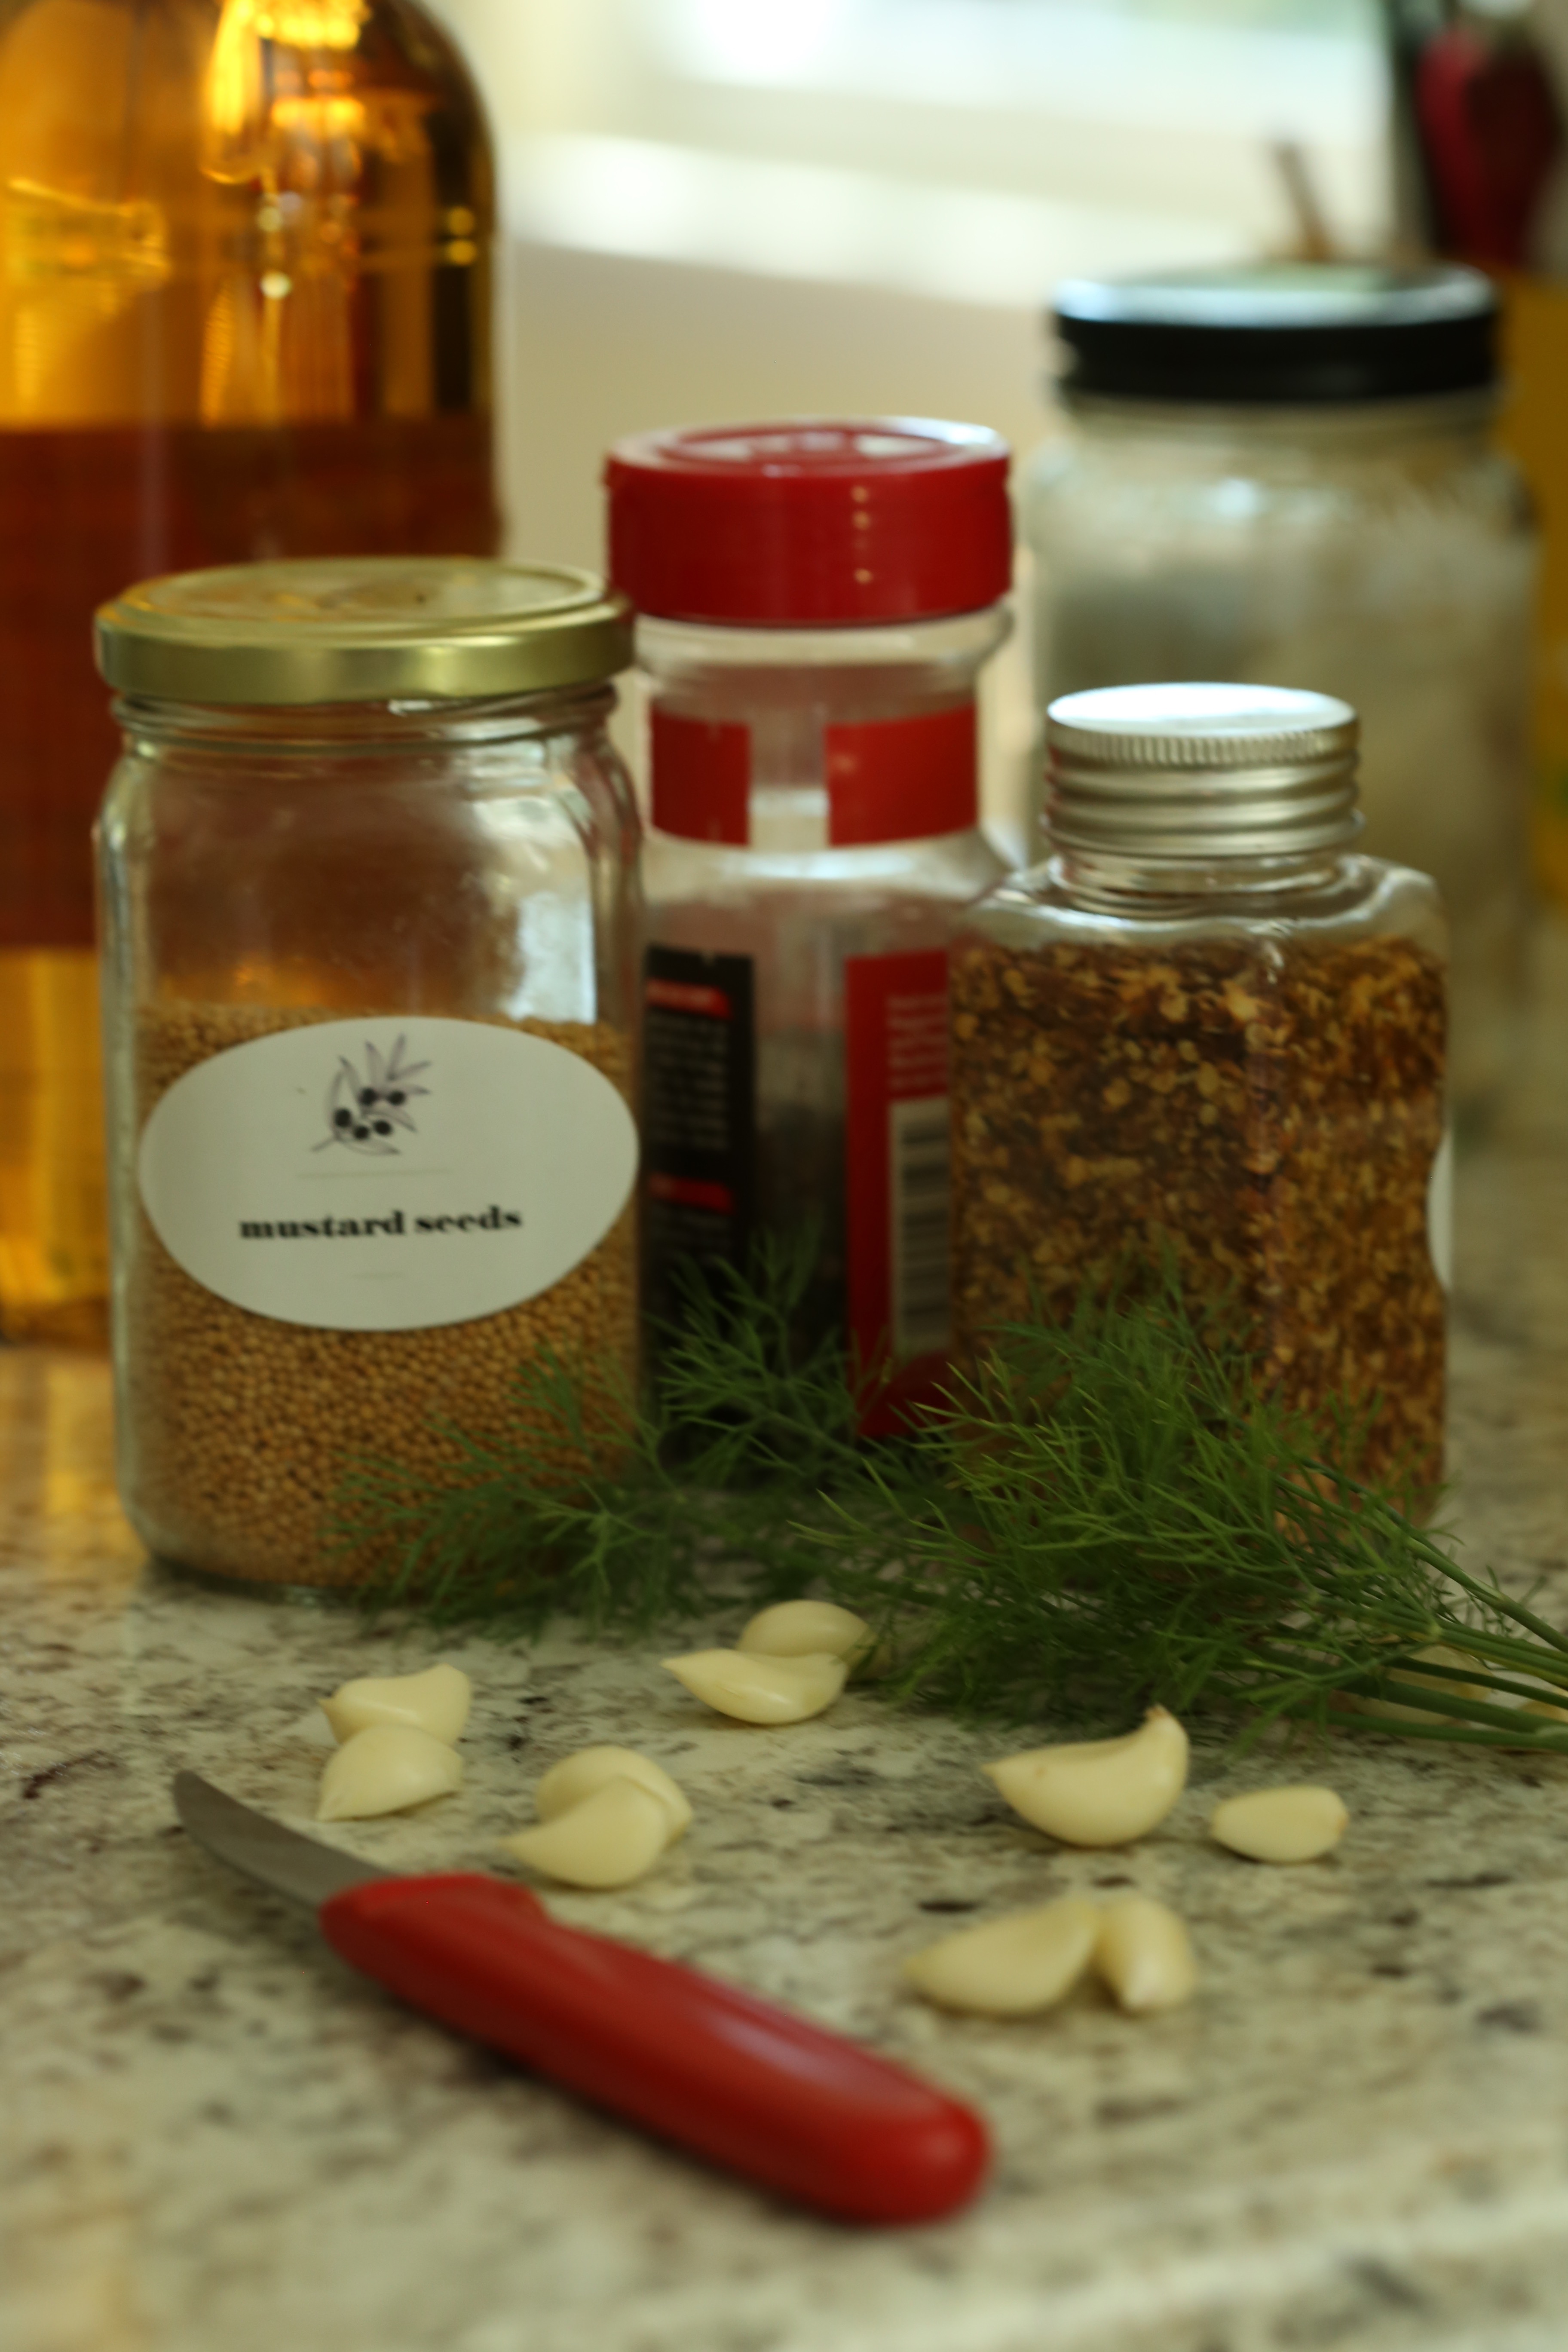 When I make dill pickles, I like to add a few mustard seeds and a pinch of dill seeds. Fresh garlic, crushed red pepper, black peppercorns, dill from the garden are added to a boiled mixture of cider vinegar , water and salt.
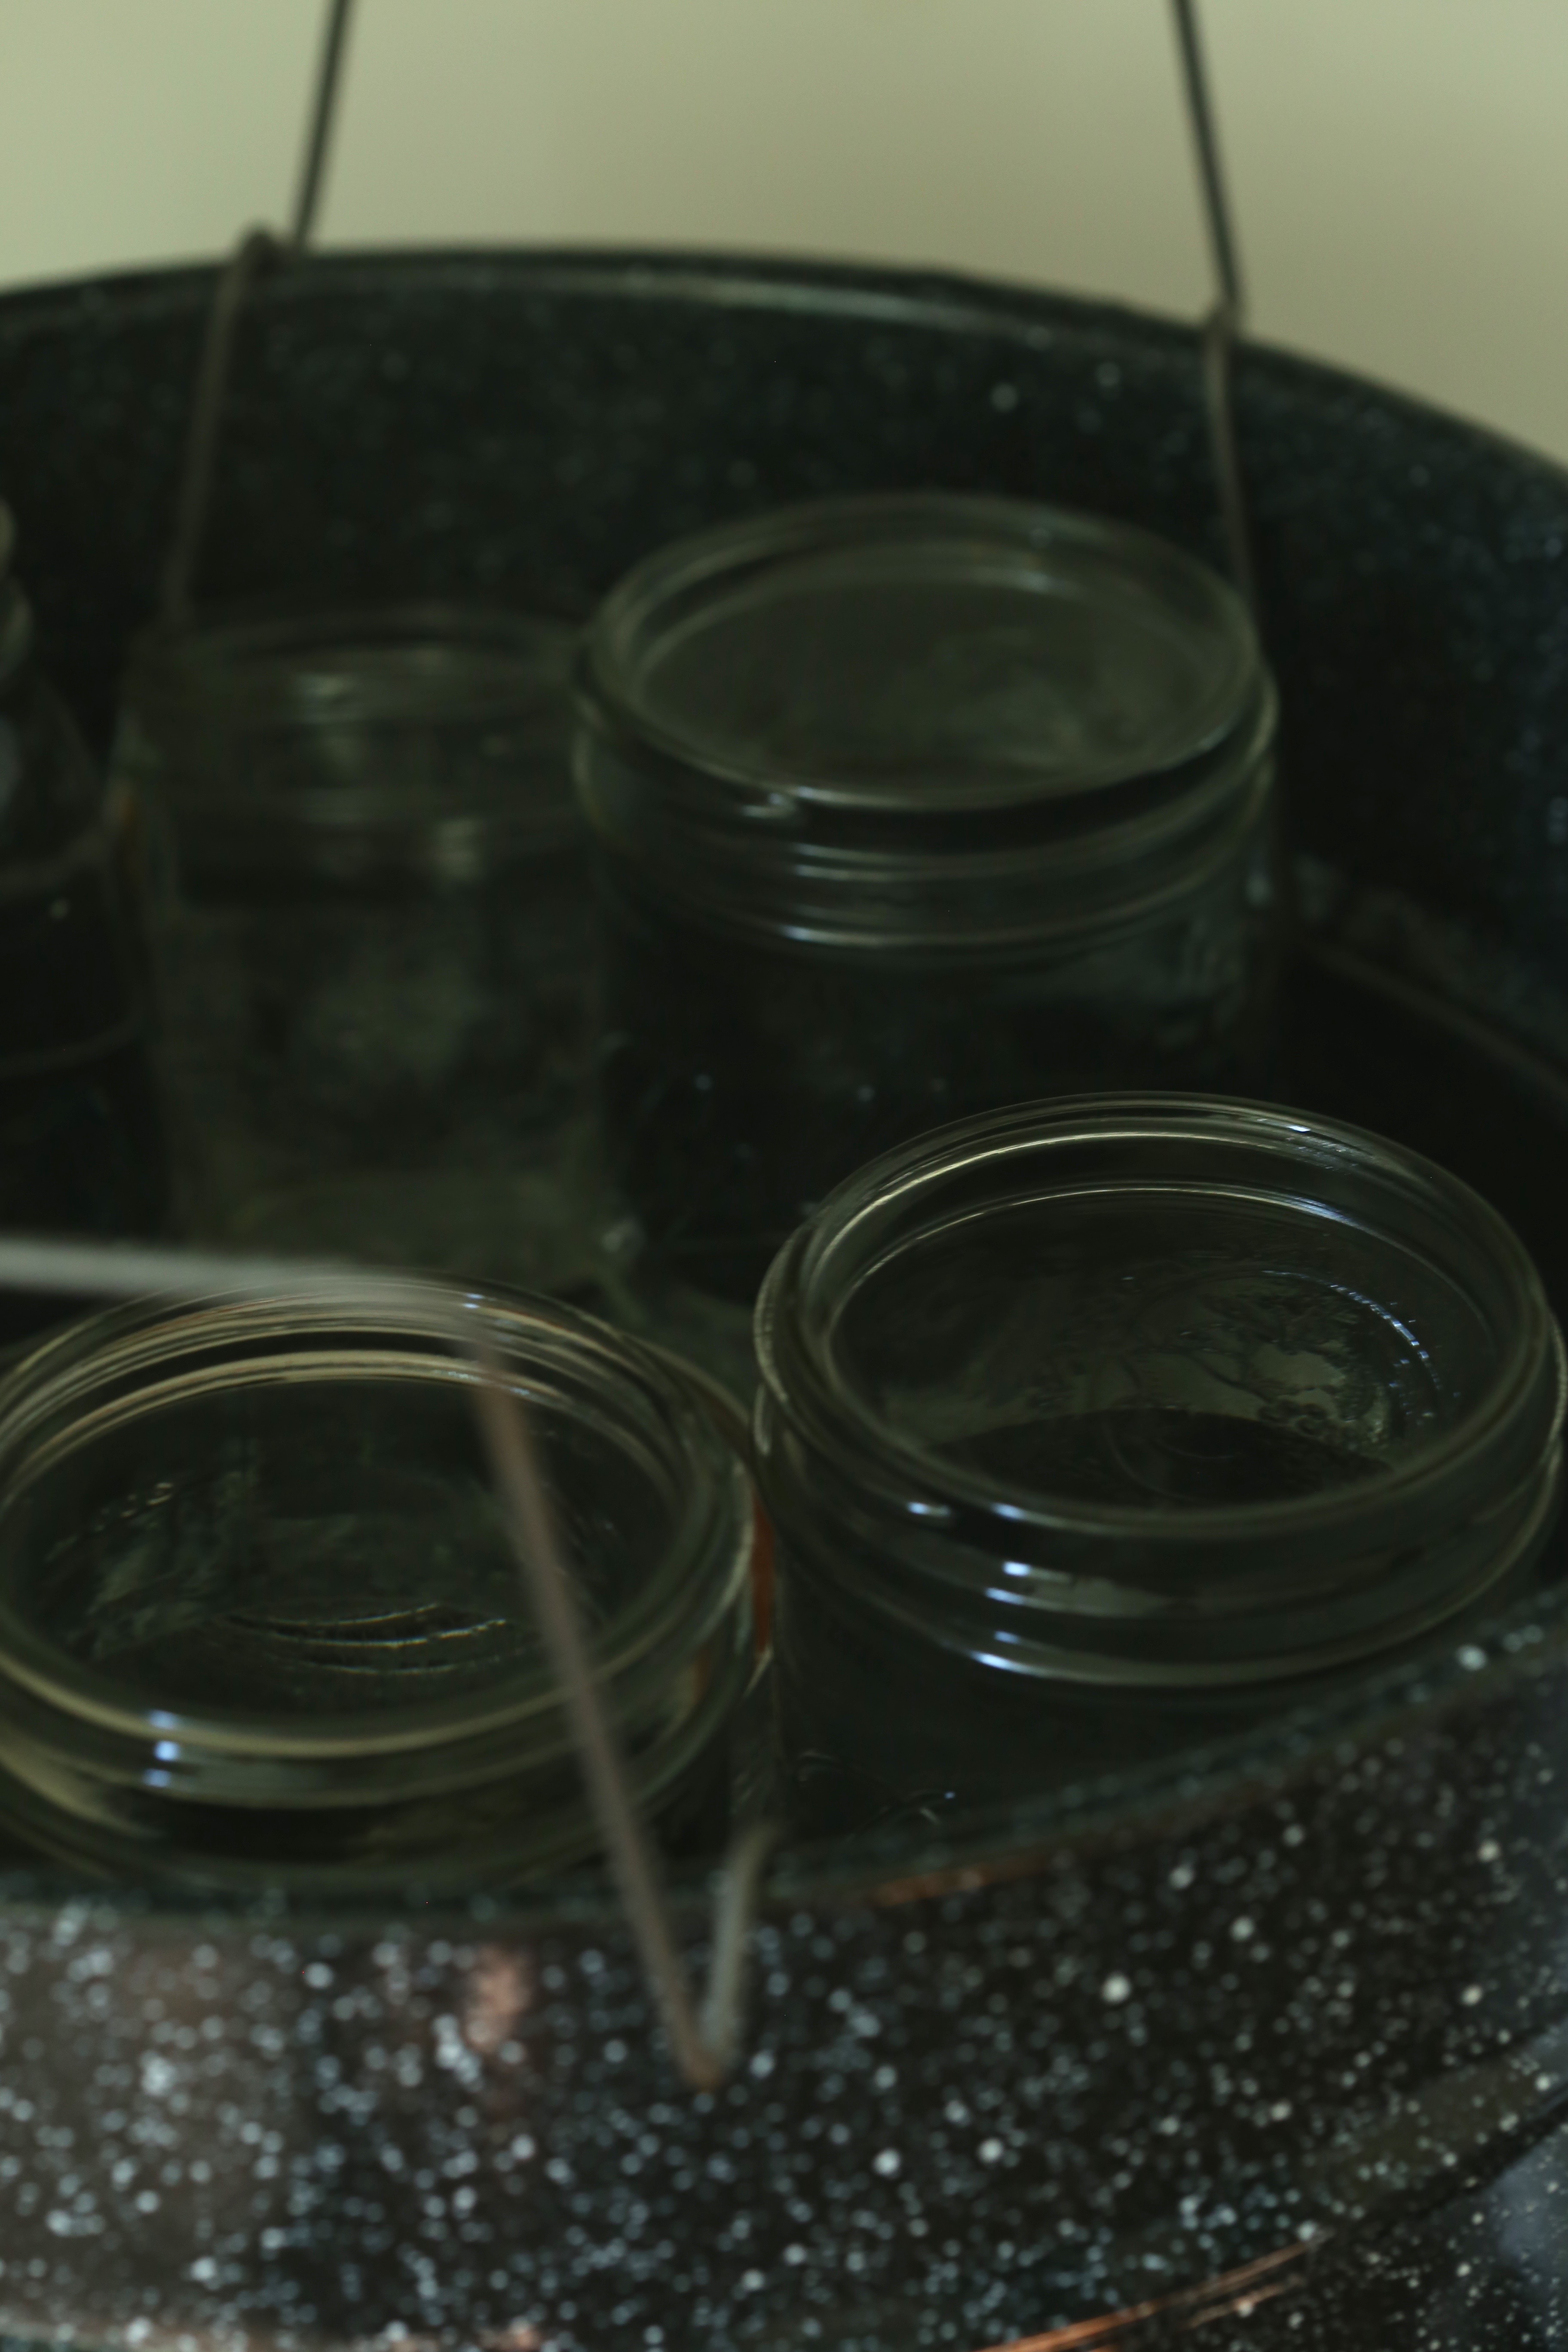 If you like to can, I highly recommend picking up a pot that comes with a basket. It makes putting the jars into the pot and removing them so much easier and safer.
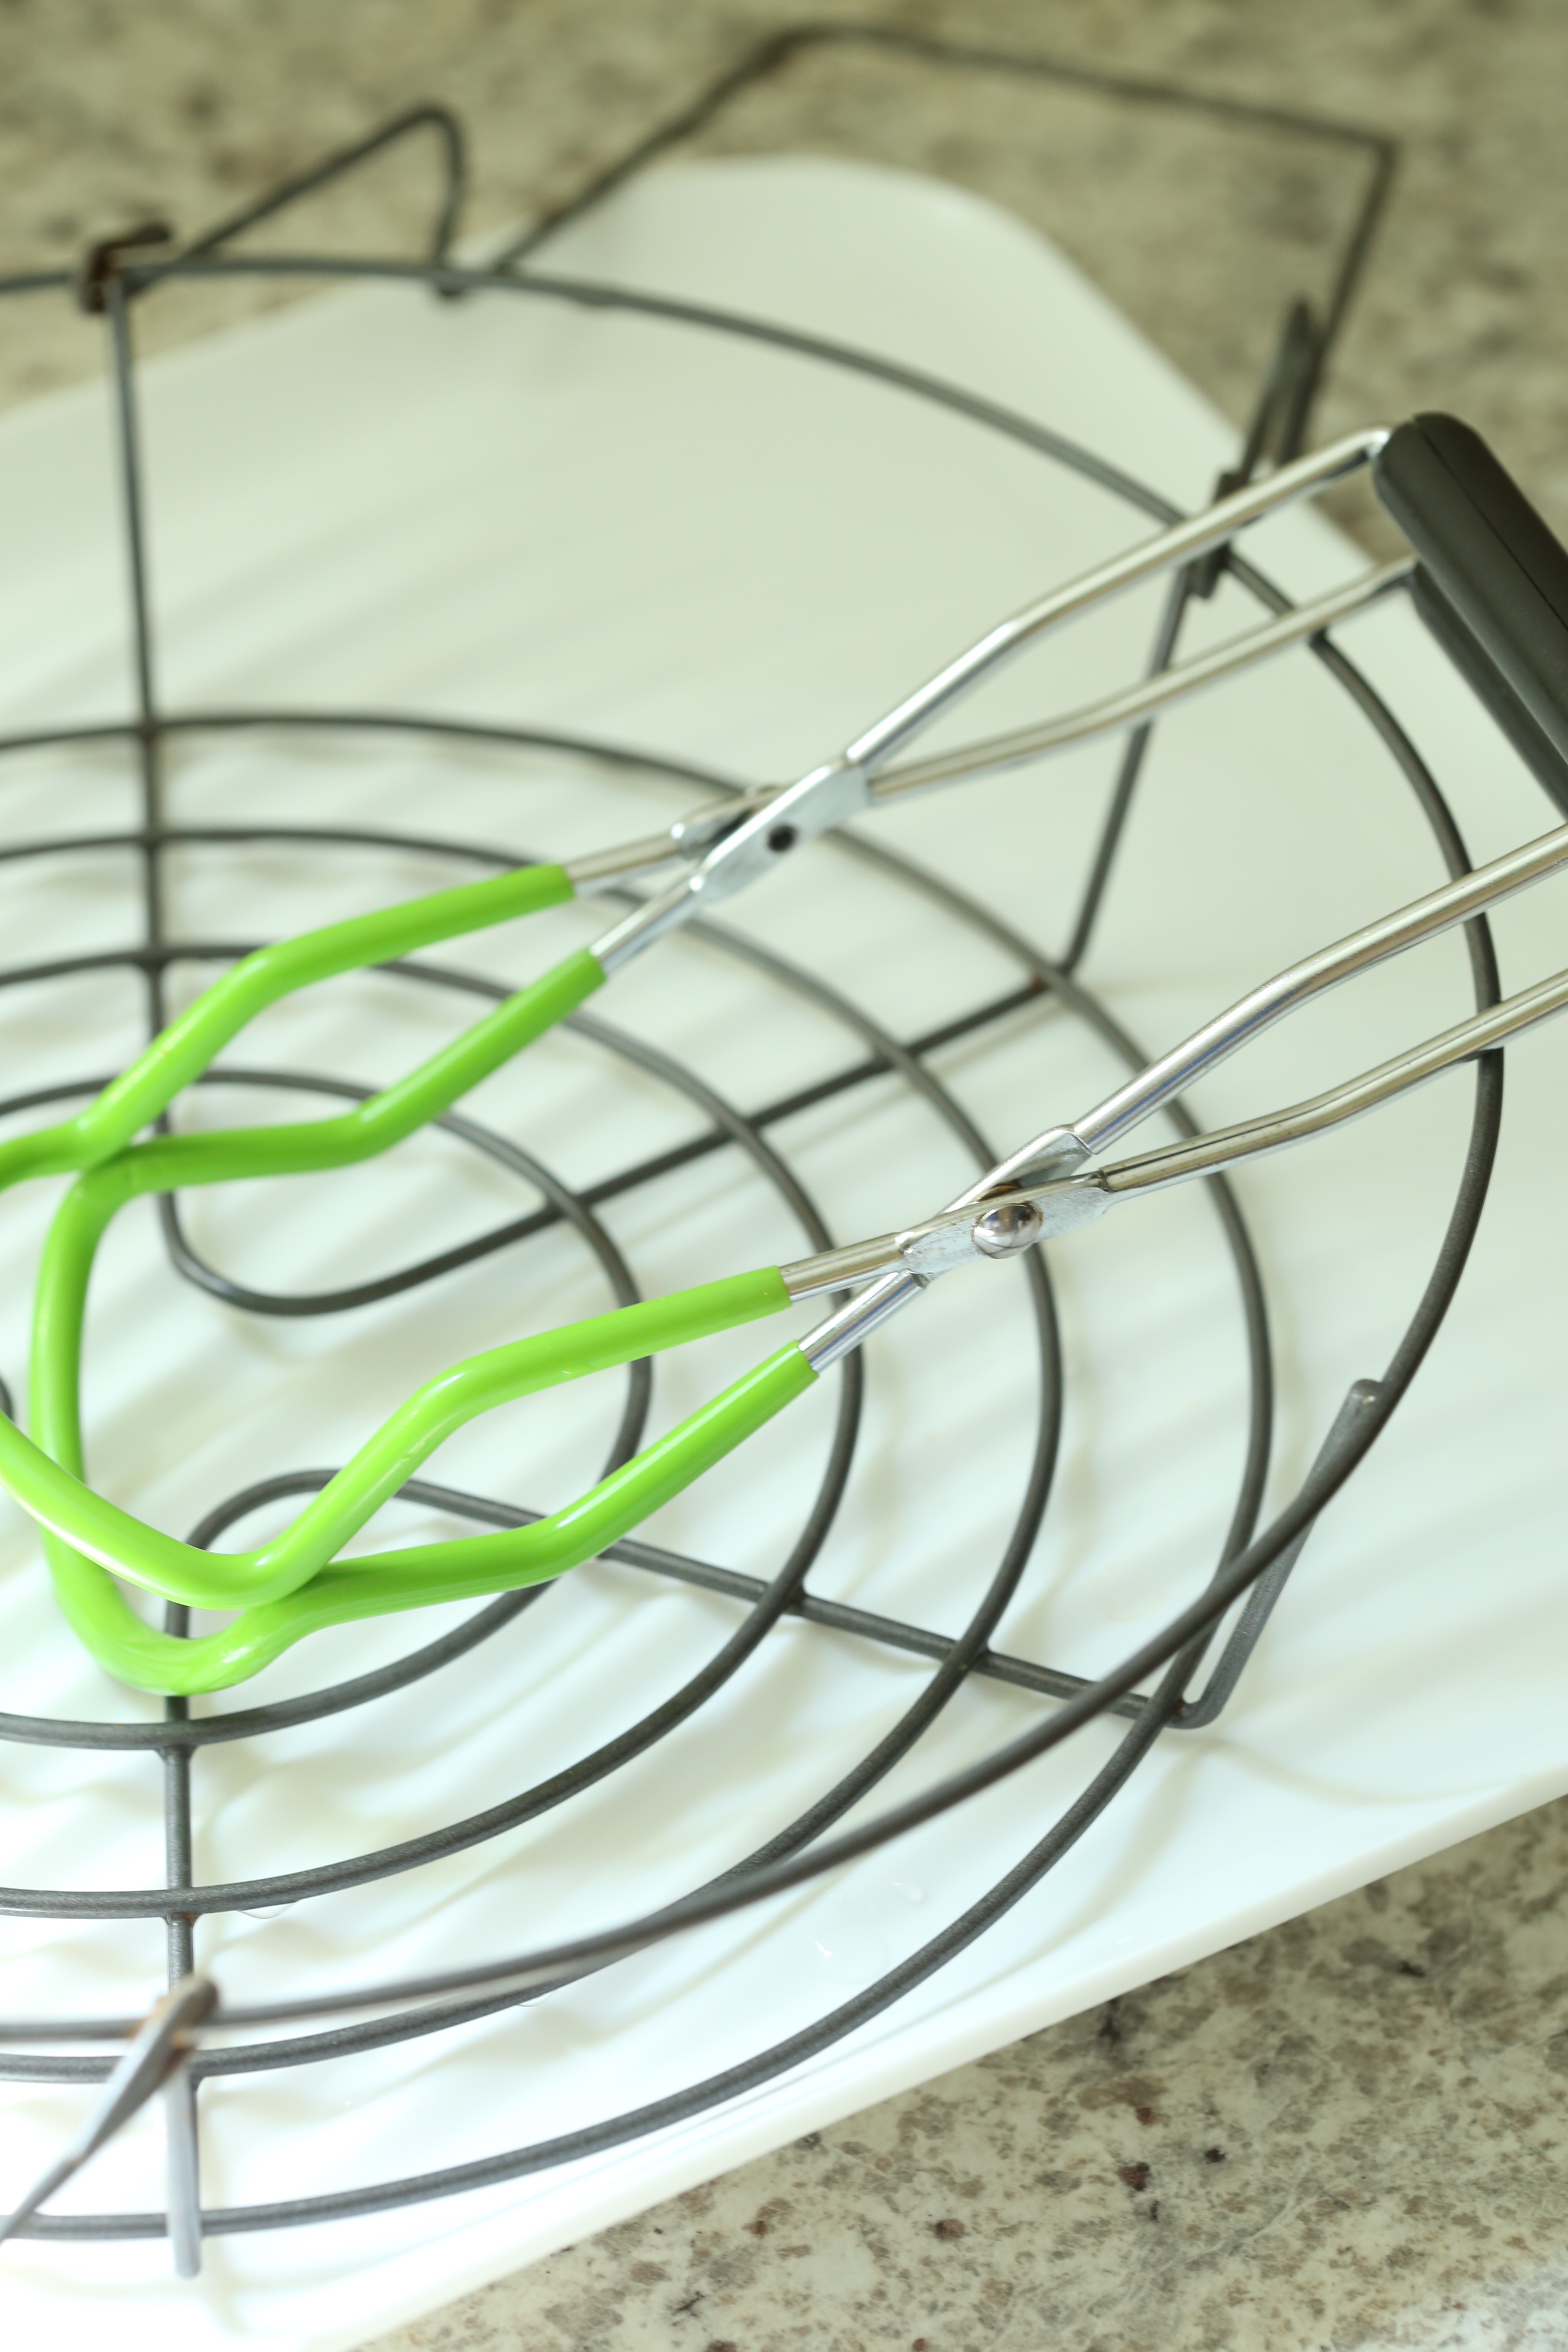 The other tool I recommend, a pair of canning tongs, seriously, if you do not have them, buy them. Too many times I have tried to use regular kitchen tongs and have scalded my hands on more occasions than I can count!
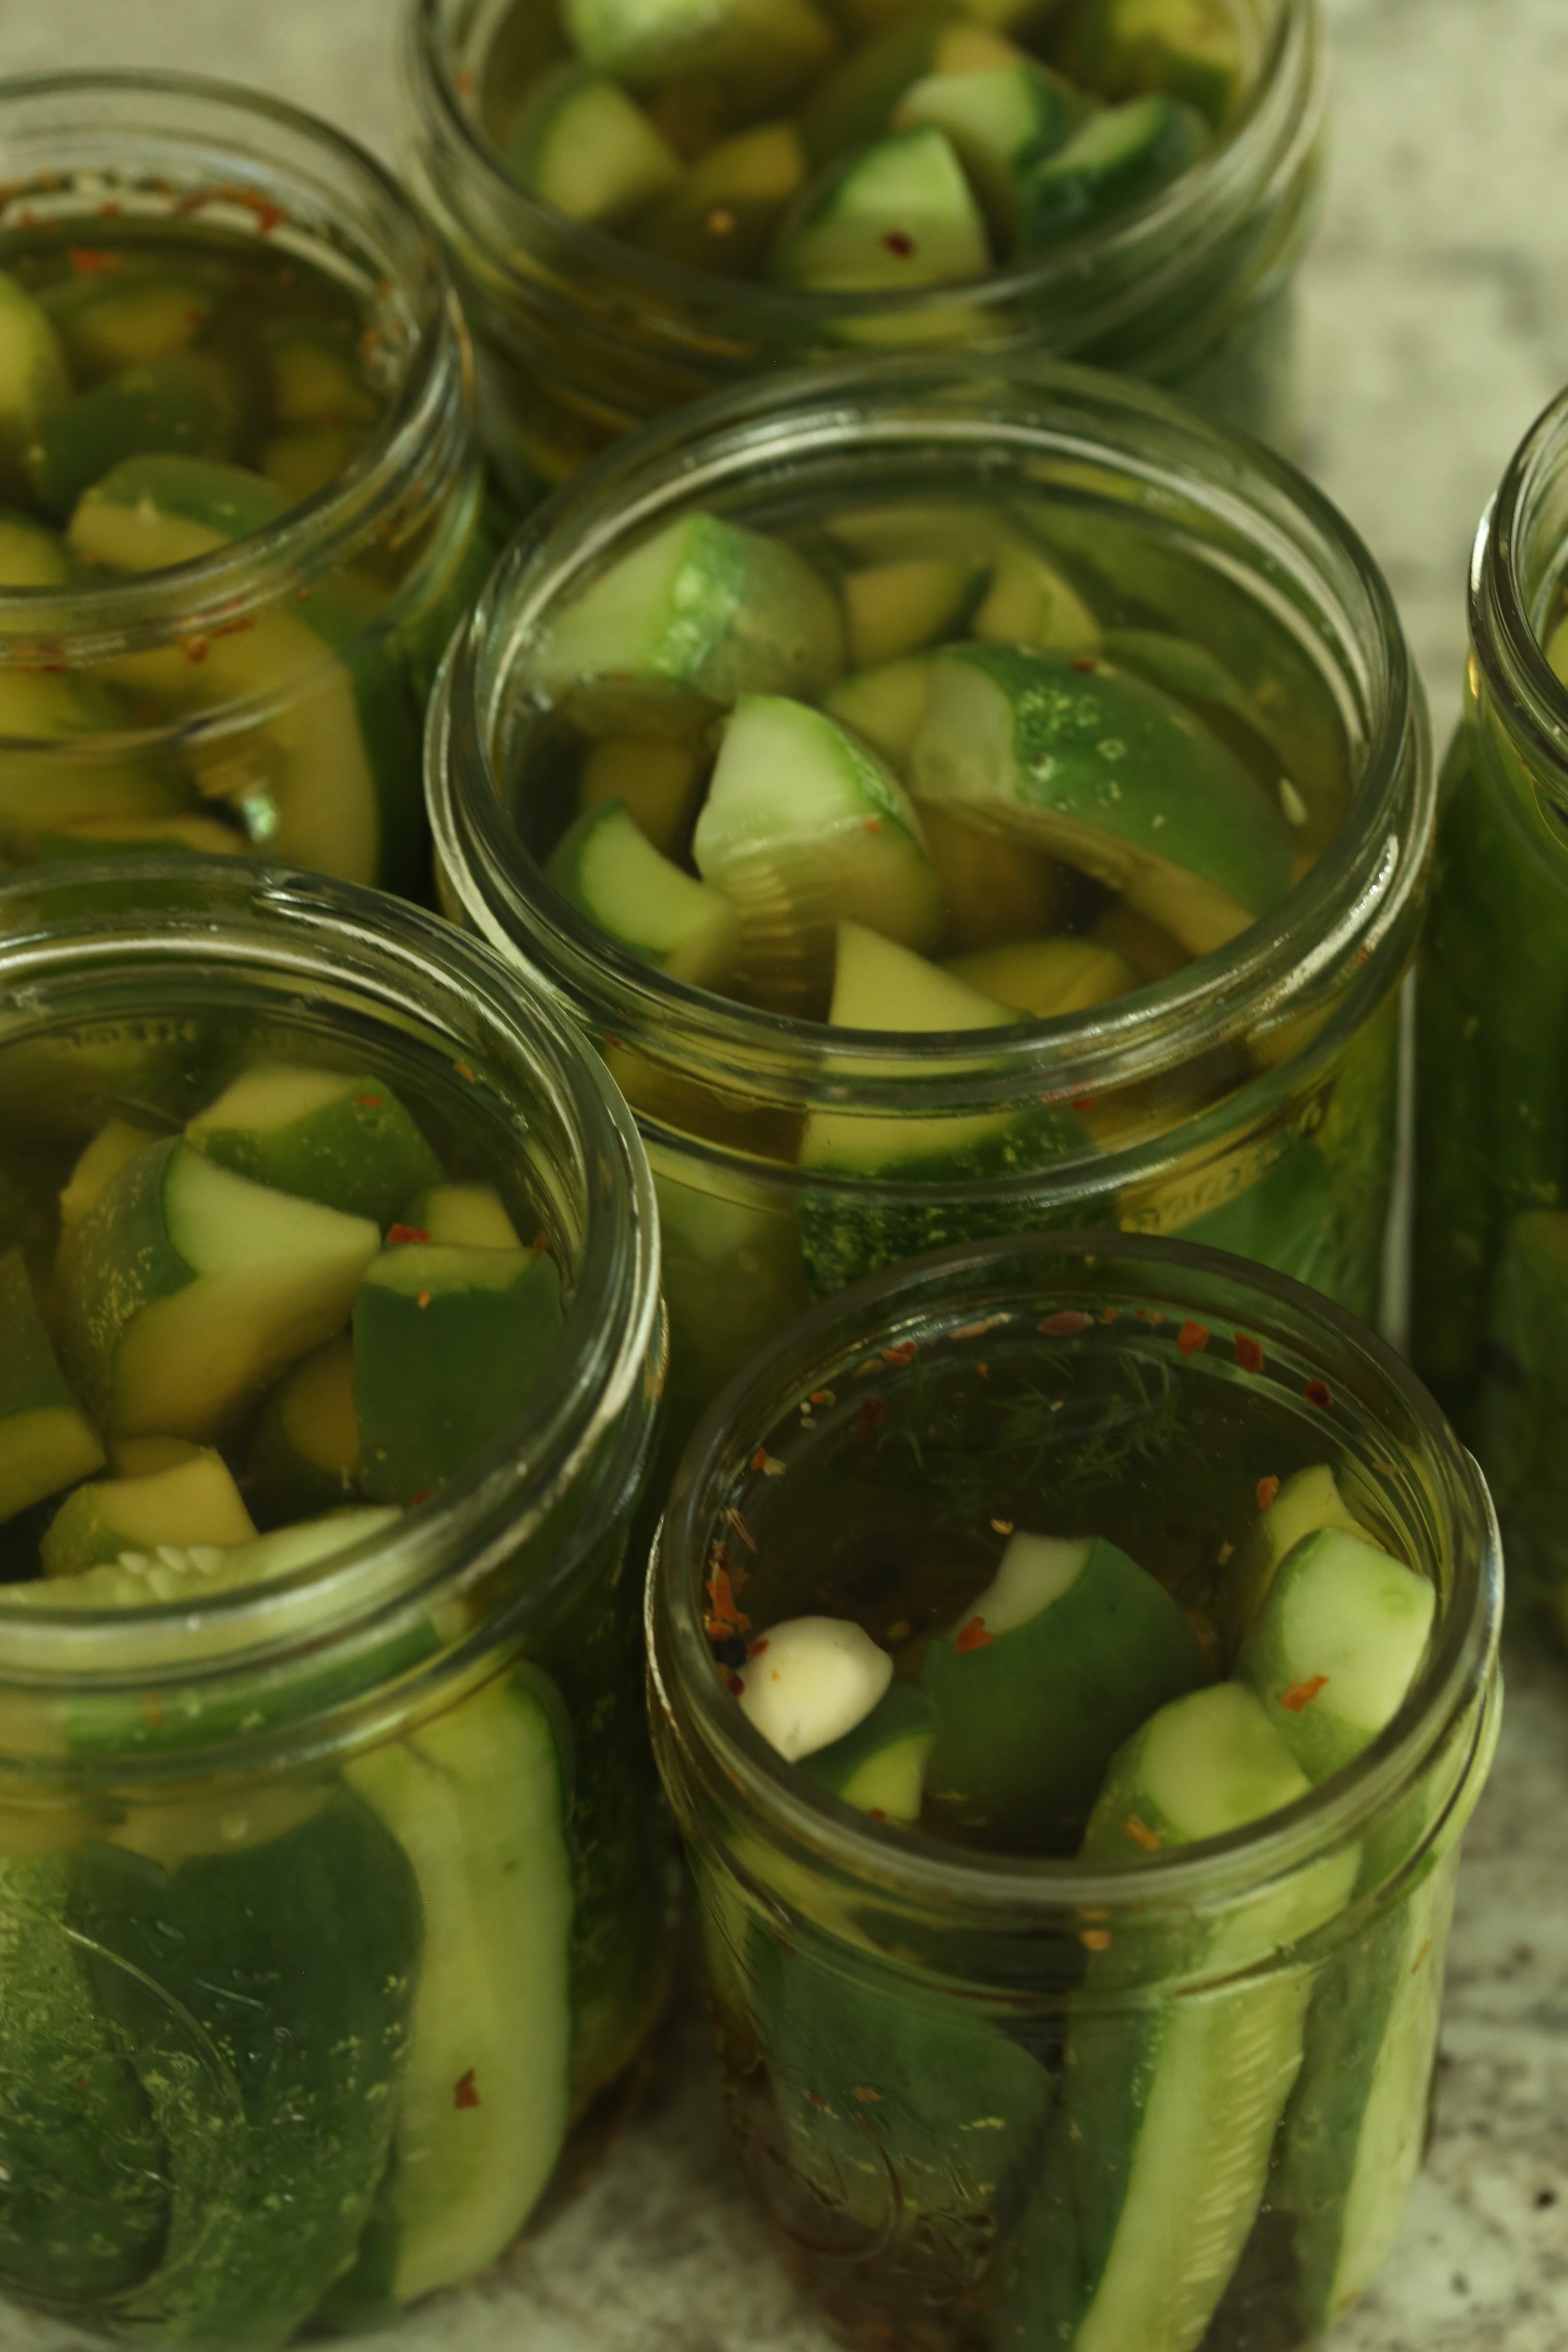 The pickles are packed into the jars with the spices and herbs and then the boiled vinegar mix is poured over them leaving about half an inch of space.
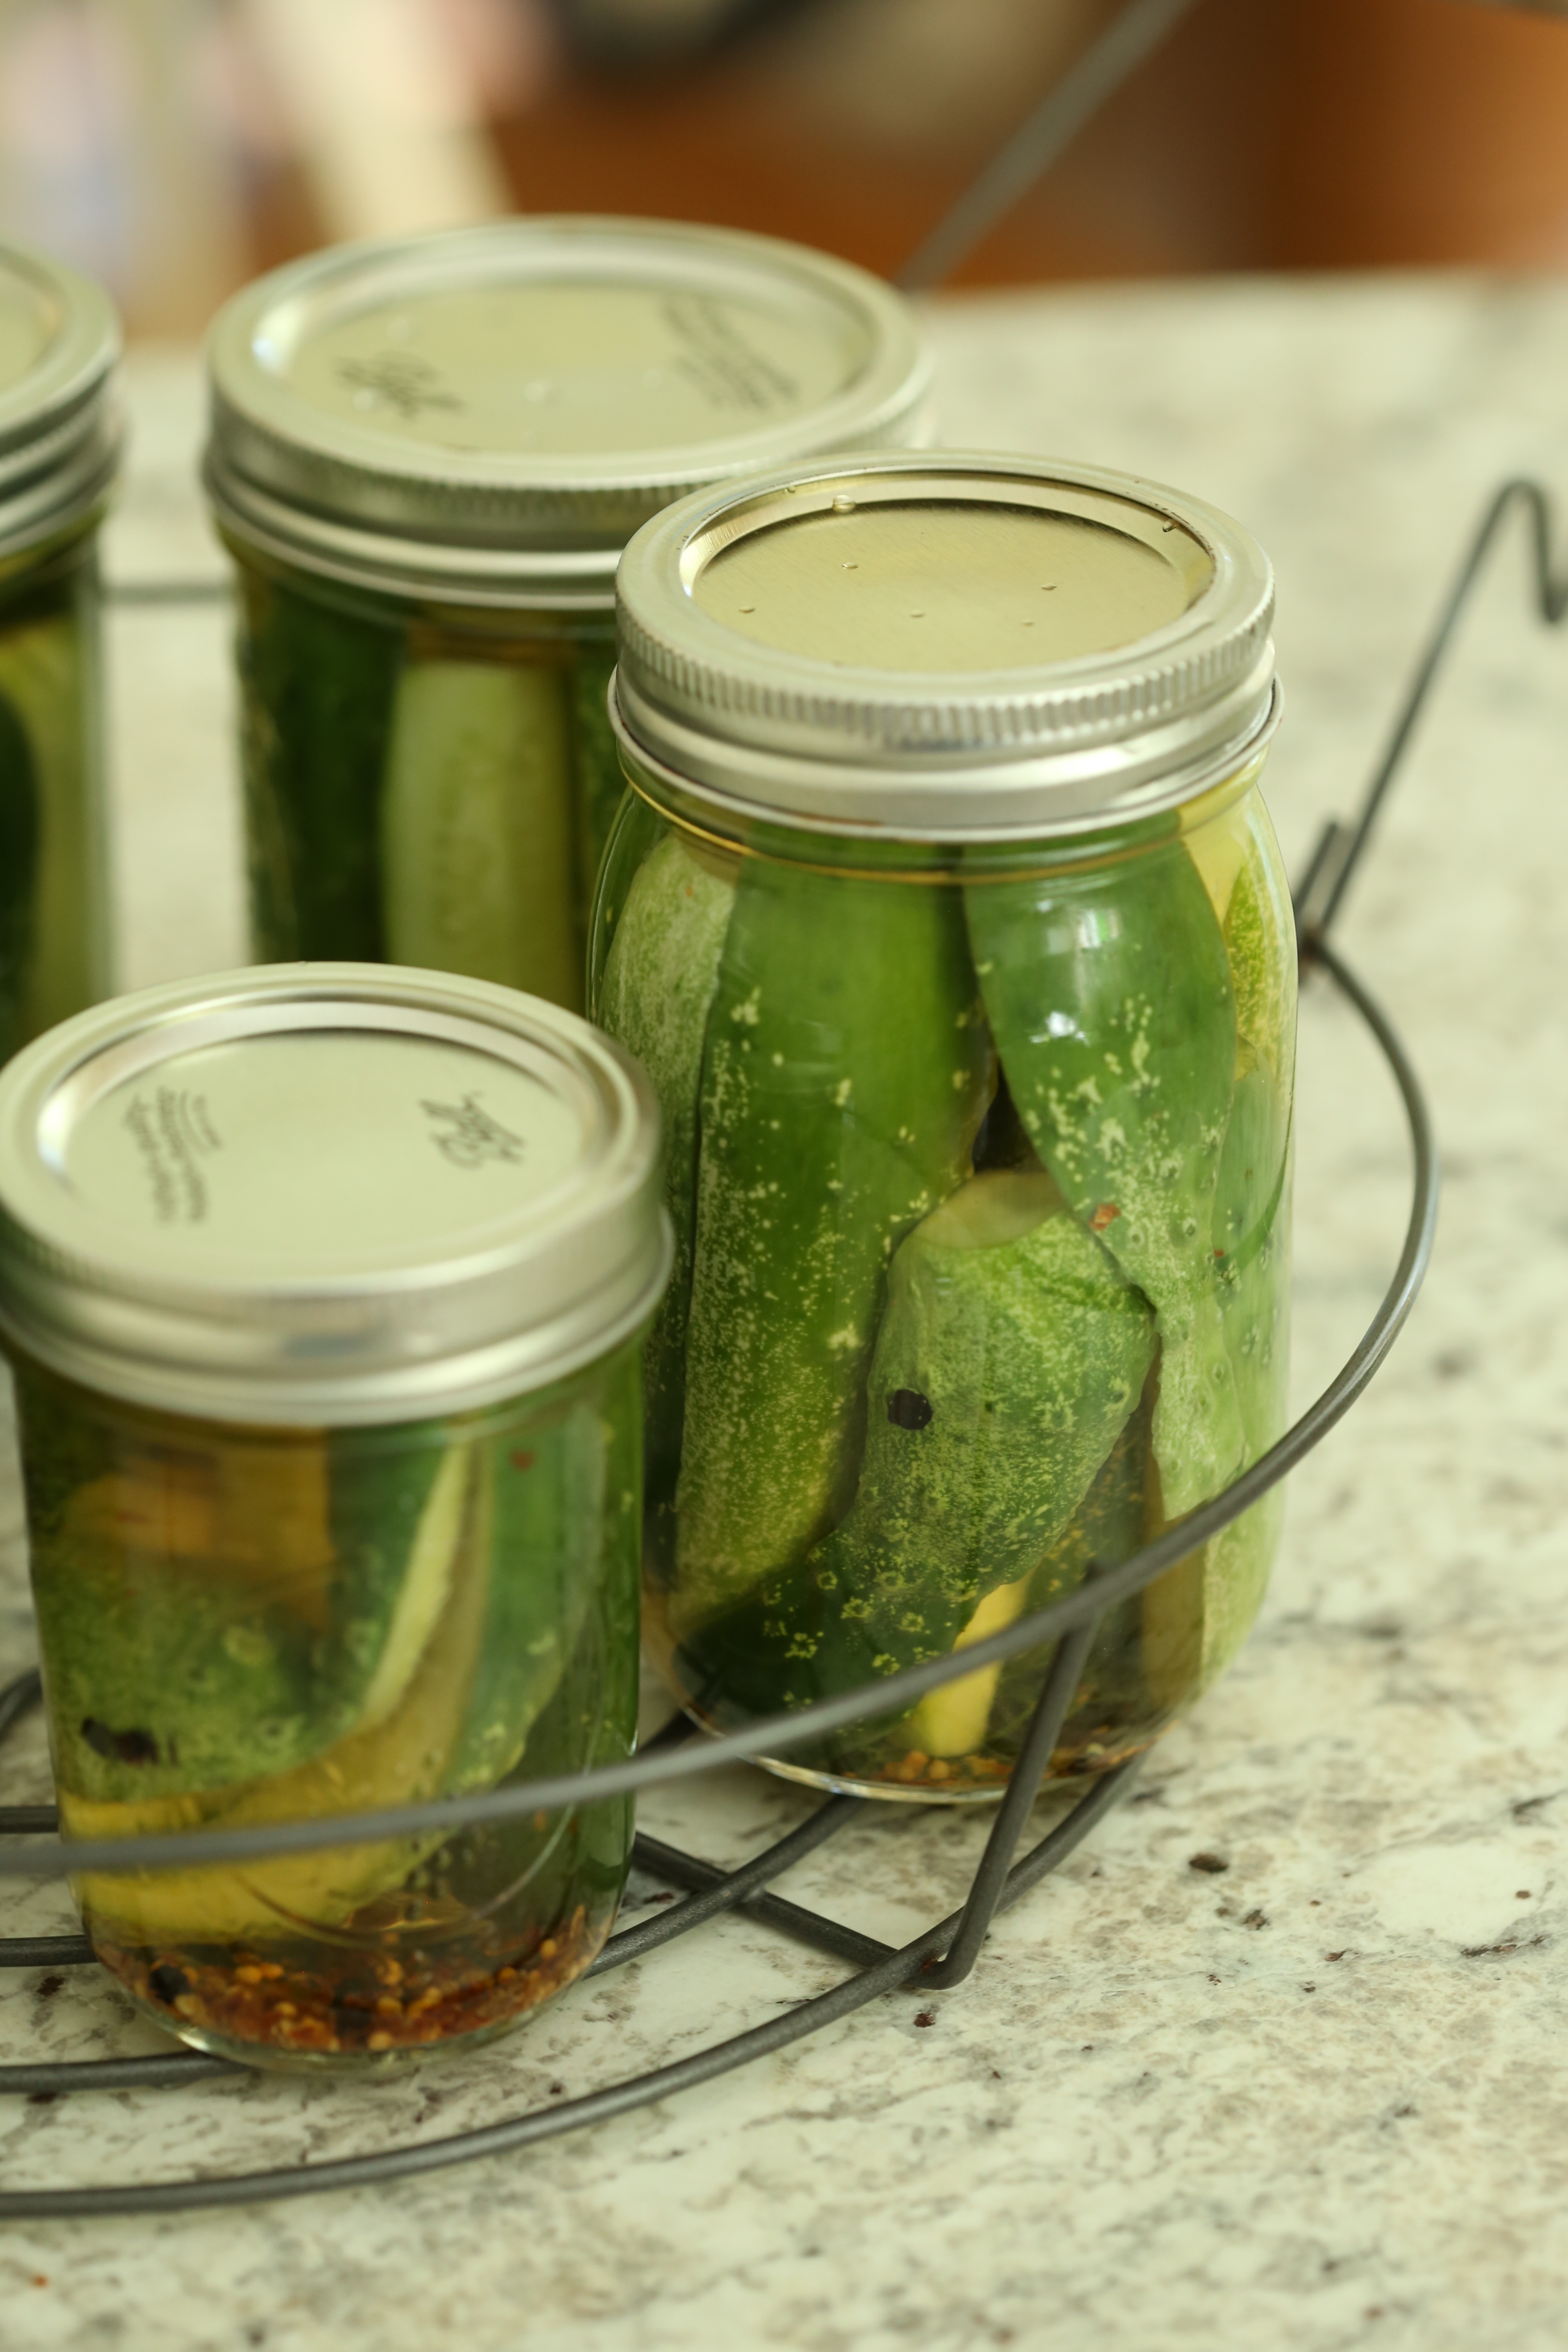 When the tops are put on, be sure not to screw the bands too tightly. Nothing is worse than removing the jars from the water bath only to see that they have crimped and buckled because the bands were too tight! Load them into the basket and then lower it into the boiling water.
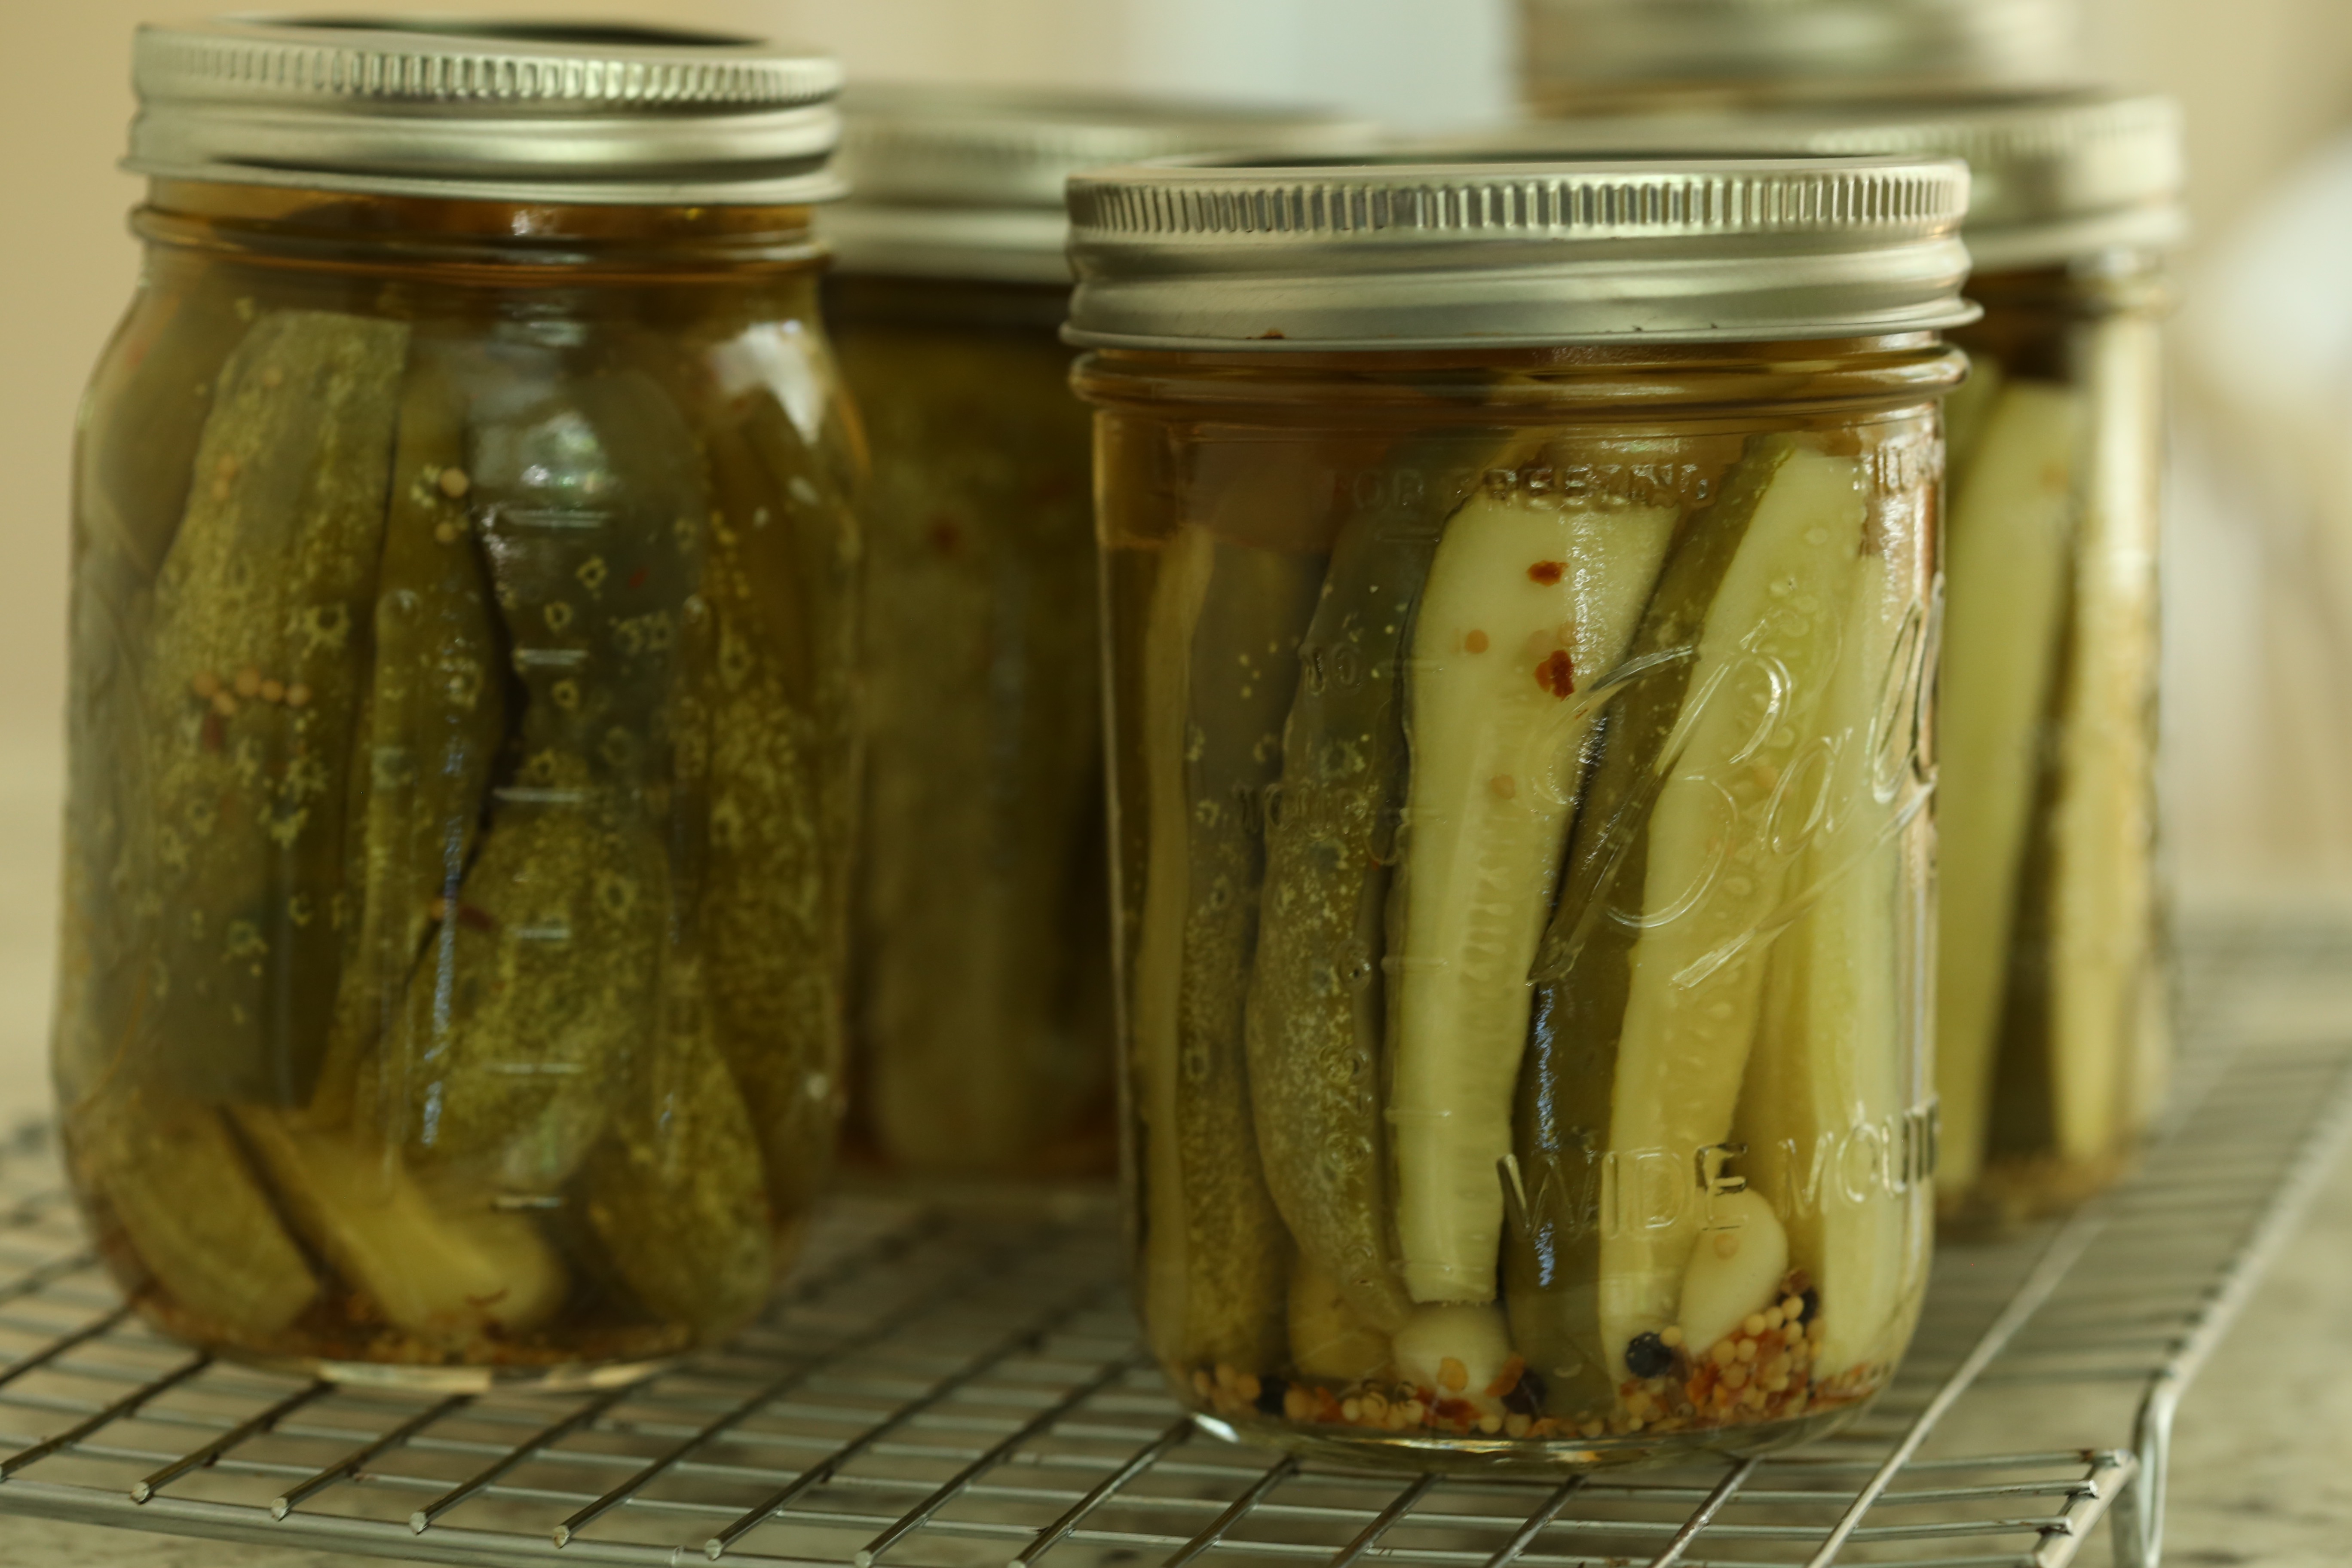 After a boil of 10 minutes, raise the basket and remove the jars to a rack to cool. Listen for the lids to pop as they cool. If you find that some haven’t popped and appear sunken in the middle, put those in the fridge and use them first.
 The recipe I used recommended allowing the jars to sit for 3 weeks to age and allow the flavors to develop. Since I have been making these pickles a few jars at a time, I decided to open one today and taste them. They did not disappoint! One thing about this recipe, no alum was used and despite that, they were pretty crispy, for a pickle anyway.
 The color has changed dramatically over the weeks. These will be enjoyed with many sandwiches…
 Sandwich-Sliced Dill Pickles