 Although the space we have fenced in was once the site of a very successful garden, it hasn’t been maintained in years. Then as if to add insult to injury, some thoughtful person seeded it heavily with Bermuda Grass. Really heavily-inches thick on top with roots half a foot deep. What a nightmare!!! We started the process of building the beds today and in 4 hours time, we only finished 3 (4’x4′) beds. This is going to take a while to do and we may not have much of a garden this spring.
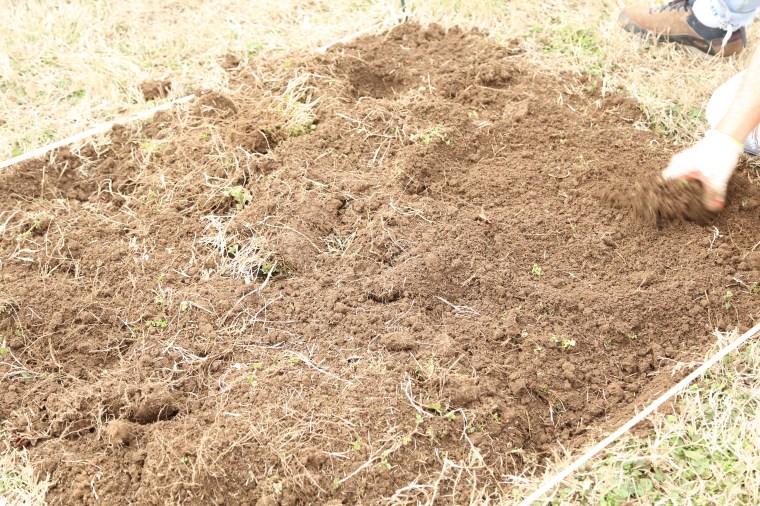
The first thing we did was to outline the beds with string. Using shovels, Darry flipped the top 8 inches of soil and we spent a lot of time shaking out the roots to save the soil and remove the Bermuda Grass roots and rhizomes. Along the way, we threw many larvae, worms and beetles at the chickens who were watching our every move! 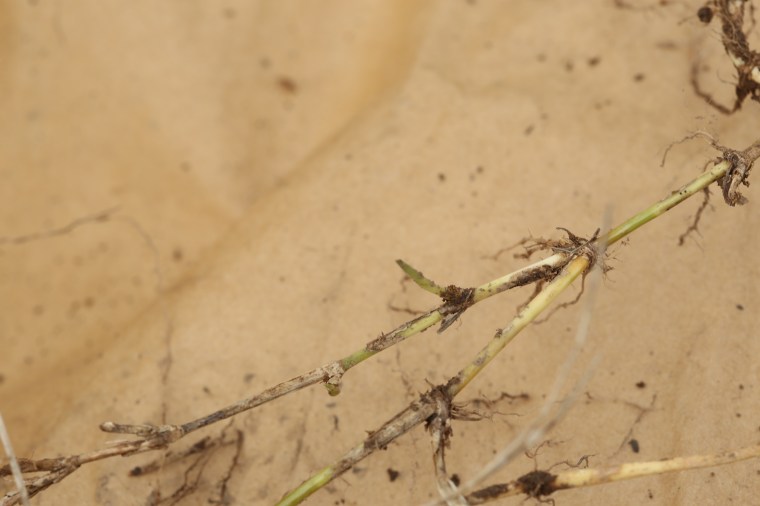 My good friend and fellow Master Gardener Shirley always tells me that Bermuda Grass is meaner than a snake and if you try to rip it out, it gets even meaner. She is absolutely right about that! Each jointed area is a node and it has the potential to become a complete plant. It isn’t enough to just pull it out, you must remove all of the little pieces or you will have lots of new little plants! We spent at least an hour sifting the soil as we turned it to remove as many little pieces as we could.
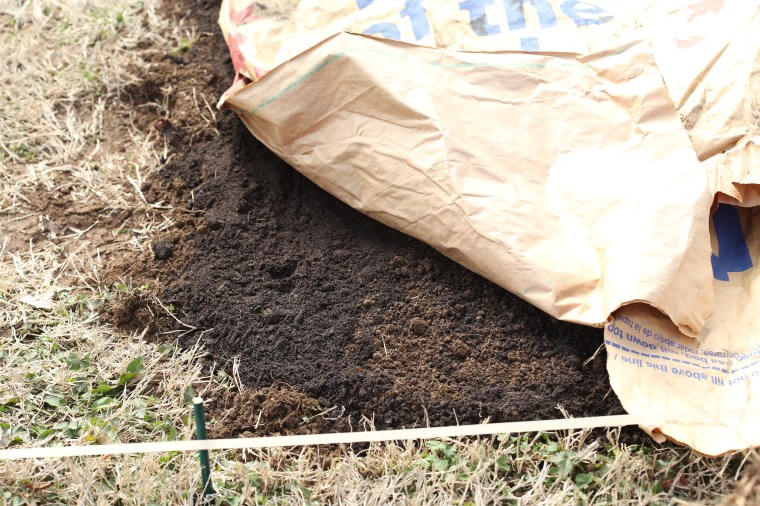 Once the soil was prepped, we spread the contents of a bag of Black Cow Composted Manure over the surface. We didn’t have much to work with and bit the bullet and purchased a bunch of bags to use. As far as purchased compost goes, this stuff works pretty well. We then cut used leaf bags to cover the surface of the bed. Our hope is that the paper will help cut back on the weeds and Bermuda Grass from sprouting in the beds.
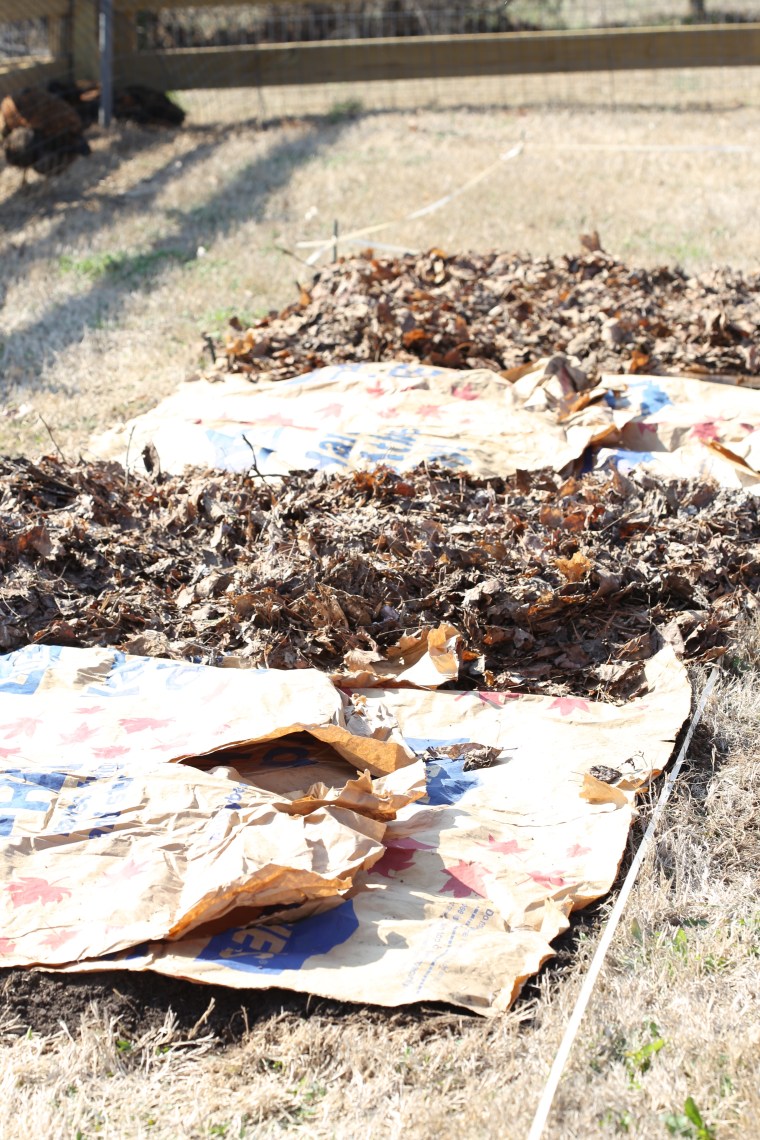 Since we haven’t found an arborist to supply us with wood chips yet, we are using a combination of cardboard and leaves to control the Bermuda Grass in the walkways. Free leaves and cardboard make this project a lot more affordable and keep stuff from going to landfills.
 We purchased a dozen broccoli starts to test our method. To plant each start, I cut an “X” in the paper and folded the pieces underneath to create a hole. Then I used my hands to make a hole and plant each start.
 It isn’t the prettiest bed I have ever seen but it should work!
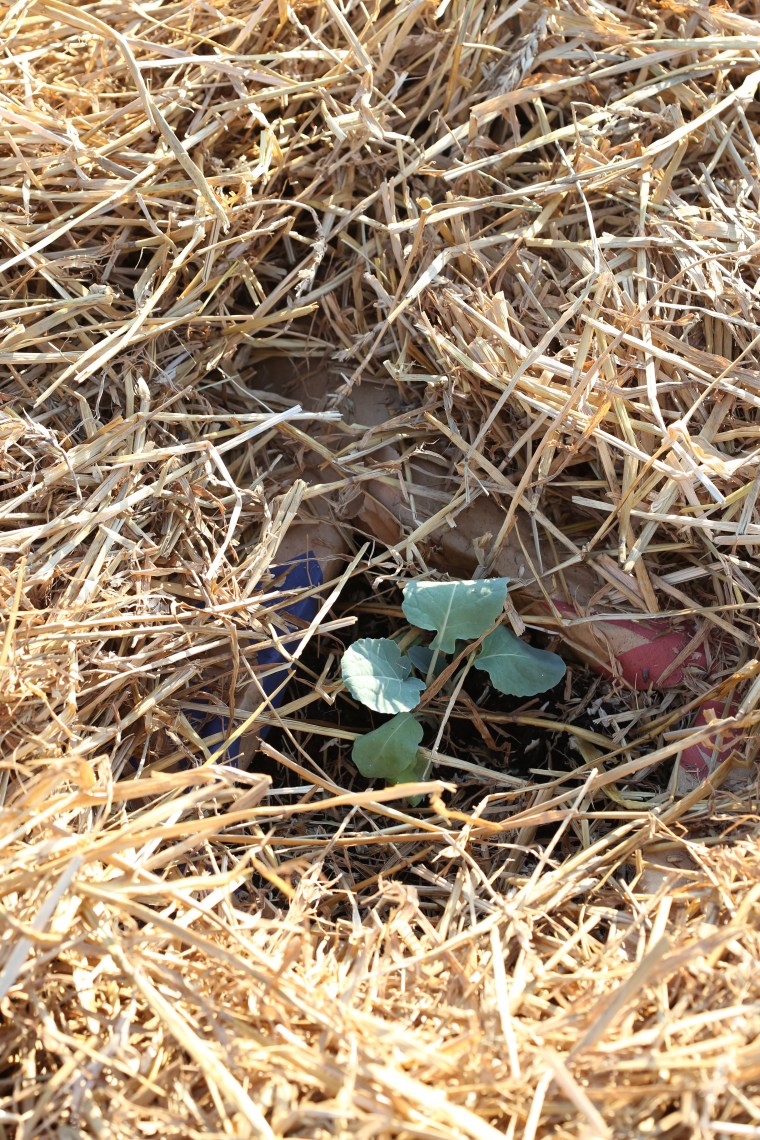 We are also without rain barrels which means using city water and decided to top each square with straw. If all goes well, this layer of straw will help conserve the water so that we do not have to pay Metro for tap water. The added bonus, the paper and straw will also break down over time and help improve the soil.
Be sure to visit the blog regularly to see the progress of our new garden.
