roasted radishes with wilted greens

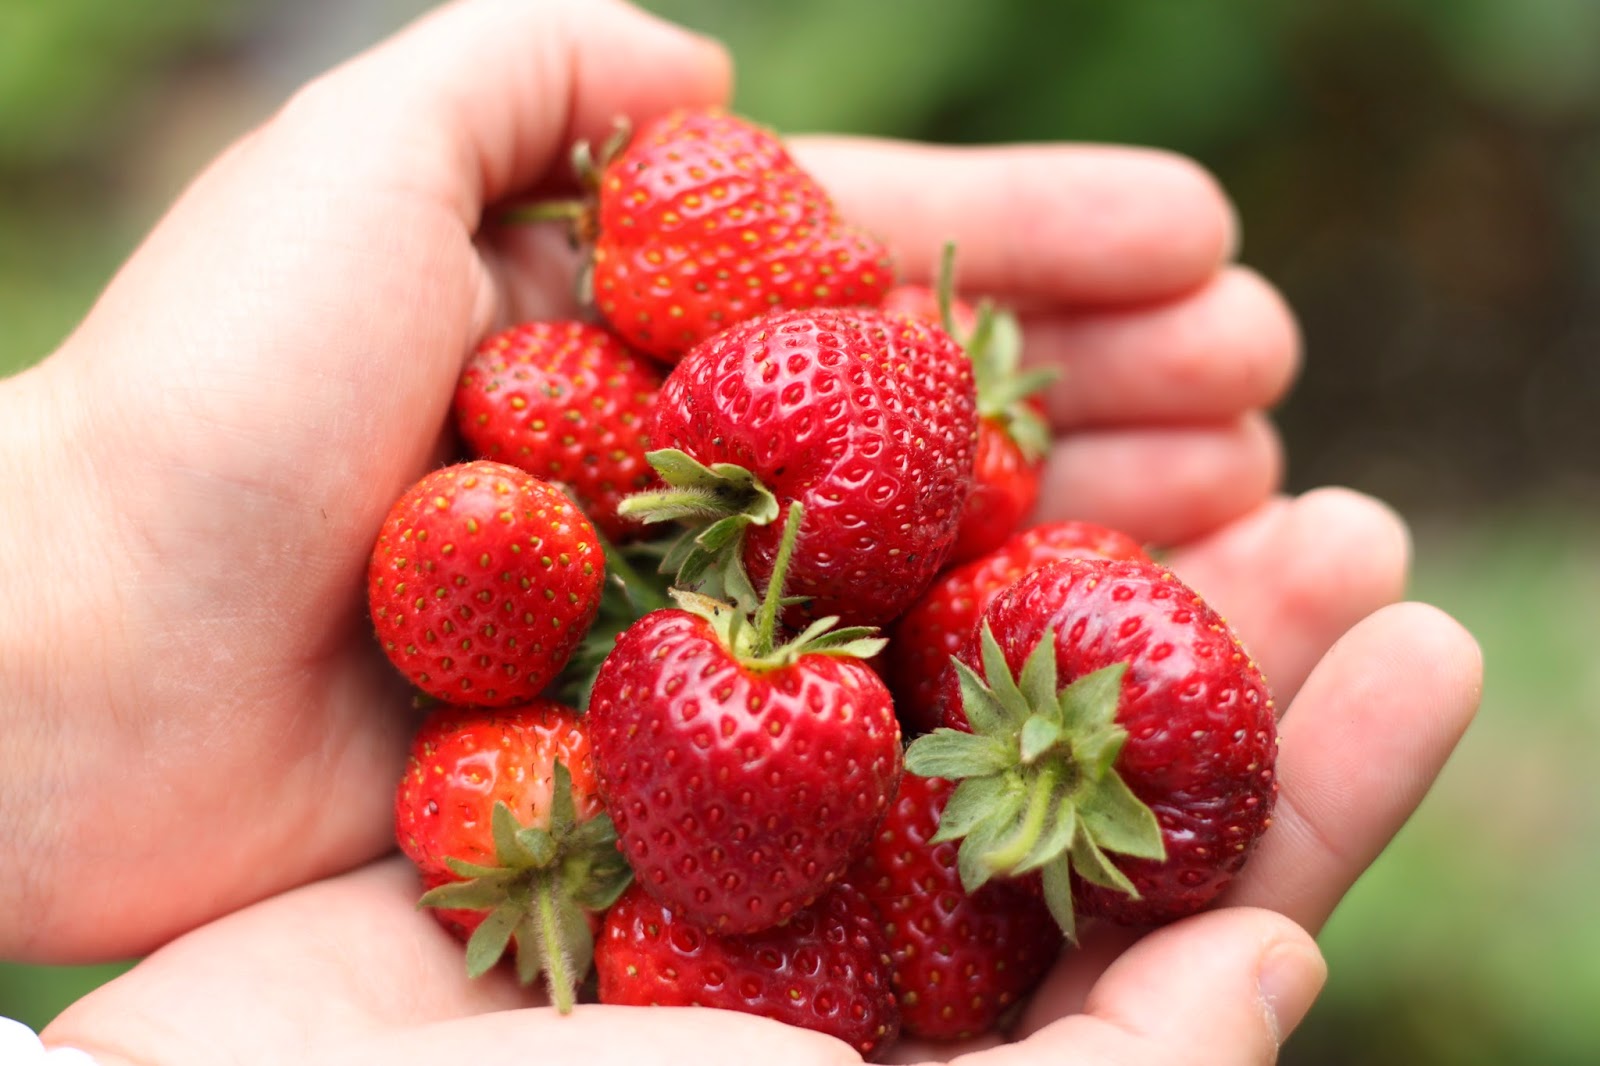
spring gardening means lots of radishes.  the familiar red spheres are so pretty and colorful; a perfect accent or garnish.  radishes are enjoying a moment now and there is no shortage of shapes or colors available to dress up your salad or hors d’oeurves .  the entire plant is edible though so think twice about discarding the leaves and flower stalks as you pick them from the garden.

if only i was a fan of the flavor, sadly, raw radishes just are not something i enjoy.  every now and then, i will cut some into thin slices or julienne a few and add them to a salad.  in this manner, they are acceptable.  but will you ever see me munch away on whole radishes?  probably not.

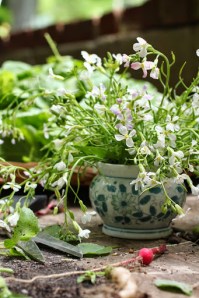
the blossoms of radishes that have bolted, otherwise referred to as having gone to seed, have a flavor that is a cross of raw broccoli and the radish root.  the different varieties can be different colors but most are white.  we grew red sparklers and white icicle radishes and the funny thing is, the white icicle radishes produced the pink blooms!

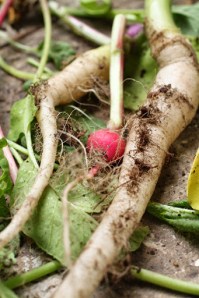
this was truly the end of the line for the radish season in our garden.  the suddenly hot, dry days caused the plants to bolt and produce flowers pretty quickly.  it was time to clear the bed to make way for summer vegetables.

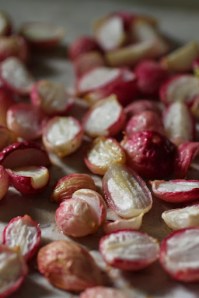
lately, i have been roasting everything.  i love the slightly caramelized flavor it gives the vegetables and since i’m not a big fan of radishes in the raw state, i thought maybe roasting would help.  a light coat of olive oil and a sprinkle of salt and into the 425 degree oven they went.  it took about 20 minutes to get the right state of roasted/softened for my palate.

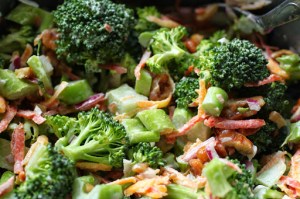
while the greens can be a little fuzzy and unpleasant raw, they are wonderful when cooked.  a quick saute of onions and garlic in olive oil got the dish started.

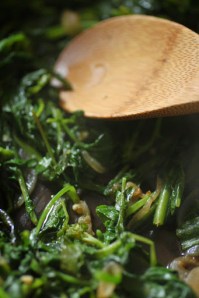
the greens, remove the stems if you like, were added with a bit of broth and then covered to get the wilting started.  once they gave up their juices and cooked down a bit, i took off the cover and let them cook for a while to tenderize the stems.  i started with more than a gallon of greens and it cooked down to about a quart; a side dish that would serve about 6 people.

the flavor can be a little strong (but with no hint of radish flavor) so to mellow it, a couple teaspoons of dark brown sugar and a tablespoon of balsamic vinegar as well as a little salt and pepper will do the job.

 just out of the oven-they were so tasty and hard to resist!

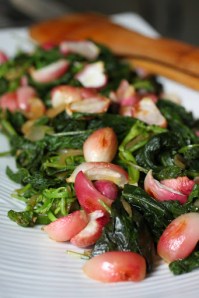
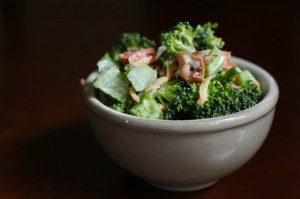
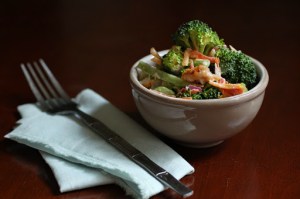
toss the radishes with the greens and pour them out onto a platter with all of the pot likker and let the radish feast commence.  looks like i will be gathering seeds for radishes of all colors for the fall!

let the broccoli harvest begin!

we plant broccoli in the garden for the spring and fall seasons.  it is one of the few plants that we purchase without considering the variety.  whether it is a hybrid or an heirloom, we aren’t concerned; we just want healthy plants to give us a head start since both spring and fall are pretty short seasons here in nashville.  this is especially true for the spring season.  while this past winter seemed like it would never end and as cool as the spring was, the cold weather crops began bolting quickly.  we were late getting plants into the ground because of the unusually colder weather and by the time we got things going, the days began getting longer and some plants began bolting.

 but as cold as it was, the plants survived.  we weren’t sure that they would produce heads-they seemed to be taking longer.  however, the heads finally began to emerge and we are now enjoying the harvest.  luckily, the plants are all on a different schedule and we can count on a staggered harvest to extend the season.  the funny thing about broccoli, it doesn’t produce just one head.  if you cut off the large head at the top of the plant, it will produce smaller heads along the stalk below the cut.  not many people realize how much produce a broccoli plant can yield.  if you let the side stalks(heads) develop, they will be about a quarter of the size of the top head.  but wait, it doesn’t stop there!  the leaves are also edible; you can cut them off when you pull out the plants at the end of the second harvest.  blanch the leaves in boiling water, drain them and then saute them with some onions and garlic in olive oil and give them a little drizzle of balsamic vinegar.

 this guy, right here, he is the captain-he runs the ship.  he also catches squirrels and chases birds.  if i am outside working in the garden he is likely to be right there with me.

 we discovered that he has been sleeping in the broccoli bed during the hottest part of the day.  it is so much cooler under all of those leaves and he lays under the plants while we are at work and he has to stay outside.  i am not sure what he will do when we pull the plants to make way for the hot season veggies.

the dreaded armyworm.  we found just one in the heads we picked and that is pretty good.  we do not treat our plants with anything that isn’t considered safe for use in organic gardens.  quite often, we resort to hand picking the insects and dropping them into soapy water.  for a few treatment suggestions, follow this link.

 one of my favorite ways to eat broccoli is raw in salads or even just plain with a little dip of homemade ranch dressing.  for the heads we picked, we decided to mix up a batch of broccoli nut salad, a popular southern potluck staple.  my husband mixed it up with some red and yellow carrots, red onions and candied walnuts.  the dressing is similar to a sweet coleslaw dressing and is made from mayonnaise, honey and cider vinegar.  if allowed to sit for several hours before serving, the vegetables become a little tender.

broccoli nut salad
 makes about 6 cups
4 cups broccoli florets, cut to bite size -chop the smaller stems and use them too
2 carrots, peeled and grated-we used a red and a yellow carrot for color
1/3 cup red onion, finely diced
3/4 cup candied walnuts, chopped-we used trader joe’s
1 cup mayonnaise
2 tablespoons wild flower honey
1-2 tablespoons cider vinegar
1/4 teaspoon sea salt
combine the broccoli, carrots, red onion and walnuts in a mixing bowl and toss to combine.  in a smaller bowl, whisk together the mayonnaise, honey 1 tablespoon of the vinegar and sea salt until it is smooth.  if it is tangy enough for you, great and if not, add the other tablespoon of vinegar and mix it in.  pour the dressing over the broccoli mixture and stir to combine.  chill the salad a few hours or even overnight before serving.  make this often!
a little bit of broccoli heaven; the perfect picnic or potluck salad!

strawberry cake


strawberry season sneaks up on us and does not linger; it is sensitive to the cold and it is fleeting.   the berries can be quickly saturated, left waterlogged and tasteless by a day of rain.  gardeners with strawberries generally keep close watch on the berries as they ripen with daily trips to the bed to gather the ripest, reddest, plumpest fruits.  those that make it back to the kitchen may become any number of treats.  sorbet, ice cream, jam or cake-too many choices and honestly, most are consumed as they are picked; who can resist just picked berries?  not me, that is a fact.

like little red hearts on a vine, they ripen quickly and if you are not vigilant, you will find yourself battling squirrels, chipmunks, slugs and snails for the opportunity to taste the fruits of your labor.  we tried netting to keep the squirrels out this year.  the net works well-it traps the squirrels in the bed with the strawberries so that they get their fill while they search for the way back out…

pretty little flowers.  do you notice the similarity to the bloom of a wild rose?  they are both members of the rosaceae family.  but the connections do not stop there.  also part of the family is the genus Prunus and it includes nearly 430 species including plums, cherries, peaches, apricots and almonds.  amazing and true!  this is such a diverse family of plants that includes herbs, shrubs and trees which the majority are deciduous or, they lose their leaves each year but some are evergreens.  while many of the members are ornamental, quite a few produce edible fruits.  apples, pears, quince, apricots, plums, cherries, peaches, raspberries, blackberries, loquats, strawberries and almonds are just a few of the members of the genus Prunus.  and there you have it, the reason i tend to add a little rosewater to dishes that feature red berries!

our little bed is in it’s third year and the plants are well established.  we have picked several pints and have enjoyed snacking on them.  since i never head over to the demonstration garden (the one i help maintain as a member of the master gardeners of davidson county) without a cake, i decided to use some of the abundance to bake a cake to share with my fellow volunteers.  after all, this is the south and it doesn’t get much more southern than a strawberry cake in the month of may!

fresh strawberry cake
makes one 10 cup bundt cake
serving 12-16
6 ounces unsalted butter, softened
2 cups granulated sugar
1/2 teaspoon salt
1 1/2 teaspoon vanilla
3 eggs
2 cups strawberries-cleaned, hulled and cut in half to loosely fill the cup
3 cups all purpose flour
1 tablespoon baking powder
1 teaspoon cinnamon
1 cup buttermilk
  1. preheat the oven to 350.  grease and flour the pan and set it aside.  
  2. place the butter, sugar, salt and vanilla in the bowl of a large food processor and pulse to combine.  
  3. add the eggs, one at a time with the machine running to form a smooth mixture.  
  4. stop the machine and dump the berries in.  pulse the machine to mix in the berries.  it will puree a small amount, chop up most and leave a few large chunks-refer to the photo above and do not puree until it is all one texture.  
  5. scrape the mixture out into a large mixing bowl.  
  6. place the flour, baking powder and cinnamon in a sifter or a mesh strainer and sift it over the batter in the bowl.  
  7. fold the mixture a few times, sprinkle the buttermilk over the top and fold together until no streaks remain.  scrape the batter into the prepared pan and spread evenly in the pan.
  8. bake until a pick inserted into the cake comes out clean, about one hour.  cool the cake in the pan for 20 minutes and then invert it onto a rack to cool completely before cutting-if you can wait that long!
for those of you interested in more about the rosaceae family, here is the source i used for this post:

pussycat, pussycat, where have you been???

well, i can assure you that i haven’t been in london visiting the queen.  where i have been is the garden, the demonstration garden to be exact.  those of you that know me, know all about my involvement with the master gardeners and this past weekend we held our annual festival which is also our main fundraiser for the year.  to see some photos, check out the blog page i keep for the garden, the view from the demo garden.  for additional photos, check out the facebook page.

between my full time job and my involvement with the garden and festival, i have had little time to post things here.  it also seems that most of the gardening topics are out of place on this page so i tend to leave them out.  for a while, i kept two separate pages; one on gardening, one primarily on baking with a little cooking thrown in.  it just did not work.  one page would get updated, one neglected.  then came an idea-merge the two in a new page and let the others become archives for now.  so that is where i am headed-to a new page.  a blog page that combines the two things i love to do; bake and garden.

allow me to introduce my new page, will garden for cake.  stop by and see what i am up to in the garden and whether or not a cake has just come out of the oven.  and if you need to find me, visit the garden where you will most likely find me with a slice of cake in one hand and a camera in the other!