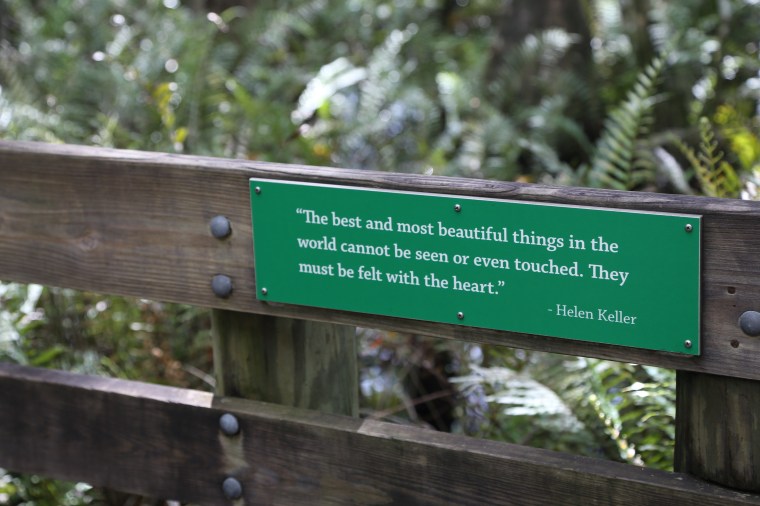
 By now, I am sure you are ready for me to move on from my summer vacation photos but considering the hurricanes that have blown through that part of the world, I had to post this last group of photos. While we were on Sanibel Island, we found a walking trail by accident. We had left our hotel room, on foot, and walked to a nearby restaurant for dinner. As we approached the front of the building, we realized that it was not open. Since we were set on having dinner, we turned around and began walking back to go somewhere else and that is when we saw a small sign for the Pond Apple Trail. And yes, we also saw signs for alligators-this little guy did not pose much of a threat but everybody knows that small alligators are the result of big alligators…
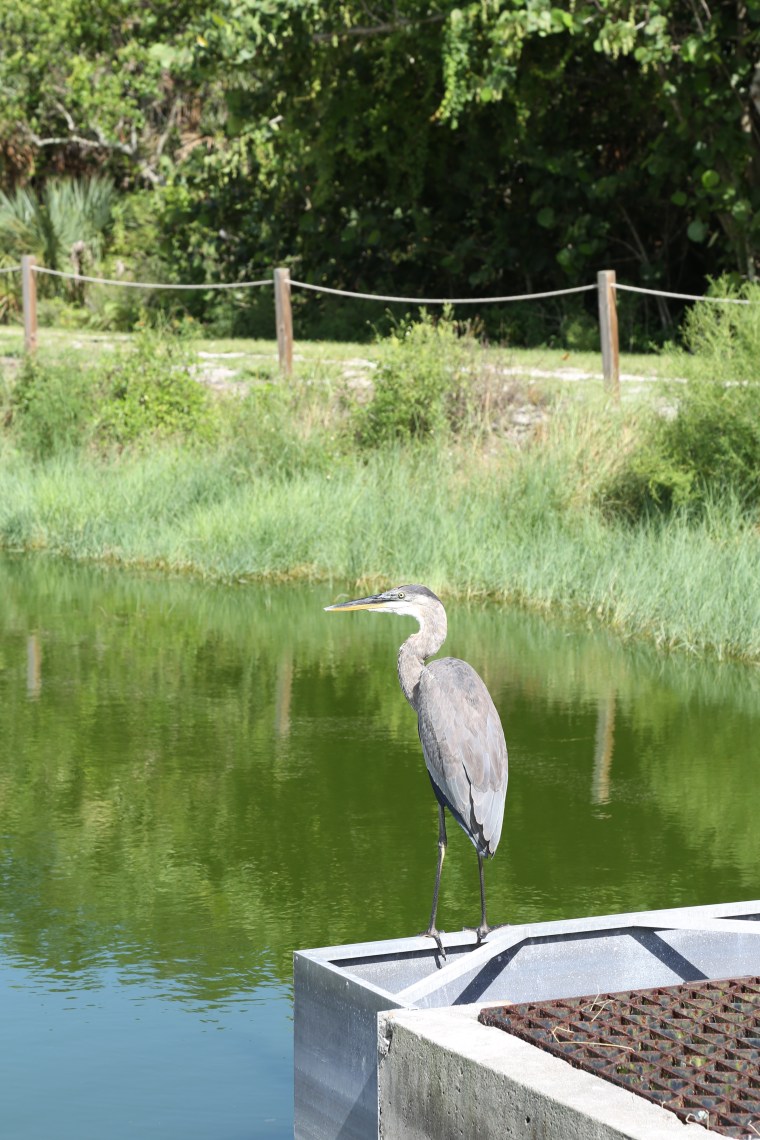 We didn’t walk the trail that evening but we did go back one afternoon while we were out riding bicycles. A portion of the trail winds around several square ponds that are part of a stormwater remediation program for the island. This handsome fellow was watching over the water for possible snacks.
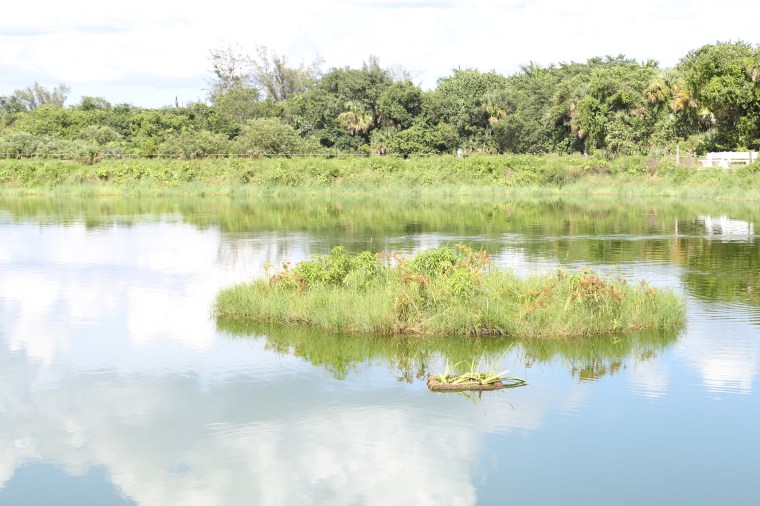 If you are curious about the remediation method used here, small rafts of plants are assembled and allowed to float in the ponds. The root systems of the plants help clean the water of pollutants that are washed into the ponds during storm runoff.
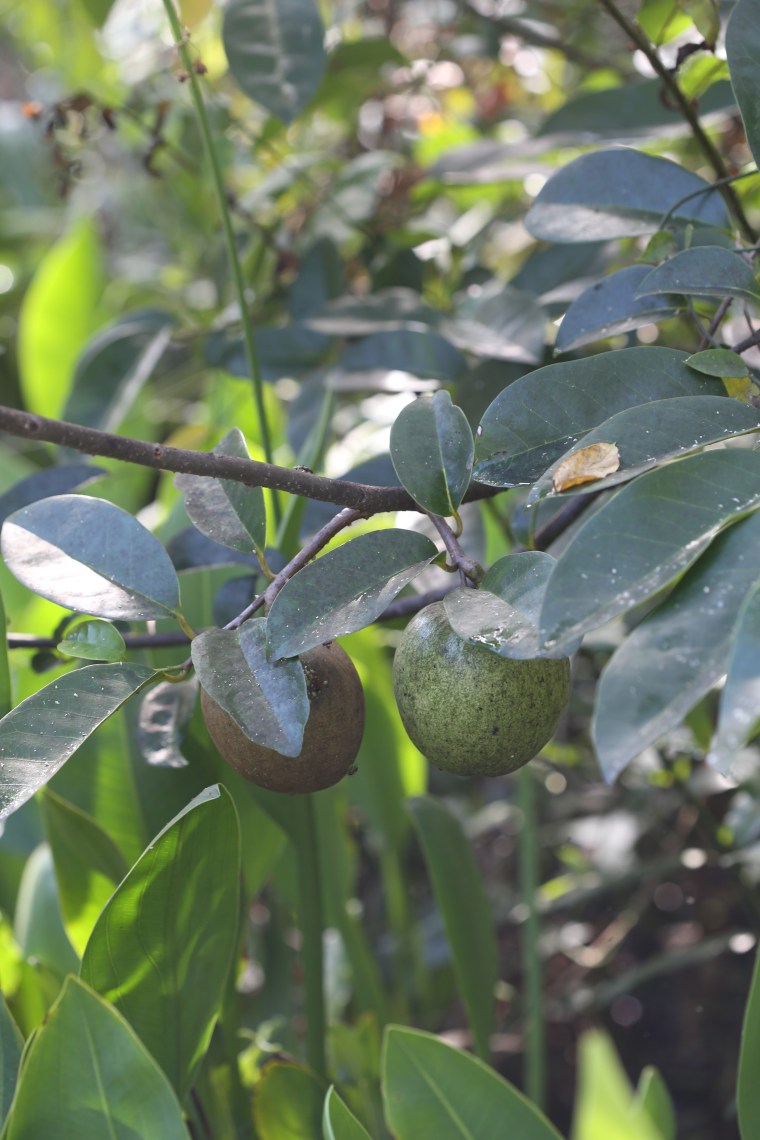 The trail gets its name from the native pond apple trees which are relatives of custard apples and soursops.
 Although they were perfectly edible, we decided not to eat them. We enjoyed the trail and look forward to a trip back to the island so we can explore it again.
 On the day we were leaving, I scheduled the flight home late in the afternoon so that we could spend the day exploring some of Fort Meyers. Mother nature had other ideas and we were stuck walking in drizzly conditions. We found a great place to explore despite the rain! Six Mile Cypress Slough is one of the most unique trails I have ever walked and I highly recommend visiting if you are in the area. The entire trail is a raised wooden boardwalk that wides its way through a cypress swamp. Currently, the trail is closed and I am assuming it is because of storm damage.
 The stumps in the water are called knees and cypress trees develop these roots as they grow in the water. The water was so clear, golden in color but clear with amazing visibility!
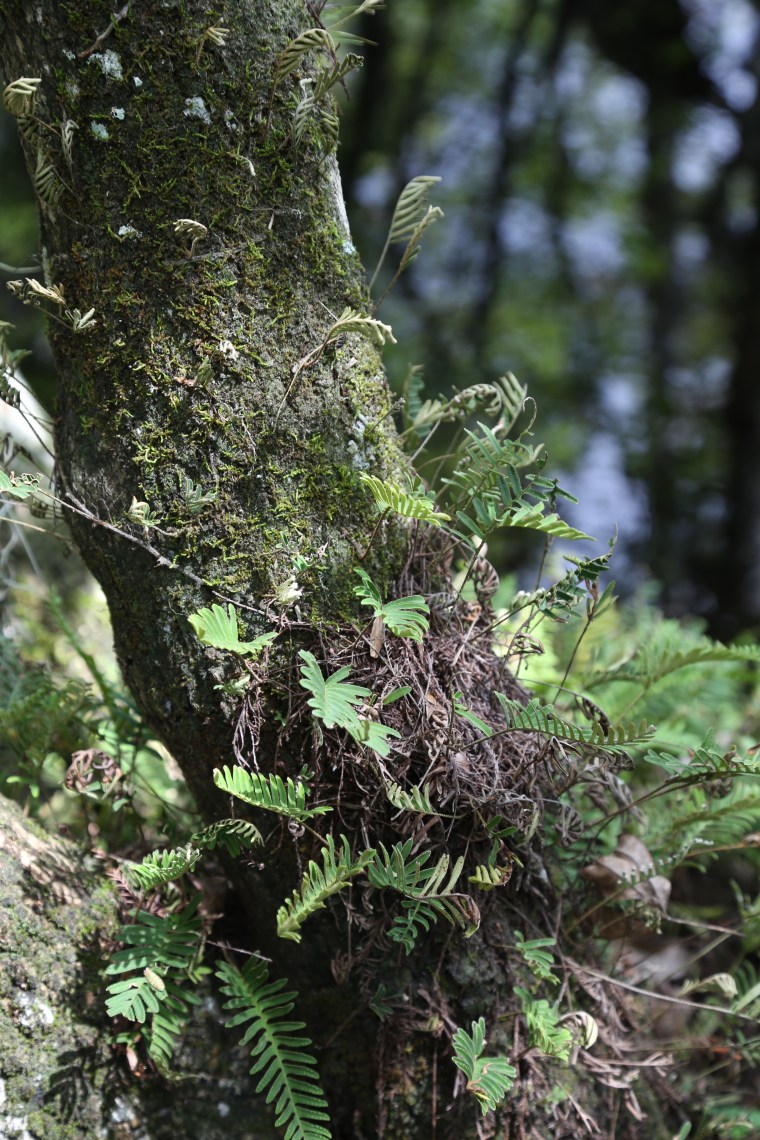
 The ferns grow everywhere! These were colonizing the base of a tree trunk.
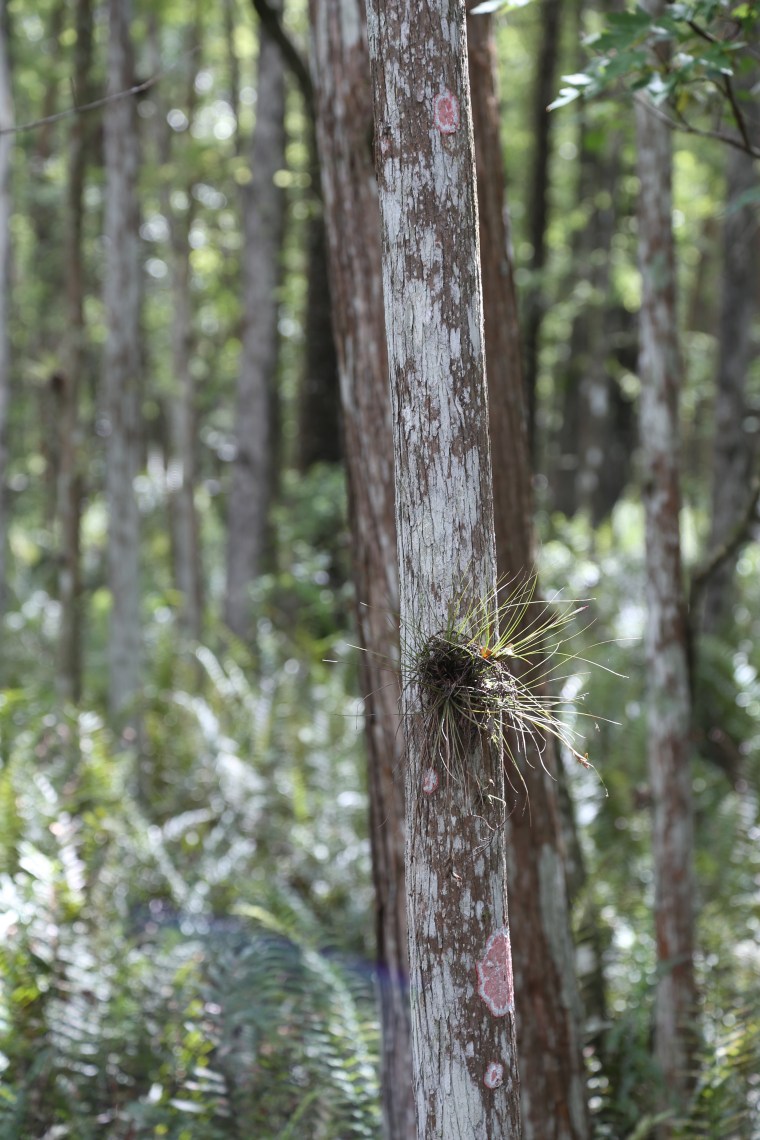 Have you seen those air plants for sale everywhere? They grow wild all over Sanibel Island and here in the slough as well. The lichens were pretty amazing as well, I have never seen them in this color before.
 More air plants, they can get pretty large.
 Ferns, love ferns… The way the little fronds unfurl…
 Of course, it would not be a proper southern swamp without some hanging moss.
 The boardwalk, it was only a mile from start to finish but we took our time and probably spent an hour wandering the walkway.
 At every turn, there was something to see. Plants above water, plants below water.
 And it wouldn’t be a proper hike without a reflection shot.
 Moss and ferns, two of my favorite things.

 This guy was just hanging out, he let me take his photo. Hopefully, the damage to the trail was not too extensive and it will reopen soon.
 When I signed up to attend the hypertufa workshop, read about that
  Late summer is tomato season and if you find yourself with a few too many, consider making a cake with them. Actually, this recipe is versatile enough that you can make it with canned tomatoes, either crushed or puree, or even with tomato juice which means you can have it anytime. If you use a purchased puree or juice, check the ingredient list to make sure that ingredients such as onions or garlic are not included.
 A few things to consider here. Raisins are one of those ingredients that you either love or hate. Personally, I am not a big fan but in this recipe, the golden raisins really work. Just be sure not to skip the step to plump them or they will actually draw moisture from the cake and can make it seem dry. If you use fresh tomatoes, blanch them to remove the skin and then cut each one in half and squeeze out as many of the seeds as you can before pureeing them. The nice thing about using fresh tomatoes, you can mix it up by changing the variety of tomato. Of course, you can just use a can of puree and make it anytime you want a fresh baked spice cake.
 As the summer fades, spice cakes shift to center stage. Slightly denser, jammed full of warm spices, and in this case, loaded with dried fruit and nuts, spice cakes are the perfect pick-me-up as the temperatures finally start to cool off. For this cake, I combined cinnamon, allspice, cloves and freshly grated nutmeg which give the cake a warm, spicy flavor.
 Guess Again Tomato Cake
 One of the best decisions I have ever made was to become a Master Gardener. Not only have I learned a lot about the hows and whys of all things gardening, I have had a chance to make wonderful friends! Earlier in the summer, I was talking with a fellow MG member and I mentioned that I really wanted to learn how to make hypertufa pots and that I was more than willing to plan a get together at my home with some of our gardening friends. It was if the walls, or maybe the hostas were listening in on my plans because as quickly as I mentioned this, we learned that one of our fellow MG members was offering a tufa pot workshop in her backyard. Needless to say, I quickly signed up for the class!
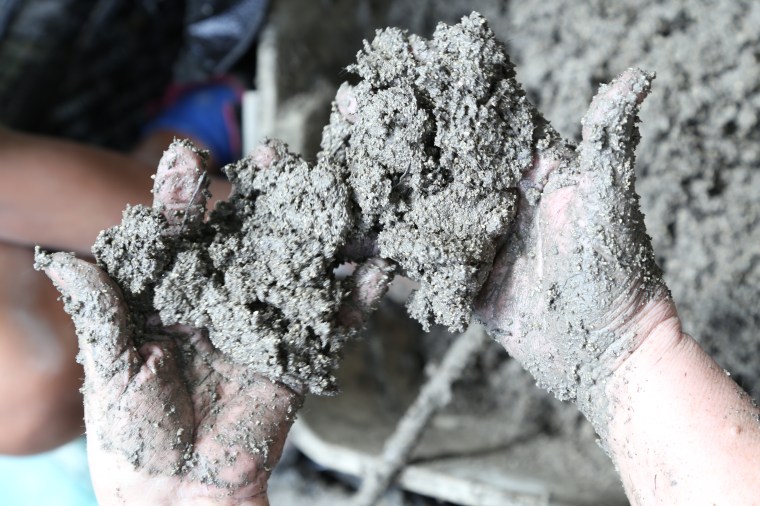
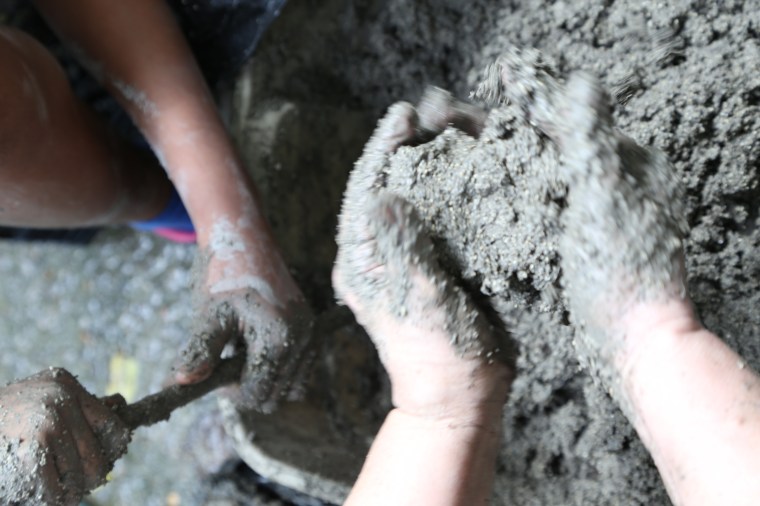

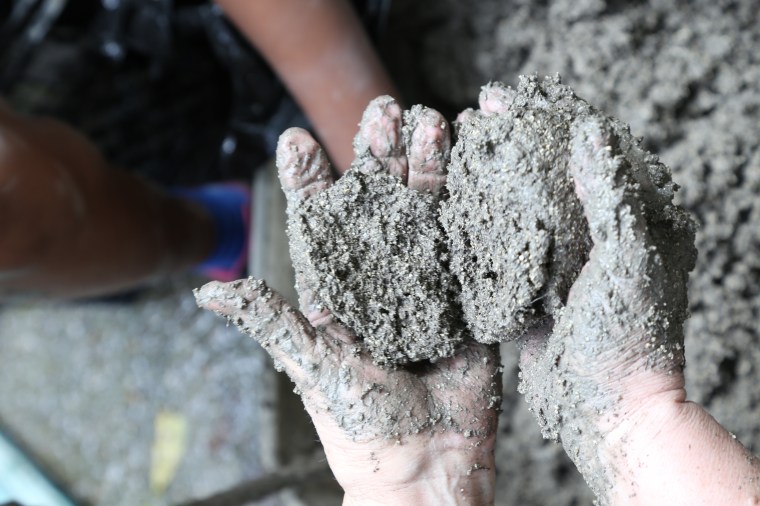 Making the mixture is fairly easy, it takes a little elbow grease but it is not at all difficult to make. In a large container with a wide opening, combine 3 parts peat moss, 3 parts vermiculite and 2 parts portland cement. For extra strength and durability, you can throw a handful or two of fiberglass reinforcing fibers. Add water to the container and mix it until it is moistened but holds its shape-refer to the photos above. Do not do this with bare hands!!! (nevermind Georgeann’s bare hands, she warned us about the consequences) Portland cement can be a bit caustic and it will dry your skin to the point of irritation.
 Select a mold with a wide opening and grease the inside with spray or a thin coat of shortening. Line it with a couple of plastic bags or a sheet of plastic drop cloth. Do not worry about the crinkles and wrinkles, they will add texture to the pot.
 Press handfuls of the mixture into the bottom so that it is at least an inch and a half thick. Using your fingers, make a hole for drainage. Keep building up the sides so that they are at least an inch thick but when it comes to the top edge, make it a little thicker and rounded so that it is stronger. Let it cure, out of direct sun-in full shade, gently lift the plastic sheet to remove the pot from the mold after a day or two. At this point, you can carefully shape the edges or carve designs into the surface of the pot. Use a metal brush or a file to sand the edges and small chisels for the carving. Replace it into the mold to finish curing. You want to do this to ensure that you can get it out of the mold at all-a lesson I learned the hard way!
 If you walk around Georgeann’s garden, you will find tufa pots. This one is home to just one of many hosta plants.
 The pots are very durable and can even spend the winter outdoors. Even though the cement mixture is on the alkaline side, plants can thrive in them and so can moss.
 The moss is a plus in my opinion, I just love the character it adds to the pots.
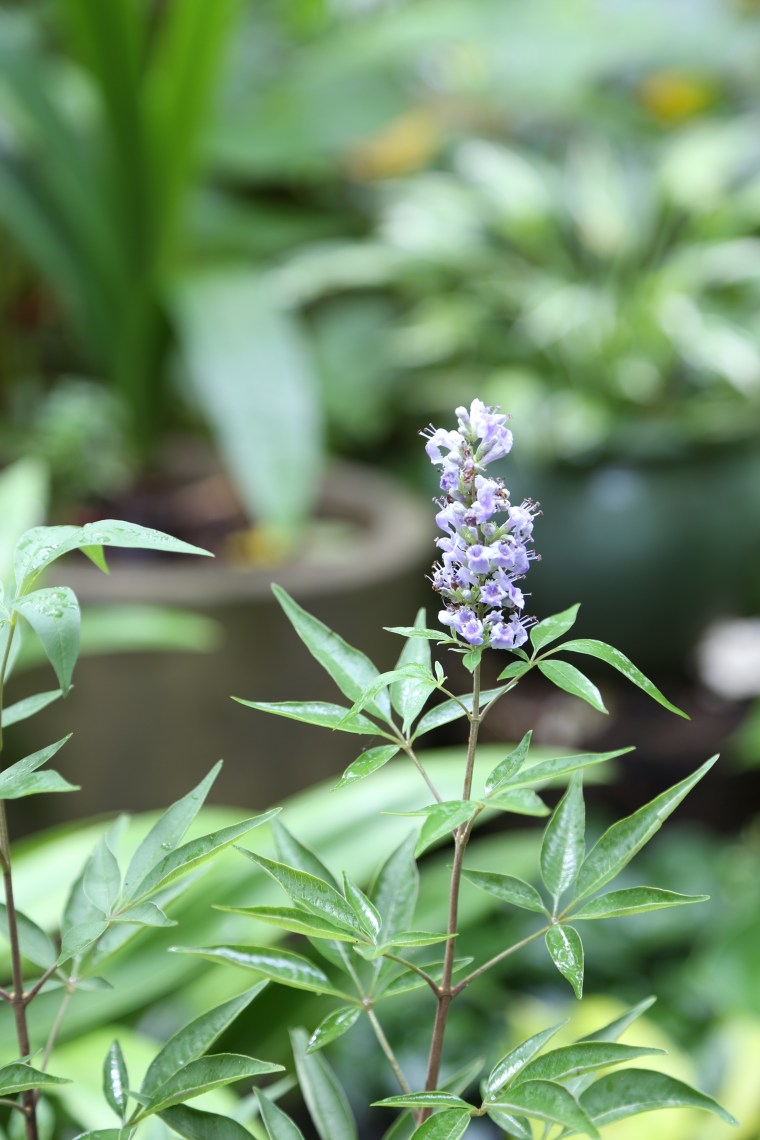 As a beekeeper, I love seeing Vitex (Chaste Tree) in gardens.
 All through the garden, I found little surprises like this mosaic of a Blue Jay.
 And this Earth ball.
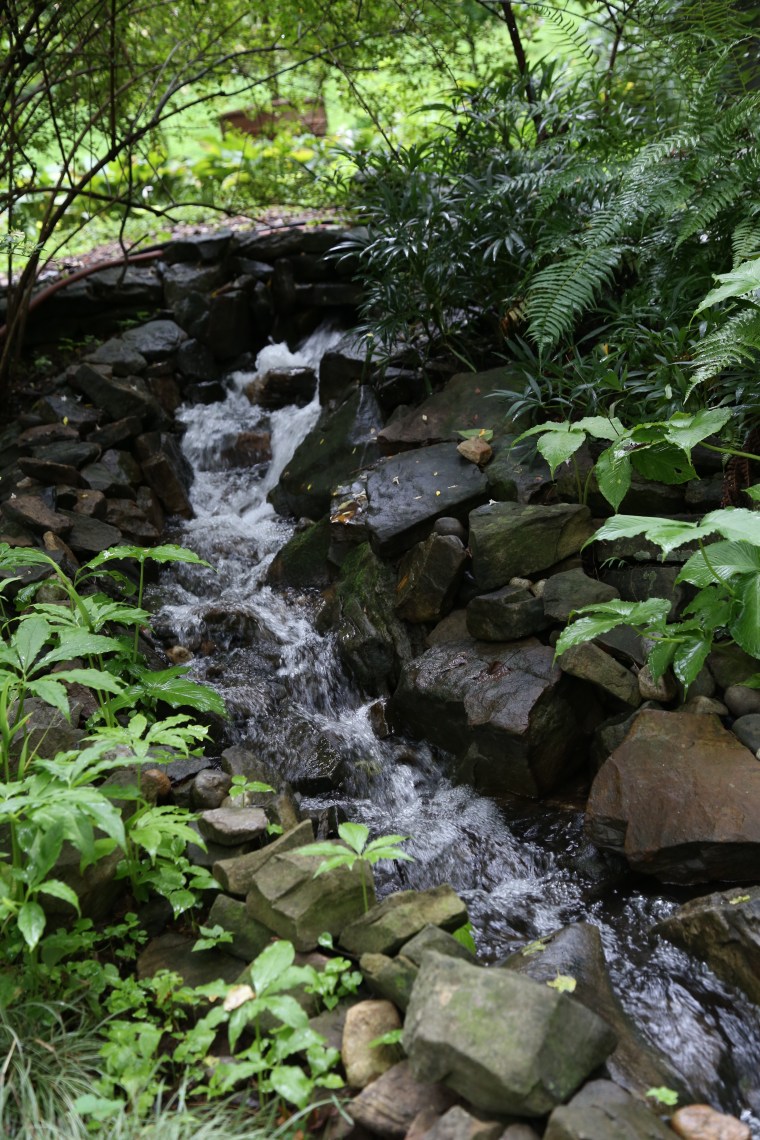 The waterfall is actually a water feature that recirculates but it is no less beautiful than a real stream!
 Of course, there are plenty of Hostas to admire, too!
 As much as I love Hostas, I really love Hydrangeas!
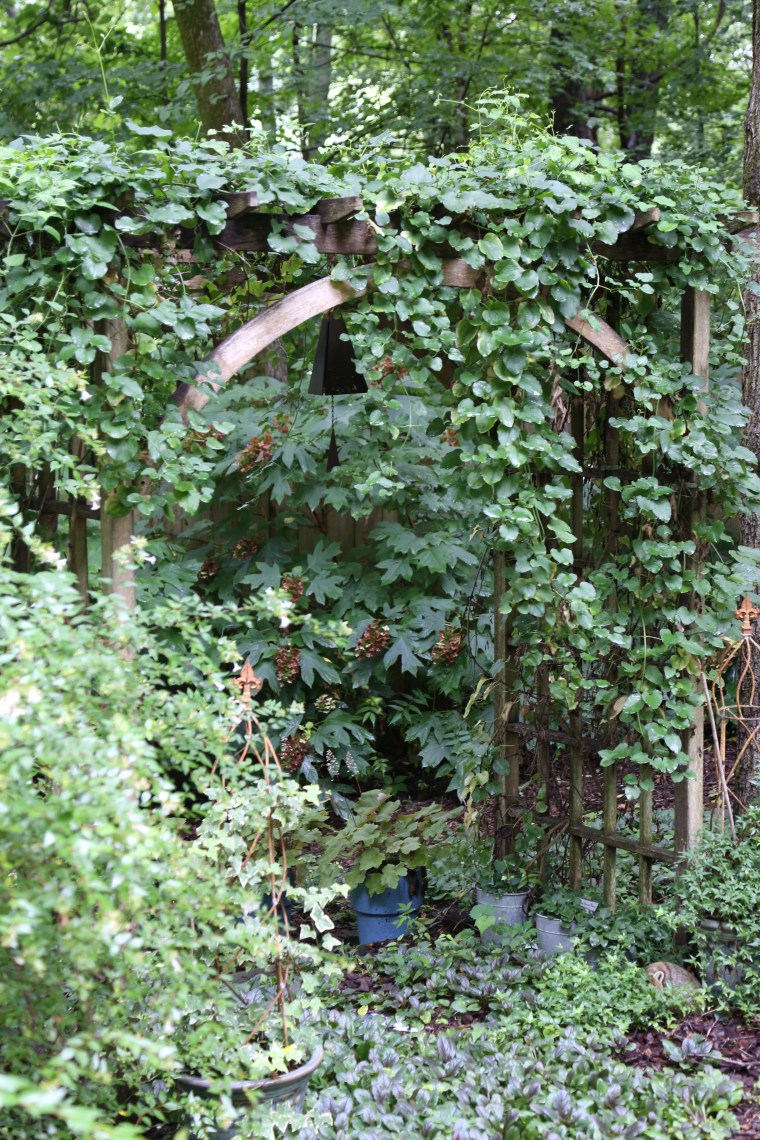 Arbors are everywhere in the garden.
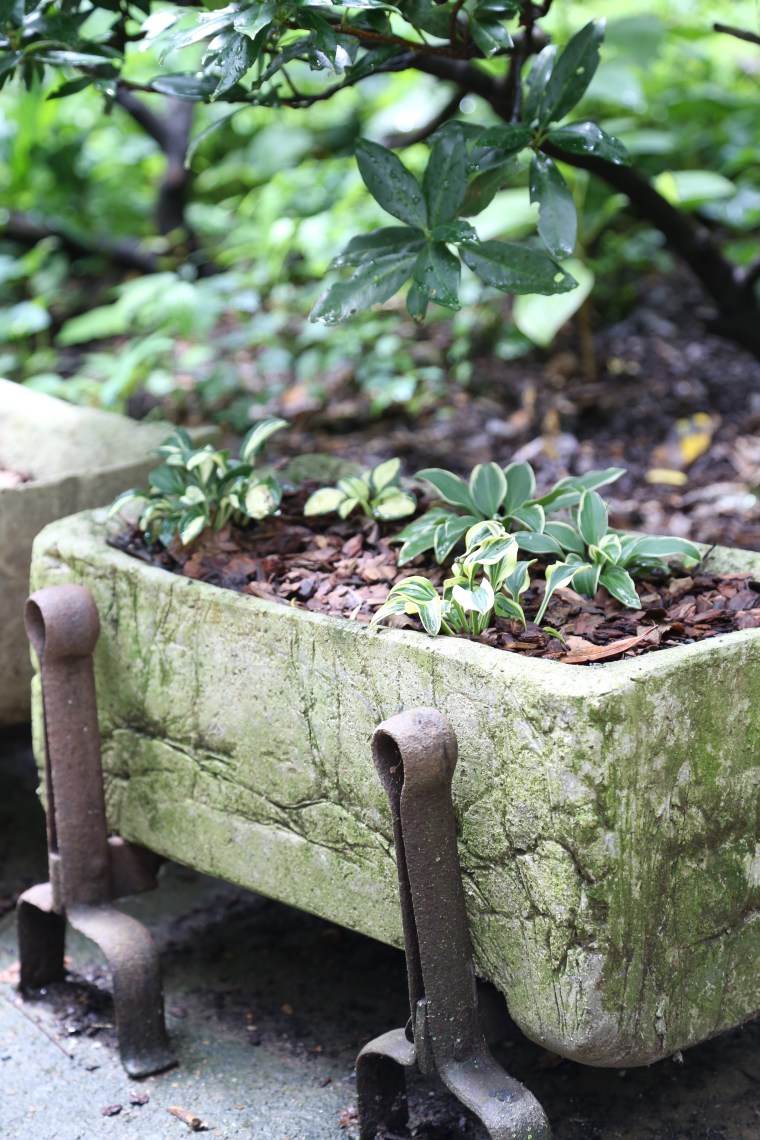 Another of Georgeann’s tufa pots, this time it is a trough. Remember what I said about the crinkles and wrinkles in the plastic liner? They really do add a lovely texture to the finished pot.
  Everywhere you look, there is something to see, and in my case, covet!
 Don’t you just love this little cottage?

 This swing is hidden from view in most of the yard but I was still hesitant to sit on it for fear of acting like a child…
 If this were my garden, I have a feeling that I would be spending a lot of time sitting out in front of the cottage at this table.
 Caladiums are quickly becoming one of my favorite plants to add color to a shade garden.
 This stone sits at the start of the path that leads up to the cottage and if you ask me, it is an accurate description of Georgeann’s garden.
 So the moral of this story; if a Master Gardener opens their home to you, go! You really have no idea what you will discover or learn until you walk through someone’s garden and I am genuinely grateful that I had the chance to spend a morning exploring this beautiful garden. And in case you were wondering, there was definitely cake; I brought my Guess Again Tomato Cake and the recipe will be posted soon!