Food Bloggers Cookie Exchange 2015: Springerle

e6adf61

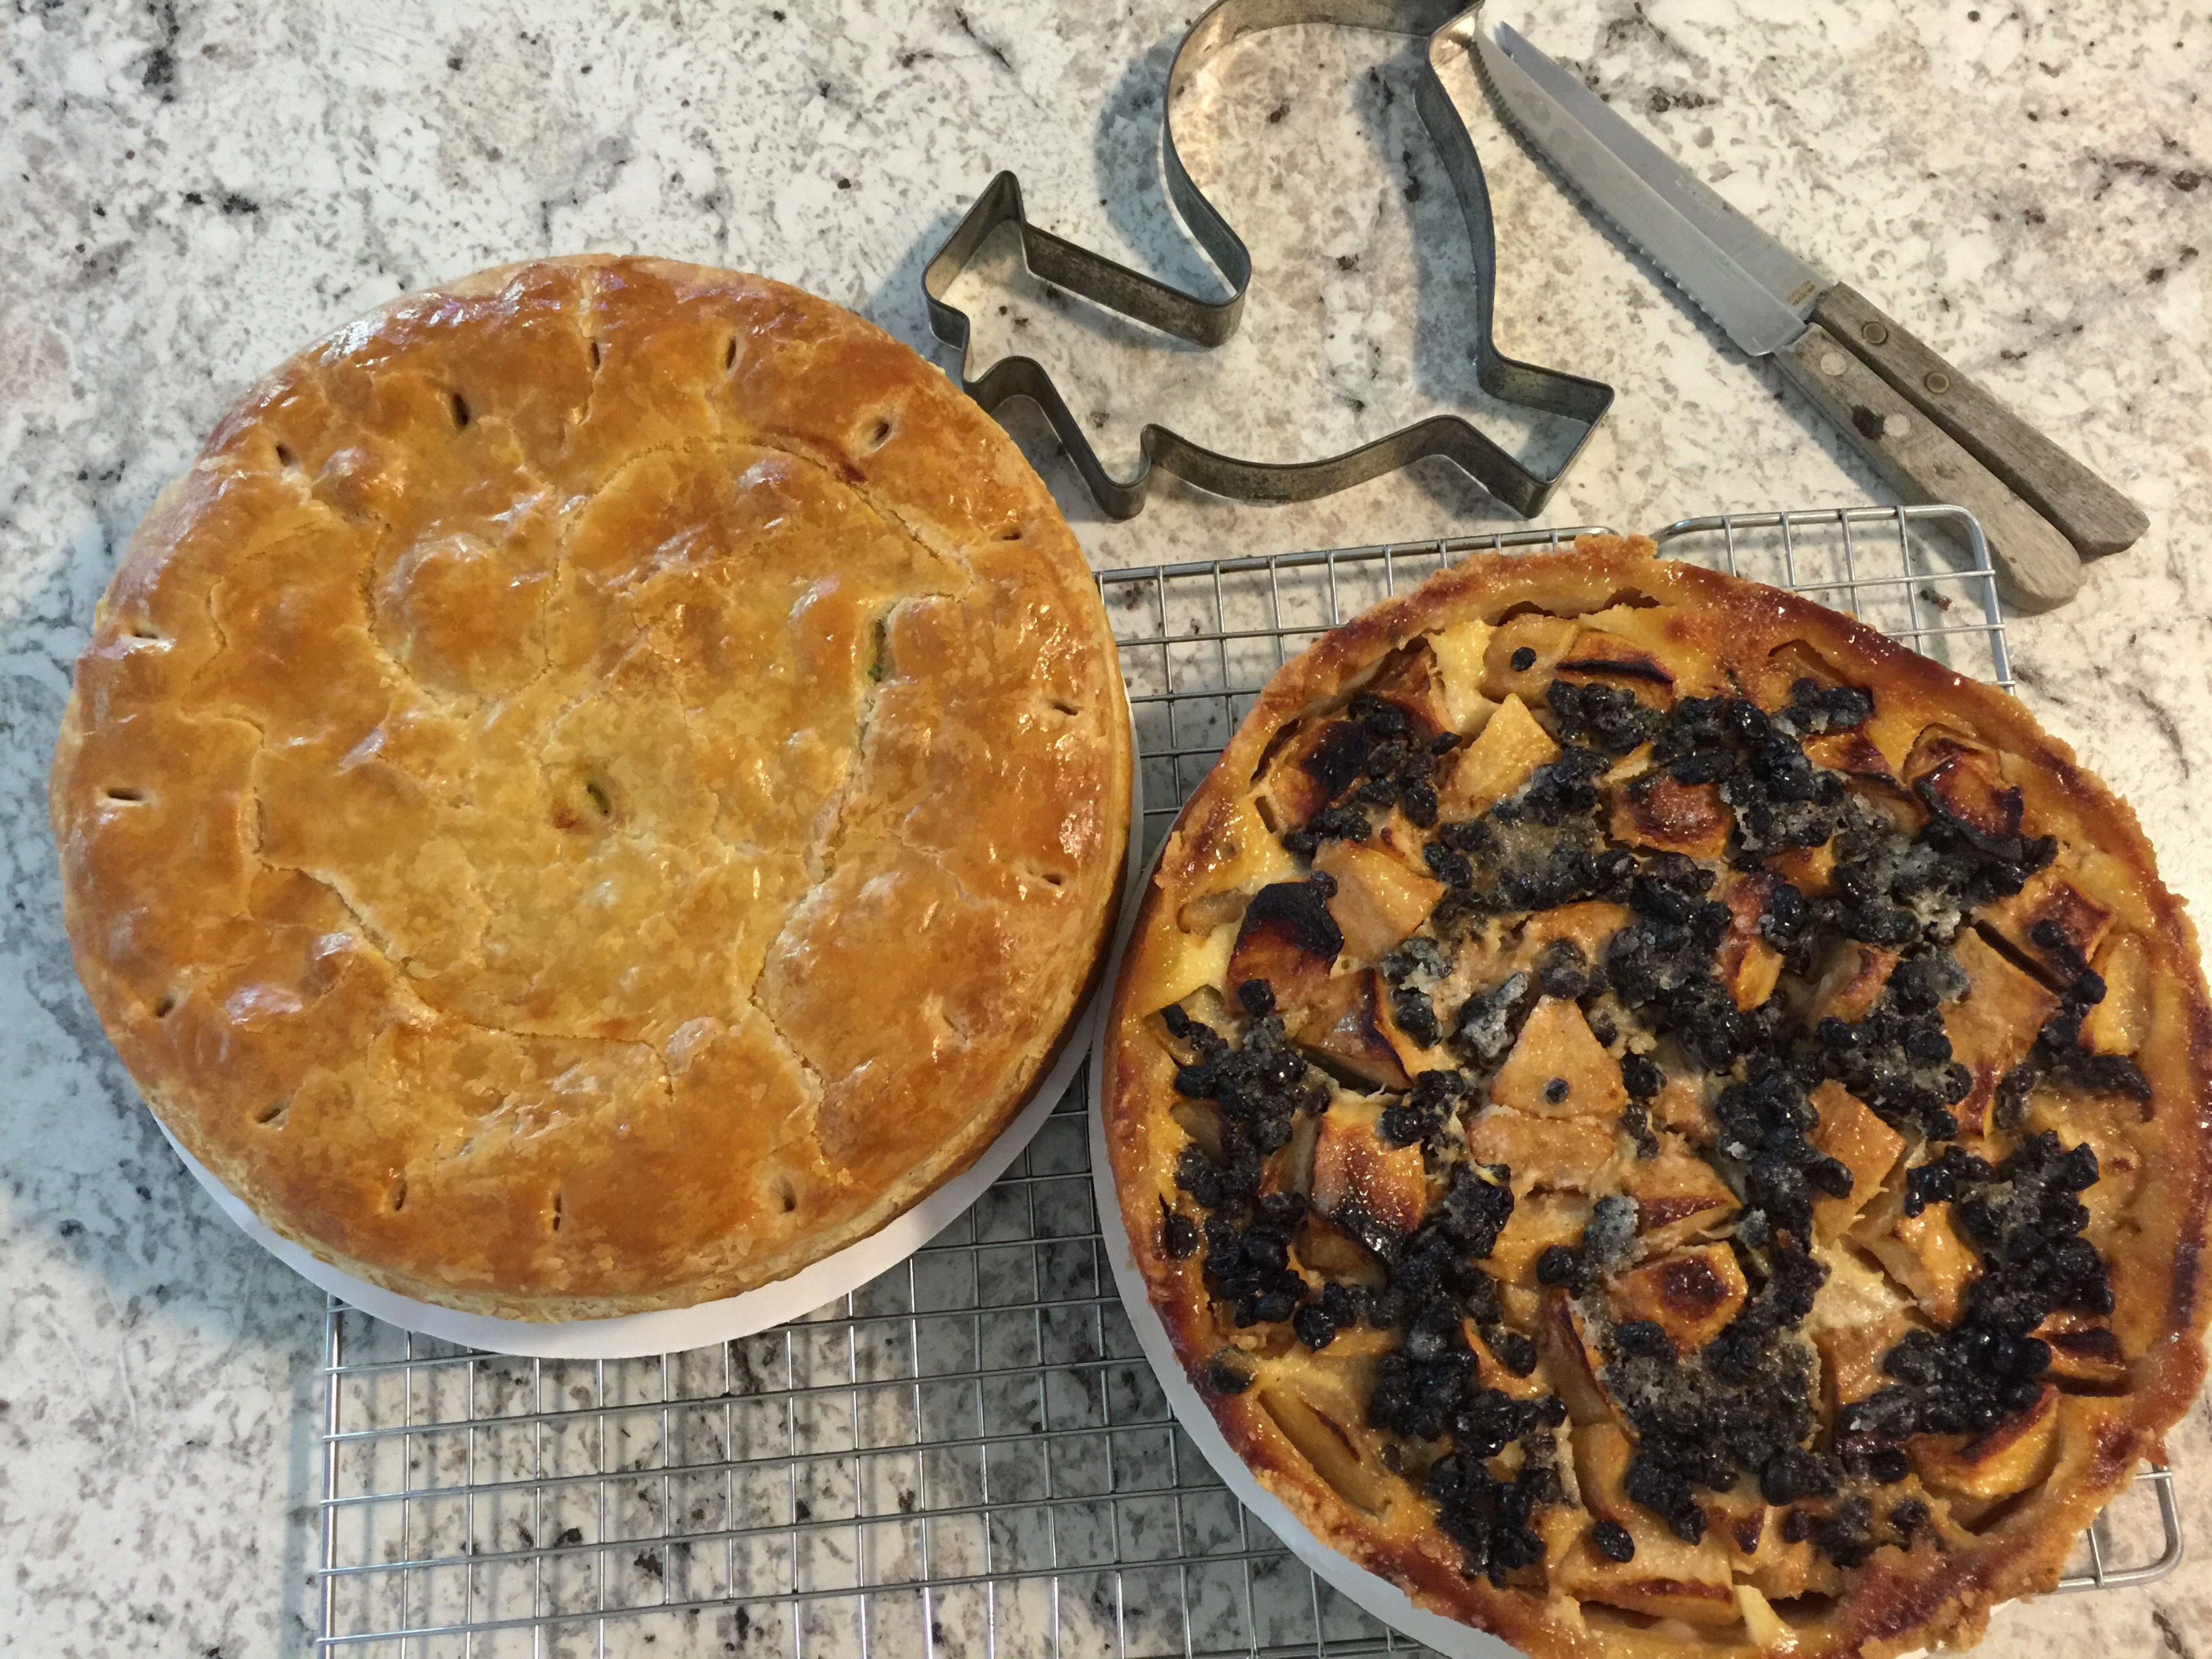
Every year as the holiday season approaches, I read about cookie swaps.  In person, in the mail, cookie swaps all over the country!  This year I made sure I would be part of the fun and I signed up for The Great Food Blogger Cookie Swap.  For the last 5 years, Lindsay from Love and Olive Oil and Julie of The Little Kitchen have put this event together and all of the proceeds go to Cookies for Kids Cancer.

The process is simple, sign up, make a small donation and wait for your swap matches to arrive via email.  Then you bake cookies, 1 dozen for each of your three matches, ship them and wait for the cookies to arrive on your doorstep.

Choosing a cookie recipe was easy and I made a big batch of springerle using the special rolling pin Darry brought back from Germany.  Springerle are a traditional Christmas cookie from Germany, flavored with lemon and anise and rolled out with special pins or pressed into molds.

Some recipes call for sprinkling anise seeds on the tray rather than adding them to the dough.  Because I was curious, I added seeds to half the dough.  Once I began rolling the cookies out, I could see why it isn’t the best option; it makes it harder to get the details of the mold if seeds are near the surface of the dough.

Once the cookies are rolled and cut, they need to dry for at least 8 hours and up to 24 so that the details are preserved during baking.  The pin Darry brought back from Germany has 12 different molds on it.

Some day I hope to collect some of the traditional plaque molds, but until I do, I will use my vintage chocolate molds.  They actually made highly detailed cookies and I wish I had made more of them…

IMG_4998

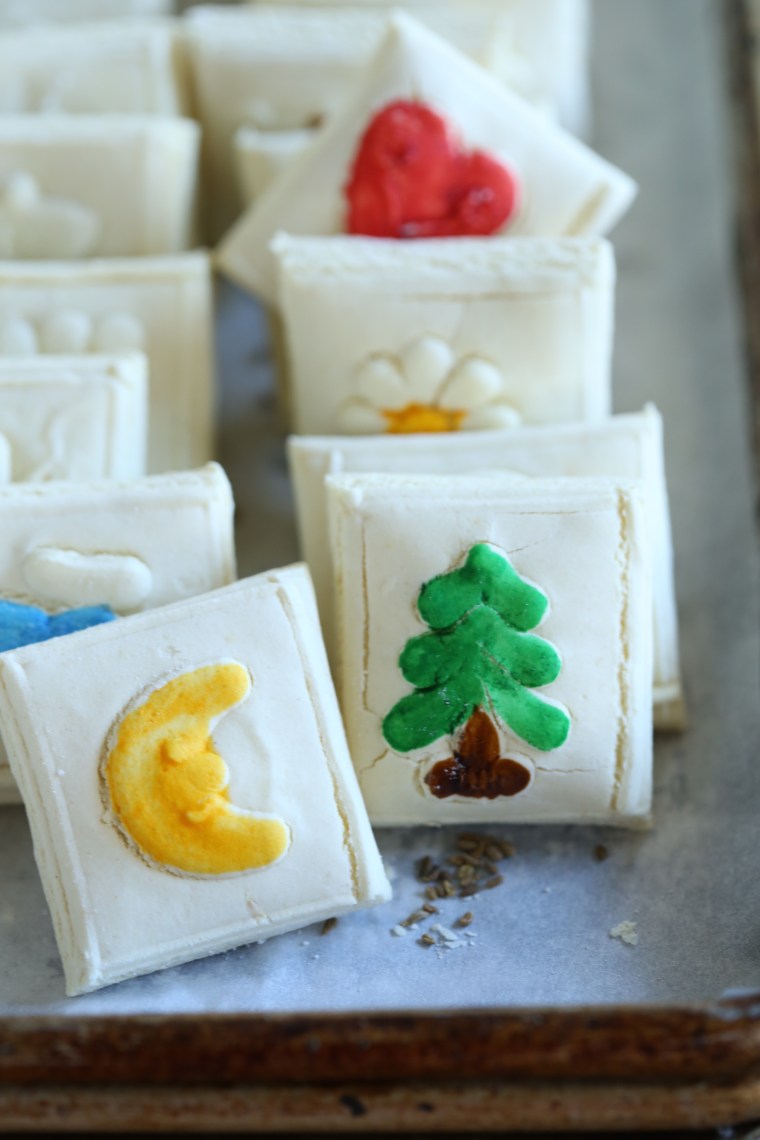
Since I was in full holiday mode, I experimented with painting some of the cookies.  If you decide to paint them, do so after the drying period and right before they go into the oven.

IMG_4971

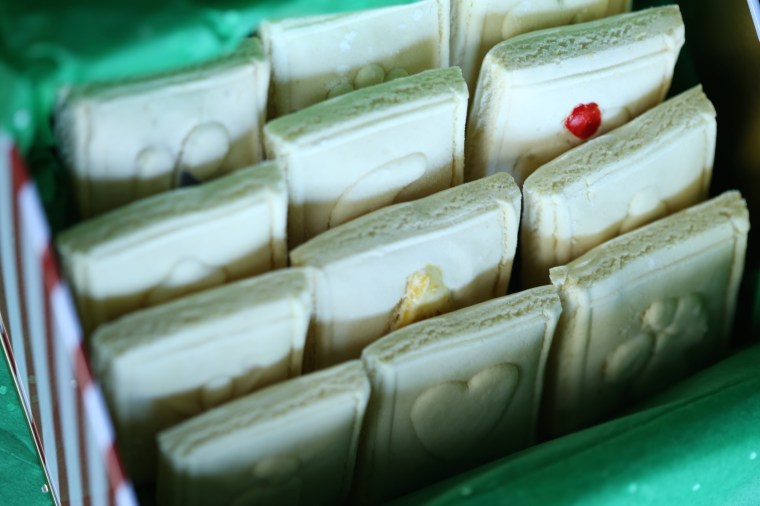
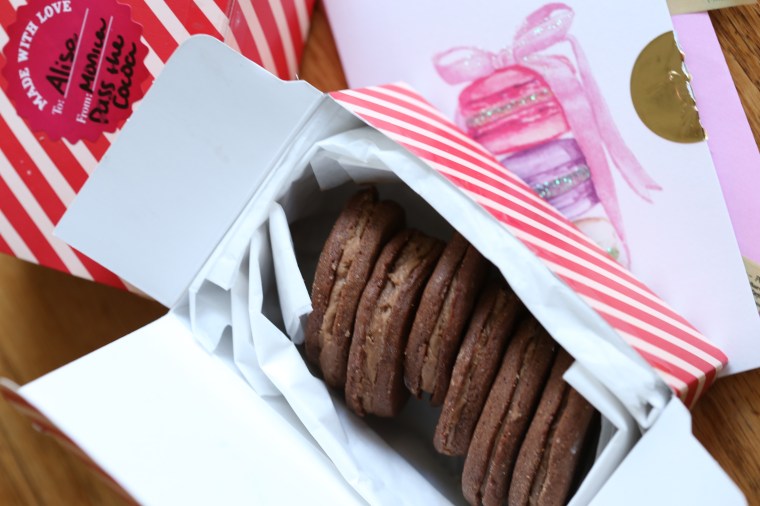
And because this was part of a cookie swap, lets get down to the details.  For each of my matches, I packed the cookies into metal tins with tissue paper.

IMG_4970

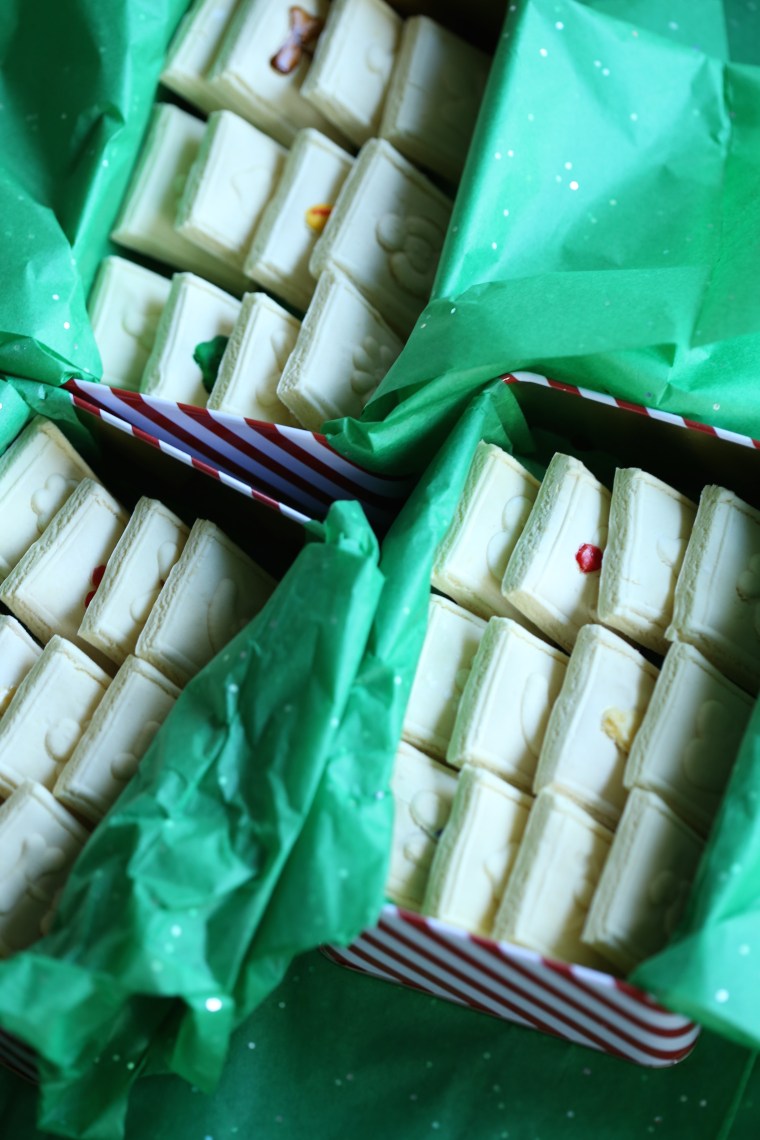
Here are all three of the tins waiting to go out in the mail to my three matches.  The exciting part about this is that three people sent me cookies and I am enjoying them immensely!


IMG_4975

From Monica of Pass the Cocoa, I received chocolate wafer sandwiches with a peanut butter filling.

IMG_4980

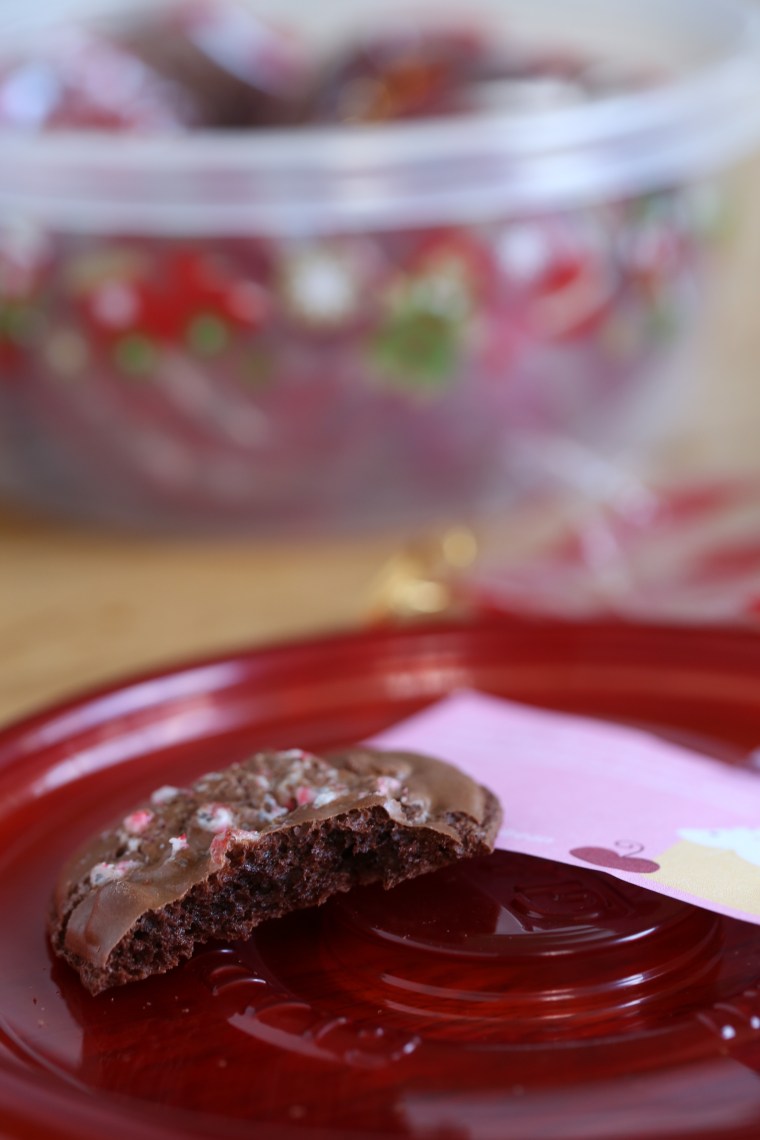
From Stacy of What the Cupcake?  came a tub of flourless chocolate peppermint cookies.  Can you believe she tied each one in a little bag.

IMG_4987

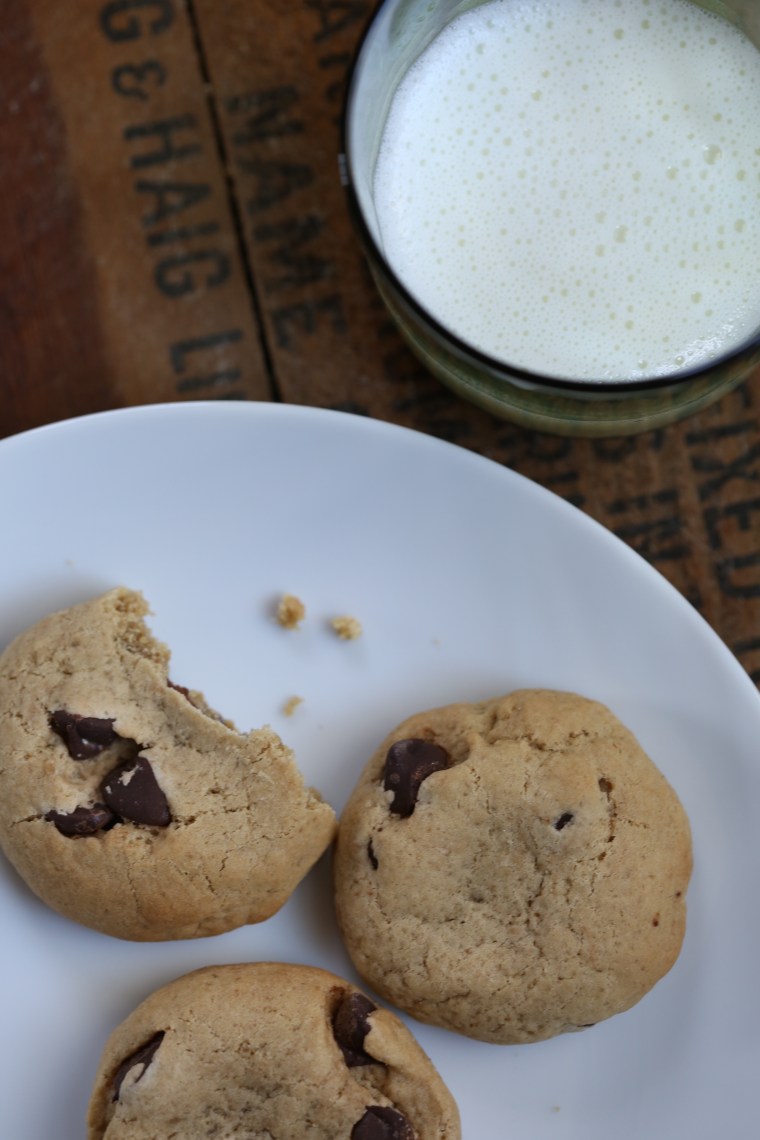
And lastly, from Laney of Life is but a Dish came some classic chocolate chip cookies.

IMG_4989All stacked up and ready for snacking…I may have to hide these from Darry.  What I really want to know is how the three of you knew to send me chocolate?

IMG_4996

To make springerle, visit House on the Hill and bake a batch of their Perfection Springerle Cookies.  And if you are in the market for some molds or a pin, House on the Hill has beautiful molds and so do these sites; cookiemold.com  and fancyflours.com.

Williamsburg Farmers Market; a fall walk of the market

IMG_4614Walking along Duke of Gloucester Street and the farmers market on a Saturday morning is something I truly missed when I was working full time.  My schedule shifts included Saturday mornings and I missed most of the spring and all of summer at the market.


Late fall in Virginia means lots of greens and roots to choose from.  Kale, chard, beets and turnips were abundant.


IMG_4623There is also no shortage of humor at the market.  Look closely, it made me chuckle.


IMG_4626So if the knife sharpener made me chuckle, this made me laugh, a lot.  If you need some worm castings for your garden, they’ve got you covered.


IMG_4631When in Virginia, only Virginia Peanuts will do!  They are larger than most and very popular in our house.


IMG_4634The Middle Peninsula of Virginia is part of the Chesapeake Bay area and that means Blue Crabs, freshly caught, steamed and ready to eat.

IMG_4636
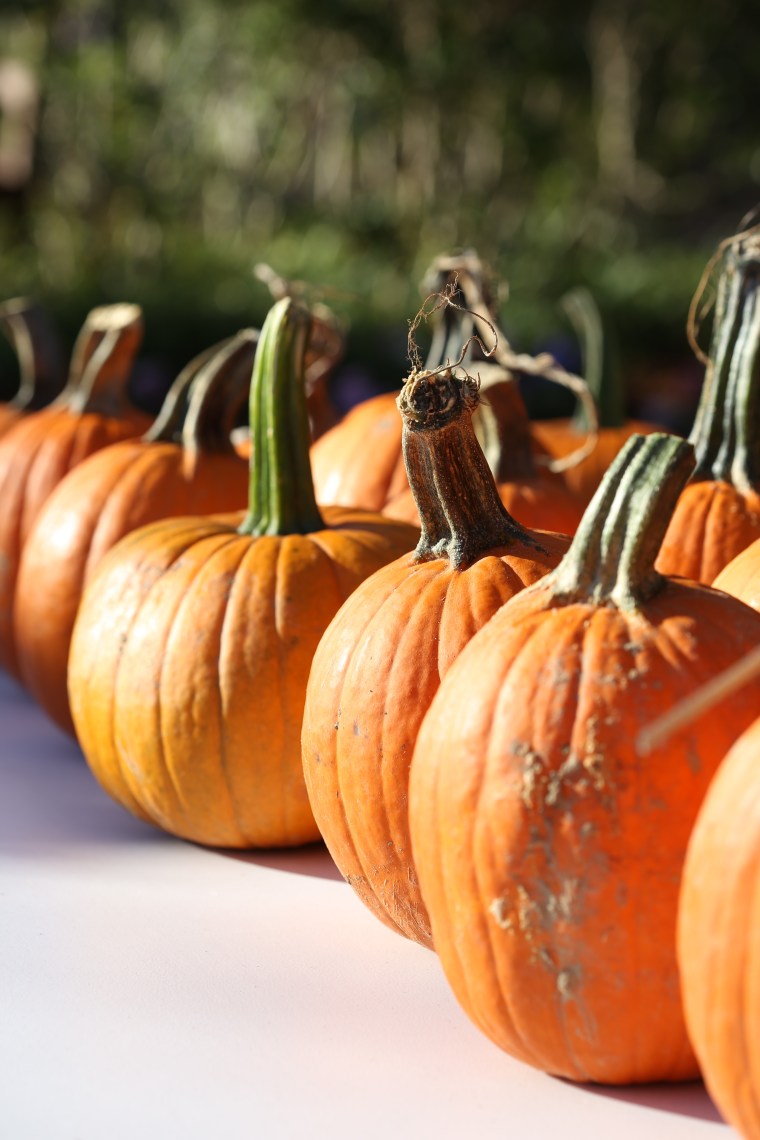
It wouldn’t be fall without pumpkins and there was no shortage of them that morning.

IMG_4645One of our favorite stops is the mushroom booth.  They sell a nice variety of wild mushrooms.

IMG_4649On this day, they had Hen of the Woods (above), Lion’s Mane, Oysters, and Shiitake.

IMG_4865Did you know the Williamsburg Farmers Market is a producers only market?  Virginia grown and that makes it fresh and local!

IMG_4667These were being sold as pumpkins on branches for use in floral arrangements but the truth is, they are a variety of inedible eggplant.

IMG_4669It’s true, pie fixes everything, try some and see for yourself!

IMG_4870

Lovely greens for a lovely day at the market.  Most of the vendors come each week but some come monthly or every other week.  For a complete list of vendors, visit the website.

gratitude and tomatillo jam

Every year at Thanksgiving, as we gathered around the table-our family and my cousin’s family together, we would ask each other to share what we were grateful for that year.  Kids being kids meant that some of the answers were comical, but in the end, we were grateful for each other and the time together.  This year, Darry and I found ourselves on our own, one of the downfalls of relocating.  We didn’t let that stop us from having a lovely dinner and yes, it included the traditional trashcan turkey.  We also had the pleasure of cooking some vegetables that we grew ourselves.

The weather was unseasonably warm this year and we spent much of the day working in the garden.  We pulled out the frost damaged plants, mulched leaves with the lawn mower and layered the beds with straw, coffee grinds, compost and the leaves we had gathered.  When we sat down to dinner, we were grateful to have sweet potatoes and greens from our garden on the table.  It was also pleasing to know that cabbage, cauliflower, kale and broccoli as well as brussel sprouts and collards are growing in the beds and will be on our dinner table soon as well.

One of the plants we pulled out of the bales and cut up for composting was a cluster of tomatillos; one purple and two yellow.  Tomatillos are one of those things that you either love or wonder why anyone would want the stupid things.  They are sticky when you peel the husks off and unless you are making salsa or green sauce, they aren’t very appealing.  Even so, each year as I plant my garden, I almost always sow a few tomatillo seeds.

A member of the nightshade family, tomatillos are related to tomatoes but at the same time, they are so different that you will wonder if they really are relatives.  While tomatoes do not need a companion plant to pollinate them, tomatillos do so if you plant them in your garden, be sure to plant more than one.  Tomatillo vines will sprawl so be sure to give them a sturdy structure to lean on.  They will also produce over a long season and right up to the first heavy frost which means you can have them throughout the summer and into early fall.

As we gathered all of the fruits, we realized we had enough to make a batch of something and I chose turn them into a sweet jam rather than the typical salsa.  My triple batch of jam cooked up quickly and is now sealed in jars ready to be shared with friends and family, a token of our gratitude.


Tomatillo Jam

Makes 1 pint and the recipe can easily be doubled or tripled

1 pound tomatillos, washed with the husks removed

1/4 teaspoon chili flakes or 1 small fresh chili, finely diced

juice and zest of one lemon

1 1/4 cup sugar

Cut the tomatillos into quarters and place them in a heavy bottomed sauce pot with the remaining ingredients.  Bring the mixture to a simmer over medium heat, stirring to prevent sticking.  Allow the jam to simmer until the tomatillos soften.  Using a hand held masher, press the tomatillos to break them up.  Continue to cook until the mixture reaches 210 degrees.  Pour the jam into sterilized jars and seal in a water bath or place it into a storage container and keep in the refrigerator.


This post is one of a series that Melissa of Corbin in the Dell and I are publishing simultaneously.  To read her post, visit her blog.


stop-light tomato pickles

IMG_4797
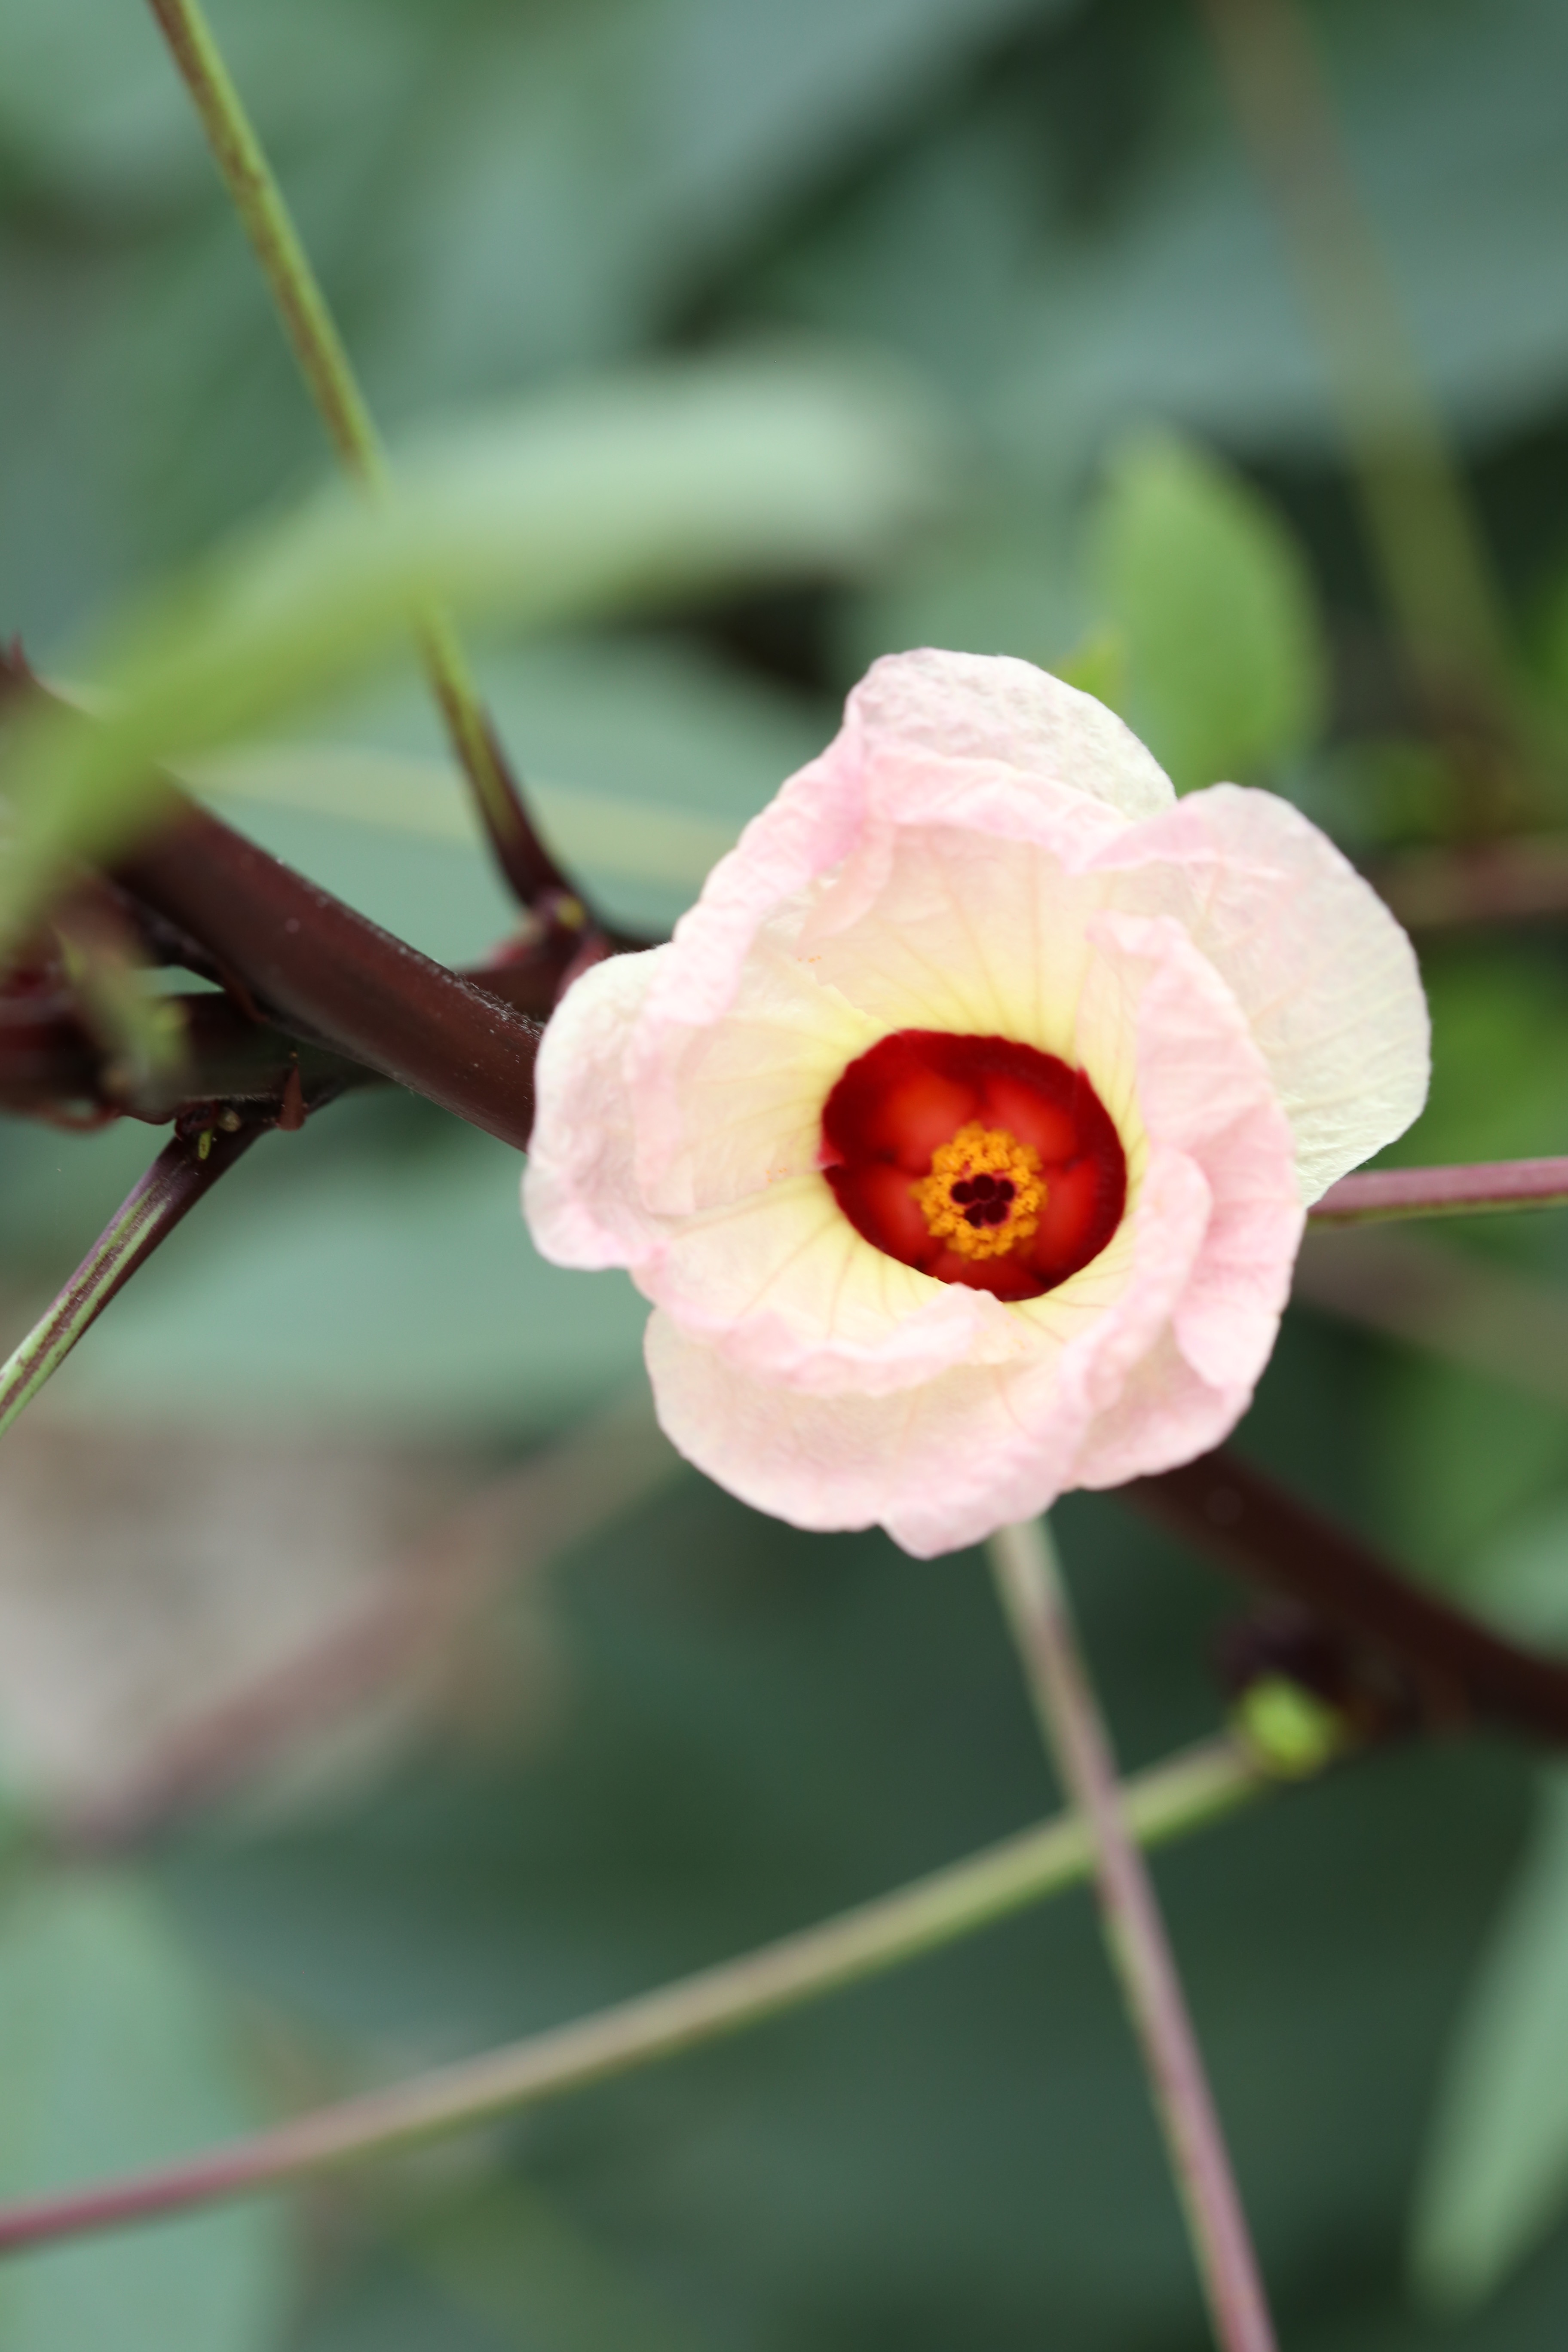
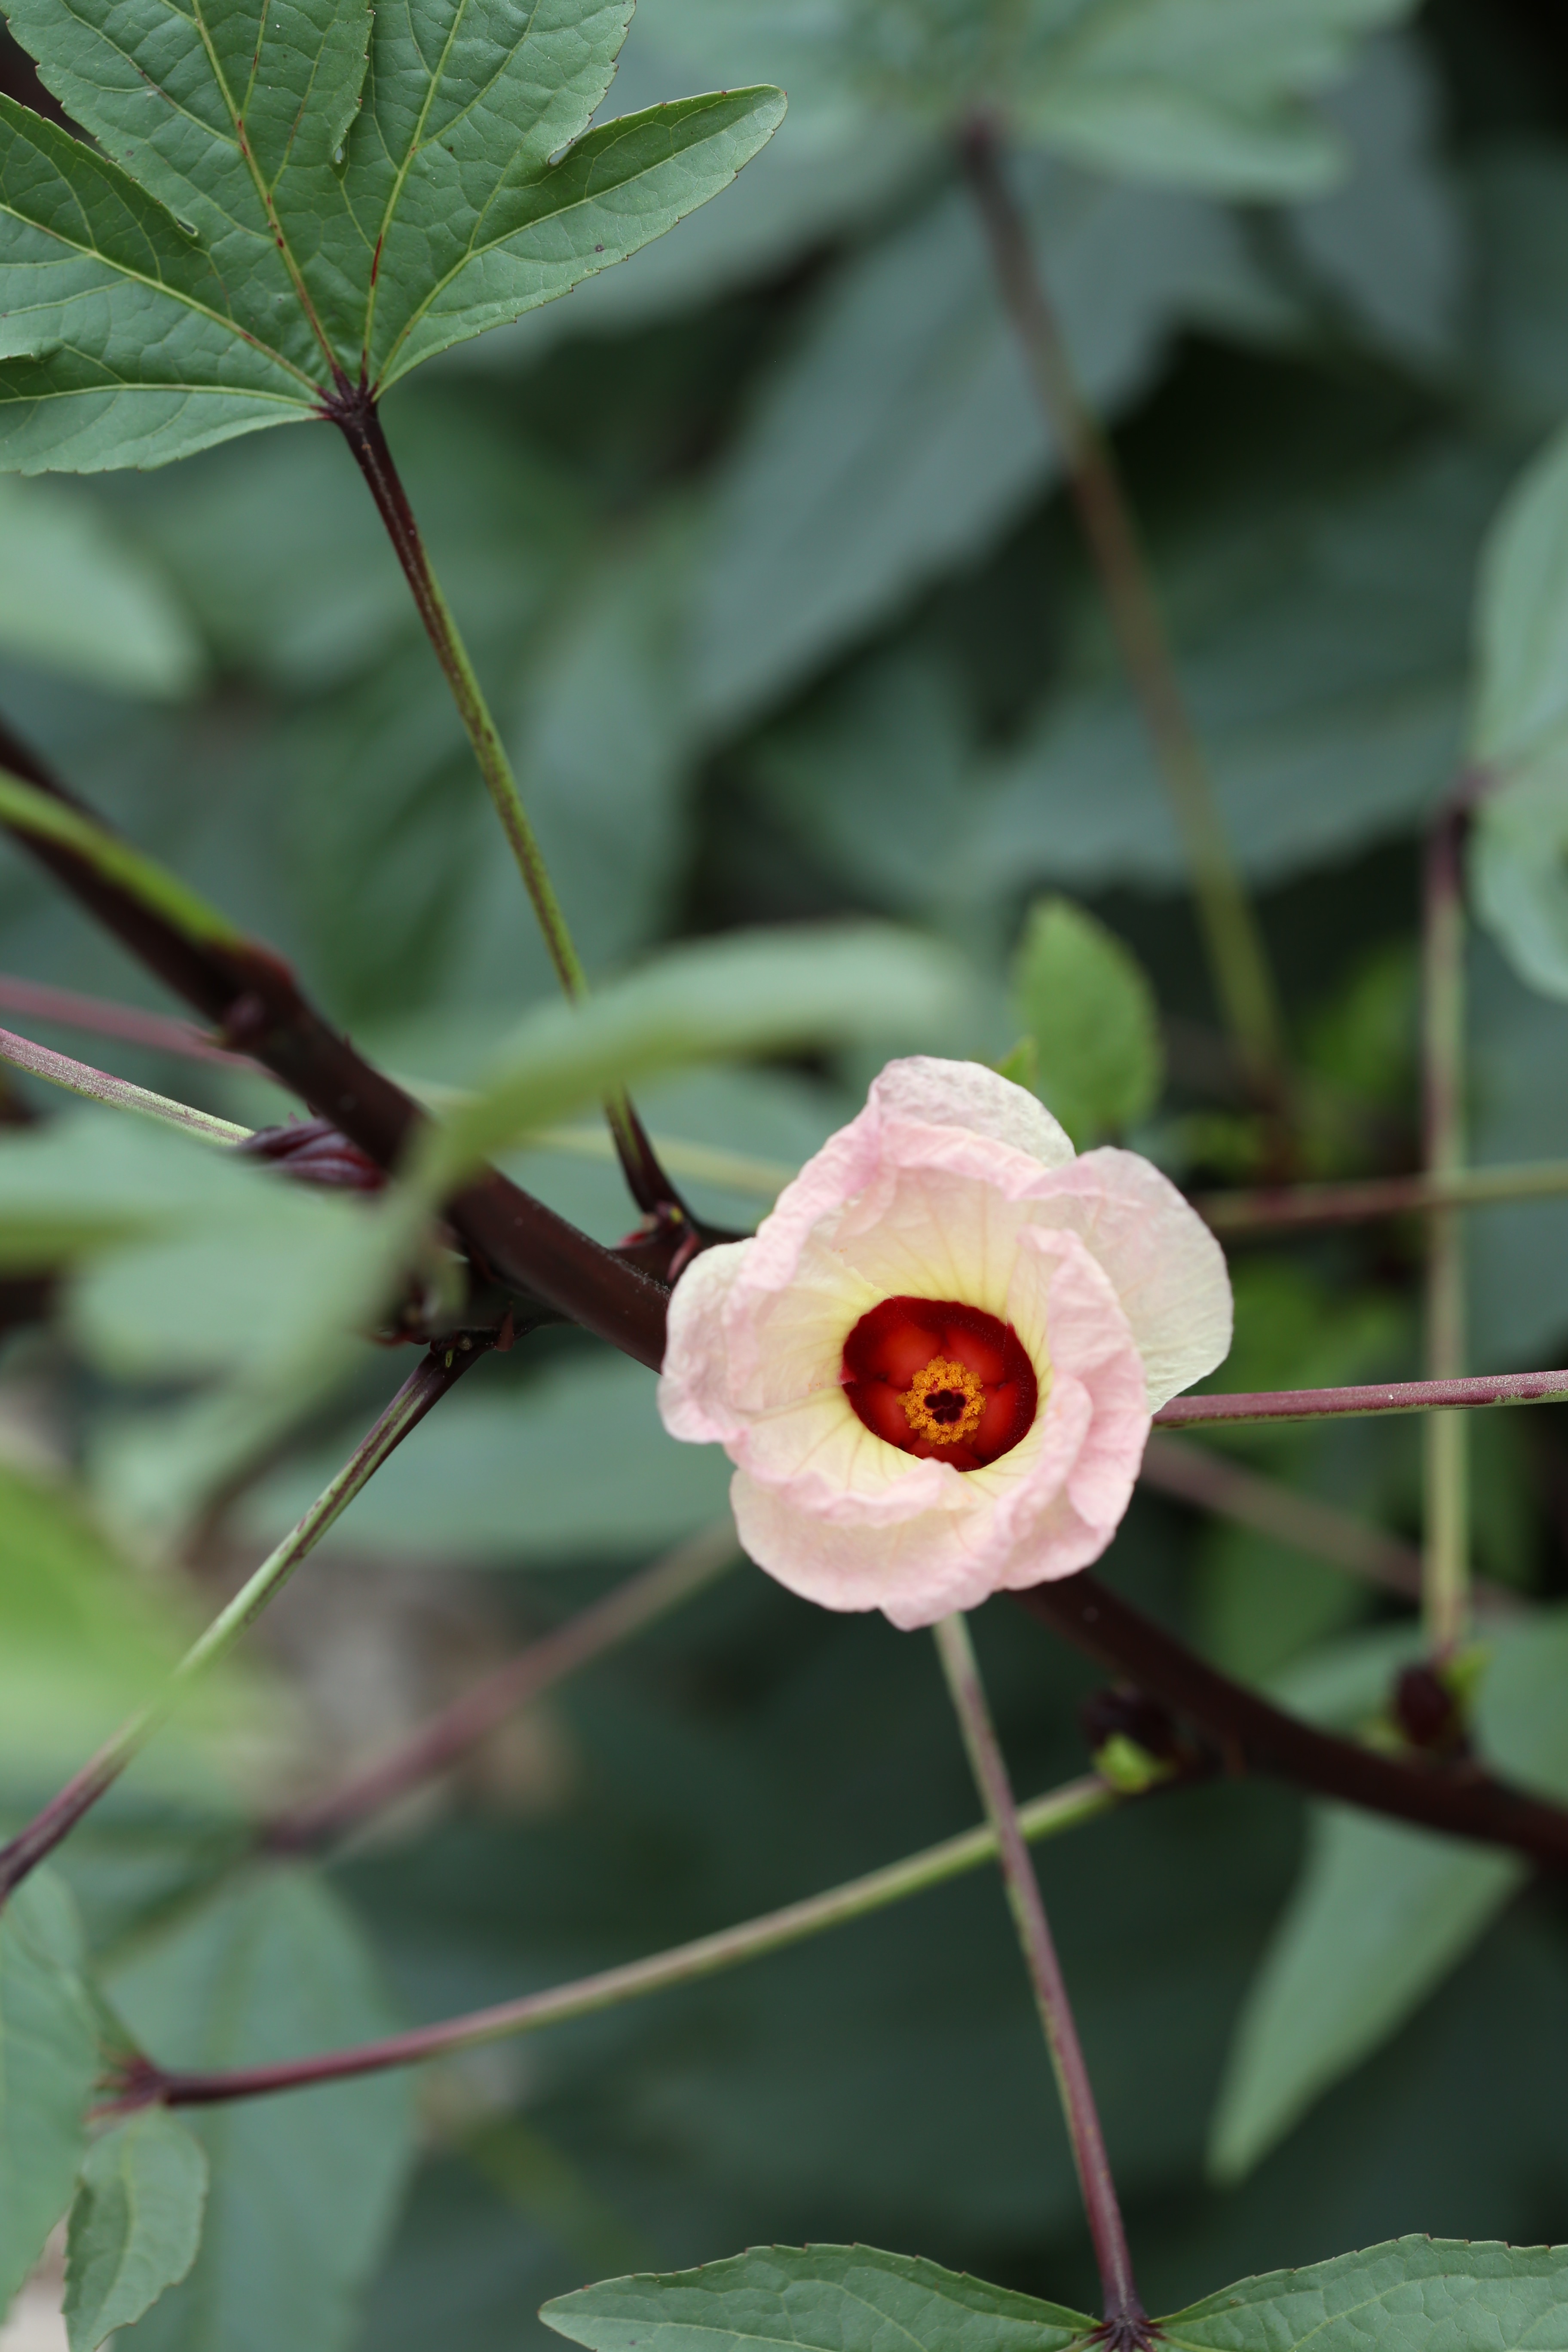
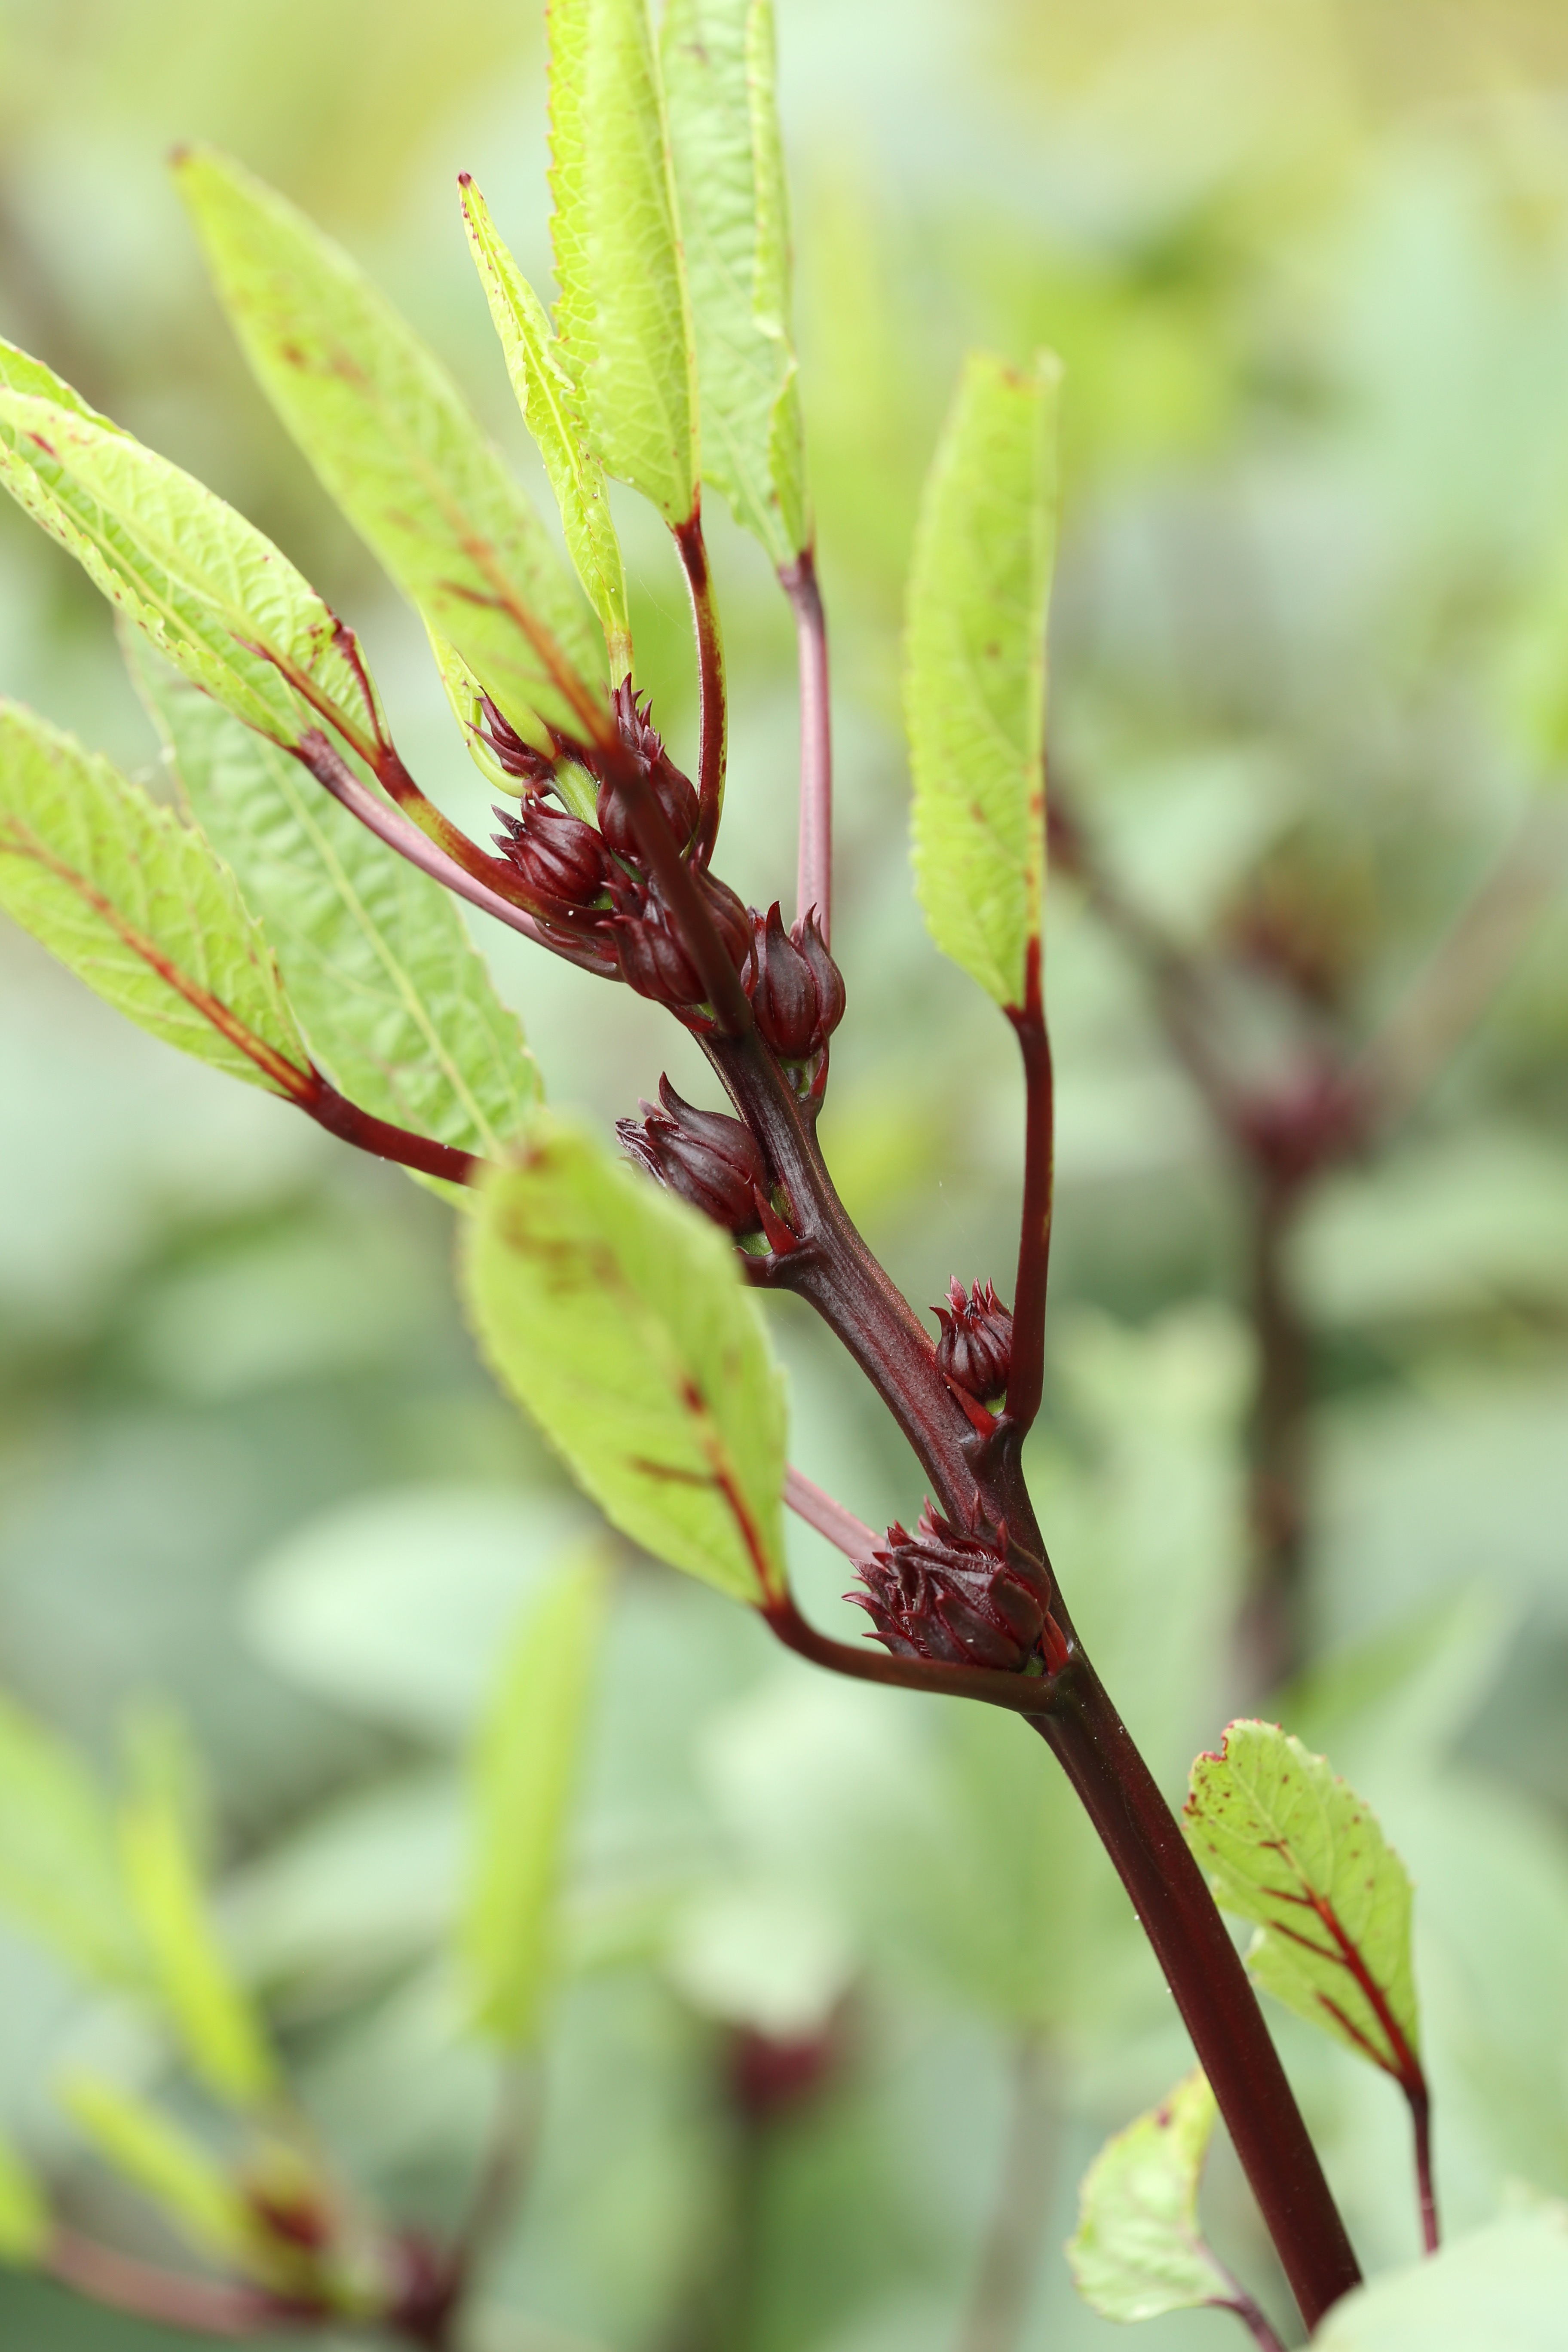
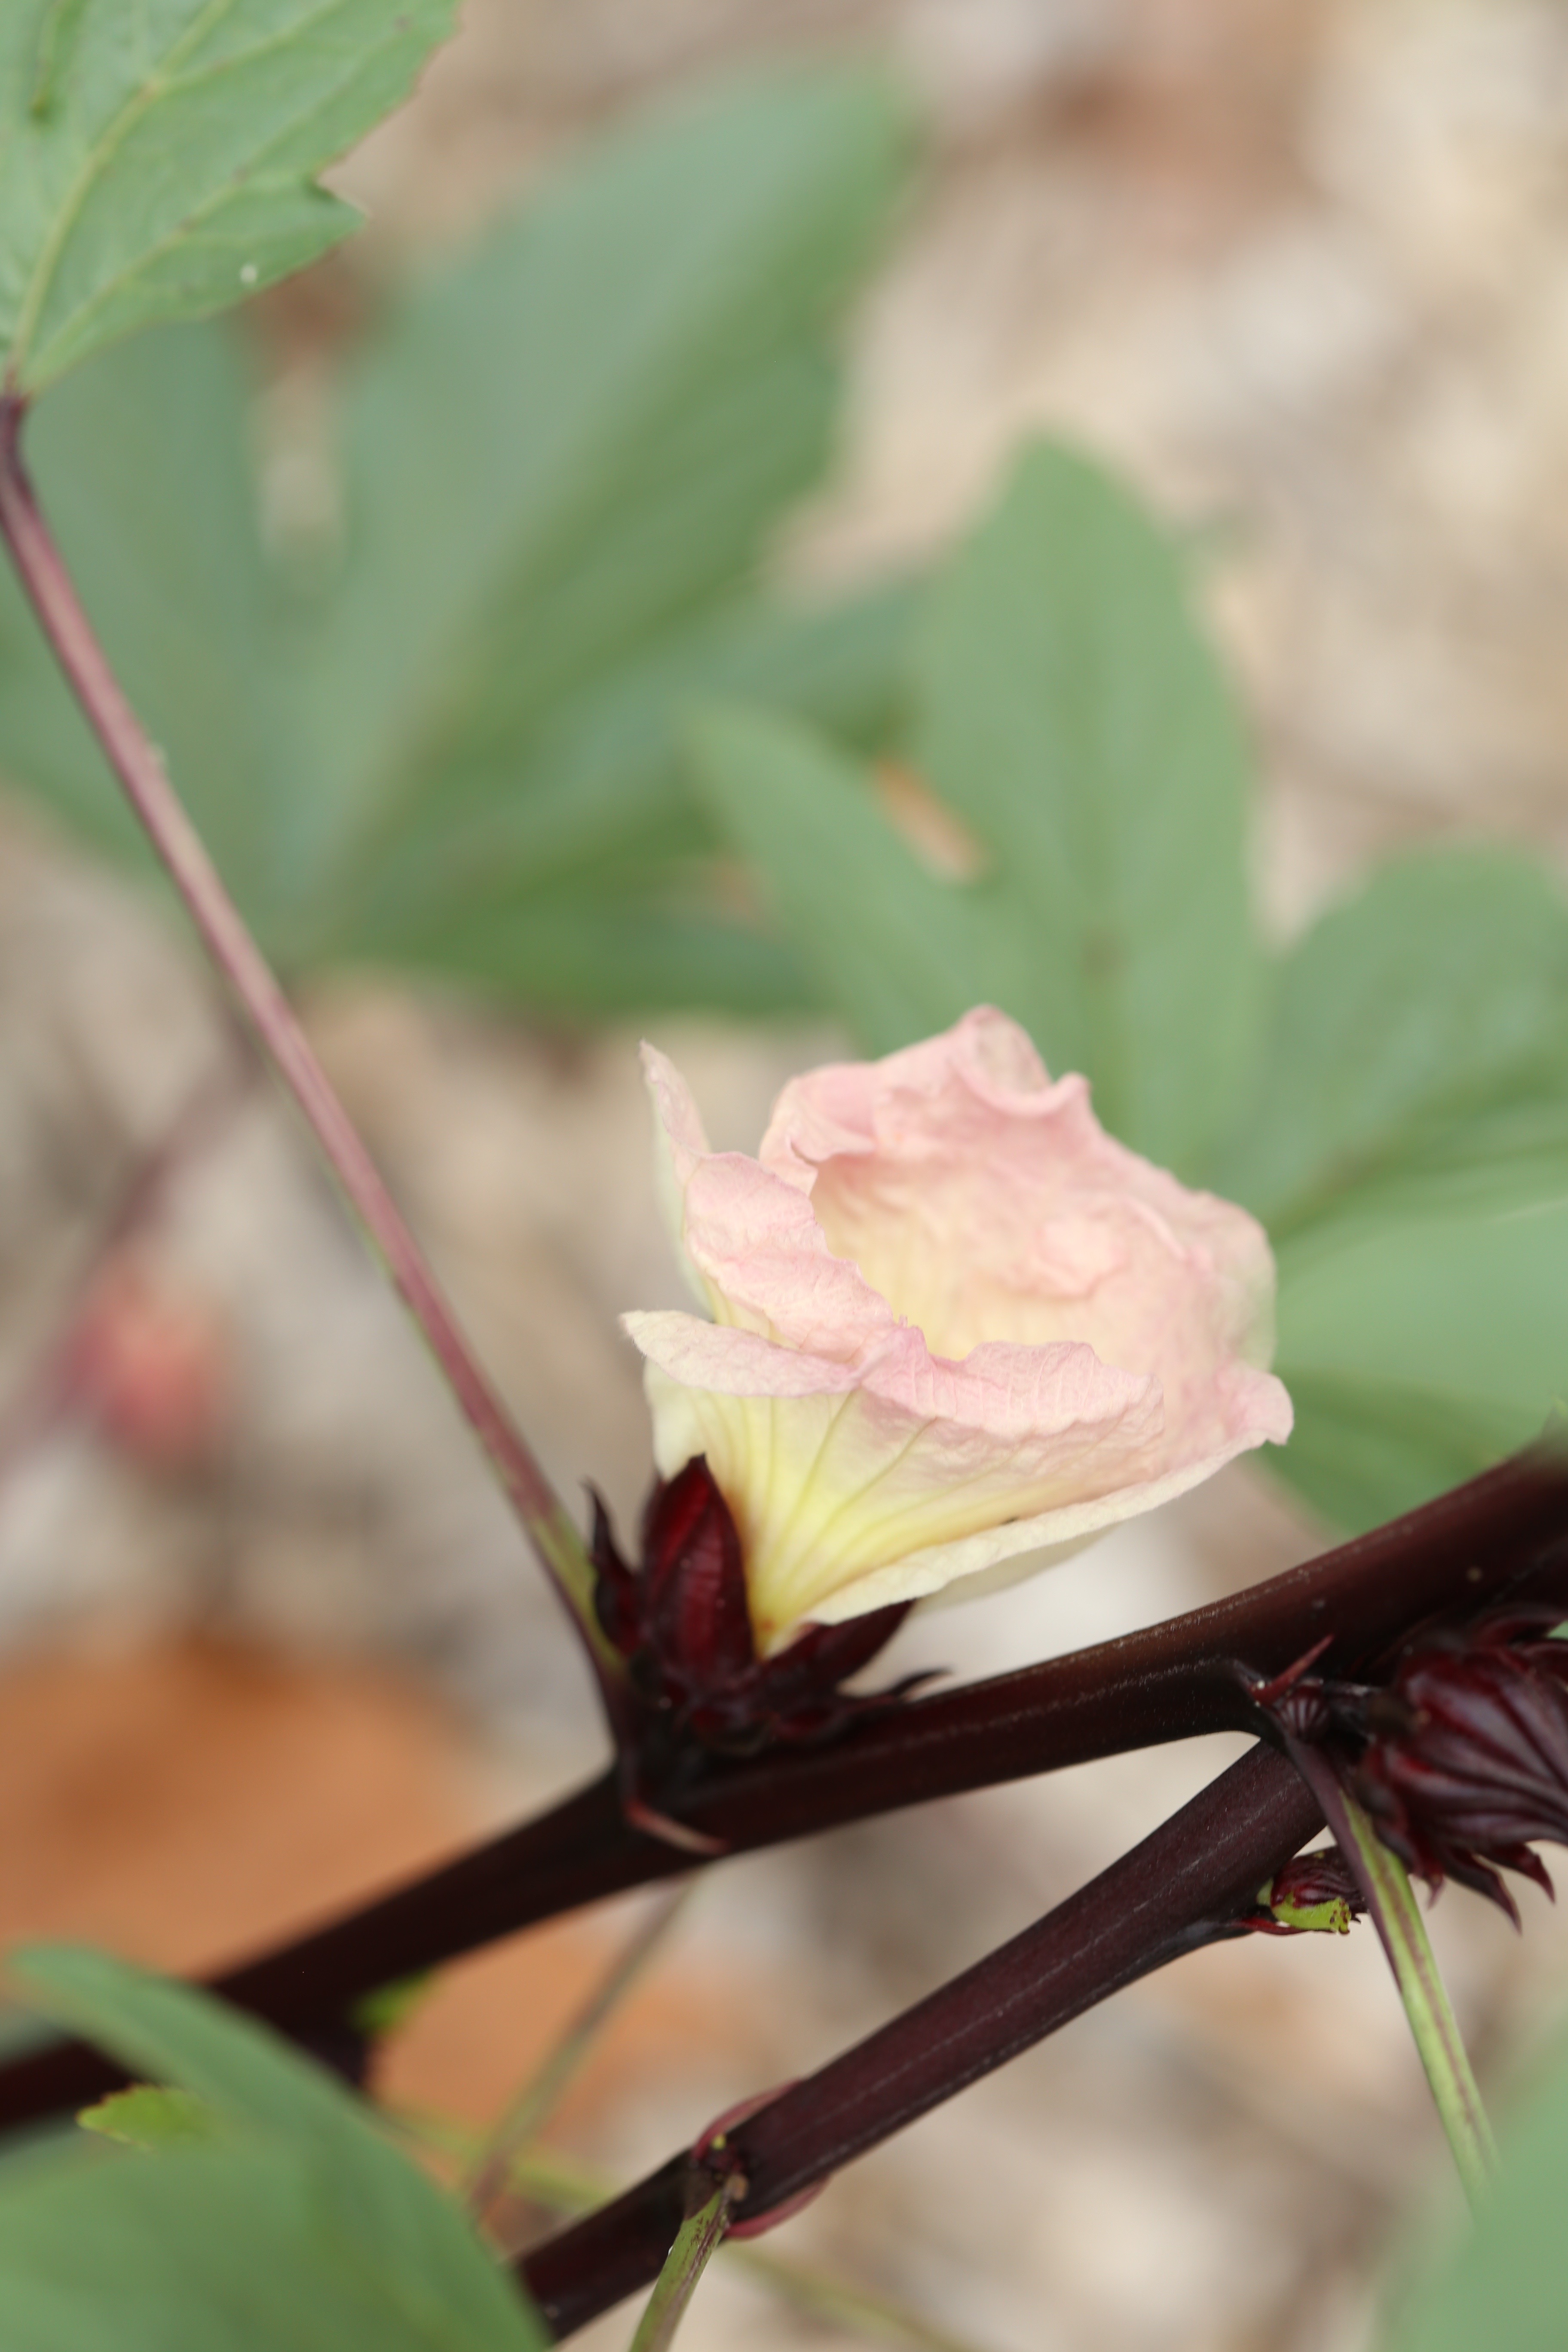
Having a garden means you have a tremendous amount of patience.  How else can you explain the process of waiting for the right time to put seeds in the ground, waiting for them to germinate, waiting for the plant to mature; wait, wait, hurry up and wait.  Participating in this process also makes you an optimist.  Gardeners are always looking ahead to the harvest, convinced that they will be blessed with an abundance.

Composting is a vital part of gardening.  It enriches the soil and replaces what is removed every time we harvest food from the beds.  As a gardener, I cannot imagine not having a few piles aging for future use.  One important rule of composting is not adding seeds unless you want those seeds to sprout and grow in your garden.  We do our best to follow this rule and I always compost weed plants in a pile by themselves.  Usually, the only seeds that make it into the compost are from foods we eat or grow.

My love affair with cherry tomatoes falls into this category.  As a devoted salad eater, I always have cherry tomatoes on hand and when they are not ripening in my garden, I pick up the little plastic containers from the store.  My favorite pick is the miniature heirloom tomatoes from Trader Joe’s.  A rainbow of color ranging from green to yellow and orange to brown, these beauties actually taste like tomatoes when compared to the large ones.  Sadly, I usually end up with more than I can eat and some end up taking a trip out to the compost pile.

IMG_4800
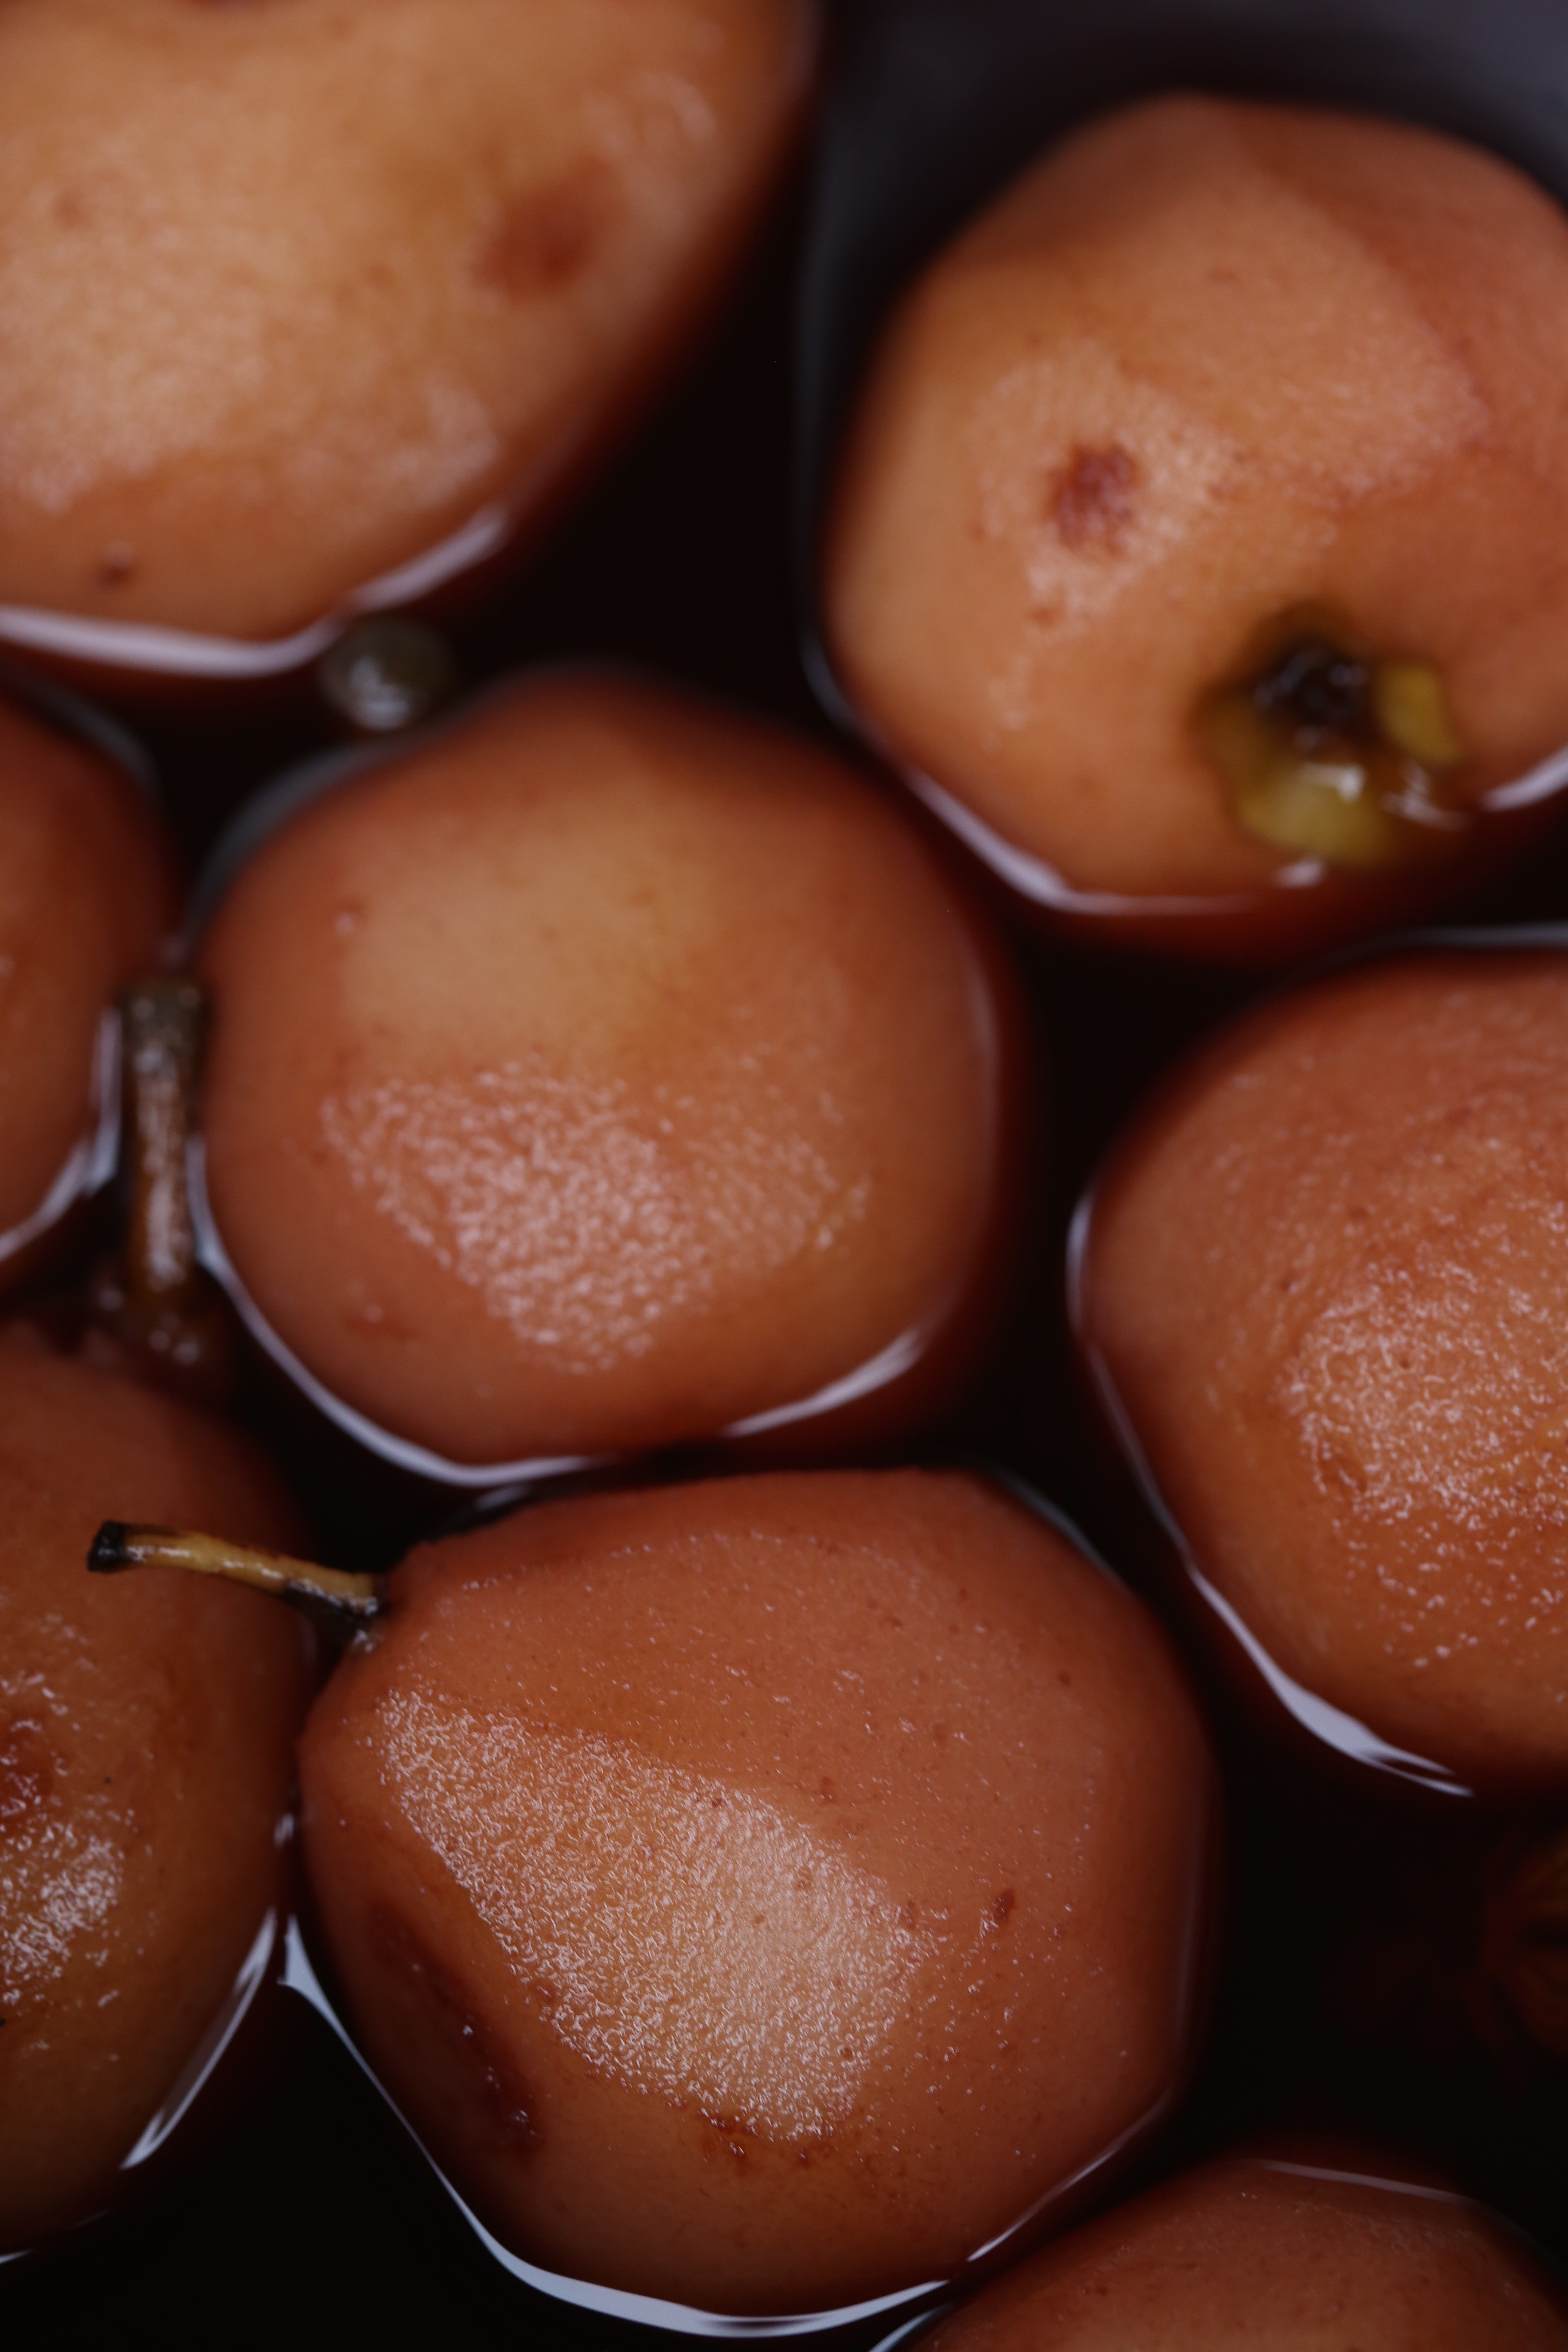
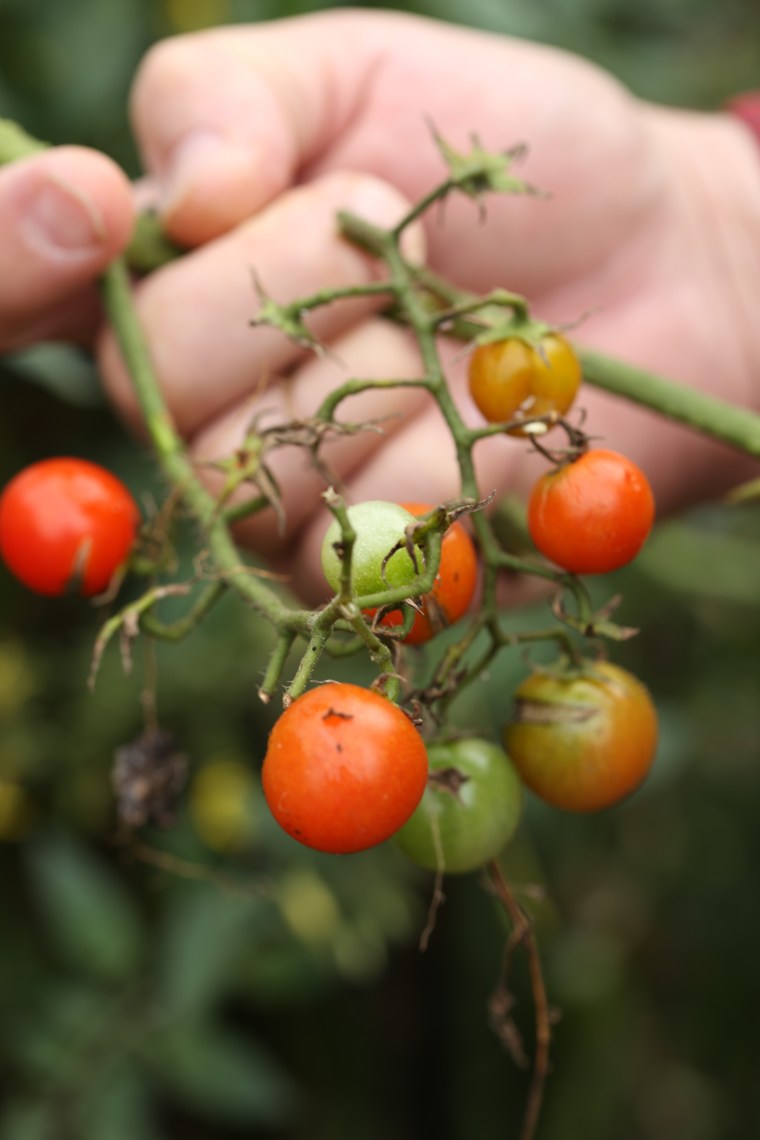
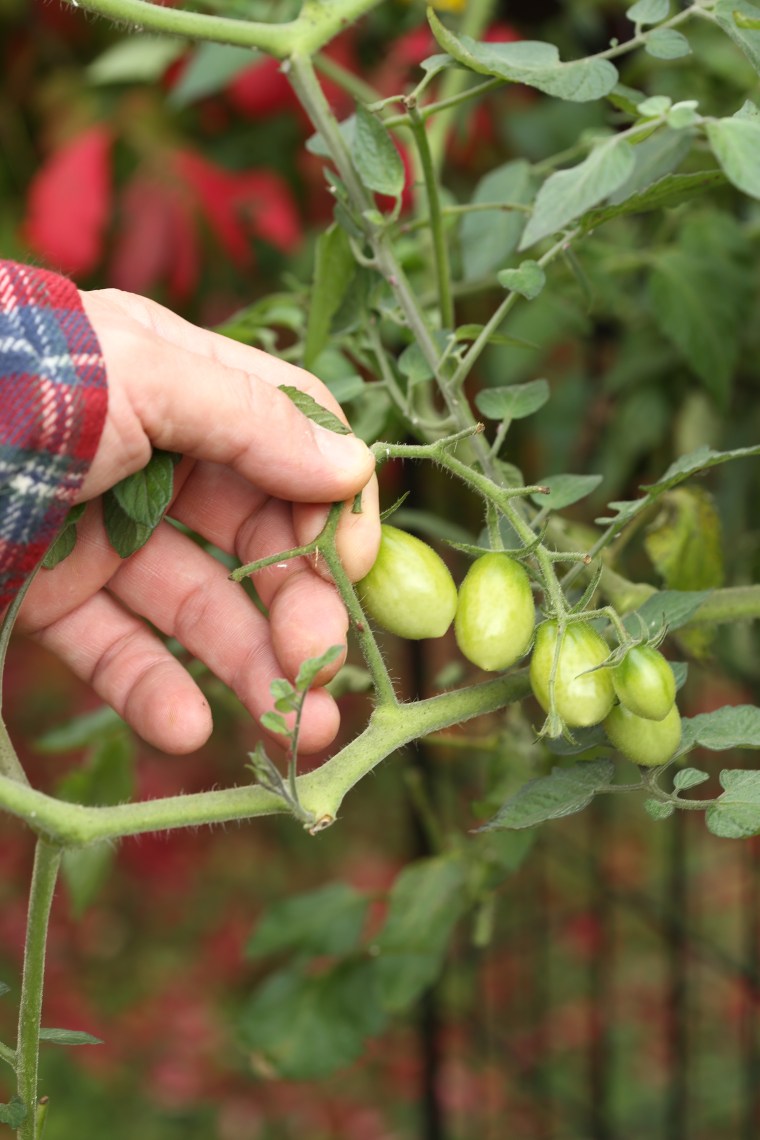
As a result, we have an endless stream of tomato seeds germinating in our compost piles.  We always let a few of them grow and because we never know what they are, we generally call them surprise tomatoes.  This year, we had quite the haul: miniature plums, red cherries, full sized plums and brown kumatos.  As the frost approached, we made the decision to pick as many as we could.  Actually, the first real frost came late here, and on November 20th, we finally had the full freeze to kill the vines.

With the holidays approaching, we decided to pickle a large quantity of the cherries so that we could give them as gifts.  It was a fun way to spend a Sunday in the kitchen with Darry.  With this easy recipe courtesy of my good friend Melissa of Corbin in the Dell, we gathered the ingredients and supplies.

IMG_4805
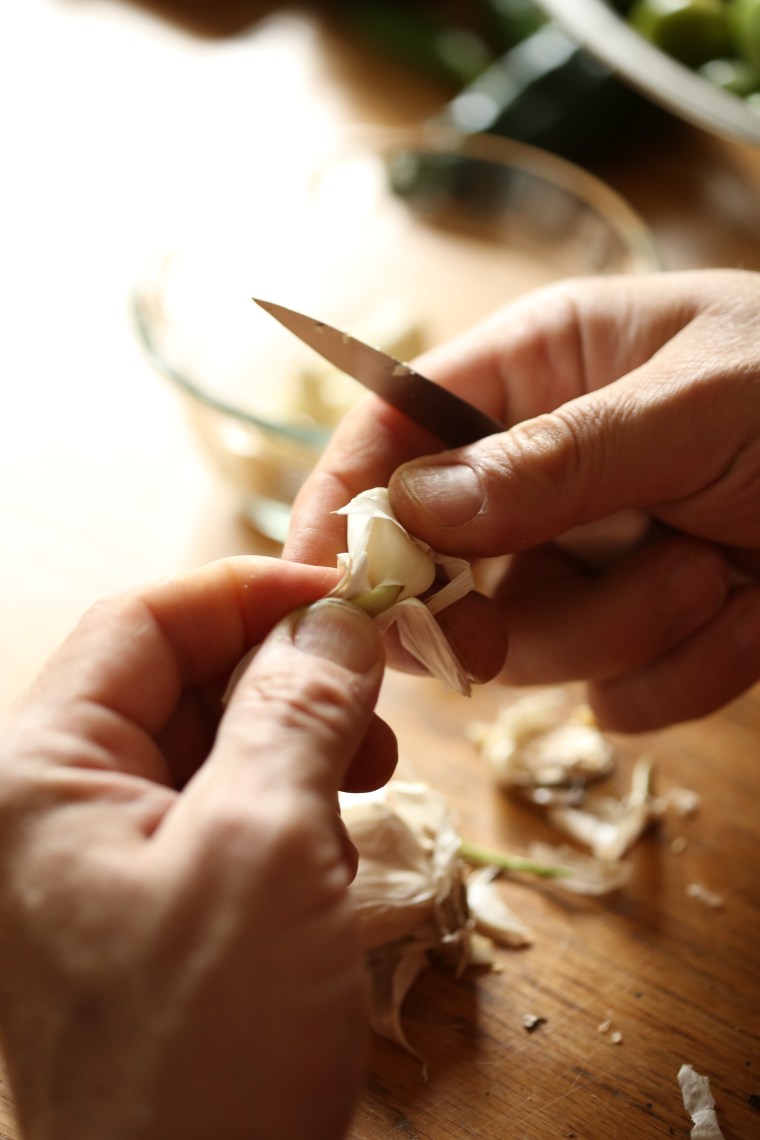
Darry is a reluctant hand model but he also likes to humor me.  Here he is peeling cloves of garlic to place in each of the jars.

IMG_4811We picked and sorted the tomatoes by color so that we could pack each jar with a variety of colors, just like a stop light.  (Sounds better than traffic light)

IMG_4813Each of the jars has fresh basil leaves, lemon peel, pepper corns, chili flakes and mustard seeds to flavor the pickles.

IMG_4814Vinegar and water are heated with salt and a little sugar and then poured over the tomatoes.  The jars are topped off with a little olive oil and then heated in a waterbath to seal them.  Ours are ready to go and we are hoping that  we have enough for everyone on our gift list!

pear-almond baby loaves; a tuesdays with dorie post

IMG_4751

Now that I am home full-time, not only do I plan to work on my book, I also plan to participate with the Tuesdays with Dorie group more.  This week, we are working from the book Baking with Julia and the chosen recipe is for Hazelnut baby loaves.  The recipe is actually for a small loaf cake and requires an unusual pan size.  Most mini loaf pans are 5″ x 3″ x 2″ or a close approximation to that but the recipe calls for eight 4″ x 2″ x 2″ pans and I only have three-hard to believe.  After looking in a couple of shops, I could only find the 5″ pans and had no desire to buy a big baking plaque for loaves in that size (think rectangular cupcake pan) so I did the next best thing; I used a muffin pan.

My tale of woe does not end here.  When one isn’t working, one watches spending and I could not bring myself to spend $6 on hazelnuts when I only needed 1/3 cup so I used 1/4 cup of almond flour, something I am apparently hoarding in my freezer.  
IMG_4715

When my husband and I went to the not so local International market on Sunday, I stocked up on tiny pears.  They had both Fourelle and Seckel pears and I chose a half-dozen of each.  What can I say, I happen to love pears and was thinking of something I saw on Pinterest recently and thought I would give it a try.  First I poached the pears.  To do this, I placed the peeled pears-stems and cores left in place, into a saucepan with 1/2 cup ruby port, 1/2 cup apple cider, 2 cups water, 1/2 cup light brown sugar, 1 cardamom pod, 1 star anise pod, a 1″ piece of vanilla bean, 3 whole allspice and 5 whole black pepper corns.  With the heat at medium-low, I allowed the pears to simmer gently, turning them occasionally so they would color evenly until they were tender when a knife tip was inserted.  The pears were allowed to sit in the liquid until mostly cooled and then were carefully lifted out and placed in a dish lined with a paper towel and placed in the fridge over night.
IMG_4716

The recipe also called for creme fraiche and since I had some heavy cream and cultured buttermilk, I made my own by pouring 1 cup of cream into a glass measuring cup, then I stirred in a tablespoon of buttermilk and let it sit out overnight.  It was pretty thick-I may have added a bit more than a tablespoon of buttermilk.
IMG_4730

Having toasted the almond flour, I proceeded with the recipe but doubled the almond extract to give it a bit of a frangipan flavor.  The batter was divided between the pans and the pears were pressed into the batter.  A little of sprinkle of Demerara sugar over the top and into the oven they went.
IMG_4740

They baked up beautifully; the pears only added about 5 extra minutes of baking time.  They needed to cool in the pans so that the cake could set and support the pears.  However, the greasing/flouring of the pans allowed them to slip out undamaged.
IMG_4762

To get an idea of what the pears were like, the front left is a Seckel pear, the front right is a Fourelle pear and in the rear is a fully ripened Comice pear.  Can you see the difference in size?  The Comice pear was easily twice the size of the others but all were ripe and juicy and when poached, they held their shape without falling to pieces.
IMG_4761The syrup on the plate is actually the poaching liquid.  After I removed the pears, I had about 2 cups of liquid and using the same sauce pan over medium-low heat, it was reduced down to slightly less than a cup.  It is flavorful and a beautiful ruby color and I am thinking it will make some wonderful cocktails…My only thought on this, the cake was not very sweet.  While my first impulse is to add more sugar next time, I think in this case, more syrup and possibly a scoop of ice cream would do the trick nicely.

Until next week, bake on friends.  To see how the other participants made out with this recipe, check the website and consider joining in on the fun!

a visit to Well Sweep Herb Farm, another one crossed off the bucket list

IMG_4606

When I began gardening seriously, I found myself focusing on herbs.  Medicinal herbs, culinary herbs, ornamental herbs; it didn’t matter, I had dreams of using as many as possible to fill the beds at the Demonstration Garden.  In my search for plant sources, I came across the Well Sweep Herb Farm in Mount Bethel, New Jersey.  When the catalog would arrive in my mailbox, I would study it, make lists, and dream of the garden that would be some day.  Along with that dream was the idea that one day, when I was in the area, I would get to visit the farm and that day came recently when I discovered that it was less than an hours drive from my mother’s home.  We set off on a cool, fall morning and followed many winding, hilly country roads while enjoying the foliage display of the season and thanks to some very clearly marked roads and good directions, we arrived at the farm.

The owners of the farm live in a house at the front of the property and at first glance, you might think it is a bed and breakfast or an inn.  The farm is open to the public year round so if you decide to visit, I suggest going back in a different season, the grounds are beautiful and there is plenty to see.
IMG_4581

The formal herb garden is full of plants of all kinds and even though most plants are done for the year, there was still many that were putting on a display.


IMG_4582

The foliage in the hills is spectacular this year and it made for a beautiful background at the farm.


IMG_4594

There are fruit trees all over the farm and this one is amazing; look at that hole in the trunk.  How it has survived and still seems to flourish.


IMG_4595

All over the property you will find beds and focal points that mix a wide variety of plants.


IMG_4607

Red Barns, split rail fences and bird houses dot the landscape.


IMG_4611

There is more to see besides herbs on this farm and we walked past a few sheep grazing in this small pasture.


IMG_4597

When you arrive at the farm, you are immediately aware of the presence of chickens because the roosters crow continually.  We were intrigued by the long tail feathers and asked about them.  Apparently, they raise Onagadori, Japanese long tail chickens.
IMG_4600

The green and blue feathers and a tail that can be over 20 feet long make these birds very unusual in comparison to domestic chickens.


IMG_4583

As we walked the grounds, we stopped to admire the blooms of this plant and found this sleeping bee.


IMG_4579

Orange calendula in bloom near the greenhouse


IMG_4585

No idea what this plant is, but the cottony fluff that is actually the seed was intriguing.


IMG_4589

Annual Clary Sage putting on a show.  The pink tops were eye-catching and this plant has earned a spot on my garden wish list.


IMG_4609

Seed pods from Clematis vines, they look like pinwheels.  An important part of landscaping is planning your plants so that there is visual interest for all the seasons and plants with interesting seed pods is a great way to accomplish that.  The flowers may be gone but the seed pods provide interest and if left in place, they can lead to more plants, a win-win in my book!

After walking the grounds, taking photos, picking two plants (elderberry and a bearfoot hellebore), a pair of herb books and some garlic bulbs, we headed back towards home.  For me, it was a chance to visit a garden I had seen in photos, crossing off one on the bucket list and then putting it back on the list; I hope to come back in another season-there are spring and summer to consider…
IMG_4605

apple pielets; a tuesdays with dorie post

IMG_4539

The weather has changed; suddenly, it is fall.  The days are getting shorter and the temperatures are cooler.  It is also apple season, one of my favorite things of fall.  Fresh, crispy, crunchy, juicy… apples with skin of every shade from red and green to yellow and pink.  Sliced, or whole; I’ll eat them either way.  Baked into pies and cakes, cooked into sauce or spicy butter, layered on peanut butter sandwiches or dipped in thick, creamy caramel; I love all of them.
IMG_4549

If you haven’t visited my blog before, then you may not be familiar with Tuesdays with Dorie.  We are a large group of bakers who are baking our way through two books written by Dorie Greenspan.  We alternate books each week and this week the group chose to make the Apple Pielets from Dorie Greenspan’s Baking Chez Moi which was also the perfect way to add more apples to my diet.  To keep up with our baking adventure, visit the website and consider joining us each week.
IMG_4565

The recipe calls for using a muffin tin and lining the cups with a galette dough.  If only I could find my muffin tin.  Perhaps if I finished unpacking…Rather than searching for the pan or buying a new one, I chose to use my mini brioche tins.  They were the perfect size and gave them a cute fluted shape.  To make the filling, I chose Granny Smith and Sweet Tango apples, diced them, sweetened with dark brown sugar and spiced them with some garam masala.  The directions called for rolling the dough between two sheets of parchment or plastic.  Can I just say that is my least favorite method to roll out dough?  If you ask me, I think that rolling slightly chilled dough out with large amounts of flour is always the way to go.  Chilling reduces the stickiness and the flour makes it so much easier to roll out.  If you truly go crazy with the flour, you can always brush it away with a soft brush.

After heavily greasing the pans, I lined them with circles of dough and filled the pielets with the apples.  A smaller round of dough was laid over the top of the filling and the two pieces of dough were sealed together.  To allow the steam to vent, a few small slits were cut into the top crust and the pielets were baked to a lovely, golden brown.  It was hard to wait but it was easier to remove them when they had mostly cooled.  After pulling the pies out of the pans, I set them aside to finish cooling.

Here’s to another apple season!  Join us if you dare, we do this weekly.  Visit the website, pick up a copy of the book and get to baking-you won’t regret it!

IMG_4568

hibiscus in the garden

IMG_4417

When Darry and I first became active with the Master Gardeners, I had an opportunity to plan a small herb garden.  The beds were arranged in a circle, like spokes on a wheel and each bed featured a different collection of herbs.  To fill out the wheel, I used one bed to grow edible flowers.  It was then that a small obsession of mine became obvious and every year, I have plants in the garden just for the flowers.

Hibiscus Sabdariffa, commonly called Roselle, has earned a spot in my garden each year and not only are the flowers pretty, but they are easy to care for and produce many blooms.  The foliage will look familiar to seasoned vegetable gardeners because hibiscus resembles another popular garden plant; okra.  And like okra, and other hibiscus varieties, the flowers are short-lived and are only open for a day.  While some may be disappointed by this quick life, if you are hoping to make tea from the flowers, you want them to close quickly so you can harvest the best part; the calyx.
IMG_4419

The flowers start out yellow with a hint of blush on the tip of each petal and as the day wears on, they darken to a beautiful shade of peachy-pink.
IMG_4424

The plants bloom in succession starting at the bottom of the stalk moving towards the tip of the branch.  If you remove each blossom as it closes, you will encourage the plant to bloom more.  It takes a lot of blooms to make jam or syrup but for a cup of tea, you will need just a handful.  The calyx needs to be picked before it forms a seed pod so you will have to check each day for the spent blooms.  When I pick the blooms, I lay them on a tray and place them in the oven to dry using the heat generated by the oven light.  
IMG_4431

Finding seeds for these lovely plants is not hard, if you know a gardener who is growing them, ask them for a fully formed seed pod.  Each year I save a few pods for the next year.  Otherwise, my favorite source for seed is Baker Creek Heirloom Seeds.  To learn more about hibiscus, read about them on the wikipedia website,

tiger cakes; a tuesdays with dorie post

IMG_4497

It was a tough decision but I had to do it.  Last week, I gave notice to my employer that I would be leaving.  For the last two years, I have wanted to write another book.  A while back, I did co-write a proposal and unfortunately, it flopped.  The publishers that read it ultimately chose to pass on it and after all was said and done, I was done with it too.  The whole process led me on a journey to figure out what I want to do and what I want to write about and after some major soul-searching and more than a couple of pity parties, I finally figured it all out.  Well, most of it anyway, and thanks to a consultation with a literary agent, an even better and more focused plan is beginning to emerge.  This proposal will focus on things I love so you know it will involve baking. But for now, I will leave it at that; you will just have to wait to hear more about it…

While I work on that proposal, I am trying to get back to things I love doing and Tuesdays with Dorie is one of those things that I have truly missed.  If things go as planned, I will get caught up and make all of the recipes I missed over the last 6 months.  This week, we are baking from Baking Chez Moi and our chosen recipe is for Tiger Cakes.  
IMG_4501

Can you say “easy peasy” because that is what this recipe was-easy; crazy easy and quick and topped with ganache.  The batter mixes up quicker than you think, it actually takes longer to measure out the ingredients than it does to whisk them together!  The main ingredient is almond flour and it is whisked into egg whites and sugar with a bit of flour and a generous helping of finely chopped bittersweet chocolate.  These decadent little cakes are moist and chewy and as if that wasn’t enough, they get dressed up with a bittersweet chocolate ganache.

Join us, bake from Dorie Greenspan’s books, Baking Chez Moi and Baking with Julia; to see how the other bakers made out with the recipes, check the website, Tuesdays with Dorie.

IMG_4502

tourte milanese; a tuesdays with dorie post

FullSizeRender (4)My husband and I found ourselves attending three different potluck dinners in a 10 day run and luckily for us, the most recent Tuesdays with Dorie recipes were perfect choices for a dinner party.  The Tourte Milanese from Baking with Julia is on the left while the Apple Kuchen from Baking Chez Moi is on the right.  We took these to a potluck party to celebrate the 5th anniversary of PECK, the Peninsula Chicken Keepers association.

The Tourte was not new to me; years ago, I made that recipe when it was featured in one of those best cookbook of the year annuals.  While I do not remember what book it was, I could never forget that tourte and thought about making one on many occasions.  For this tourte, I followed the recipe pretty closely.  My only changes were to use herbs fresh from the garden in the eggs, adding eggplant slices (also from the garden) and mushrooms to the spinach and a few convenience products.  The puff pastry was homemade and had been in the freezer for a while so it was time to get it out and put it to use.  To save some time, I used a bag of frozen spinach and a bottle of roasted peppers from Trader Joes.  If only we had something left to take a photo-I brought home an empty plate and the knowledge that I must make that again and when I do, it will not go any further than my own dining room table so that I can have more than just a little sliver…

The Apple Kuchen is actually a tart packed with apples and a cream custard.  To make it a little more fall like, I decided to combine apples and pears.  Ordinarily, I love an apple tart.  But this one, not so much; it just did not work for me.  My instincts told me to add spices but followed the recipe as written.  All of that fruit, the custard, the absence of starch in the filling-it added up to a wet filling that I just didn’t care for.  The majority of it was eaten at the potluck and I only brought home a small wedge and the knowledge that this recipe would not be on my “make it again list” any time soon.

To see how the other bakers did with the Tourte Milanese, visit the Tuesdays with Dorie website.