Each holiday seems to have a specific dessert associated with it. For me, Easter always brings visions of coconut cakes smothered in shredded coconut, Christmas calls out for cookies of all kinds and Thanksgiving is the day that pies are front and center of the dessert table. No pie is more synonymous with Thanksgiving than Pumpkin Pie and with the current proliferation of all things pumpkin spice, I have decided not to include it in this small collection of recipes and instead, focus on a few others that are guaranteed crowd pleasers!
Right about the time of the onslaught of pumpkin spice laden goods, apples come into season. While just about every pumpkin pie is based on a creamy, custard based filling recipe, apple pies are much more flexible. Pumpkin is pumpkin but each variety of apple has its own characteristics and by simply switching out varieties, you can completely change the flavor of the filling. Personally, I prefer to blend apple varieties to create a full flavored pie that has plenty of juice to keep the pie from being dry and enough heft in the slices to prevent them all from falling apart while they bake.
 The skins of an apple contain pectin, which will make wonderful sauce or jelly, but is tough and chewy once baked, so be sure to peel and slice the apples as you make the filling. Do not worry about the browning that might occur because the sugar and spice will camouflage the color.
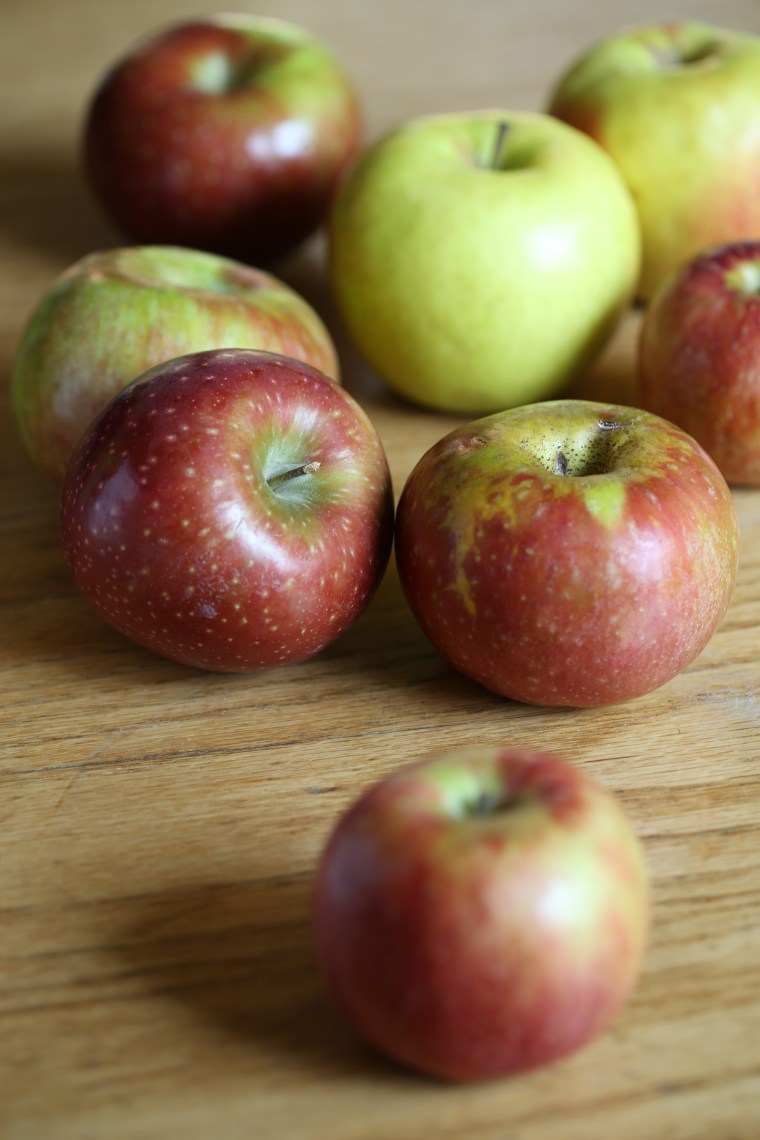
 For this pie, I chose Rome, Cortland and Golden Delicious. Each one had flesh of a slightly different color. The yellow hue of the Golden Delicious apples made the slices resemble rutabegas! The Cortlands were a bit green and the Romes were bright white. The texture and flavor of each was also different and ranged from crispy and tart to soft and sweet with a lovely scent. If you aren’t sure of what varieties are suitable for pie, this comprehensive chart from Pick Your Own will be very helpful.
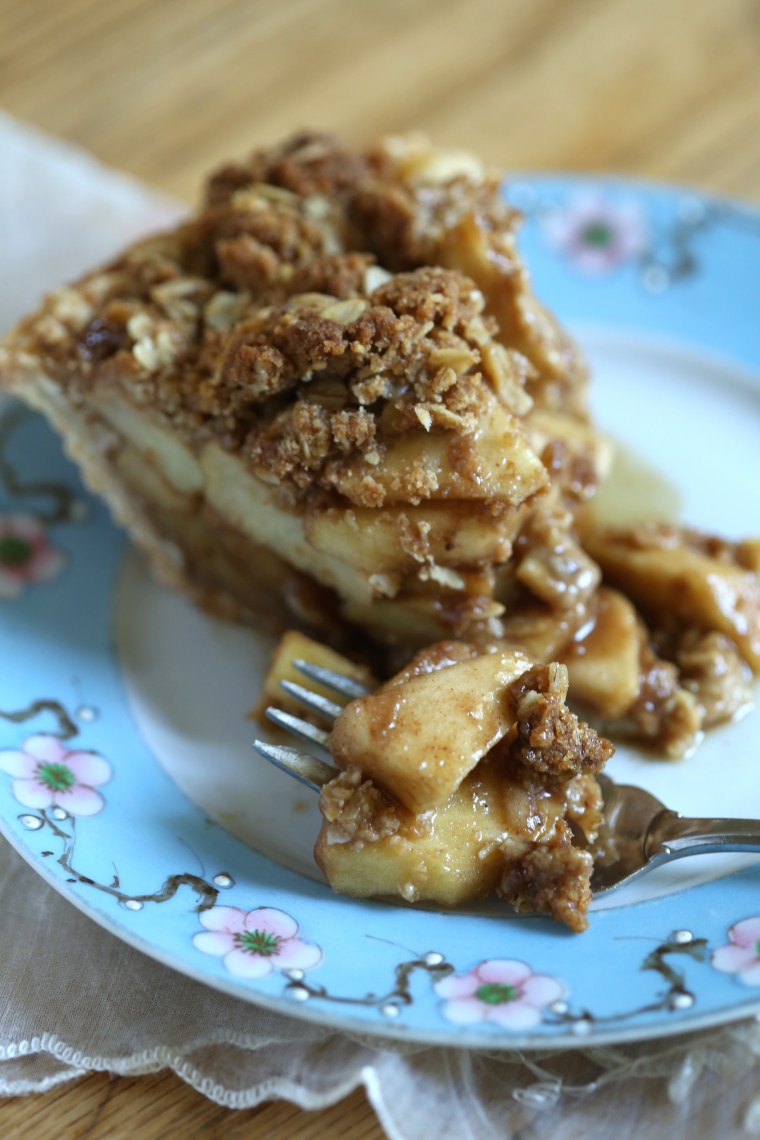
 With my kitchen packed up for the move, my options were limited and I decided to skip the top crust and just go with a streusel topping. That dome of apples looks a bit ridiculous but the truth is that the apples used for pies always juice out and collapse a bit in the baking. For this monster, I had two and a half pounds of apple slices in the fillings-something I do not recommend for a 9″ crust! For a pie that size, don’t go over two pounds.
One other thing I would like to mention, if you are intimidated by the idea of making your own crust or simply do not have the time or desire, don’t make one-buy one! Usually, I mix up a large batch of dough divide it into the portion, roll out what I need for the pie I am baking and then freeze the leftovers. This way, I always have a stash of dough to pull from the freezer any time I want to bake a pie. Because we are in the process of a long distance move, I have run through my stash and had to purchase a crust for this pie.
 A spicy crumb topping is a quick way to dress up a pie and to add a little crunch to the texture along with flavor. It is also a lot easier to handle than a top crust which makes it the perfect solution if you are not keen on working with pie dough. The recipe included with this post is one of my favorite crumb toppings and it works just as well on cobblers, crisps, muffins and coffee cakes as it does on this pie so be sure to keep it handy!
 Crumb Topped Apple Pie
makes one 9 inch pie, serving 8-10
2 pounds fresh apple slices-any variety suitable for baking
8 ounces brown sugar
2 tablespoons of apple (or pumpkin) pie spice or you can blend your own spices by combining 1 tablespoon cinnamon, 1 teaspoon nutmeg, 1 teaspoon ginger, 1/2 teaspoon cardamom and 1/2 teaspoon cloves
1/4 cup all purpose flour or 2 tablespoons corn starch if you prefer starch to flour
Preheat the oven to 350. On a sturdy baking sheet that will not warp and buckle in the oven, place a sheet of parchment paper and give it a spritz of grease. Toss the apple slices with the sugar, spices and flour and pour it into the crust. Cover it with the crumb topping, pressing it down lightly to pack it and to prevent it from falling off. Put the pie onto the prepared baking pan and bake the pie until the juices are bubbling and have thickened, about 1 hour to 1 hour and 15 minutes. Allow the pie to cool until room temp so that the juices set and it will be much easier to slice.
My Favorite Crumb Topping
1/2 cup unbleached all purpose flour
1/2 cup rolled oats
1/3 cup dark brown sugar (honestly, can be light or white, I just prefer dark)
1/2 teaspoon cinnamon or apple/pumpkin pie spice blend
1/8 teaspoon baking soda, optional-using it will make the crumbs lighter, omitting it will keep them crunchy


To call this a collection, I must include other recipes and these are two of my absolute favorite pies! Rather than print the recipes here, I am including the links to my food52.com page; Masala Spiced Pear Pie with a lattice top and Roasted Butternut-Maple Pie with Smoked Pecans
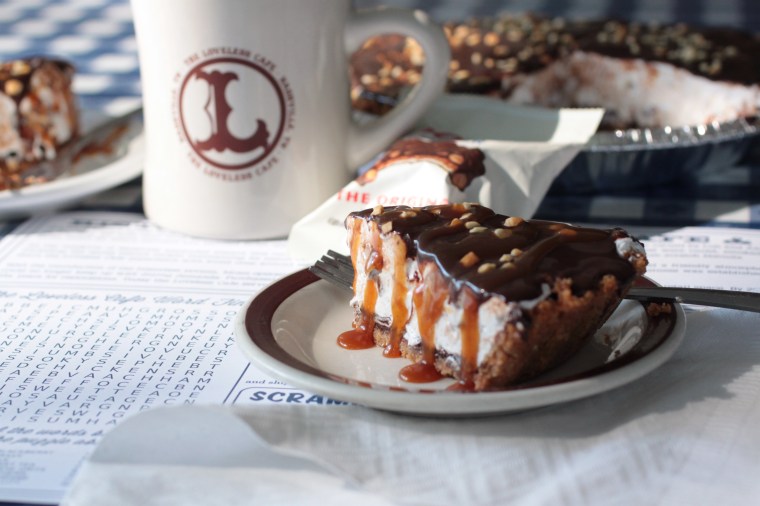 For the adventurous bakers, this gem from my days as the pastry chef of the Loveless Cafe, a Goo Goo Cluster Marshmallow pie is an unbaked pie but it does require making the crust, a ganache and a cooked marshmallow filling. While a little time consuming, it is well worth the effort if you are a marshmallow fan, the recipe is also posted on my food52.com page and can be found here. If you can’t find Goo Goo Clusters, visit the website and stock up or search for a store that sells them near you!
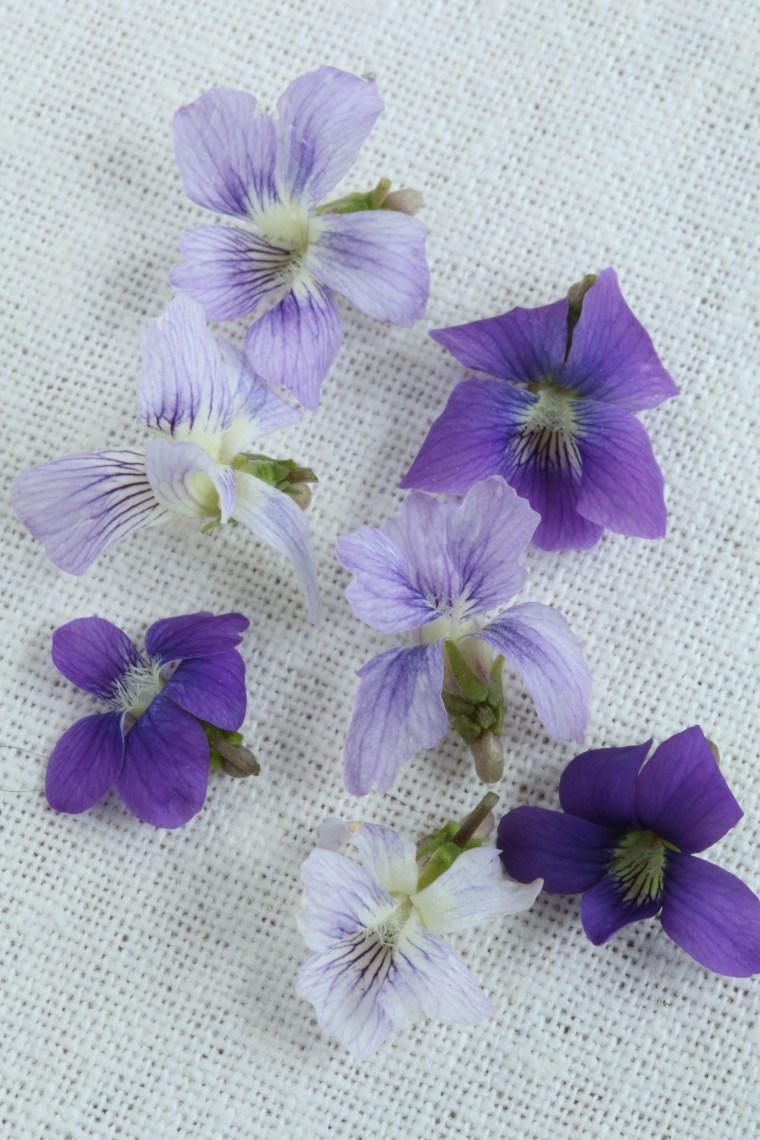
 Making liqueur is a bit tedious because you must pick large quantities of the blossoms. For the batch I made this year, I must have picked about 3 pints. For a single pint of liquer, I placed 2 cups of blossoms into a pint sized jar and added 2 cups of potato vodka and allowed the flowers to steep for a couple days, shaking it once a day. After it had sat and the flowers faded and grew limp, I strained them out and filled the jar with another 2 cups of blossoms. To this, I poured the previously infused vodka over the blossoms and allowed it to steep, shaking it daily for a couple of days and then I repeated the process a third time. My goal was to get a nice dark liqueur and a strong floral flavor.
 Having allowed the last batch of flowers time to infuse the batch, I strained them out and this was the result. If you look at the top of the liquid, you can see that it is a deep violet color, almost grey. Despite everything, it still had a strong alcohol taste but the aroma was all flowers-and honestly, I am not much of a vodka drinker so it was hard to not taste the vodka in the background but there was definitely a floral flavor there as well. And now that it has aged for a couple weeks, it has mellowed a bit.
 This beauty is
  A close up shot of the flower; look at the hairs on the back of the bloom and the tiny little stamens!
 Dead Nettle is a close cousin of Henbit, both are in the mint family, but if you look closely, you will see that these leaves are heart shaped and gradient in color from the top of the plant to the base while Henbit has round leaves with teeth. Another thing, Dead Nettle flowers make the blossoms from Henbit look huge!
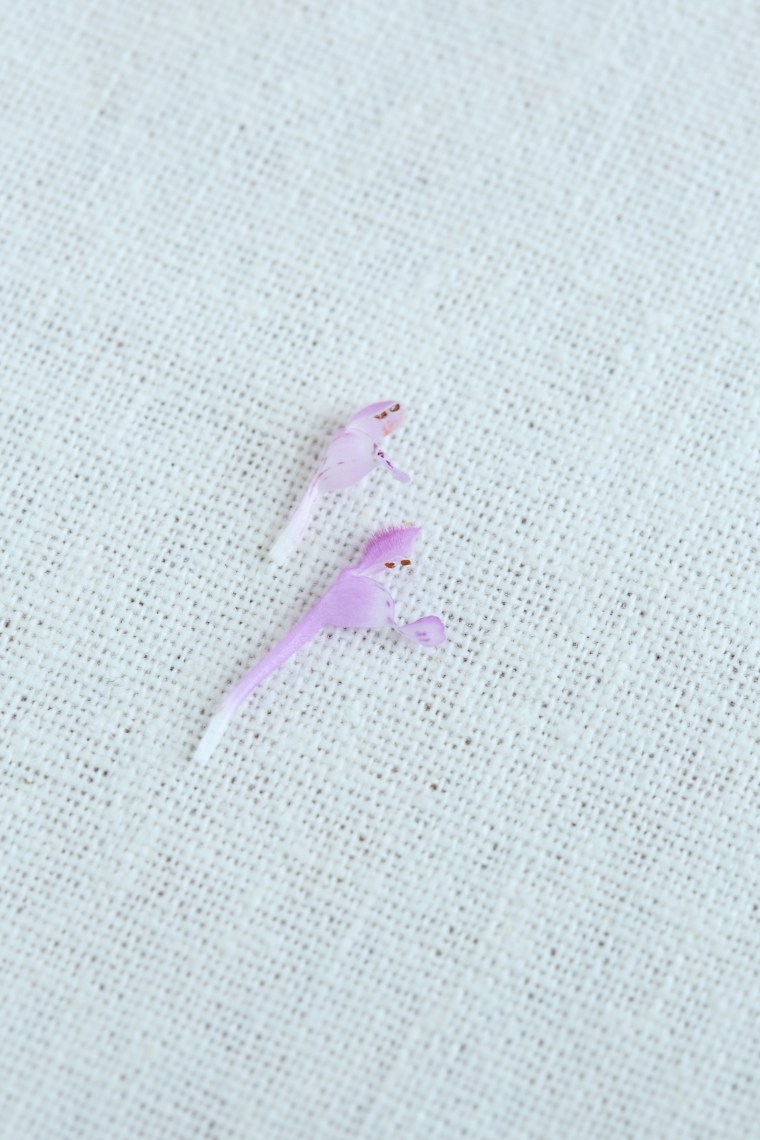 Dead Nettle flower on the top, Henbit flower on the bottom.
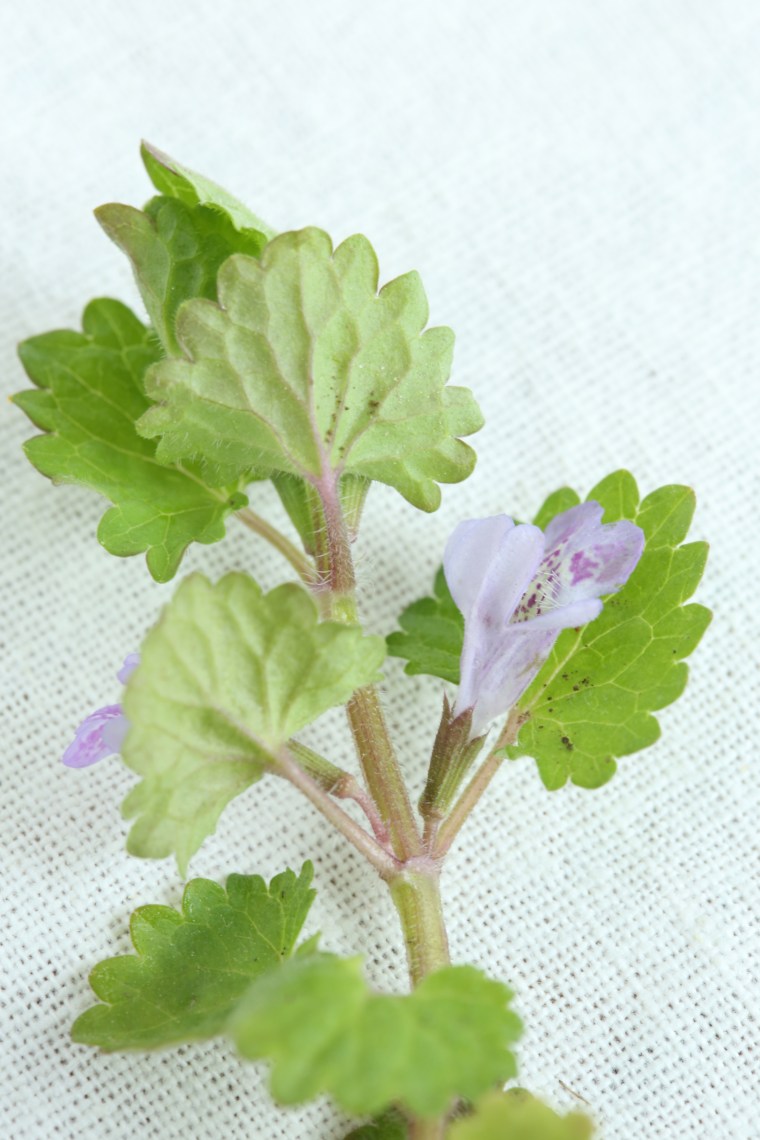 A third player in this game, Ground Ivy, also called Creeping Charlie because it trails like a vine and can quickly cover an area. These blooms are the largest of the three. While some publications will tell you that it is best to make teas rather than eat the leaves, I don’t think there is any real danger in adding a handful of blooms to a batch of likker-although, your back may cry foul!
 My first batch of lawn likker from last year, it has since changed color and is now a bright golden yellow and looks more like a bottle of urine than likker but trust me, the flavor is still floral and so is the aroma!
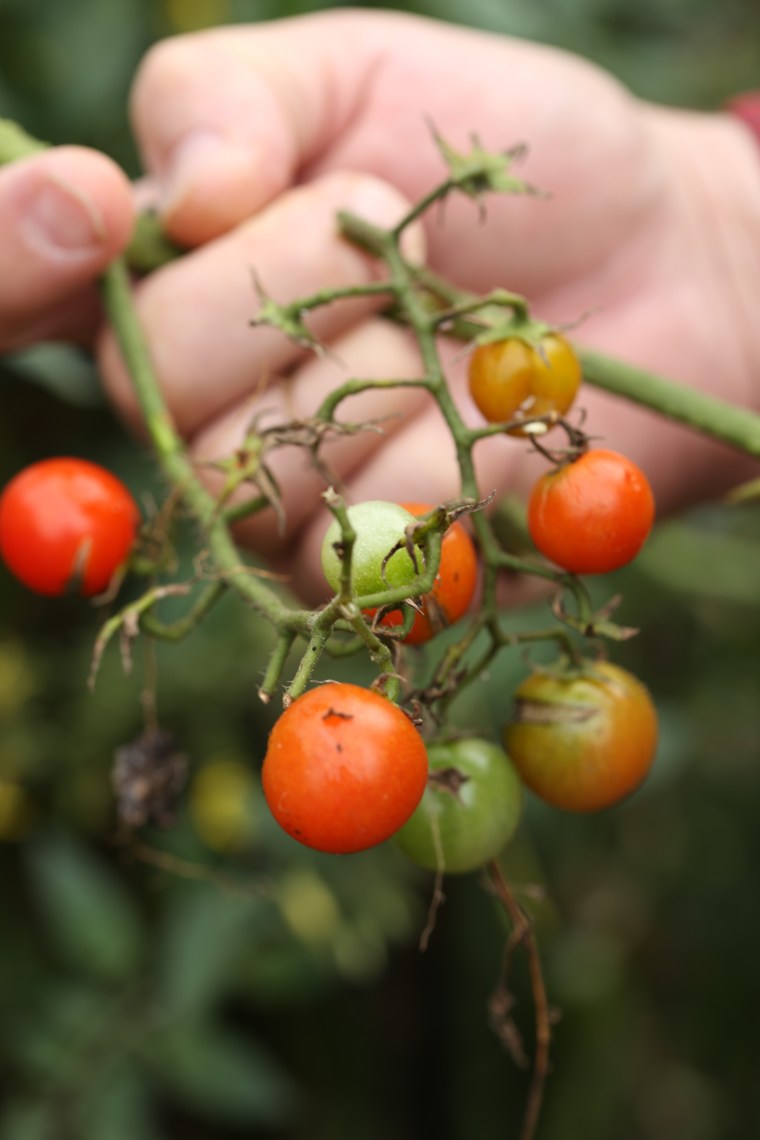 Having a garden means you have a tremendous amount of patience. How else can you explain the process of waiting for the right time to put seeds in the ground, waiting for them to germinate, waiting for the plant to mature; wait, wait, hurry up and wait. Participating in this process also makes you an optimist. Gardeners are always looking ahead to the harvest, convinced that they will be blessed with an abundance.
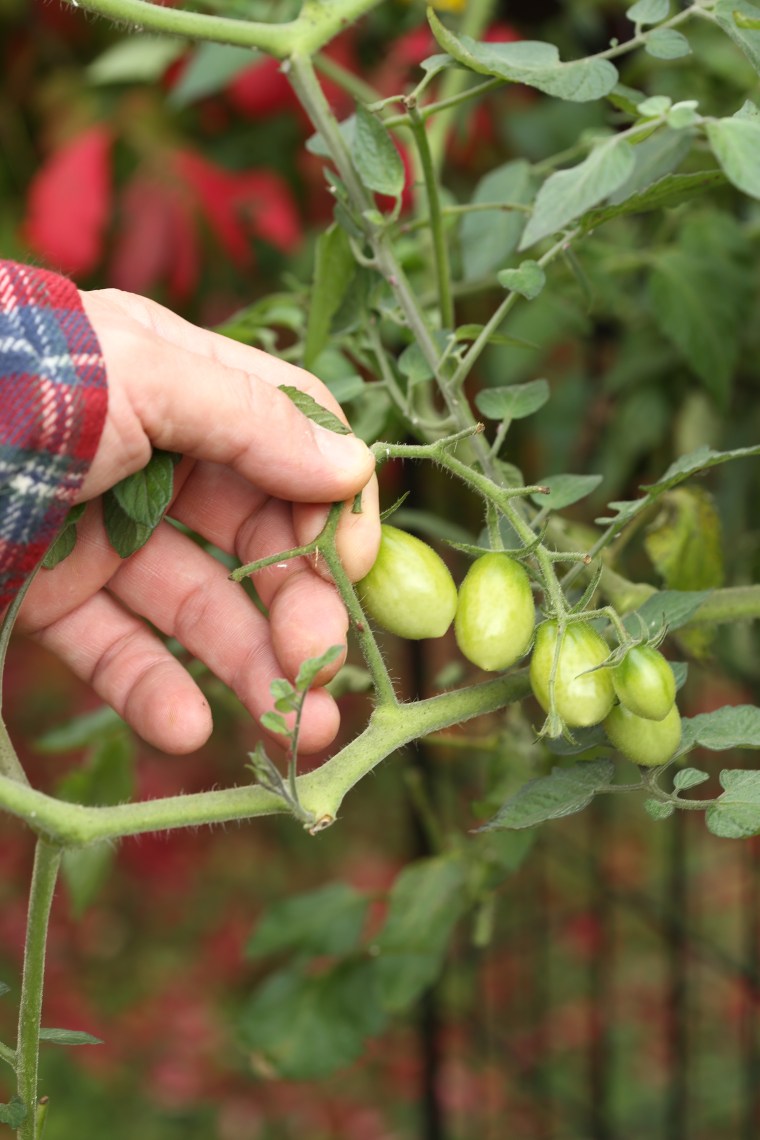 As a result, we have an endless stream of tomato seeds germinating in our compost piles. We always let a few of them grow and because we never know what they are, we generally call them surprise tomatoes. This year, we had quite the haul: miniature plums, red cherries, full sized plums and brown kumatos. As the frost approached, we made the decision to pick as many as we could. Actually, the first real frost came late here, and on November 20th, we finally had the full freeze to kill the vines.
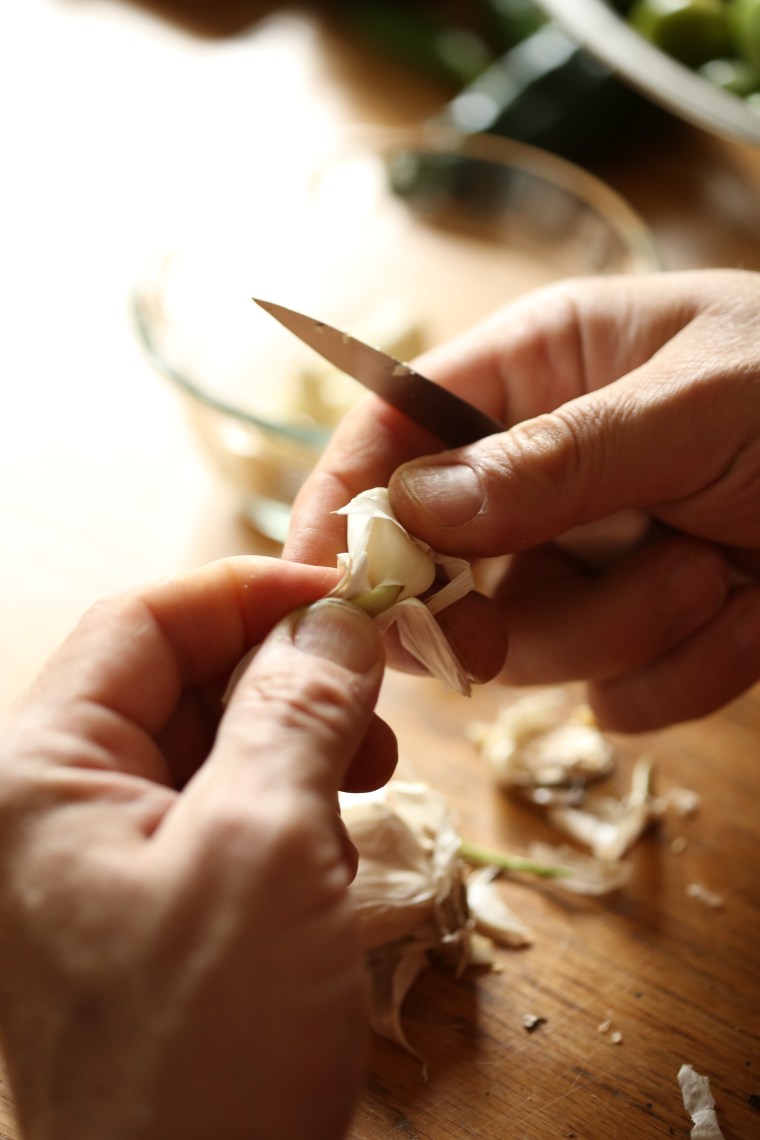 Darry is a reluctant hand model but he also likes to humor me. Here he is peeling cloves of garlic to place in each of the jars.
 We picked and sorted the tomatoes by color so that we could pack each jar with a variety of colors, just like a stop light. (Sounds better than traffic light)
 Each of the jars has fresh basil leaves, lemon peel, pepper corns, chili flakes and mustard seeds to flavor the pickles.
 Vinegar and water are heated with salt and a little sugar and then poured over the tomatoes. The jars are topped off with a little olive oil and then heated in a waterbath to seal them. Ours are ready to go and we are hoping that we have enough for everyone on our gift list!
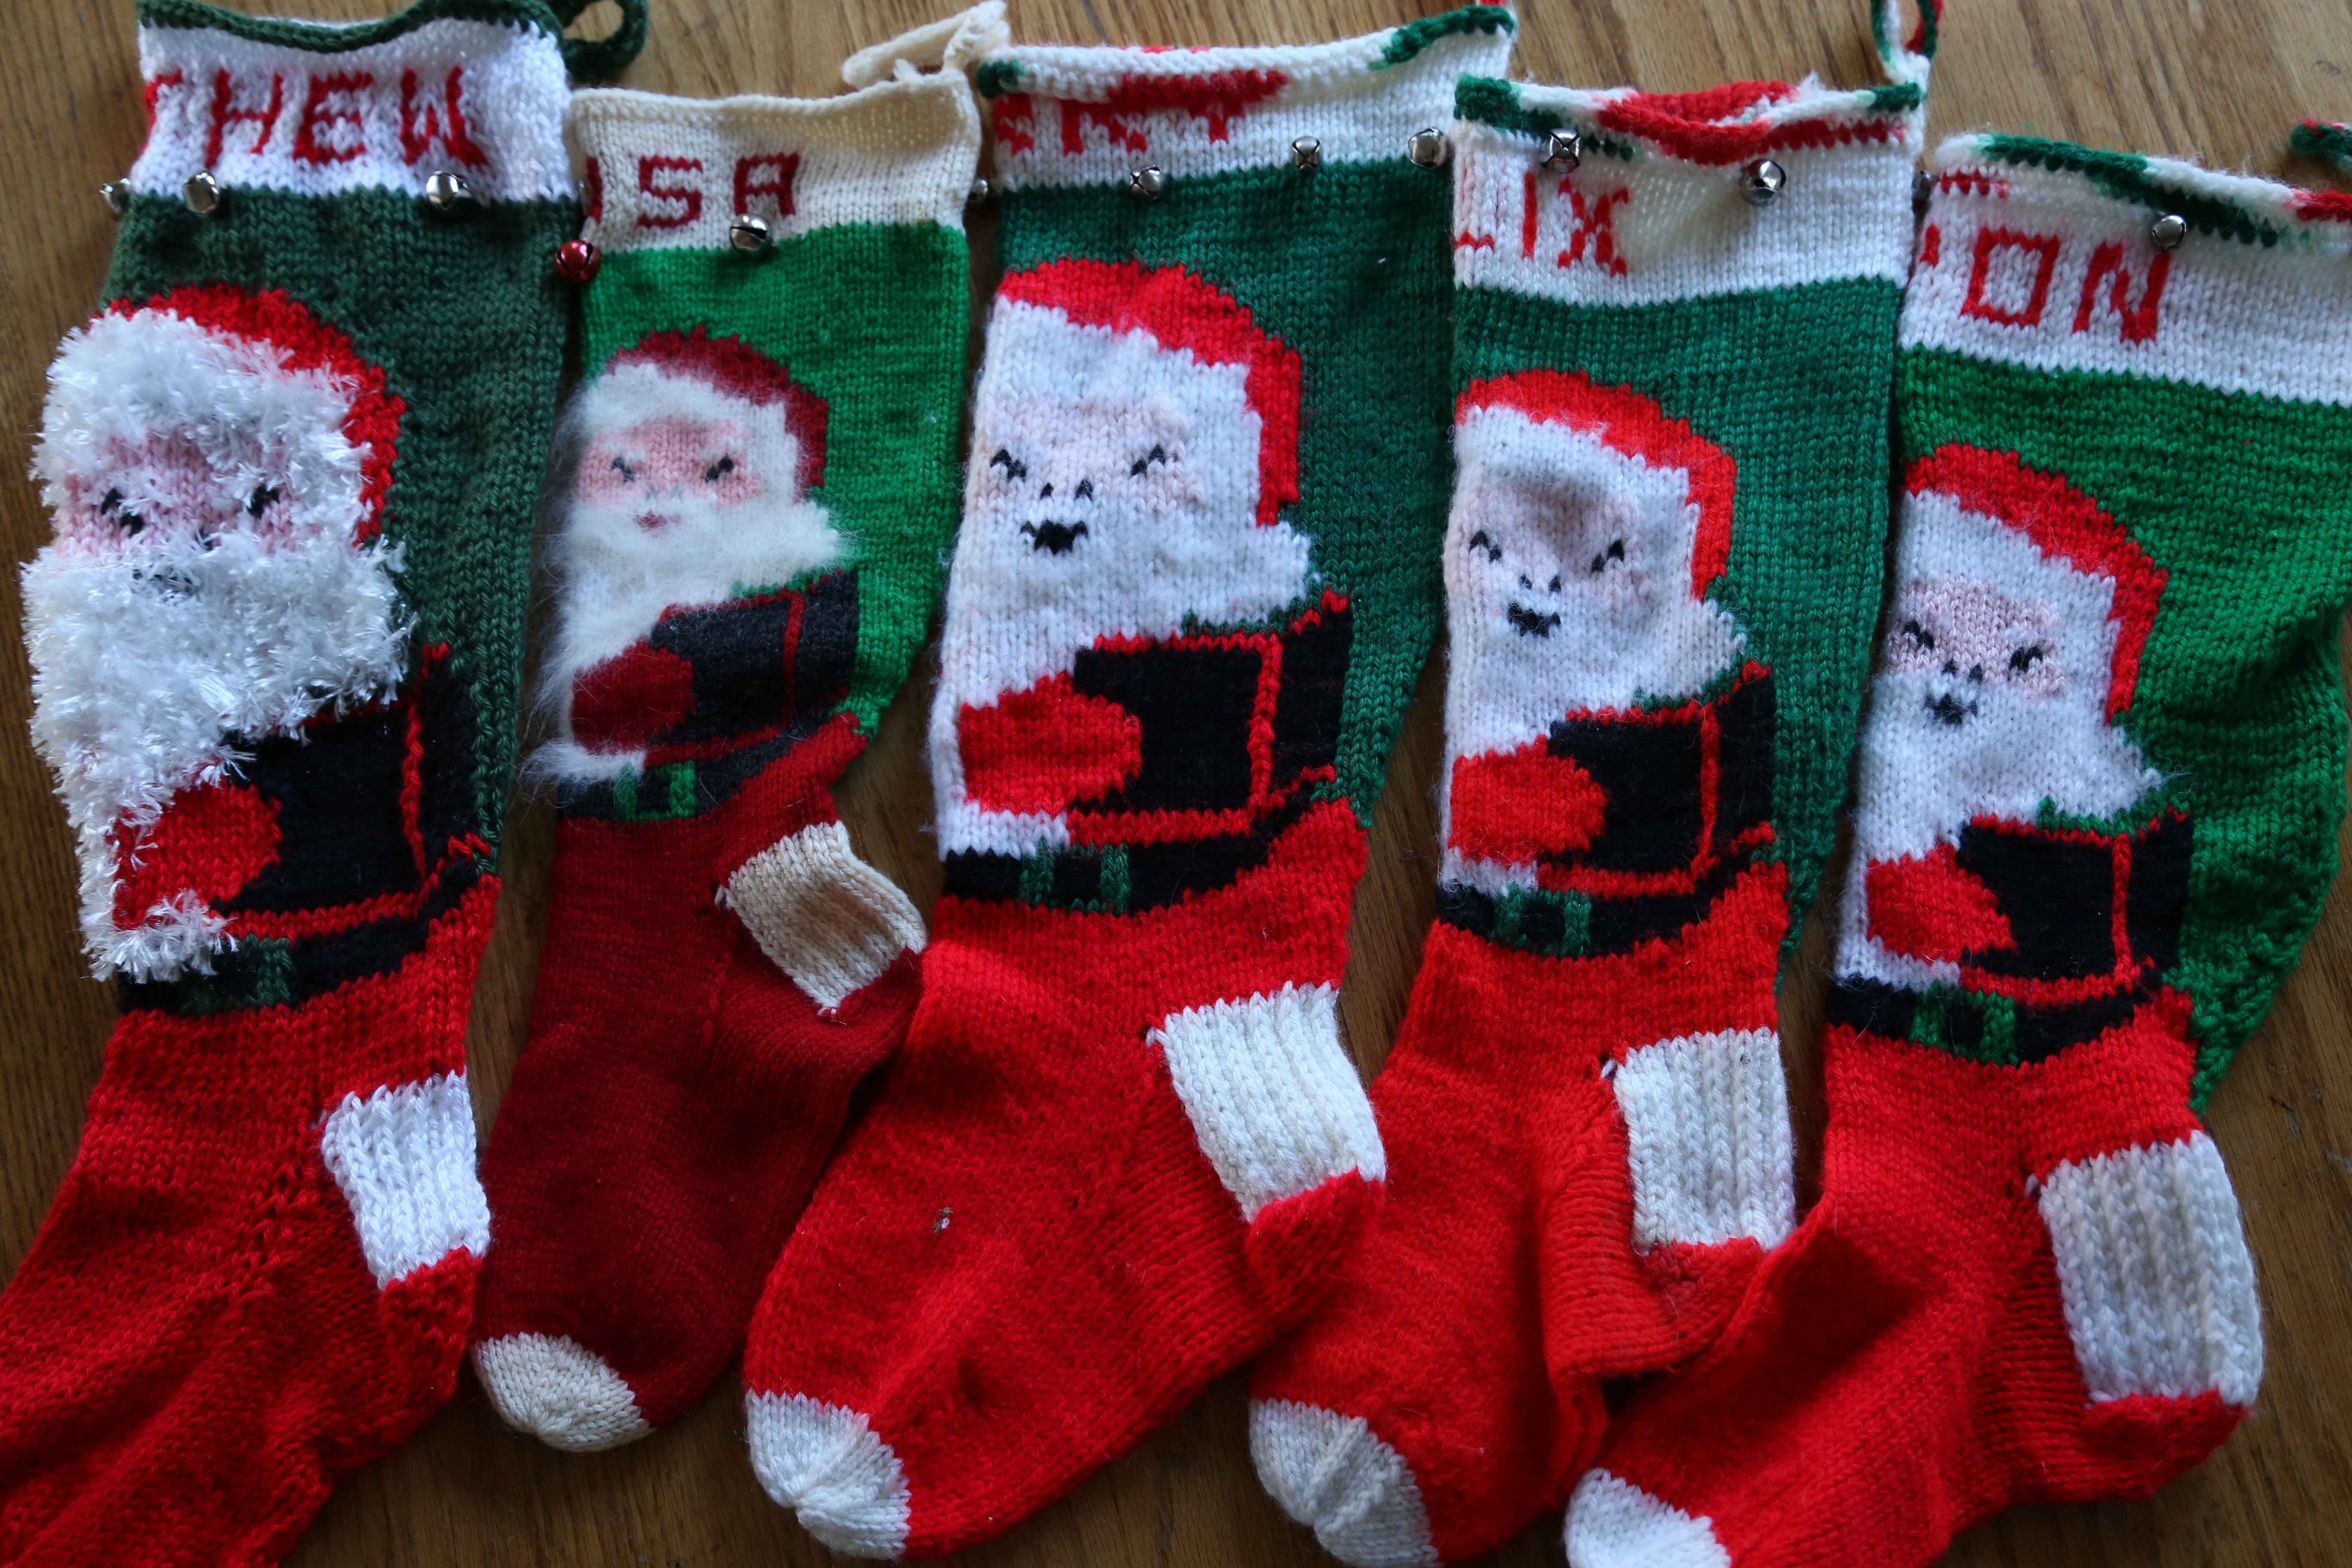
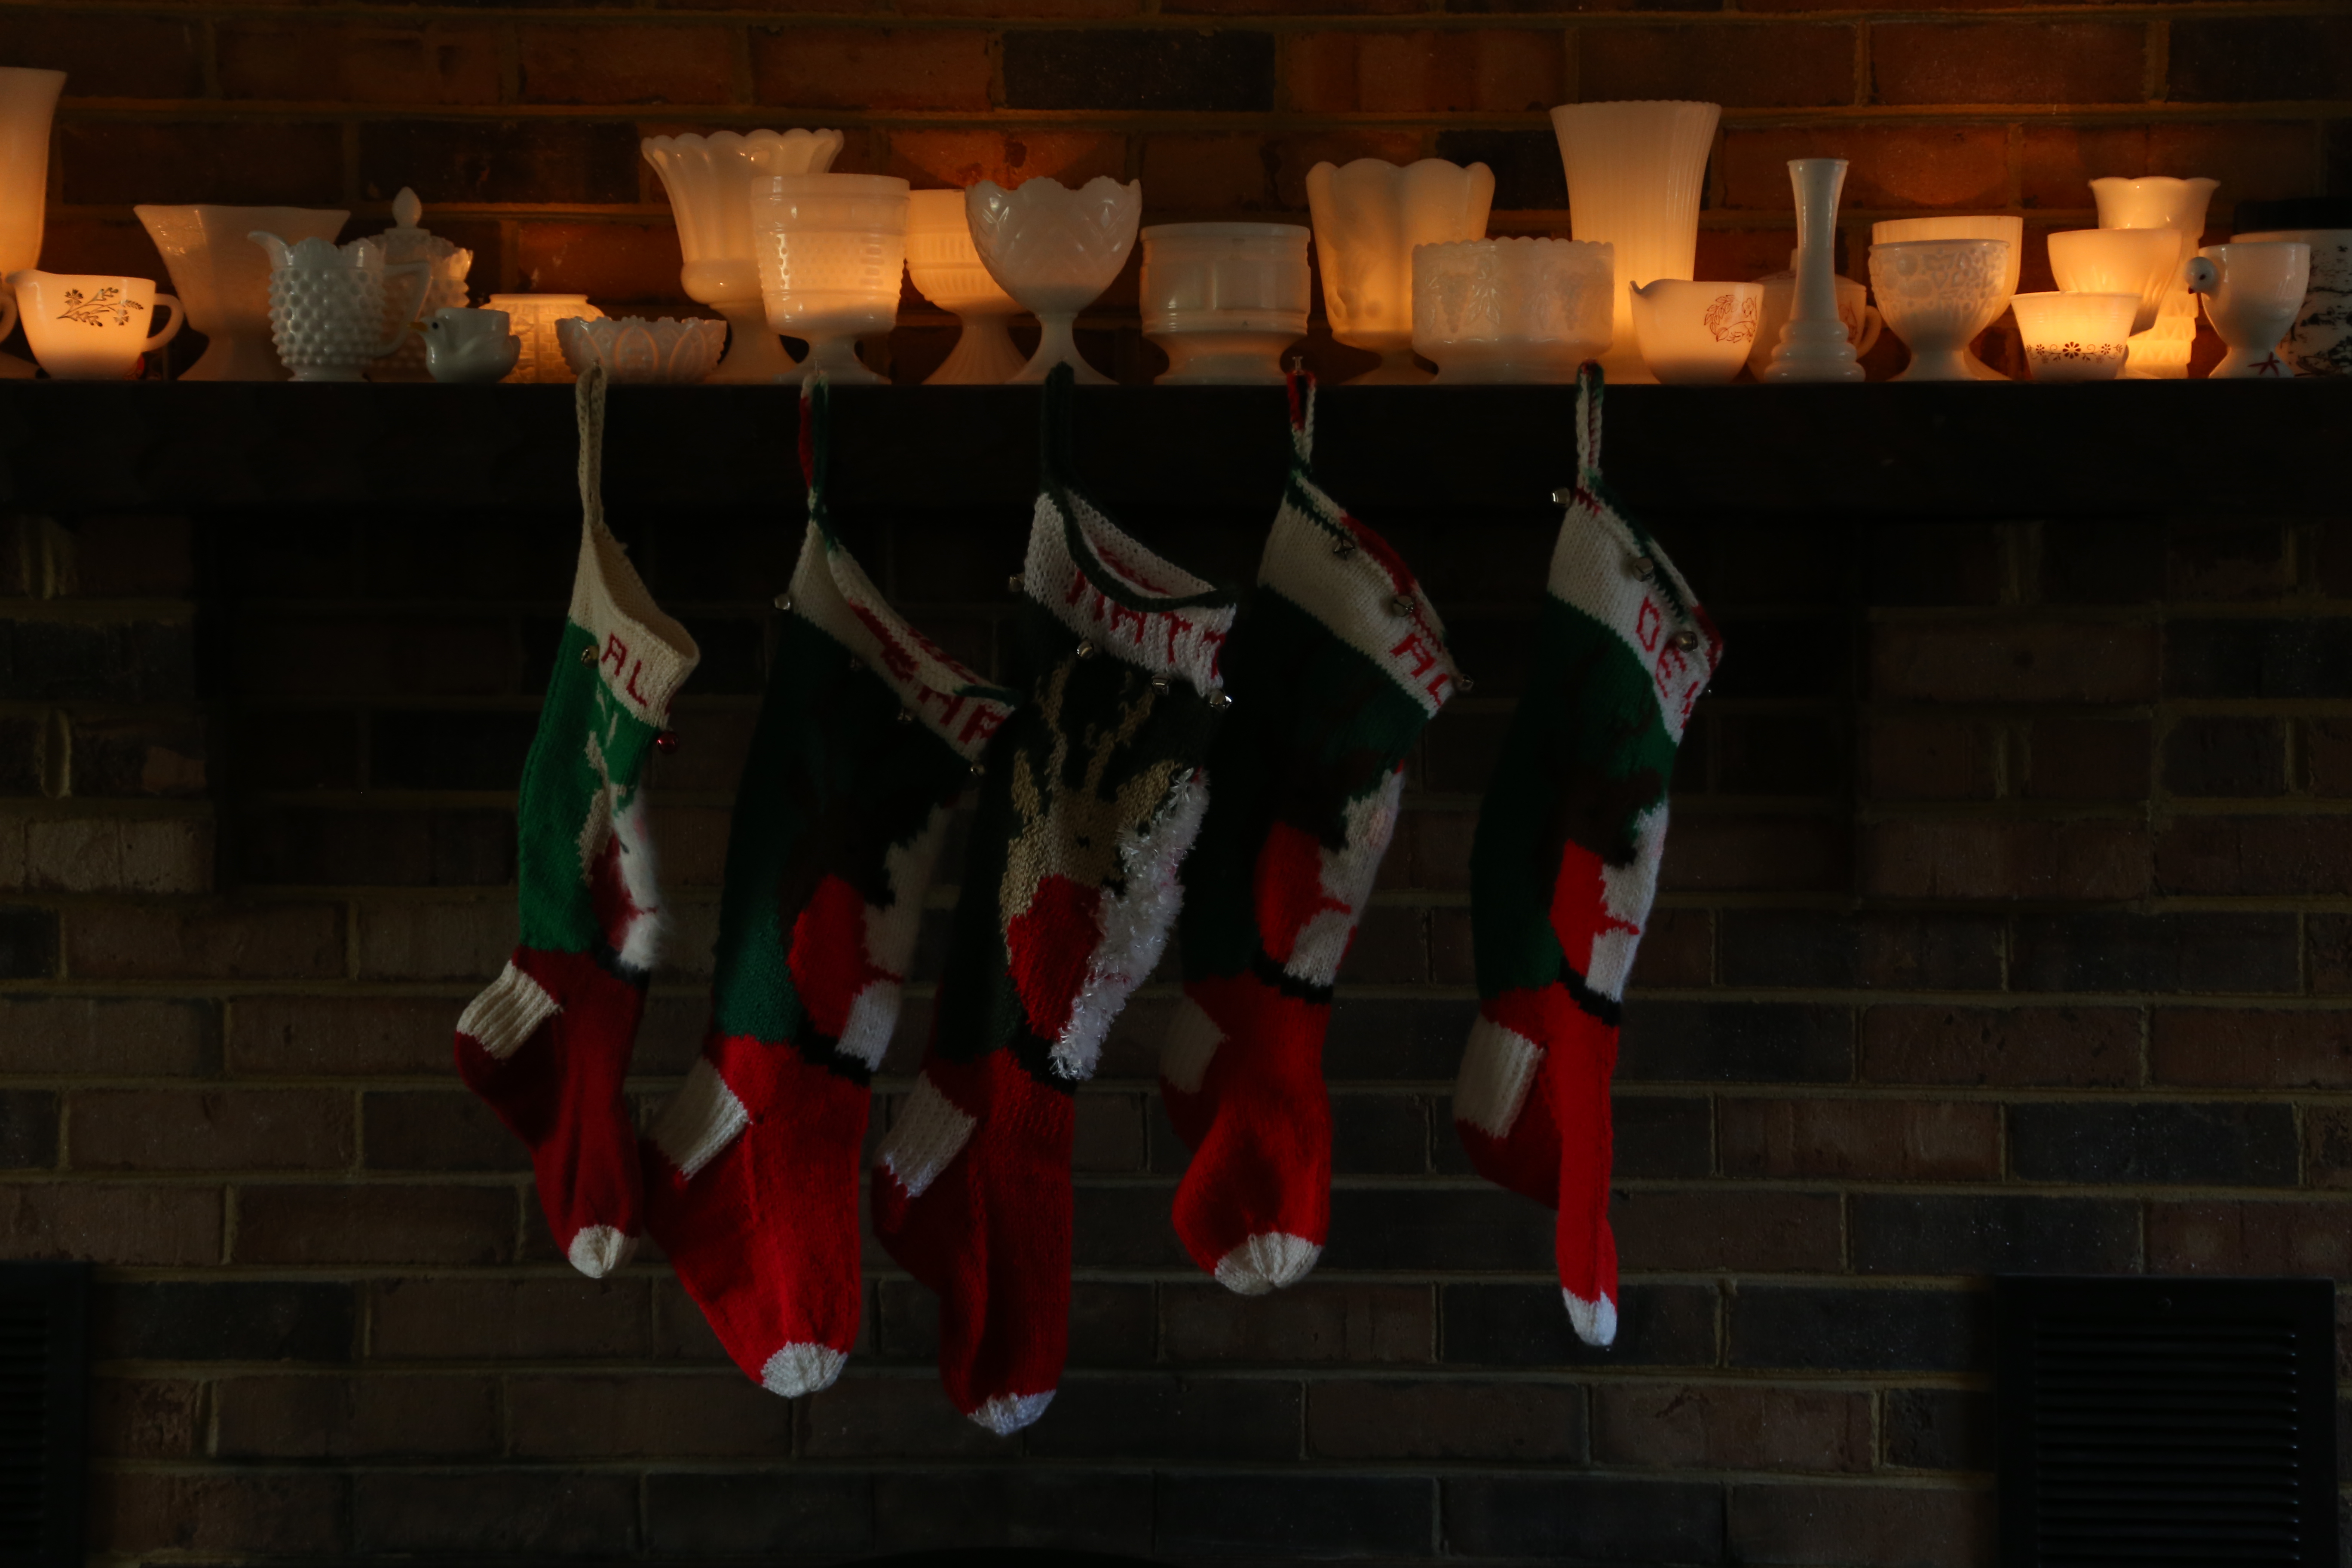
 My stocking is over 50 years old now, and yes, it pains me to say that. When Joan made mine, she used wool and angora and over the years, moths have damaged it. Several years ago, I had to have mine repaired because moth larvae had eaten patches of the angora. These days, the acrylic yarns available make avoiding wool and angora pretty easy which means that the stocking I knit will not become a target for moth larvae. To make the beard and fur trim, I used a ball of