two for tuesday; a tuesdays with dorie post

IMG_3948 
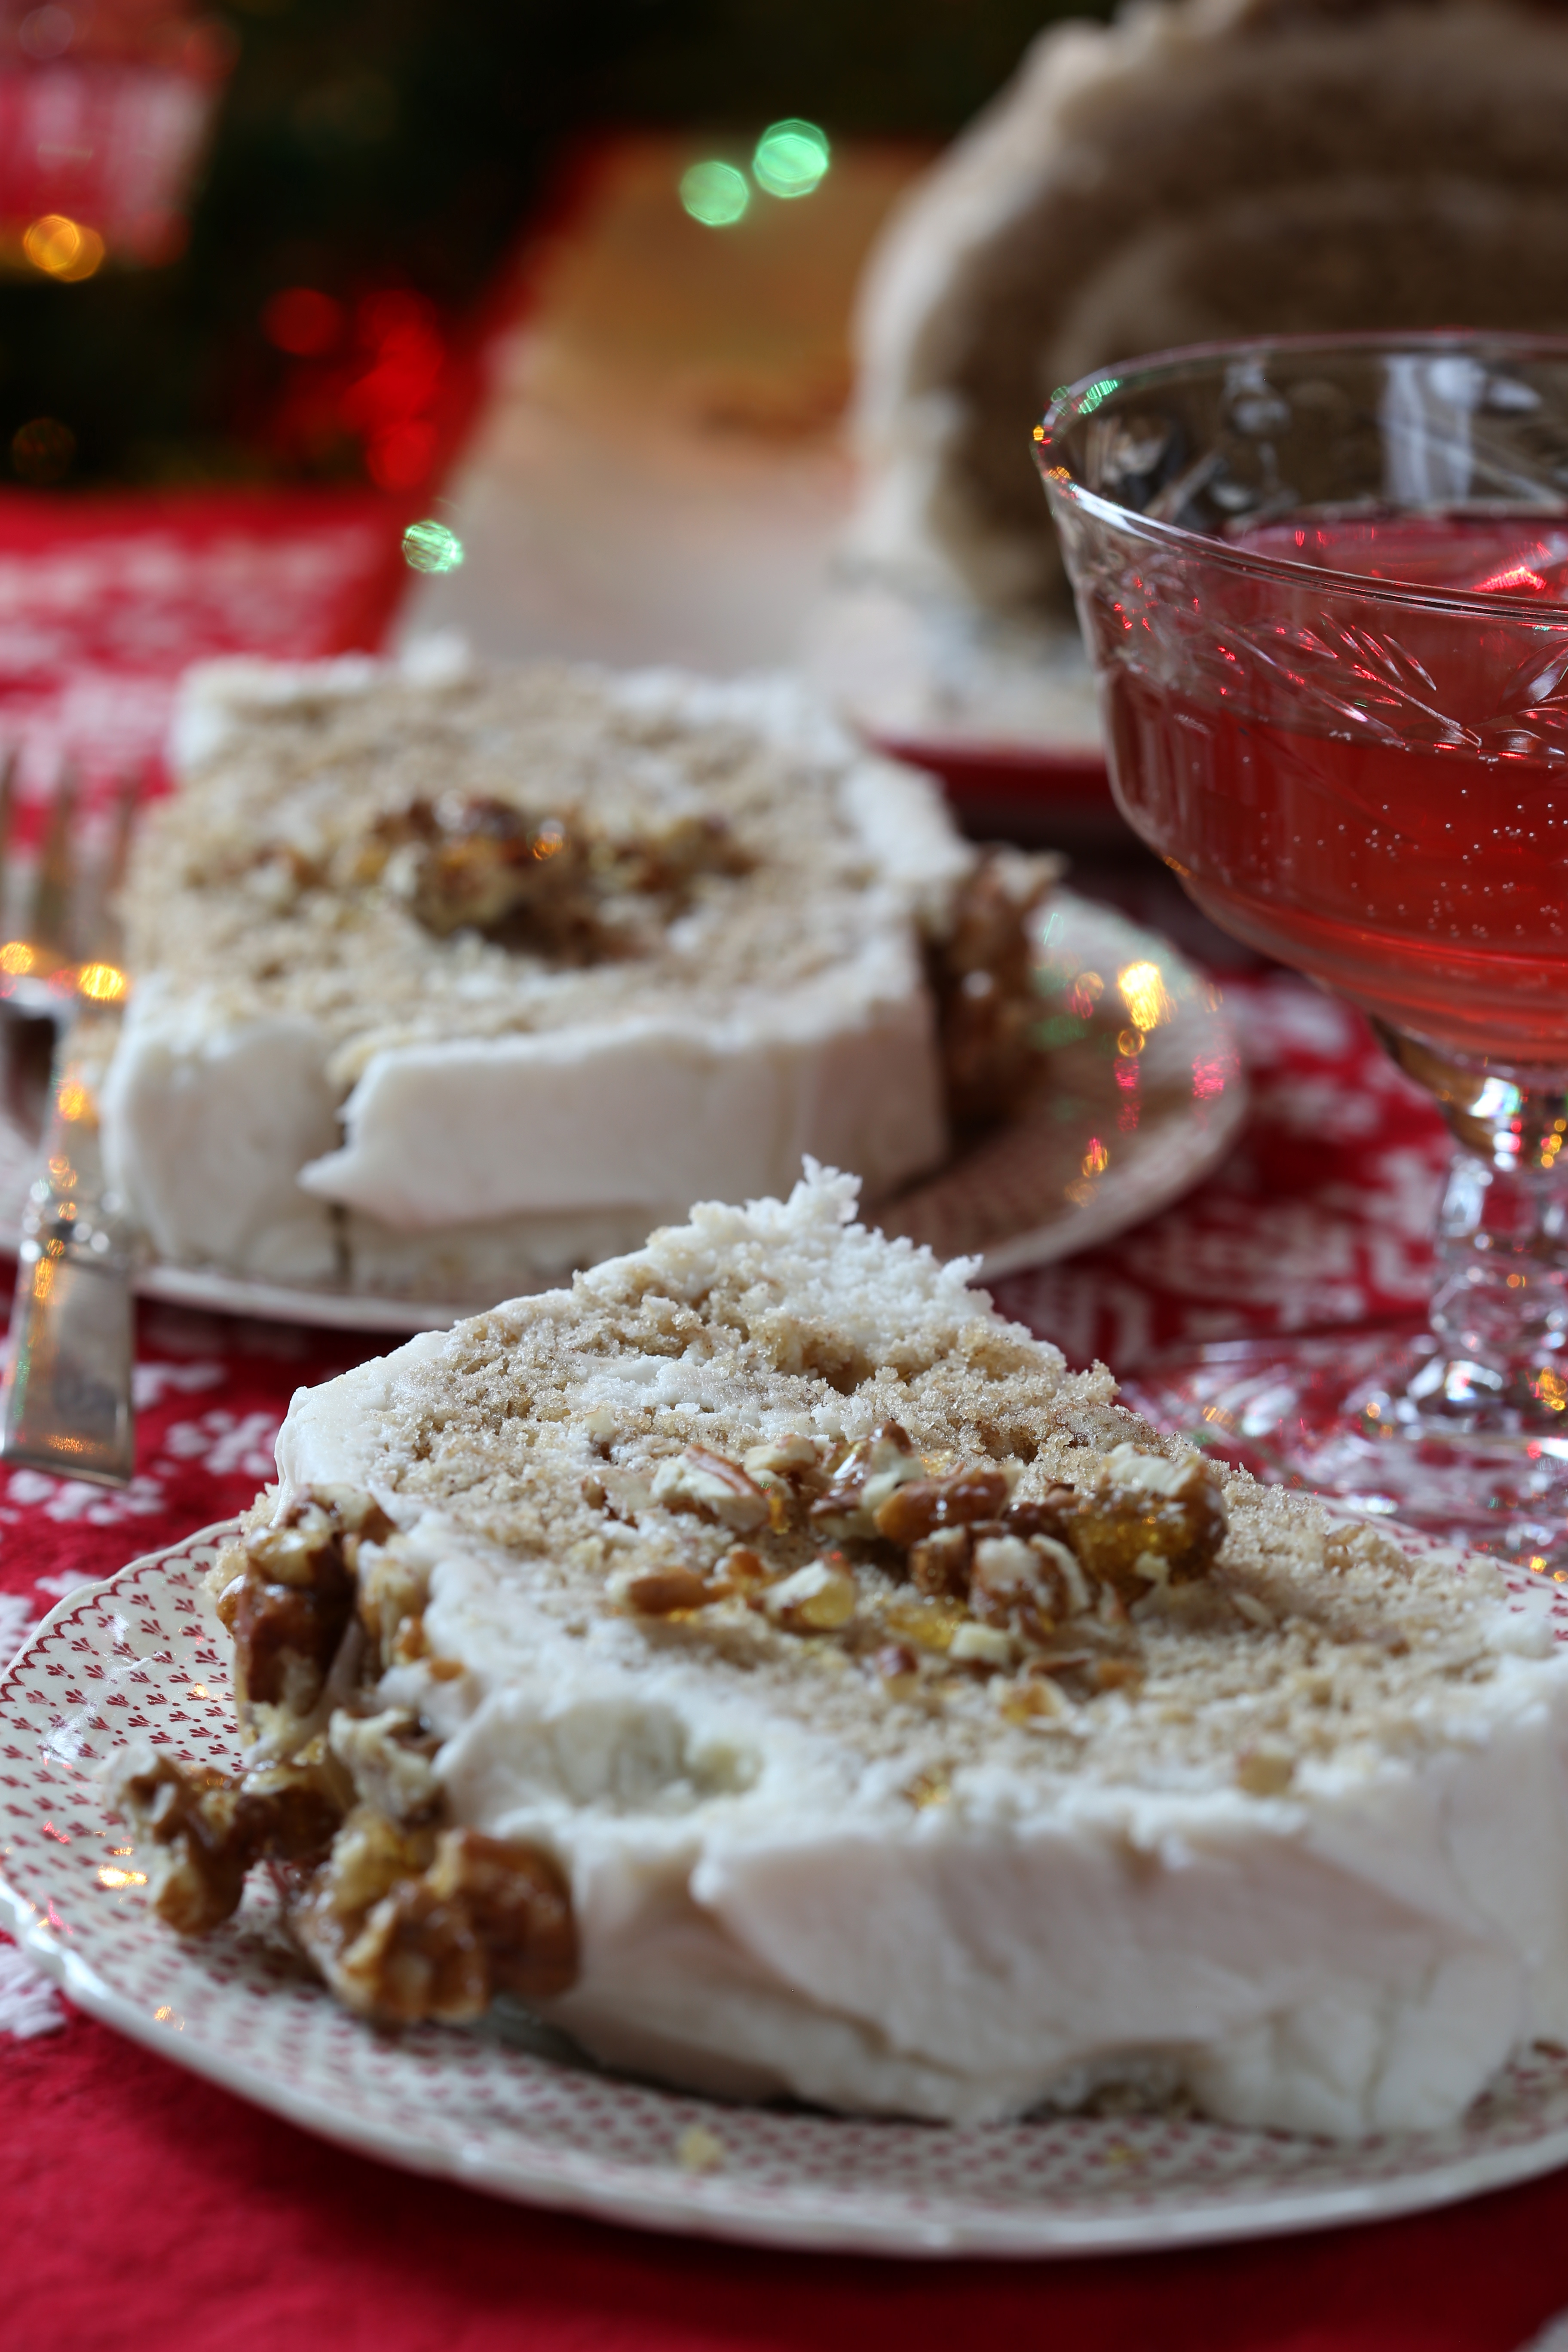
Late again.  Things just seem to escape me and suddenly, I am chasing the bus down the street.  My husband was in Germany for a month and when he got back, we spent days trying to get caught up on all the things I could not do myself while he was gone.  Then of course, my job; after working a 10 hour shift in a kitchen that is 100+ degrees, baking at home has been the furthest thought from my mind.  Somehow, in the last few days, I managed to bake a cake and tarts so that I could get back in step with the Tuesdays with Dorie bakers.

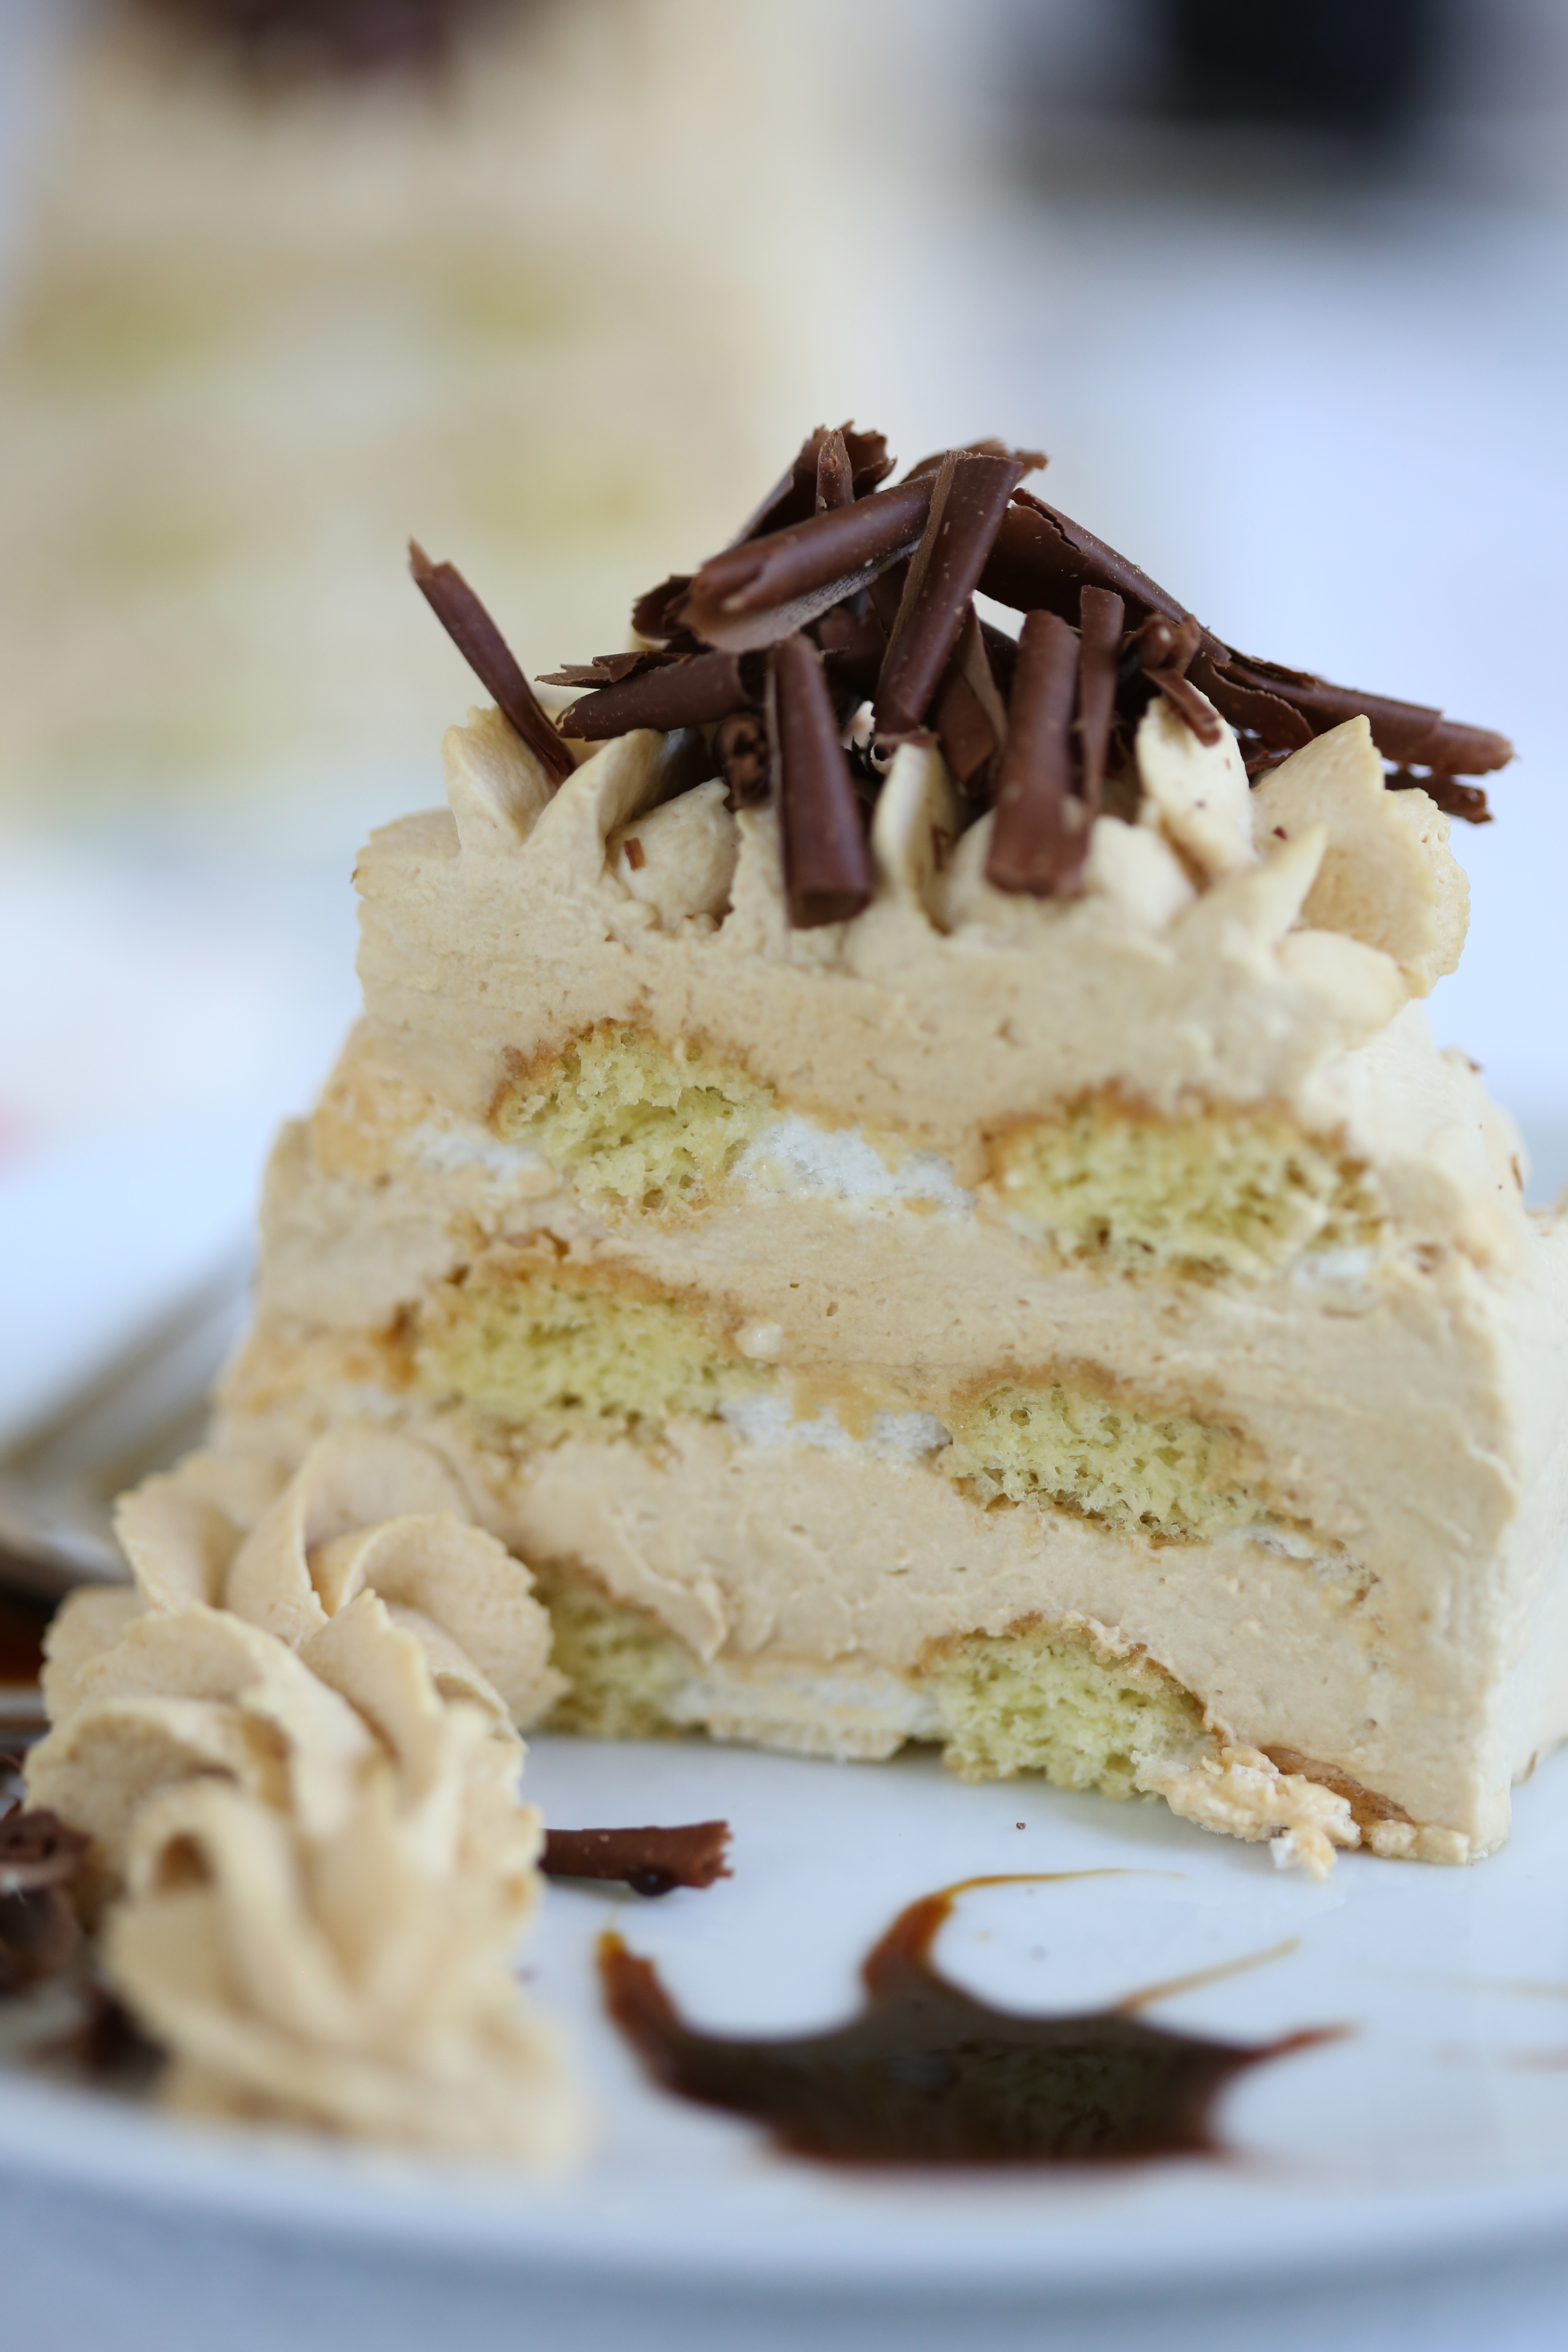
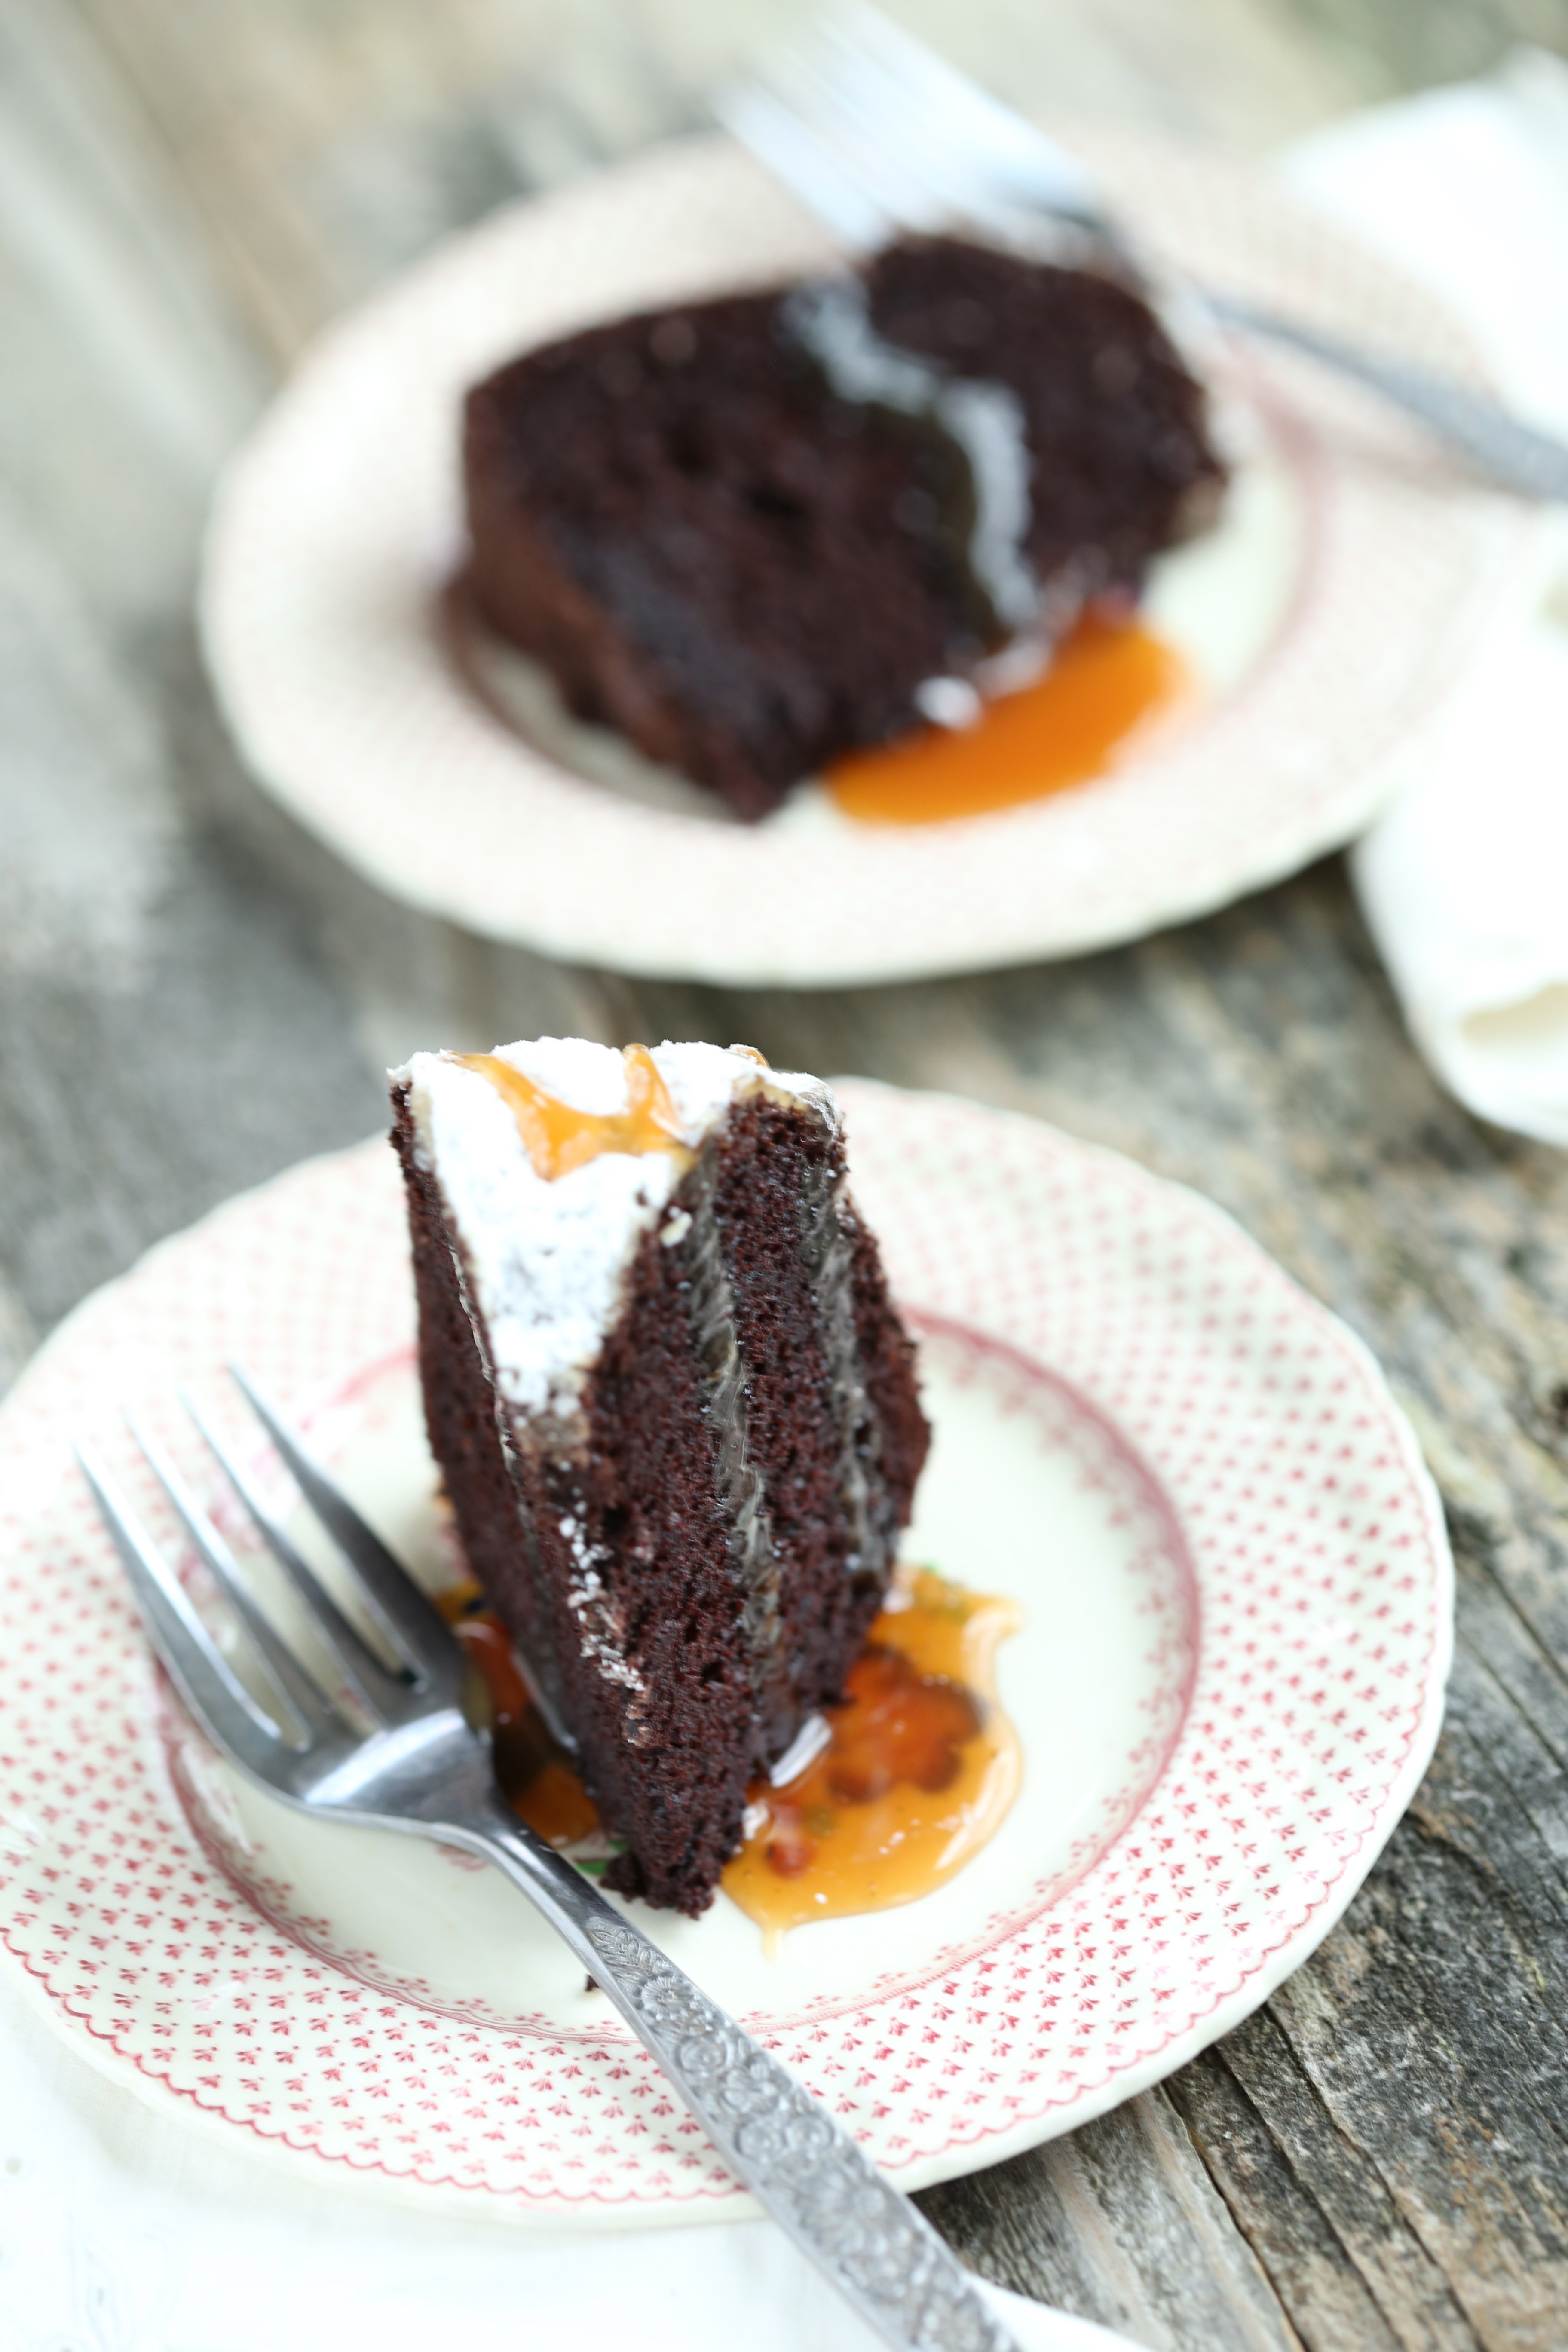
The restaurant I work in was once owned by Marcel Desaulnier and when I saw that the White Chocolate Patty Cake was another of his recipes-he contributed several to Baking with Julia, I decided to give it a whirl.  It was easy enough to make but I think I whipped my egg whites a little too much because I ended up with a crust that fell away in shards.  Despite the over-whipped whites, the cake still had a nice, dense and creamy texture.  Since I was making this for just the two of us, I cut the recipe in half and baked the layers in 6 inch pans.  Rather than make the raspberry filling, I used some tart cherries in syrup and rhubarb that I had and made a thick puree.  The tart flavors of the cherries, rhubarb and the fresh raspberries worked nicely with the cake.  To see the round-up of all the participants, visit the Tuesdays with Dorie website.

IMG_3931

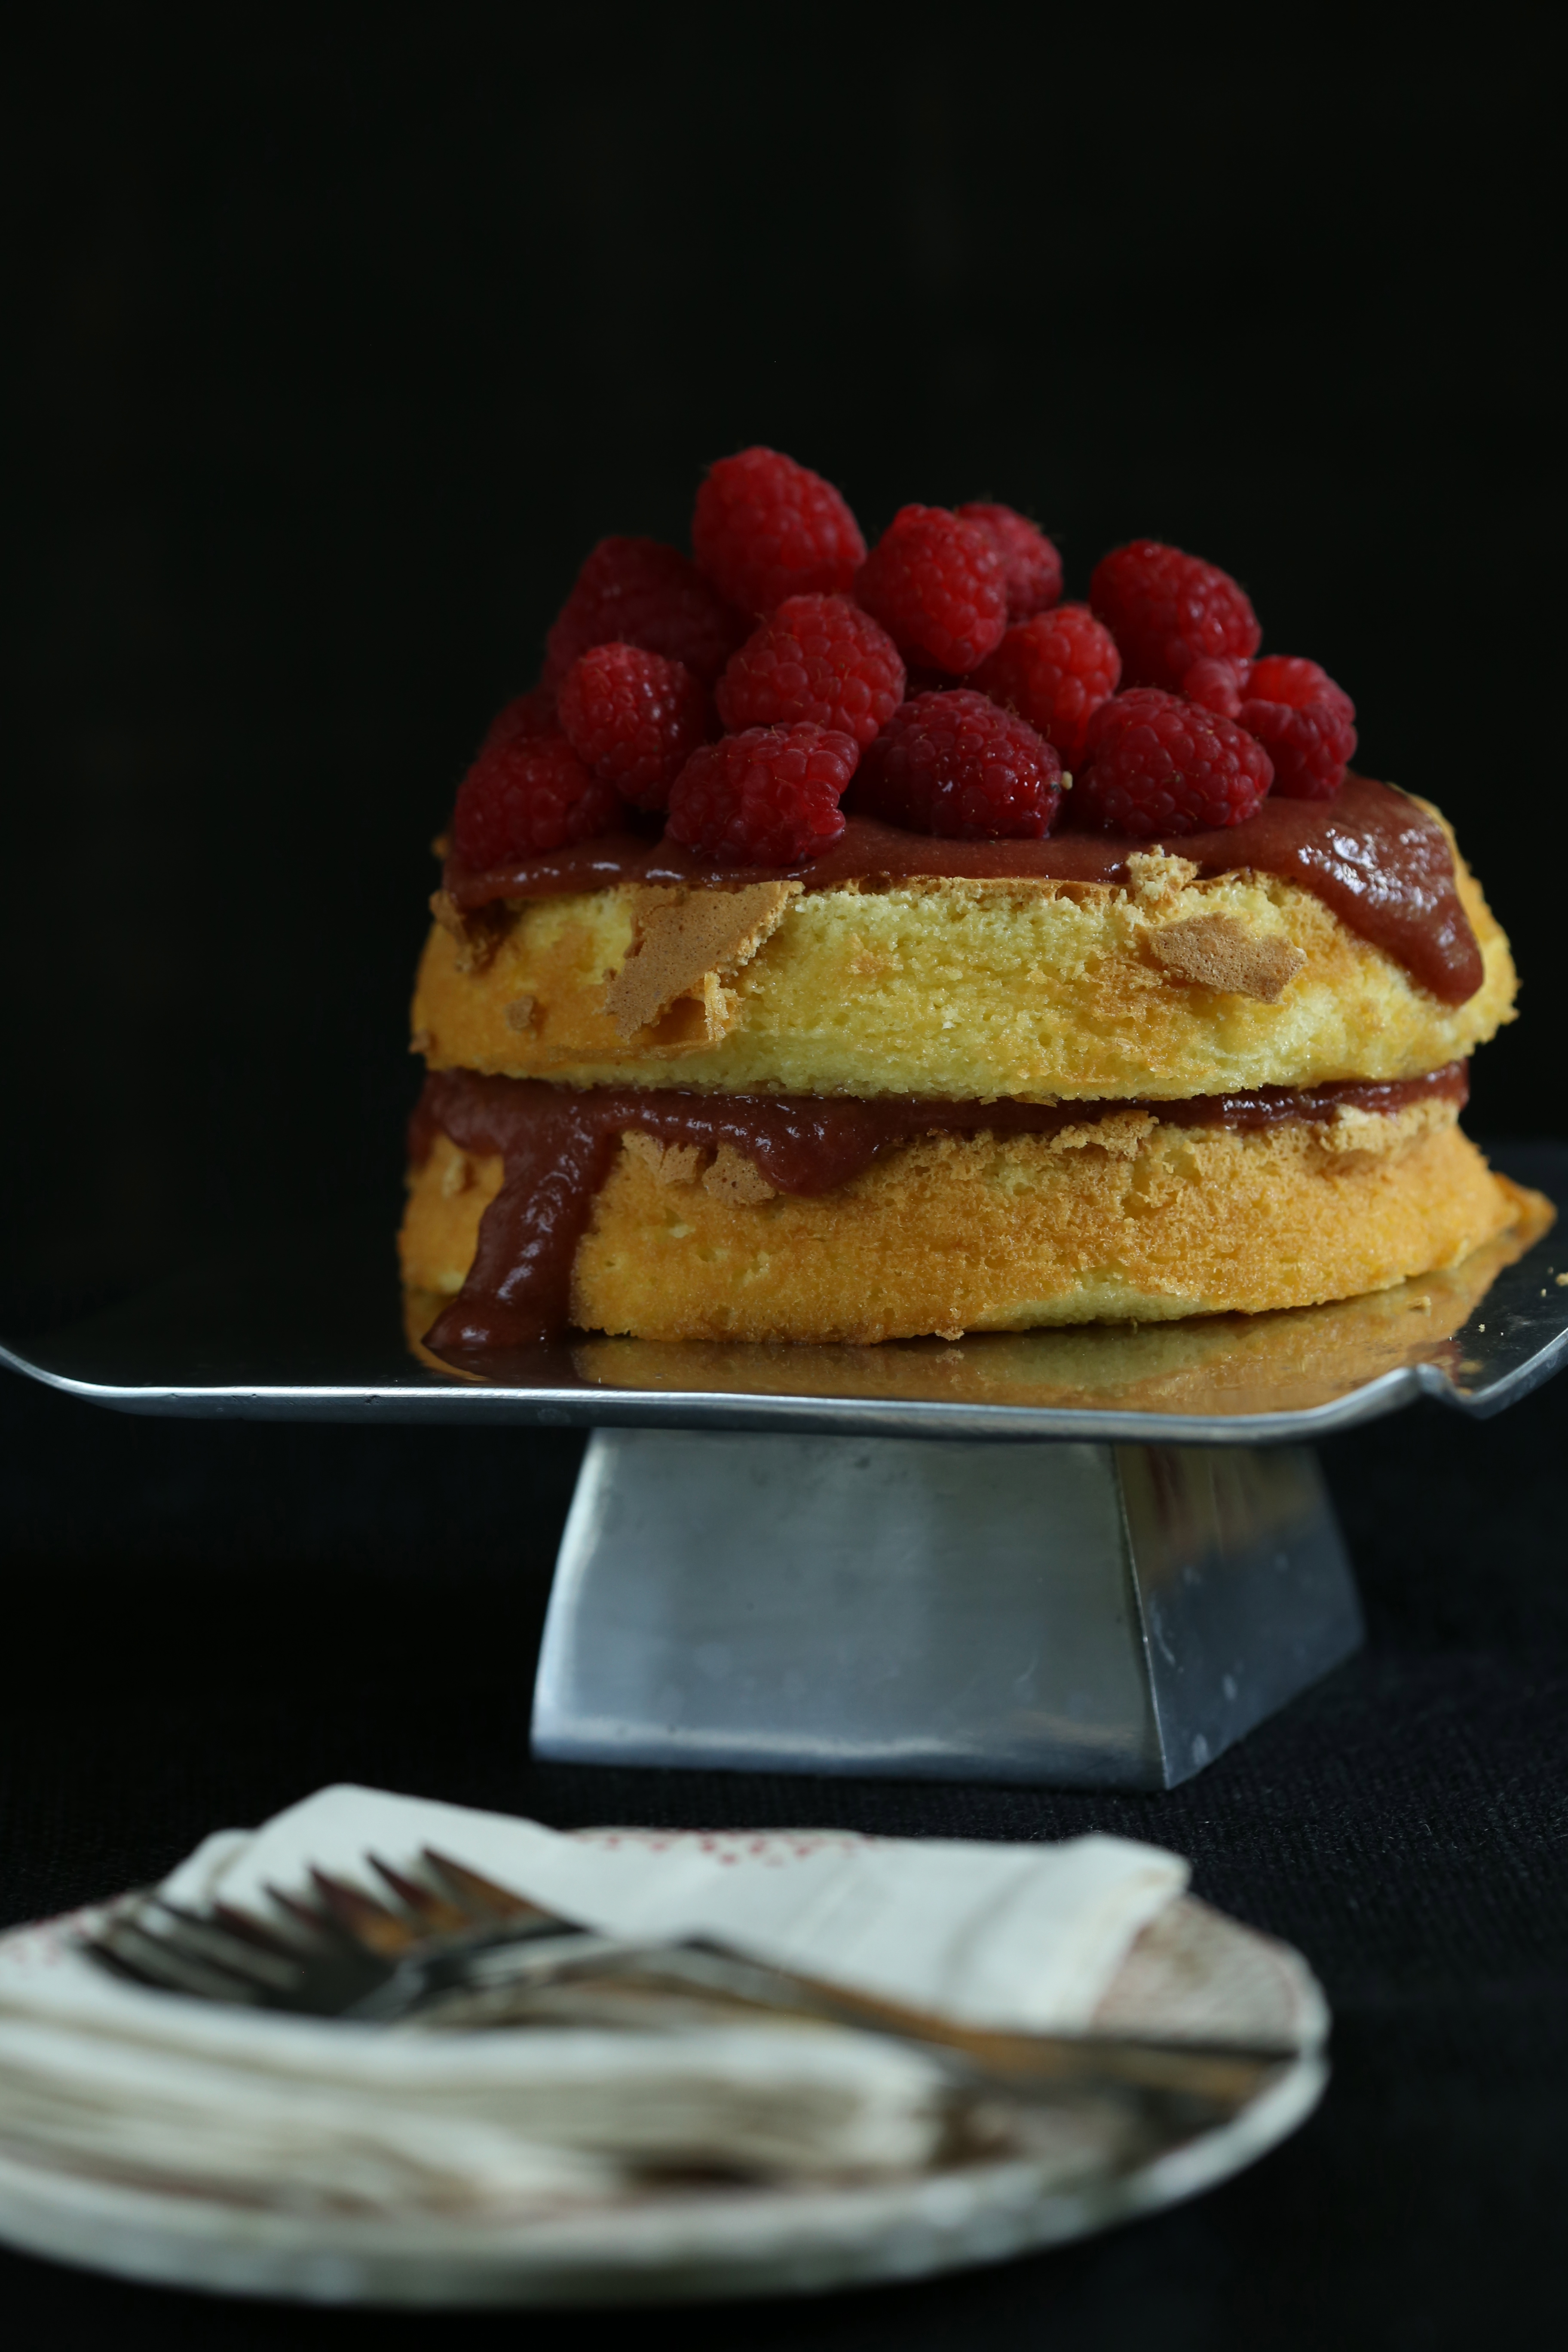
It was nice to get back to the old routine of baking, styling and taking photos; if only I had more time…Found that  nifty cake plate on one of my trips to the thrift store-I think it is a candle holder but I like it as a cake plate much better.  My collection of stuff has gotten a little large and my husband wants me to start selling some of it off or give it away.  He isn’t keen on clutter, calls me a hoarder sometimes.  Maybe I should open a shop; opinions, anyone???


IMG_3962
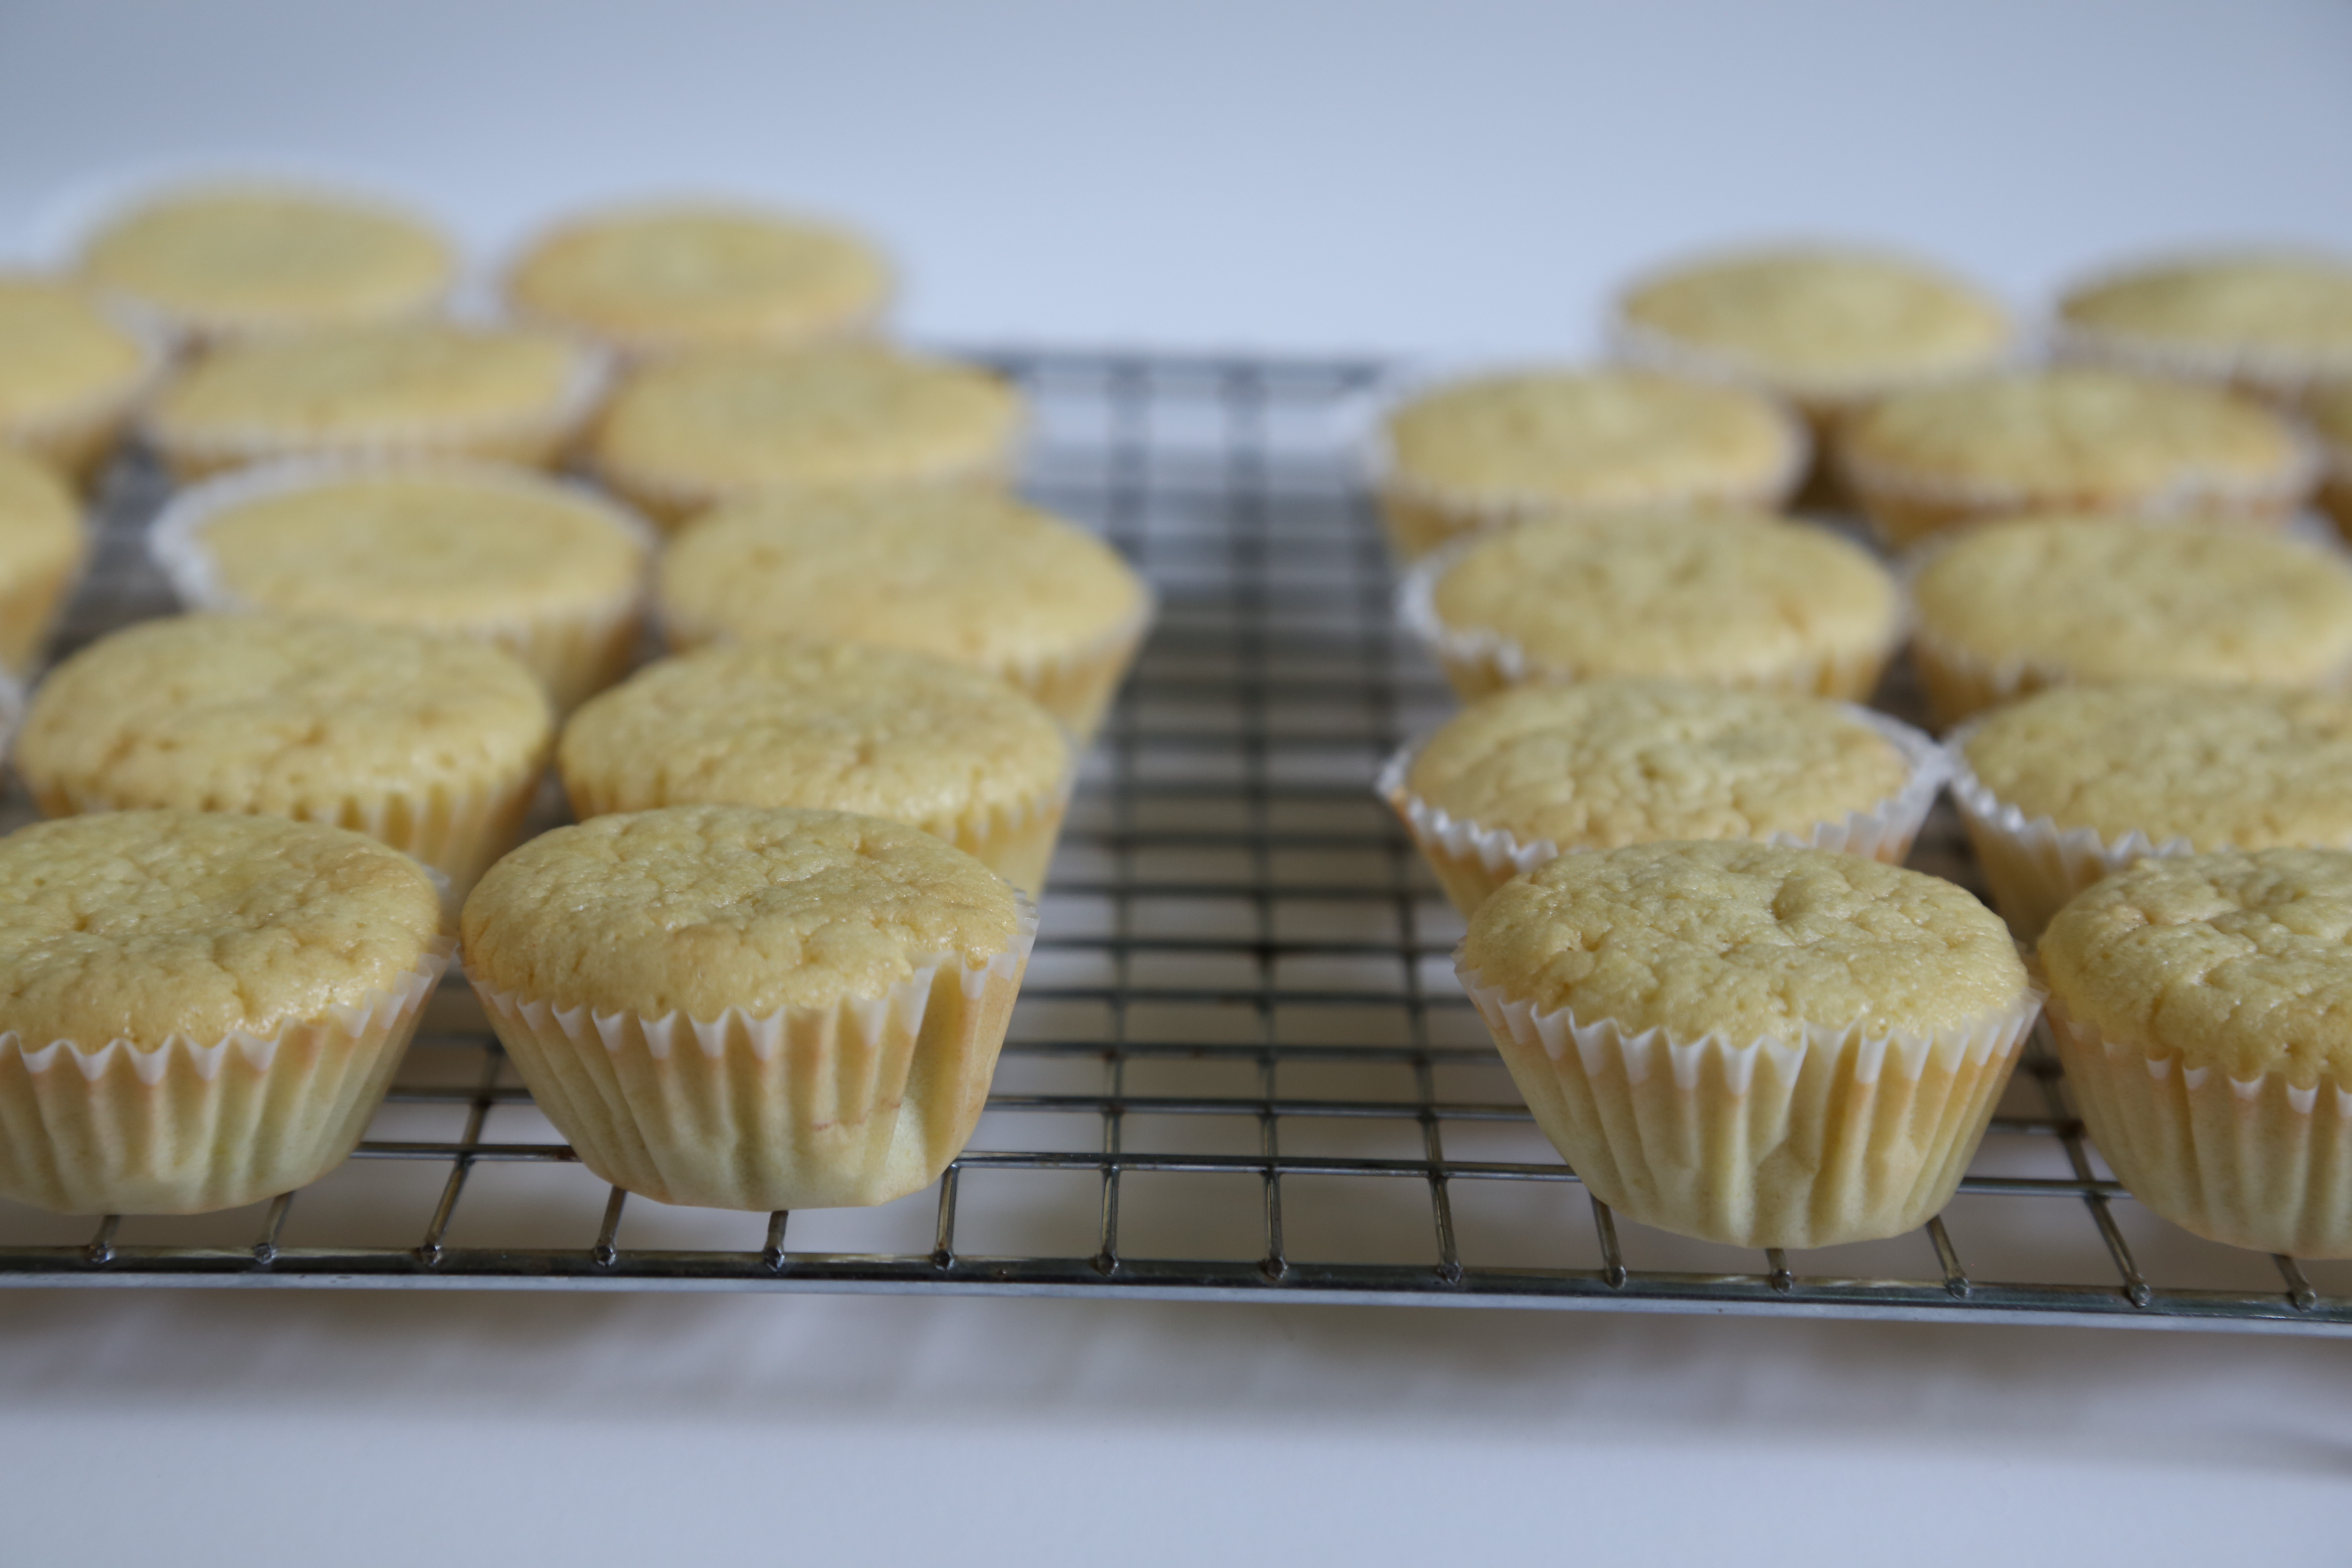
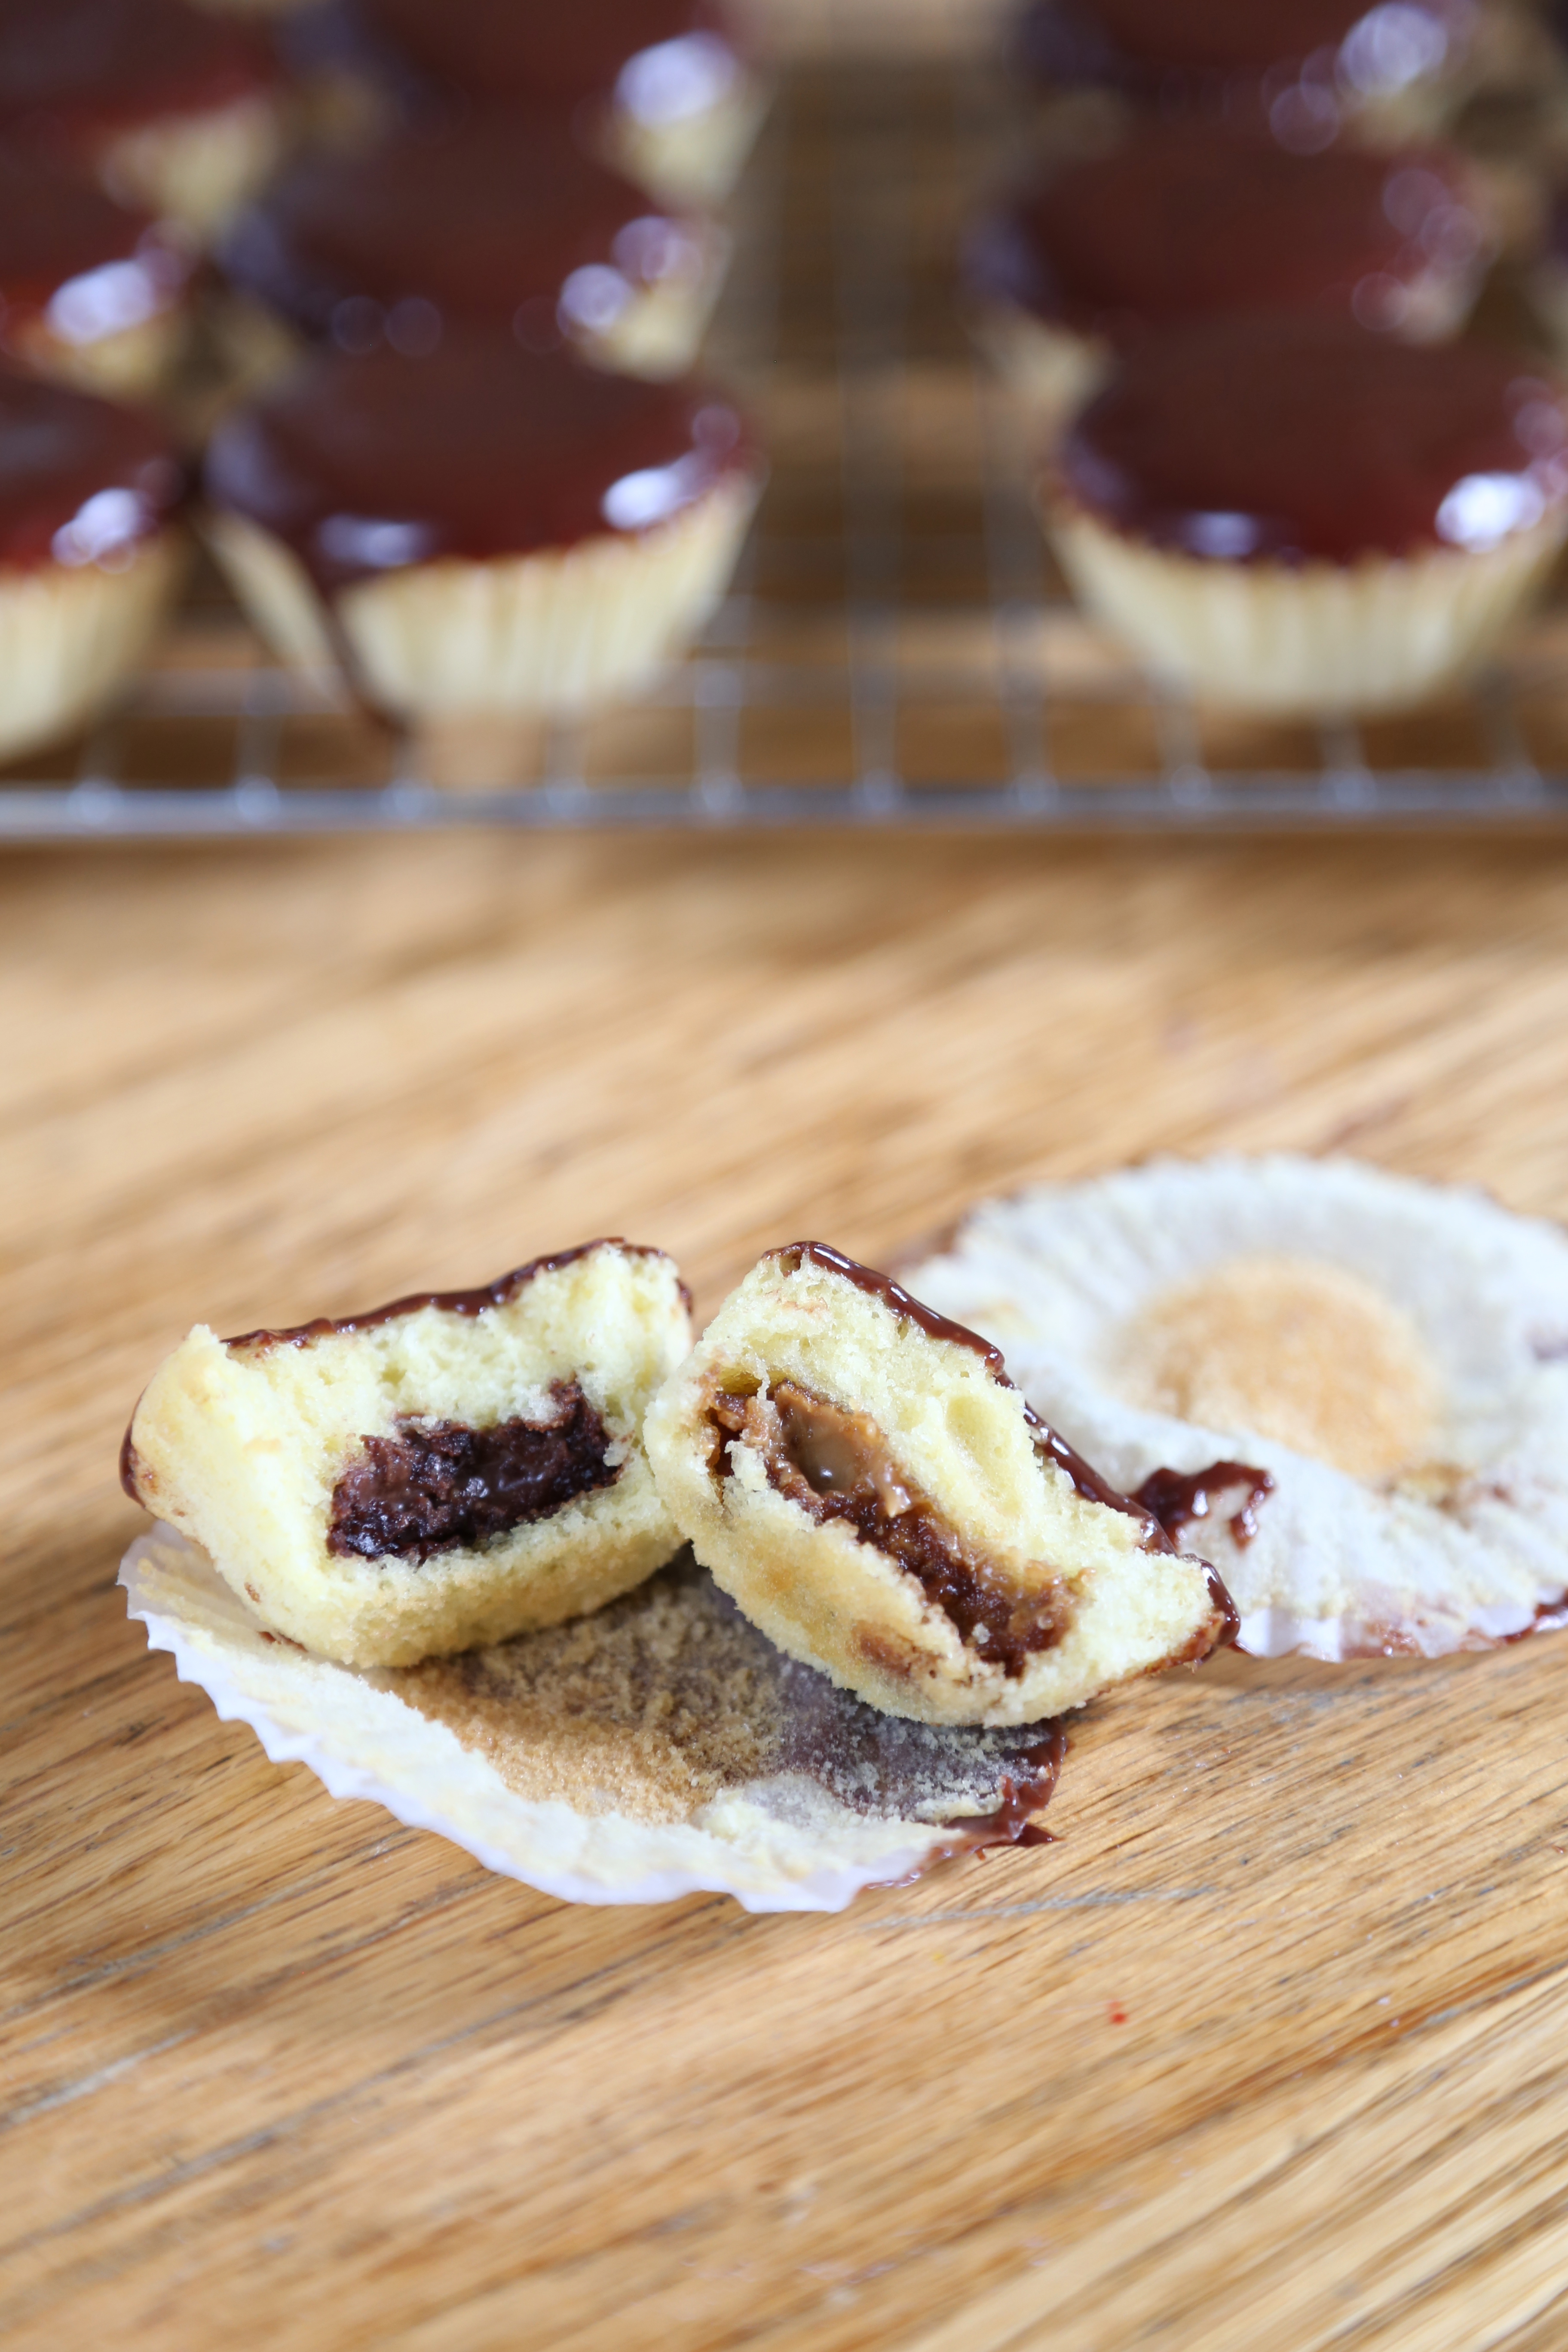
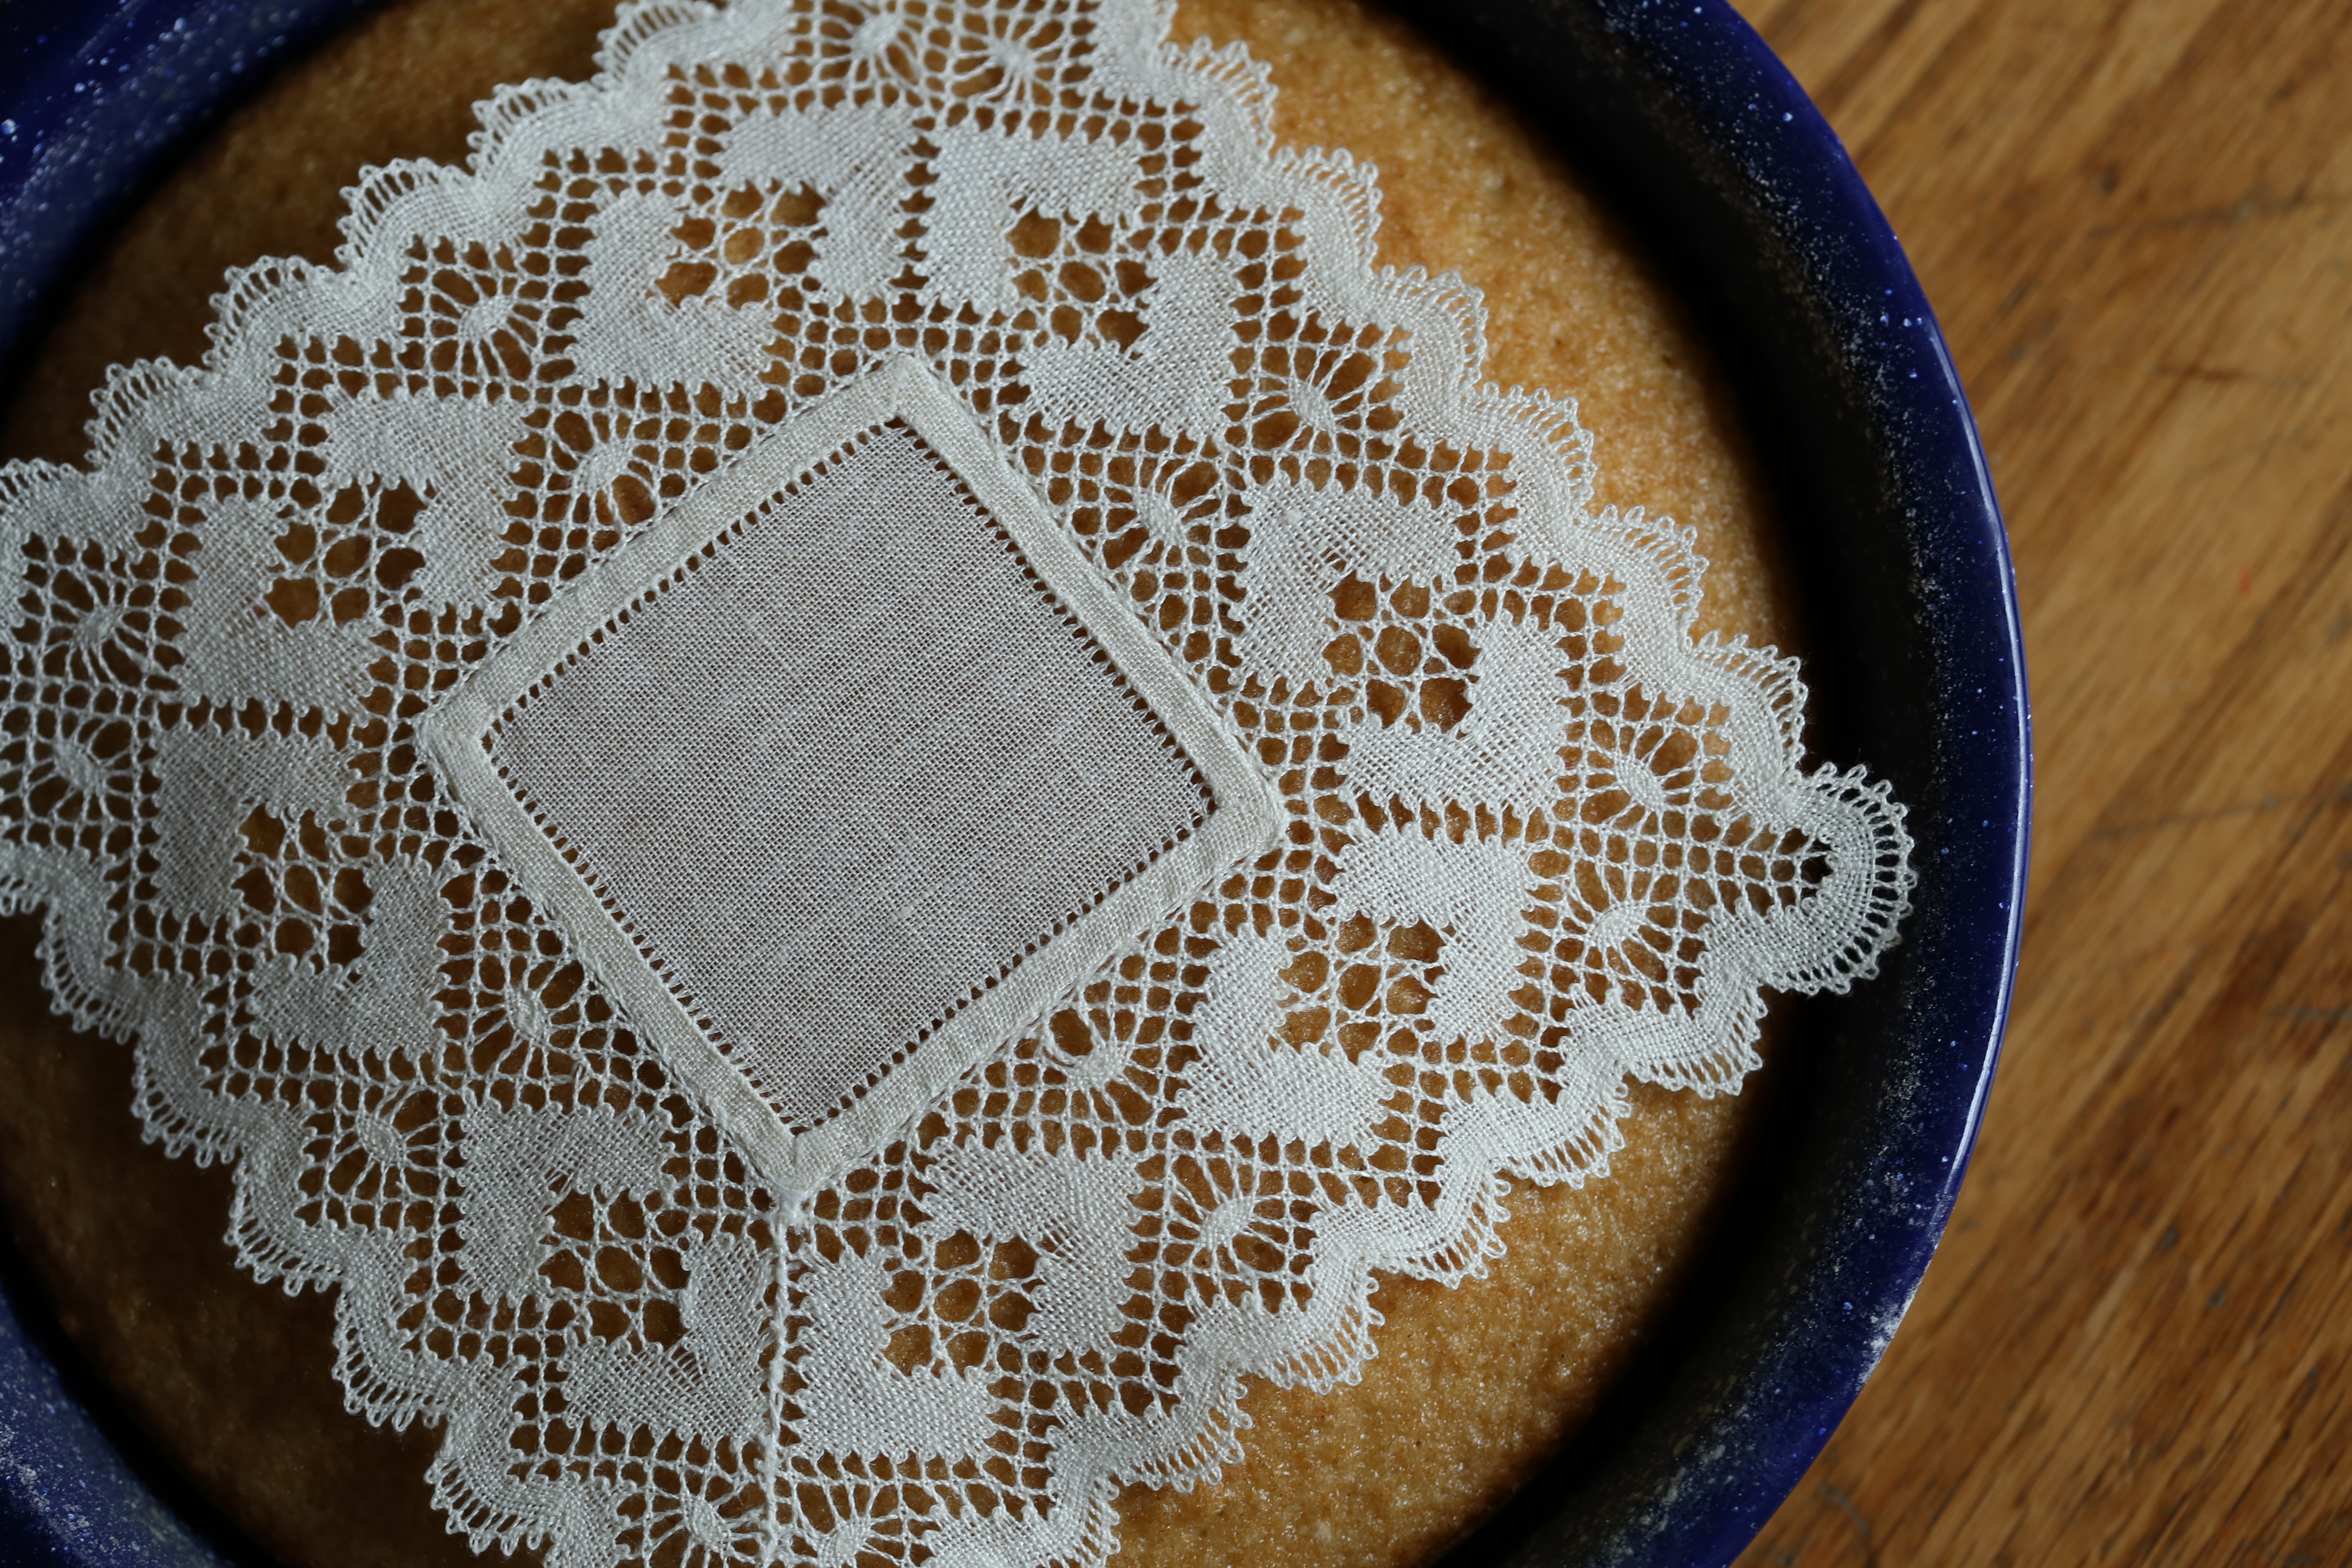
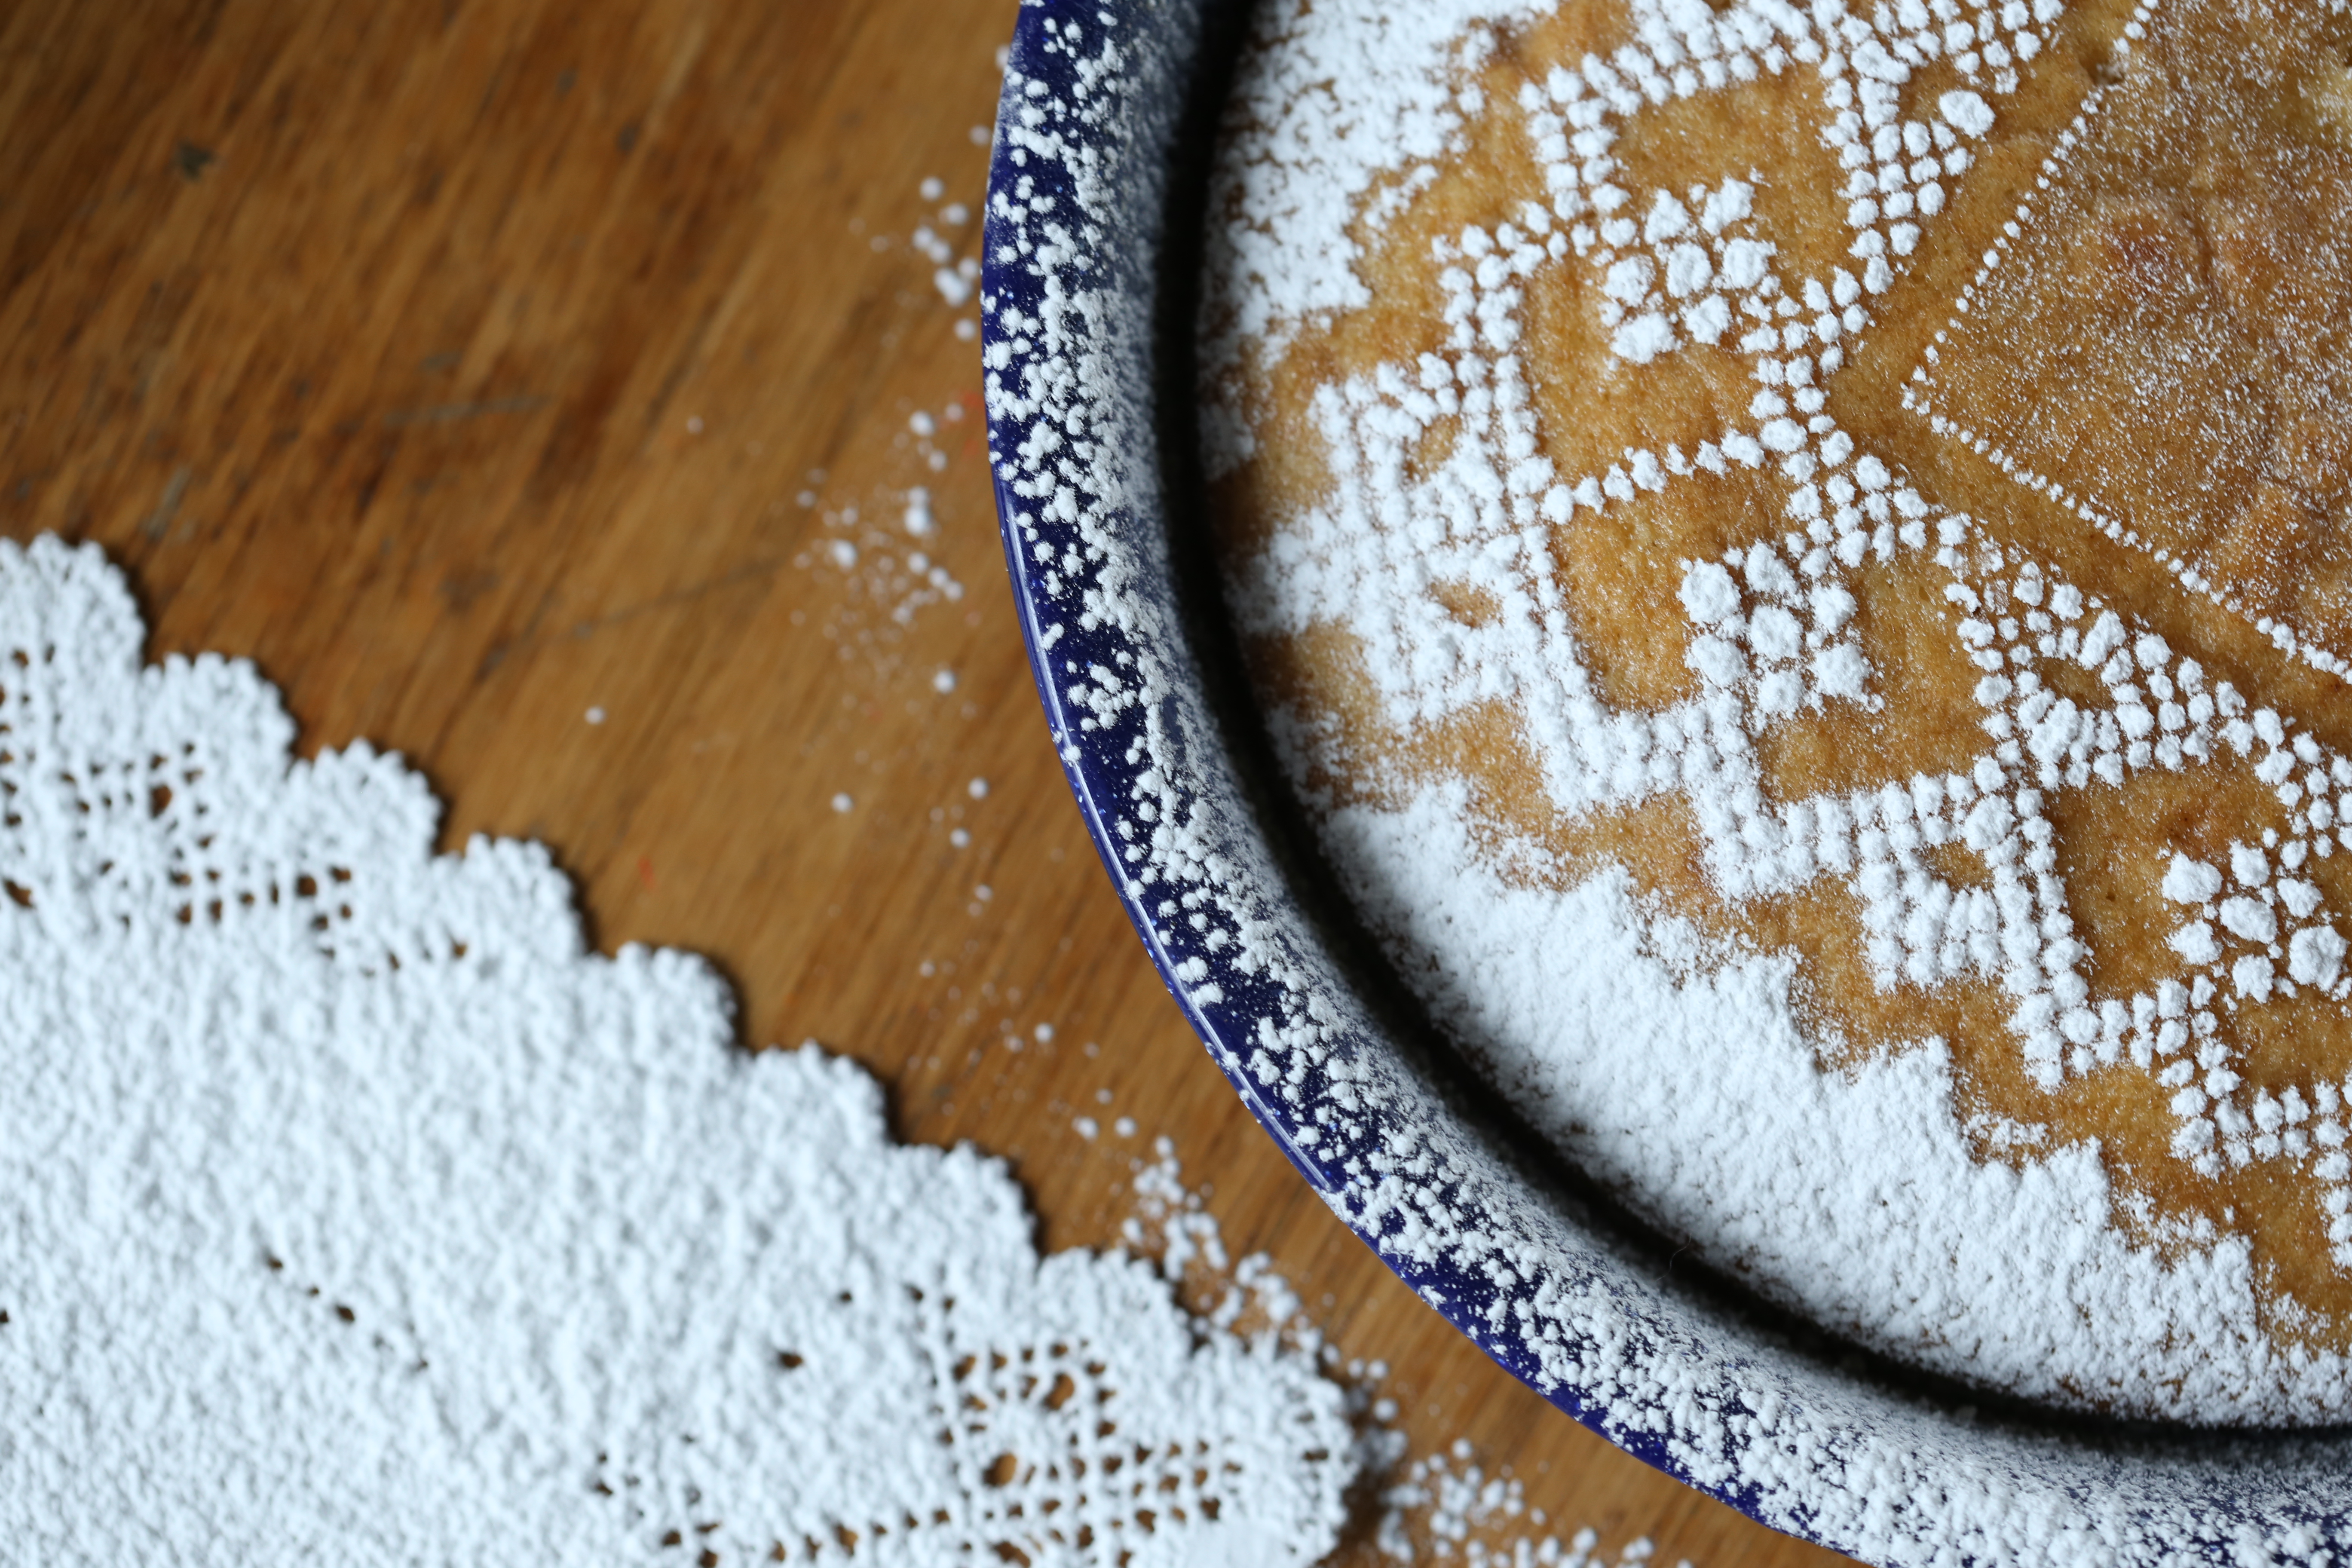
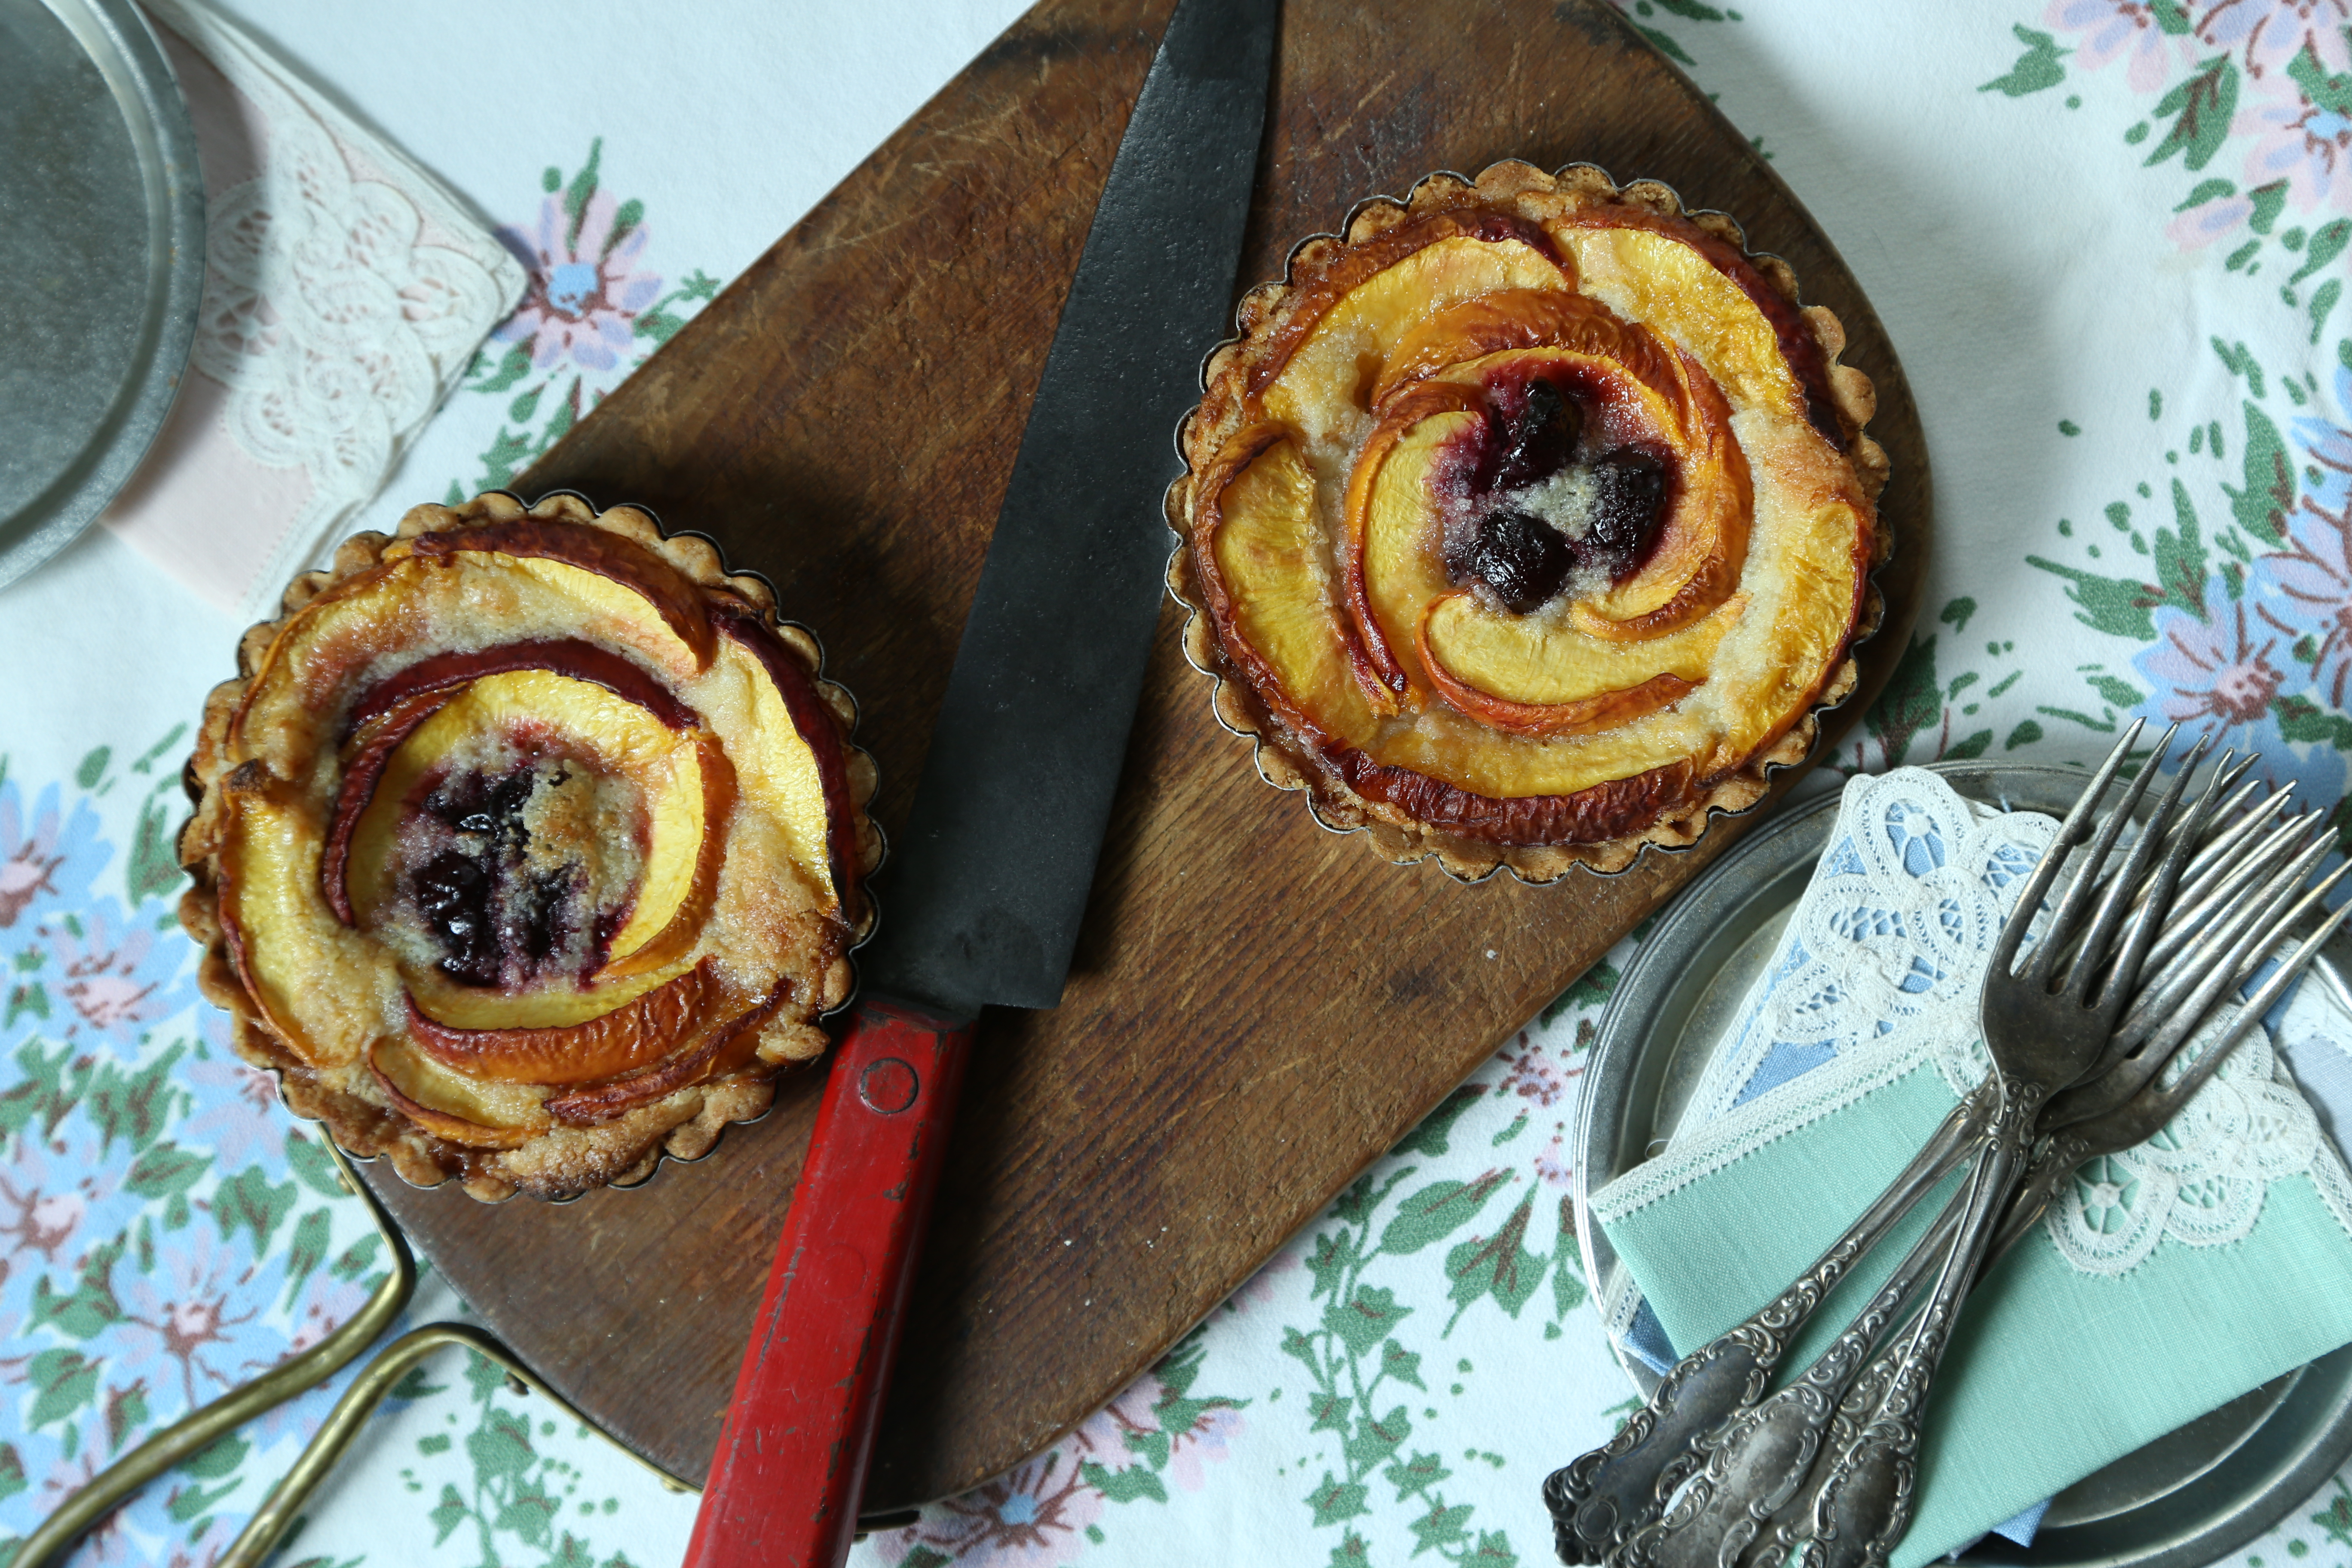
As much as I like cake, I think I like tart better.  What’s not to love about a tart topped with fresh fruit?  This is my version of the Apricot-Raspberry Tart from Baking Chez Moi.  A week ago, I picked up a box of peaches when I went to Trader Joe’s.  Ripe peaches sounded like a nice substitution for the apricots and I added a few dark cherries just for fun.  In the recipe, Dorie suggests an almond cream filling as an alternative to the lady fingers or cake crumbs and since I was in an almond mood, I added some almond extract to really give it an extra almond punch.   The dough recipe actually made six 4″ tart shells but I froze four of them for another day and just made two tarts and filled them with half of the recipe for the cream filling.  Even though the tarts were smaller than the recipe called for, the baking time was almost the same due to the cream filling which took a while to set in the oven.  We both enjoyed this one but then, you cannot go wrong with peaches and frangipan which is what this filling made me think of!

To see how the others made out, be sure to visit the Tuesdays with Dorie website!

cardinal slices; a tuesdays with dorie post

IMG_3725

Hard to believe but we have been baking from the book, Baking with Julia, for more than two years.  While I have enjoyed the process and reading posts from the other bakers, not every recipe has excited me and a few were just not an option.  But when I read the headnote to the recipe for Cardinal Slices, I was a bit excited; this was a chance to make a classic cake and a caramel syrup.  Then I read the entire recipe and saw the suggestion of turning the leftover batter into chocolate dipped ladyfingers called Rothschilds.  Now this was what I call a great way to spend a morning!!!

IMG_3729

The recipe for the cake layers instructs you to make a meringue first.  The meringue is piped with a 1/2 inch tip the length of the baking pan, actually, three long ropes that are fairly close together; the two outer ropes are just three inches apart.  The leftover meringue is incorporated into an egg and egg yolk mixture with sugar and whipped to a full ribbon with flour folded in last.  This mixture is piped between the meringue stripes and then it is baked.  
IMG_3754

The espresso caramel syrup is made by burning a small amount of sugar and adding more, bit by bit as you go.  This caramel is cooked much darker than you would expect and the final step is to add hot espresso.  It is intensely flavored and it can be a little bitter from both the burned sugar and the espresso but the whipped cream will temper the bitter and even if you are skeptical, make it!  
IMG_3756

The final step is to make a lightly sweetened, whipped cream and flavor it with the espresso caramel syrup.  You are instructed to trim the three strips so that they are evenly sized but let me warn you, if it is a humid day, think twice and perhaps bake the strips longer or wait until a dryer day.  My strips got pretty sticky and were difficult to trim so I didn’t bother.

Do you remember the mention of ladyfingers?  Well let me suggest this, if you do not want to waste leftover batter, cut the recipe in half and do not bother with the lady fingers.  There was enough of the batter left to make lots of ladyfingers, three trays, actually.  According to the directions, I sifted almond flour over the cookies and placed a pan in the oven with my cake strips.  Honestly, I wondered about this because the cake strips were baked at 300 degrees and everything I know about sponge cakes tells me that temp was way too low.  My suspicions were correct and after the instructed baking time of 30 minutes, I had lovely, golden brown, ladyfinger shaped strips of sawdust.  They were awful, truly awful.  Since I noticed that the recipe suggested reading the other ladyfinger recipe in the book for hints, I flipped to it.  This recipe called for baking them at 400 and since I really wanted to make the Rothschilds, I cranked up the heat.  Sadly, the results were not much better, they weren’t as dry or sawdust like but truth be told, they were not any puffier.

Needless to say, my dreams of chocolate dipped Rothschilds were crushed.  In the future, I will probably try making them from the other recipe in the book, the one written by Flo Braker and if I, or should I say when I, make this cake recipe again, I will skip that step and just make half the cake recipe.
IMG_3767Oh, one more thing, totally worth the calories.  Try this one if you can-you will not regret it!  To see how the other bakers did, check the Tuesdays with Dorie website and look for the LYL page.

no-tella buttons; a tuesdays with dorie post

IMG_3665

Another Tuesday, another recipe from Baking Chez Moi.  This week, we chose to prepare the Nutella Buttons, tiny little cupcakes with a secret filling surprise and a glaze of ganache.  What’s not to love?  Actually, if you are me, it’s the Nutella.  Hard to believe since Nutella is so popular but it just isn’t something I go crazy for.  In truth, it is just not the right chocolate flavor for me; I prefer a dark chocolate to a milk chocolate.


IMG_3657

The batter was a quick and easy one to mix and they baked up just as fast.  Do yourself a favor, buy a scale and use the weights listed for each ingredient rather than the cup measurement.  Although I began by measuring the powdered sugar using cups, on a whim I decided to weigh it.  What a difference!  My cup measurement was off by nearly 20 grams and while that does not sound like much, it is nearly an ounce and with a recipe this small, it could have had a huge impact on the results.


IMG_3624

Now back to the secret filling.  When I saw that I would need to buy a jar of Nutella, I thought it would be better to choose a spread that I would enjoy and might actually use.  My first choice was Dark Chocolate Dreams by Peanut Butter and Company.  And because I can never do anything simply, I also picked up a jar of Speculoos Crunchy Cookie Butter from Trader Joe’s.


IMG_3632Using a small portion scoop for the batter and spoons for the spreads, I had a full tray of little cakes ready to bake in just a few minutes.

IMG_3645

Both of these spreads are pretty tasty but as always, I prefered one to the other and surprisingly, it was the Speculoos Butter.  Slightly spicy and a little crunchy, it won the contest and if I hadn’t put the top back on, I might have eaten the contents of the jar one spoonful at a time.  Somehow, I was able to restrain myself, for now…

IMG_3648

Dark Chocolate Dreams filled cakes on the left, Crunchy Speculoos  filled cakes on the right.  No way to tell which is which just by looking on them.  Biting into them is the only option…


IMG_3660Do yourself a favor, pick up a copy of the book and bake along with us, you will enjoy the adventure!  To see the results, visit the website and look for the LYL page.

chocolate chiffon bundt cake with drunken caramel; a tuesdays with dorie post

IMG_3071

Winter is once again showing us just who is in control.  Not only is it laughing at us, winter is flipping us the bird, repeatedly.  While I shouldn’t complain too loudly, it’s not like I live in the Boston area (sorry sis!), but as I sit here typing this, the weather forecast is calling for up to 15″ of snow to fall in the next 24 hours.  My complaint isn’t that it will snow but that 15″ is three times our average annual snowfall of 5 inches!

With the temperatures well below freezing with the wind chill, I was glad to be in my kitchen baking a chocolate cake.  And if there is one thing I am sure we can all agree on, chocolate cake fixes just about everything, especially if you serve it with a generous drizzle of drunken caramel sauce!  The cake, as the recipe is written in Baking with Julia, is supposed to be served with fresh raspberries soaked in liqueur and rich creme anglaise sauce that gets bruleed with a torch.  Well, I did not have raspberries or a torch and I did not want to make the creme anglaise sauce because it is just too rich for me.  But I did think a drizzle of caramel sauce would be nice and then I saw the bottle of Pennington’s and I couldn’t help myself…
IMG_3070

The cake itself is a typical chiffon cake; spongy and light and completely dependent upon the cocoa powder for flavor.  Because the cocoa powder is practically the sole component of the flavor profile, I suggest you use a high quality cocoa powder, I used Valrhona cocoa powder because I wanted that chocolate punch I knew Valrhona would give to the cake.  If I had used a cocoa powder typically found in the grocery store, I might have gotten decent results but the lack of raspberries and the creme anglaise would have been really obvious and I am not sure that a few dollops of my drunken caramel would have worked as well.  That caramel sauce packs a punch especially with the use of Pennington’s.  If you are not familiar with Pennington’s, let me tell you that you should get your hands on a bottle if you can.  It is distilled in Nashville and they use real strawberry flavor-not the fake stuff so it tastes like ripe juicy berries, the perfect companion for a chocolate cake.
IMG_3069Drunken Caramel Sauce

makes about 1 1/4 cups

1/3 cup heavy cream

1 cinnamon stick

1″ piece of a vanilla bean, split open

1 tablespoon unsalted butter

1 cup sugar

2 tablespoons light corn syrup

1/4 cup booze-dark rum, bourbon, or whiskey (I highly recommend Pennington’s Strawberry Rye Whiskey)

Pour the cream into a small pot with the cinnamon stick, vanilla bean (the seeds scraped out and added to the pot) and the butter and place it over very low heat to warm it.  Place the sugar and corn syrup in a deep, heavy bottom pot with 1/4 cup of water.  Bring the pot to a boil over medium-low heat, stirring occasionally to melt the sugar.  Wash the sides of the pot with a wet brush to prevent crystals from forming.  Allow the sugar to boil until it turns amber in color.  Remove the pot from the heat and carefully pour in the warm cream mixture, stirring to combine.  It will boil up violently so take caution when stirring.  Return the pot to the stove over low heat and stir gently to dissolve the caramelized sugar at the bottom and sides of the pot.  Do not boil the mixture, just stir until the sugar is fully dissolved and the mixture is combined.  Remove from the heat again and carefully stir in the booze.  Pour the caramel through a mesh strainer remove the cinnamon stick and vanilla pod and into a heat proof serving pitcher or a bowl.  Allow it to cool to about 100 degrees before serving, store in the fridge and reheat as needed.

To see how the other Tuesdays with Dorie bakers did with this recipe, check out the “LYL” page on the website.  If you would like to join us as we bake our way through Baking with Julia and Baking Chez Moi, get your hands on the books and get to work-the more the merrier!

brown butter and vanilla bean weekend cake; a tuesdays with dorie post

IMG_2932

Another dreary, rainy weekend, but it still put a smile on my face.  For a change, I would have perfectly diffused light to take photos.  As I rummaged through drawers searching for the exact linens needed, I came across an envelope.  Tucked inside was a pretty little square of Swedish bobbin lace that my mother-in-law brought home from one of her trips to Europe.  For years, that envelope has made appearances as I shuffled things from drawer to drawer and today, with a flash of inspiration I can only blame on the rain, I thought it would be the perfect stencil for my cake.

The recipe for the cake calls for baking it in a 9″x5″ loaf pan but I wanted to make just half the batter-which is still too much for the two of us.  After picking through boxes and pans, I settled on a small granite-ware skillet which would make a nice, round cake; a perfectly boring round cake…Luckily, with that flash of brilliance and a tub of powdered sugar, the cake would be anything but ordinary in appearance. 
IMG_2931

While I have no idea how bobbin lace is made, I am envious of those who are skilled in the craft.  The photos I have seen show slender, intricately carved bobbins made from wood or bone and weighted with spangles of glass beads as well as pins, lots of pins.  The work is intricate and obviously time-consuming but the results are lovely and delicate; a true work of art.


IMG_2933

A lucky break-the square fit perfectly over the cake and left very little space uncovered.  The hearts are my favorite part of the design.  The way the threads between them make a star or a flower depends on how you look at it.


IMG_2948

Sifting powdered sugar using a large wire mesh is the best method.  If tapped gently, you can cover a large area with a fine layer of sugar.


IMG_2950

Now for the tricky part, removing the lace without ruining the pattern.  This is a one and done method.  If it doesn’t work the first time, it is unfortunate because once there is some sugar on the surface, you can not move the lace and try again.  With fingers crossed, I gently lifted the lace making an effort not to smear the design or dump any of the excess sugar off the lace and onto the surface of the cake.


IMG_2953

It truly was my lucky day!  Not only did the design transfer well, I was able to lift the lace without incident!!!


IMG_2956

The flower pattern between the hearts transferred nicely and so did the delicate scalloped edge.  But that square in the center…I just love the little beads of sugar and that barely there dusting in the center.  This may not be what the lace was intended for but I can say that I will use it again.


IMG_2959It almost seemed sacrilegious to cut it but I have no will power where cake is concerned!  So how did it taste?  Well, the recipe calls for browning the butter and I did that, but I think I should have gone a little further with it.  Since my supply of vanilla beans is really sparse and I am not sure of a reasonably priced local source, I decided to go with vanilla extract and because we did not have any rum, I used the next best thing, bourbon.  In my opinion, it could use more flavor and I do not think it is worth sacrificing a vanilla bean to get that extra punch.  Personally, I think a little more butter, maybe an extra tablespoon, browned to a color no less than my tabletop in the photo would help add flavor and a little more moisture.  Also, the added fat can help prevent the gluten from developing as the flour is mixed in; my cake had tunnels in it that I am sure were caused by over mixing when I whisked in the flour as directed by the recipe.  The amount of vanilla extract initially seemed excessive but now, maybe not, however, it was strong enough that the bourbon was not noticeable.  In the future, I might cut the vanilla by 25% and increase the bourbon by 50%.  This is a recipe that I can see myself using again when I need a simple cake and because it is basically a blank slate, I can also see it being the base of a shortcake or part of a trifle.  And lastly, serving it plain with a simple dusting of sugar is good but I have a feeling it could also stand up to being slathered with buttercream frosting.

If you enjoy reading my Tuesdays with Dorie posts, be sure to visit the website and look for the “LYL” post to see how the other bakers made out with the recipe, and if you are feeling left out, JOIN US!!!  Pick up a copy of Baking Chez Moi or Baking with Julia and bake along with us as we work towards our goal of baking every recipe in the two books.

gingerbread buche de noel; a tuesdays with dorie post

IMG_2398

To keep it seasonal, the Tuesdays with Dorie bakers chose to make the Buche de Noel from Baking Chez Moi.  This traditional holiday cake roll is frequently decorated to look like a tree log complete with textured bark, leaves, pinecones and even mushrooms.  Thankfully, this rendition was much simpler and the only ode to the holiday was the gingerbread spices added to the cake.

Just as you might expect, the holidays came and went faster than anyone could believe was possible.  Why is that?  Why are we in such a rush to get it done, get it finished so quickly that we scarcely have time to enjoy it?  Whatever the reason, I propose that shift it into slow gear for next year, I would really like to enjoy the day a little more!  Regardless, I finally had a chance to get the Buche de Noel finished although, it was two days after Christmas; better late than never, right?


IMG_2395For those of us who work in or have worked in bakeries, we know that Yule log cakes are pretty common.  Usually, it is a yellow cake spread with a thin layer of chocolate filling and rolled up so that a slice resembles the rings in a tree log.  The recipe in Baking Chez Moi is unusual in that the filling is simply a mixture of cream cheese and butter sweetened only with a small amount of finely chopped pecan praline.  The differences continue with the use of a marshmallow frosting and a sprinkling of coarsely chopped praline pieces.   Somehow, the idea of spreading a mixture of cream cheese and butter into a delicate sponge cake seemed a little heavy to me and I knew I would be making changes.  My choice was to whip up a nice, fluffy batch of cream cheese frosting and I am glad i did;  we thought it was the perfect filling and frosting for my Buche de Noel.

However, before I could do anything, I needed to get the cake baked and that my friends, was just the beginning of my troubles!  To get things started, I decided to make the cake using my hand mixer because all of the parts of my stand mixer were in the dishwasher.  Can I just say that using a hand mixer is not an option when making a genoise.  No matter how much I whipped, with the beaters first and then the whip attachment, the eggs and brown sugar just never formed a ribbon which is essential for a genoise.  In my opinion, the use of brown sugar did not help since I feel it affected the ph balance of the mixture and prevented the eggs from reaching the proper ribbon stage.

My solution to the whole matter was to make the cake a second time but with a different method.  First of all, I used room temperature eggs and white sugar.  Heating the eggs and sugar and whipping them on high-speed is the common approach but my experience is that a better, stronger structure is formed from room temperature eggs whipped a little slower.  Brown sugar is tricky to use in this instance simply because every brand is different.  Have you ever held the different bags together and looked at the colors of them?   Even bags from the same manufacturer can be a different shade when compared side by side.  There just does not seem to be a true standard of color for light and dark brown sugar.  In my book, it makes brown sugar a bit of a wild card and not my first choice for a recipe as fickle as a genoise.  The fact that my first cake turned out to be a two toned sheet of rubber confirmed my suspicions and not only will I not use brown sugar but I will also not ever try this with a hand mixer either!!

IMG_2391

With a fluffy sheet of genoise cake subtly spiced with ginger, cinnamon, cardamom, cloves and black pepper, I set to work on rolling the sheet as per the directions.  Can somebody please tell me why this is done?  Over the years, I have made many rolls of cake without ever pre-rolling a single one.  I’m sorry but if you ask me, it is a bad move.  Just as I suspected, the cake cracked into pieces when I unrolled it to fill it.  This really annoyed me after the trouble I had with the cake itself.  In the future, I will store my layers in the fridge flat-out on a pan until I need them.  As it was, I carefully spread some of my cream cheese frosting over the cake taking care not to damage it any further.  To keep it in the spirit of the original recipe, I sprinkled the finely chopped praline over the frosting and rolled the cake back up.  Then to finish it off, I spread a generous layer of frosting over the entire log and topped it all of with the remaining praline pieces.


IMG_2388

We enjoyed thick slabs of the cake topped with sprinkles of praline while sitting by the fire, the room glowing from the lights of the tree.  Finally, we had the chance to enjoy Christmas, too bad it wasn’t until a few days later…

So, here’s to a happy and prosperous New Year!  Check out the Tuesdays with Dorie page to see how all of the other bakers made out with the recipe! 
IMG_2396