the rugelach that won over France; a tuesdays with dorie post

IMG_2207I have been baking rugelach for at least 25 years.  It all started when I worked in a bakery just north of Sausalito, California.  We did everything by hand there and the rugelach dough was rolled out into large circles, topped with butter, cinnamon sugar, chopped walnuts and currants.  Each round was cut into 12 wedges and then rolled up into crescents.  We made them by the hundreds and after the first taste, I was hooked.

Over the years, I have made rugelach to sell in my bakery and to give as gifts during the holidays.  While the purpose of making them has changed from time to time, one thing hasn’t, the filling; I always made them with the same combination of ingredients that I first learned years ago.  Whenever I would see them for sale with jam fillings, I was always so excited by the choices but in reality, disappointed by the results.  I’ve always thought that cinnamon sugar, walnuts (or pecans) and currants make the perfect filling but this week’s recipe for the Tuesdays with Dorie bakers put that filling combination to the test.

Upon reading the ingredient list for the filling, I was completely skeptical, a little worried actually; my mother was visiting and she would be tasting them too.  While sharing rugelach with your mom sounds harmless, keep in mind that rugelach is one of her favorite things and she likes them the way I make them; no filling upgrades needed or wanted.  How could I possibly dump chocolate, coconut and cherries into her idea of perfection?  So I compromised.  After mixing up a double batch of dough so I could send mom home with a plate of goodies, I rolled out the first portion with cinnamon sugar, pecans and currants.  For the second portion, I combined cinnamon sugar, coconut and chocolate chips.

The directions call for rolling out a very thin sheet of dough that is 12″x6″ and then topped and shaped into a foot long spiral that is about an inch or so thick as well as tall.  If you cut them as instructed, you get a lot of single bite pastries making this a great treat to give as gifts or share at a cookie swap.  But for rugelach connoisseurs like us, bite sized wasn’t going to cut it.

IMG_2152

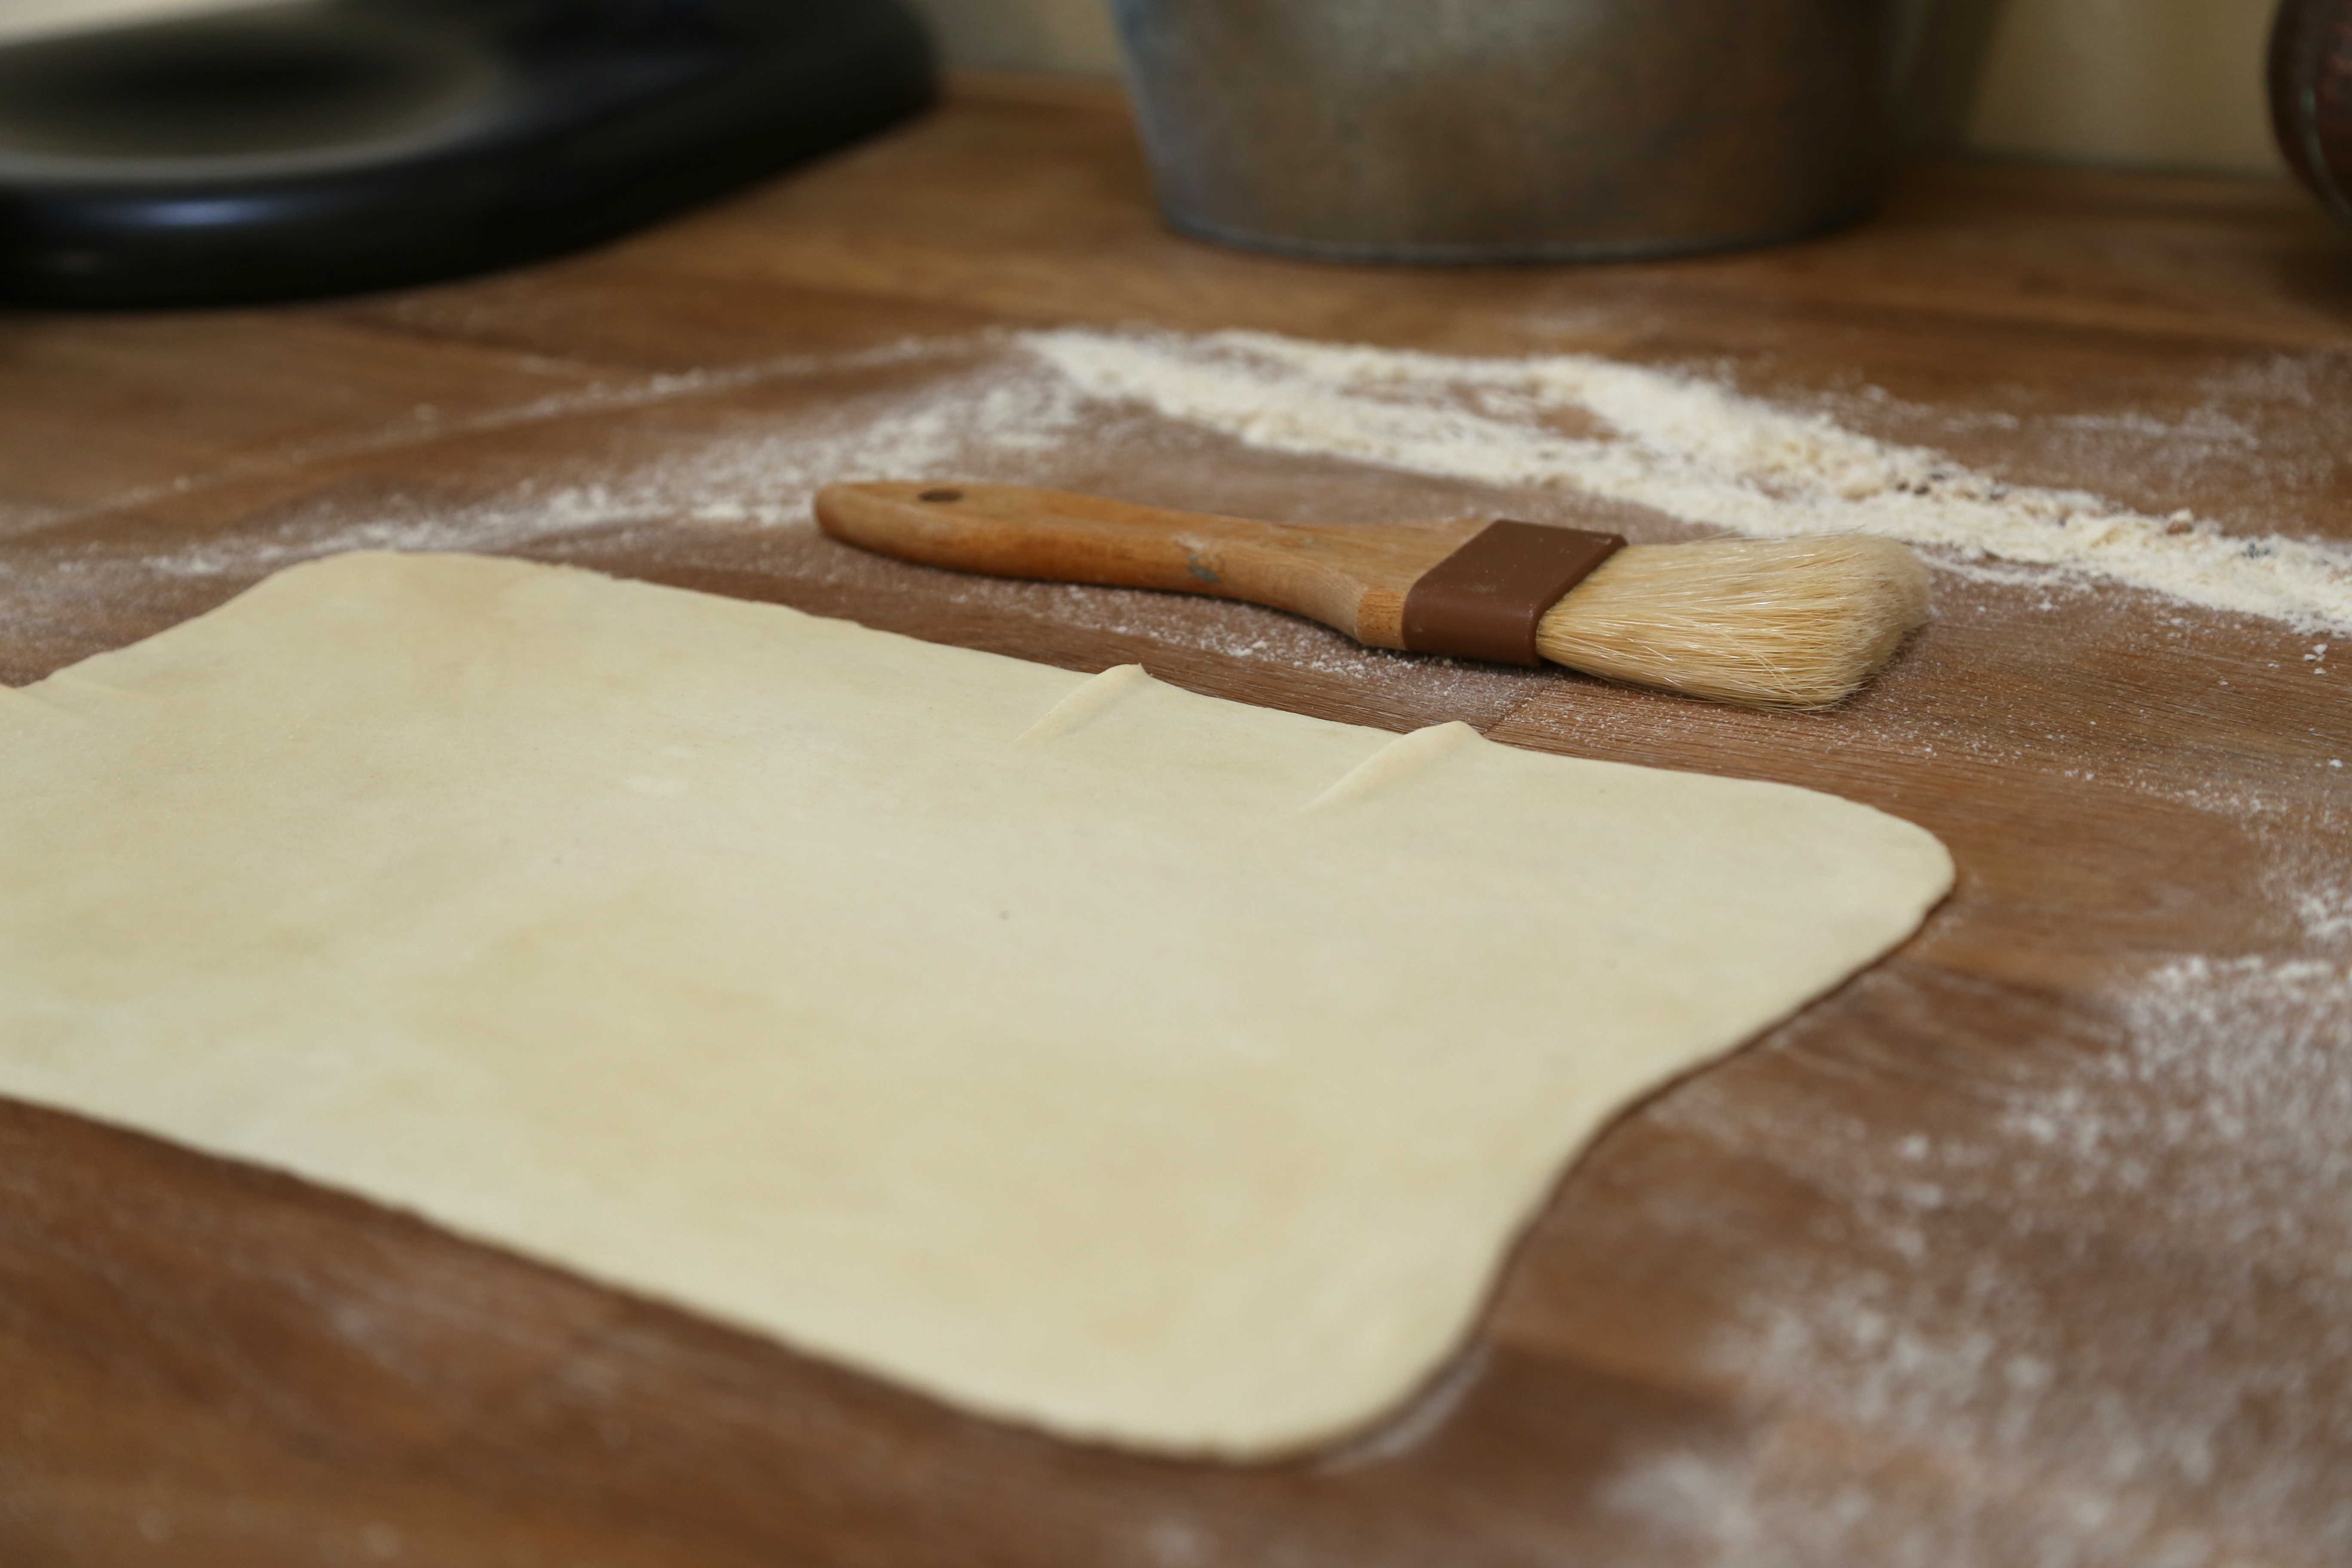
The secret to perfect rugelach, use lots of flour to roll it out but brush it off both sides or it will make them taste doughy.

IMG_2146

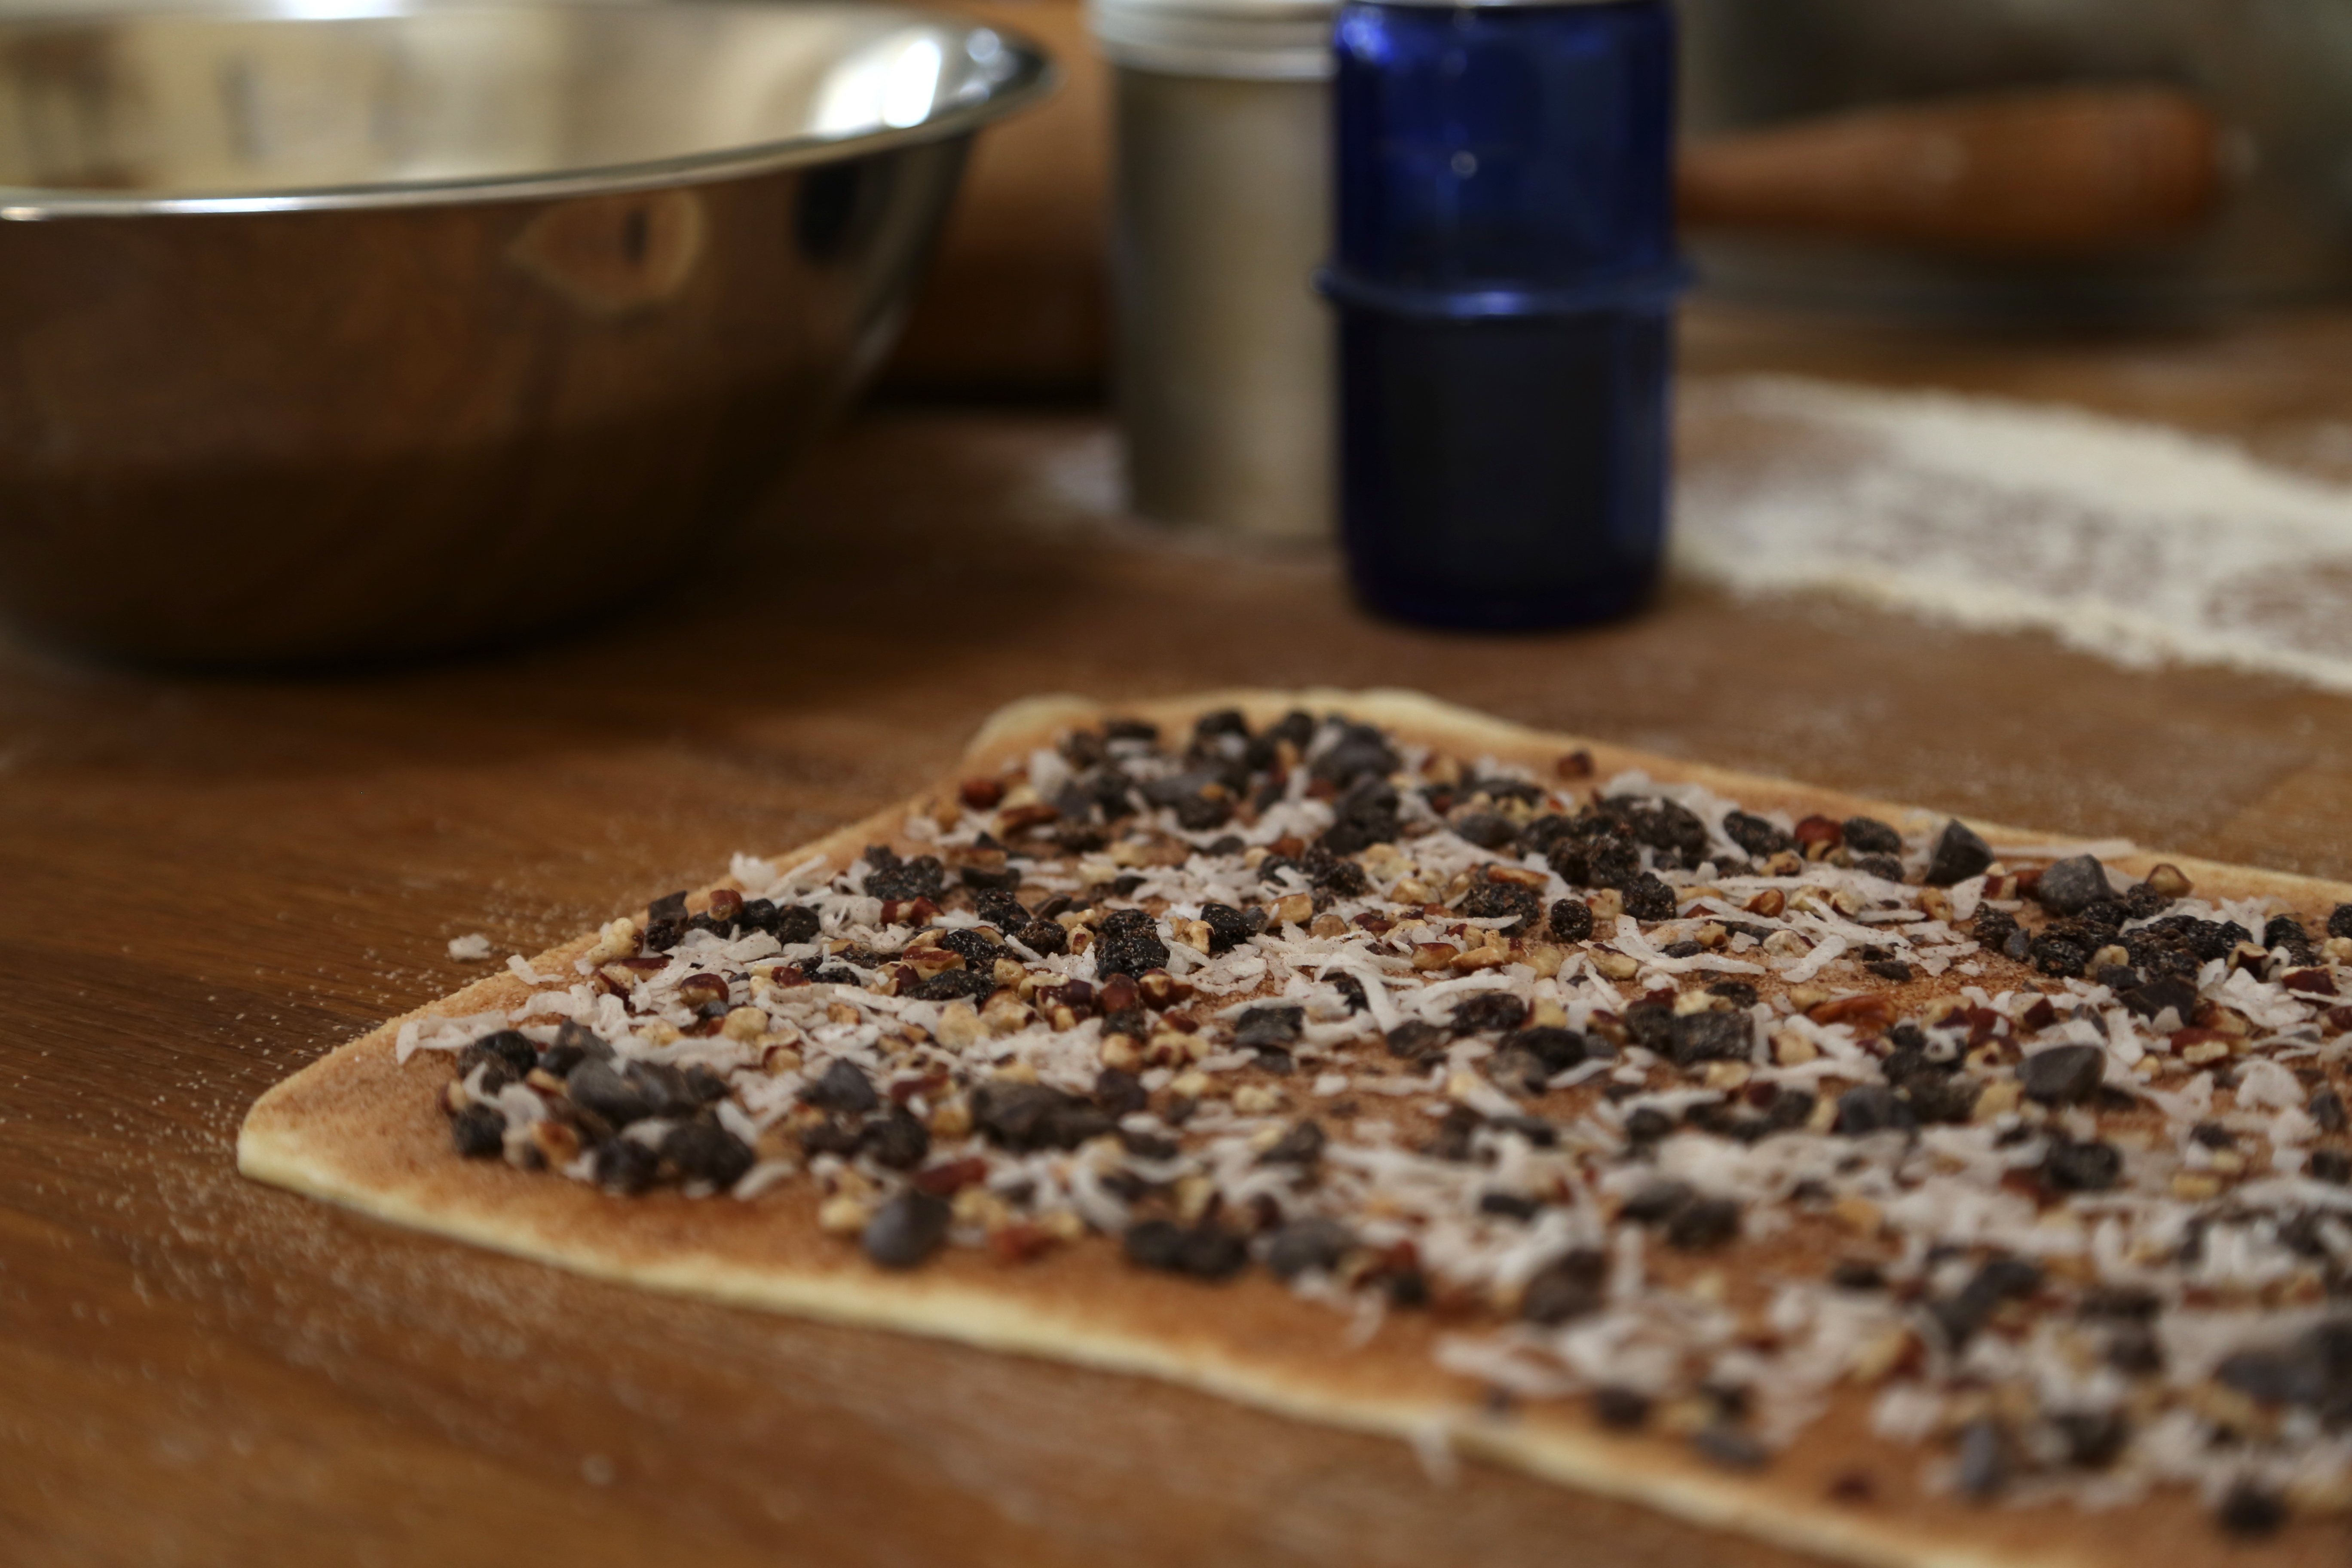
As I mentioned, I compromised, I added currants rather than cherries but kept the coconut, pecans and chocolate and spread them over a liberal dusting of cinnamon sugar.

IMG_2155

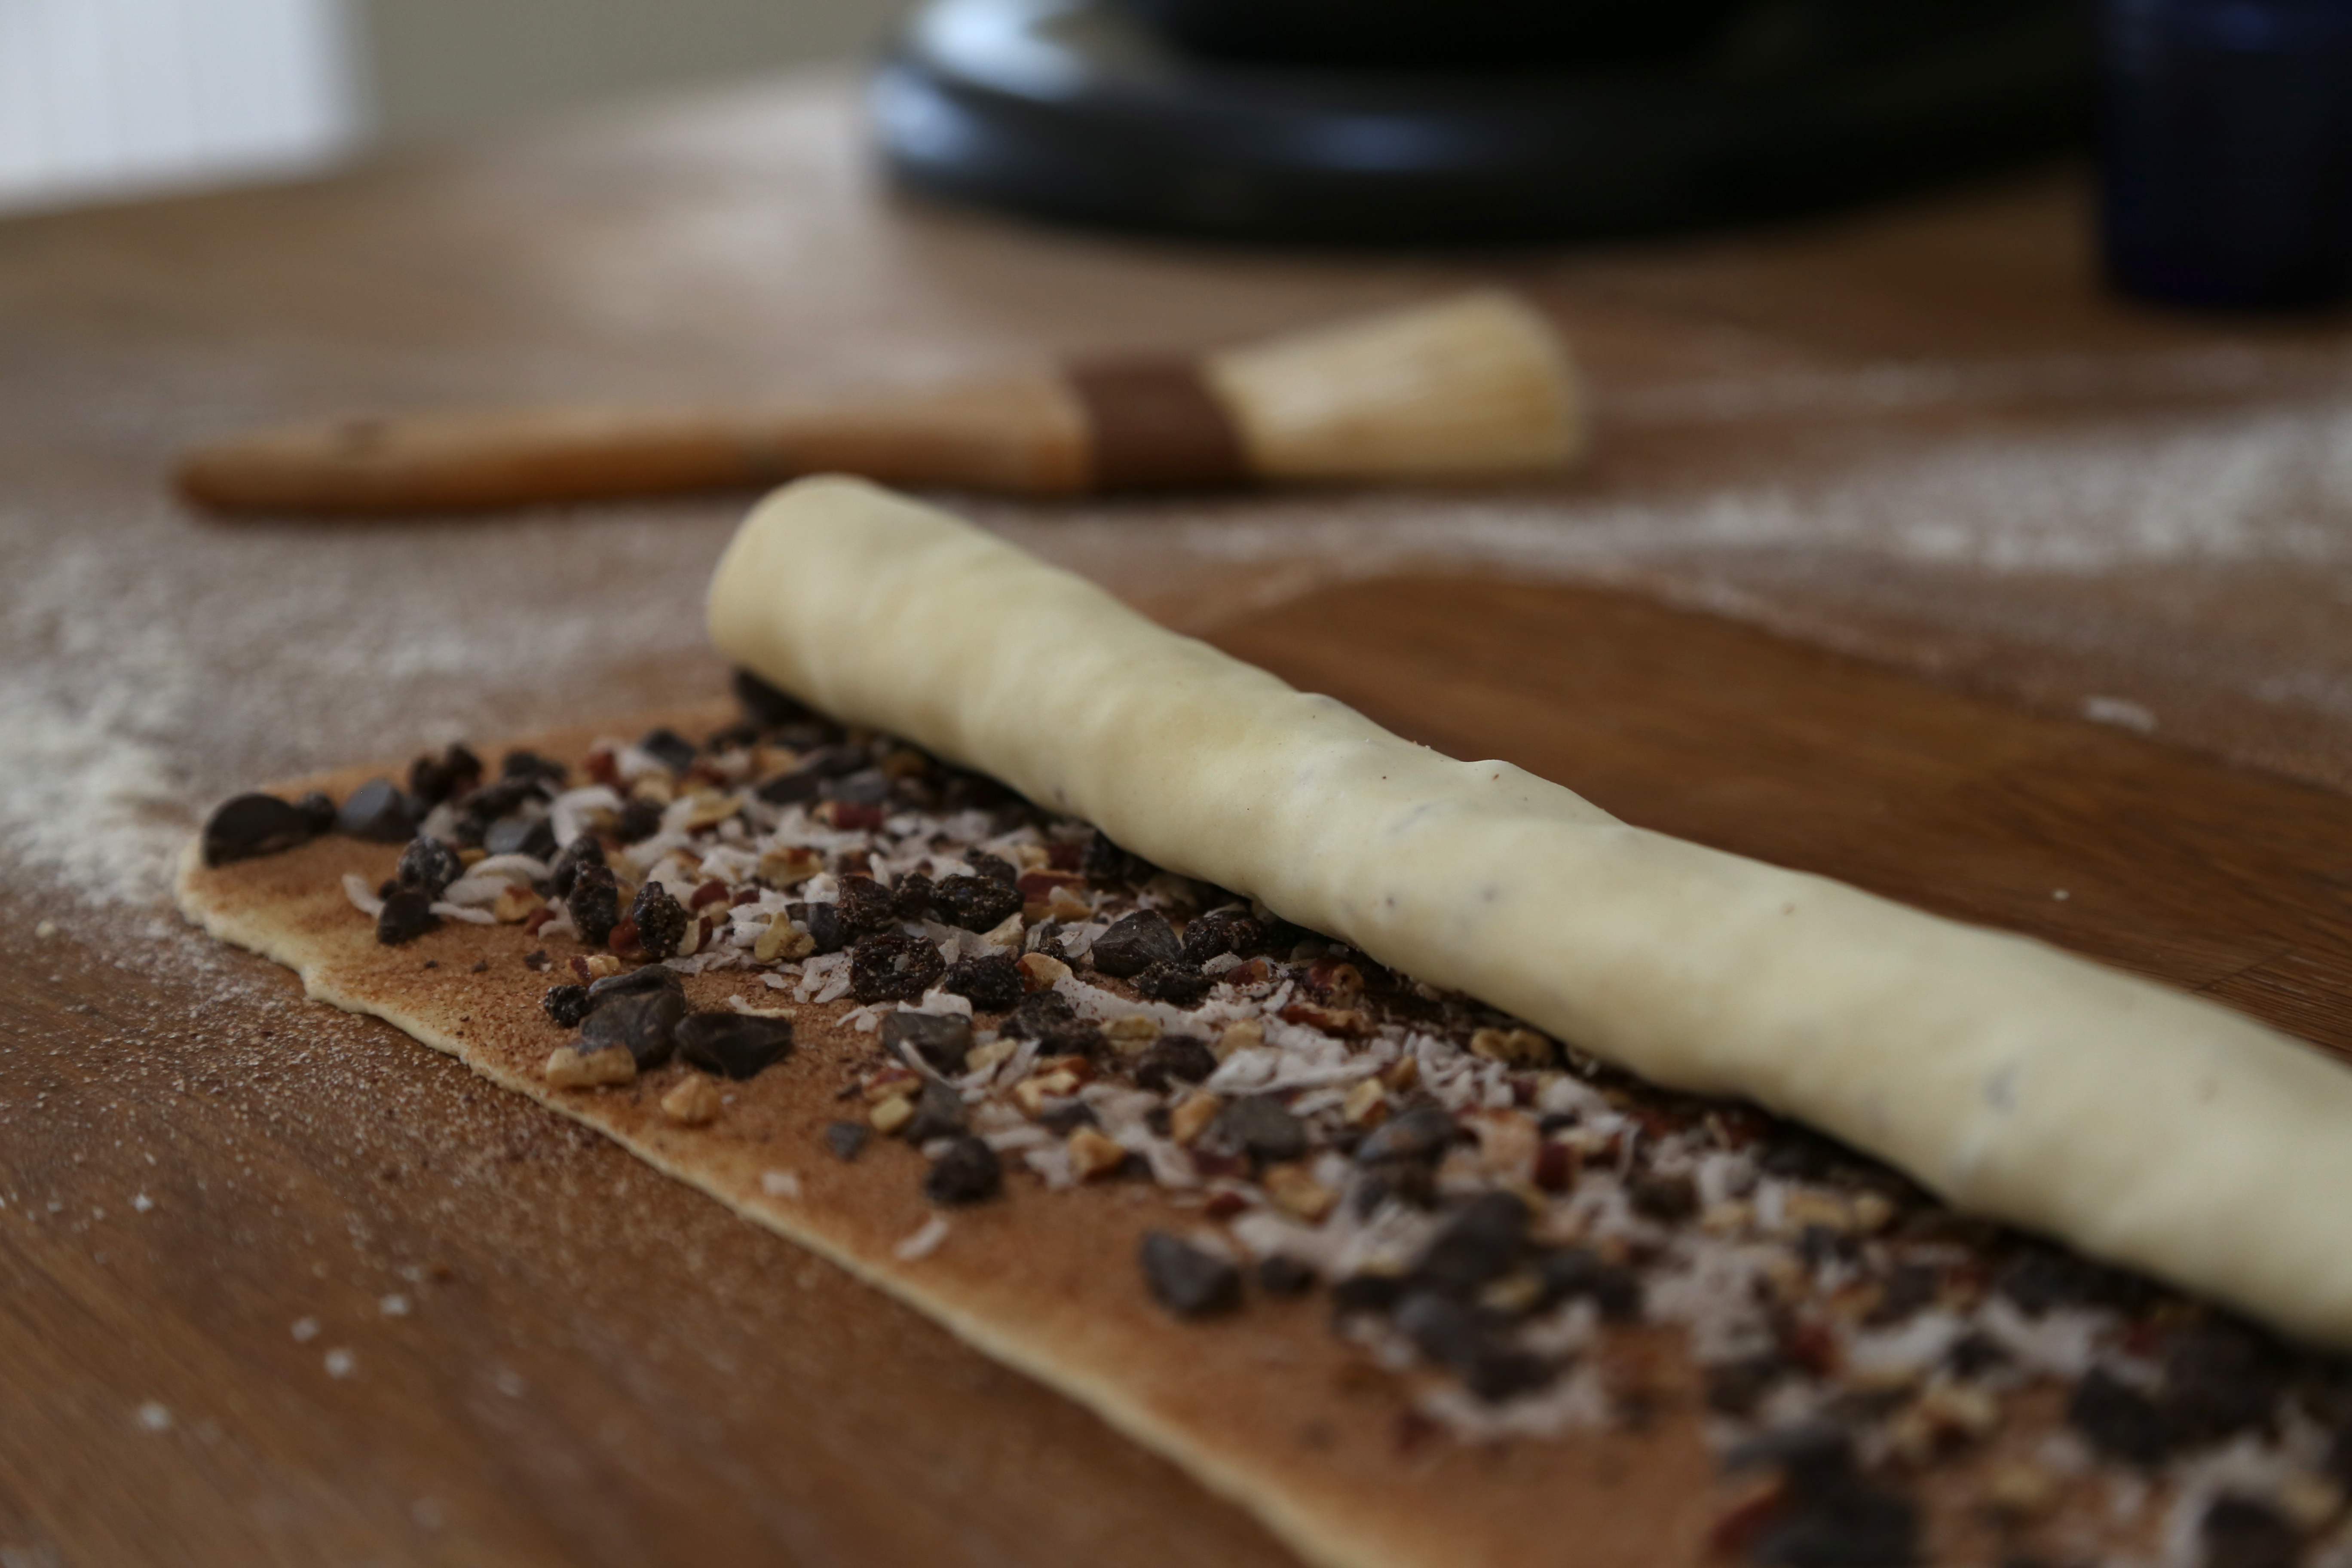
In my opinion, the more pronounced the spiral, the better the flavors blend.  To achieve this, I rolled out the rectangle of dough a little wider so that mine was about 12″x 8″ and only about 1/8″ thick.  Despite this fact, the dough was still cool enough to work with and it rolled up easily.

IMG_2151

One step I completely eliminated was to freeze the rolled and filled dough.  Honestly, that sounded like a disaster waiting to happen.  With my spiral still on the table, I quickly cut it into thick slices, on the bias.  This change affected the yield greatly; my batch of dough only made about 18 thick slices.

IMG_2165

One other change I made, no egg wash.  The leftover melted butter wasn’t going to be wasted on my watch and I brushed it over each roll along with a dusting of cinnamon sugar before they went into the oven.

IMG_2169

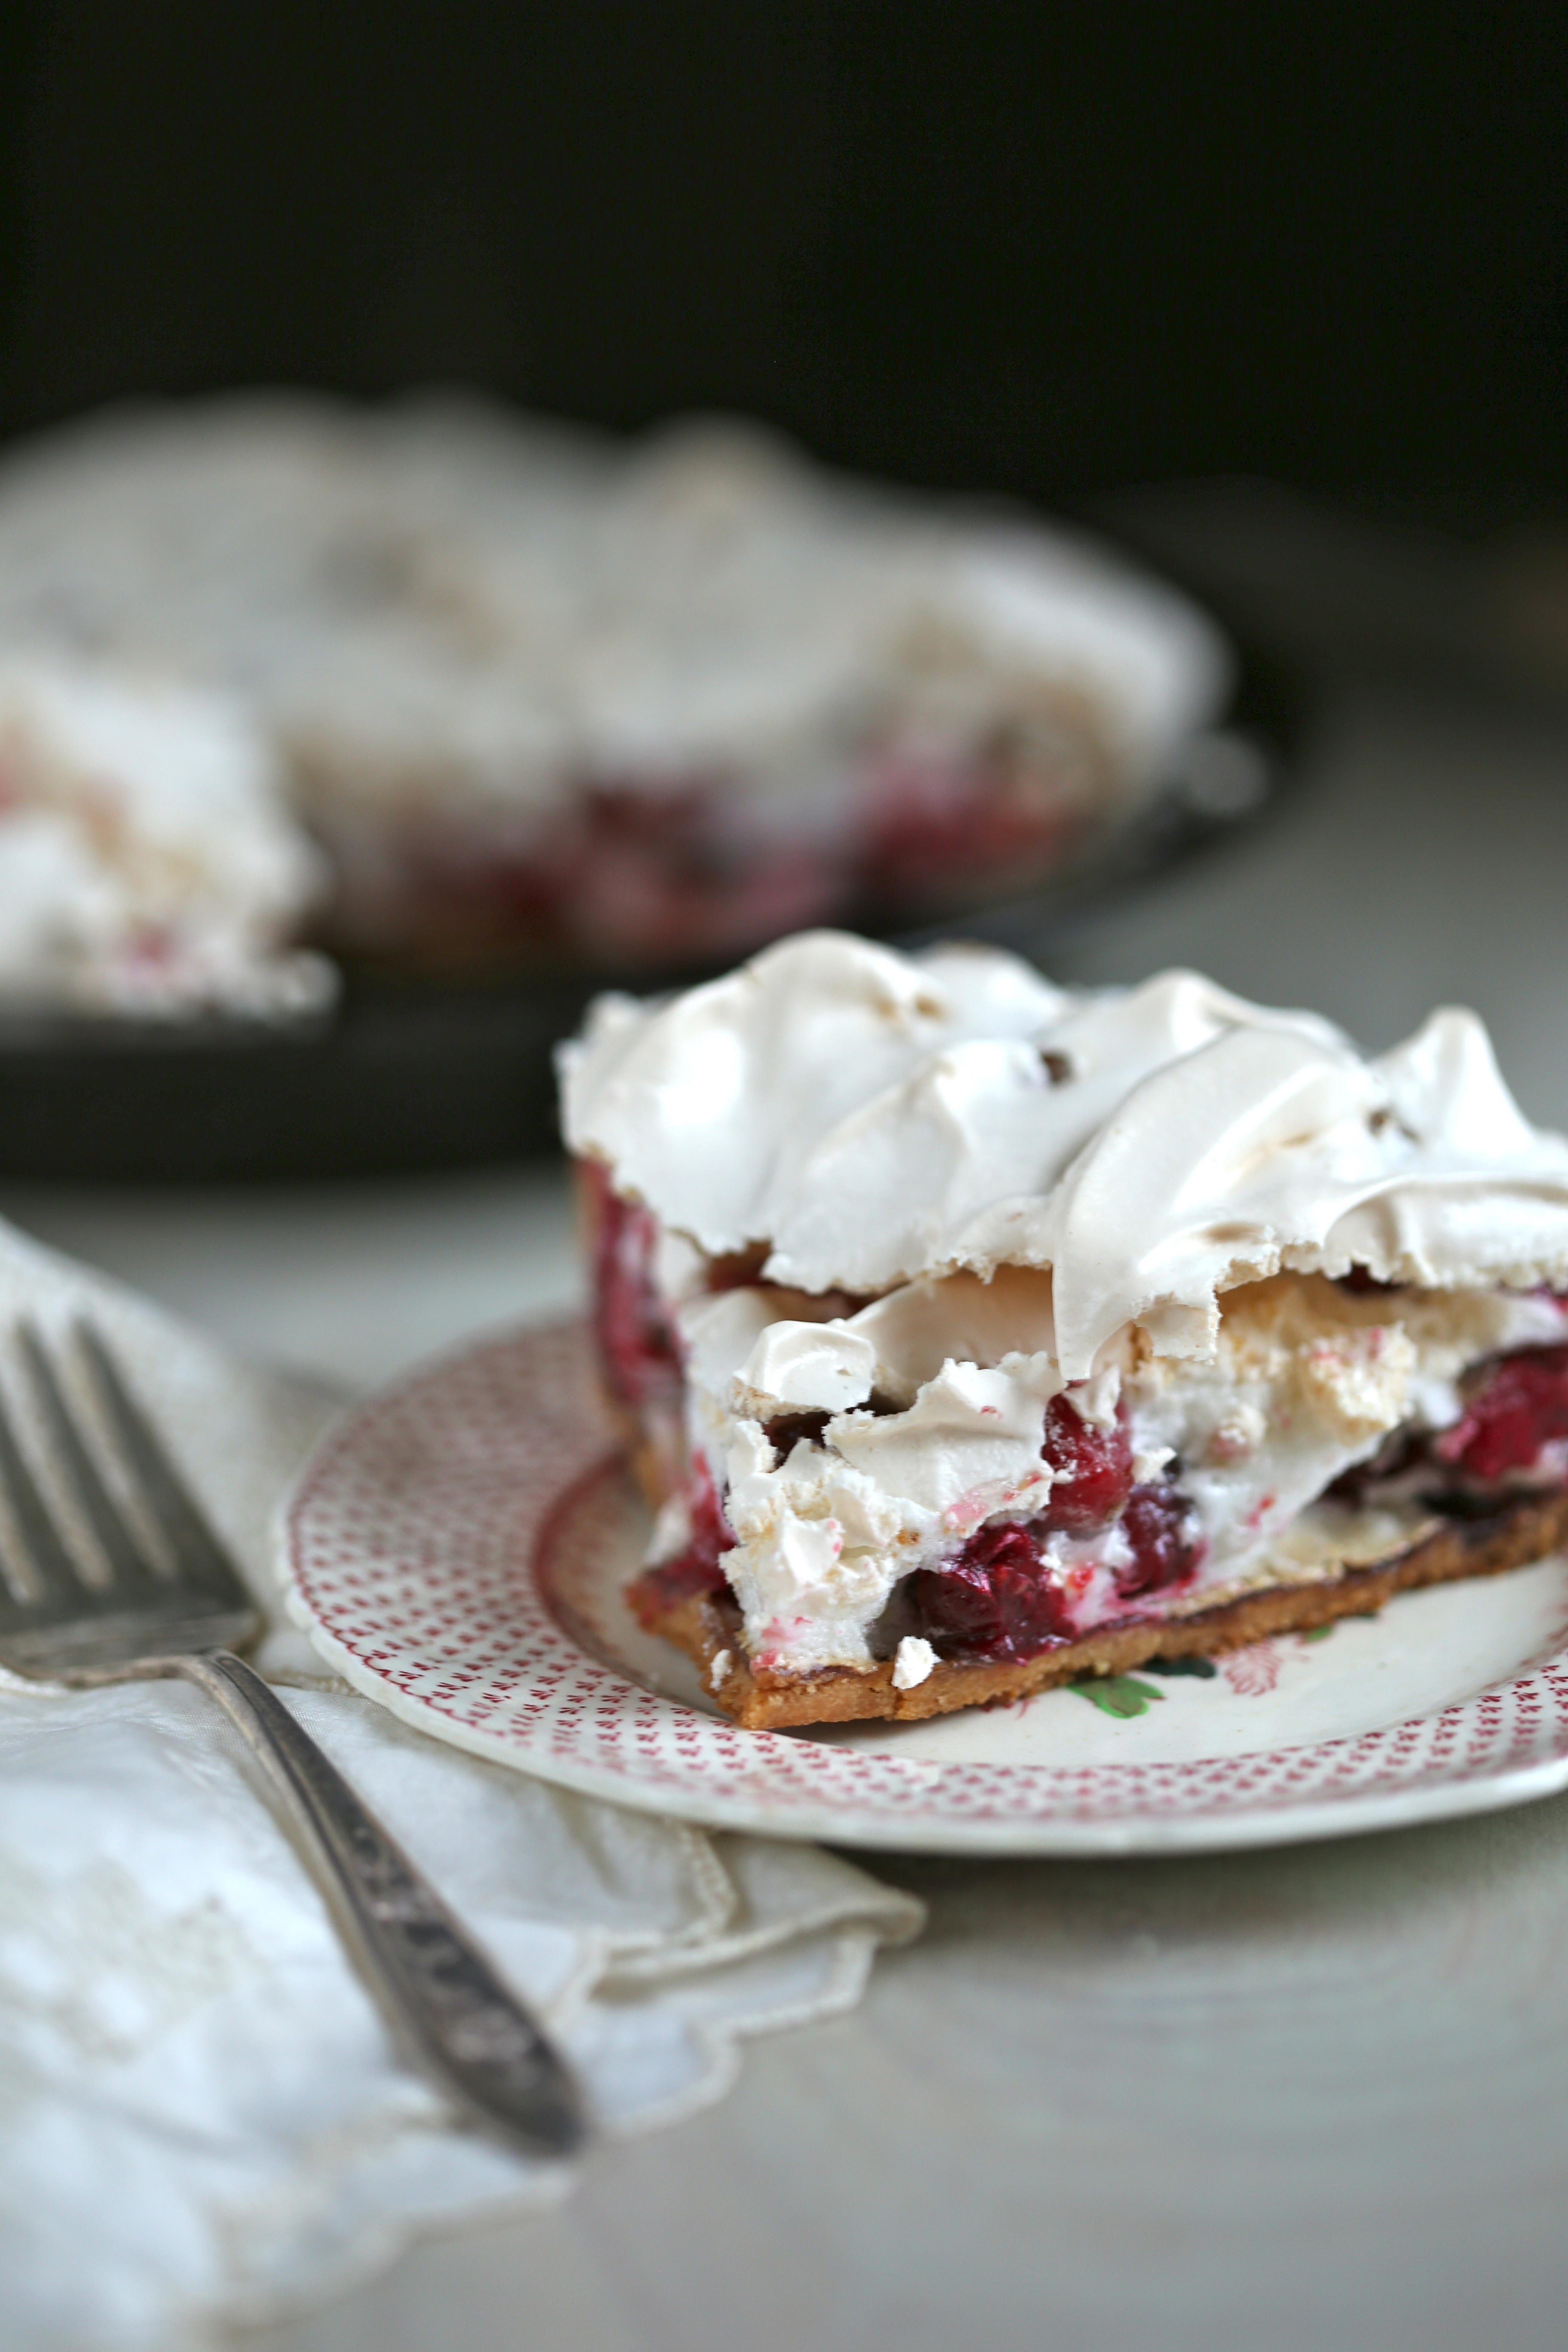
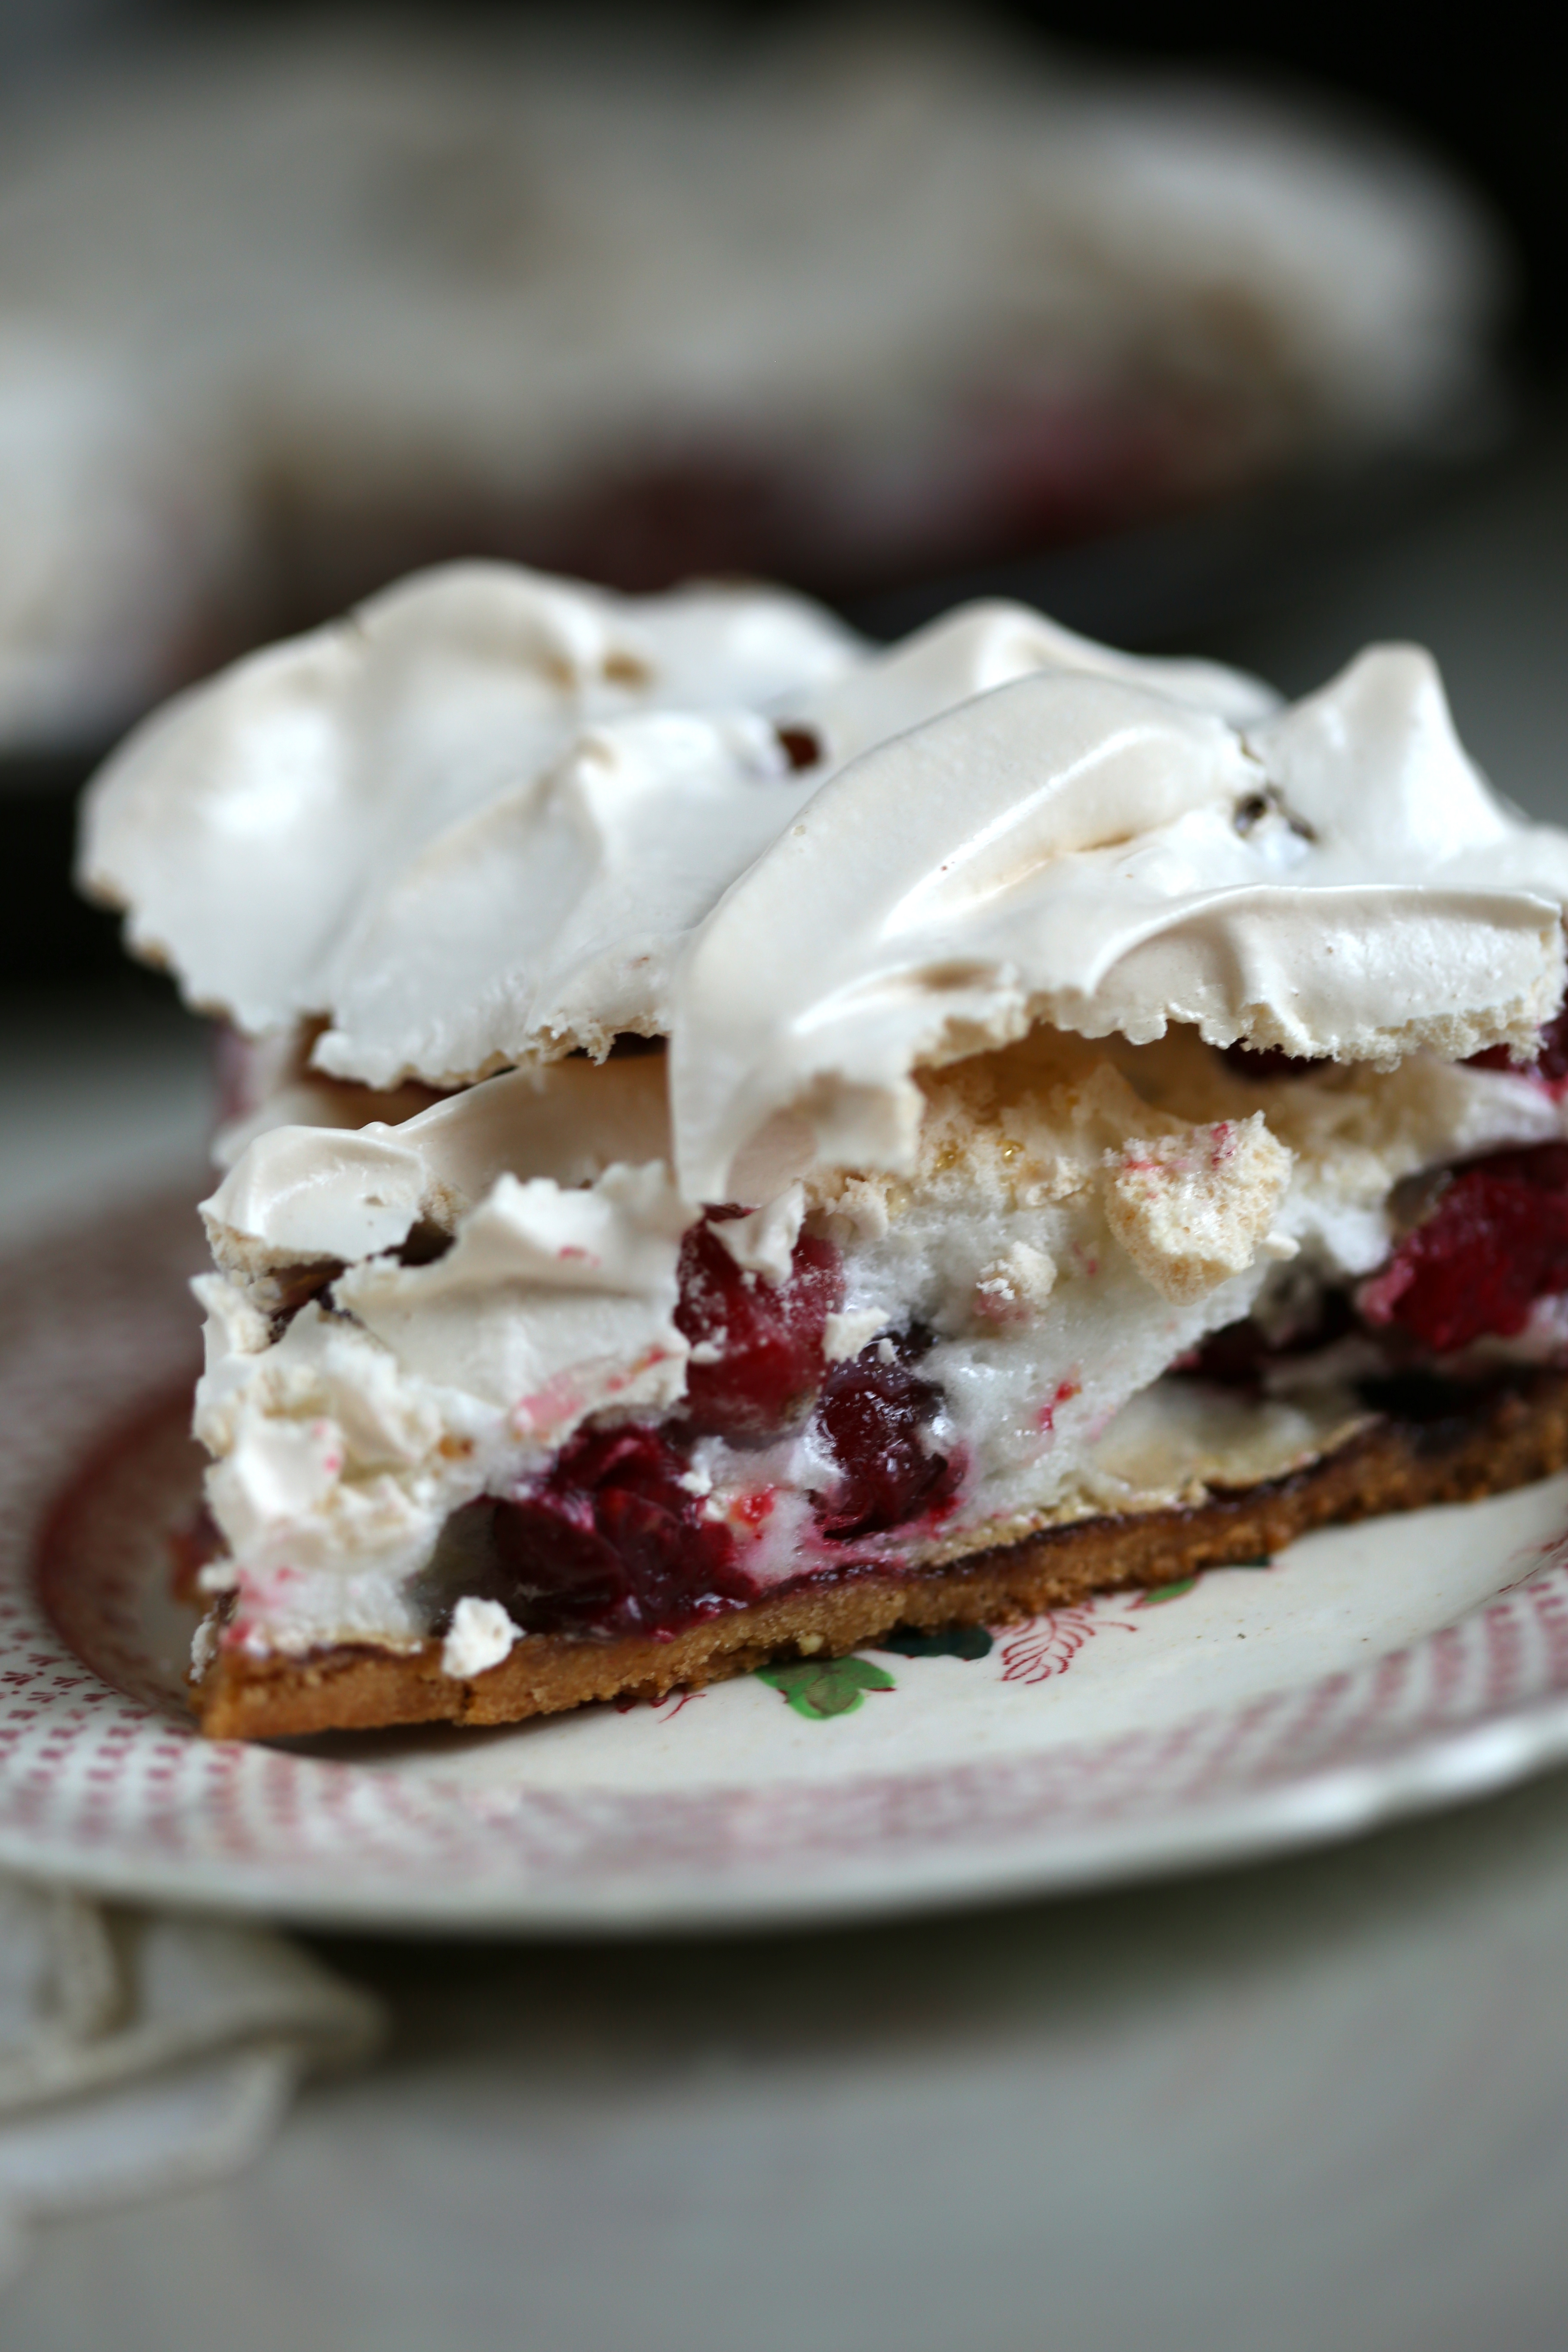
Once again, the recipe called for baking the rolls at 400F and that worried me.  When I prepared the last Baking Chez Moi recipe, Cranberry Crackle Tart, the instructions to bake at 400F turned out badly for me.  Perhaps the oven in our new home is a little hot, or maybe Dorie’s oven is a little cool, either way, I wasn’t taking any chances and I baked them at 375F.  Oddly enough, at this temperature, they baked in the time called for in the recipe.  Looks like I will be paying close attention to the oven temperature in the recipes from now on!

IMG_2199
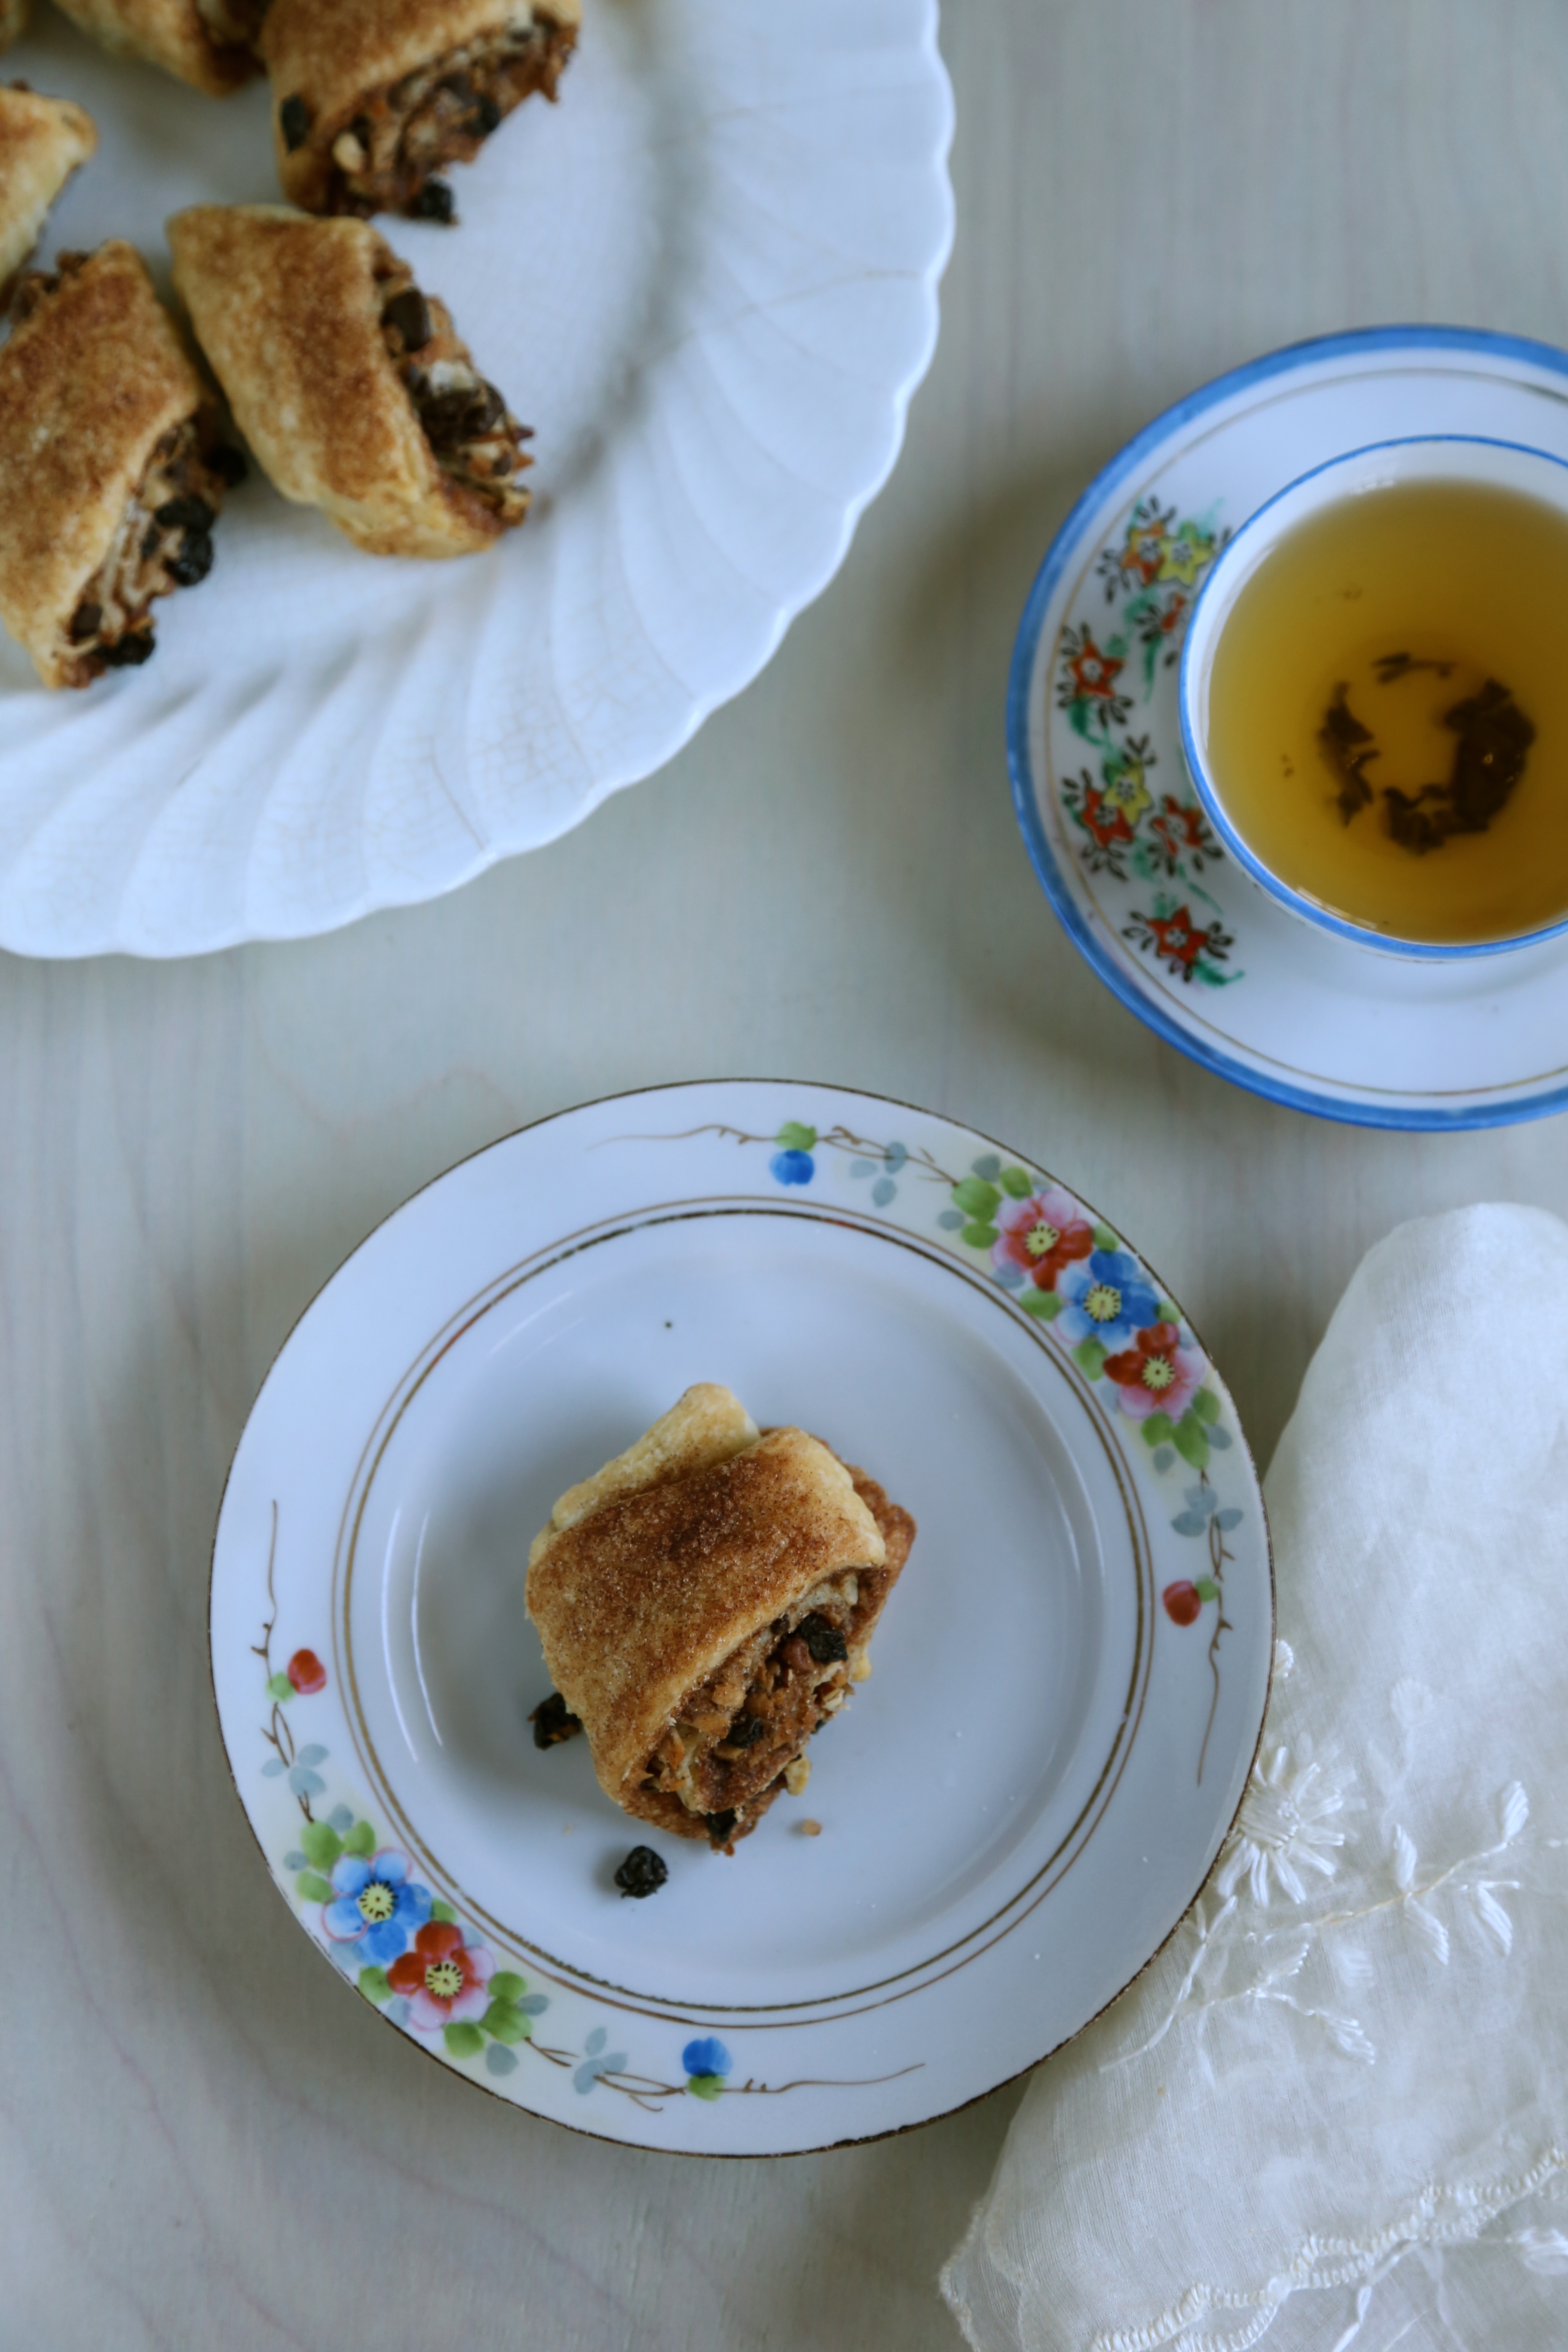
And as Dorie suggests, the perfect companion to a cup of tea on a dreary winter day.

To see what the other bakers came up with, be sure to visit the Tuesdays with Dorie website and if you like, buy one of the two books we are baking from and bake along with us!

mixed starter bread; a tuesdays with dorie post

IMG_2112This is the Tuesdays with Dorie/Baking with Julia tale of two breads; the train wreck version and the fingers crossed I hope it works version.

Bread baking has always been one aspect of my career that I completely lack confidence in.  There are so many variables and so many ways for it to go wrong and yes, baking in general is often a disaster waiting to happen, but bread is where I have had so many more failures.  As you know, baking is science oriented and when you add a living creature, yeast specifically, there are just so many more rules that must be followed.  In my world, a baguette has always fallen into the buy it not bake it category because I have never achieved good results when baking one at home.

So it was with the greatest of expectations and hopes that I set off to bake this bread.  When I read the instructions, I saw that I could actually make four different shapes if I followed the recipe, and I was determined to make at least three of the shapes.  But, as the Steinbeck wrote, “even the best laid schemes of mice and men, often go awry.”

First mistake; no bread dough to make the starter with.  Not a problem, I subbed a small amount (1/4 cup) of my homemade starter.  While this sounds good in theory, it made the starter very wet and it set the stage for more problems as I followed the recipe.  In the final rise stage, my dough was simply too soft and probably could have used another half cup of flour to make up for the added moisture in the starter I used.  However, the mistakes are not all mine.  Did anyone else notice the rather large discrepancy between the photo tutorial on page 116 and the directions in the recipe on page 117?

Give me a moment to vent and then I shall stumble down off my soapbox.  First let me state that I admire Dorie greatly.  She has helped put women bakers up in front of the crowd and to show the world that yes, women can be pastry chefs too.  She has in a lot of ways done for baking what women like Alice Waters and Julia Child did for cooking as far as convincing the world that women can do this and do it just as well if not better than men.  But editing is editing and as a published cookbook author, I can say that if the words under the photo do not match the words in the recipe, we’ve got a problem.  While this may have been fixed in later editions, my $3 flea market find is actually a first edition and I had a major mishap as a result.

My complaint is simple, step 3 of the photo tutorial instructs you to fold the dough down again (the folding process starts in step 2) and to seal the seam…it then goes on to tell you to repeat this process once or twice to form a short log shape with a tight skin.  That right there is it, one of the largest factors that my bread dough simply spread out rather than rise up and why it was not possible to get it off the floured towel without deflating it.  If you read the recipe, it only tells you to complete the folding and rolling once.  The tight skin is crucial not only to the success of a crispy, flaky skin but to the shape and the height of the loaf as well.

After having nurtured this dough along for 2 days, arranging our day around the baking schedule and then having such a flop that I had to go out and buy bread for dinner, I was truly annoyed with myself for not succeeding.  As I dumped half of the batch in the trash, I made the decision to save a piece of the dough and start again.  Then, while standing there in my kitchen peeling the rest of the dough off of a floured towel, I could not bring myself to tossing it in the trash.  Stubborn determination had me grabbing my basket and shaping the remaining dough.  The dough was soft and a little sticky at first but as I worked at shaping it into a smooth ball, I saw a change in the texture, it was no longer soft and shapeless and it was now tight and structured.  It rose beautifully in the basket and when it had doubled, I dumped it out on to the baking peel, slashed the top, slid it onto the heated stone in the oven and poured the water into the pan in the bottom of the oven.  Voila!  Picture perfect bread, and a lesson learned!

IMG_2125

The crust was thin and crispy, just like a good baguette and despite the many missteps and the extra rise time, it has absolutely no sour taste.

IMG_2141Just look at the interior of the loaf, all of the open bubbles you would expect after reading the recipe, but not the photo tutorial as it does not advise you to retain the open structure and air bubbles by handling it gently and not to deflate or mash it.  In the end, I am better prepared to make a baguette and my second batch is nearing the final rise.  Stay tuned fellow bakers, I will post additional photos when I get a decent loaf!

To see what the other Tuesdays with Dorie bakers came up with, visit the website.

cranberry crackle tart; a tuesdays with dorie post

IMG_2028

Cranberries are a vital part of the holiday season for many Americans.  In my family, we cook them up into a sweet sauce flavored with oranges, vanilla bean and spices and the kids eat them by the bowl full.  It is one tradition that I really will miss this holiday season.  We relocated from Nashville to Williamsburg and our family group that gathered together each Thanksgiving and Christmas is now separated by nearly 700 miles.  Even so, I couldn’t resist buying a bag or two, or four of cranberries and had to find a tasty way to use so many fresh cranberries.  Thankfully, this recipe used more than half of a bag, and now I only have 3 and a half more bags in the fridge…

The recipe gives you some good options and I decided to test some of them out.  With two different dough recipes to choose from,  I decided to mix up a batch of the sweet tart dough and as I mixed it, I chose to follow the recipe suggested in the “Bonne Idee” sidebar; it gave the option of using a small portion nut flour in place of the all purpose flour called for in the recipe.  It was quick to mix up in the food processor but I really think the amount of dough it produces was about double what was needed to make the pie shell.  As a result, I formed a patty with the leftover dough and tucked it away in the freezer.

As a person who literally has rolled out hundreds of pie shells by hand, this dough was very pleasant to work with and I did not have any sticking or crumbling or tearing.  It was so easy to work with that I had the crust rolled and in the pan in a matter of minutes.  Where I had issues, the baking time.  When I read the instructions and saw 20 minutes at 400, I was skeptical, it seemed like a long time for such a high temp.  In hindsight, I wish I had listened to my inner voice.  My crust came out of the oven a little black around the edges.  Luckily, I had not trimmed it down by one-third as the recipe called for and had enough to trim away the burnt edges and still have a side crust.

The filling of a marshmallowy meringue was such a small amount that I had trouble mixing it in my 6qt kitchen aid bowl; it just wasn’t enough volume for the beater to really come in contact with it at first.  After a really long time, it finally came together.  Since I did not want to buy any jam-I have two dozen jars of homemade blackberry jelly in my pantry, I just used some of my own from the open jar in the fridge.

As the tart baked in the oven, it puffed and cracked and finally, it was a nice, light golden shade and had a few deep cracks across the top. Carefully, I removed the pan from the oven, closed the door and set it down to cool.  A quick glance at the clock, 11:12pm; we wouldn’t be tasting this pie tonight.  Off to bed, to sleep and to dream of crunchy, crackly meringue and tart pockets of ruby red berries…

IMG_2029