twd: hungarian shortbread with rose hip jam

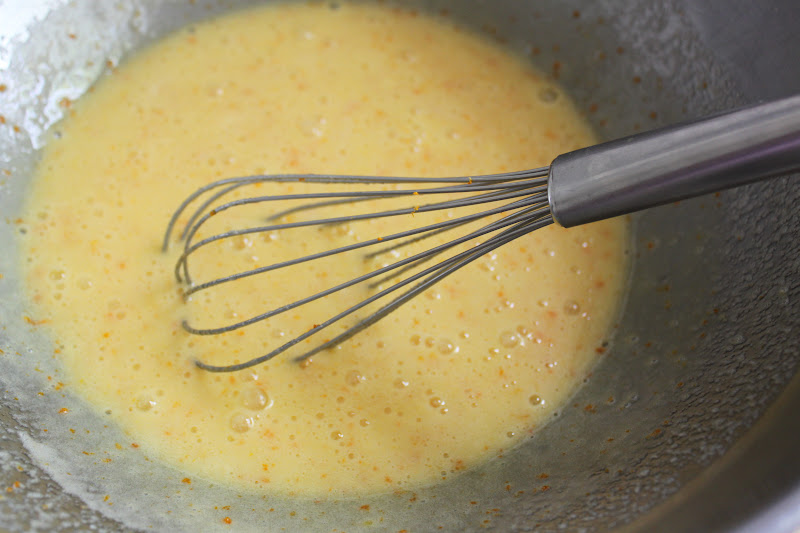
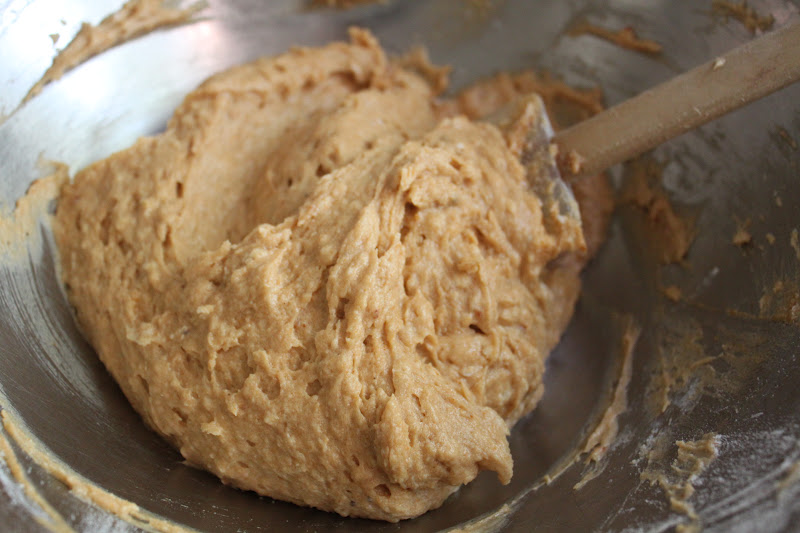
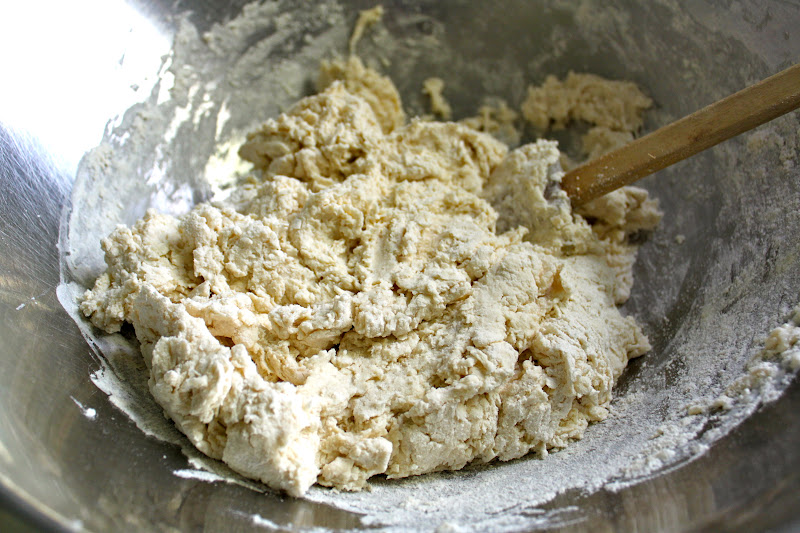
 and with the blink of an eye, it is tuesday with dorie time again.  this weeks adventure, hungarian shortbread, is hosted by lynette of 1 small kitchen and cher of the not so exciting adventures of a dabbler.  shortbread, seems easy enough, right.  not according to the recipe.  the headnote warns us that shortbread can be tough to work with and that luckily for us, this easy recipe will save us.  well, i have made many batches of shortbread and while it can be tricky in a warm kitchen, i would not say it is tough to work with.  this recipe is unusual in that the dough is frozen and then grated into the pan.  hard to believe, but true.

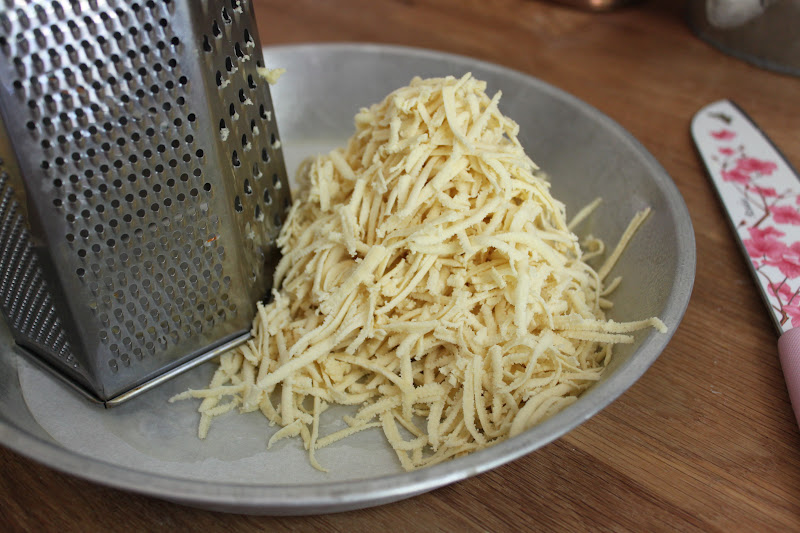
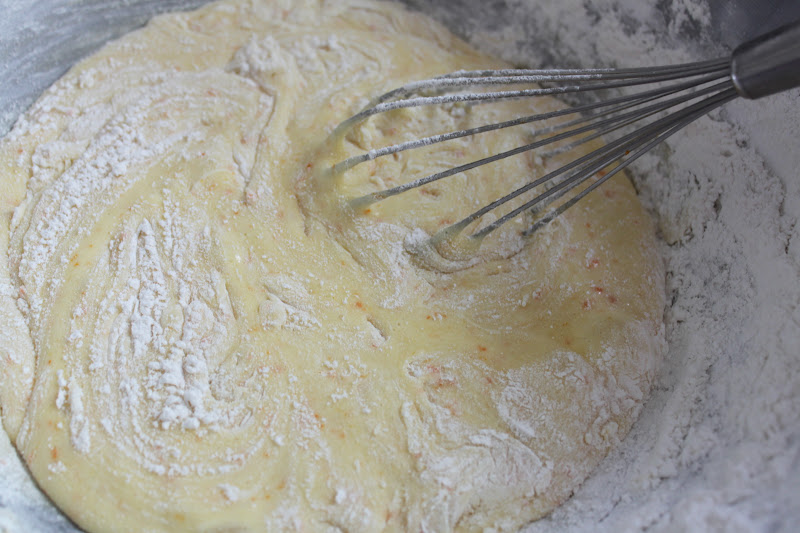
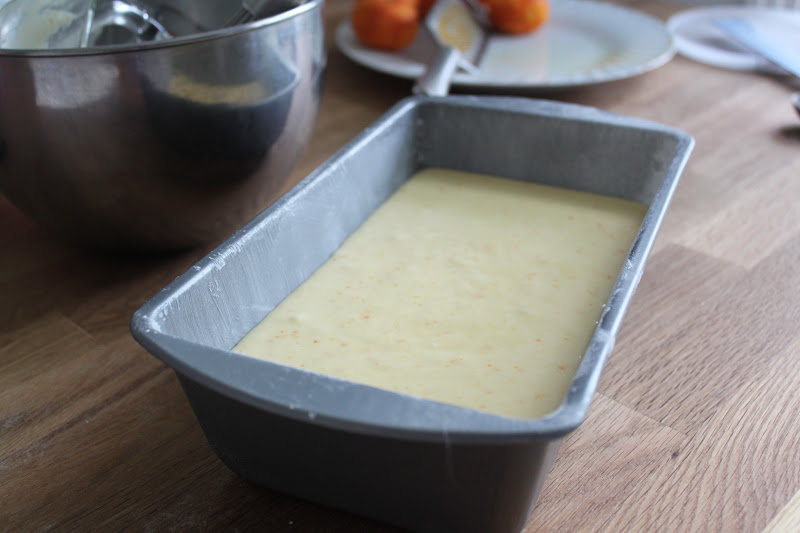
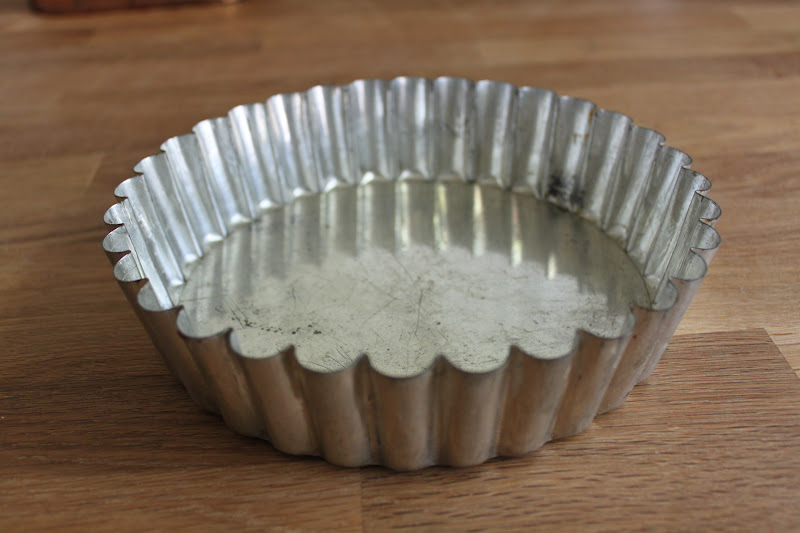
i made my dough the night before and froze it.  then i cut it in half and grated half into my baking pan.  since there is just the two of us, i opted to just make a half batch and i baked it in a pie plate.

 looks like grated cheese-nachos anyone???

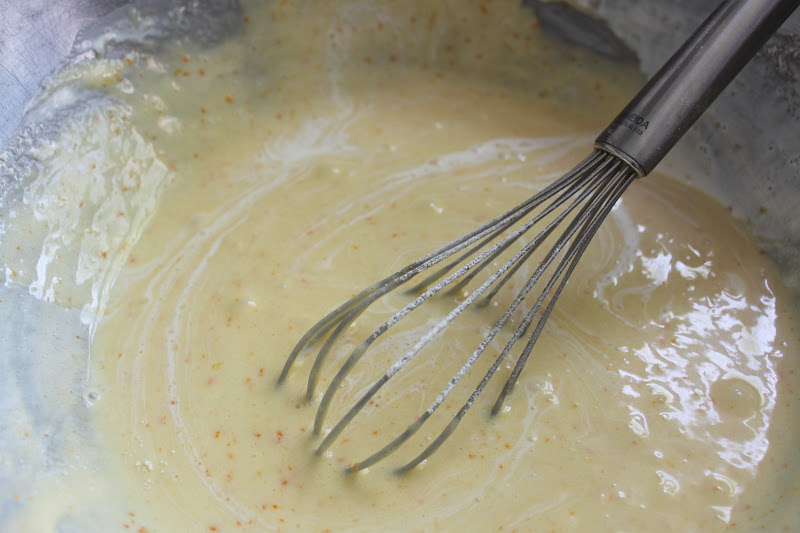
 i sneaked a peak at the chatter page and the consensus seemed to be that baking the bottom crust was necessary.  i trooped on in full force and pre baked the bottom.


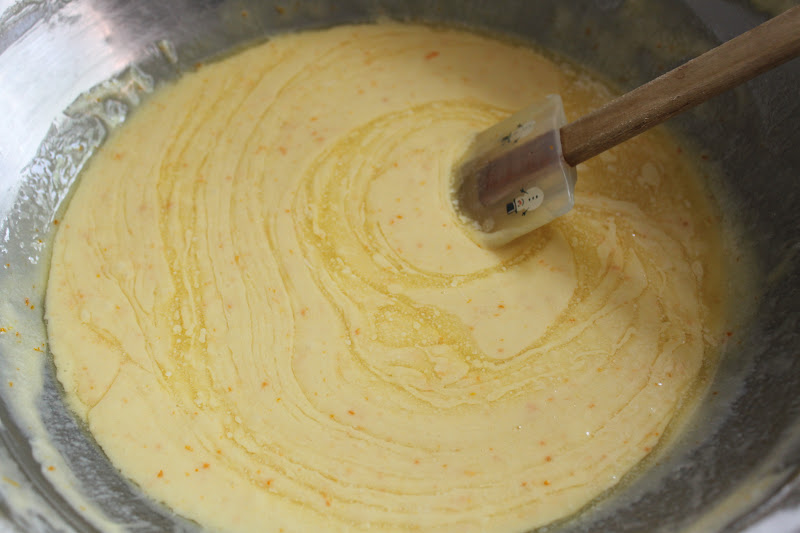
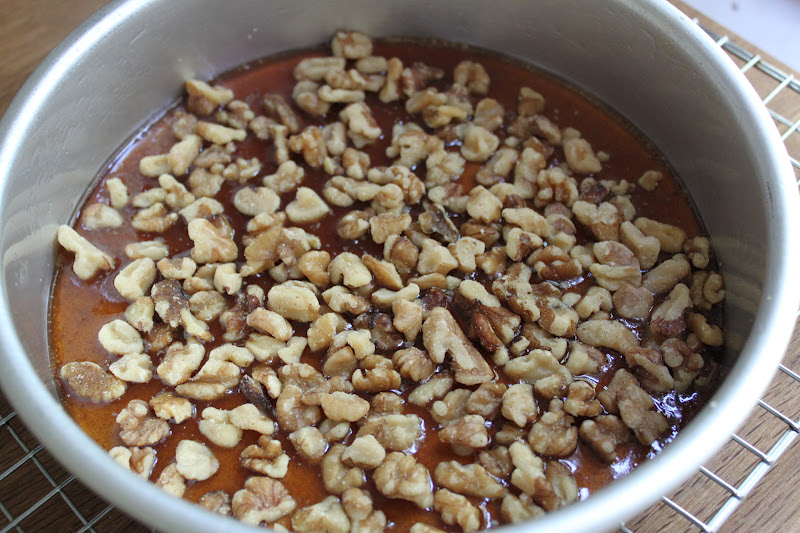
 the recipe called for making a rhubarb jam or using something store bought-i opted for store bought and used a jar of rose hip jam that has been in the fridge for a while.

next up, the rest of the dough is grated over the jam

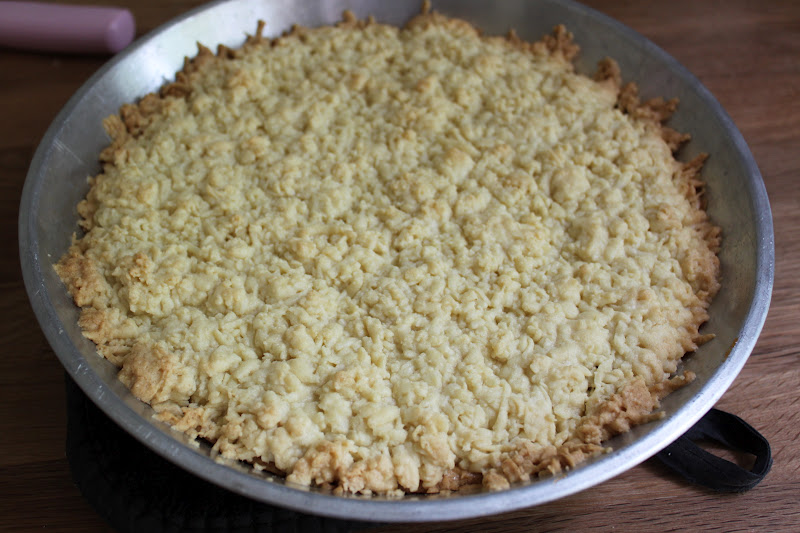
into the oven it went.  over all, the bottom needs to be pre baked and the top takes a while to get nice and golden brown.

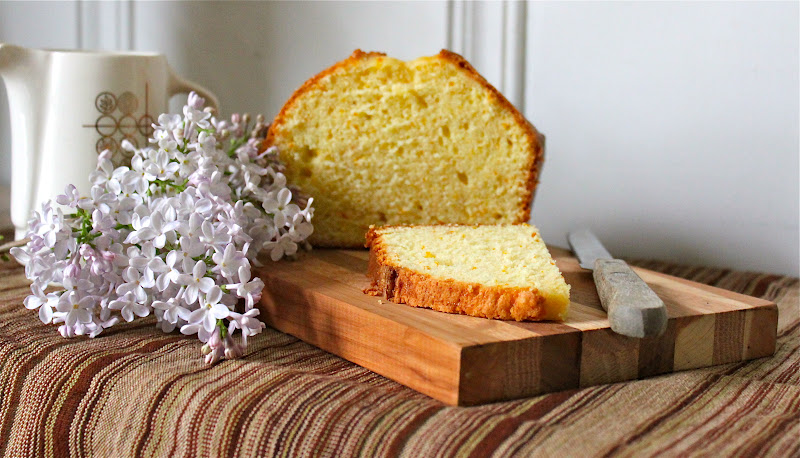
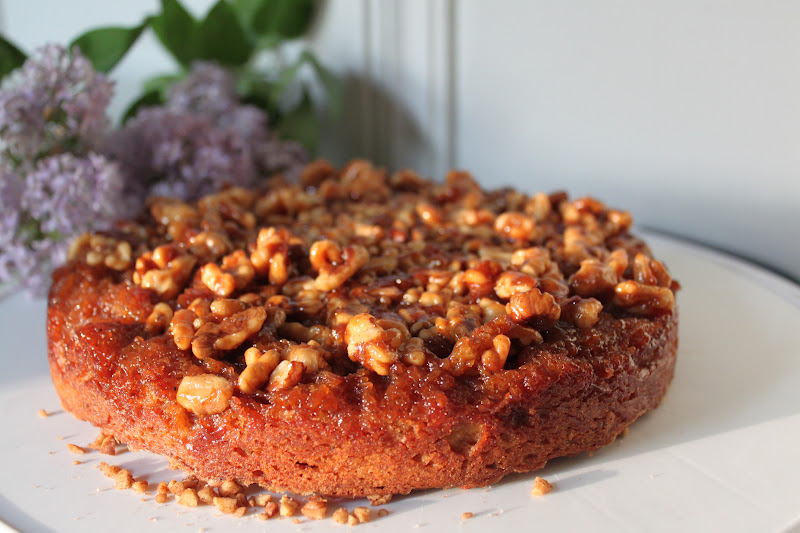
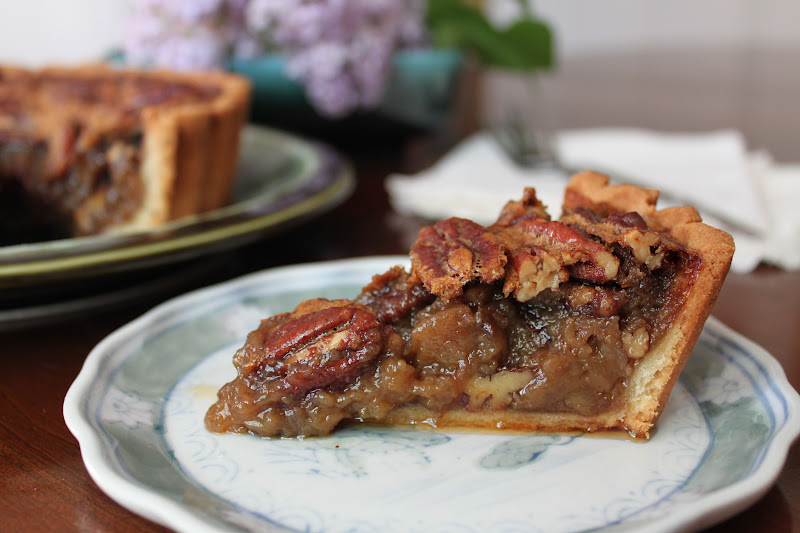
 dressed up with powdered sugar and ready for tea.  my opinion-a lot of work for something that wasn’t very much like short bread to me.  i did not get any of the sandy-flaky texture that i like in a shortbread.  it was very buttery and the bottom just did not want to bake; it stayed a little doughy even though it was much darker than the top layer.  would i make it again?  maybe but i would definitely skip the grating and just spread it into a pan.  as for the top-i say crumb topping!!!  see you in two weeks with our next baking adventure.  if you would like the recipe, visit the blog pages of our hosts, lynette and cher, or better yet, buy the book!

bread baking day #49-grissini

it’s spring, the weather is just warm enough and the garden is bursting with lettuce and greens.  for tonights dinner, i chose to make a salad using the different lettuces and spinach from my garden.  the best part of the dinner, the grissini, or bread sticks if you prefer, to go with the salad.  when i checked out the challenge for this month’s bread baking day, i was thrilled to see that it was simply to bake a pizza or an italian bread.  so simple that it took me over a week to decide!

the challenge for april is being hosted by manuela of cravo e canela and there is still time to submit a bread if you want to participate.

when i would like to bake authentic italian style breads, there are only a couple of books i reach for.  while trying to find some inspiration, i pulled my copy of the modern baker by nick malgieri off the shelf and opened it to a random page.  it just so happens that the recipe i turned to was for grissini.  not just grissini but the easiest and most fool proof recipe for grissini i have ever tried.
the dough is mixed up in less than 5 minutes by using a food processor.  after letting it rise for an hour, the dough is deflated and allowed to rise again for as little as an hour or as long as 24 hours.  after sitting in the fridge for about 18 hours, i took it out and began the process of shaping the grissini.
first the dough is deflated and shaped into a square on a floured surface.  

 the dough is then cut into evenly sized pieces

 the sticks are shaped by rolling them with your palms as if you were making play-dough snakes.  so easy, too easy really, and fast.  with a recipe like this, you have no excuse not to make a batch.

sesame grissini
adapted from the modern baker by nick malgieri
makes about 24 (15″) bread sticks
2 cups unbleached all purpose flour
1 teaspoon salt
3 1/2 tablespoons olive oil
1 tablespoon sesame seeds
2 1/2 teaspoons active dry yeast
1/3 cup warm water-110F
1/3 cup cold water
cornmeal for dusting
place the flour, salt, oil and sesame seeds in the bowl of a food processor.  pulse it to combine and distribute the oil evenly.
whisk the yeast into the warm water and add to the flour mix.  pulse it 2 to 3 times.  add the cold water and pulse the dough until it forms a ball.  continue pulsing for 10 seconds.  remove the dough and place it in an oiled bowl and cover it with plastic.  allow it to rise until doubled, about 1 hour.
scrape the dough out of the bowl on to a floured surface and fold it over on itself a few times to deflate it.  once again, place it in an oiled bowl, cover it with plastic and place it in the fridge to rise for as little as 1 hour or as long as 24.  
preheat the oven to 325.  line two baking sheets with paper and dust with cornmeal.  place the dough on a lightly floured surface and flatten it into a square with an even thickness.  use a knife to cut the dough into quarters.  take each of the quarters and cut it into 6 pieces by first cutting it in half and then by cutting each half into thirds.  you should have 24 pieces in all.
place one piece of the dough on the table and using your palms, roll the dough back and forth to make a rope.  keep rolling it and using gentle pressure to make each one as long as the baking pan-about 15″ in length.  carefully lift and place the stick on the pan.  
place the two pans in the oven and bake(no rising needed) for 10-12 minutes.  rotate the pans and continue baking the sticks until they are golden brown and crispy, about 10-15 minutes.  this took a little longer in my oven so keep a close eye on them to ensure that they are not over baked.  
this is a simple recipe that proves things do not need to be complicated to be tasty!  here’s to you nick for a recipe well done!!!  be sure to try baking a bread or a pizza and joining us.  thanks to manuela for giving me an afternoon filled with yeasty goodness.

twd: clementine loaf cake

and so comes along another baking with julia adventure!  today’s challenge is hosted by truc of treats and michelle of the beauty of life.  this was by far one of the easiest cakes to make.  the headnote to the recipe states it can be made in 5 minutes, 5 football minutes perhaps, but from start to finish, it will take longer than just 5 minutes.  found on page 252 of the Baking with Julia book, the recipe calls for lemon zest and as a result, it is titled “Lemon Loaf Cake” but i had a bowl of clementines that needed a purpose in this life-they became the key ingredient for this cake.

 clementines are a favorite snack around here.  we have a holiday tradition of keeping a box of them for all of the kids to snack on and i have many memories of family members lingering at the breakfast table with coffee cups and pieces of the rind stacked in little piles.  long after the holidays are done, boxes of these tasty treats still find the way to my dining room to tempt me.

 zesting the little fruits is almost tedious but well worth the effort.
 eggs are whipped with sugar and salt until foamy and blended-a quick process

 zest is whisked in and dry ingredients are sifted over the batter and whisked in gently

 some heavy cream is whisked in
 followed by melted butter and that is it!

 into the pan and into the oven-it’s so easy!!!

the fininshed cake, looks like a pound cake doesn’t it?  the comment i heard the most-it’s so light and delicate.  personally, i thought it could have had a little more heft to it, a little more fat since it seemed a tiny bit dry to me.  anyway, it didn’t last long around here.  a big round of applause goes out to truc and michelle for a job well done!

maple-walnut upside down persimmon cake

on a recent trip out to the garden, this cake accompanied me and was shared among my fellow gardeners.  it is a simple cake that can be made with sweet potato or pumpkin puree if you do not have access to persimmons.  for those of you that have persimmon trees in your yards, be sure to wait until that first frost of fall to gather the fruits.  then after washing them, run them through a food mill to extract the seeds and freeze the puree in sandwich sized zipper bags to make it easy to use in recipes.

the maple syrup is heated with the butter and brown sugar.  when the butter melts and the sugar dissolves, allow it to boil a bit and then pour it into a greased cake pan.

top the glaze mixture with the walnuts, try not to go all the way to the edge of the pan to keep the nuts on the top of the cake-i didn’t do a very good job of that!

persimmon puree looks a lot like sweet potatoes or pumpkin and if you can’t find persimmons, both make a suitable substitute.

using the typical creaming method, this batter mixes up quickly.  after creaming the butter and sugar, the eggs are added.  once the eggs are in, sift the dry ingredients over the batter.  fold it a few times and then sprinkle the buttermilk all over the top and fold it completely until no streaks remain:

so easy!!!

the tough part-spreading the batter over the nuts without moving them.  be sure to allow the cake to sit for about 5-10 minutes before turning it out otherwise, the glaze and the nuts will not coat the top of the cake evenly.

maple-walnut upside down persimmon cake
1 (8″) cake serving 6-8
glaze:
2 1/2 tablespoons unsalted butter
3 tablespoons maple syrup-preferably grade b
2 tablespoons light brown sugar
1/4 teaspoon cinnamon
3/4 cup walnuts, chopped
preheat the oven to 350.  grease an 8″ cake pan and set it aside.  place the butter in a small sauté pan over low heat and melt.  add the maple syrup, light brown sugar and the cinnamon and stir until the brown sugar is dissolved.  raise the heat to medium and bring to a boil.  allow the mixture to boil for a minute and then pour into the prepared cake pan
cake:
3 tablespoons unsalted butter, softened
2/3 cup light brown sugar
1/2 teaspoon vanilla
pinch of salt
1 egg
1/3 cup persimmon puree
1 cup all purpose flour
1 1/4 teaspoon baking powder
1/3 cup buttermilk
in a mixing bowl, cream the butter and brown sugar with the vanilla and salt.  when light and fluffy, add the egg and combine completely.  add the persimmon puree and mix in making sure to scrape the bowl well as you go.  sift the flour and baking powder over the batter and fold it in a few times.  sprinkle the buttermilk over the batter and fold it together until smooth.  spread it evenly over the bottom of the prepared pan.  bake until a tester inserted comes out clean,  about 35-40 minutes.  cool in the pan for 5-10 minutes and then place a serving dish that is larger than the cake pan over the top and invert the cake onto the plate-this will catch any drips.  allow it to sit for 10-15 minutes before cutting and serving.  and for the particularly evil-serve it with some ice cream!  buttermilk ice cream comes to mind…
bake on friends and may the force be with you.

apple-walnut bundt cake

whenever i go out to the demonstration and research garden (demo garden, as we call it) to work with my fellow master gardeners, i always bring something freshly baked.  most of the time, it is a bundt cake.  every now and then, it is a loaf cake, a batch of muffins or scones or some sort of homemade bread.  this cake is a quick and easy recipe to follow that makes a tasty cake.  it can be made with apples or pears and either way will be equally decadent.

in my collection of bundt pans are a few that came to me from my aunt; they belonged to my late uncle who was a serious bundt cake fan.  this cathedral pan is one of my favorites for large recipes-it is at least 12 cups and makes a huge cake.  beware of a pan that size; the bigger they are, the longer the cake will bake if the pan is full of batter!

apple-walnut bundt cake
serves 12-16
3/4 cup walnut pieces
3 eggs
2 1/4 cups light brown sugar
1 1/2 cup canola oil
2 large granny smith apples, peeled, cored and chopped
3 cups all purpose flour
2 1/4 teaspoons cinnamon
1 1/2 teaspoon nutmeg
3/4 teaspoon cardamom
1 1/2 teaspoon baking soda
preheat the oven to 350.  grease and flour the cake pan and set aside.  place the walnuts on a baking pan and toast in the oven until slightly fragrant, about 5-7 minutes.  allow the nuts to cool.
in a large mixing bowl, whisk the eggs with the brown sugar and canola oil until smooth.  add the walnuts and apples and stir to combine.  place the flour, spices and baking soda into a sifter and sift over the batter.  fold the flour into the batter and mix until incorporated.  scrape the batter into the pan and bake until a tester inserted comes out clean, about 1 hour and 15 minutes.
allow the cake to cool for at least 20 minutes in the pan.  carefully turn the cake out onto a rack and allow it to cool completely.  to serve, cut with a serrated knife.  
and as always my friends, if you bake it, show it off and send me a photo!

maple syrup-smoked pecan tart

the latest food52.com challenge-use maple syrup in a recipe.  easy enough, right?  but the thing is, too many recipes with maple syrup also use maple flavor and that is something that i do not care for.  maple syrup is a subtle flavor that when concentrated, it can be cloying to the palette.  that is probably why i hate pancake syrup and if i am going to eat waffles or french toast, the syrup will be a pure maple or it will be skipped.   so with my distaste for cheap syrup in mind, i let my mind wander and ponder what i could bake with the bottle of grade b maple syrup sitting on my pantry shelf.  wait, grade “b”?  yes, grade b.  why “b” and not “a”?  flavor, plain and simple.  grade b has a stronger flavor that grade a, it is also a little darker but in my book, it is perfect to bake with and no  maple-like extracts are required.  to find grade b, look in the syrup section of some supermarkets-possibly publix, or head out to whole foods or trader joe’s since both carry a selection of grade b maple syrups.

 one of my latest thrift store acquisitions-a $2 deep 8″ tart pan with a removable bottom

the plan is to make a pecan pie in a tart pan but with some liberties to the standard recipe.  for a perfect pecan pie-and trust me, i make hundreds of them, one must mix the filling ingredients in the proper order or the butter will separate from the filling and spill out of the pan during the baking and leave you with a puddle in the oven and a pie that almost looks deep fried.

 place your sugar, spices and flour (if the recipe calls for it) in a bowl and whisk to combine them.  break up the lumps so that when you mix the filling, there aren’t any large sugar lumps left to sink to the bottom of the pie.

 melt the butter slowly-warm butter works better than boiled butter in the next step.

 in short, you are creating an emulsion.  add the butter and vanilla and/or other flavors to the brown sugar and whisk to form a smooth, glossy paste.

 to create the emulsion, the eggs need to be added carefully so only add them one at a time and whisk each one in completely.  scrape the bowl as you go.  this is with one egg added

 egg #2 whisked in

 egg #3 added and whisked in here.  do you see the difference in color?  it is nicely combined and the butter and eggs are blended together so that the filling will not separate in the oven.

 last step to make the filling is so add the syrup-in this case, it is maple and corn syrups that are added.

 to get a perfectly baked pie or tart, one must start with a partially baked shell.  there is nothing worse than getting a forkful of gummy under baked crust along with a bite of pie!  here i use my favorite trick-a restaurant sized coffee filter and marbles.  coffee filters are designed to hold a large amount of wet grinds without tearing.  they absorb a little of the grease so that it doesn’t stick and you can literally lift the filter with the weights right out of the tart shell and set it aside to cool.  filters do not get brittle like parchment, they do not cause creases and cracks like foil and they do not melt like wax paper so if you can get ahold of some, give it a whirl!  and just so that you don’t think i have lost my marbles, those are my pie weights!

 while any pecan would work, i like the smoky flavor of pit smoked pecans.  it adds something to the tart and the way the flavors of maple and smoke (think bacon without the pig here) work together transcends a basic dessert staple into something really special that will have them reaching for seconds.  to amp up the flavor, i also added a little dry rub to the filling but you could skip that and if you are really adventurous, you could try using a little ground chili to add another dimension.

 place the nuts in the shell and pour the syrup over them-this gets them coated with the syrup and the ones on top look shiny and taste a little caramelized when the tart is fully baked.

 let the tart cool completely in the pan then remove it-a warm tart will break pretty easily and the fluted shape of the crust tends to create weak spots so heed the advice and just wait.

beautiful…
for the complete recipe, see my entry on food52.coms best maple recipe contest by clicking here.  and as always, bake one and send me a photo, i will post it here!  bake on friends, bake on

share the shot #5-orange

 another week has zipped by and i found this share the shot assignment to be a real challenge.  i am not a fan of the color orange and finding it in my house and garden was tough.  the only plant that blooms orange in my garden is an iris and it has not done so yet.  as i wondered what i could possibly find to take pictures of, i decided to just go and bake a cake; in my world, almost anything can be solved by baking a cake to share or eat by yourself as you ponder…
 clementines
 clementine zest
 my not so smart cell phone-hey it makes calls and sends texts, that’s all i need
 wait for it
 we went hiking and found these-any idea what the are?  tell me cause i’m stumped…
 mushrooms-unknown species of polyspores
my little girl on my favorite reading chair-twice the orange!
many thanks to amy of she wears many hats for the wonderful challenge!

twd: irish soda bread

every march, i make at least one batch of irish soda bread with my aunt’s recipe; it is a bittersweet ritual that usually causes me to tear up at least once.  i have blogged about it before, and if you follow that link, you will see why it can bring me to tears.  baking irish soda bread is a tradition that has been part of my life-my aunt made it every year and so did an elderly neighbor.  one thing about coming from the new york city area-there are lots of irish neighborhoods and lots of irish families and plenty of soda bread to go around.  my mother (who is irish) also has a thing for soda bread and although she does not bake it, she will send me recipes for the true bread-without the raisins and caraway, because that is how they make it in ireland.  the addition of currants and caraway is an american tradition.
for this weeks challenge, we turn to hosts cathy of my culinary mission and carla of chocolate moosey and they have posted the recipe on their blogs if you would like to try baking a loaf.  better yet, buy a copy of the book or borrow it from the library and try baking along with us some time.

 this simple bread consists of 4 ingredients; flour, buttermilk, salt and baking soda.  it mixes up easily and quickly.

 a minute of kneading will give the bread just enough structure to retain its shape and rise a little.

 a simple x on top is all that it needed
 fresh from the oven-it smells heavenly and rather like a biscuit and it tasted like a buttermilk biscuit to me

 the crumb is on the small side with a few holes so that it mimics a loaf of yeasted bread

along side a loaf of american soda bread using my aunt’s recipe-twice the joy!  thanks to our hosts cathy and carla for a lovely start to my week!  to see what everyone came up with, check the leave your link page on the tuesdays with dorie blogpage

share the shot#5-red


 i am really having fun with the share the shot challenges.  taking the time to look for things that might make a nice subject and then actually getting the shot-it is a real opportunity to learn something about staging a shot and getting the effect you are hoping for in the photo.  many of my shots come from the garden and red is a tough one.  obviously, there are red flowers but i do not have any in my garden.  i do however have red in the vegetable garden.

rhubarb chard-it has overwintered nicely and i love the red/green contrast.

 shot in late afternoon and back lit by the setting sun, this leaf positively glows!

 i love red leaf lettuce

 my assistant, the captain, he follows me around and i think he actually began to pose for me.  he would get up on the chair and look at me almost as if saying-“i’m ready for my close up…” having a red nose doesn’t hurt-it goes with the theme.

what i was really after-a shot of the wood grain with the fading red paint on the chair

and it wouldn’t be spring without red tulips-from the lawn and garden show, i don’t have any red ones, just pink this year.

thanks to amy for a great challenge!  be sure to check all of the entries for the red challenge by clicking here.

share the shot#4-green

 for this weeks assignment-green, and kermit was right, it ain’t easy being green…i decided to go out in the yard to see what i could find, i found out that i need to be spending some time weeding in the garden.

 late winter is a tough time to find flowers blooming-usually.  with the warm winter we have had, lots of flowers are up.  but there is one that only blooms in winter-hellebores and many of them are green.

 cabbage is so pretty that it could be a flower

 moss is an amazing plant-now if i could only get rid of the weeds growing in it my patio would be perfect!

 my jade spends the winters indoors and it isn’t too happy about that, with this mild weather, i can put it back outside for some sun.

my favorite part of gardening-the captain helping me out.  such pretty green eyes on an beautiful grey cat

be sure to check out the other entries and a big round of applause to amy of she wears many hats for a true challenge.  stay tuned for the next assignment-red!