raspberry-fig crostata: a tuesdays with dorie recipe

it’s fig season and our tree is loaded with ripening fruit.  we have two trees actually, a brown turkey and a celeste.  the figs above are from the brown turkey tree; the celeste tree is not producing much fruit yet.  we have been picking the little fruits by the dozen and when i learned this weeks challenge was a choice between a johnny cake cobbler and a raspberry-fig crostata, i had to make the crostata since i had plenty of figs.

we are currently posting without a host but there is a website with some of the recipes on it and the crostata is one of them, see it here.  luckily, there is another link in the recipe to the dough.  but if i may climb on my soapbox for a moment, please consider buying a copy of the book.  as a published author, i cannot tell you how much it means to have the book you worked on sell.  if you cannot buy it, at least try to borrow it from a library or a friend.

i have a collection of tart pans.  for this recipe, i chose the smaller, deep pan which is about 8 inches in diameter.  my thinking was that it would have a nicer ratio of fruit to crust in the deeper pan.

a few notes about the dough, it is a bit sticky and crumbly.  it does not hold itself together well when moving it so be prepared to do some patchwork.  since it was so rich with sugar and eggs, i skipped the egg washing step.  and since i used the smaller pan, i needed a lot less dough-i have about a third of it left.  do not worry, i plan to make some linzer cookies with it.

when it came out of the oven, it was nice and sparkly despite the lack of a wash on top.

beautiful

it was late when i finally pulled the tart out of the oven so we waited until the next day to dig in.  it help up nicely but honestly, the fruit filling could have used more flour.  if i make this again, i will definitely double the flour.

love the color of the filling!  come bake with us sometime.  to see the other participants results, visit the tuesdays with dorie page.

raspberry swirl cheesecake

people ask me how i manage to stay thin when i bake so many sweets.  it’s easy, i make it a point to not bake the sweets i find impossible to pass up.  that folks, is why i very rarely make a cheesecake!  but every now and then, i bake one just so i can have a sliver or two.

when i had my bakery, i made lots of cheesecakes; we sold them wholesale and had several clients that would order them in quantity.  with as many as i was making, i perfected my technique and learned just what it took to make a cheesecake with out a crack in the middle.  my list of rules isn’t too long but if it is followed exactly, i can pretty much guarantee that your cheesecake will not crack.

1.  reach over the name brand cheese-the one named for that yankee city and grab the full fat store brand because believe it or not, it makes a better cream cheese.

2.  throw away the springform pan-yes, that’s right, throw it away.  grab a heavy duty cake pan.  the thicker the gauge, the better, because it will insulate the cake more as it bakes.  springform pans are made from a thin gauge metal and they allow the cake to over bake more easily.  the best part, a cake pan will not leak-another check in the plus column.

3.  never mind the water bath.  again, you heard that correctly.  it isn’t necessary and it can be dangerous.

4.  combine your ingredients(softened at room temp first) in a food processor-it will not incorporate air like a mixer will and air is your enemy.  air expands when it is heated and when you incorporate lots of it into a cheesecake, the cheesecake expands and souffles when it bakes.  and what do souffles do when they get to hot?  they collapse and crack and look awful.

5.  here is the tricky part-keep in mind that a cheesecake is not a cake, it is a custard that is treated like a cake.  when the cake is about 3/4 of the way into the baking process, take it out of the oven and run a knife all the way around the edge to release the cake from the pan.  only insert the knife about 1/2 to 3/4 of an inch down the side of the pan.  why do this?  if you don’t, the cake will not be able to shrink after baking-remember that first part, it’s a custard and not a cake.  custards need to shrink and contract a little after baking.  if you don’t release it from the pan, the only thing it can do is crack down the center-the sides are stuck to the pan and the middle is the only part that “gives”.

6.  lastly, cheesecakes baked in a cake pan need to chill for about 8 hours before you unmold them.  to do this, wrap a flat plate with plastic wrap and spray it with grease.  heat the bottom of the pan over the burner on your stove-it should be a little warm, not hot.  gently give it a side to side shake to loosen it.  place the plate on top and invert-the cake should slide out.  place your serving plate on the cake and invert it again.   

 perfect raspberry swirl cheesecake
1 (8″) cheesecake that serves about 10
crust
1 1/2 cups cookie crumbs-i like to use something lowfat like biscotti
3 tablespoons sugar
5 tablespoons unsalted butter, melted and a little on the hot side
cheesecake
1 pound cream cheese-full fat, soft and at room temp
2/3 cup sugar
2 tablespoons unbleached all purpose flour
1 teaspoon vanilla
1 teaspoon lemon zest
1/3 cup sour cream
4 eggs
1/4 cup seedless raspberry puree
preheat the oven to 300.  grease or butter the pan.  combine the cookie crumbs and the sugar.  add the butter and with your fingers, mix to combine.  dump the crust into the bottom of the pan and spread it 2/3 of the way up the sides and across the bottom so that it is an even thickness.  set aside.
to make the cheesecake.  place the cream cheese, sugar, flour, vanilla, lemon zest and sour cream into the bowl of a food processor.  pulse to combine.  add the eggs, one at a time and process to combine.  scrape the bowl after each egg is mixed in.  pulse it a few times to be sure it is evenly combined.  reserve 1 cup of the cheesecake batter and pour the rest into the prepared pan.  mix the raspberry puree into the reserved batter and drizzle this over the top of the cake.  gently swirl it using the handle of a spoon or your finger tip.  
to bake, place it in the center of the oven for for 45 minutes.  remove the cake from the oven and release it by running a knife around the edge as described above.  return the cake to the oven, turn off the heat and let it stand in the oven for 15 minutes.  to check it for doneness, the cake should be firm around the edges when you touch it gently but still seem a little jiggly in the middle.  it should not look liquid in the middle and if you touch it gently, it should not stick to your fingertip.  if you have followed the directions and your oven temp is accurate, the cake should be perfectly baked at this point.  allow the cake to cool on a rack for an hour and then chill it for at least 6-8 hours.  unmold the cake according to the instructions above.

summer berry pie, #38 of 52 pies

in what is quickly becoming a never ending game of catch-up, i am trying to get all of the pies posted…wish me luck, please!!!

on that note, i also found myself trying to keep the pie simple.  that is not hard to do when berries are in season.  a quick trip to the store and i had plenty of blueberries, raspberries and blackberries to make a pie that was as delicious as it was easy to prepare.  by not stressing over the crust and just folding it in towards the center, the result was similar to a rustic galette but with a lot more fruit.  one more note, if you find yourself with frozen berries (whether you picked them or bought them), go ahead and use them in this recipe.  measure the fruit while it is still frozen and then let it thaw before using it-frozen fruit will drastically increase the necessary baking time and can mean a burned crust.

summer berry pie
1 (9″) pie serving 8
pie dough for a single (9″) pie shell
2 cups blueberries
1 cup blackberries
1 cup raspberries
3/4 cup sugar
3 tablespoons cornstarch
2 teaspoons lemon zest
2 teaspoons rosewater
crystal sugar
preheat the oven to 350.  roll out the pie crust so that is it about 1-1/2 to 2 inches larger than needed to line the pie plate.  place the crust into the plate and allow the excess to hang over the edge.  combine the berries in a bowl.  in a separate bowl, rub the sugar, cornstarch and lemon zest together with your fingers and completely combine them.  toss the berries with the sugar mixture taking care not to mash them and then scrape the filling into the pie shell.  gently lift the excess dough up and drape it on top of the fruit pleating it as needed to make it fit.  sprinkle crystal sugar over the pie crust and bake until it is bubbly in the center, about an hour and 15 minutes.
as most berry pies are, this will be runny while it is hot.  be sure to let it cool to room temp before trying to cut it.  and as always, bake one and send me a photo i will post it here.  bakinbabe116@aol.com

celebrate the solstice with a summer berry tart; #29 of 52 pies

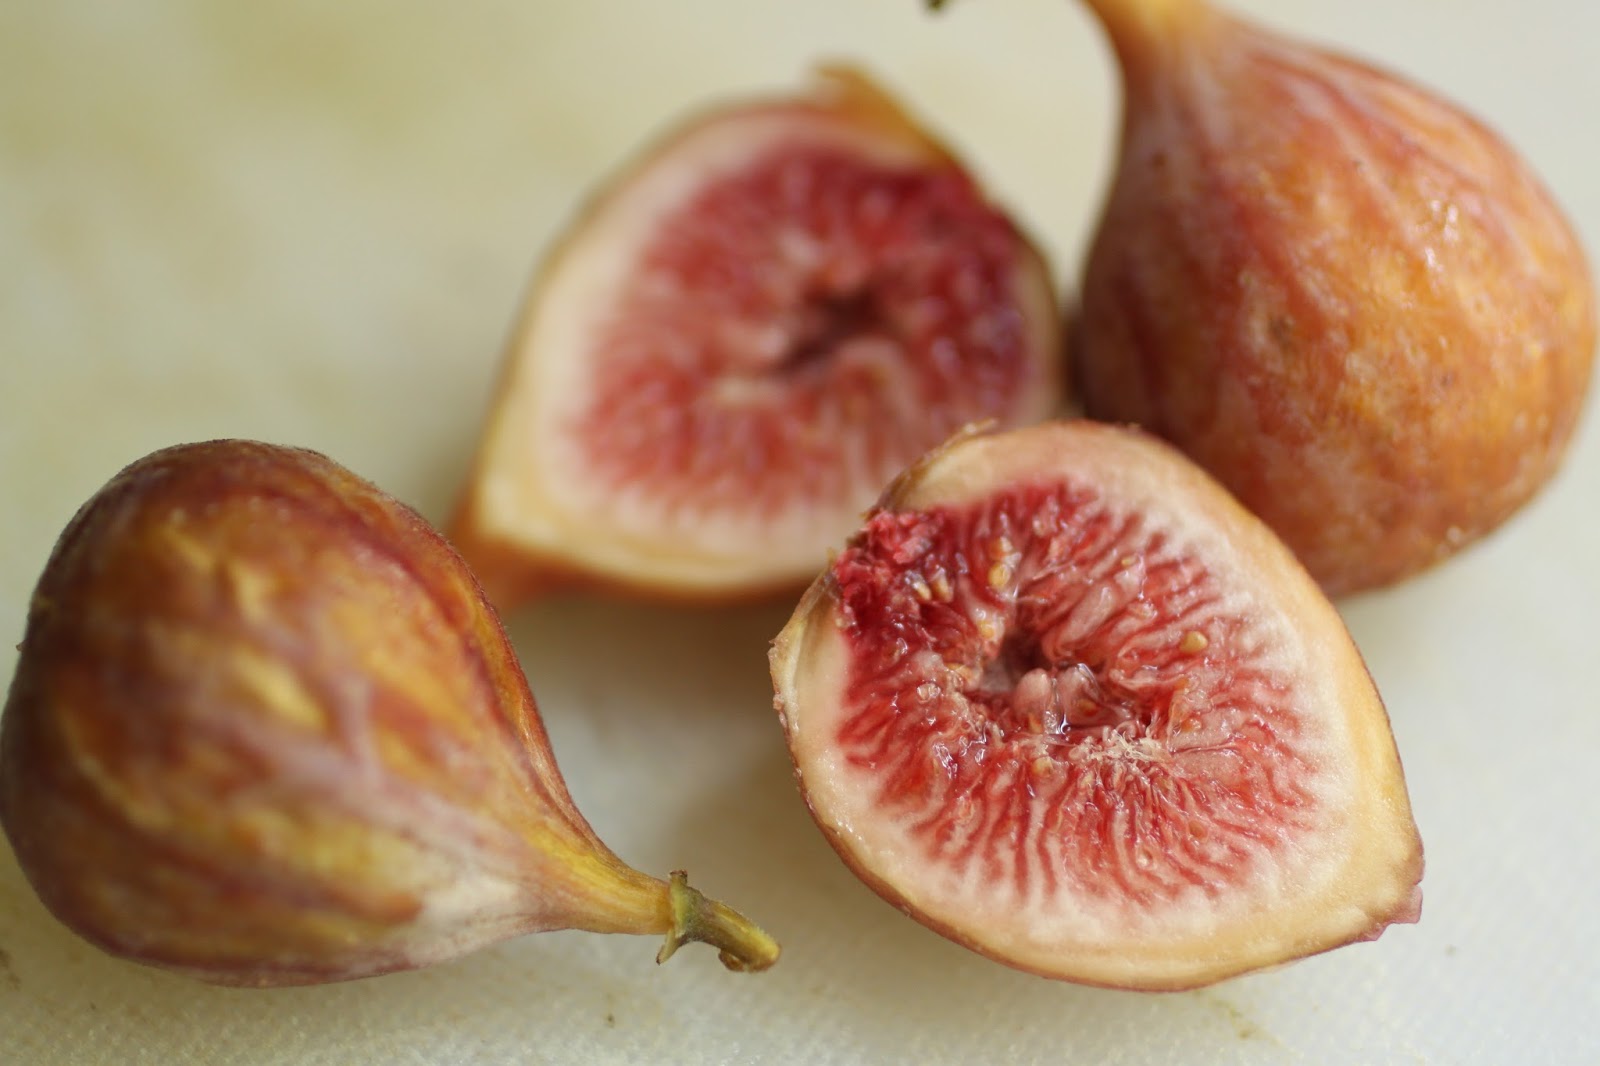
the first day of summer, or summer solstice as some call it, usually means hot weather and in that respect, we have had plenty.  since it is so hot, i decided to make a fruit tart rather than heat the house up by using the oven to bake a pie.  right now, markets are brimming with fresh berries of all types.  for some reason, summer holidays mean truckloads of berries at almost affordable prices.  why is that?  in the summers of my childhood, picnics in honor of summer holidays always meant popsicles and watermelon slices-berries were for special occasions.  on my last trek through the grocery store, i stocked up on strawberries and raspberries and luckily, enough survived to decorate the tart!

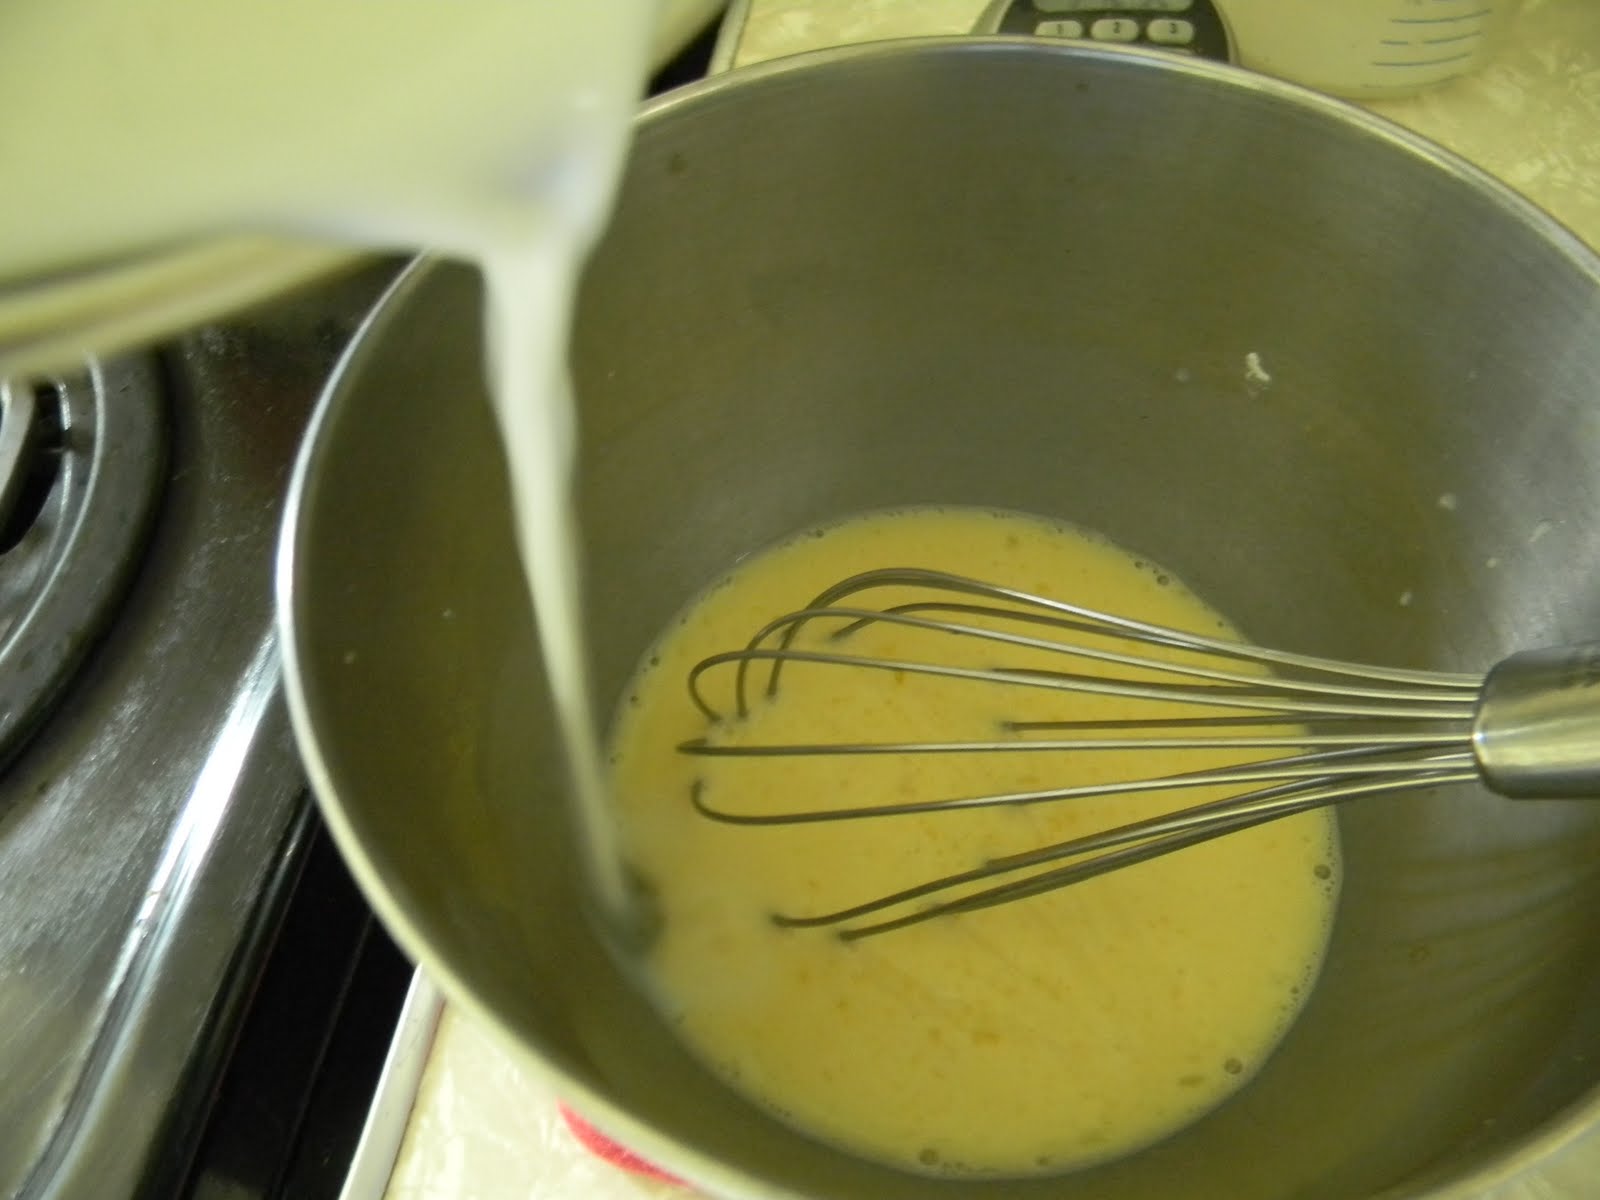
first step is to make a classic pastry cream.  while it cools down in the fridge, you can make the tart shell.  milk is heated with a vanilla bean and some sugar until it just begins to boil.

 cornstarch is mixed with some milk to dissolve it and then the eggs  are whisked in.  classically referred to as a liason, this combination will thicken the custard filling.

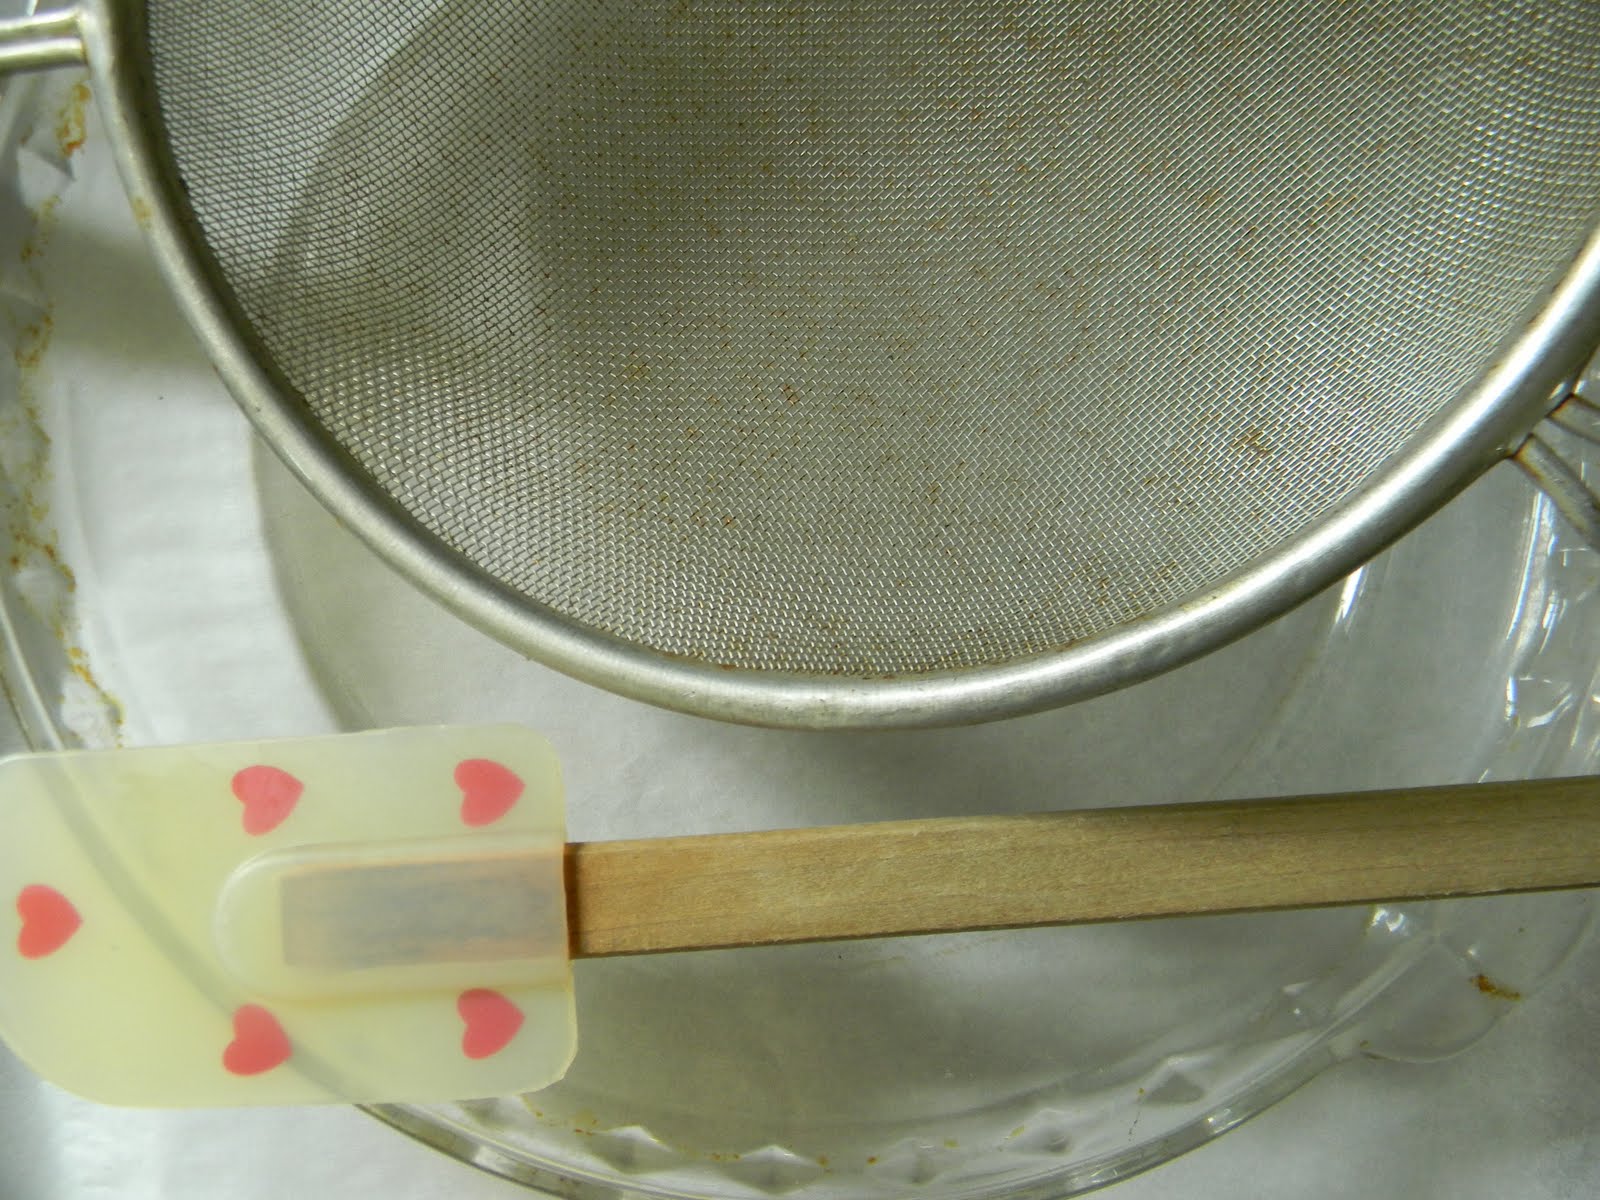
while the milk heats/steeps, set a heat proof bowl, a mesh strainer and a spatula nearby to strain the custard.

 once the milk reaches a slow boil, whisk a portion of the hot milk into the liason and then return the remaining milk in the pot to the heat.  while whisking the boiling milk, the liason is carefully added. and whisked continually until it boils and thickens.

whisk the custard filling continually until it boils and thickens.  be sure to let it boil for a full minute to cook out the starch.

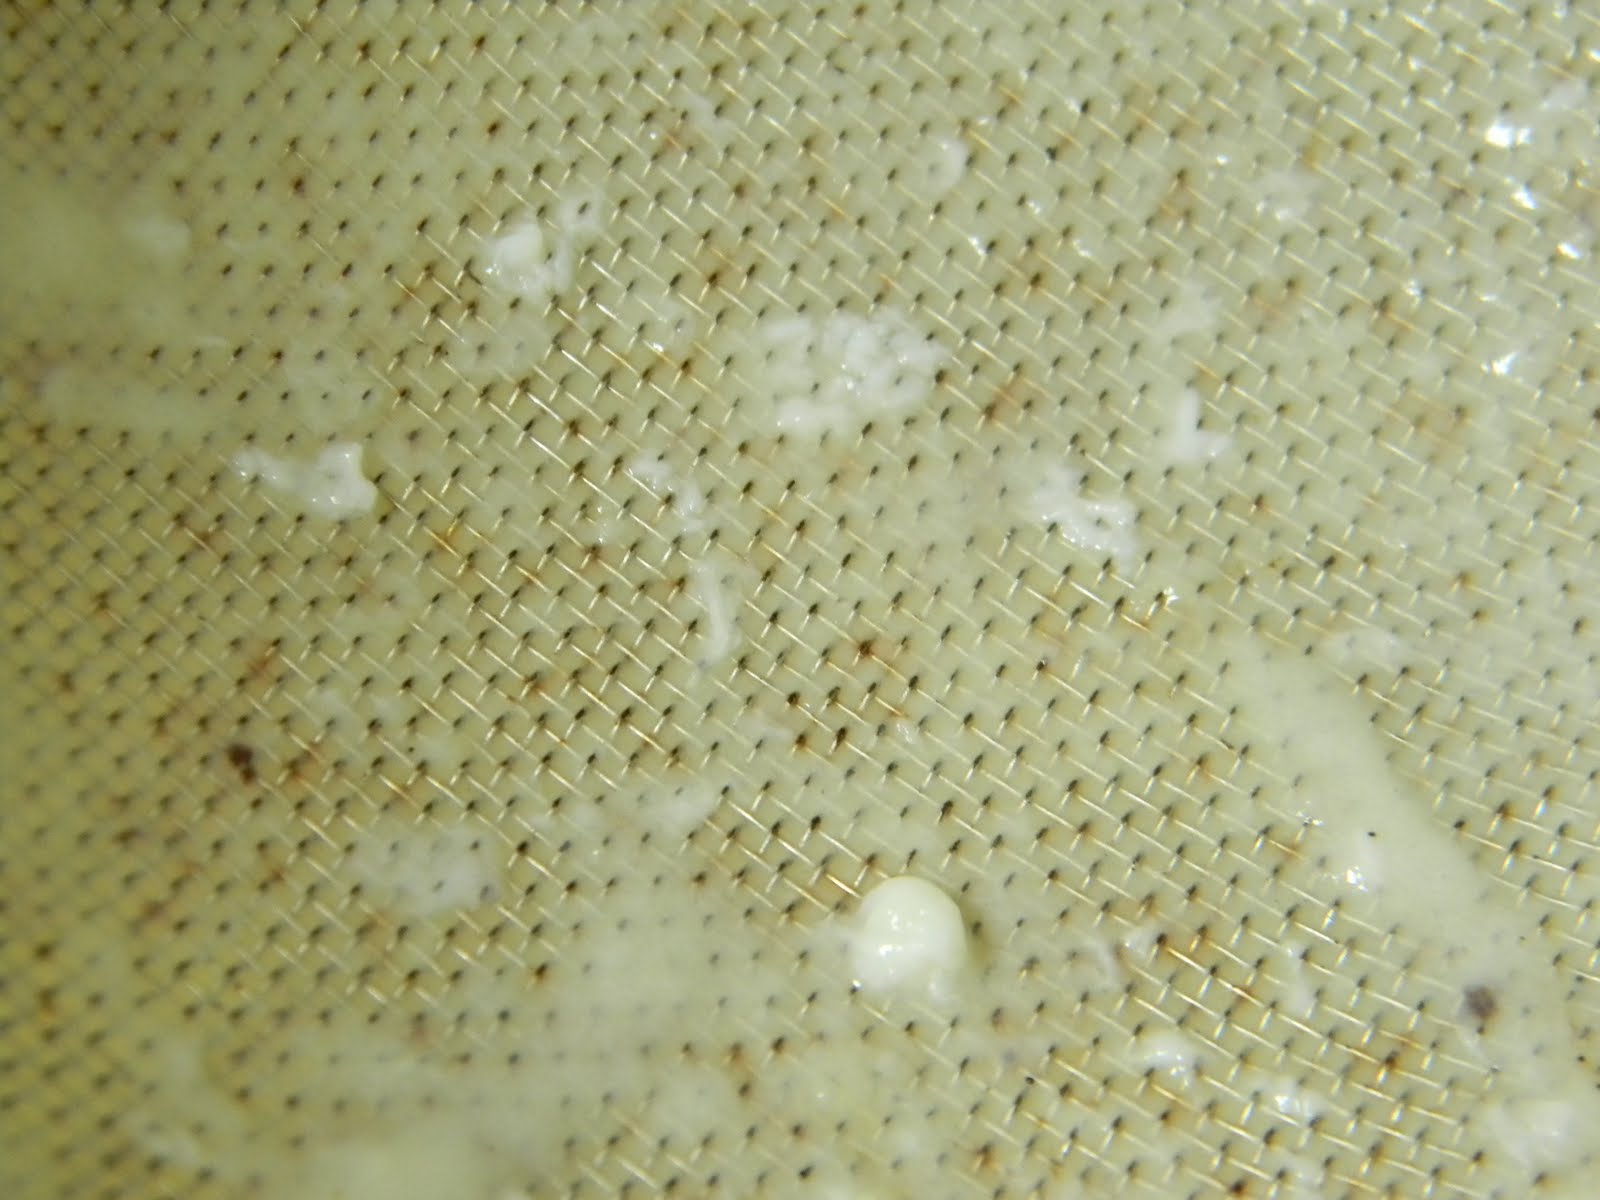
 once finished, pour the custard into the strainer and use the spatula to force it through the mesh into the bowl.

 the reason for the strainer, all the little rubbery bits and the vanilla bean need to be removed or you will not have a creamy filling for your tart.

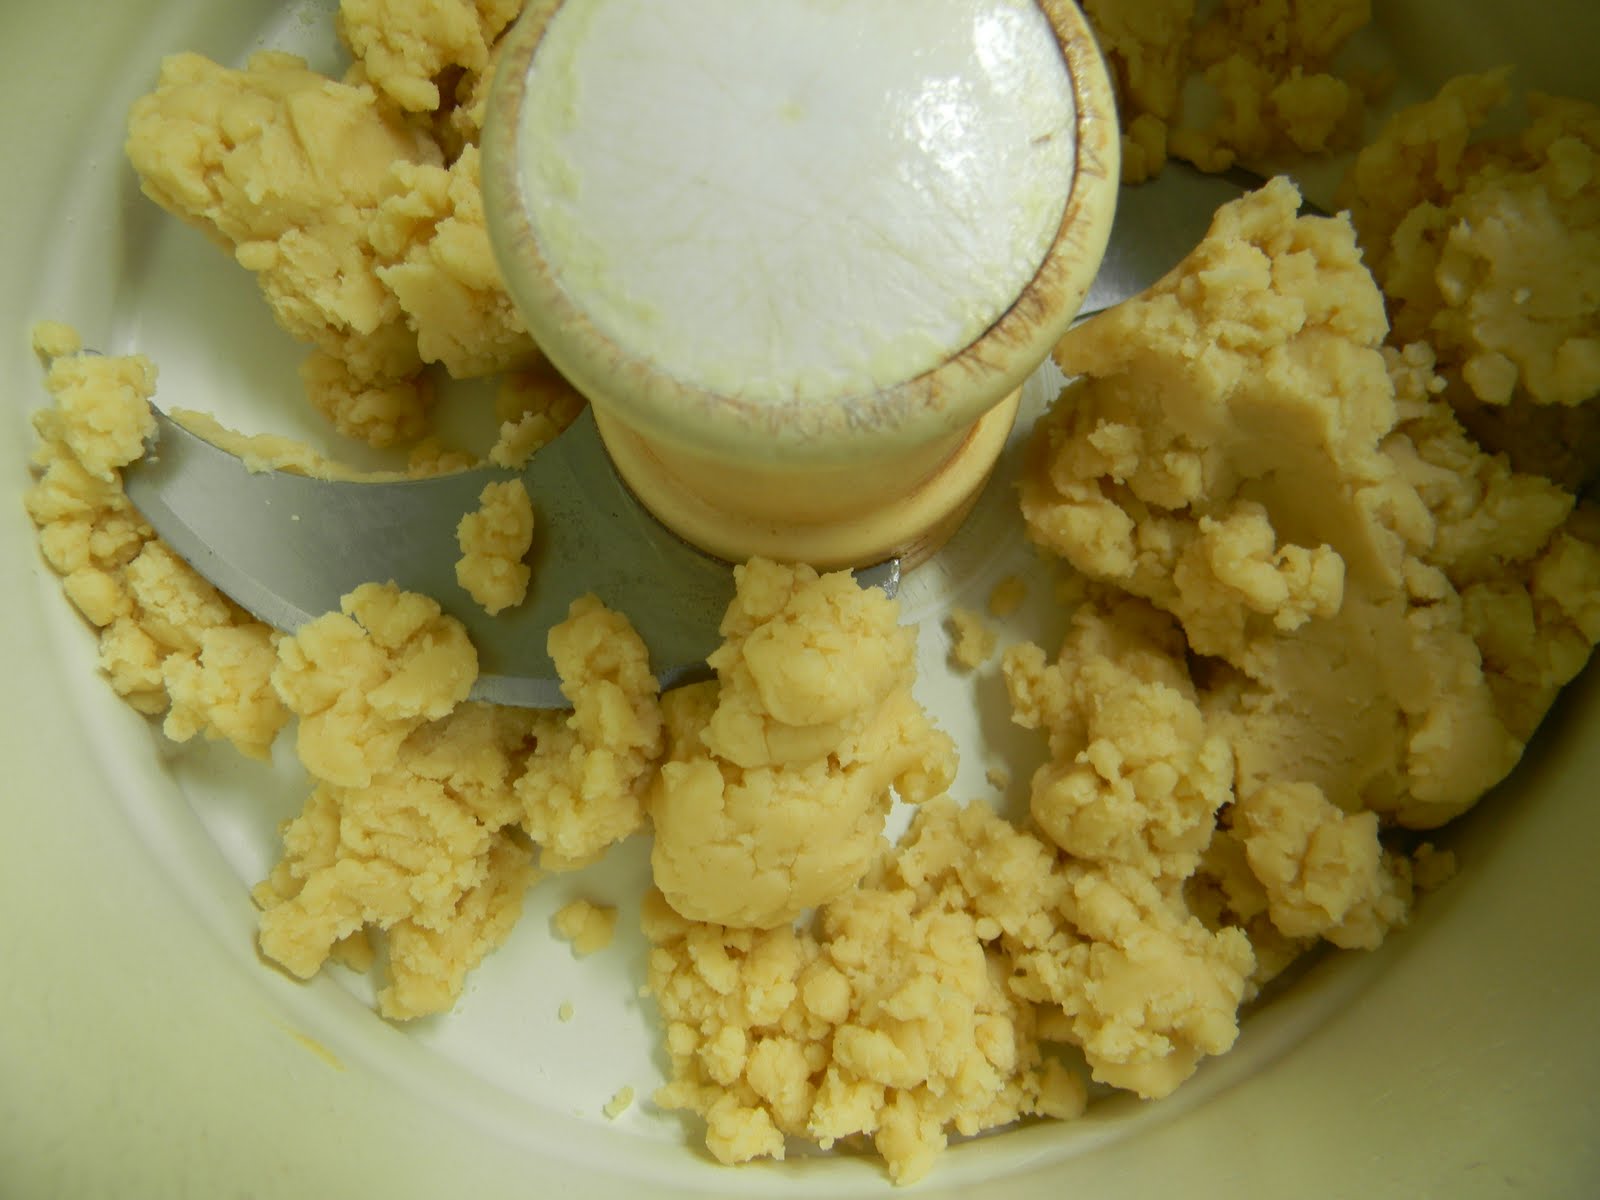
 the simplest dough in the world!!!  flour, powdered sugar and butter are pulsed in a food processor until they resemble a coarse meal.  an egg yolk is added and the dough is pulsed until it comes together.

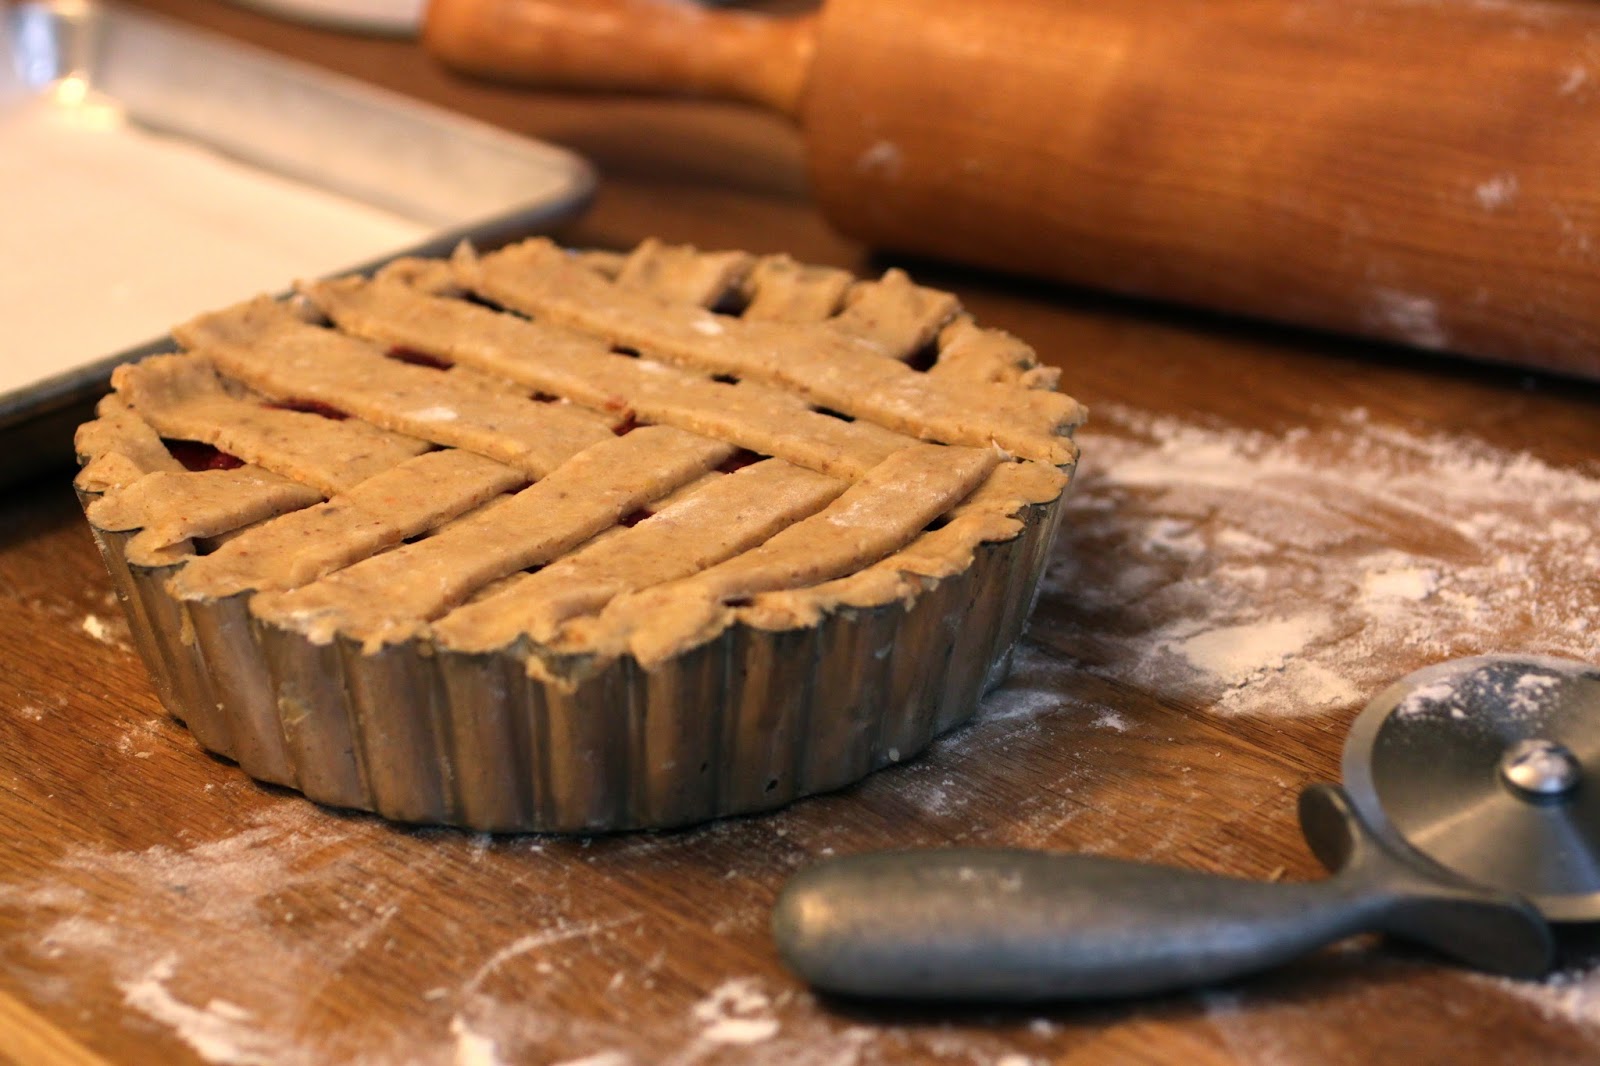
this buttery dough is so easy to work with that you can immediately press it into your tart pan-no chilling is necessary.

 make sure it is evenly spread out-thin spots could cause the shell to crumble later on.

 my favorite baking trick-line the shell with a large coffee filter (bribe a barista for some if you can or just use several home sized ones) and use beans or marbles as weights to prebake the crust.  why a coffee filter?  simple, they are designed to hold lots of weight-think about wet coffee grounds in a filter, they do not rip easily.  parchment paper crumbles when it is baked, foil can cause breakage when removed from the tart and waxed paper is waxed and who wants that in the tart?

 a perfect tart shell ready to be filled and decorated.

 my next big secret;  melt 2-3 ounces of white chocolate (or dark if you prefer) and carefully coat the bottom and the sides of the tart shell with it.  this will help prevent the crust from becoming soggy.  allow it to set by freezing it for 5-10 minutes then fill with the custard and decorate with the fruit.

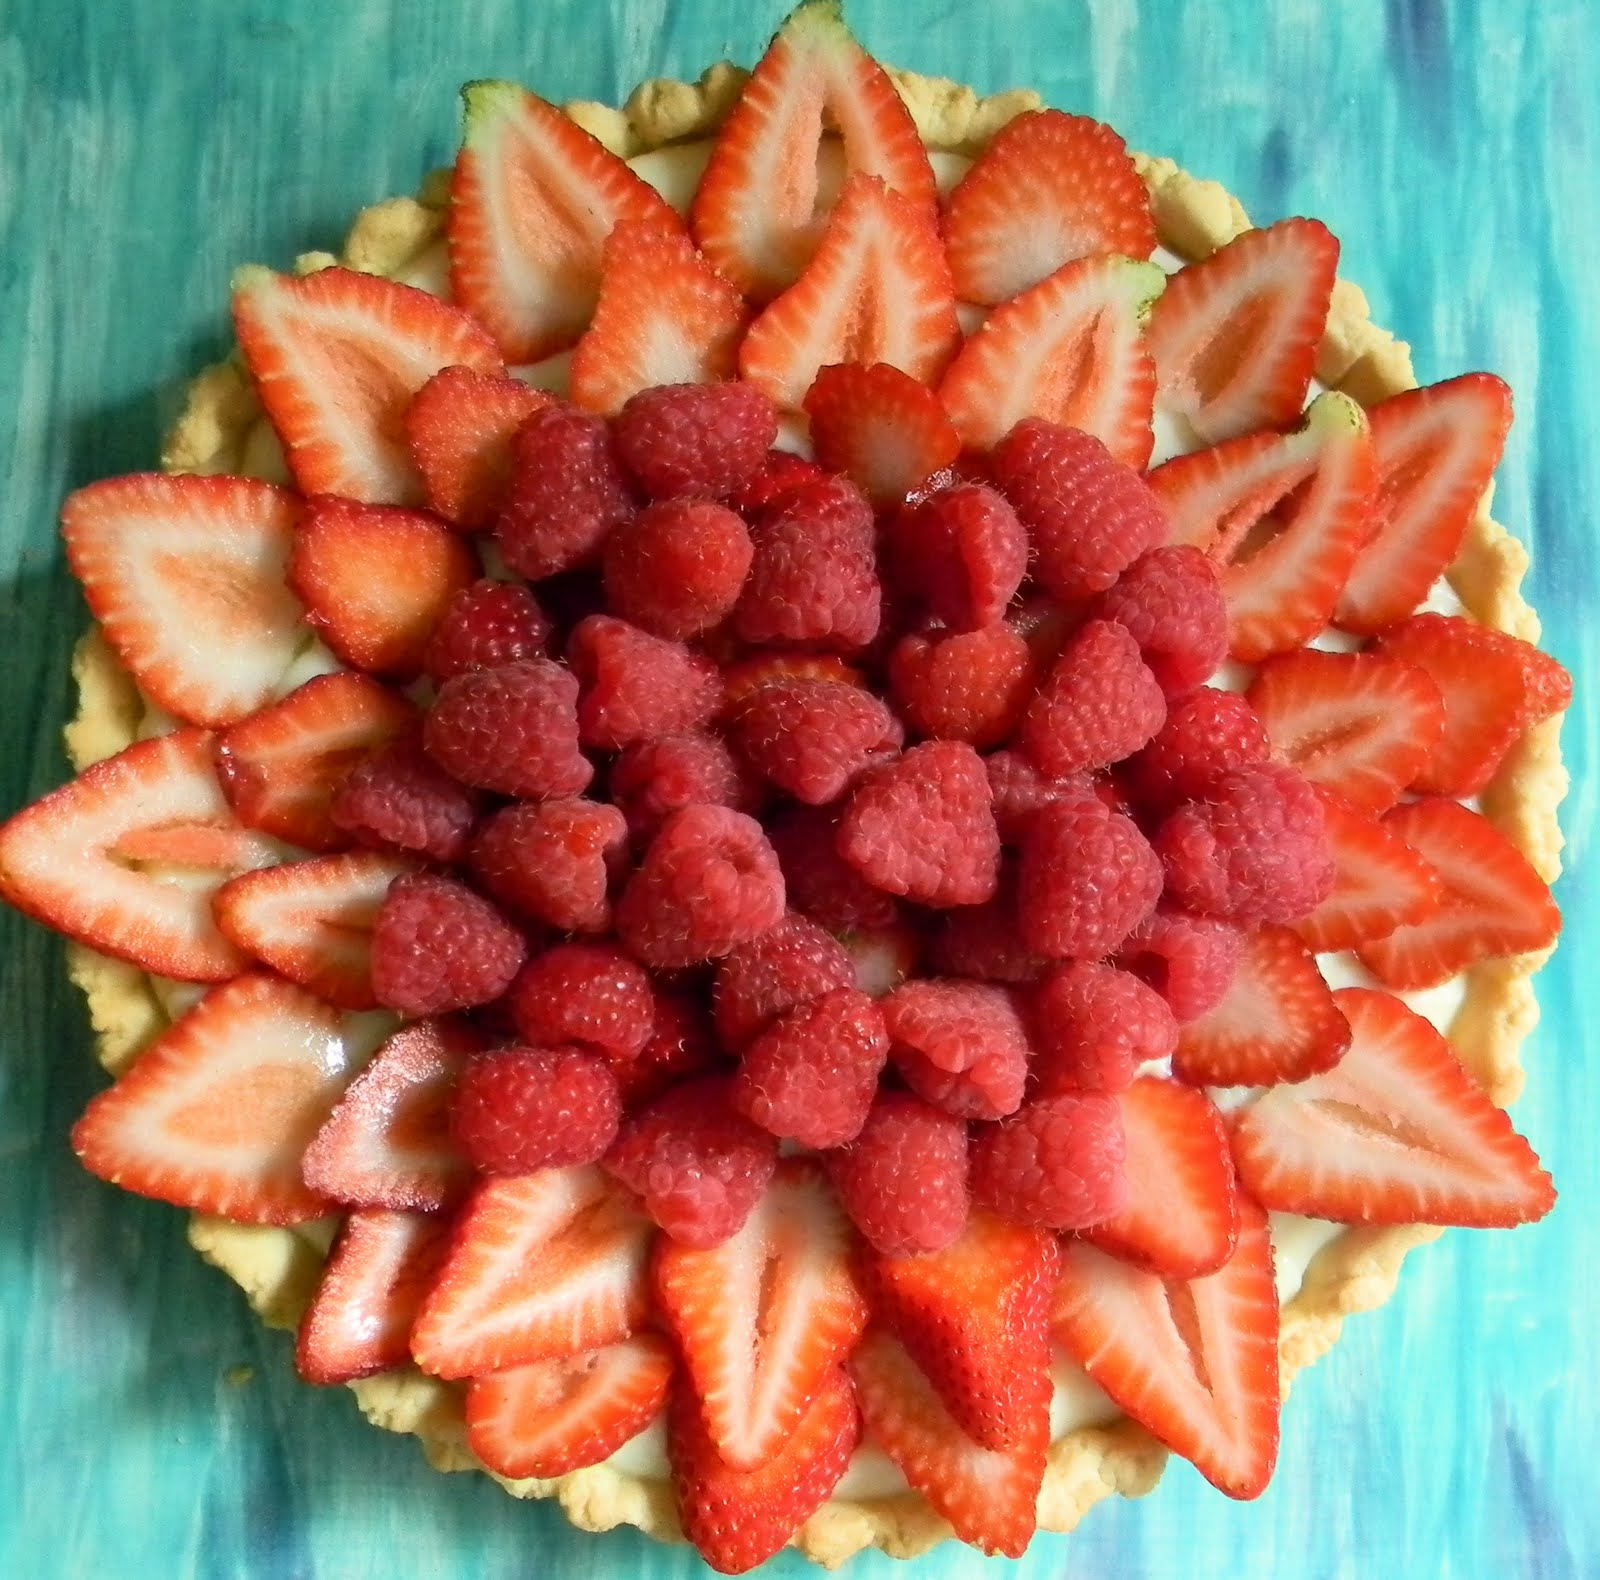
 slice the strawberries and arrange them around the edge of the tart.  save the small end pieces that you cannot use and place them in the center of the tart before adding the raspberries.  it’s a shame to waste the end pieces and no one will know they are there!  if you must, you can seal the tart using a prepared tart glaze.  in the summer months, supermarkets by me sell small tubs of fruit glaze in the produce section but stick to the peach one and dilute it-the strawberry one has too much added color.  personally, i like mine naked!

solstice berry tart
1 (9″) tart serving 6-8
there are lots of hints above, be sure to read them!
custard filling
3 tablespoons cornstarch
2 cups milk
2 eggs
1/3 cup sugar
1/4 vanilla bean, split
place the cornstarch in a heat proof bowl and whisk in a small amount of milk to make a smooth paste.  whisk in the eggs and set aside.  place the remaining milk in a sauce pot with the sugar.  scrape the vanilla seeds from the pod and add both the pod and the seeds to the milk.  over medium heat, bring to a slow boil.  temper the egg mixture with about half of the hot milk.  return the remaining milk to the stove and return to the boil.  while whisking the milk, add the hot egg mixture and while whisking, bring to a boil.  allow the custard to boil for a full minute then pour through a mesh strainer into a clean heat proof bowl.  press plastic wrap to the surface and chill completely.
easy tart shell
1 cup all purpose flour
1/3 cup powdered sugar
6 tablespoons unsalted butter, cold and cut into cubes
1 egg yolk
preheat the oven to 350.  place the flour and sugar into the bowl of a food processor.  sprinkle the butter cubes over the top and pulse to cut the butter in.  continue pulsing until the mixture resembles a coarse meal.  add the egg yolk and pulse until a smooth dough is formed.  press the dough evenly into a tart pan, place it on a baking sheet (catches any oily drips that may leak from the pan) and line with a coffee filter and weights.  bake until done, about 25-30 minutes.  remove from the oven and carefully lift out the weights and paper.  cool completely before assembling.
assembly
2-3 ounces chocolate (white or dark), melted
2 pints of strawberries
1 half pint raspberries
carefully remove the tart shell from the pan and place on a flat serving tray.  brush the inside of the tart with the melted chocolate and place in the freezer to set.  spread the custard filling evenly in the tart shell and arrange the fruit over the top of the custard as directed in the photos above.
happy solstice, y’all!  make one and send me a photo, i will post it here, bakinbabe116@aol.com