cornmeal-currant biscotti; a tuesdays with dorie post

IMG_5013
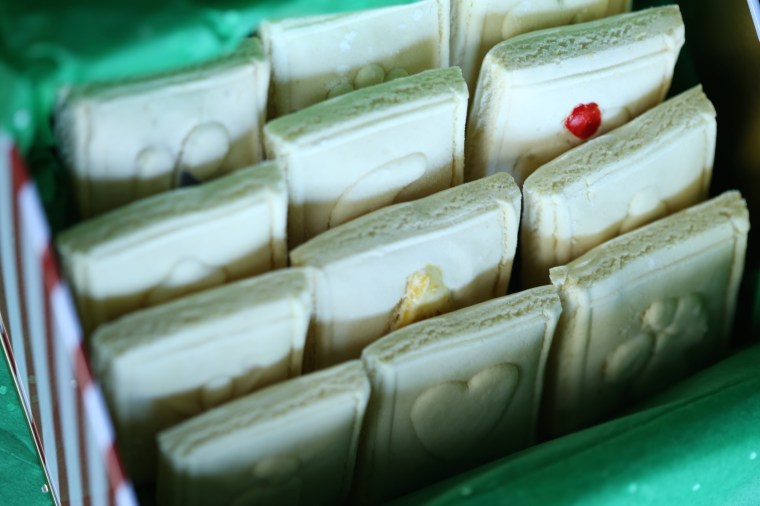
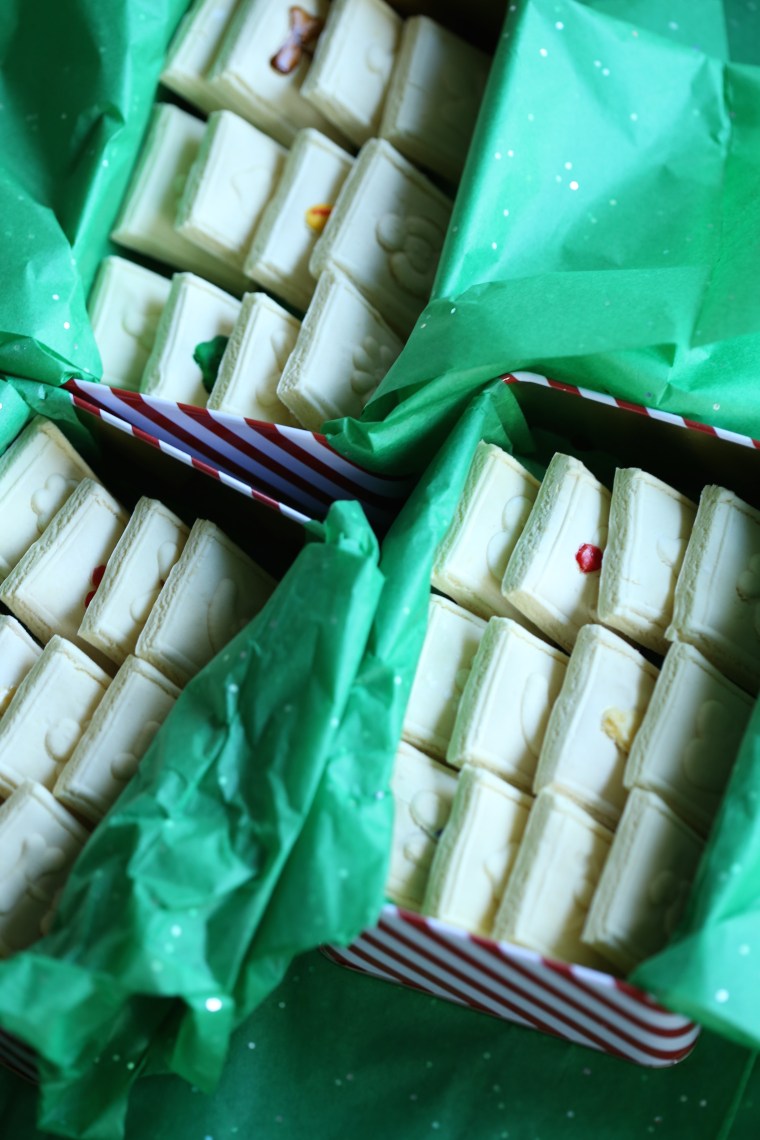
It has been a while since I baked with the TWD gang.  The holiday season is generally a hectic one for me and with all that I was baking for gifts, I just decided not to bake anything more, because baking it means eating it and I have gained more weight than I care to admit at this point.  (thanks menopause…)

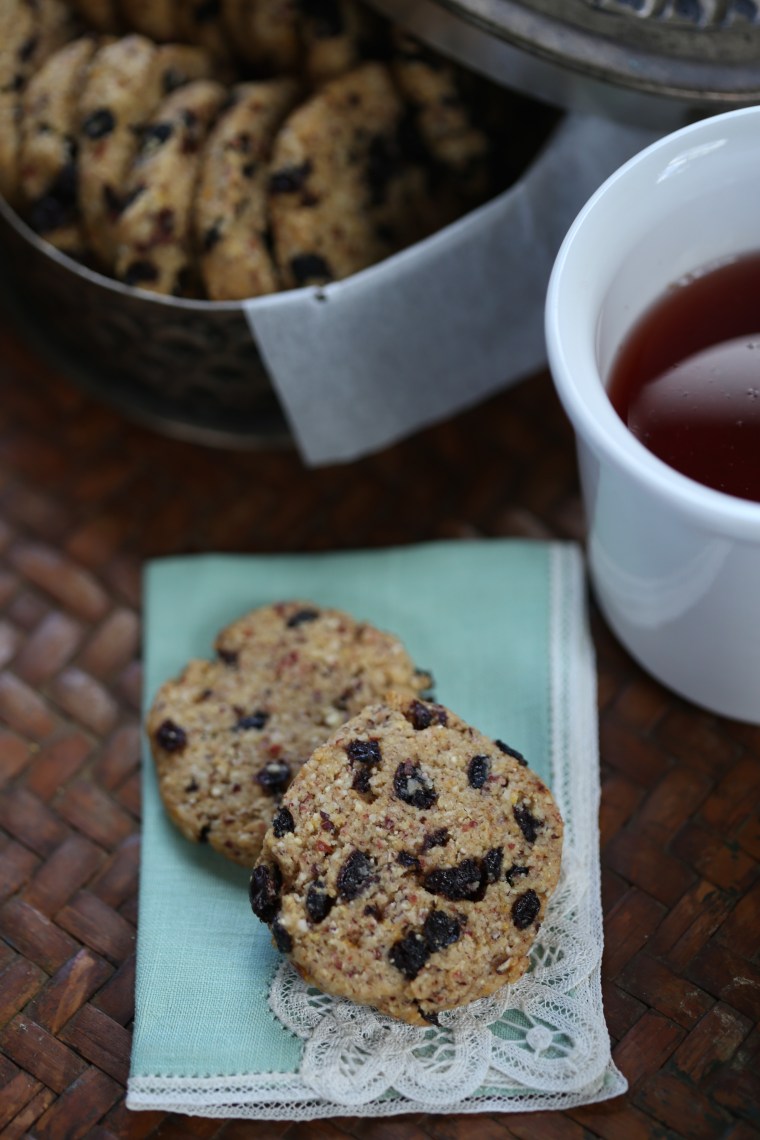
Even so, I am a sucker for anything that claims to be a biscotti and to make matters worse, I apparently hoard cornmeal.  When I checked the pantry for cornmeal, I found a complete rainbow; white, yellow, blue, roasted yellow and bloody butcher red.  A quick look at the different colors led me to choose between the organic blue and the organic bloody butcher and since the latter was more coarsely ground, it was my first choice.

IMG_5027Stone ground cornmeal is always more coarse than the regular grind but the bloody butcher had a large range in particle sizes and makes it very easy to see the meal in the dough.  This particular batch was grown and ground right here in Virginia and it is from Blenheim Organic Gardens which is located in Washington’s Birthplace, yes, that is the name of the town and no, I did not make that up!  They come to the Williamsburg Farmers Market when it is open and I look forward to the return of the Market in March.

IMG_5023There was a box of currants lurking in the pantry and since they were a little dry, I added several tablespoons of dark rum to them and heated them so that they would plump up.  To offset the extra liquid, I cut out the extra egg yolk and that made the dough slightly drier than I would have preferred.  However, now that we have our own egg laying hens, I hate the thought of wasting an egg white.  The recipe calls for the dough to be formed into a log and cut into scone-like wedges.  After asking one of the other TWD bakers how they worked out like that, I decided to go with a slice and bake log which is what most of the recipes I read called for.  The result was a crunchy, crumbly cookie.

IMG_5056The weather took a sudden turn towards winter today and turning on the oven was comforting in many ways and so was the scent of cookies baking-although, I really do not need to be eating cookies at this point!  The bottom line, I love currants and cornmeal but it is not likely that I would think to make these again, at least not with this recipe.  Personally, I would like them to be a little sweeter and a little crispier.  Either way, these cookies are a lovely accompaniment to a cup of hot tea, especially on a chilly day!

To see how the other bakers fared, visit the Tuesdays with Dorie website and consider baking along with us!

IMG_5061

Food Bloggers Cookie Exchange 2015: Springerle

e6adf61

Every year as the holiday season approaches, I read about cookie swaps.  In person, in the mail, cookie swaps all over the country!  This year I made sure I would be part of the fun and I signed up for The Great Food Blogger Cookie Swap.  For the last 5 years, Lindsay from Love and Olive Oil and Julie of The Little Kitchen have put this event together and all of the proceeds go to Cookies for Kids Cancer.

The process is simple, sign up, make a small donation and wait for your swap matches to arrive via email.  Then you bake cookies, 1 dozen for each of your three matches, ship them and wait for the cookies to arrive on your doorstep.

Choosing a cookie recipe was easy and I made a big batch of springerle using the special rolling pin Darry brought back from Germany.  Springerle are a traditional Christmas cookie from Germany, flavored with lemon and anise and rolled out with special pins or pressed into molds.

Some recipes call for sprinkling anise seeds on the tray rather than adding them to the dough.  Because I was curious, I added seeds to half the dough.  Once I began rolling the cookies out, I could see why it isn’t the best option; it makes it harder to get the details of the mold if seeds are near the surface of the dough.

Once the cookies are rolled and cut, they need to dry for at least 8 hours and up to 24 so that the details are preserved during baking.  The pin Darry brought back from Germany has 12 different molds on it.

Some day I hope to collect some of the traditional plaque molds, but until I do, I will use my vintage chocolate molds.  They actually made highly detailed cookies and I wish I had made more of them…

IMG_4998

Since I was in full holiday mode, I experimented with painting some of the cookies.  If you decide to paint them, do so after the drying period and right before they go into the oven.

IMG_4971

And because this was part of a cookie swap, lets get down to the details.  For each of my matches, I packed the cookies into metal tins with tissue paper.

IMG_4970

Here are all three of the tins waiting to go out in the mail to my three matches.  The exciting part about this is that three people sent me cookies and I am enjoying them immensely!


IMG_4975

From Monica of Pass the Cocoa, I received chocolate wafer sandwiches with a peanut butter filling.

IMG_4980

From Stacy of What the Cupcake?  came a tub of flourless chocolate peppermint cookies.  Can you believe she tied each one in a little bag.

IMG_4987

And lastly, from Laney of Life is but a Dish came some classic chocolate chip cookies.

IMG_4989
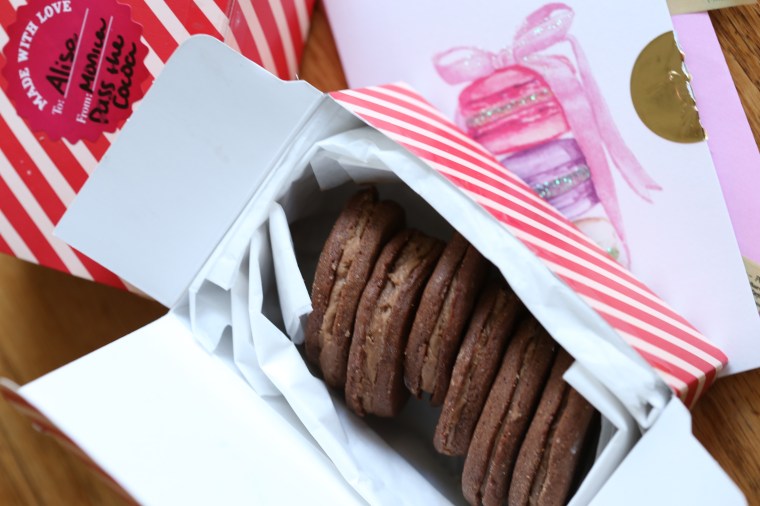
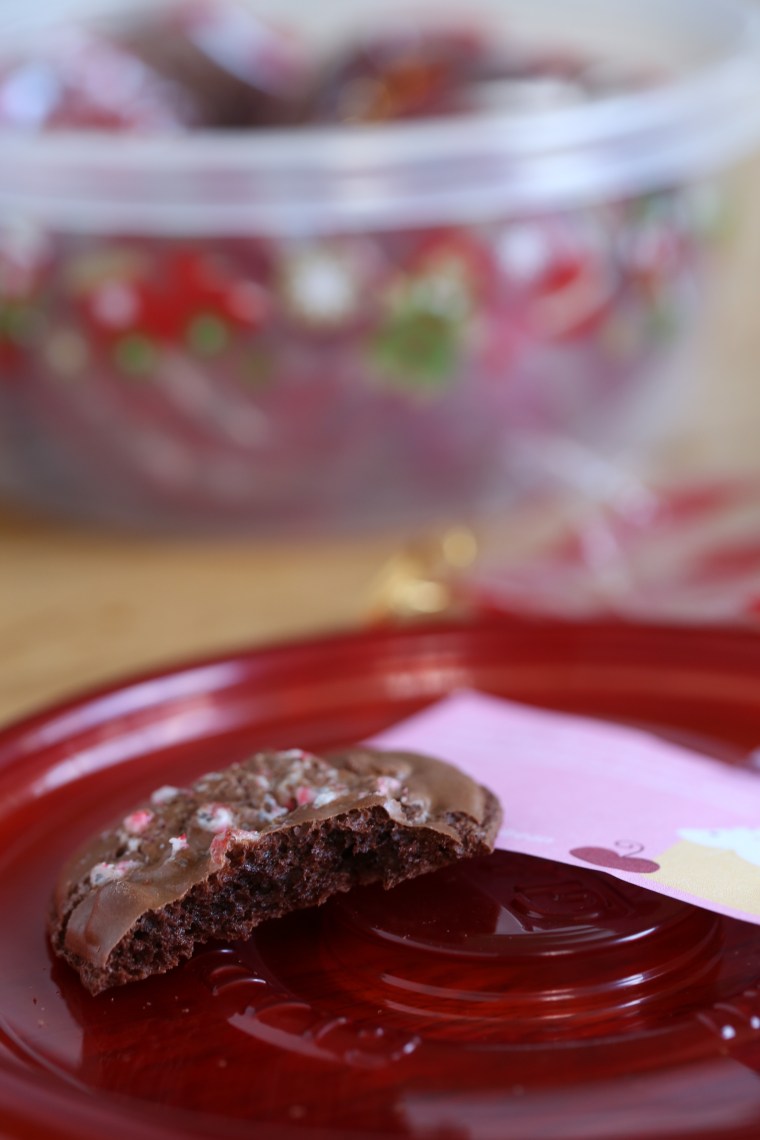
All stacked up and ready for snacking…I may have to hide these from Darry.  What I really want to know is how the three of you knew to send me chocolate?

IMG_4996

To make springerle, visit House on the Hill and bake a batch of their Perfection Springerle Cookies.  And if you are in the market for some molds or a pin, House on the Hill has beautiful molds and so do these sites; cookiemold.com  and fancyflours.com.

crispy topped brown sugar bars (aka legal crack); a tuesdays with dorie post

IMG_3360

It is no secret that I love cookies and bars, especially when chocolate is involved.  For some time now, I have known that chocolate is and always be my downfall.  But when you add caramel to the mix… Let’s just say that I will be bingeing along with the rest of the addicts.

So far, very few of the recipes that we have prepared since I started baking along with the Tuesdays with Dorie group have been earmarked as “must make again” recipes.  While some may think I am crazy, I am not; I am a professional pastry chef and I spend my days baking sweet stuff.  My palate is well-developed and I love many of the things I bake.  However, if I ate them as frequently as I baked them, I would weigh about 750 pounds.  When you spend as much time working with sugar as a typical pastry chef does, you often find yourself craving things that aren’t sweet.  For me, popcorn and pretzels are generally what I reach for.  Even so, something sweet will make an appearance and ice cream, cookies or even a coffee cake are typical choices in my home.  These bars however, are something that I really would consider making again.


IMG_3303

This.  The reason I would make these again; the crispy topping.  Simple enough, burn sugar, stir in crispy rice cereal and then break it up and press it into a melted chocolate topped brown sugar cookie bar.  They should be called legal crack bars because like potato chips, you will not be able to stop yourself.

Cooking sugar to the caramel stage is trickier than you think.  It is easy to over cook it and before you know it, black smoke is billowing out of the pan and a horrible bitter smell will fill the air.  Never walk away, trust me, you will regret it.  This time around, I stood there and waited and watched and waited and watched.  When I could see the color developing, I gave the pan a few swirls and when it reached a nice light amber color, I stirred in the cereal.  Sure, I could have gone a little darker but I am not liking my glass-topped stove and the way it holds onto heat so I stopped a little sooner than I would have liked to.  Even so, I am glad I made a larger batch than called for; it made up for the half cup I ate as it cooled…
IMG_3309

Look at the sugar hairs.  Now you know how cotton candy is made.  Sugar cooked to the hard crack stage and spun into fine hairs.  Yes, hard crack, the stage before caramel, a fitting name if you ask me.


IMG_3351Now like any other addict, I will have to hide my stash.  Actually, I will do one better and walk away.  Thinking I need to send these away, quickly.  If you are smart, you will make these and if you do, be sure to give them away as fast as you can.  Powerful stuff.  You will find yourself making all sorts of deals and promises for just one more bite.

Join us if you can, we bake and post each Tuesday.  The only requirement, a copy of the book since we do not post recipes out of respect for the author.  This recipe can be found in Baking Chez Moi by Dorie Greenspan.  To see how the other bakers fared, visit the website and check out the LYL page.  Be sure to join us as we alternate between this book and Baking with Julia and post about our experiences each Tuesday.

IMG_3362

lemon madeleines: a tuesdays with dorie post

IMG_3206

Over the years, I have tried making madeleines.  Each recipe gave me a glimmer of hope; maybe this batch will have the coveted hump…  Face it, the madeleines themselves aren’t much to get excited about.  Spongy little cakes, not so sweet and a little to dry to eat without a cup of tea or coffee.  But like any other recipe, it is all about achieving the expected results.  Baking this batch of madeleines wasn’t any different from the others in that respect.  It was all about the hump.


IMG_3211

The only factor that differentiates it from the majority of recipes is the two chilling periods.  First the completed batter is chilled for an hour and then the filled pans are chilled for an additional hour.  Getting the batter cold and keeping it cold until the moment it goes into the oven is crucial in as far as the hump is concerned.  Cold batter in a cold pan put in a hot oven will react differently than warm batter in a room temperature pan would.  By the time the center most portion of batter heats up, the outer edges have baked and the structure is set.  The only place for that bit of batter to do is out the top which is what causes the hump.

The final touch, a lemon glaze, which each madeleine is dipped into before returning them to the oven for a minute or two to heat up so it can sink into the surface.  Most recipes just call for brushing a syrup over the warm madeleines but this recipe allows them to cool completely.  They are then dipped, hump sides only, placed on a rack and returned to a piping hot oven just long enough for the glaze to melt and turn clear.  The instructions say to remove them at the first sign of a bubble.  Obviously, I fell asleep at the wheel on that one.  My glaze bubbled a bit and formed a sweet, crusty edge on the hump sides.  
IMG_3215

Close up, you can see the crusty glaze.  The moisture in the madeleines has kept it from being crunchy and it is flaky like a glazed donut.


IMG_3212

Because I know how much my husband likes to have something to dunk in his coffee or tea, I made a double batch.  The recipe suggests that it will make 12, doubled that is 24 but I either under filled my pans or the yield is off because I ended up with 30.  My first batch, the ones on the right, came out a little flat and without pronounced humps.  My guess is that placing the madeleine pan onto a hot sheet pan insulated them and allowed for even baking.  For the second batch, I removed the sheet pans from the oven and placed the madeleine pan directly on the rack.  The madeleines on the left have a more pronounced hump.


IMG_3218

Honestly, my husband does not care about the hump.  For him, it is all about dunkability.  As you can see, he did not waste any time testing them out.


IMG_3219And as far as he is concerned, these will do.  Dunk away dear, dunk away…

To see what the other bakers came up with, visit the Tuesdays with Dorie website and check out the LYL page.  Want to give it a try?  Pick up a copy of the book, Baking Chez Moi, and bake along with us; we do not post recipes so you will need to have a copy of the book.