rolled buttermilk scones: a tuesdays with dorie post

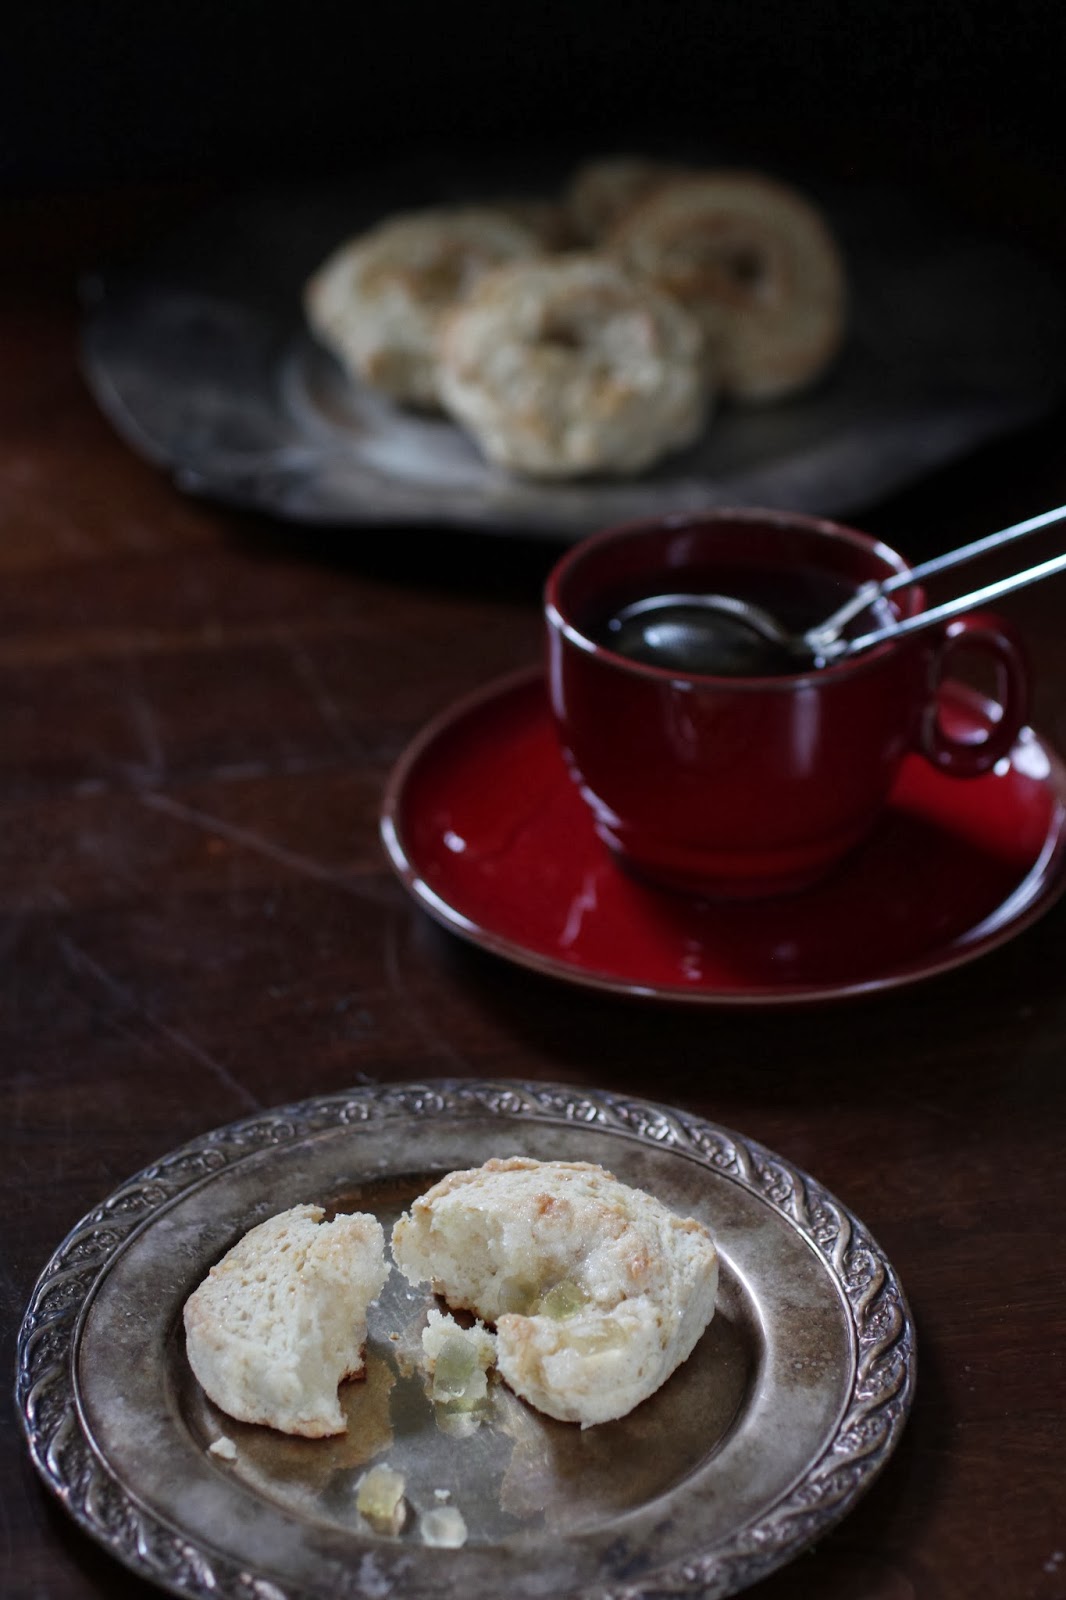
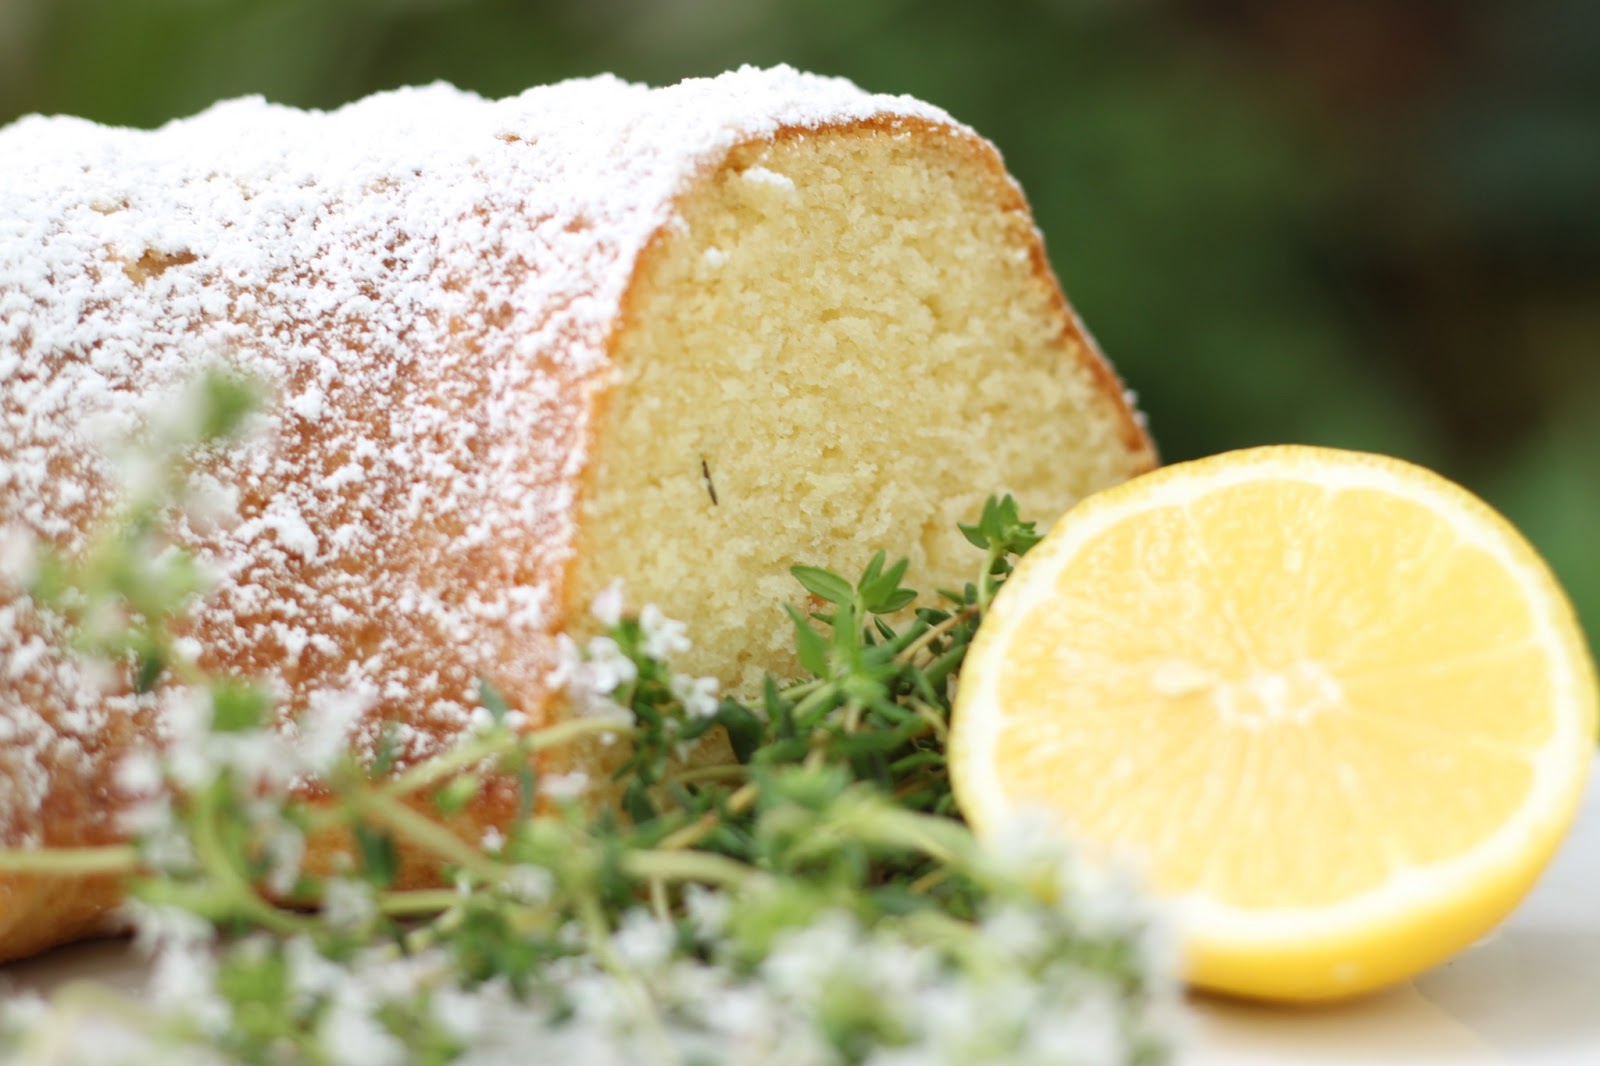
such a dark and dreary day.  cold and icy and snowy.  who isn’t over this winter thing yet?  this weeks tuesdays with dorie baking challenge was buttermilk scones.  they were the perfect treat to pair with a steaming hot cup of tea on such a cold and damp day.

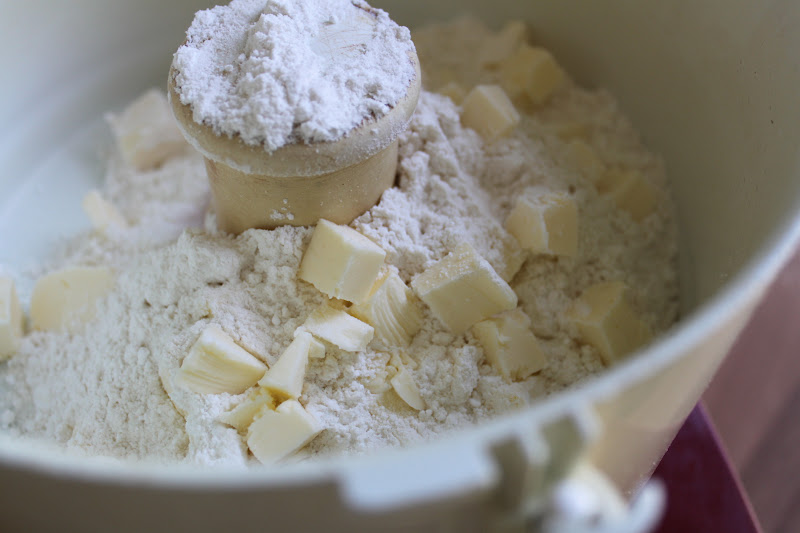
scones recipes call for cold butter to be cut into the dry ingredients.  this recipe was no exception.  to get the job done, i used my vintage piano wire dough cutter.

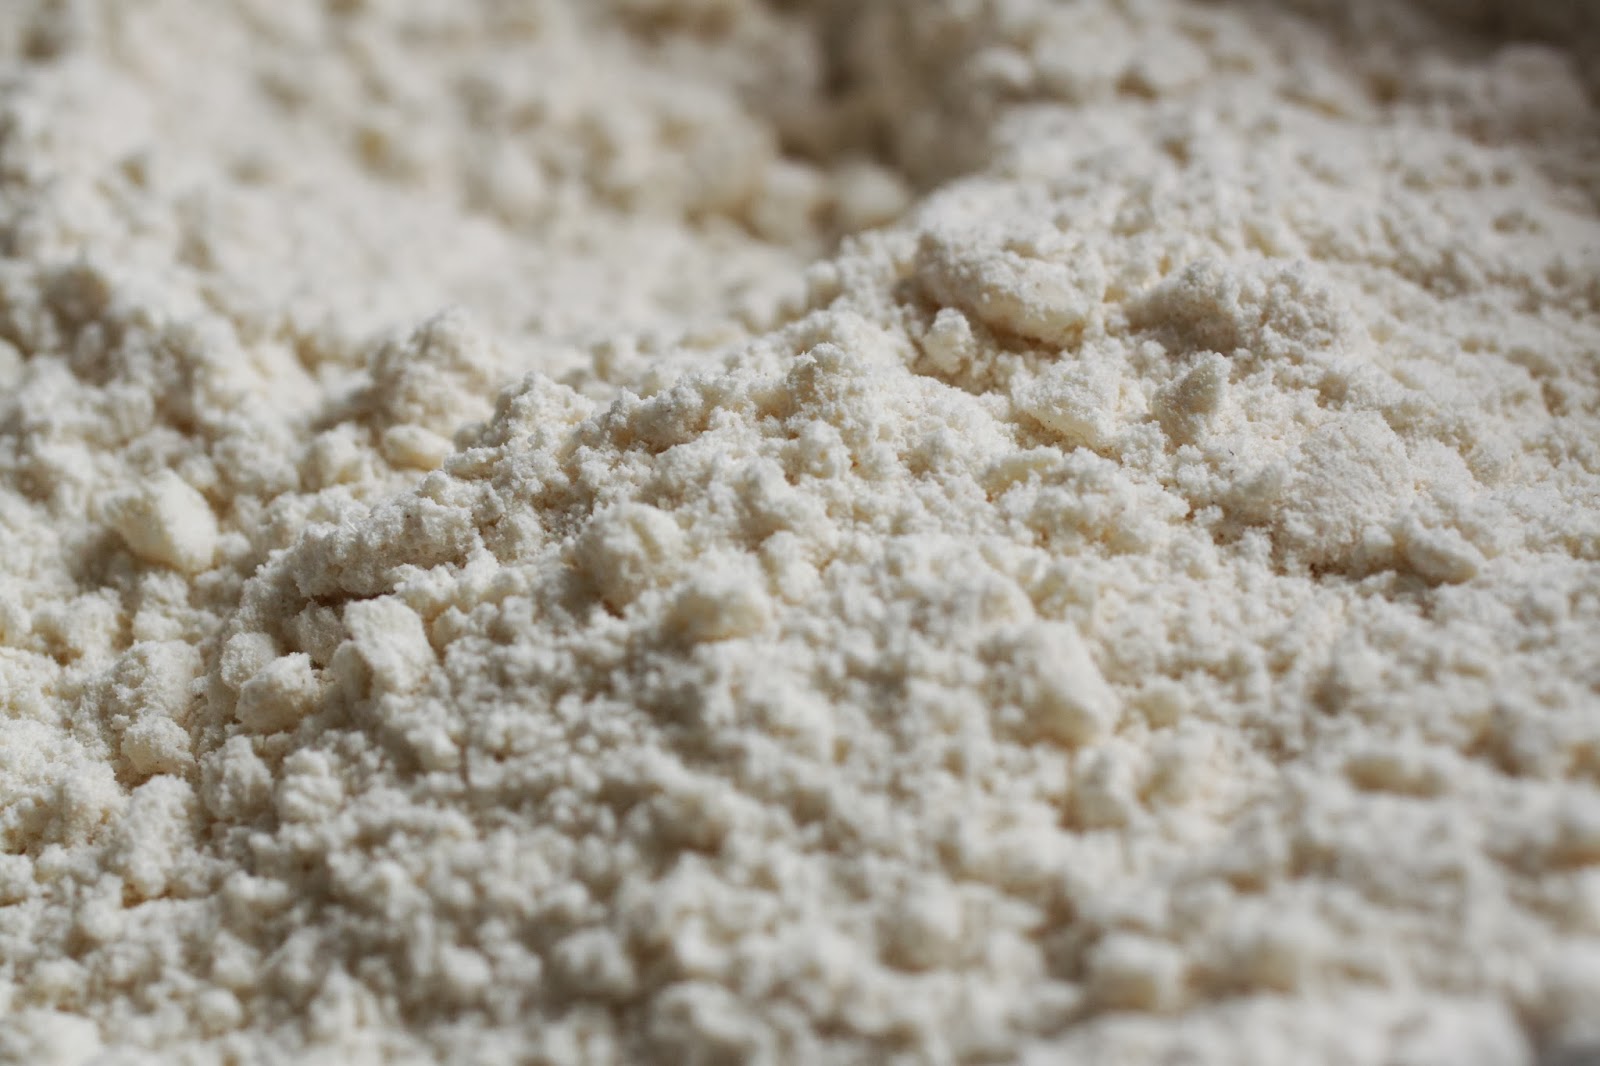
the recipe instructs you to cut the butter into the dry mix until it resembles coarse meal.  i left some small lumps of butter because that will add to the flaky texture i prefer in a scone or biscuit.

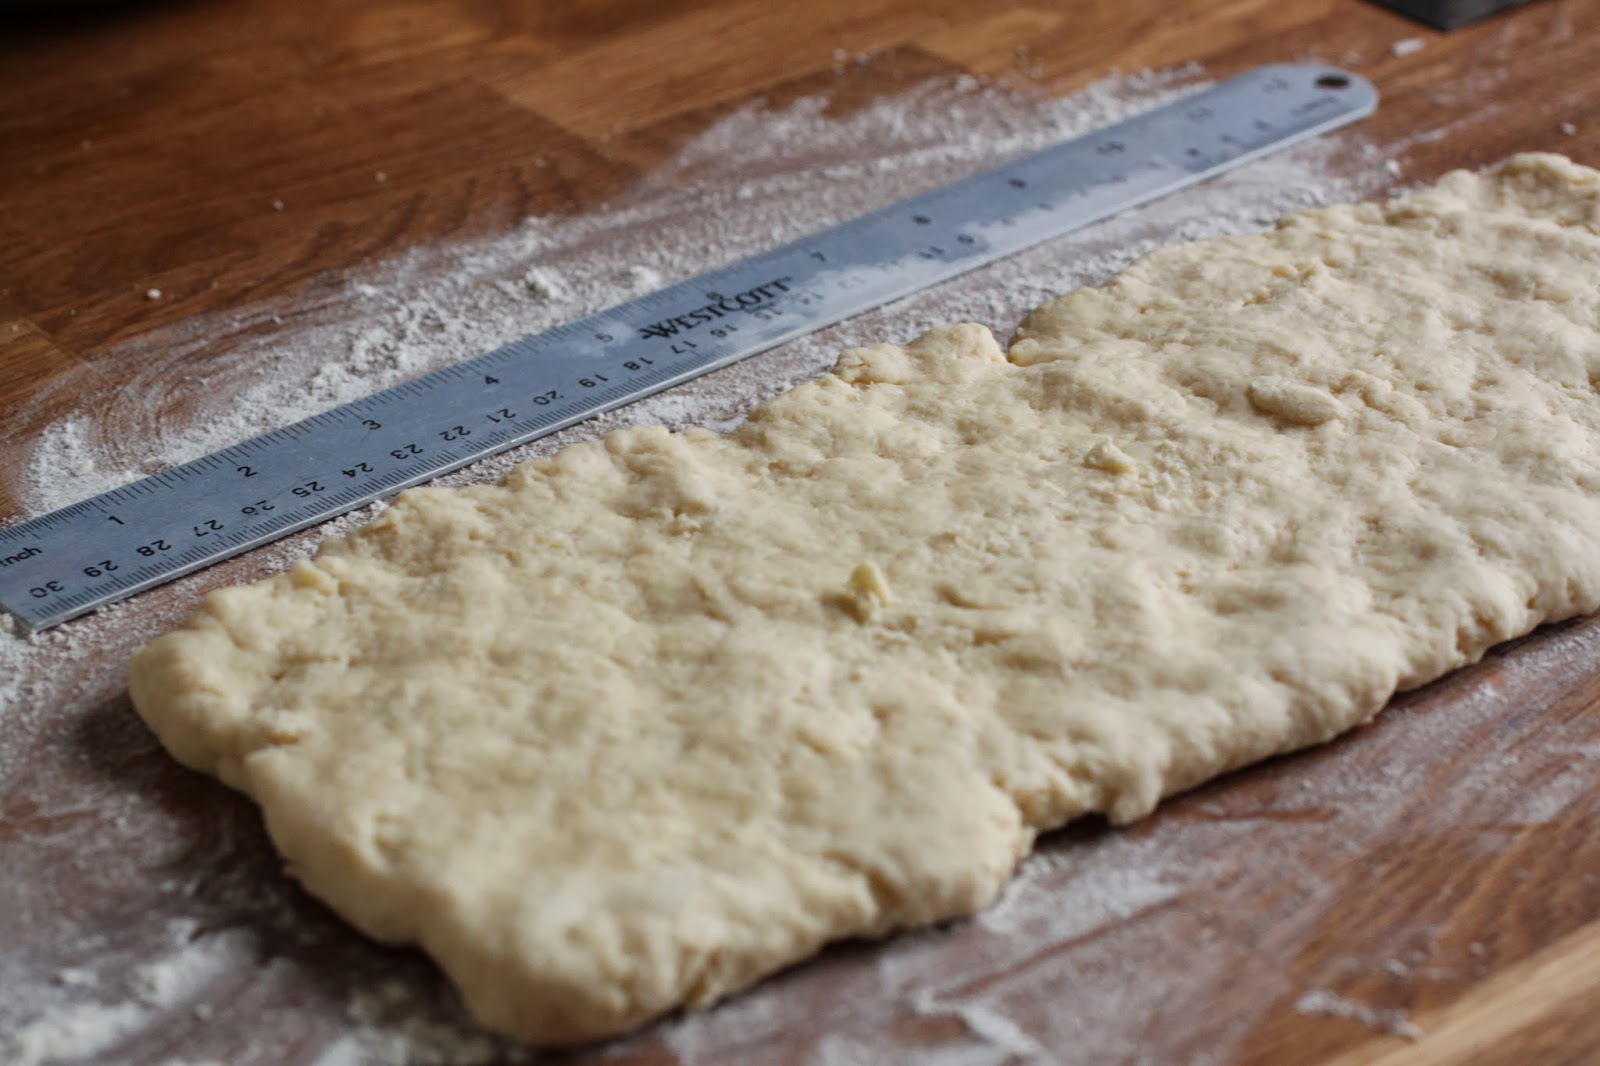
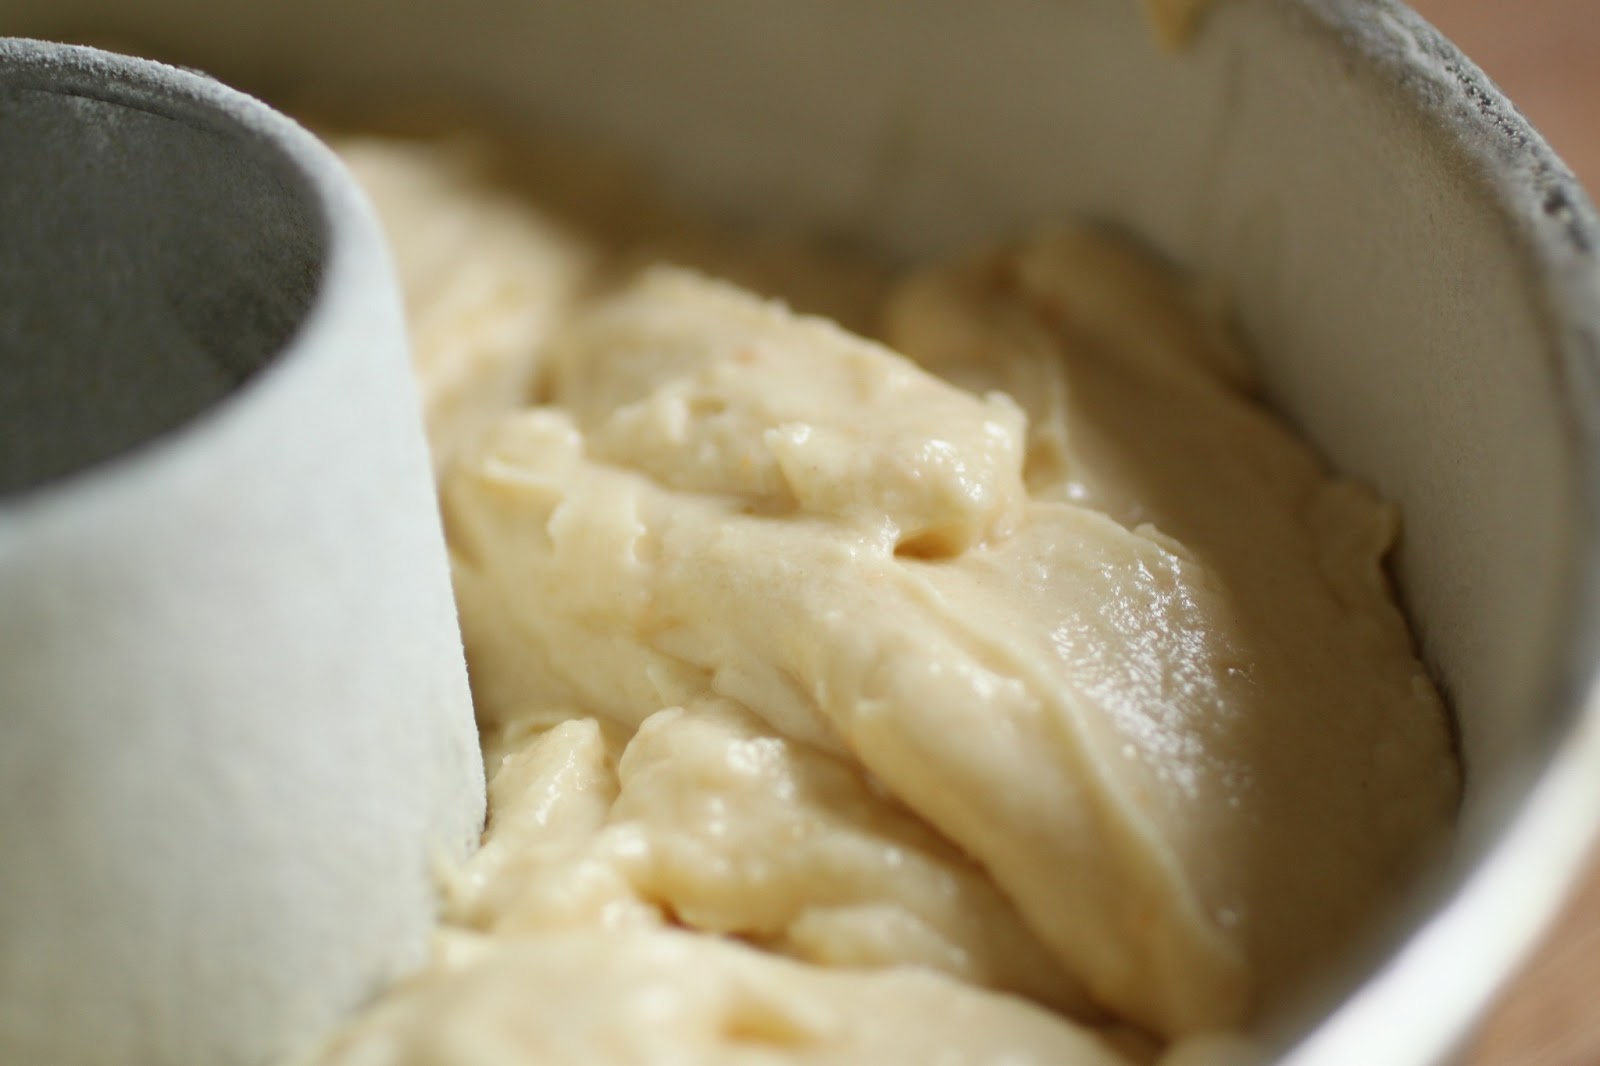
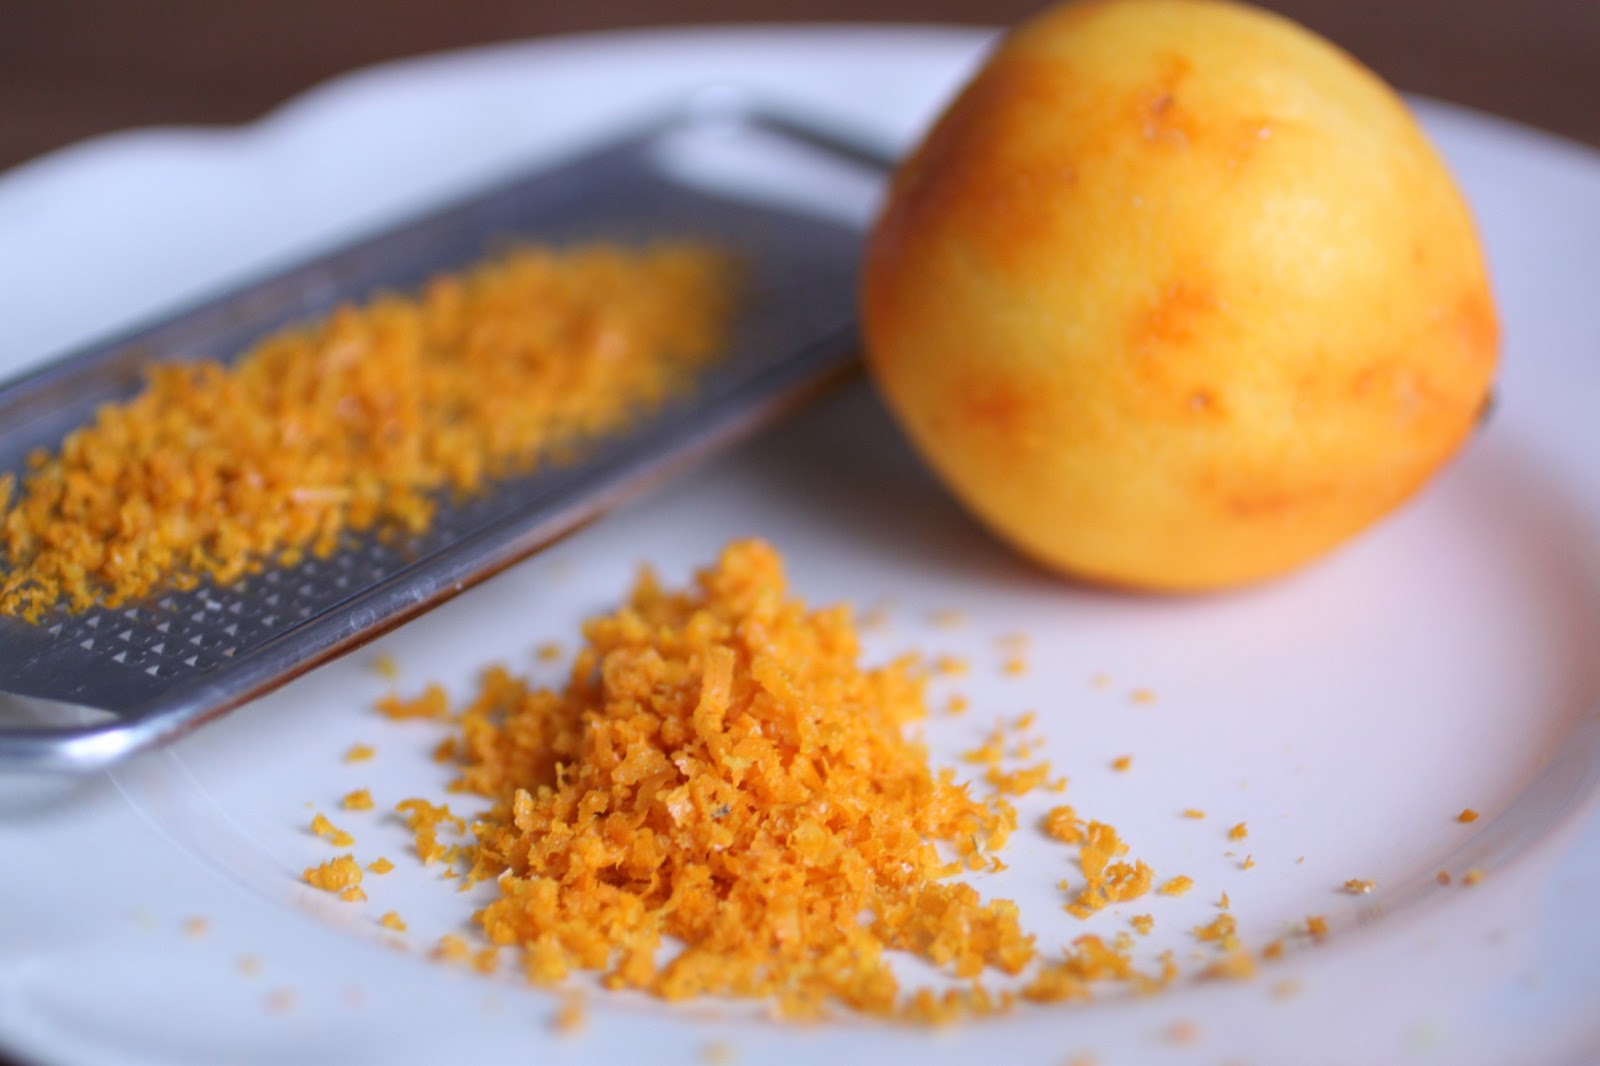
after the butter is cut in, buttermilk is added and the dough is kneaded about a dozen times.  in my opinion, the kneading is not necessary.  mix it up and pat it out.  game over.  the recipe gave us two options;  classic wedges or filled, rolled up and sliced.  since i have made more wedge shaped scones than i could ever count, i opted to make the rolled scones.  the dough was patted out into a 12″ x 4″ rectangle that was about a half inch thick.  first, a brush of melted butter, then a sprinkle of sugar before topping the dough with some candied lemon peel and candied citron that were left over from holiday baking.

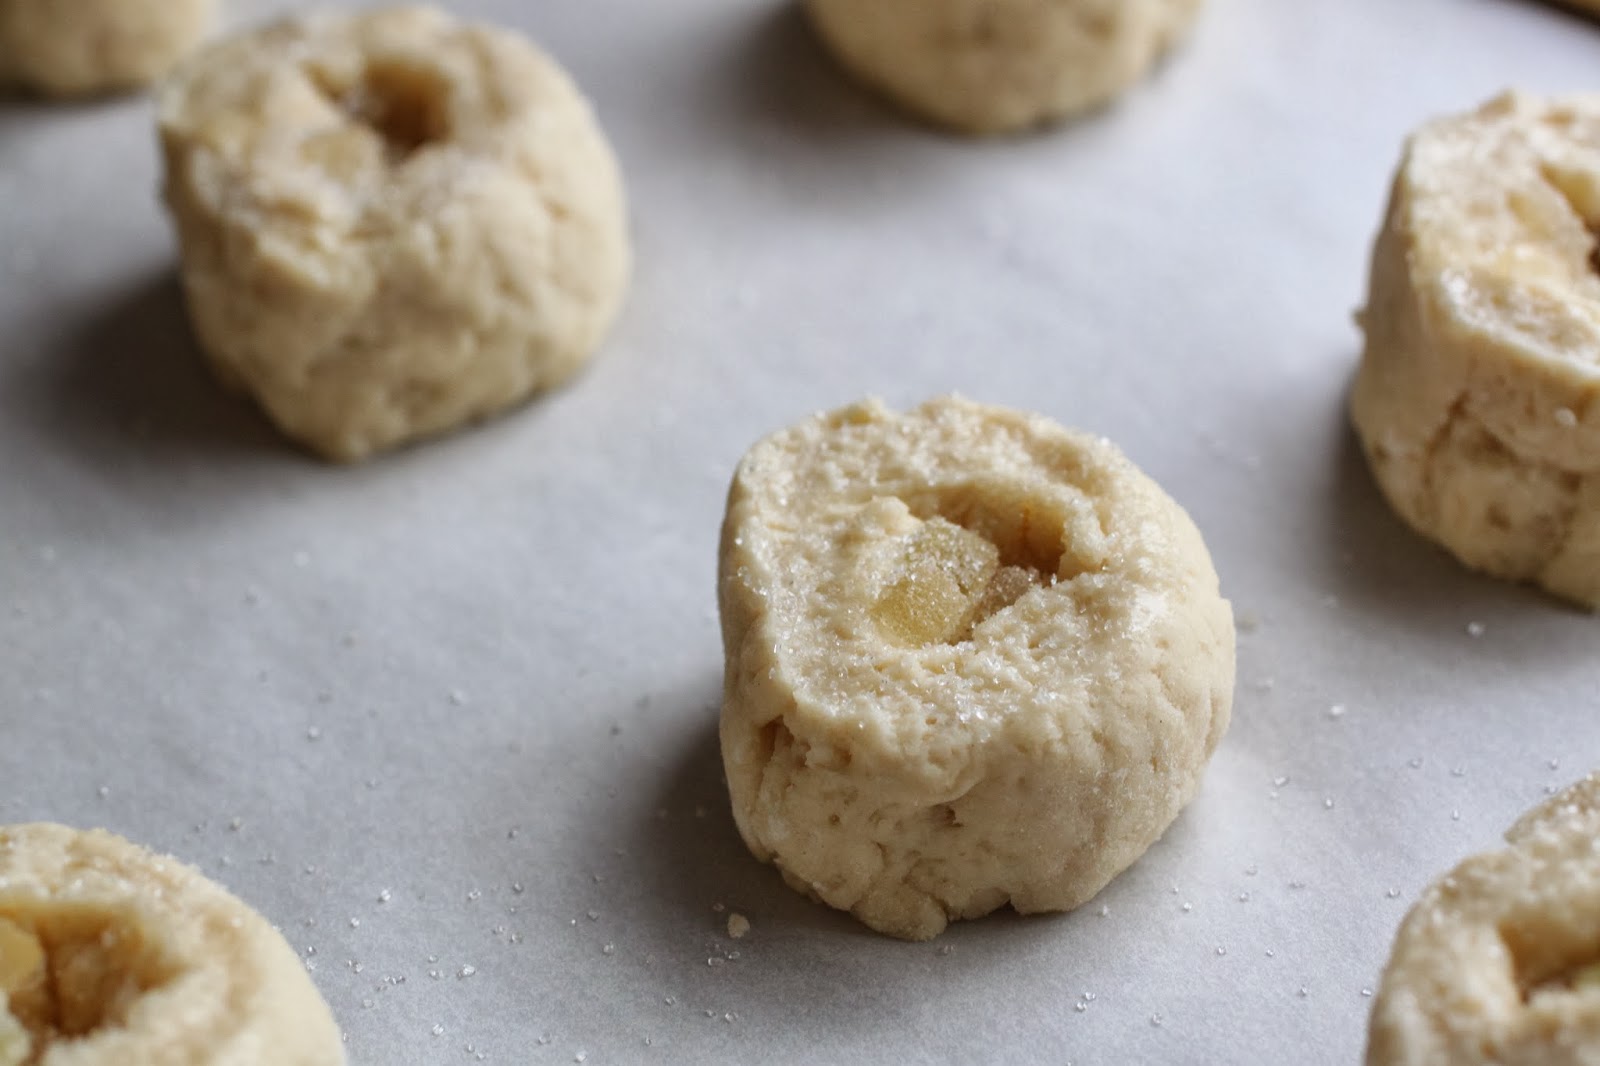
there wasn’t much to work with as far as rolling up the dough.  i didn’t get much of a spiral and they looked more like a donut with a clump of dried fruit in the middle.  with a final brush of melted butter and sprinkle of sanding sugar over the top of each spiral, they were ready to be baked.

 a close up view of the spiral.

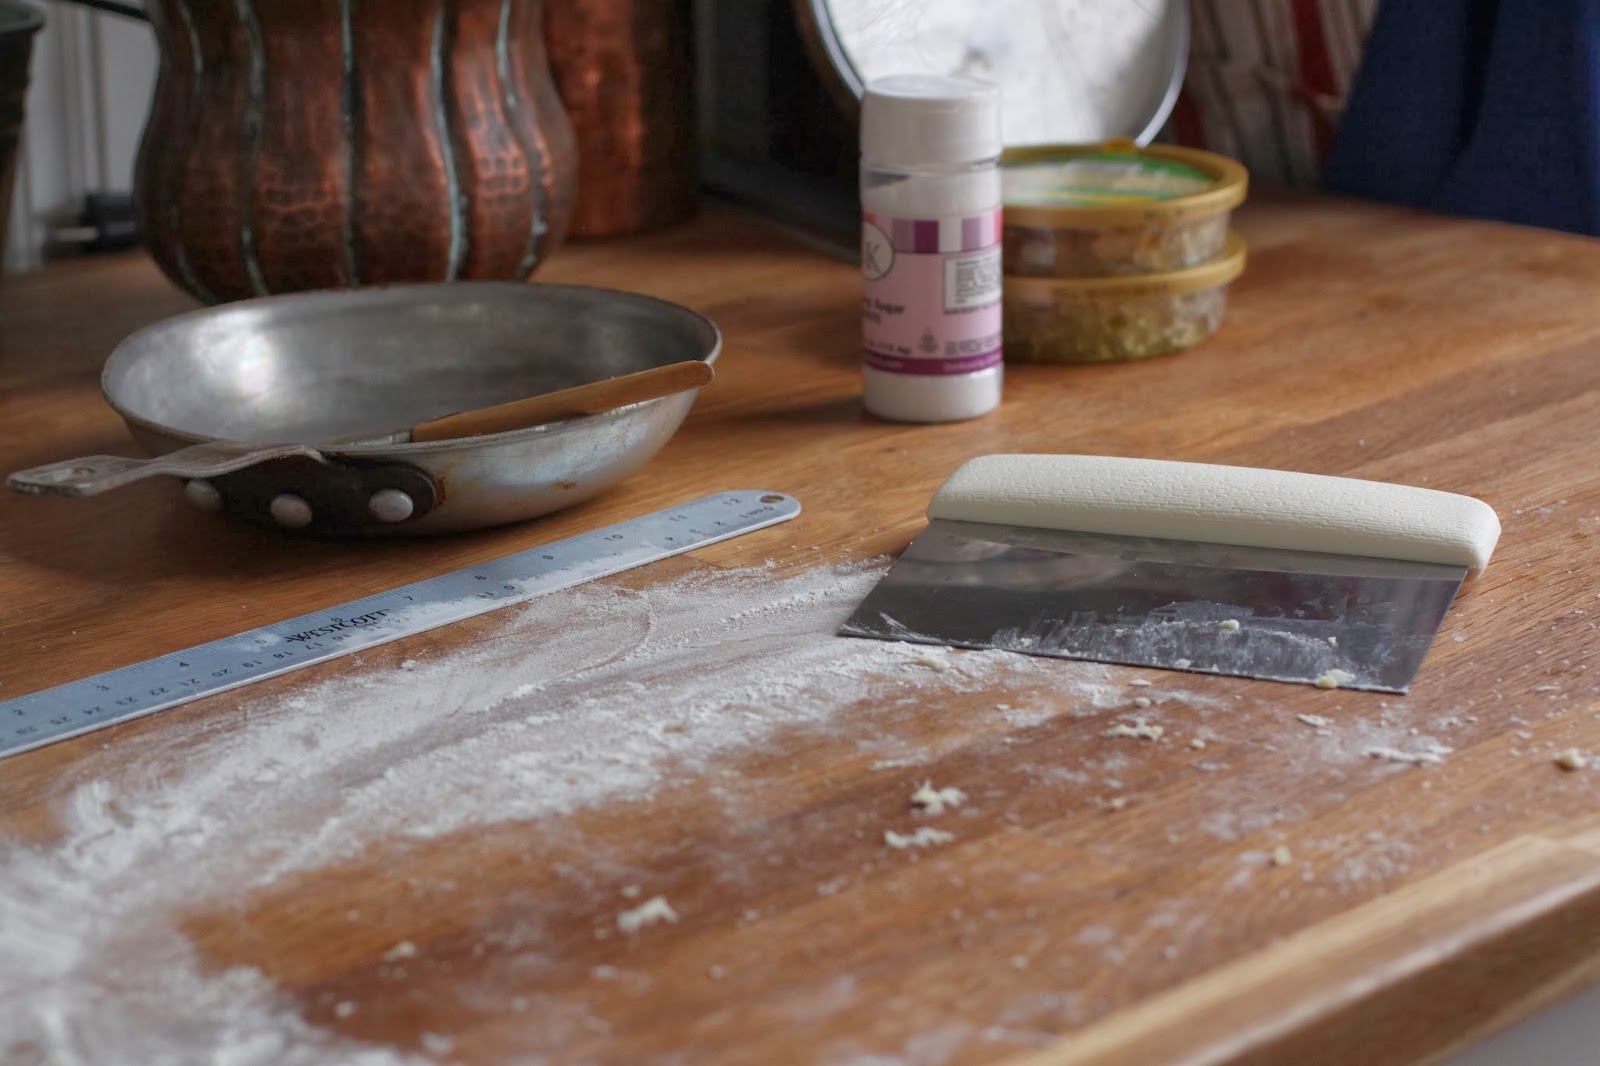
my work table.  i love being able to work with dough on the tabletop.  it is next to a large window and i get lots of natural light on my workspace.  the bench knife is one of my favorite tools.   it is one of those tools that once you have one, you cannot go without it.  first i used it to cut the butter up into little cubes.  then i used it to slice the spirals.  finally, a quick scrape across the tabletop removed all of the dough and flour.

the rolls took several minutes longer than the 10-12 minutes that the recipe called for.  in my oven, it was more like 15-16 minutes.

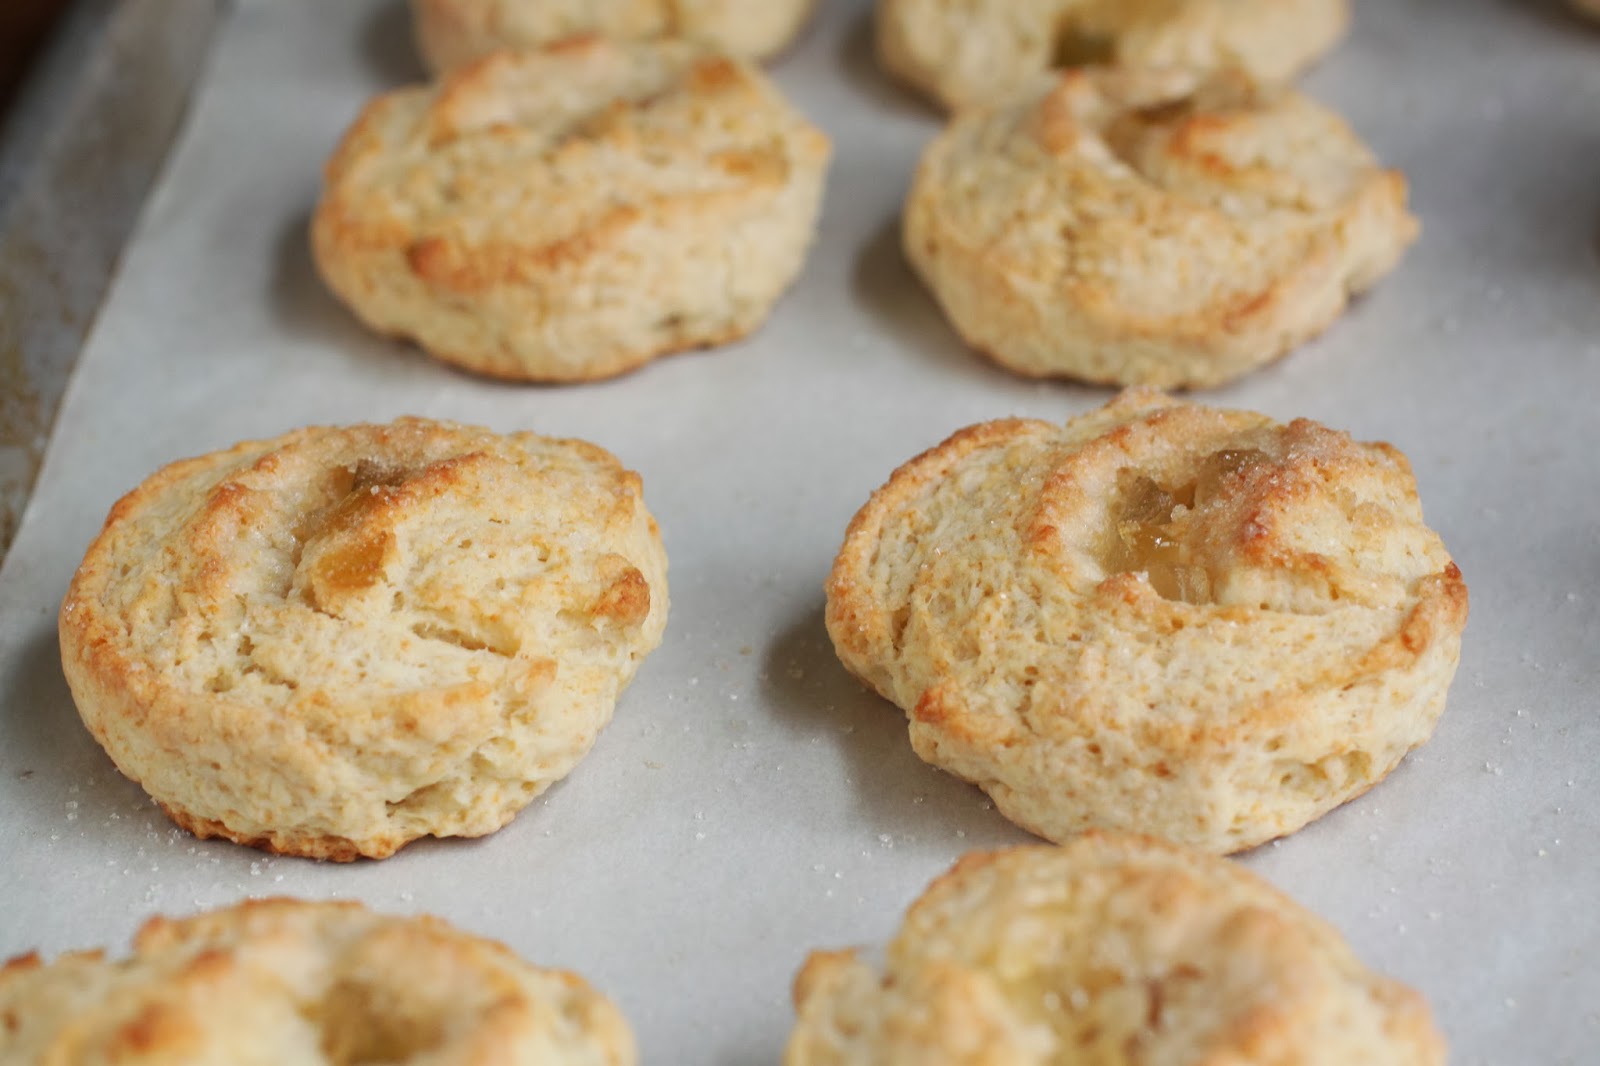
a quick and easy treat to make, scones are always a favorite of mine.  however, i was not impressed with this recipe.  it was not buttery enough for me-the recipe could have used a couple more tablespoons of cold butter cut into the dough.  it also could have used a little more buttermilk-i only used the amount called for since i had no experience with the recipe, i did not want to add too much.  then, there was the kneading which was totally unnecessary.  next time, i will stick to my own recipe but i may try the spiral slices again.

to see the recipe, visit this site.  but as a cookbook author, i ask that you consider buying the book, baking with julia.  it is a wonderful book to add to your cookbook collection!  to see what the other tuesdays with dorie bakers came up with, visit the website.

semolina bundt cake with lemon and thyme

when it comes to bundt cakes, the ones with a pound cake texture are always the easiest to unmold and slice.  if they are scented with lemon and herbs, as this one is, they also seem to be favorites among my fellow garden volunteers.  right now, the herb garden is bursting with thyme in bloom which made adding a few sprigs to this cake the obvious choice.

since i bring a cake whenever i go to the garden, i have to keep it interesting.  that stands to reason for the people eating it as much as it does for me, the person baking it.  while looking through the larder in search of inspiration, i came across my container of semolina flour.  then i stumbled upon the bag of almond flour in the freezer.  semolina flour and almond flour both add to the texture without changing it  visibly.  the color of the semolina and the almond flour after it is toasted accentuate the golden hue of the cake.  freshly grated lemon zest and thyme leaves give it a wonderful aroma as well as flavor and make this a great cake for a picnic.  if you want to go a little crazy, try using slabs of this cake in place of a biscuit or angelfood cake cups for a wonderful shortcake dessert; the cake flavor would blend beautifully with fresh berries.

semolina bundt cake with lemon and thyme
one 10-12 cup bundt serving 12-16
1/2 cup almond flour
1 3/4 cup unbleached all purpose flour
3/4 cup semolina flour
2 teaspoons baking powder
1/2 teaspoon salt
1 cup unsalted butter
1 3/4 cup sugar
1 tablespoon freshly grated lemon zest
2 teaspoons freshly picked thyme leaves
4 eggs
1 1/4 cup buttermilk
preheat the oven to 350.  grease and flour the bundt pan and set it aside.  in a small ovenproof dish or pan, spread the almond flour out and bake it until golden, about 5 minutes.  set aside to cool.  place all of the dry ingredients into a bowl and whisk it together to remove any lumps in the flour.  add the cooled almond flour and stir it in.
in a large mixing bowl, cream the butter with the sugar, lemon zest and thyme leaves until fluffy, about 3-4 minutes.  add the eggs, one at a time and scrape the bowl as you go.  add the dry ingredients to the bowl and by hand using a spatula or spoon, fold them in a few times.  sprinkle the buttermilk over the mixture and continue folding the batter together by hand until no streaks remain.  scape the batter into the prepared pan and bake until a cake tester comes out clean when inserted, about 45-50 minutes.  allow the cake to cool in the pan for 15-20 minutes and then invert it onto a rack to finish cooling.  to serve the cake, give it a light dusting of powdered sugar.  
this cake recipe is very versatile; try substituting different citrus fruits or herbs as well as nut flours.  orange, rosemary, lime, thyme, lavender, basil, pecan meal-you get the idea!  the list goes on and on…and one more thing, have i mentioned how much i love the herb garden?  best kitchen “tool” ever!

meyer lemon syrup cake

for the last 12 or so weeks, i have been attending as many of the master gardener classes as possible.  each week, a small group of certified members has attended in a sort of welcome wagon capacity.  we also bring refreshments for the break.  they have dubbed me the cake lady because i bring a cake each week.  i suppose they could call me worse things than that…

a recent trip to the store yielded a mesh bag of meyer lemons.  these lemons with orange colored skin, have a flavor that is not quite lemon and not quite orange and it is definitely worth seeking them out when they are in season.

if i am baking with citrus, the zest is the part i use.  i used the juice to make a glaze that i brushed over the cake.

meyer lemon syrup cake
1 (10-12) cup bundt cake serving about 16
8 ounces unsalted butter, softened
2 1/2 cups sugar
1/2 teaspoon salt
zest of 2 meyer lemons
4 eggs
4 cups unbleached all purpose flour
4 teaspoons baking powder
2 cups buttermilk
2 tablespoons freshly squeezed juice from the zested lemons
3 tablespoons sugar
preheat the oven to 350.  grease and flour a bundt pan and set it aside.  place the butter into a mixing bowl with the sugar, salt and zest and on low speed, mix to combine.  turn the mixer up to medium and allow the mixture to cream until light and fluffy.  add the eggs, one at a time and mix to combine.  scrape the bowl as you go. from here on, it is best to mix by hand so if you are not using a wide shallow bowl, transfer the batter to different bowl that will make folding the batter by hand a little easier.  place the flour and baking powder into a sifter and sift it over the batter.  fold this a couple times.  sprinkle the buttermilk over the batter and gently fold until no streaks remain.  scrape the batter into the prepared pan and bake until a pick inserted comes out clean, about 1 hour and 10 minutes.  
make the glaze by combining the juice and the sugar along with 2 tablespoons of water in a small pan.  bring to a gentle boil and let it cook for a minute or two.  be sure to do this over low heat or you will evaporate most of the glaze and be left with either a thick syrup or a burned pan…brush a little of this over the cake while it is still in the pan.  after it has cooled in the pan for about 10-15 minutes, invert the cake onto a rack, pierce it with a fork a few times and brush the remaining glaze over the top and the sides of the cake.  allow it to cool completely before cutting.

madeleines; twd/bwj

if you ask me, marcel proust was nuts.  he went on about madeleines, or at least that is how the story goes.  after baking them with this recipe, i can only ask why?  what is so wonderful about madeleines?
this week, the tuesdays with dorie bakers made the madeleine recipe from the baking with julia book.  to see the recipe, buy the book or visit the blogpage of our hosts for the challenge, katie and amy of counter dog.
so what is my problem, why am i hating on proust and his beloved madeleines?  they are not very exciting.  kind of dry actually and a little flavorless too.  then again, that is what most genoise cakes are, dry and flavorless.  made that way to soak up the flavor from the fillings and booze that they sandwich together in multilayer cakes served by the slice.  these little buggers didn’t just ask to be dunked in tea, they begged!
to make it interesting, i made two batches.  the first batch i flavored with freshly grated lemon zest and the second, with some cocoa powder and some cinnamon.  neither batch was worth indulging in if you ask me.  i brought them to a meeting and shared them.  the tasters enjoyed them and several dunked them-confirming my theory on the dryness.  would i make them again-not likely with this recipe.  while all madeleine recipes call for whipping eggs and sugar until the ribbon is formed, most have more than just flour a touch of butter and a little vanilla for flavor.  my own recipe includes coconut and is much moister and more flavorful than these.
the instructions from the recipe call for greasing and flouring the plaques.  not a good idea.  if anybody ever asks your opinion, tell them to just grease the pans or simply brush them with melted butter.  the flour and grease form a coating that stays on the madeleines and gives them a white washed effect.  it isn’t noticeable on the lemon ones but it sure is on the chocolate ones.  believe it or not, the cleaner pan of the two in the photo, just used grease-no flour at all.

when sitting side by side, you can easily tell which had flour in the pans.  

lemon zest added a hint of lemon flavor that improved the taste of the otherwise eggy little treats.  still wasn’t enough to tempt me into eating more than one.  to see how the rest of the bakers did, visit the tuesdays with dorie page.

lemon pistachio breakfast cake

every sunday morning, i head out to the demonstration garden to work with my fellow gardeners for a few hours.  it is usually peaceful out there and we always have a good time together.  how can you go wrong if someone always comes out to the garden with a freshly baked cake?  unless you are that someone who is searching through cupboards trying to figure out what to bake…did i mention that the “someone” in question is me?

this week, lemon sounded like a good choice to me.  it has been so hot and lemon sounded light and refreshing; a good choice for a crowd.  that is providing a crowd shows up.  since it was a holiday weekend, i ended up gardening by myself with a cake for company.  luckily, for me anyway, i wasn’t in a sweet tooth mood and was easily able to limit myself to a small slice.

this is a moist cake that is quickly mixed up in one bowl and baked in a medium sized (about 8 cups) bundt pan.  rather than make a glaze as the recipe called for, i opted for a more finger friendly dusting of powdered sugar-we don’t have the time for plates and forks in the garden.

lemon-pistachio breakfast cake

adapted from a recipe by lou seibert pappas.  the original recipe, lemon-glazed buttermilk bundt cake can be found in the 2006 book, coffeecakes, simple, sweet and savory published by chronicle books.

serves 10-12
3 eggs
1 cup sugar
1 tablespoon freshly grated lemon zest
3/4 cup canola oil
1/3 cup chopped pistachios (i used unsalted, dry roasted pistachios from trader joe’s)
1/4 teaspoon kosher salt
2 1/2 cups unbleached all purpose flour
1 teaspoon baking powder
1 teaspoon baking soda
1 cup buttermilk
powdered sugar for dusting the cake

preheat the oven to 350.  grease an 8 cup bundt pan and set aside.  in a large mixing bowl, combine the eggs, sugar, zest, canola oil, chopped pistachios and salt and whisk until smooth.  sift the flour, baking powder and baking soda over the top of the egg mixture.  stir it a couple times with a rubber spatula, add the buttermilk and continue to mix until smooth.  scrape it into the greased pan and spread it out evenly.  bake until a pick inserted comes out clean, 35-40 minutes.  allow the cake to cool in the pan for 15 minutes and then invert it onto a rack to cool completely.  to serve, dust the top with a small amount of powdered sugar and cut into slices with a serrated knife.

cookbook request: lady lemon bars in a tart pan

when someone contacts me about my book, i get slightly worried that they are calling or emailing me because they are unhappy with a recipe; it didn’t work or it just wasn’t any good.  luckily, that hasn’t happened and just about everyone i have heard from is happy and excited to have the book and the chance to bake the desserts they remember from the cafe.  
when joy mc-waitress extraordinaire, came to me with a note from a guest, i was worried.  it seems that a woman (so sorry that i do not know your name-but i wouldn’t use it without your permission anyway) who was visiting the cafe from all the way down in boca raton, florida, was wondering about a recipe in the book.  she has a copy and wants to make the lady lemon bars the way they are photographed-in tiny little tarts rather than bars.  
the problem; the recipe only contained instructions for bars.  the explanation; when you have to take 75 photos, things get changed so that the photos look different.  we made a spur of the moment decision to assemble the lemon bars using a mini muffin pan rather than try to cut them into squares; squares are messy and sometimes the filling can ooze and separate from the crust.  in short, the tarts were much more camera friendly in 90+ degree temps for a photo shoot that was happening outdoors!
the good news, i made a batch of little tarts and am posting the recipe and instructions here so that anyone who would like to make tarts rather than bars, can.  enjoy!
lady lemon tarts
makes 20 mini tarts

to make the dough, place the following into the bowl of a food processor:
1 cup all purpose flour
1/3 cup confectioners’ sugar
6 tablespoons unsalted butter, cold and cut into small cubes

 pulse that mixture until it resembles coarse meal
 add 1 egg yolk and process until it comes together to form a soft dough.  

preheat the oven to 350.  divide the dough into 20 equal pieces.  if you use a scale, as i did, it will be about 1/2 ounce each.  if you do not have a scale, pat the dough into an evenly shaped rectangle with the same thickness through out and then cut it into 20 even pieces.  lightly spray the pan with grease and using your fingertips, gently press the dough into the cups of the pan.  be sure to bring the dough to the top of each cup.

 bake the tart shells until they just begin to color on the edges and are no longer glossy in the bottom, about 10-12 minutes.  while the tart shells bake, prepare the filling.

 ***a note about the filling; the tarts use a lot less than bars do!  so, i am including a half recipe of filling that will be more than enough to fill 20 mini tarts.  if you want to make more than 20, both recipes are easily doubled!

place the following in a mixing bowl:
1/2 cup granulated sugar
2 tablespoons all purpose flour
using a whisk, mix well.

whisk in the following:
1 egg
1 teaspoon lemon zest
1/4 cup freshly squeezed lemon juice
using a tablespoon, carefully fill the tart shells taking care not to let the filling go over the edges or it will seal the crust to the pan and make it difficult to remove the tarts from the pan.  bake until the filling is firm, about 10-12 minutes.  allow to cool completely before removing them from the pan.

 the finished tarts, fresh from the oven.

using a thin bladed knife, carefully lift the tarts out of the pan by inserting the knife down the side of the cup.  take care when doing this so that you do not scratch the finish of your pan if it has a nonstick finish.  to decorate, sprinkle additional powdered sugar over the top and place a fresh berry or two in the center-we used blackberries for the photos.

bake on friends and feel free to ask me questions about the book anytime-it’s nice to know that the recipes are being used and the results enjoyed!

lemon-lime cheesecake muffins

 citrus fruits are at their peak during the dreary months of winter.   many desserts made around this time of year are flavored with lemons, limes and oranges.  but there is something comforting about cheesecakes and pairing it with lemons and limes makes these little muffins an irresistible treat.

quick and easy to mix up, you will have many little treats in no time.  i doubled the recipe and you can too if you want more than a dozen.

 fresh from the oven.  the topping sinks during the baking and creates a pocket of rich citrusy cheesecake filling

 remove them from the pan after 10 minutes or they will be soggy on the bottom.

now brew a cup of tea or coffee and indulge!  this is my entry into the food52.com contest of the week and you can use my original recipe by viewing it here.  and if you do, send me a photo, i will post it here!

taste the book, 6/30

now that the book is pretty much finished, i have turned my attention to other things like my garden and making bread. however, i still have my job at the cafe to contend with and this is the perfect opportunity to put the recipes i worked on for the last 6 months on display. with that in mind, i invite you to taste the book. as long as i am capable (read that as not so busy with the volume at the cafe), i will feature a dessert from the book as a special and post about it here. first up is the lemon ice box pie, a sweet and creamy pie perfect for a hot summer day (as long as you eat it quickly!)

freshly zested lemons
lemons, juiced by hand the old fashioned way (can you cay carpal tunnel?)
egg yolks, a bunch when you make as many pies as i did
if double yolks are a good luck charm, then i am drowning in them. this last month or so, we have gotten large quantities and i have cracked as many as 12 in a day.
sorry, didn’t take photos of the next step-it was kinda boring-zzzz
mix the juice, zest and eggs into sweetened condensed milk and pour it into a cookie crumb crust. most of the time, these just go straight into the fridge to “cook” and set but the s.c.m. has been rather thin lately so i opted for a quick trip in the oven, about 7 minutes, to help them set.
let the pie chill, top it with whipped cream and white chocolate shavings. to make nice shavings, hold your knife perpendicular to the surface of the chocolate-one hand on the handle and the other on the tip of the blade and while applying light pressure, drag the knife towards you to make shavings.
oh so rich and creamy, lemon ice box pie in a gingerbread biscotti crumb crust-come on in and taste the book, i dare you!

revisiting chapter one

as i work on recipes, susan edits them. part of the process includes looking at the sections/chapters and assessing them-are they balanced or lacking? do they include a variety or simply a couple recipes being manipulated over and over? thankfully, chapter one is in pretty good shape and only in need of a few minor changes. one thing that shouted out to susan was the absence of a lemon meringue pie. honestly, it wasn’t a big deal to me but it left the chapter lacking a little variety, so you know what happened next; i made lemon meringue pie much in the same way as i do when i make it at the cafe. if you have had it at the cafe then you know that i favor individual lemon meringue pies and not big ones-and that means no cutting of meringue in the bakery. it also means that if you order the little pie, you get all of the meringue right on top just as it should be.

it doesn’t get any easier than this-purchased 3″ pie shells, baked and ready to be filled.
lovely and tart lemon curd, home made or purchased-you decide. i went with home made
a mountain of meringue to salivate over. be sure to whip it only until the peaks are stiff but still droop a little.
fill the crusts with the lemon curd
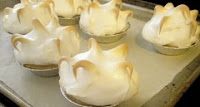
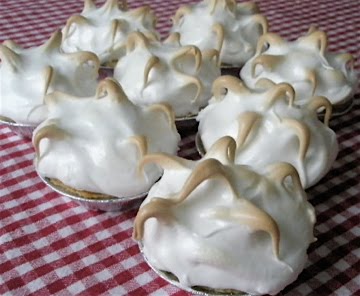
dollop the meringue on top, use a spoon to seal it to the edges and then make the little peaks by tapping the spoon to the meringue and pulling it away quickly
a quick trip in the oven to brown the tops
mmm…lemony meringue pies