cookbook request: lady lemon bars in a tart pan

when someone contacts me about my book, i get slightly worried that they are calling or emailing me because they are unhappy with a recipe; it didn’t work or it just wasn’t any good.  luckily, that hasn’t happened and just about everyone i have heard from is happy and excited to have the book and the chance to bake the desserts they remember from the cafe.  
when joy mc-waitress extraordinaire, came to me with a note from a guest, i was worried.  it seems that a woman (so sorry that i do not know your name-but i wouldn’t use it without your permission anyway) who was visiting the cafe from all the way down in boca raton, florida, was wondering about a recipe in the book.  she has a copy and wants to make the lady lemon bars the way they are photographed-in tiny little tarts rather than bars.  
the problem; the recipe only contained instructions for bars.  the explanation; when you have to take 75 photos, things get changed so that the photos look different.  we made a spur of the moment decision to assemble the lemon bars using a mini muffin pan rather than try to cut them into squares; squares are messy and sometimes the filling can ooze and separate from the crust.  in short, the tarts were much more camera friendly in 90+ degree temps for a photo shoot that was happening outdoors!
the good news, i made a batch of little tarts and am posting the recipe and instructions here so that anyone who would like to make tarts rather than bars, can.  enjoy!
lady lemon tarts
makes 20 mini tarts

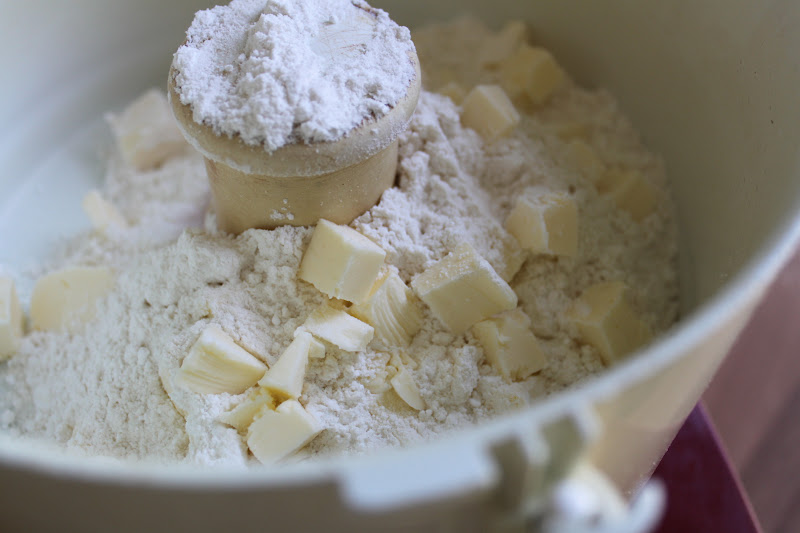
to make the dough, place the following into the bowl of a food processor:
1 cup all purpose flour
1/3 cup confectioners’ sugar
6 tablespoons unsalted butter, cold and cut into small cubes

 pulse that mixture until it resembles coarse meal
 add 1 egg yolk and process until it comes together to form a soft dough.  

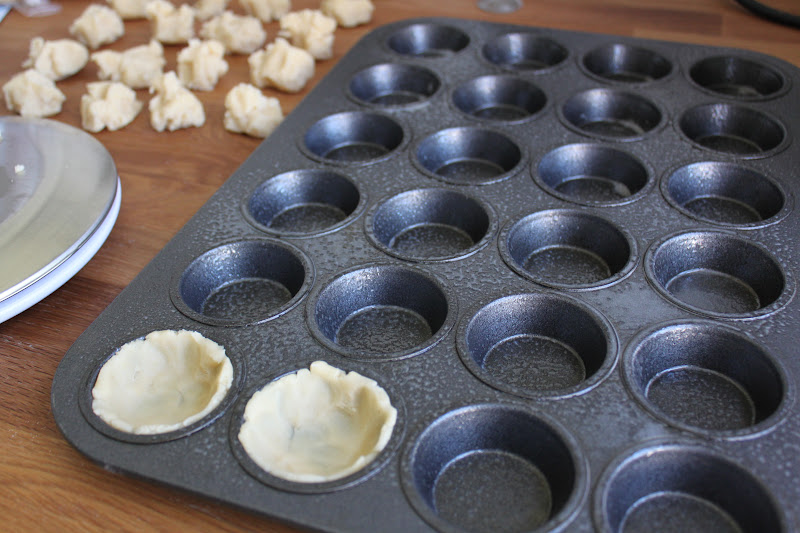
preheat the oven to 350.  divide the dough into 20 equal pieces.  if you use a scale, as i did, it will be about 1/2 ounce each.  if you do not have a scale, pat the dough into an evenly shaped rectangle with the same thickness through out and then cut it into 20 even pieces.  lightly spray the pan with grease and using your fingertips, gently press the dough into the cups of the pan.  be sure to bring the dough to the top of each cup.

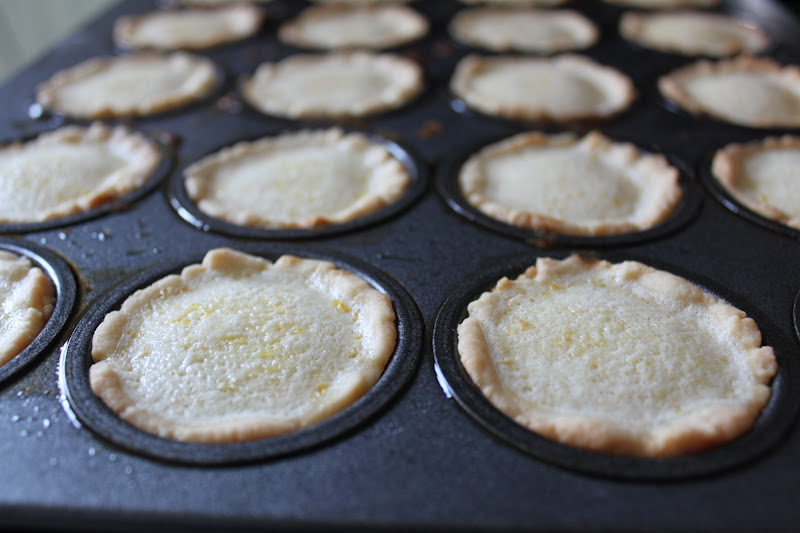
 bake the tart shells until they just begin to color on the edges and are no longer glossy in the bottom, about 10-12 minutes.  while the tart shells bake, prepare the filling.

 ***a note about the filling; the tarts use a lot less than bars do!  so, i am including a half recipe of filling that will be more than enough to fill 20 mini tarts.  if you want to make more than 20, both recipes are easily doubled!

place the following in a mixing bowl:
1/2 cup granulated sugar
2 tablespoons all purpose flour
using a whisk, mix well.

whisk in the following:
1 egg
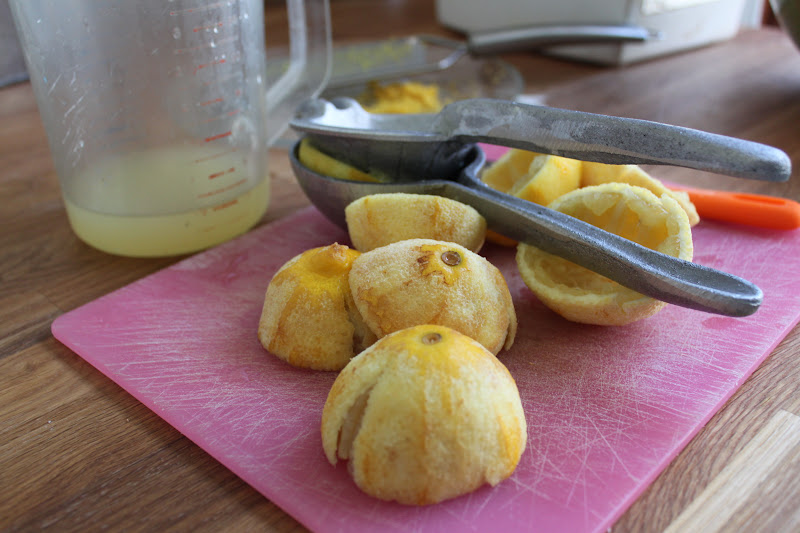
1 teaspoon lemon zest
1/4 cup freshly squeezed lemon juice
using a tablespoon, carefully fill the tart shells taking care not to let the filling go over the edges or it will seal the crust to the pan and make it difficult to remove the tarts from the pan.  bake until the filling is firm, about 10-12 minutes.  allow to cool completely before removing them from the pan.

 the finished tarts, fresh from the oven.

using a thin bladed knife, carefully lift the tarts out of the pan by inserting the knife down the side of the cup.  take care when doing this so that you do not scratch the finish of your pan if it has a nonstick finish.  to decorate, sprinkle additional powdered sugar over the top and place a fresh berry or two in the center-we used blackberries for the photos.

bake on friends and feel free to ask me questions about the book anytime-it’s nice to know that the recipes are being used and the results enjoyed!

ain’t that just peachy? ttb 7/16

i have spent my week looking at a large basket of peaches and many little baskets of blueberries. the peaches are starting to ripen-perfectly. slightly firm but bite into one and the juices run. they are also full of flavor and hard to resist even if they are a bit on the fuzzy side. earlier in the week i made a peach brown betty with biscuits but today, i made one of my favorite recipes from the book, blueberry peach cornbread buckle. the cake goes together like so:

peeled and diced peaches
toss them with blueberries, lemon zest and sugar-let them macerate
mix up some cornbread, slightly sweet, and pour it into the pan
spread the macerated fruit and juices evenly over the top then sprinkle the crumb topping over the fruit. into the oven she goes
fully baked and out of the pan-waiting to be cut into squares
some of the fruit sinks, some stays at the top-it buckles, get it?
cake for breakfast-what more could you possibly need?

taste the book, 7/7

the dessert featured this week is butterscotch pudding. ever since i was little, i have had a thing for the hard yellow disk shaped candies-sweet and buttery and a little salty too. butter rum lifesavers were also a favorite of mine. so it shouldn’t be a surprise that i would like butterscotch pudding unless you have tasted the stuff in the box-eww…same goes for the chips that are used to make cookies-they don’t taste anything like butterscotch! many recipes that call themselves butterscotch just include brown sugar and butter-close, but…to really get the flavor of the hard candies, you need to combine 3 things: caramelized brown sugar, dark rum and kosher salt.
burning the sugar is tricky. take it too far and it will scorch the pot and you will have lovely black flakes in the pudding. (doesn’t that sound like experience talking?) 265 degrees is as far as you want to go, so use a thermometer. (the hoods in the kitchen are loud-you may want to turn off the volume for this video)
dark rum-the darker the better and real unsalted butter help flavor the pudding. use the unsalted butter because it is a higher quality than salted and add kosher salt because it tastes better than iodized salt.

a lovely little dish of pudding

be sure to hide it from the wait staff…
come on in and taste the book!

taste the book, 6/30

now that the book is pretty much finished, i have turned my attention to other things like my garden and making bread. however, i still have my job at the cafe to contend with and this is the perfect opportunity to put the recipes i worked on for the last 6 months on display. with that in mind, i invite you to taste the book. as long as i am capable (read that as not so busy with the volume at the cafe), i will feature a dessert from the book as a special and post about it here. first up is the lemon ice box pie, a sweet and creamy pie perfect for a hot summer day (as long as you eat it quickly!)

freshly zested lemons
lemons, juiced by hand the old fashioned way (can you cay carpal tunnel?)
egg yolks, a bunch when you make as many pies as i did
if double yolks are a good luck charm, then i am drowning in them. this last month or so, we have gotten large quantities and i have cracked as many as 12 in a day.
sorry, didn’t take photos of the next step-it was kinda boring-zzzz
mix the juice, zest and eggs into sweetened condensed milk and pour it into a cookie crumb crust. most of the time, these just go straight into the fridge to “cook” and set but the s.c.m. has been rather thin lately so i opted for a quick trip in the oven, about 7 minutes, to help them set.
let the pie chill, top it with whipped cream and white chocolate shavings. to make nice shavings, hold your knife perpendicular to the surface of the chocolate-one hand on the handle and the other on the tip of the blade and while applying light pressure, drag the knife towards you to make shavings.
oh so rich and creamy, lemon ice box pie in a gingerbread biscotti crumb crust-come on in and taste the book, i dare you!