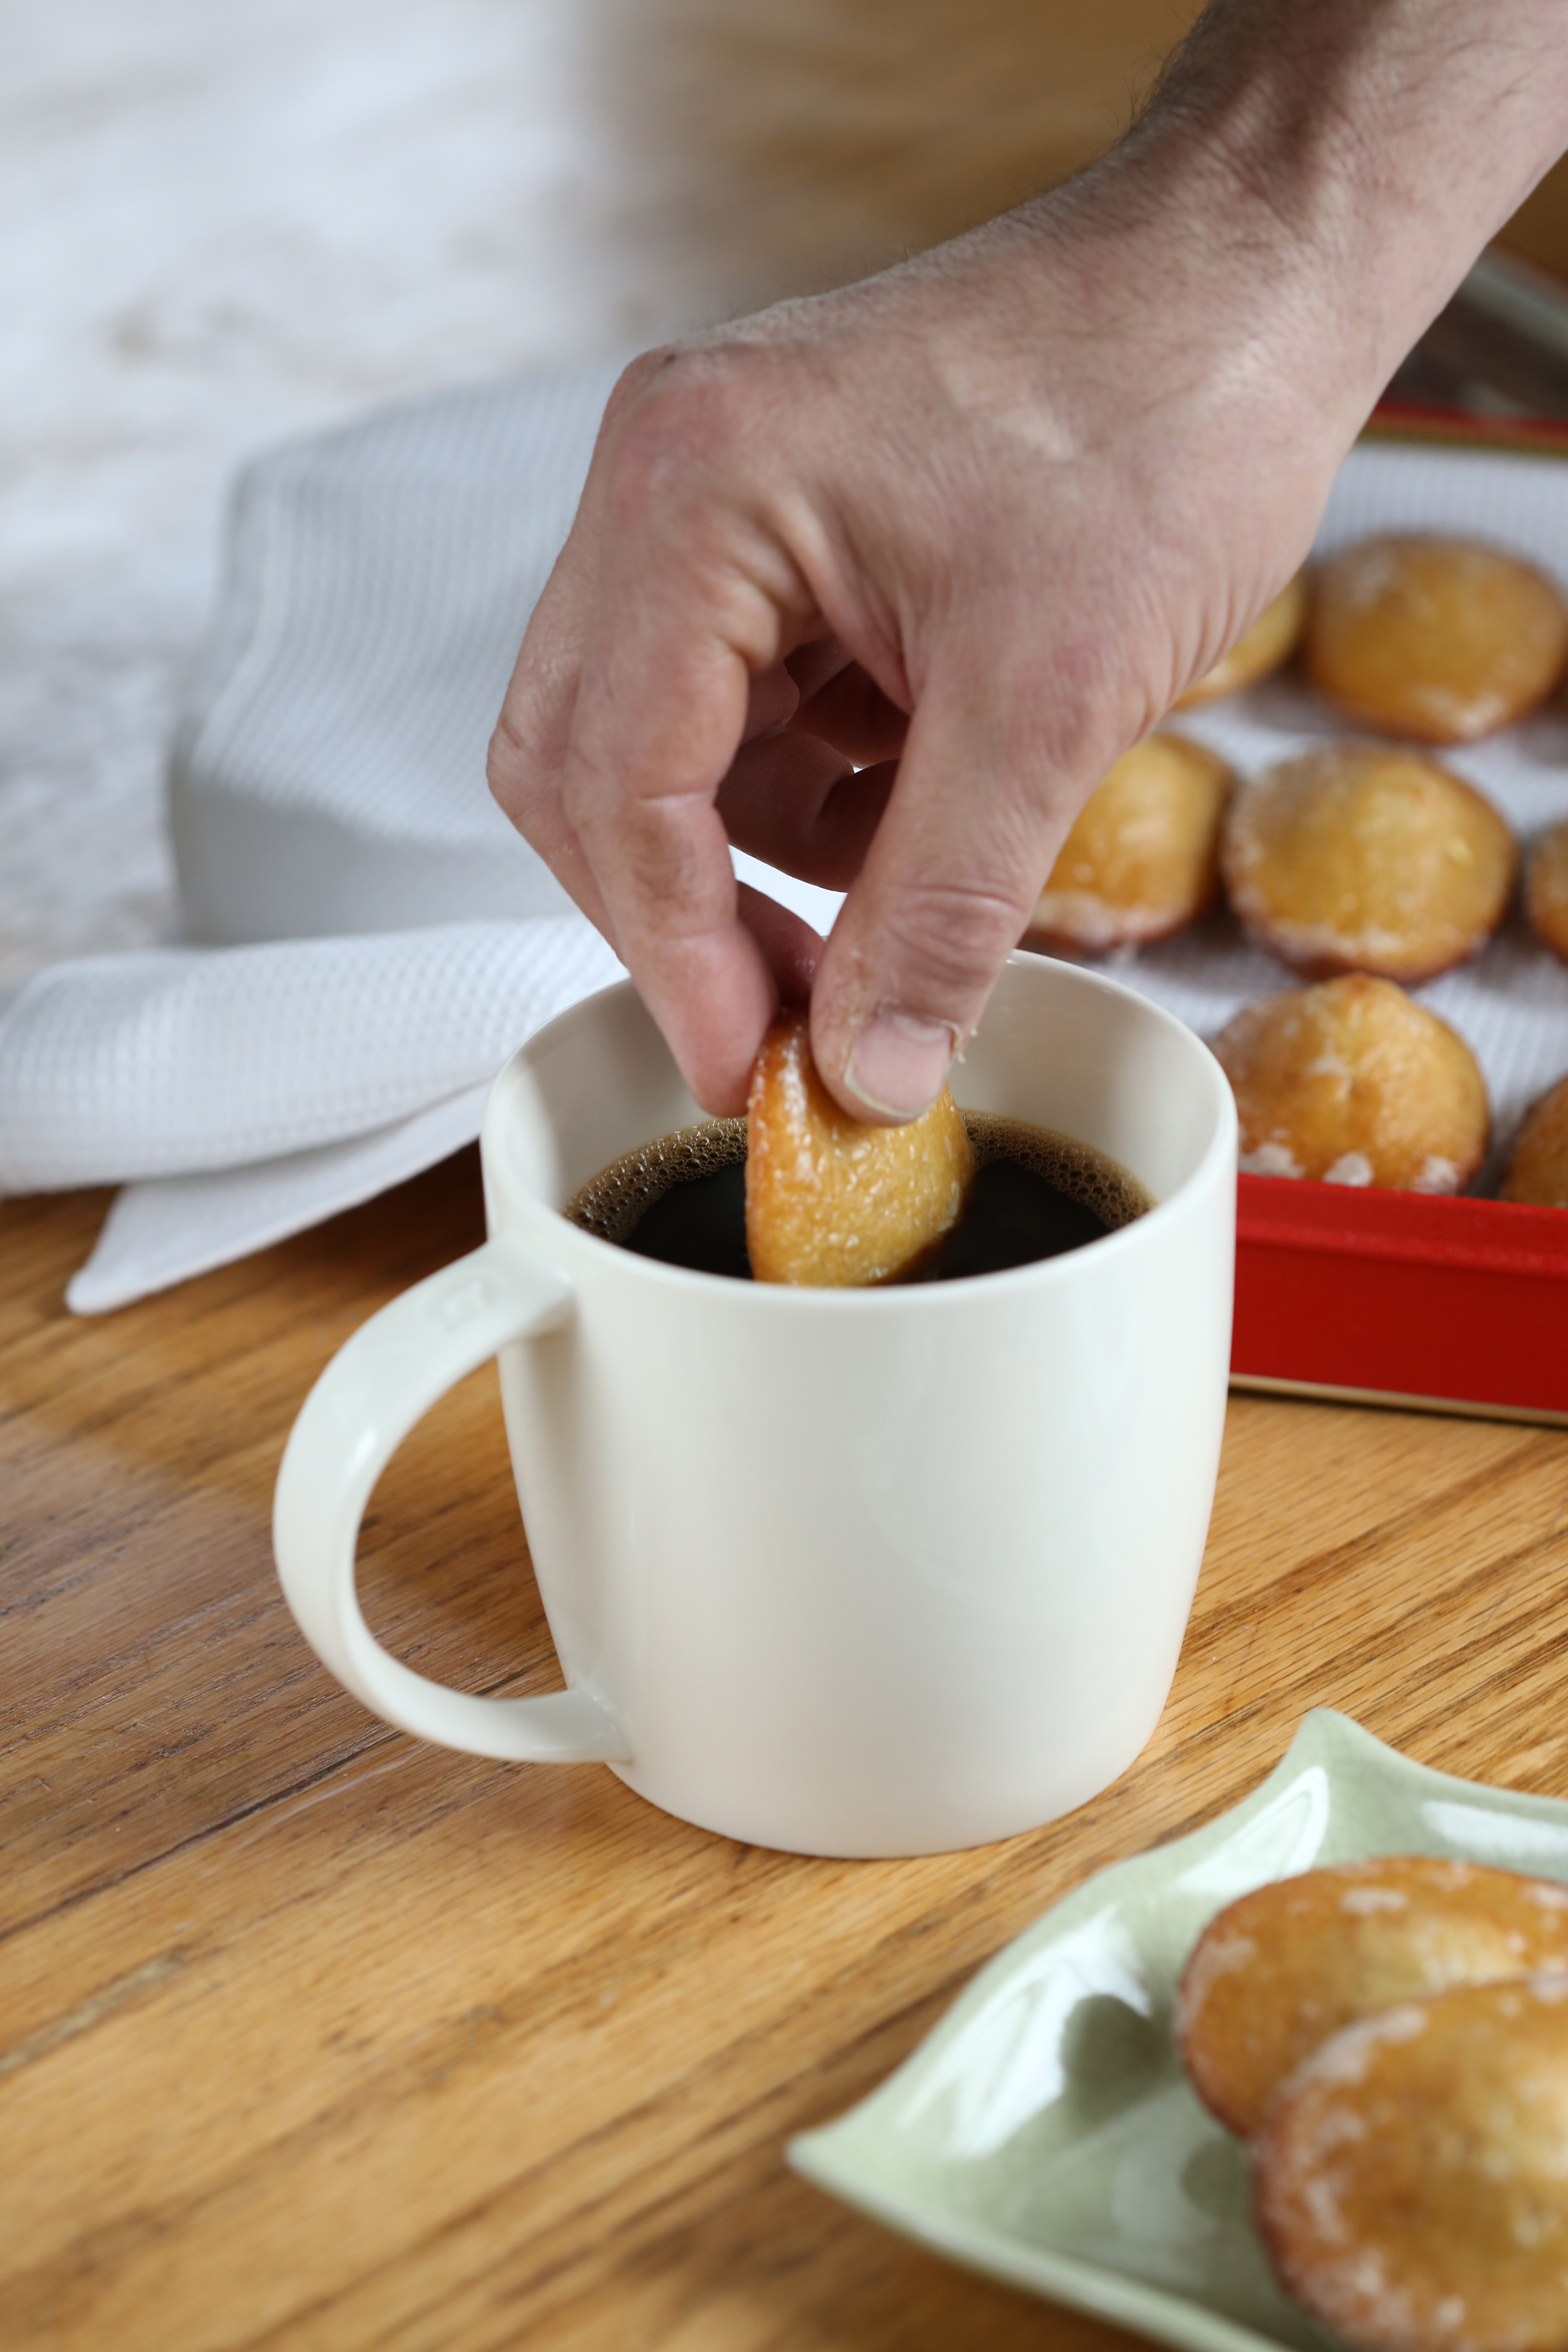
Tapioca is one of those foods you either love or hate. Personally, I have fond memories of tapioca pudding from my childhood; my mother would mix up the instant pudding from a box and pour it into small pyrex bowls and topped it with a gentle shake of ground nutmeg. It was a bit eggy in flavor and mostly custard but it did have a small amount of actual tapioca grains in it. In our house, it was a rare treat and a food memory I recall every now and then. When I wrote my second cookbook, I included a recipe for tapioca pudding that came pretty close to my recollection of that flavor.
When I saw that we would be preparing tapioca for this weeks Tuesdays with Dorie challenge, I hoped the resulting custard would be a new twist on an old favorite. Honestly, the two custards contain tapioca but that is where the similarity ends. This recipe uses pearl tapioca and it is cooked with coconut milk, milk, sugar and vanilla-not an egg in sight. Finding pearl tapioca can be a challenge unless you have Asian markets near you and since we moved to Williamsburg, the closest one is about 30 minutes away and it just is not convenient to drive that for a single ingredient. My vision of pastel colored pearls in a rich coconut milk custard will have to wait until the next time I am in Newport News.
After dinner on Sunday evening, my husband and I went to the grocery store to pick up a few things and if I was lucky, a box of pearl tapioca. With fingers crossed, I wandered from aisle to aisle. Natural foods? Nope. Gluten free foods? Not there either. International aisle? No such luck. Then I walked down the baking aisle. Success was had right between the boxes of pudding and custard mixes! Surprisingly, I had my choice of large pearls or small pearls and since I could not remember what the recipe called for, I chose small pearls.
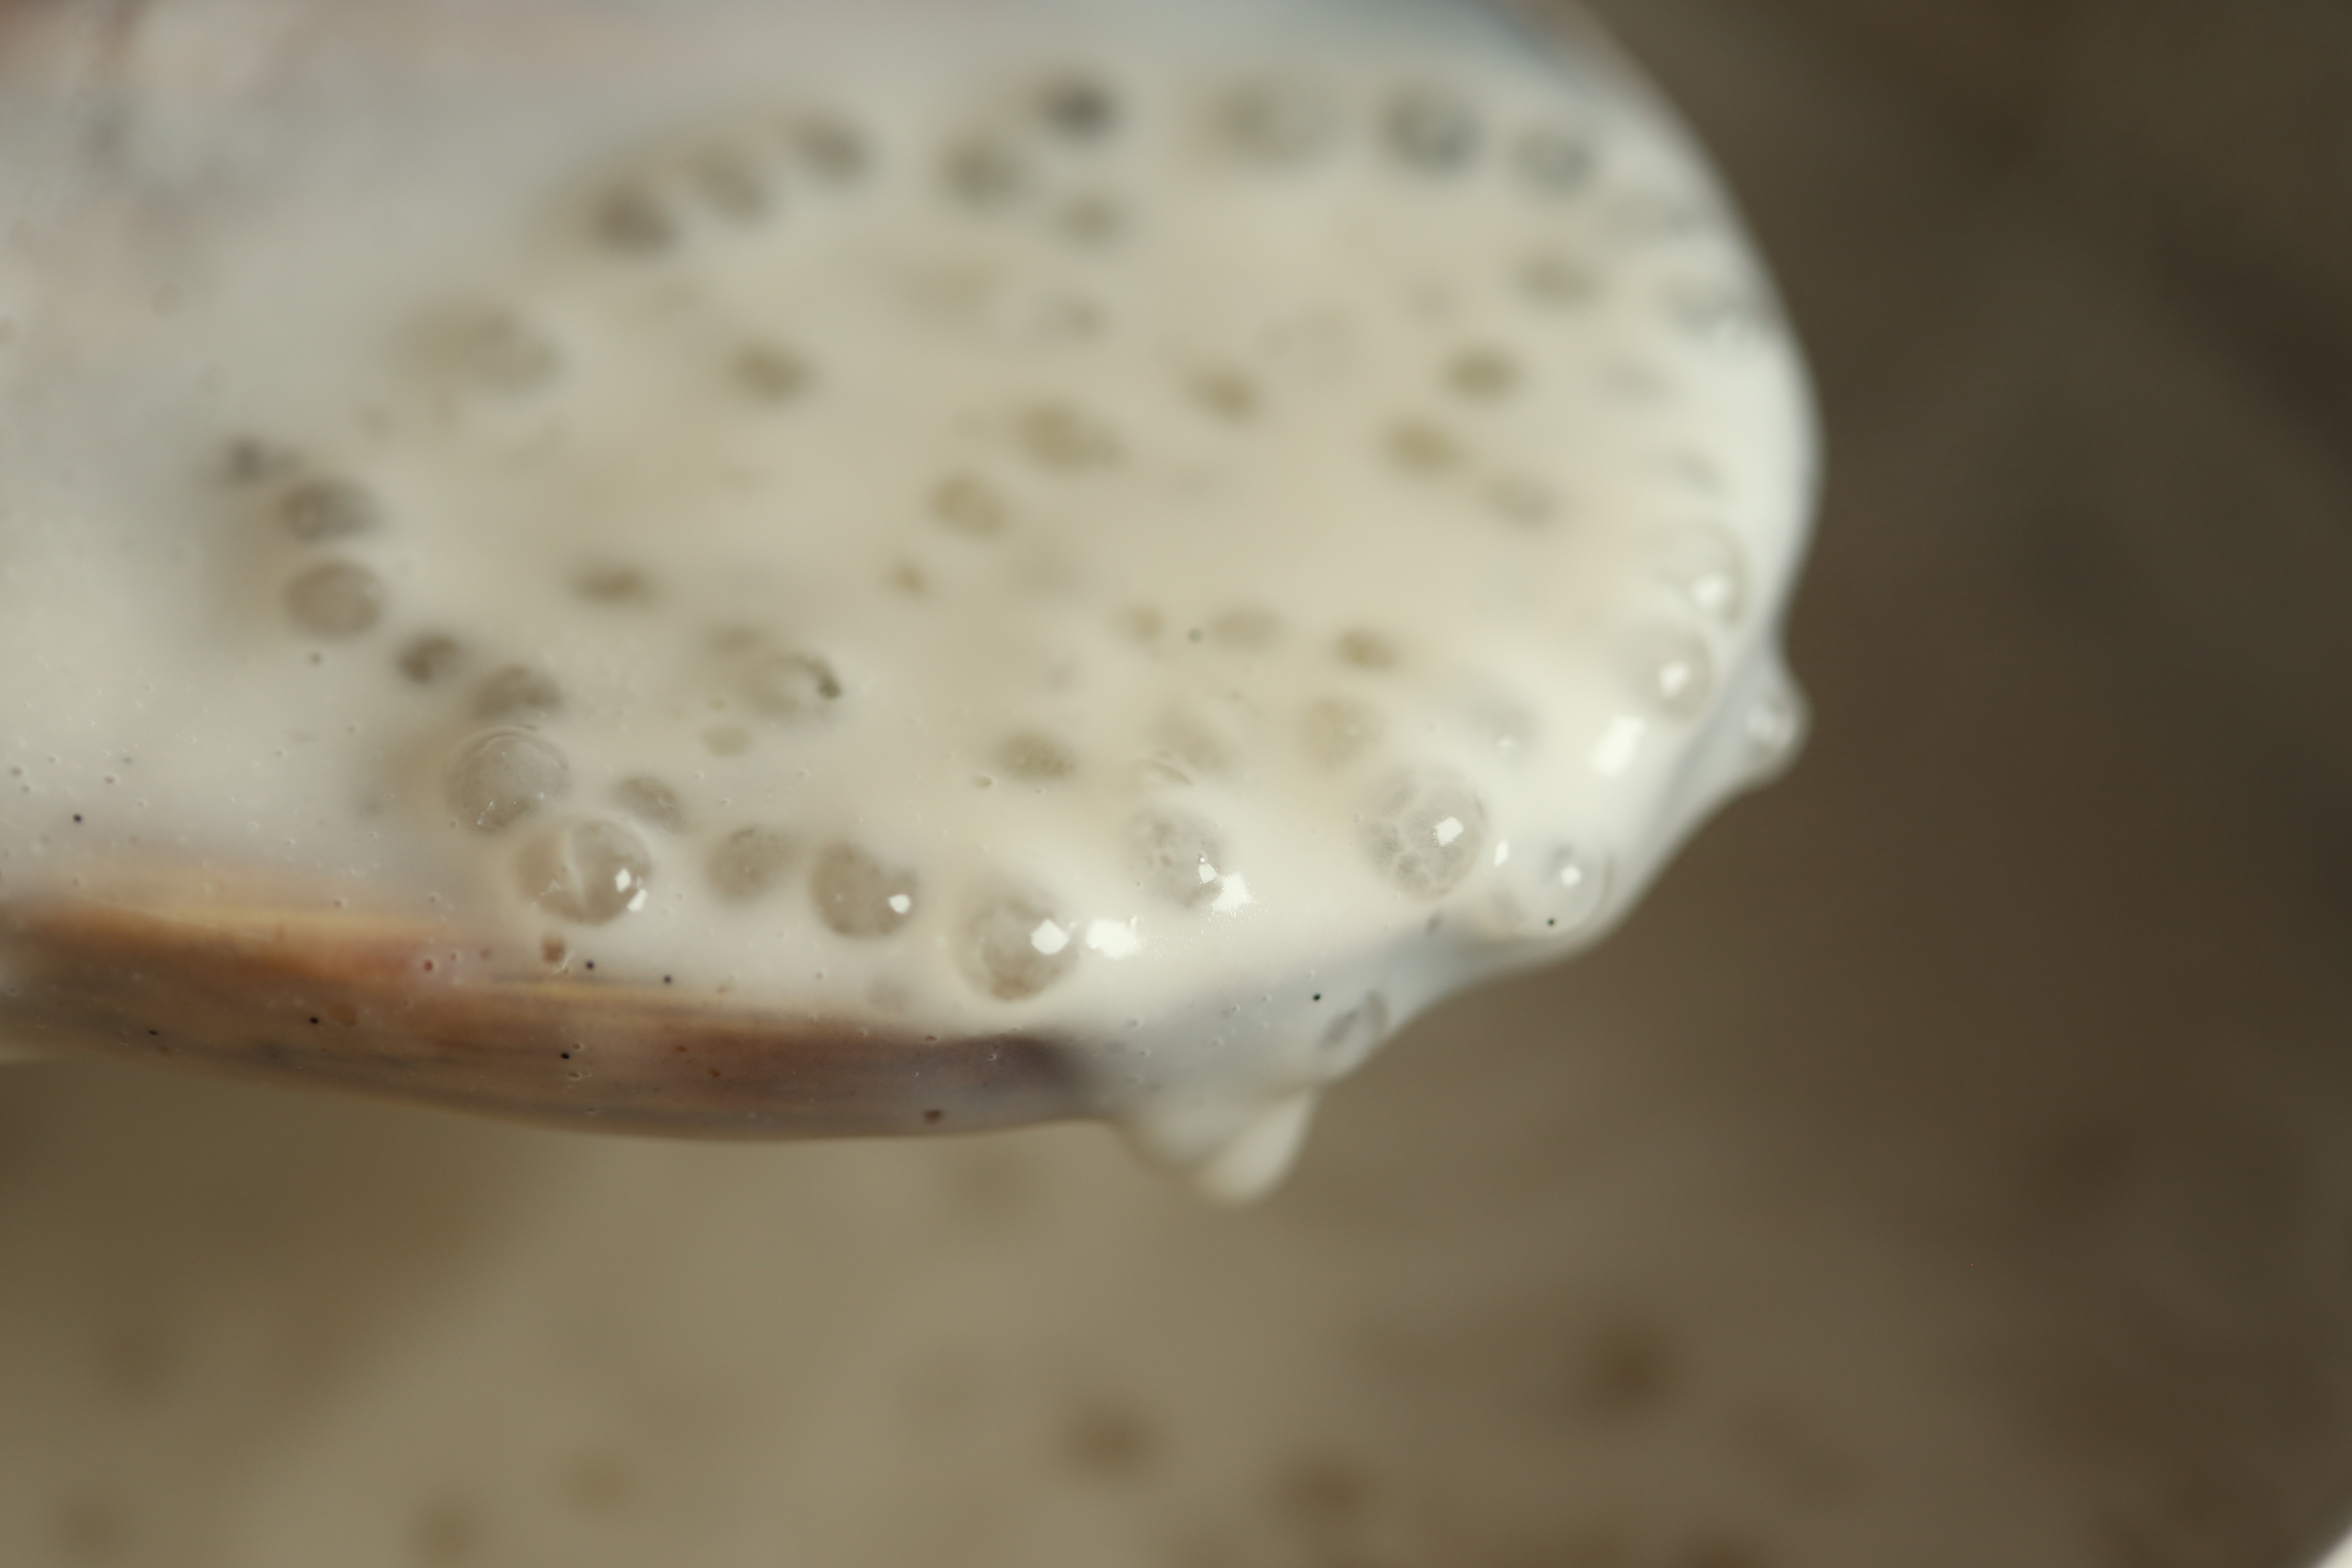
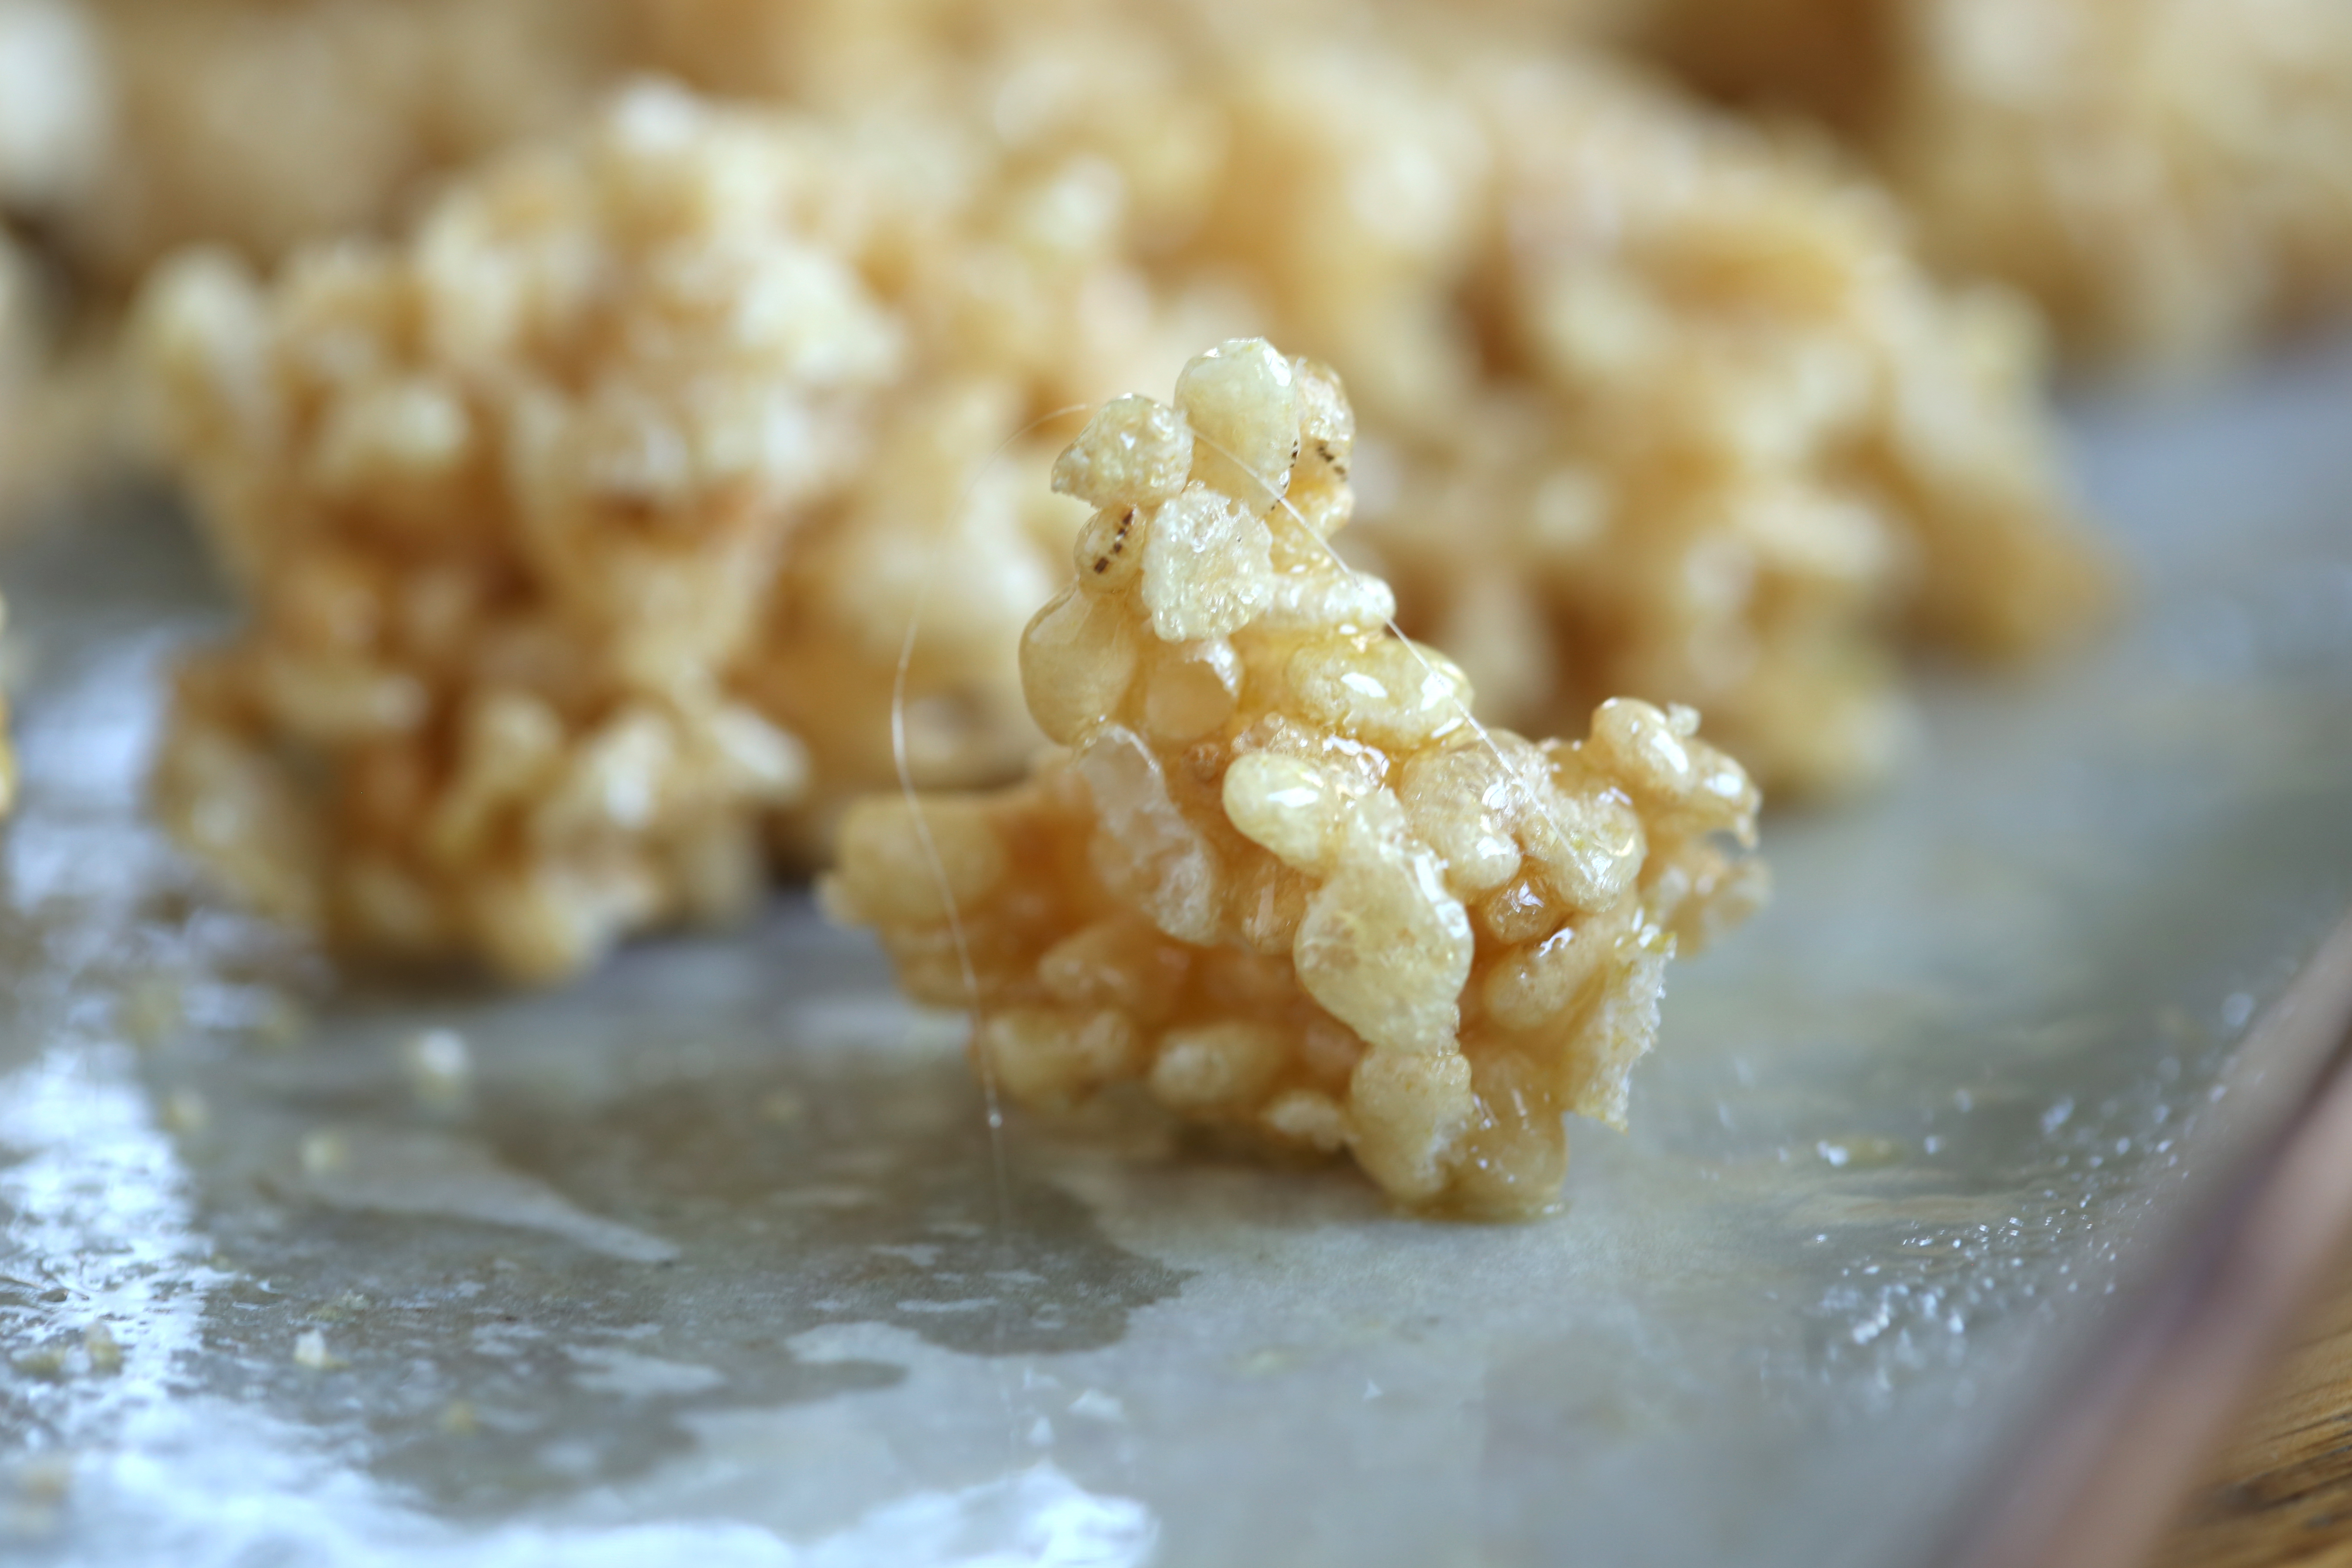
Tapioca is a starch and like all other starches, it swells when it is soaked in water. In the photo above, the perfectly round spheres are pearl tapioca with the larger ones being those that were soaked overnight. The small, uneven grains are instant tapioca.

The pearls expand and become translucent as they cook and this happens pretty quickly at a gentle simmer. The recipe calls for full fat coconut milk and whole milk but since we do not keep milk in the house, I traded whole milk for some almond milk. To alter the flavor, I used a small piece of vanilla bean, subbed a tablespoon of our own wildflower honey for a tablespoon of the sugar and added some rosewater to intensify the floral notes of the honey.

Dorie gives visual clues in the recipe to help you determine doneness. Why don’t more recipe writers do this? She tells you the milk will thicken and the pearls will sit just below the surface. These two hints are pretty clearly visible in the photo above.

The tapioca will be slightly chewy when done and will fall apart with gentle pressure from your tongue. For some, that texture is a problem, but not for me, I enjoyed it completely and not once did this remind me of the tapioca pudding of my childhood.
 Vintage linens and violets were a natural choice to accompany such an old-fashioned custard. The violets are actually Confederate violets, a common lawn flower here in Virginia, and no, I do not consider them weeds! Earlier this spring, during the peak bloom time, I picked them by the bowl and made my own violet liqueur but that is a post for another day.

Violets have a faint odor that cannot be detected with just one bloom but a bowl of them steeped in syrup is slightly intoxicating.

Sadly, the flowers only appear for a few weeks in early spring so if you are lucky to find them in your lawn, be sure to try infusing them into syrup or a clear alcohol such as a potato vodka. In the mean time, visit the Tuesdays with Dorie website and check out the LYL page to see how my fellow bakers fared. And if the mood strikes, cook up a pot of coconut tapioca. For the recipe, you will need to buy a copy of the book since we do not publish the recipes.

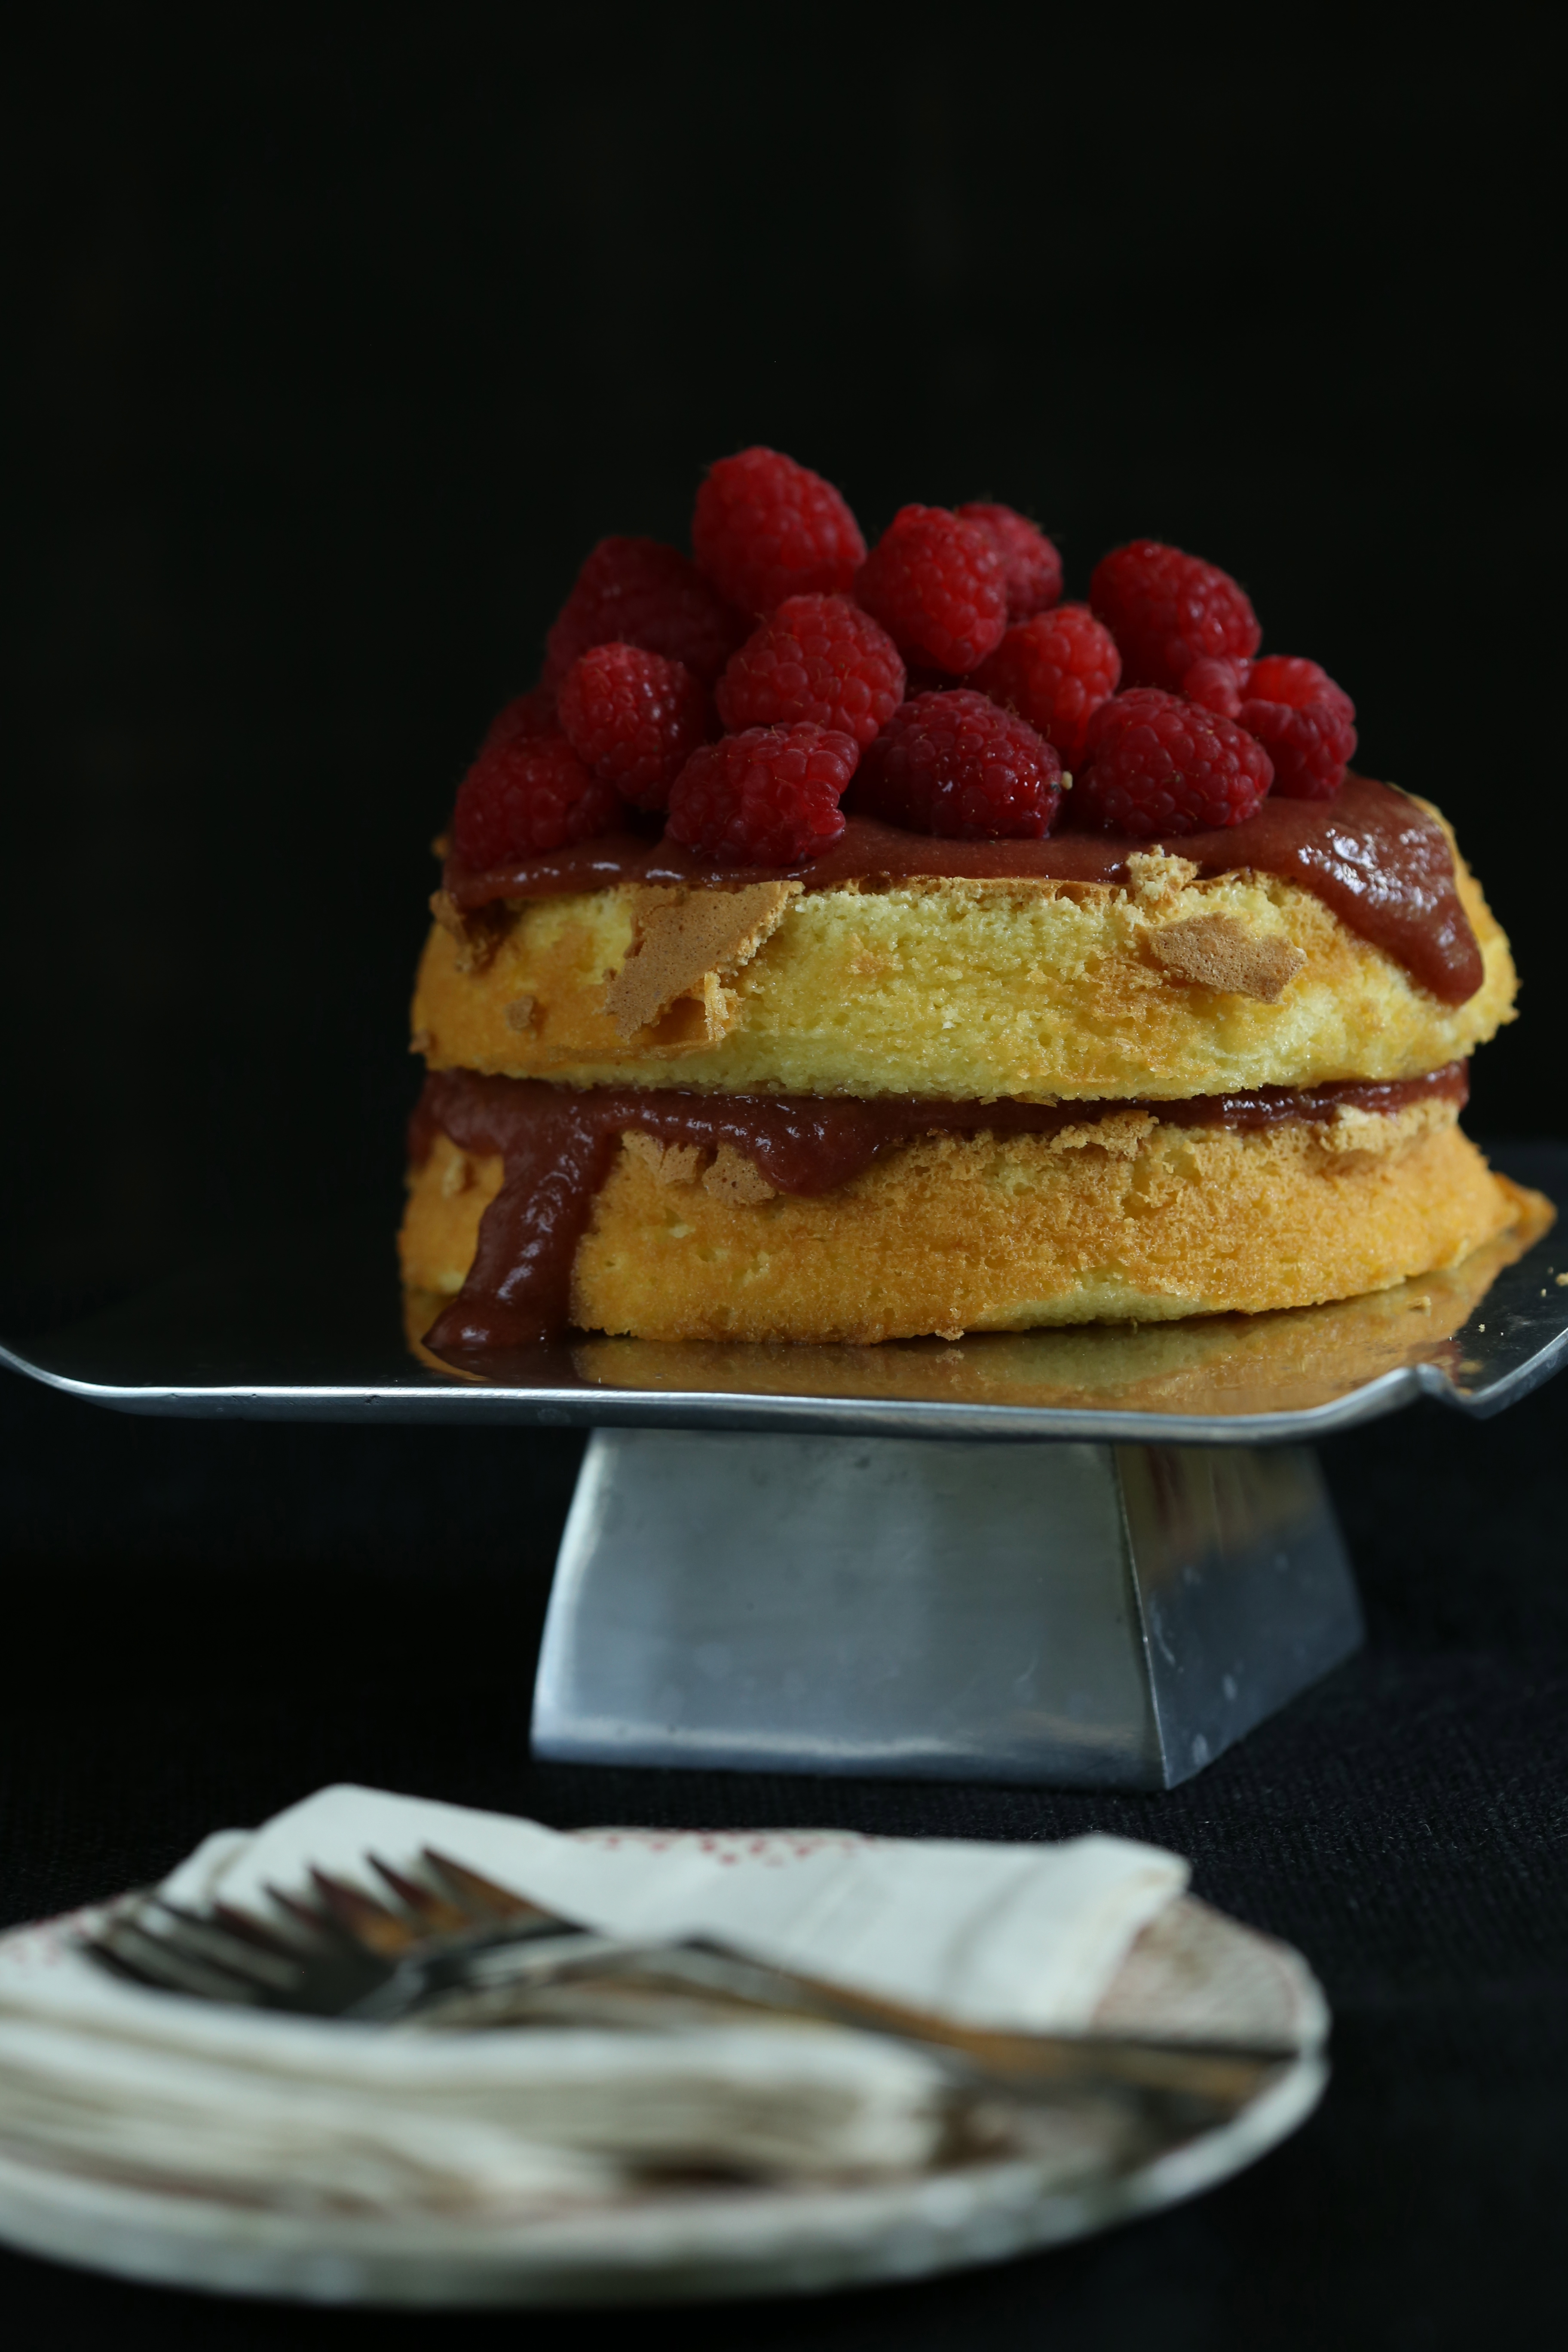
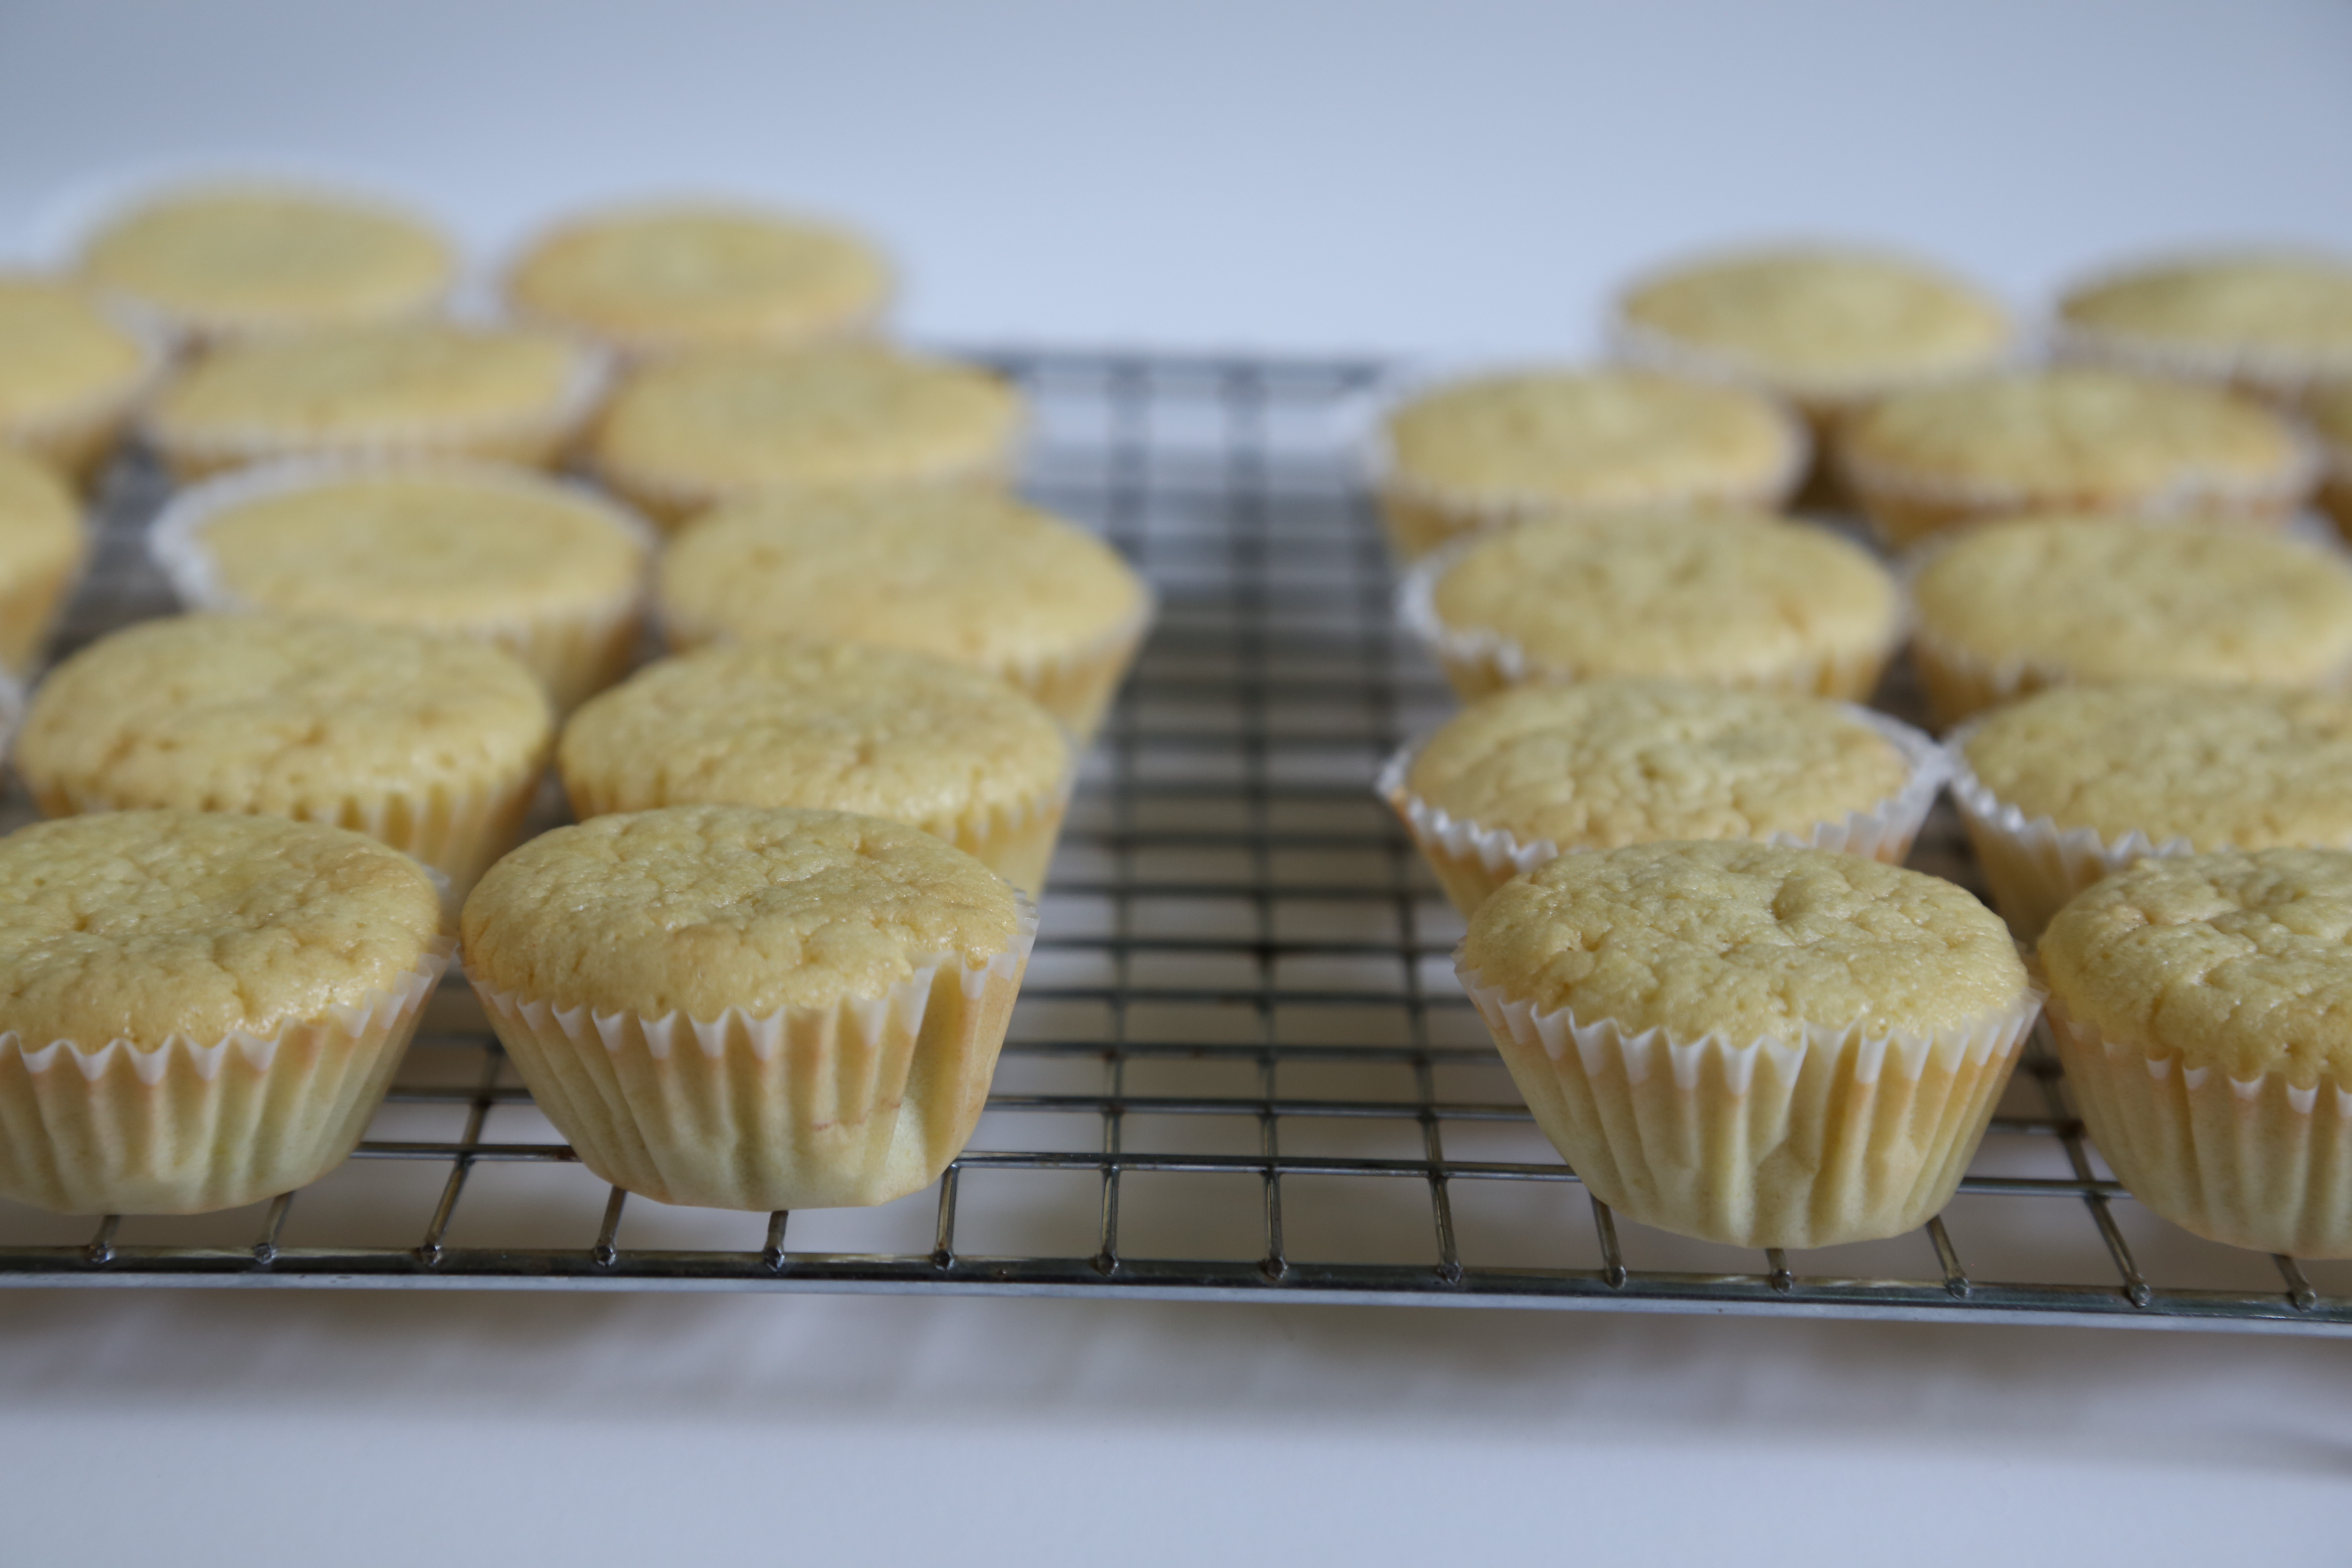
 The cake for today’s challenge is supposed to be a tangerine-carrot cake but after a quick check in the fridge, I could only find lemons. Then I spied the last lonely parsnip and decided that I should keep going in this direction and change it all up. We have been trying to cut back on snacking and it has been a while since I made a cake. The fresh eggs from our hens are stacking up on the counter and it was a chance to use a couple.
 The change from tangerine to lemon meant that the acid level was increased and I am pretty sure that it changed the texture of the cake and made it a little denser than the description in the recipe. Even so, it was still pleasingly moist and a little firm. The parsnip mellowed during the baking and honestly, you wouldn’t know it was there unless I told you.
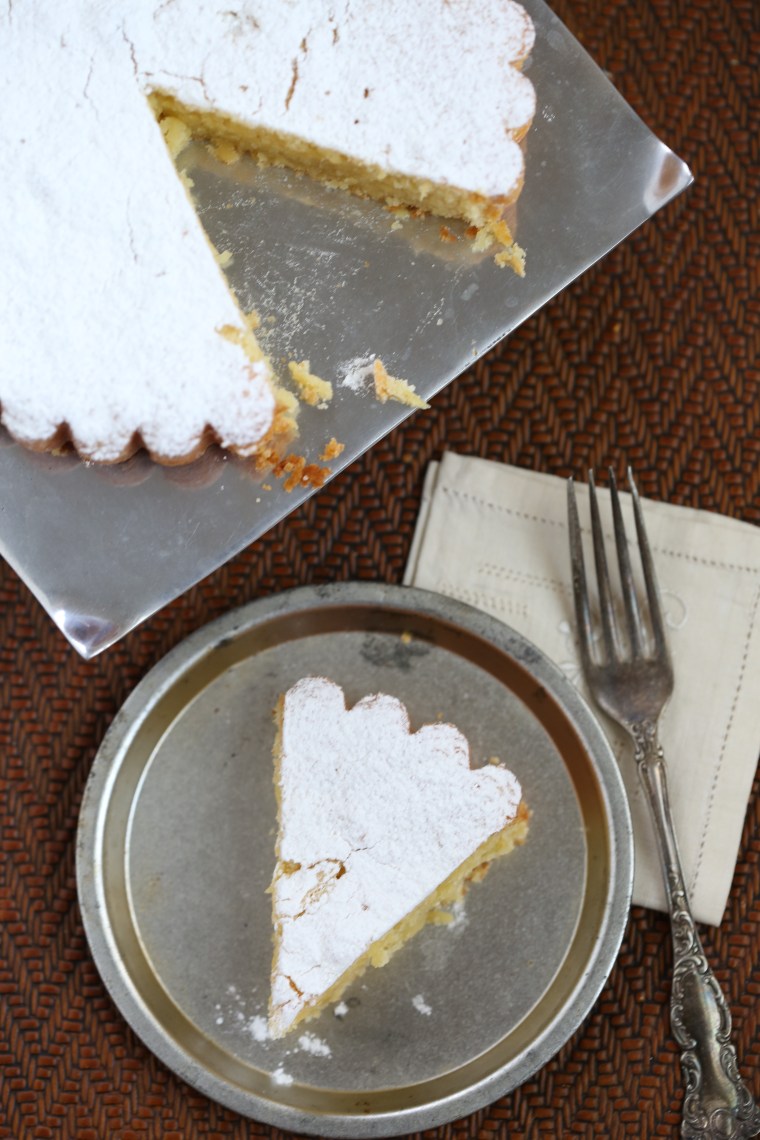 The only other observation I made was that the batter amount baked up just fine in my 8 inch tart pan. After greasing the ring and bottom and dusting it with flour, I set it onto a sheet pan to prevent leakage in the oven. It came out of the pan and off the bottom beautifully. This was such an easy cake to make and honestly, the potential combinations are numerous so I can see myself pulling this recipe out again when I need a quick and foolproof cake!