sourdough starter; five years and counting


if you have been reading this blog, you know i am a bit of a gardener.  okay, i spend a lot of time in the garden.  more than once, i have spent entire mornings that stretched into the early afternoon working in a garden.  it isn’t hard to do if you have the right company and the ladies i work with out at the demonstration garden make it fun to be there-no matter how muddy and buggy it can sometimes be.

mud and bugs; sounds heavenly after all of this cold, miserable weather!  to keep busy until the season changes, i spend my time indoors baking.  one of my favorite things is sourdough bread, especially when it is freshly baked with some of my own organic grape starter.

making starter is a lot easier than you think.  the hardest part is finding organic grapes.  luckily for me, i was able to pick them off the vine in the garden and since i work in that garden, i knew exactly what the grapes had been treated with-absolutely nothing!  if you aren’t lucky enough to pick your own, you will have to source them at a grocery store that has a good selection of organic fruit.  you also want them to be as fresh as possible.  a really good starter recipe is the one attributed to nancy silverton.  to make my starter, i followed this recipe to the letter and five years later, it still works!

as a starter is fed and used, it needs to be replaced.  an easy way to do this is to measure your flour and pour it into a small bowl.  add your water and stir to form a thick dough.

this simple dough is all the starter needs!  usually a feeding is all you need to get it ready to make a loaf of bread.  a good, strong starter, like mine, can sit in the fridge for several months and still have the strength to leaven a loaf of bread.  my most recent loaf of sourdough bread was a pane pugliese.  the complete recipe and step by step photos can be found here.

so, until the weather shifts and it warms up, a lot, i will be in the kitchen tending to my starter and dreaming of muddy days in the garden with friends…

pane pugliese and a request to turn winter off

is anybody else as tired of winter as i am???  snow in atlanta and birmingham, single digit temps in nashville for days, when will it end.  as i look out the window this afternoon, bright sunshine and a blue sky greets me.  the bees, which thankfully survived the deep freeze, are all over the area around the hive and my teeth are no longer chattering.  one can only hope it lasts longer than a day but this is nashville and we aren’t known for having a steady forecast.  as the saying goes, give it ten minutes, the weather will change…
in my quest for warmth, i pulled an old favorite off the shelf, 
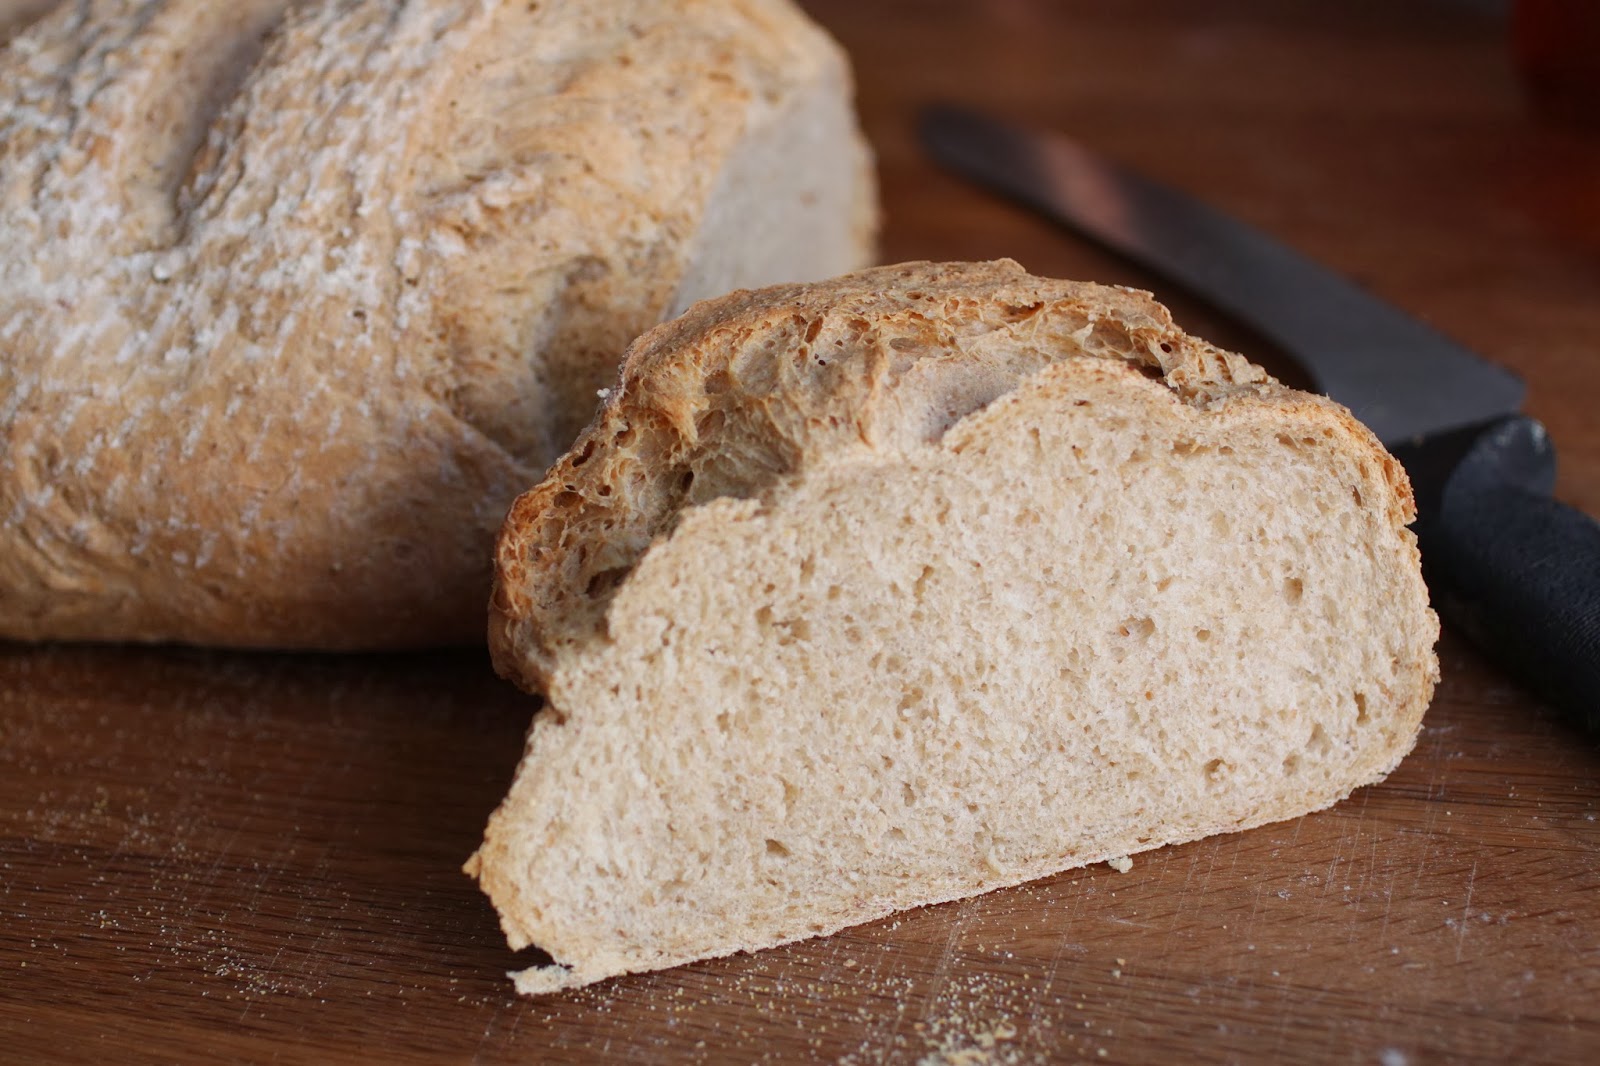
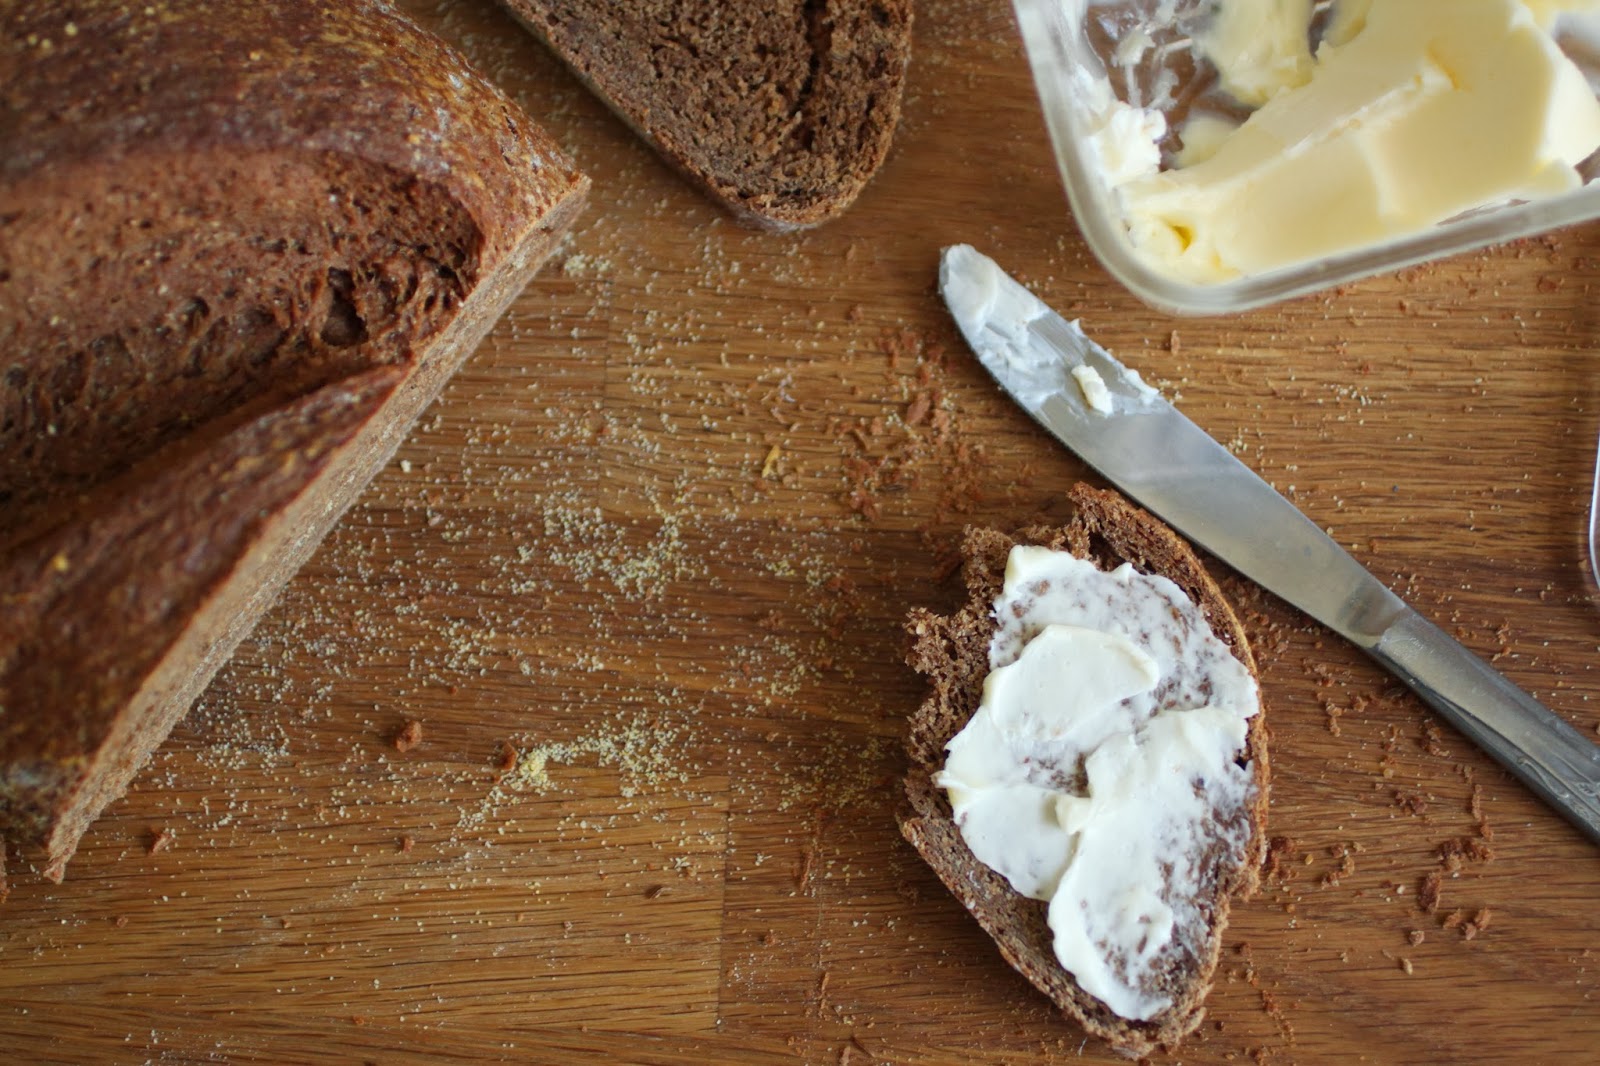
the italian baker by carole field, and decided that a loaf of freshly baked bread might be the best way warm up.  the scent of bread baking always makes the house seem warmer, more cozy and as cold as i was, i was thinking it would go well with the soup i had simmering on the stove.  and if i was lucky, i might actually feel a little less cold.
pane pugliese is a crusty loaf of bread traditionally baked in huge, 2-4 pound loaves.  the simple, rustic loaf is a blank slate in a way and it is easily paired with just about anything.  the loaf i made went just as well with soup as it did in a tuna melt.  and when i mixed up a green salad with olive oil and balsamic vinegar, it was perfect for sopping up the last bits of the dressing and feta cheese in the bottom of the bowl.  the recipe calls for using both yeast and biga.  for those of you not familiar with biga, it is a traditional italian sourdough starter.  to make my bread, i used my five year old grape starter in an equal proportion with excellent results. 

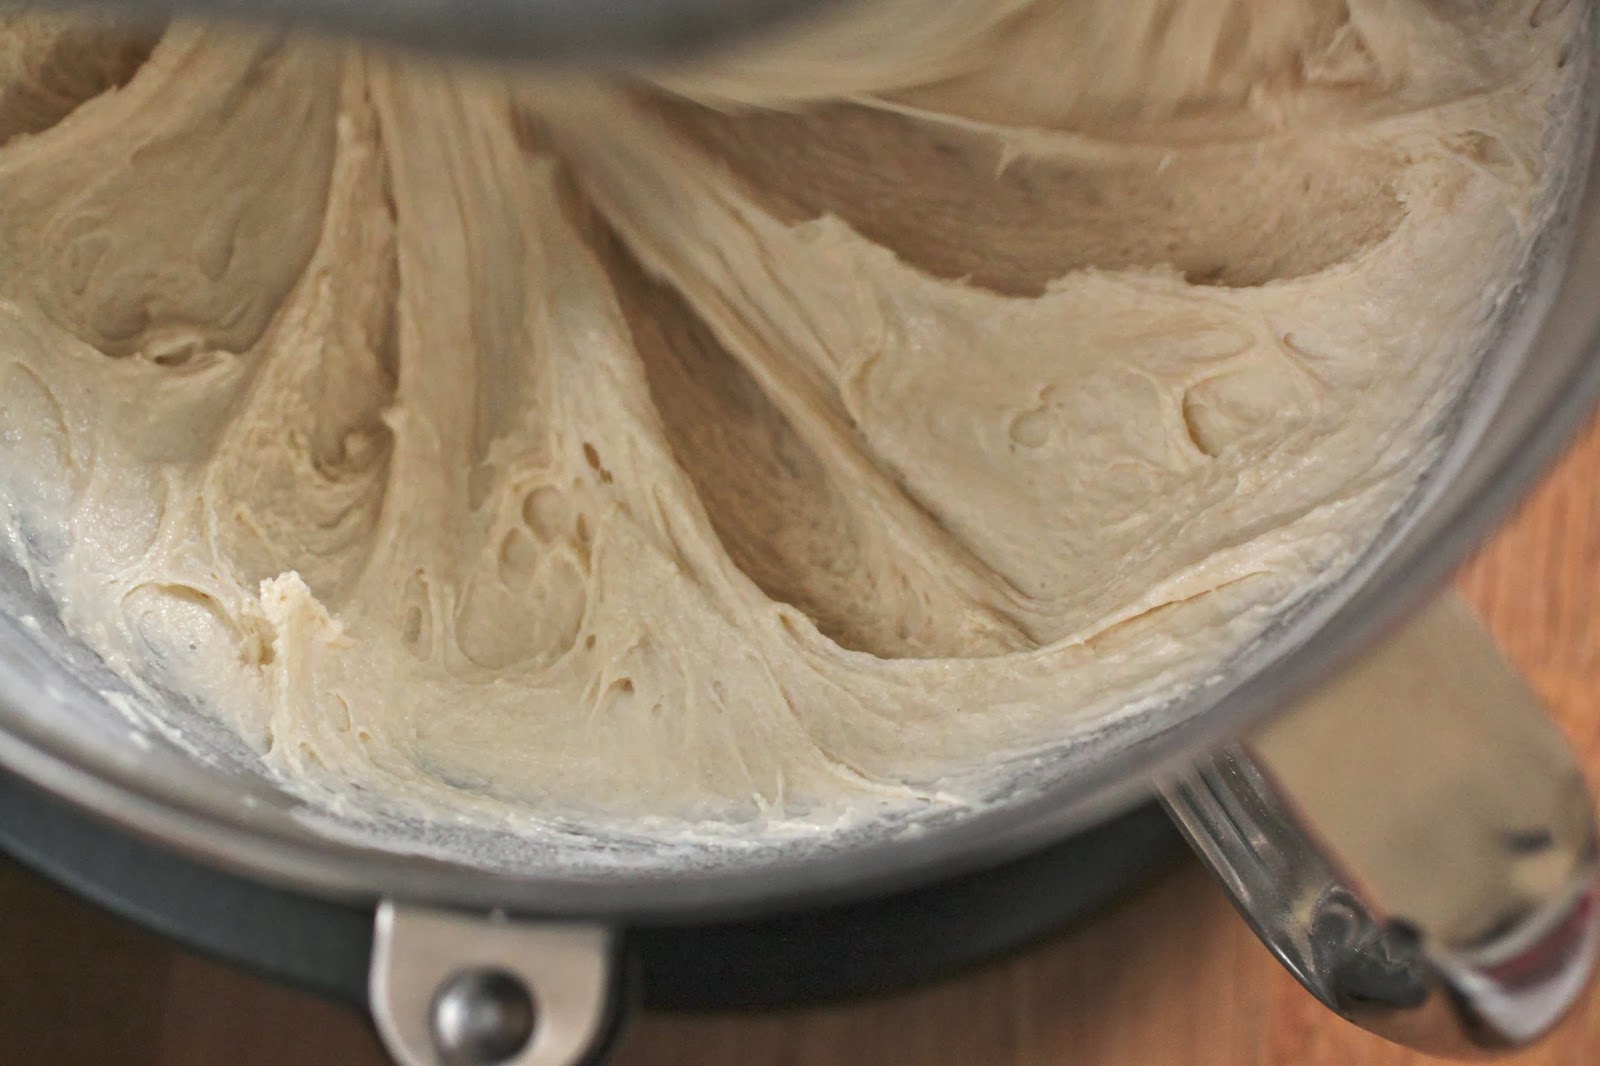
the recipe cautions that the dough is a wet one requiring “incredible skill and an extraordinary amount of flour when done by hand” and i would agree.  use your stand mixer and make quick work of it.  of course, 5-10 minutes of machine mixing and kneading is nothing to complain about but the stickiness of the dough is, so just go ahead and use the machine.   mix the dough with the paddle until it comes together and starts to pull away from the sides.  after the initial mixing with the paddle, the dough is very wet and more like a thick batter.

once all of the flour was added and i switched to the dough hook, i could see that the dough was still very moist.  although i added additional flour, it never really came off the bottom of the bowl which is exactly what the recipe states.  the kneading time at this point is only 3-5 minutes and i am pretty sure i went the full 5 minutes which is rather short for most sourdough breads.  the instructions suggest scraping the dough out of the bowl and kneading it by hand with plenty of flour until it loses its stickiness.  do that, please.  that sentence in the instructions starts off with the phrase, “if you want…”  and i did not want to hand knead.  for once, i wish i had; the dough was so sticky that it coated my fingers and required a vigorous scrubbing to remove.

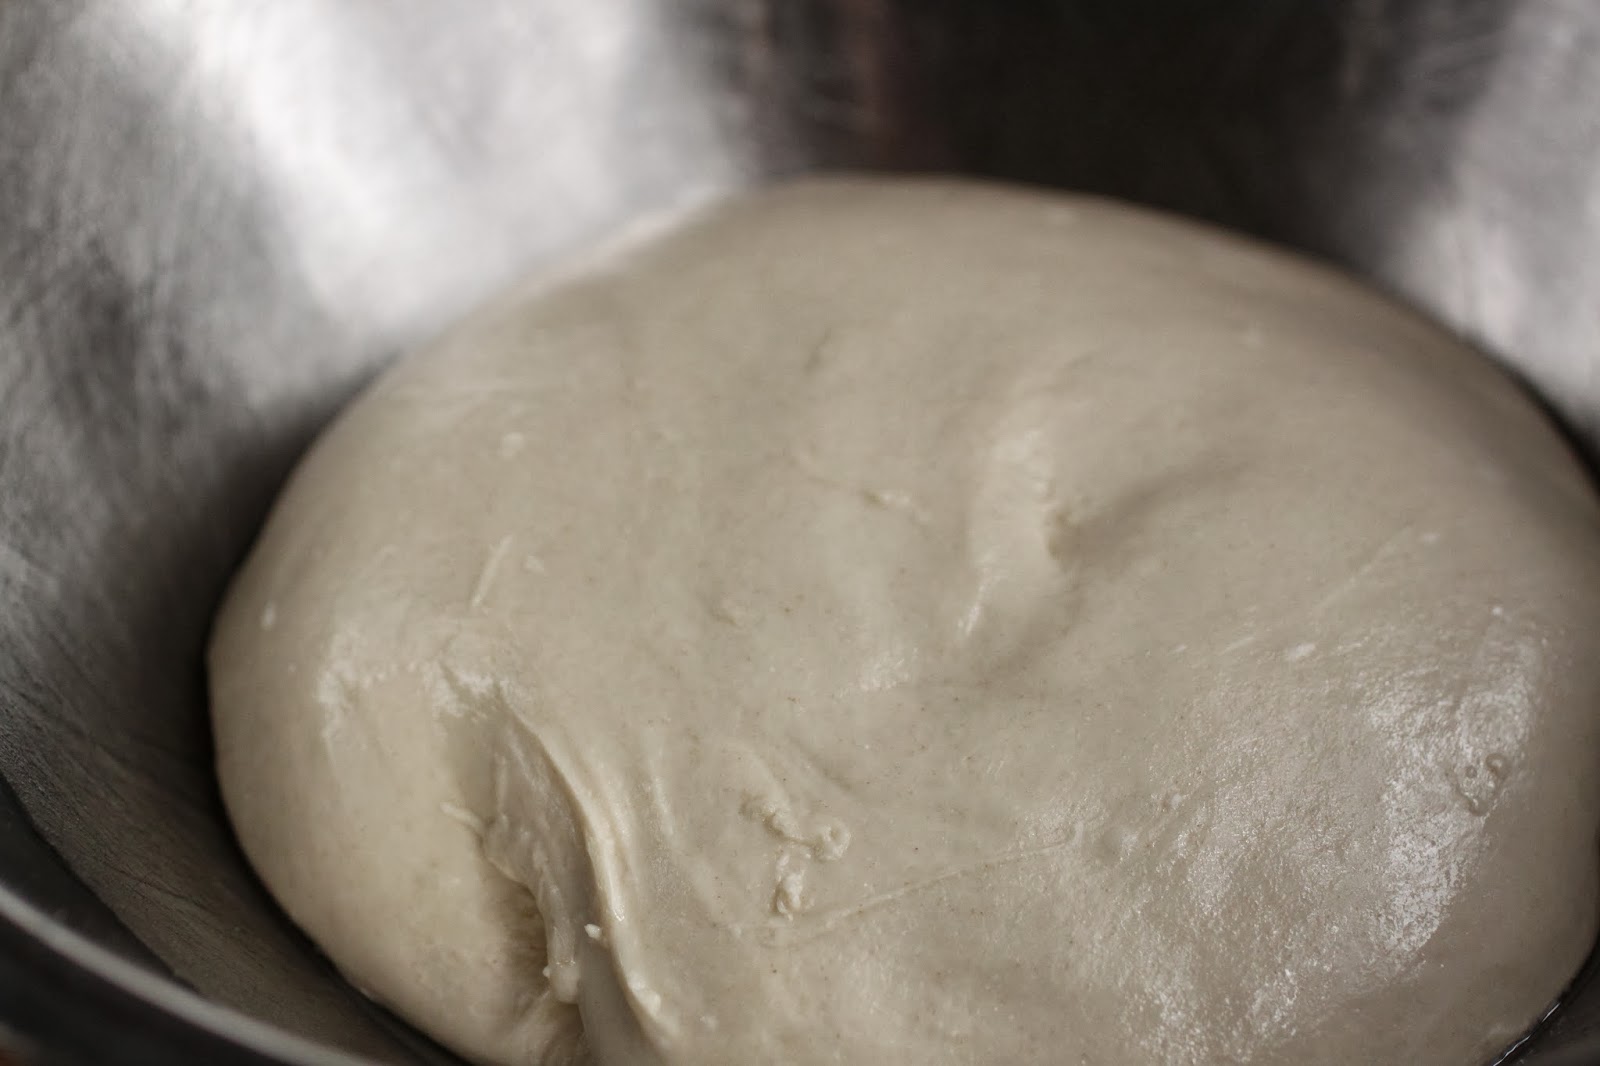
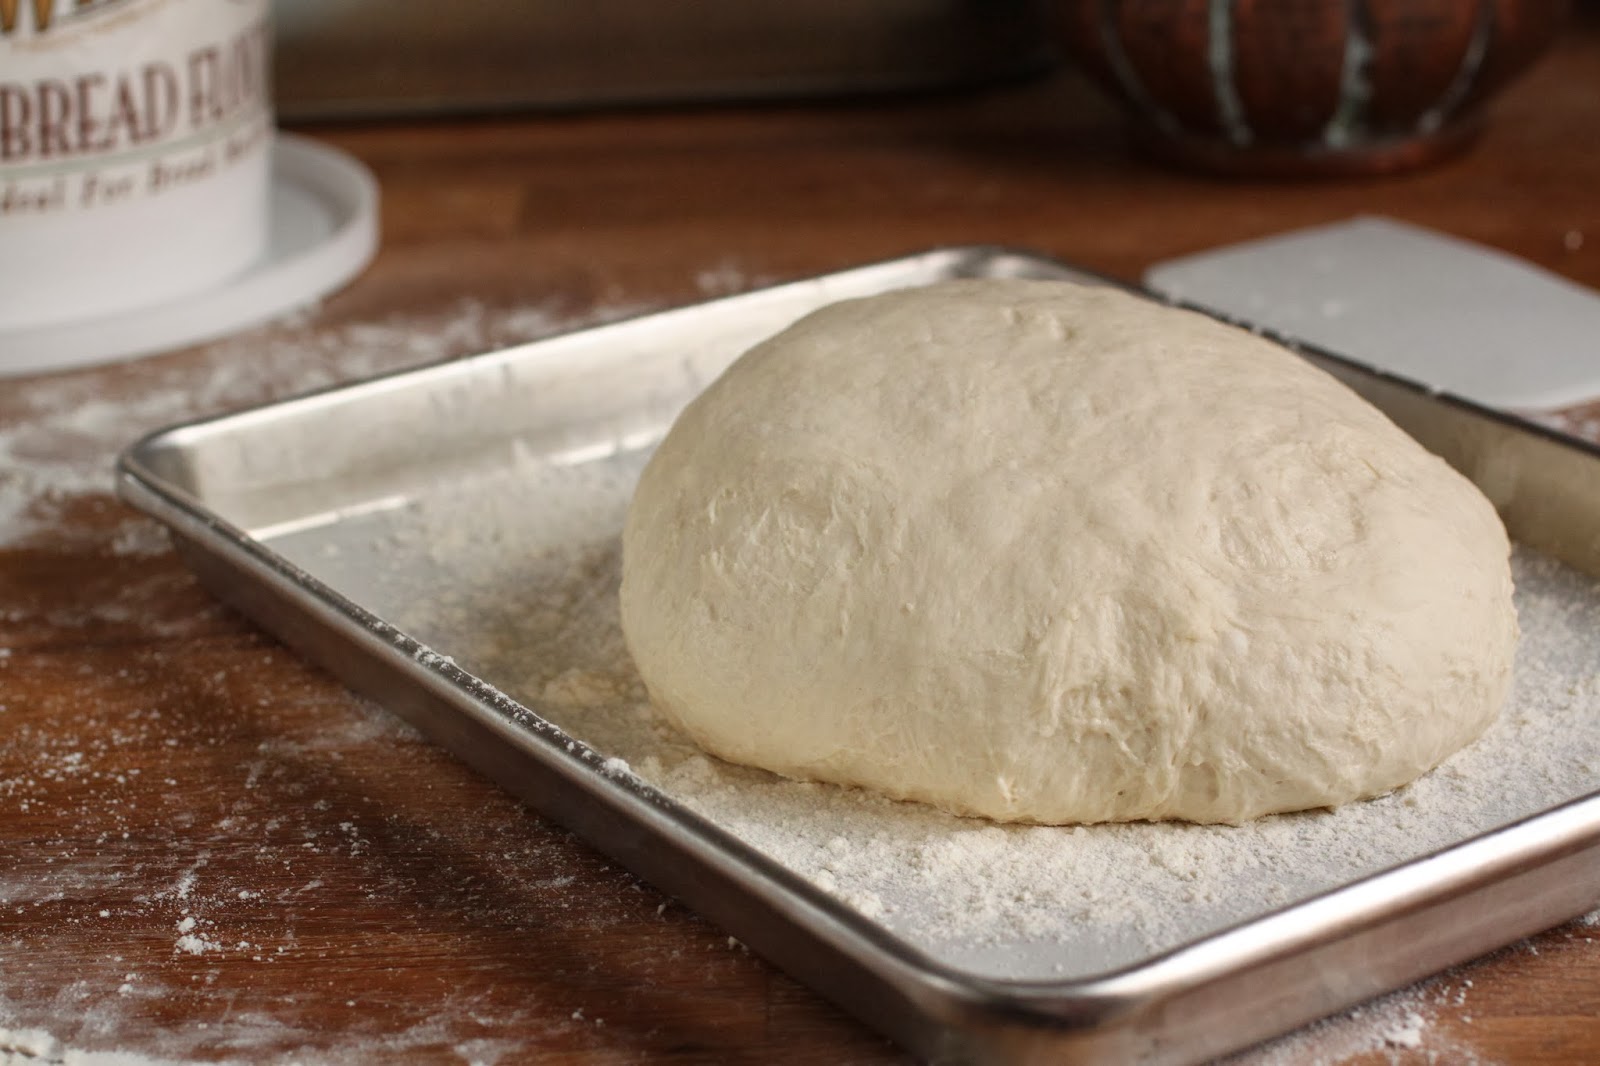
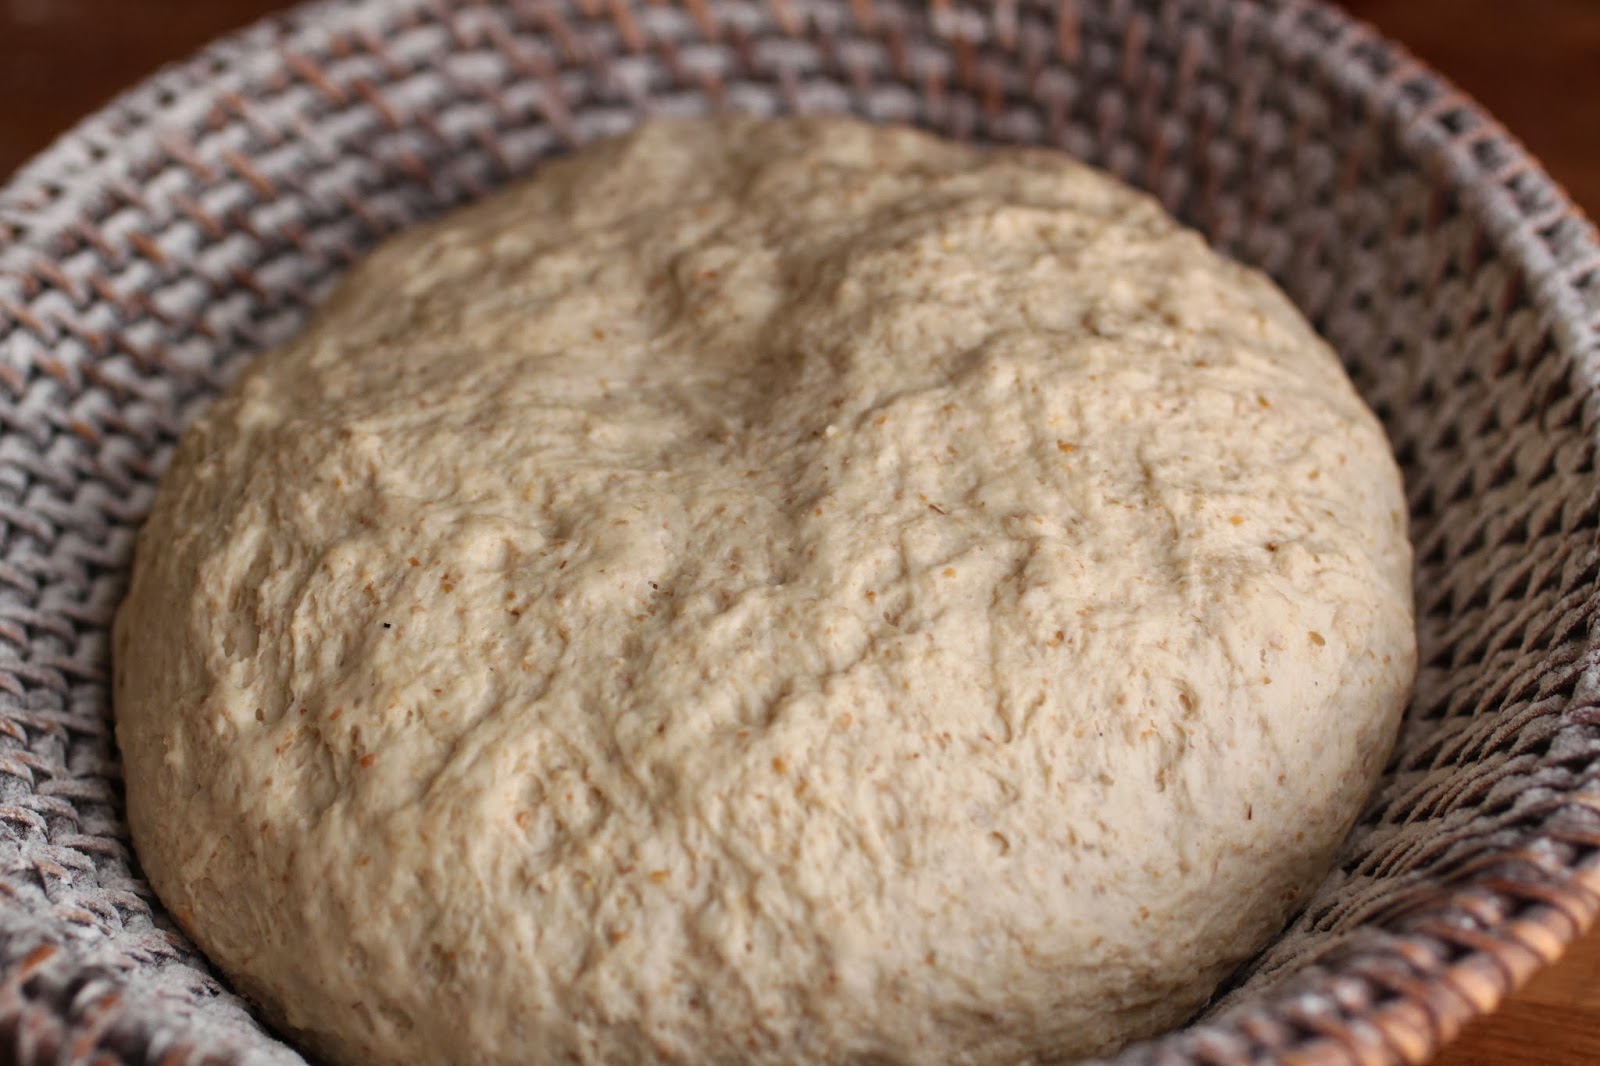
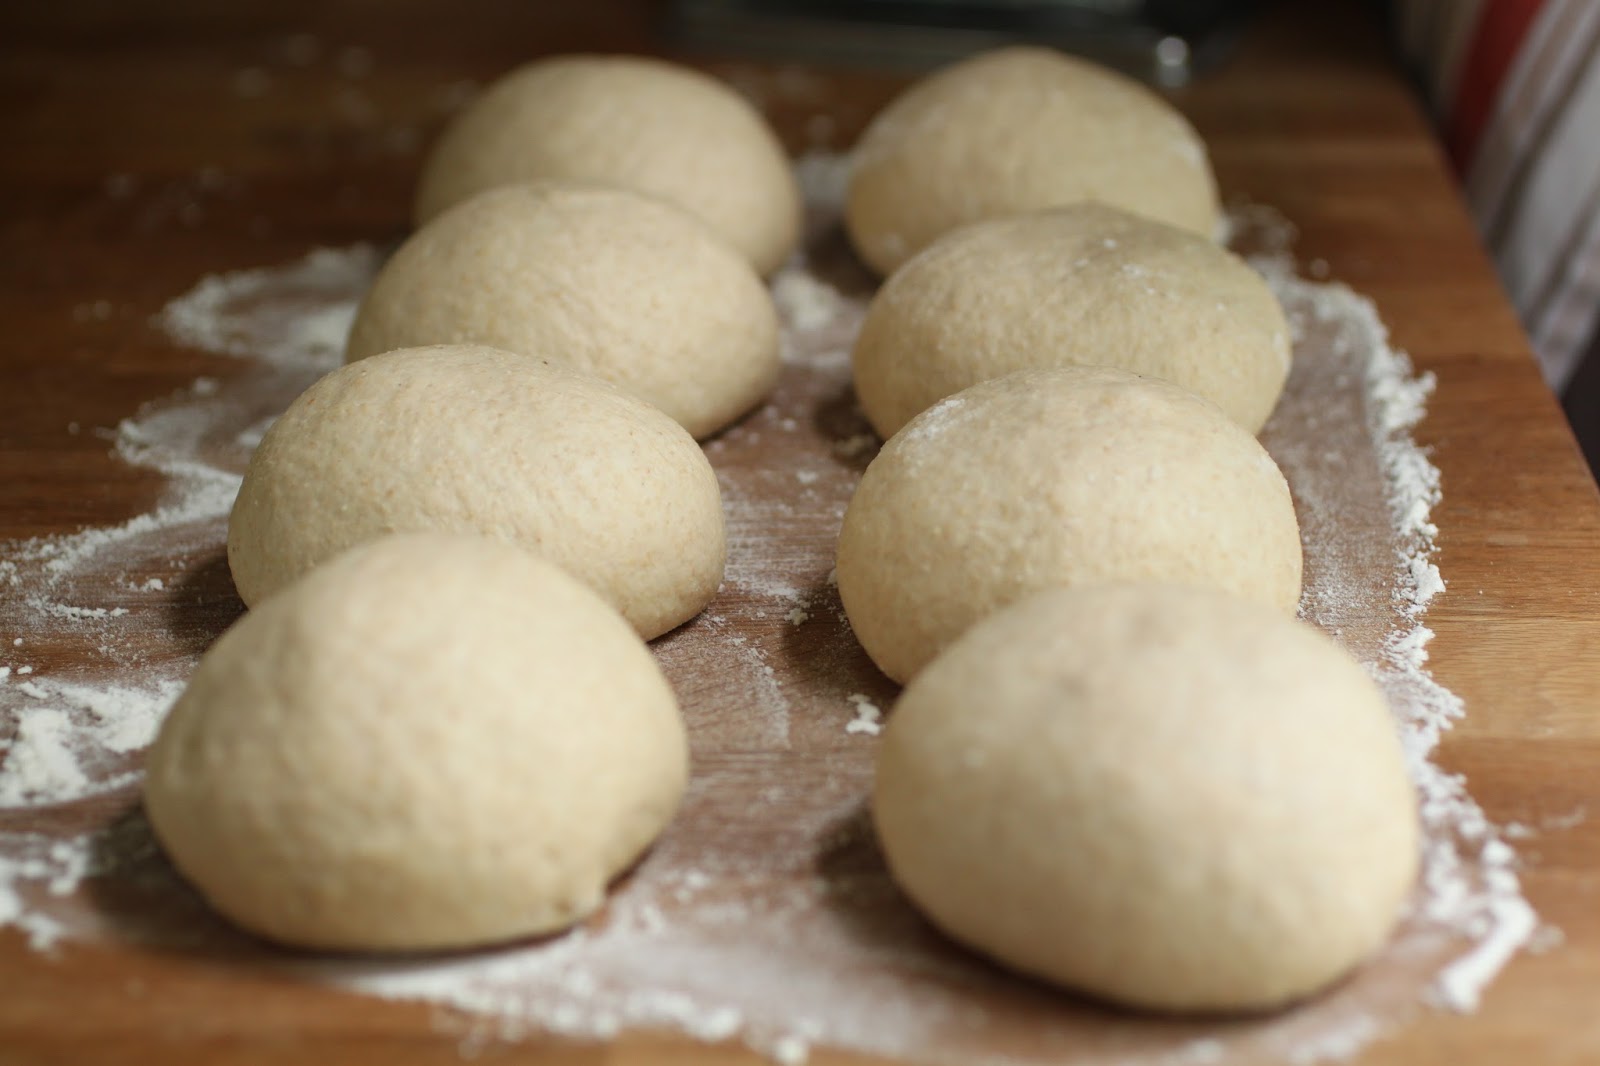
it is a soft dough that seems incapable of holding shape.  but do not let that fool you.  this dough is about to undergo a major change during the first rise.

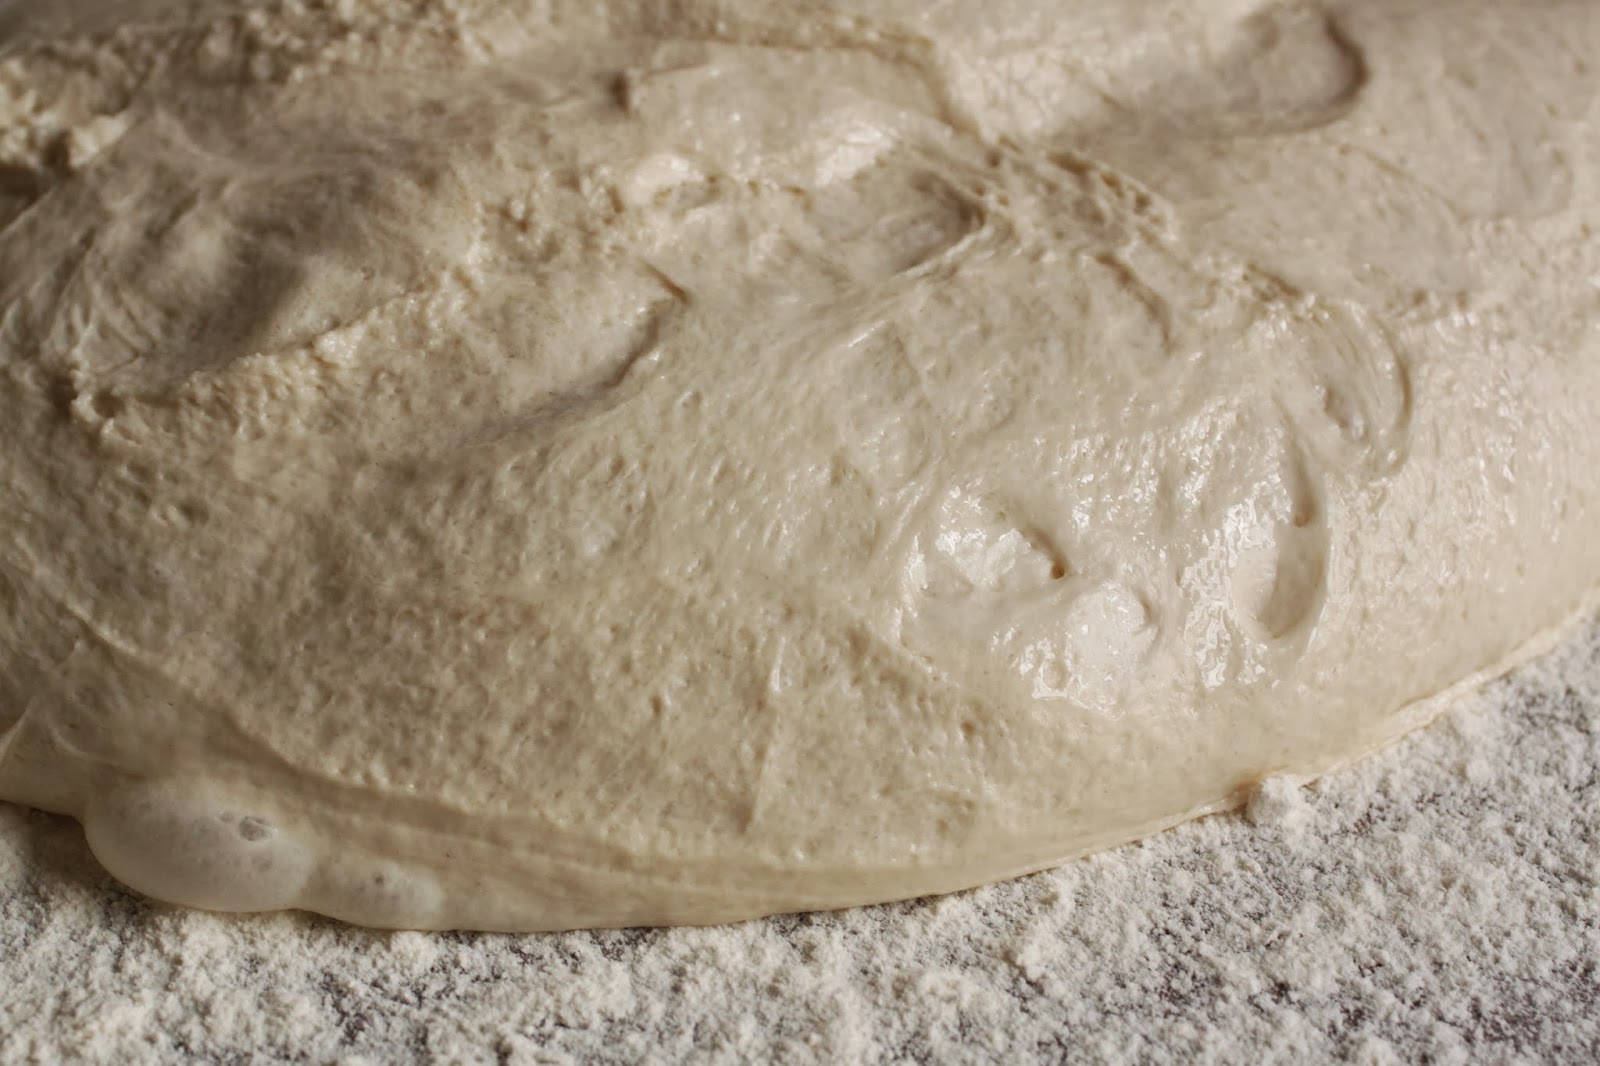
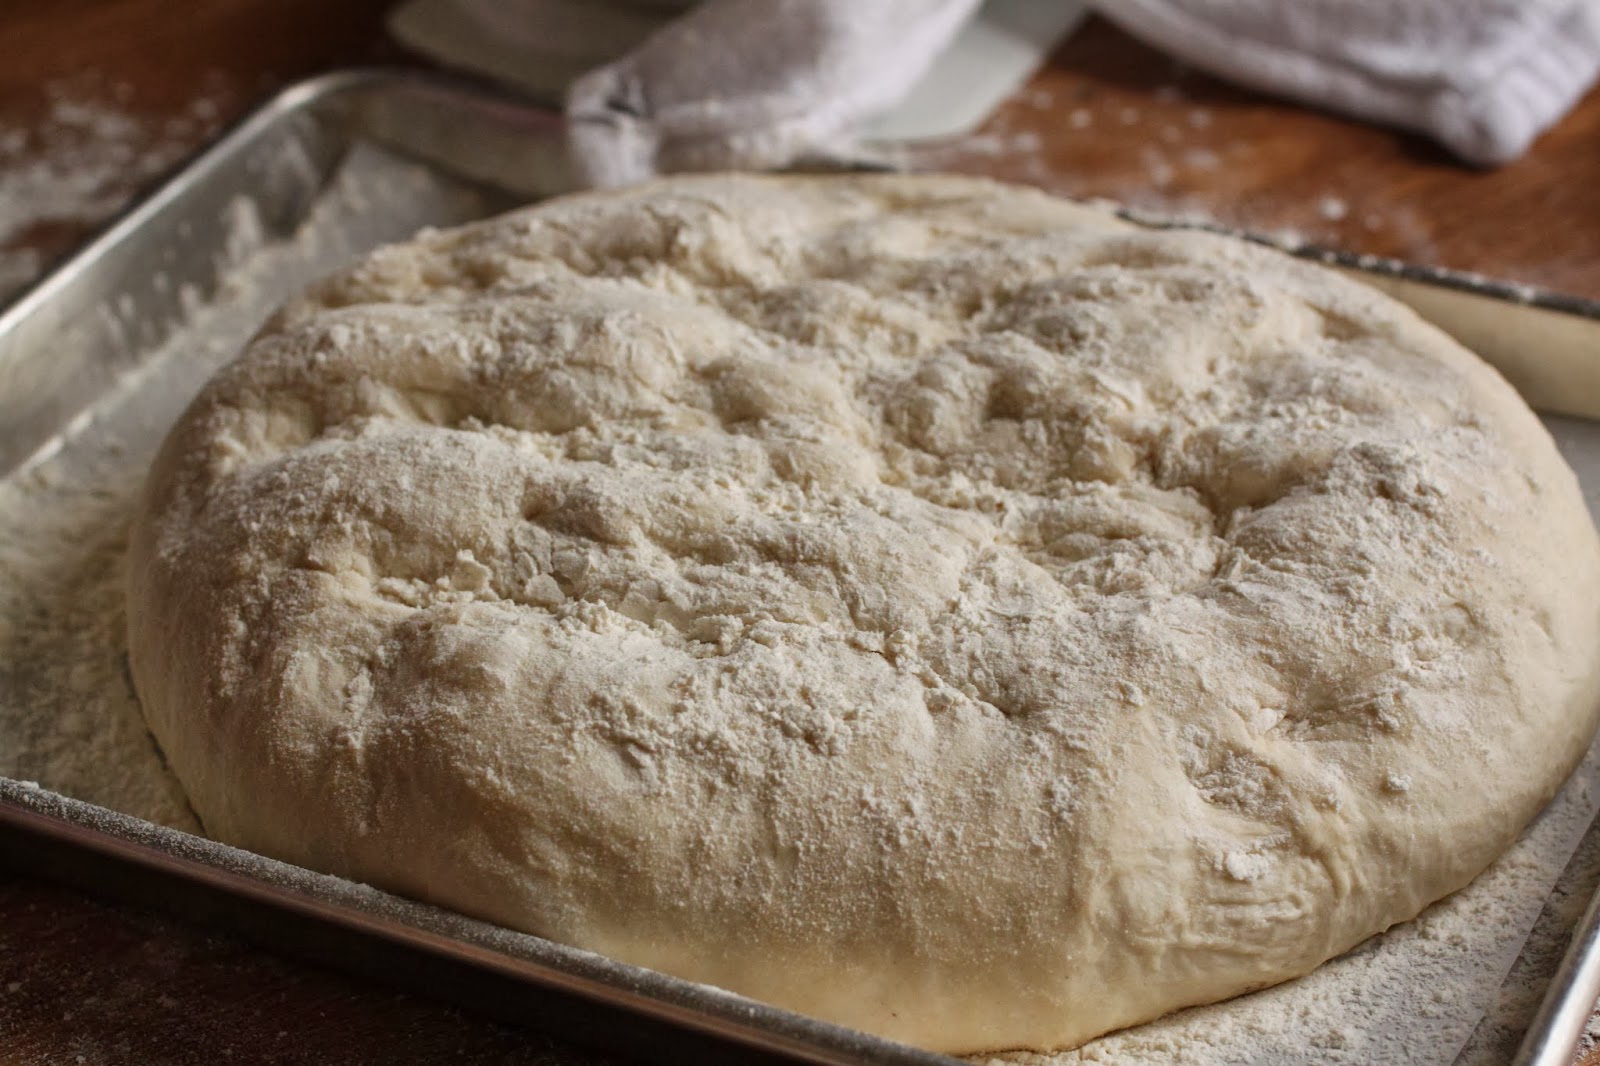
when the dough had tripled in volume, it was poured, yes, poured out onto a generously floured work surface to be shaped.  if i was skeptical before, i was certain at this point that the bread was going to be a flop and that i had just wasted my time.

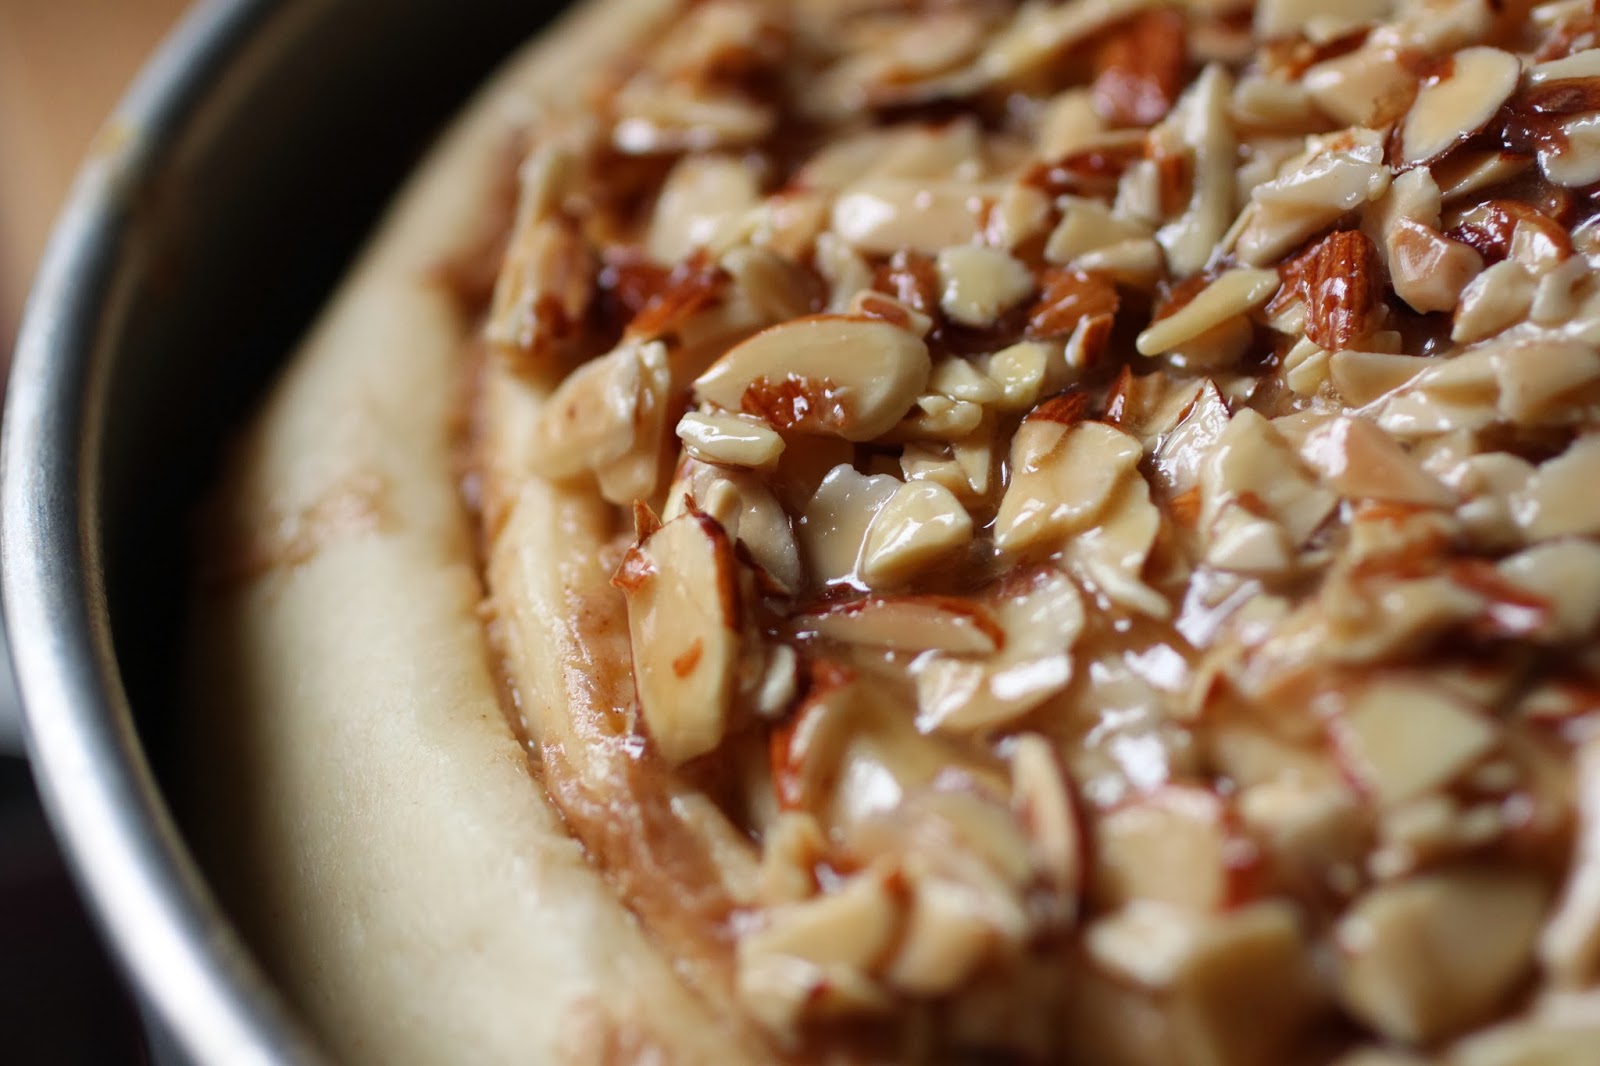
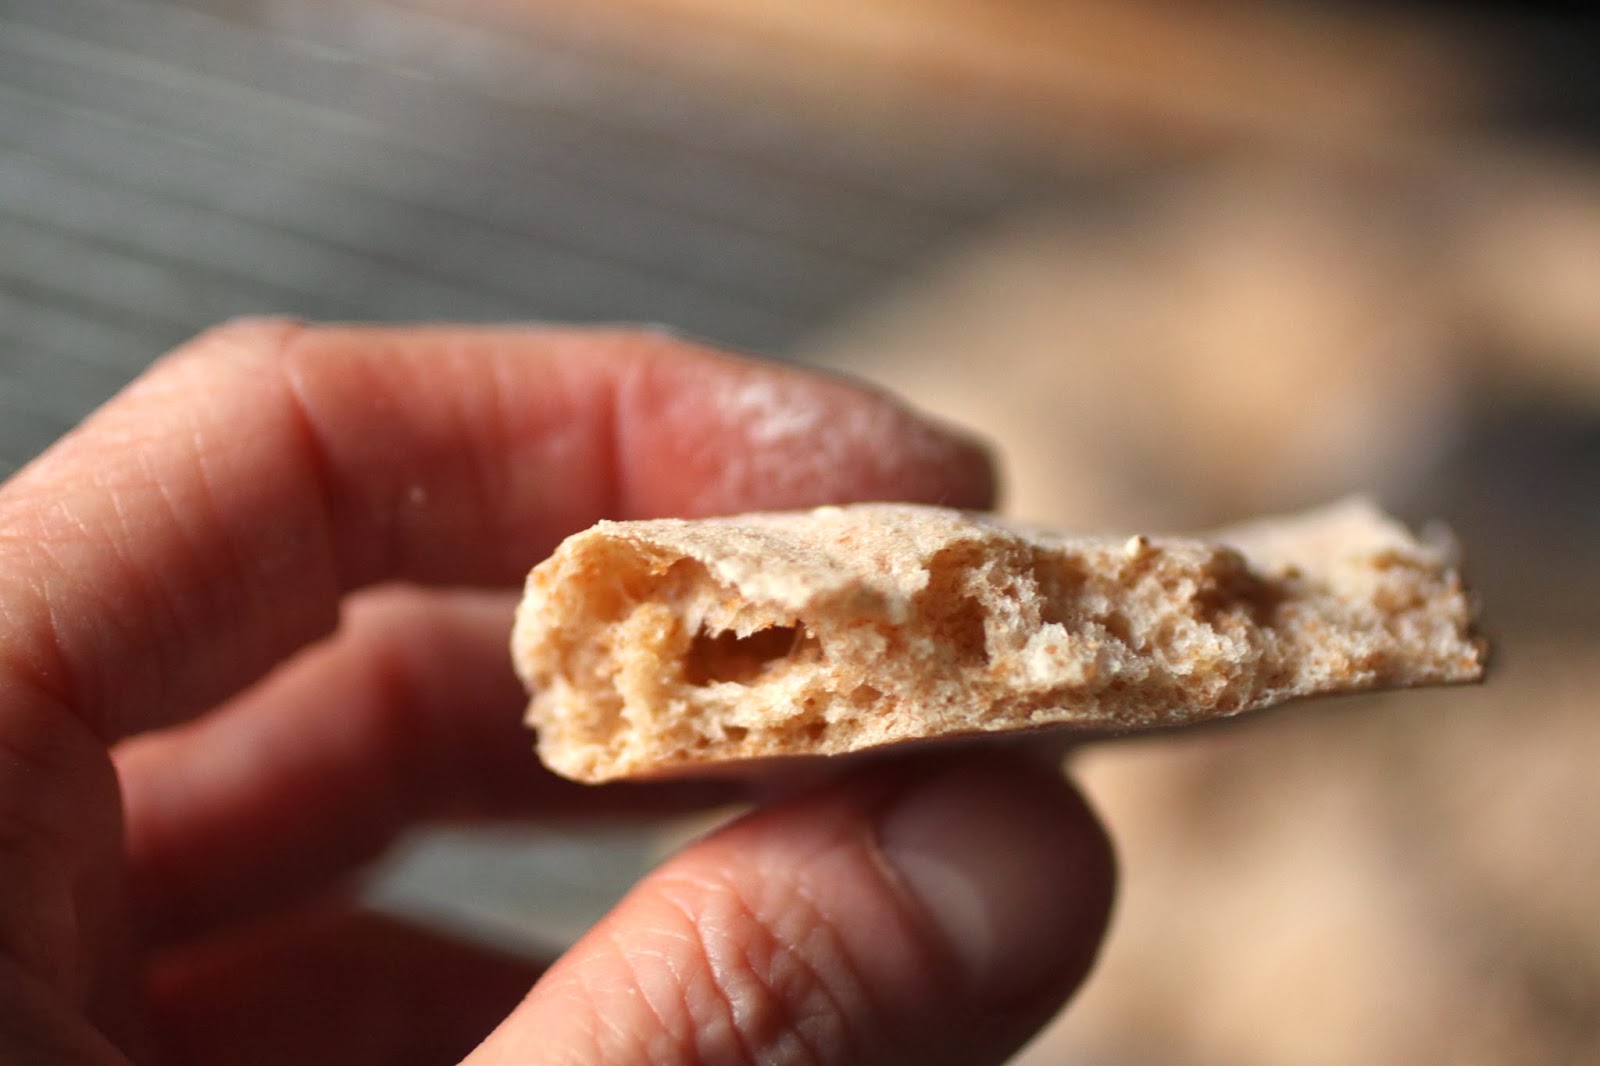
you can see how bubbly and soft it is-the shine is part olive oil and part moisture level in the dough.

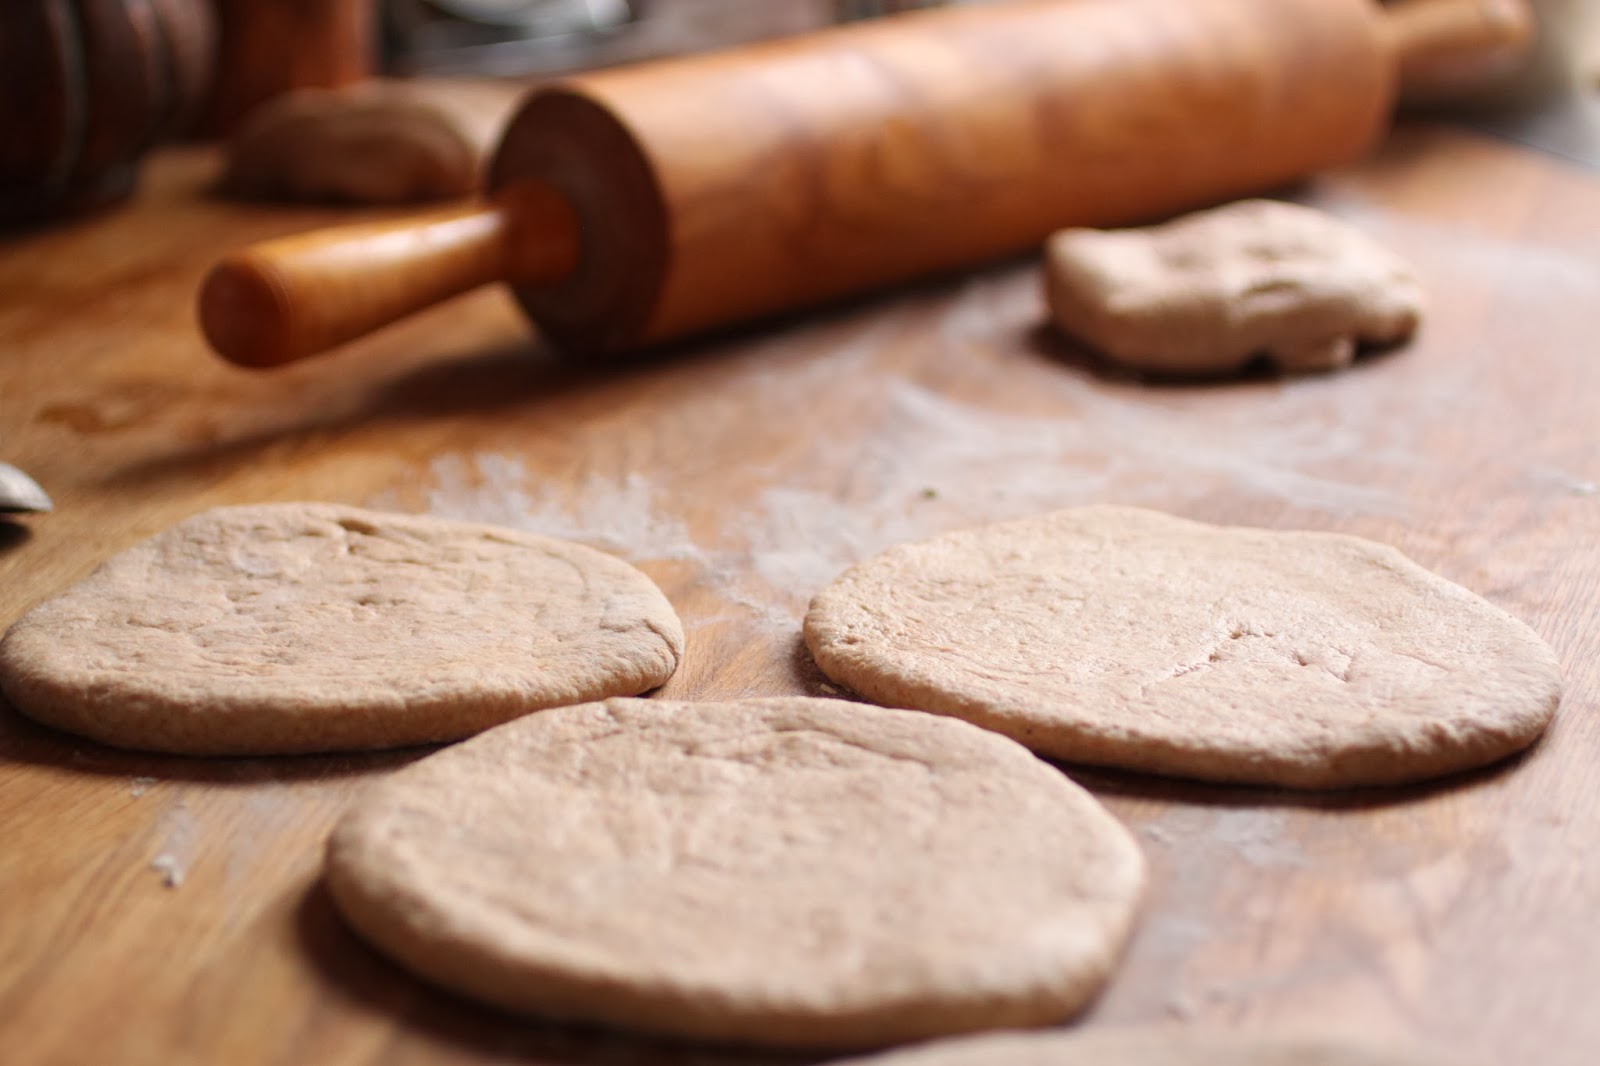
even so, i trudged on towards what i hoped was a respectable loaf of bread.  first note about shaping; do not punch the dough down, you want some of the bubbles to remain for the final rise.  to shape it, the instructions call for flattening the dough and rolling it up using your thumbs to make a somewhat tight roll.  the dough is so soft that it is a bit challenging to make the roll tight without tearing the dough or puttin your thumbs right through it so handle it carefully to prevent that.

after completing the roll, the dough is flattened again and rolled up a second time.  this time, it is a little less soft and it will actually resist the rolling a little.

after the second roll, the loaf is shaped by cupping your hands and smoothing the dough from top to bottom in a circular pattern.  the idea is to pull the dough tighter as you run your hands around it from the top to the bottom.  don’t stress on this, if the shape isn’t perfectly round, that is okay.  once it is baked, no one will ever know.

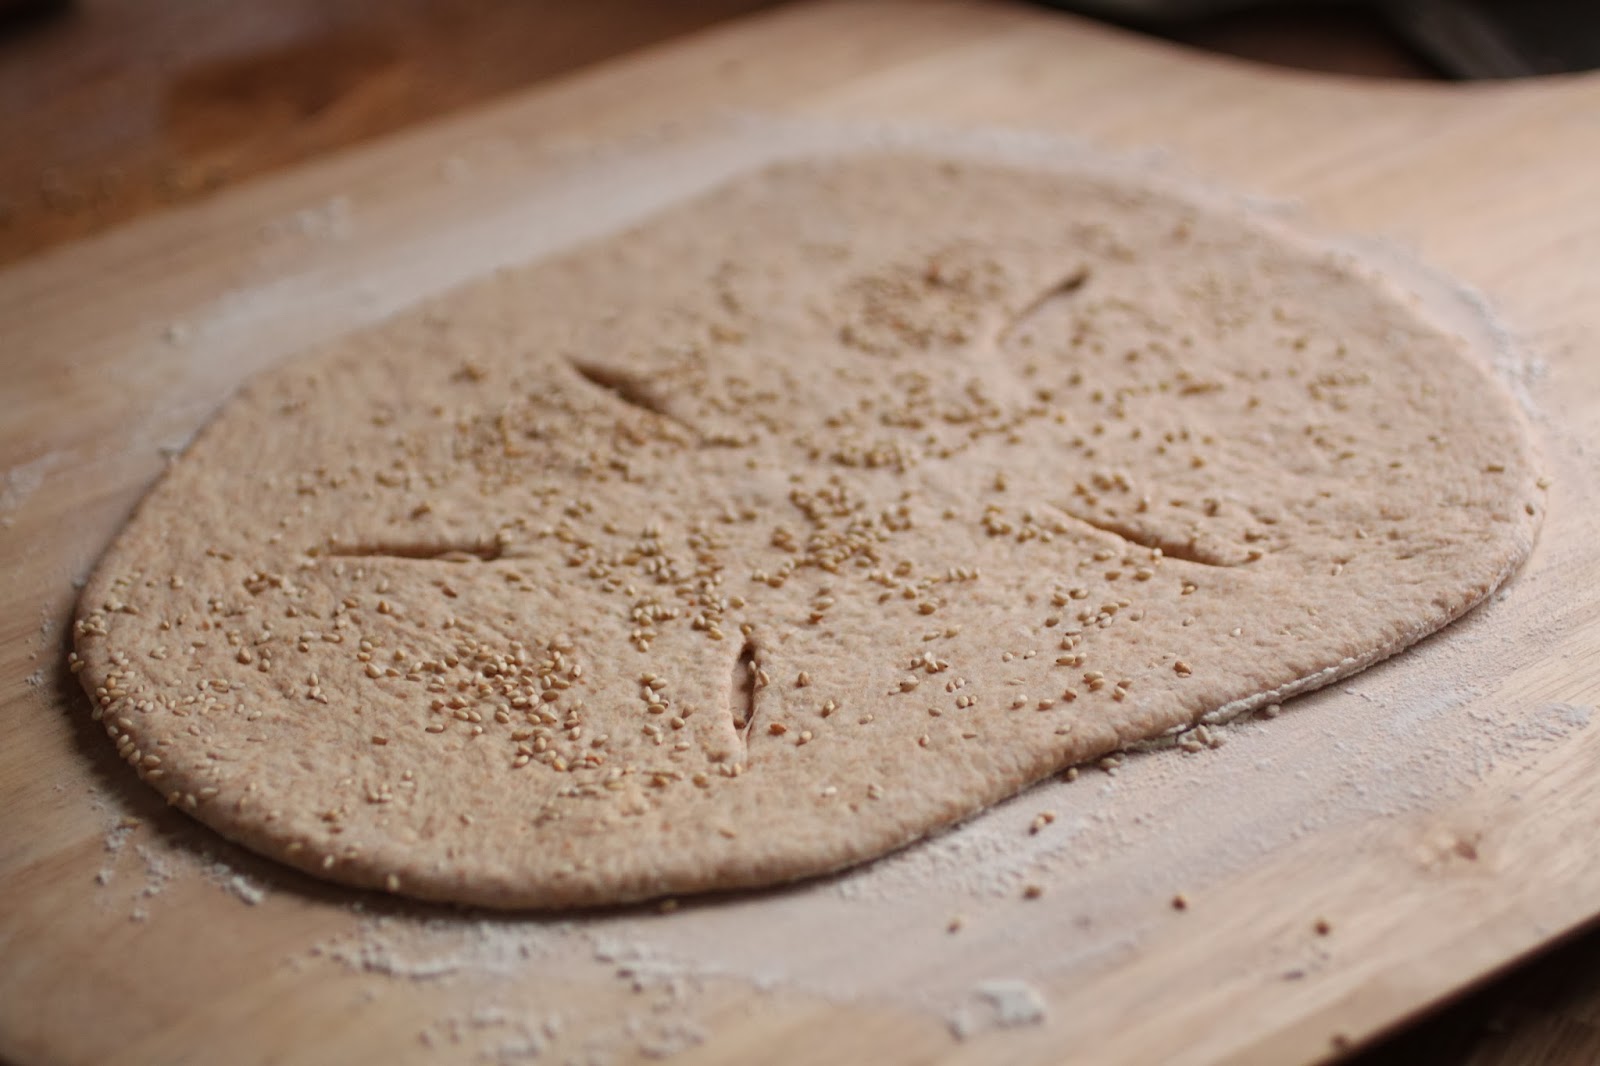
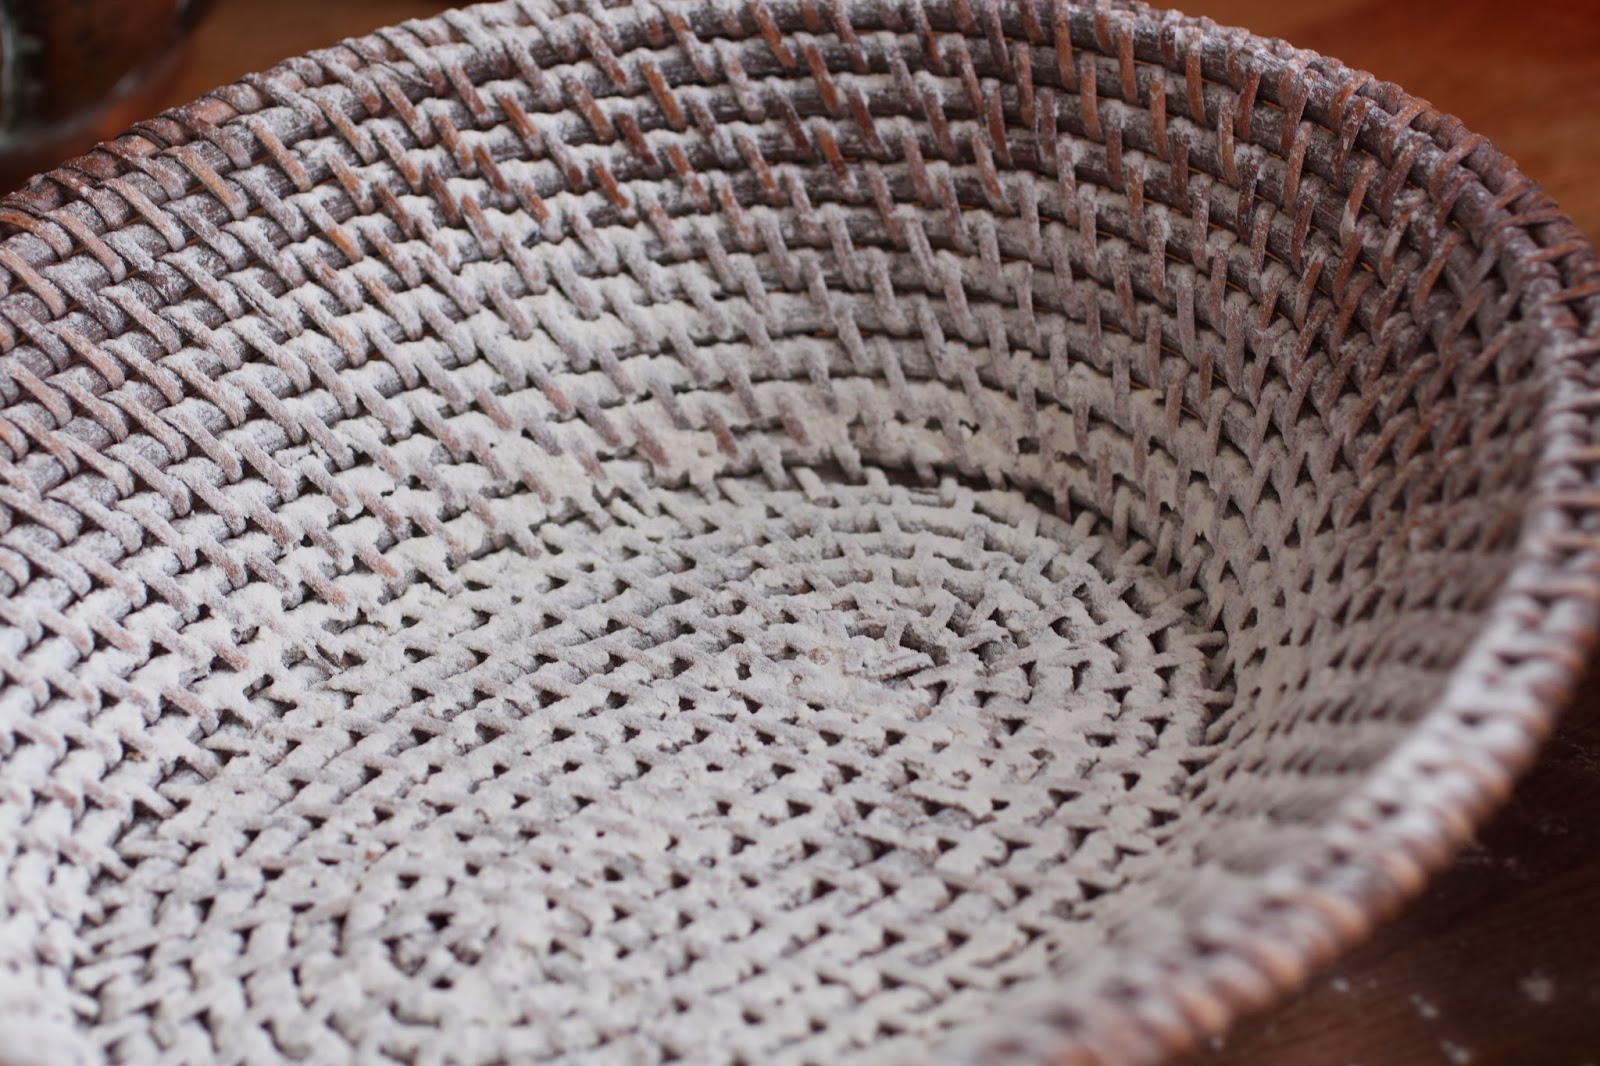
after the dough is shaped it is placed on a floured pan to rise.  after doubling, it gets a vigorous dimpling with your finger tips to control the oven spring.  the dimpling almost seems pointless because the dough is again allowed to sit for 10 minutes.

after 10 minutes, it is hard to see where it was dimpled-it has risen again in many spots.  at this point, i began to wonder if maybe my starter was a little too powerful.  the yeast in my starter came from grapes in the garden i work in and has proven itself to be rather potent in the form of leavening bread.

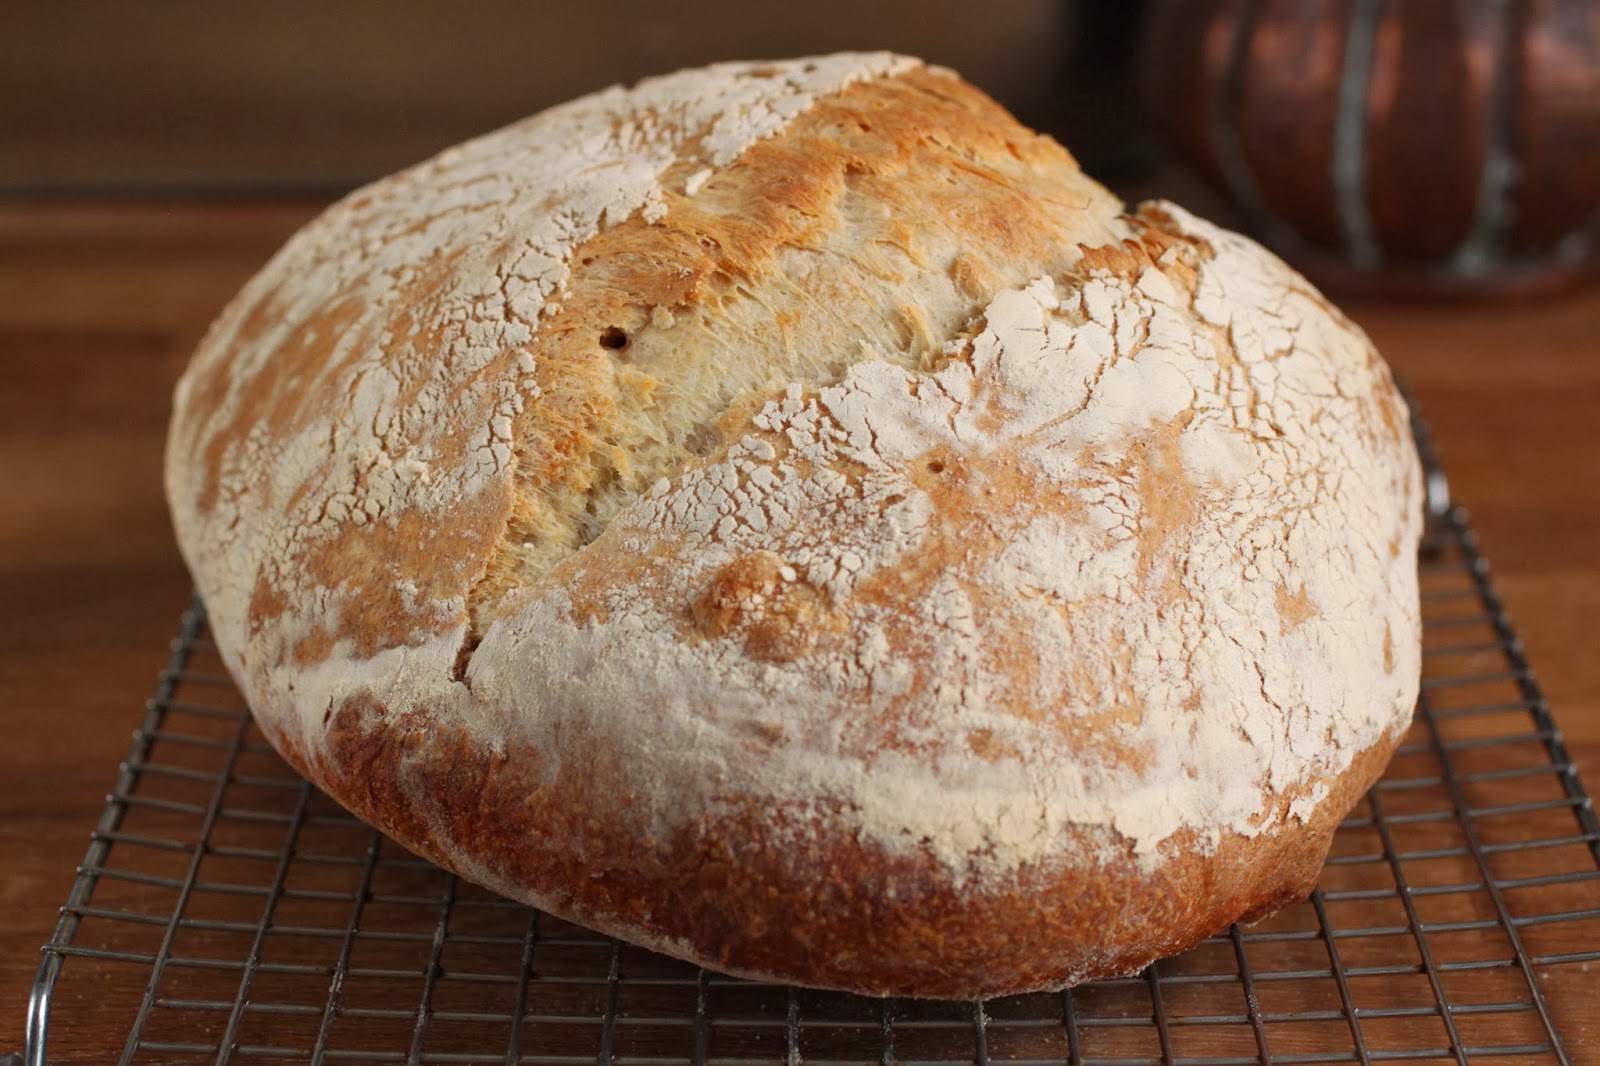
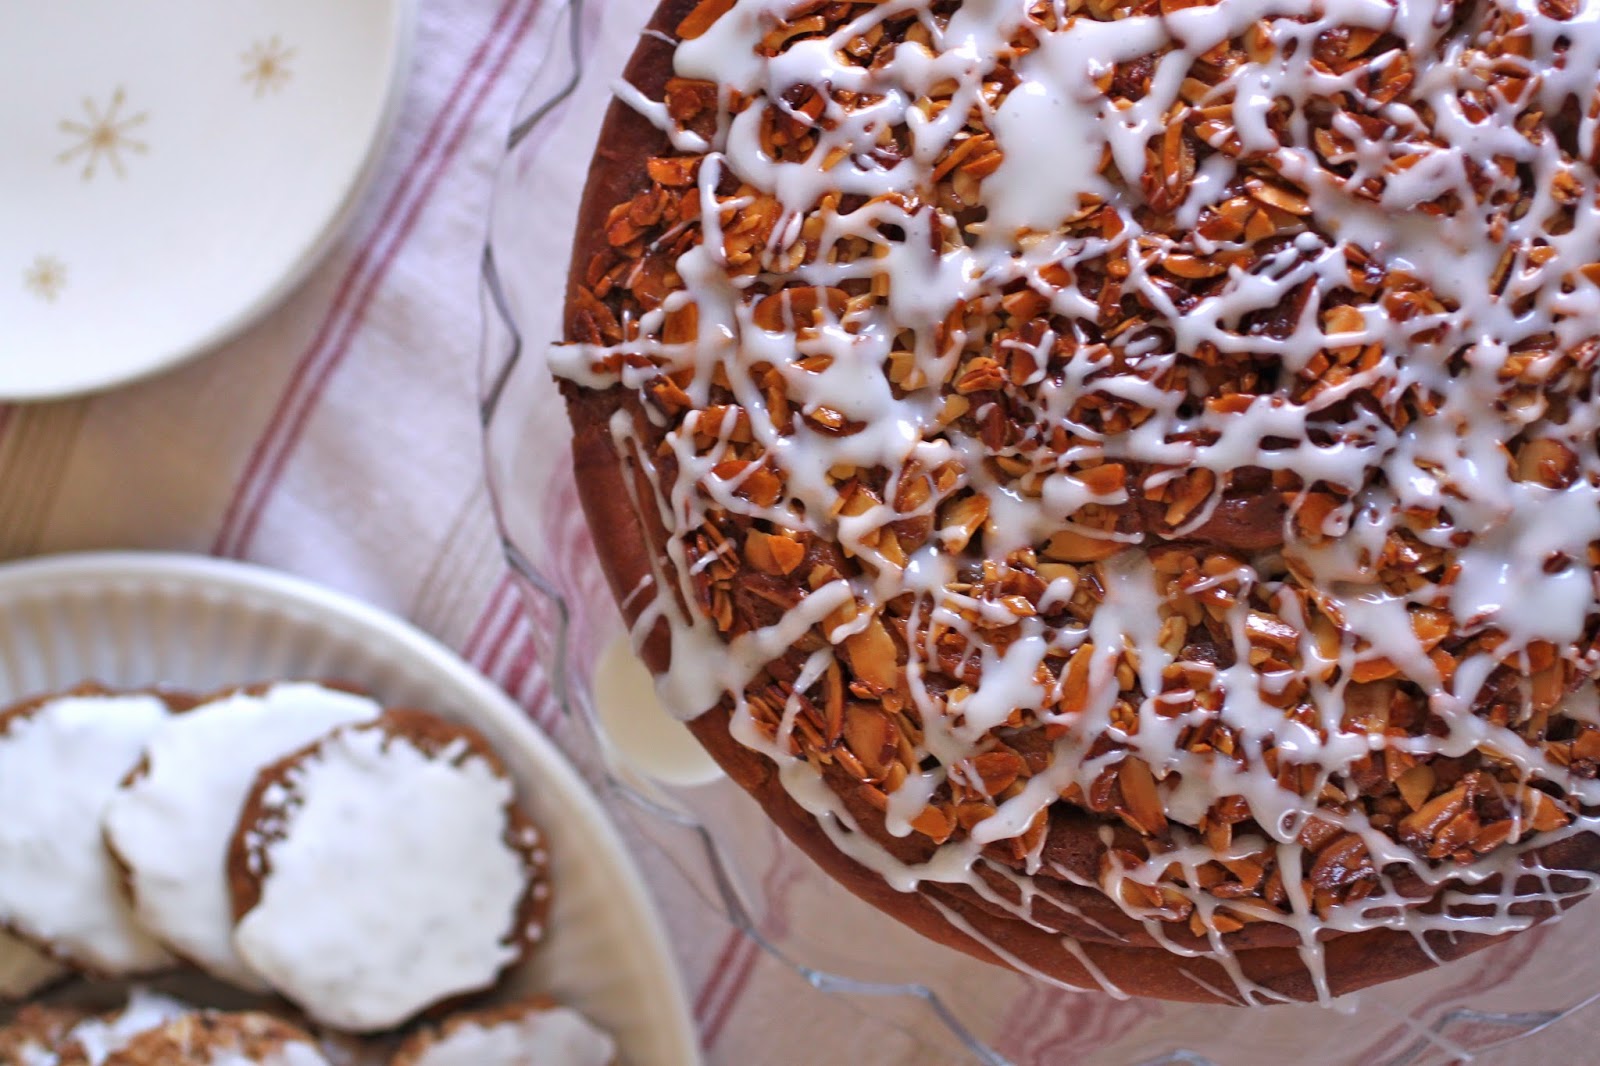
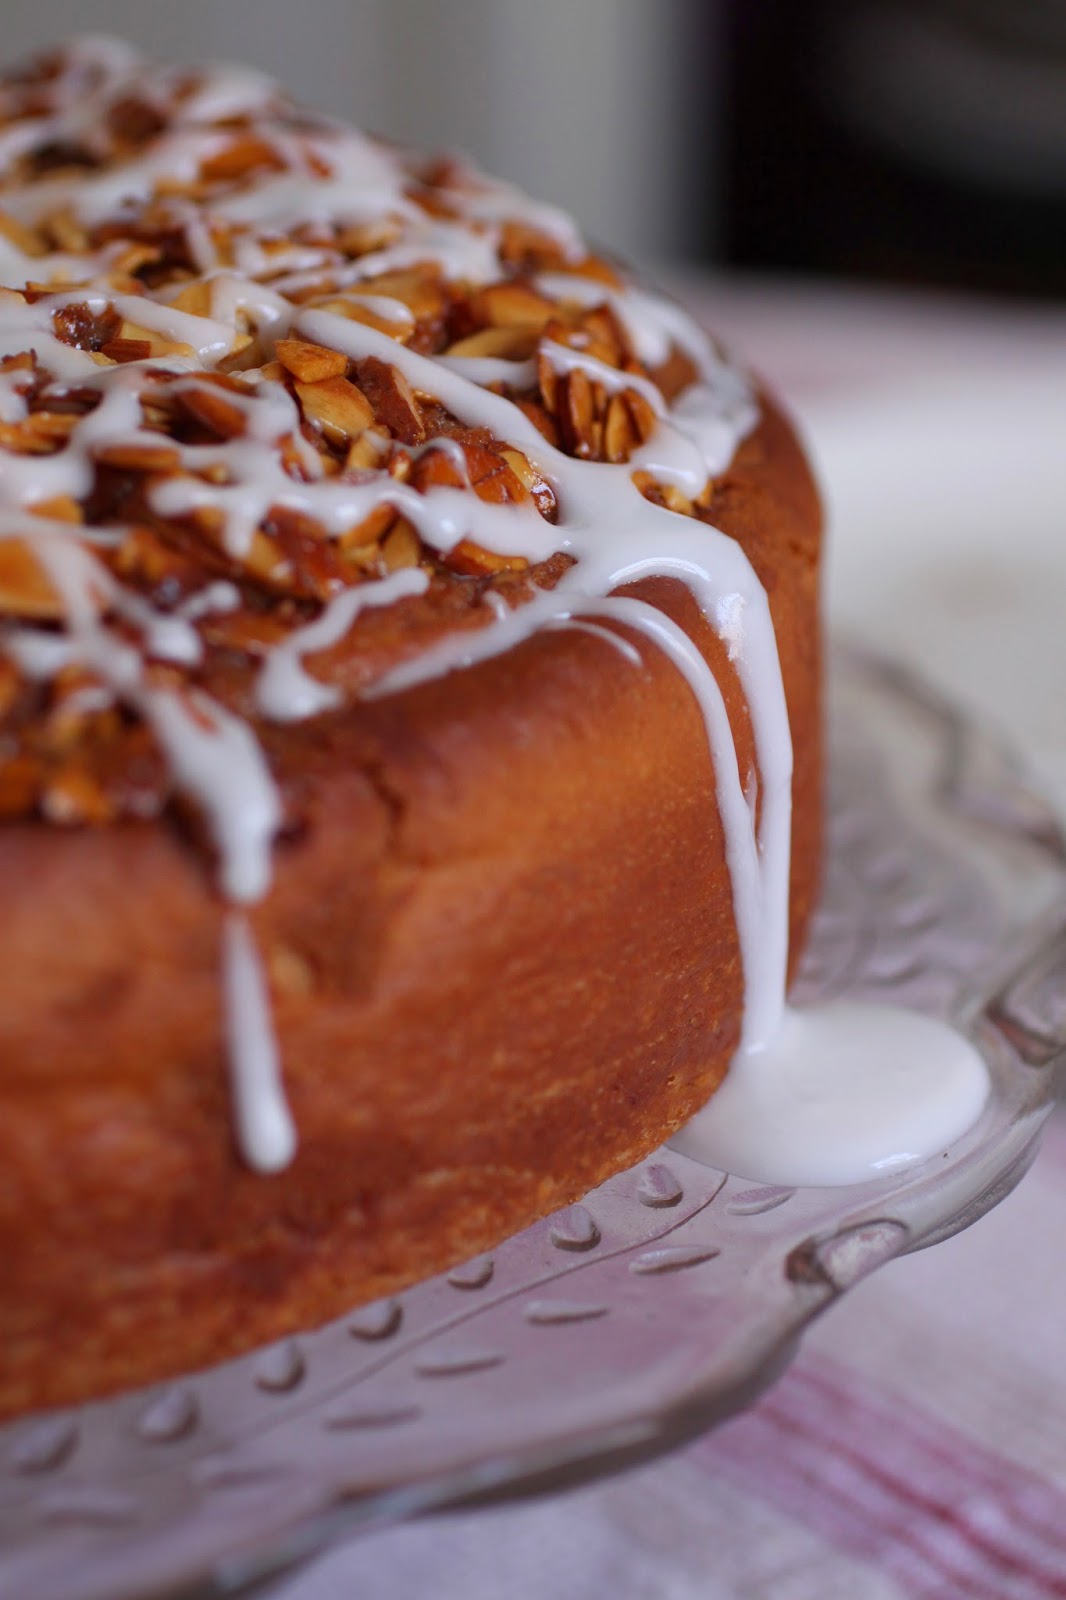
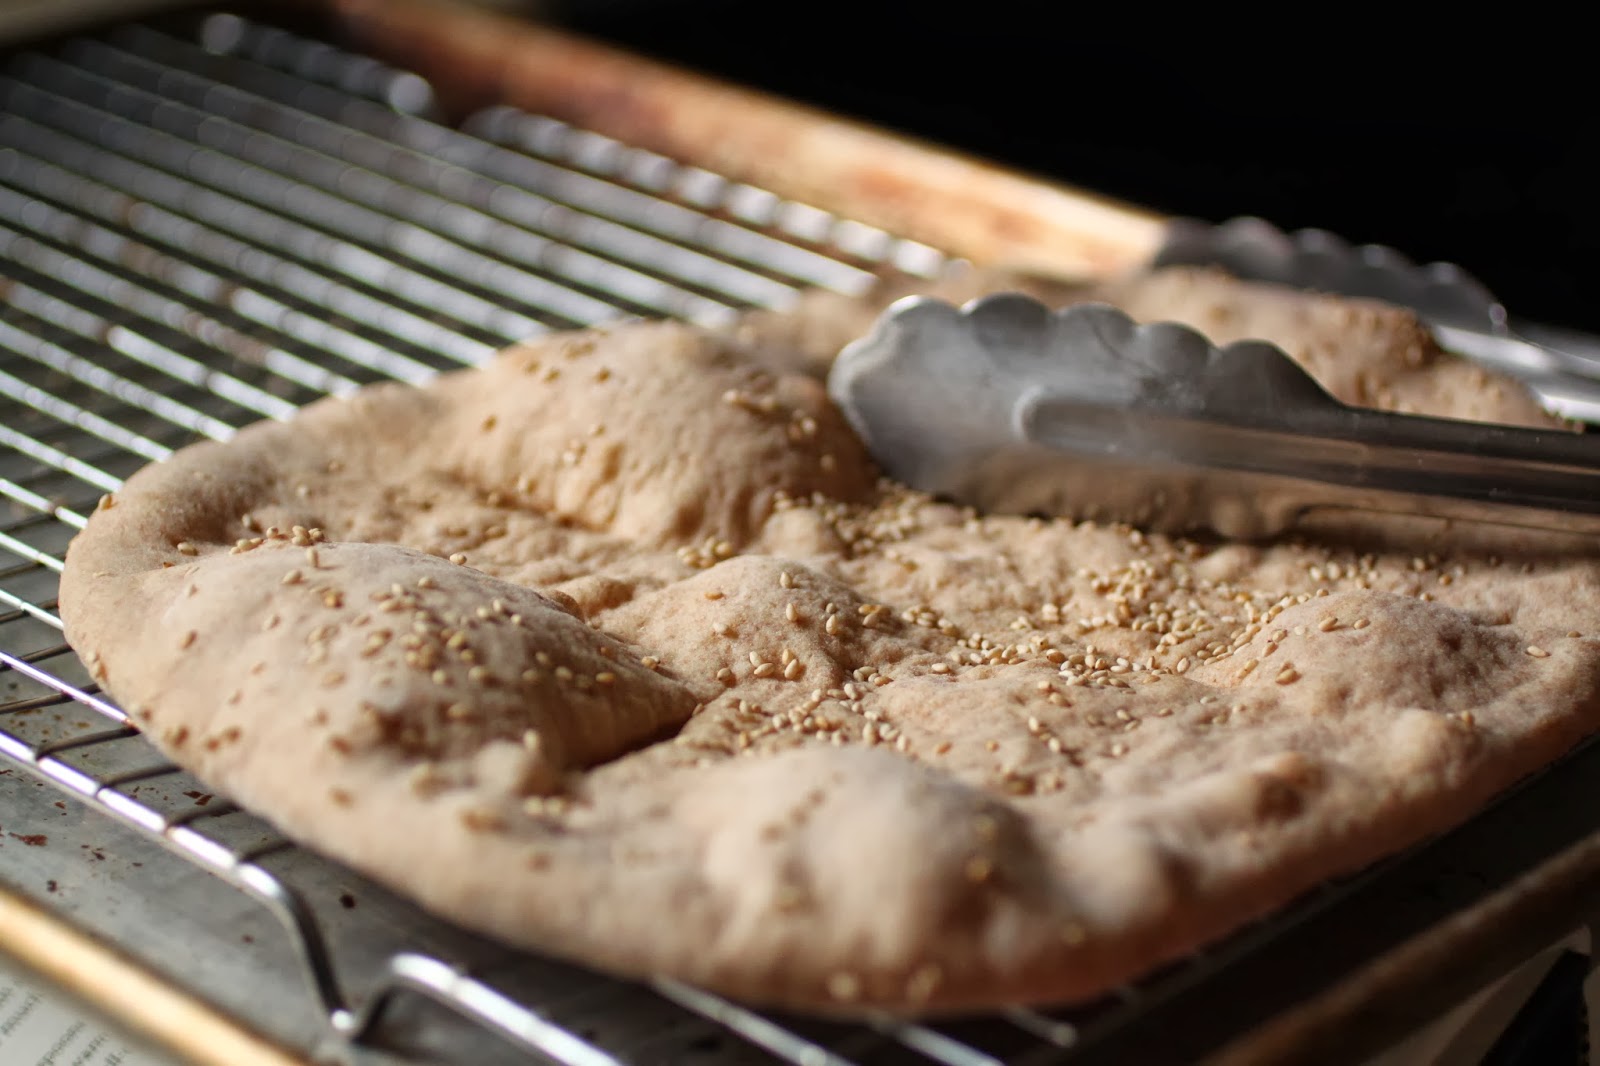
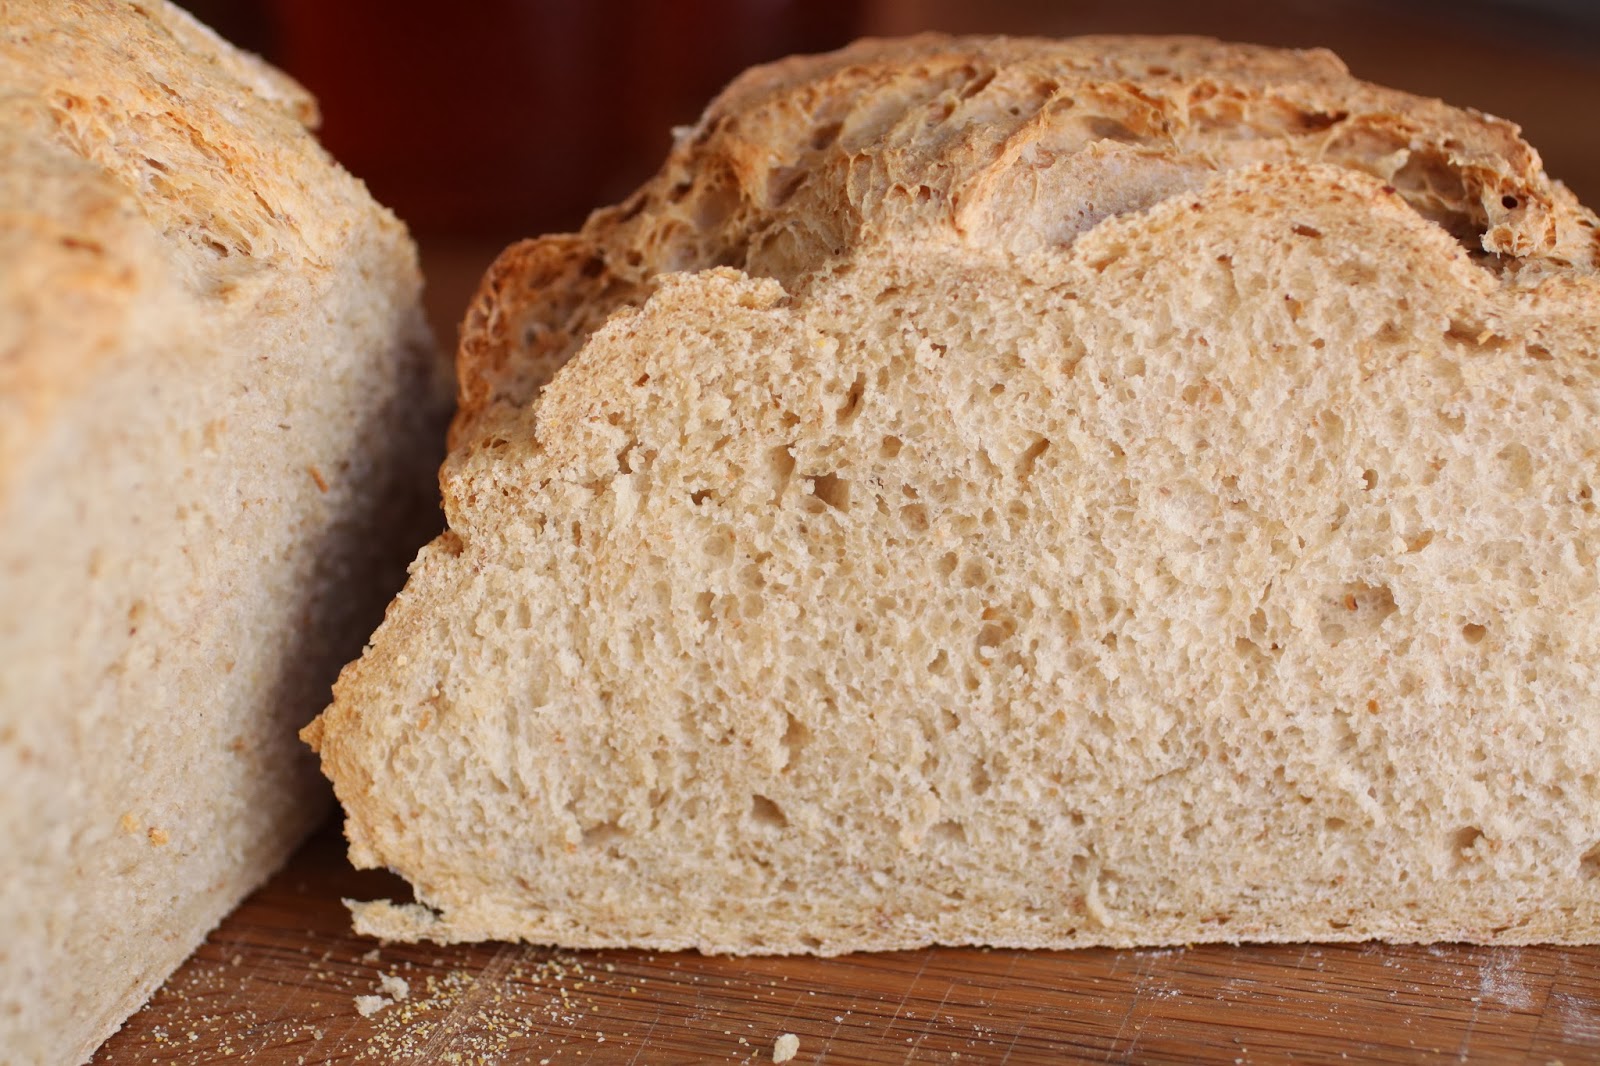
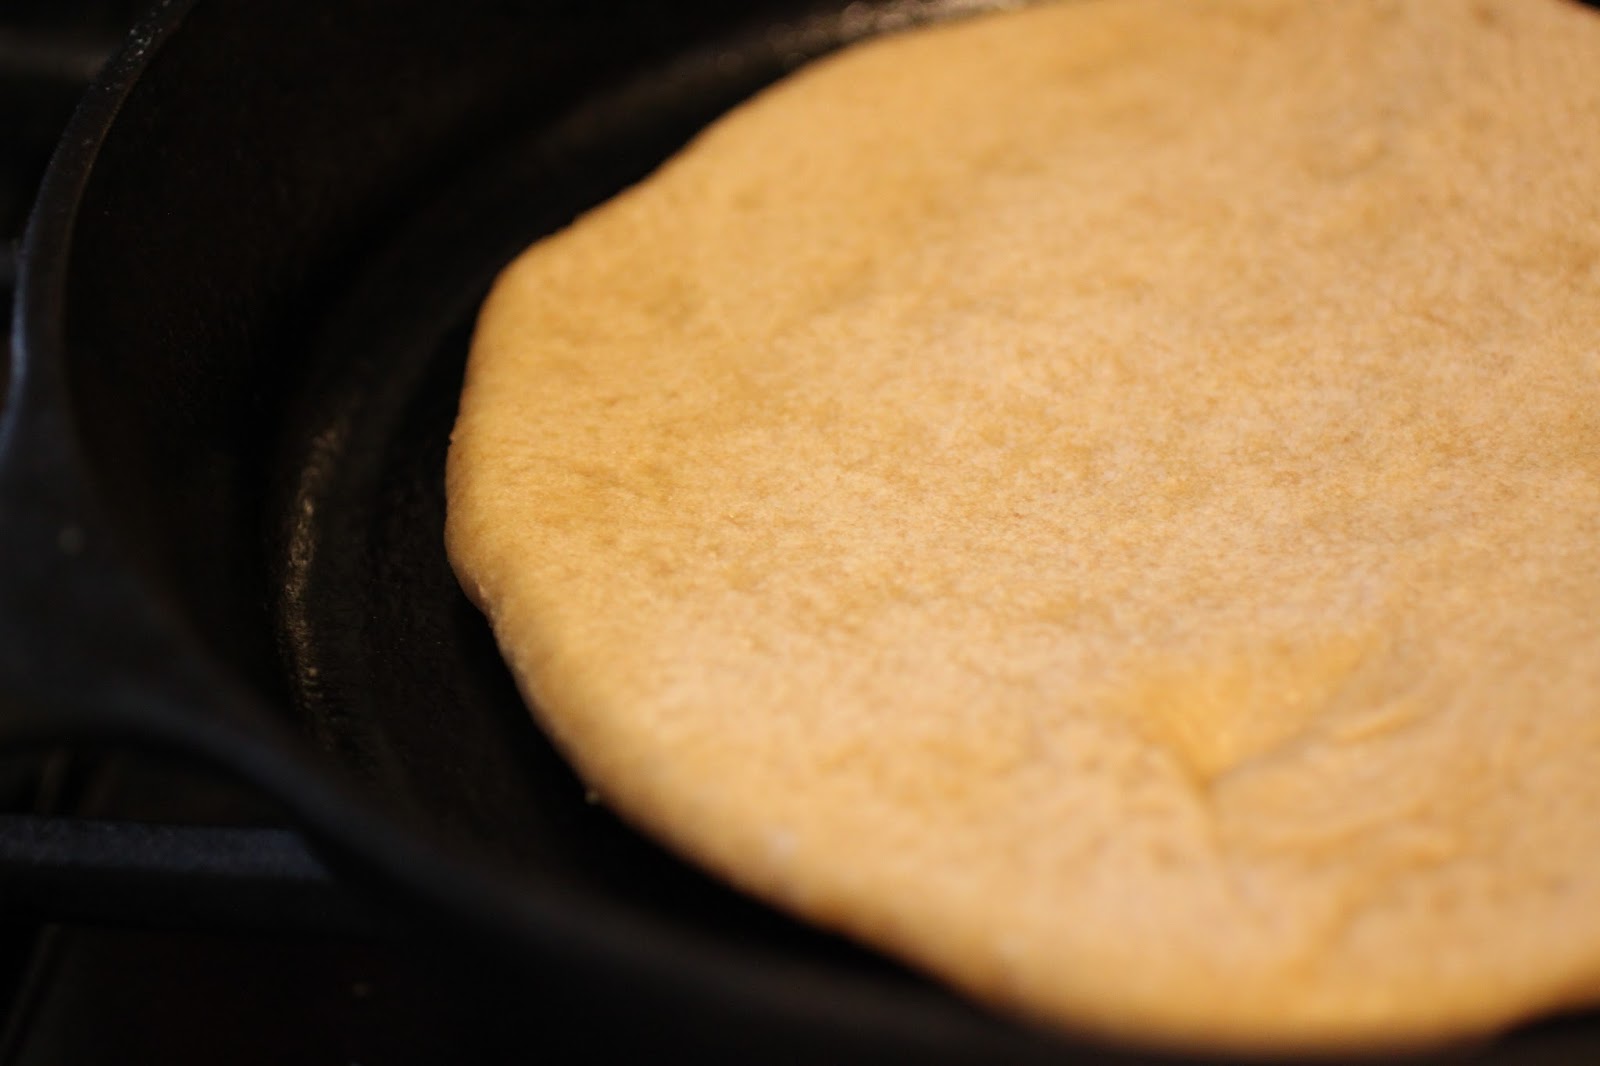
even after a good poking, the bread popped up into a nice round loaf.  the internal temperature is a good way to check for doneness and once it reads 205-210 degrees, the loaf is done.  allow it to cool on a rack for at least an hour before slicing.  one final note, i only made half of the recipe!

pane pugliese
one large loaf of bread
adapted from the italian baker by carole field
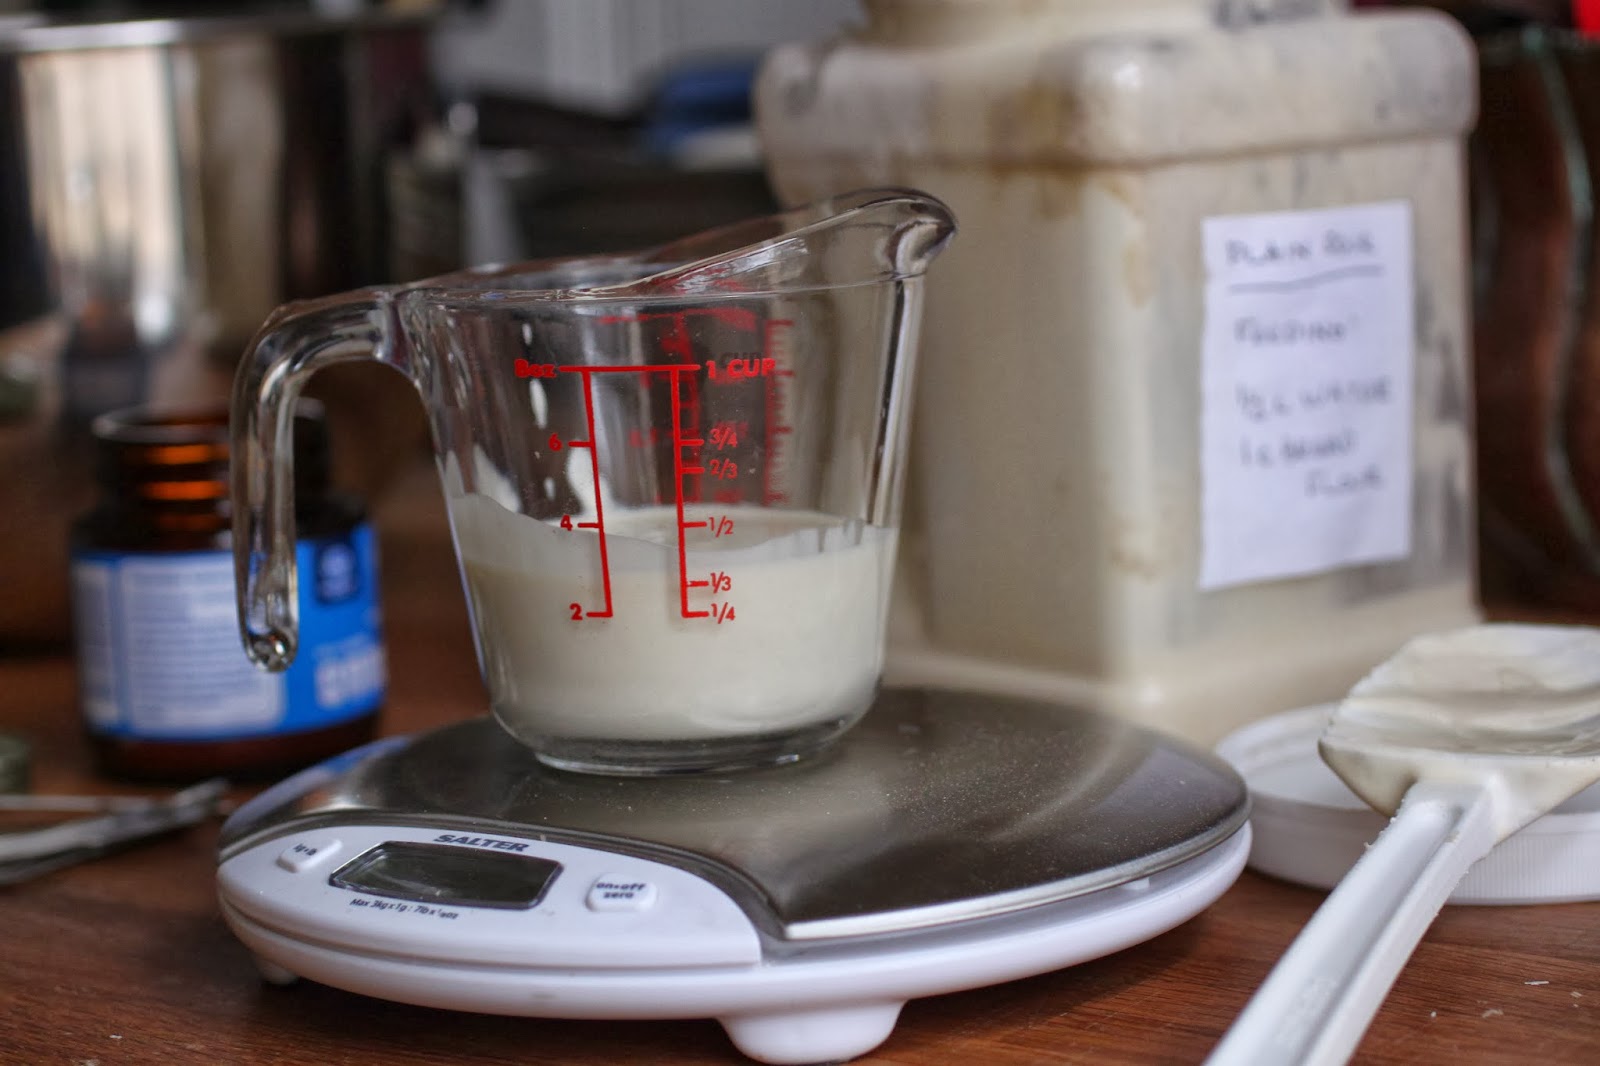
slightly less than 3/4 teaspoon of active dry yeast
2 tablespoons warm water
1 1/2 cups water, room temperature
100 grams of sourdough starter, about 1/3 cup
3 3/4 cup unbleached all purpose flour 
2 teaspoons salt
cornmeal for the peel
using the bowl for a stand mixer, stir the yeast into the warm water and allow to stand until creamy, about 10 minutes.  add the remaining water and the starter and mix with the paddle until blended.  add most of the flour and all of the salt and mix until the dough comes together and begins to pull away from the sides of the bowl.  switch to the dough hook and on medium speed, knead the dough until elastic and smooth adding flour by the tablespoon as needed.  the dough will never fully come off the bottom of the bowl so do not panic!  the kneading should take 3-5 minutes.  flour the workspace and scrape the dough out into the floured area.  knead it for a minute until it is not sticky and is soft and velvety.  place it in a well oiled bowl and let it rise until tripled, about 3 hours.
to shape the dough, flour the workspace well and have plenty of flour handy.  do not punch the dough down, just pour the dough out onto the flour and flatten it.  roll it up using your thumbs to make it a tight roll and then repeat this process using the photos above as your guide.  shape the dough into a ball and let it rise, covered with a towel on a well floured board or pan until doubled, about 1 hour.  at this point, get your oven ready by preheating the baking stone if you use one to 450 F.  ten minutes before baking, sprinkle flour over the dough and dimple the entire loaf with your finger tips.  let it stand for 10 minutes.  sprinkle cornmeal over the peel and turn the bread out onto the peel, flipping it so that the bottom is now the top.  slide the loaf onto the heated baking stone and bake until a deep golden brown and the internal temperature is between 205 and 210 F, about 50 minutes.  cool on a rack for at least an hour before slicing.
look for additional posts for the starter and the soup including recipes and links.  and one final note, i may be dating myself here but do any of you remember way back when on general hospital when mikkos wanted to control the weather and freeze the world?  while i never watched the show, but i heard all about it (how could you not-the world was in love with luke and laura and they were all you heard about) and just wanted to suggest that someone go ahead and build that machine and tweak it a bit so we can turn off winter, please…
and just in case you have no clue what i am talking about, here is a link to explain the plot line from general hospital and how they planned to control the weather.

cinnamon roll cake with crunchy almond topping

cinnamon roll cake with a crunchy almond topping

breakfast breads are some of my favorite things.  sweet, tender, yeasty, full of cinnamon and when warm from the oven, nearly impossible to resist.  swirled breads and rolls always catch my attention and if i am making a batch at home, you can be sure it will be some sort of cinnamon swirled, yeast raised bread.  lately, i have seen any number of monster sized rolls baked in a cake pan and decided to take that route.

a standard sized recipe that would normally make about a dozen rolls was rolled out into a thin rectangle that measured 24″x 10″.   to make the filling, i broke out my secret recipe which is the topping for another of my favorite breakfast breads, a concha.  if you are unfamiliar with conchas, visit a hispanic bakery; they are large, fluffy sweet rolls with a crunchy cinnamon topping that has a shell pattern to it.  a buttery cinnamon mixture is spread on the dough and then the dough is cut into 2″x 24″ strips.  the strips are continuously wound around each other to make a giant spiral of dough and filling.  it is placed in a 10″ cake pan and allowed to rise so that it fills the pan.

but as always, i didn’t stop there.  to top off the cake, i cooked up a batch of my favorite almond topping.  there is a traditional german cake called a bienenstich, bee sting in english, which is made of layers of cake with custard filling and a crunchy almond topping.

the topping is made with butter, almonds, cream, flour, honey and brown sugar  and it is cooked until it boils.  the hot topping is spread over the completely risen cake just before baking and then the cake goes into the oven so the magic can happen.  after about an hour, the cake is ready; cool it in the pan for at least 10 minutes then carefully remove it.  one note, i never use springform pans.  the thin gauge metal allows the outside of the cake to burn before the inside is cooked and they always leak!  just use a regular 10″ cake pan and when it is cool enough to handle, place a plate on the top and invert the cake.  pull off the cake pan, place another plate on the bottom of the cake and invert it again.  then prepare the drizzle and drizzle away!  this cake is best served while still warm from the oven but it reheats nicely.

makes 1 (10″) cake serving at least 12

dough recipe
1 1/4 cup milk
1 package yeast (2 1/4 teaspoons)
6 tablespoons sugar
1 teaspoon salt
5 tablespoons unsalted butter, melted and cooled
1 egg, at room temperature
about 4 cups all purpose flour,
cinnamon filling, recipe follows
crunchy almond topping, recipe follows

gently heat the milk to about 100 degrees F.  add the yeast and stir it to combine.  allow the mixture to sit until the yeast starts to get foamy.  add the sugar, salt, butter, egg and about 3 cups of the flour and mix to make a soft dough.  using the dough hook with the machine on medium low, continue to add enough flour that comes together and forms a smooth that cleans the sides of the bowl.  continue to knead the dough for about 5 minutes then place it in an oil bowl to rise until doubled, about 1 1/2 hours.

while the dough rises, make the cinnamon filling and set it aside at room temperature until needed.  when the dough is ready, remove it from the bowl and place it on a large flat surface.  using a rolling pin and a small amount of flour, roll the dough out to a long rectangle measuring 10″ x 24″.  spread the filling evenly over the surface.  using a pizza wheel/pastry wheel, cut the dough into long strips measuring 2″ x 24″ each.  starting with one strip, roll the dough up into a spiral and place it in the center of a 10″ heavy gauge aluminum cake pan (not a spring form pan) that has been greased and lined with parchment paper -grease the paper too.  take the remaining strips of dough and continue to wind them around the spiral to make a giant cinnamon roll.  cover the cake with plastic and allow it to rise until it fills the pan, 1-2 hours or place it in the fridge overnight, take it out and allow it to sit at room temperature for about an hour before baking.  while the cake rises, make the almond topping recipe.  just before baking, spread the topping evenly over the cake almost to the edges.  preheat the oven to 350 and bake until a pick inserted comes out clean and the internal temperature in the center is 195 degrees F.

allow the cake to cool on a rack for 10-20 minutes.  place a plate over the cake, invert it, remove the paper and cover the bottom of the cake with another plate and invert it again.  drizzle a little white glaze over the cake if desired (1 cup powdered sugar mixed with a tablespoon or two of milk to form a glaze with the consistency of honey).

cinnamon filling recipe
4 tablespoons unsalted butter, softened
1/2 cup dark brown sugar
1/4 teaspoon salt
1 teaspoon cinnamon
1 egg
1/2 cup all purpose flour
in a small mixing bowl, cream the butter with the brown sugar, salt and cinnamon until fluffy.  add the egg and mix well.  sift the flour over the mixture and combine to form a smooth, spreadable batter.  keep at room temperature until needed.

crunchy almond topping
3 tablespoons unsalted butter
3 tablespoons light brown sugar
2 tablespoons wildflower honey, or other light honey
1 tablespoon half and half
3/4 cups sliced almonds
place the butter, brown sugar, honey and half and half into a saute pan.  heat over low heat until the butter melts.  turn the heat up to medium and bring to a gentle boil.  allow the mixture to boil for about 2 minutes, stir in the almonds and remove from the heat.  spread the topping over the cake so that it covers the top but leave a half inch border around the edge to prevent it from running down the sides of the cake and causes sticking.

afghan home-style naan

not many people realize that our neighborhood has one of the largest kurdish populations in the country.  as a result, many of the shops cater to our kurdish neighbors.  it was in one of these shops that we experienced authentic naan for the first time.  the owner of the shop was so friendly and welcoming that he actually allowed me to go to the back of the shop and watch the ladies shape and bake the bread in a tandoor oven.

we may not have a tandoor oven in our kitchen, but that hasn’t stopped me from making naan at home.  it is such a simple, quick to mix bread dough that it can easily be on the table in couple hours.  the recipe i used was adapted from the classic book, flatbreads and flavors by jeffrey alford and naomi duguid.

the bread is rolled out on a sprinkling of sesame seeds so that they become embedded in the dough.  the dough gets slashed in a star pattern to prevent bubbles from forming.  then it goes into the oven and bakes up very quickly on a hot stone or quarry tiles.

the recipe calls for all whole wheat flour but i used substituted 1 cup of bread flour because i ran short on whole wheat.  even so, the bread is still chock full of whole grain goodness!

the loaves baked up very quickly on the stone in about ten minutes. 

typical of a freshly baked naan, it is spongy and chewy.  the sesame seeds give it a nice crunch and a nutty flavor.

afghan home-style naan
makes 6 loaves
2 teaspoons dry yeast
1/2 cup warm water (105-115F)
1 cup cold plain, whole milk yogurt
1 cup boiling water
approximately 5 1/2 cups whole wheat flour
2 tablespoons safflower or corn oil (i used olive oil)
2 teaspoons salt
6 tablespoons sesame seeds
sprinkle the yeast over the 1/2 cup of warm water in a large bowl and stir it to dissolve it.  place the yogurt in a small bowl and stir in the boiling water.  whisk it to combine and allow it to cool to 105-115F.  stir the yogurt mixture into the yeast .  
to make the sponge, stir 3 cups of flour into the yeast mixture.  stir it in one direction for 2 minutes. cover with plastic and let stand for 30 minutes.
sprinkle the oil and salt over the dough and begin adding the flour, 1/2 cup at a time to form a soft dough.  you can do this by hand or in a mixer with the dough hook.  i used the mixer.  knead the dough until it is smooth and elastic and cleans the sides of the bowl (for mixer users) and for the hand kneaders, the dough should not be sticky-this will take about 10 minutes.  place the dough in an oiled bowl to rise until doubled, about 1 hour.
place a stone or quarry tiles in the oven and heat it to 450F.  punch the dough down and divide it into 6 equal pieces.  shape each piece into a 4-5 inch disk with a little flour to prevent sticking.  cover with a towel and allow it to rest for 10 minutes.  using the least amount of flour possible, roll the dough out until it starts to stretch.  brush off the flour and sprinkle about 1 tablespoon sesame seeds onto the work surface.  put the dough on top of the seeds and begin rolling it out to a rectangle that is 6″x10″.  turn the dough over.  using a razor or a knife, cut 5 (1″) slashes in a star pattern into the dough-i used a pizza wheel.  place the dough on a well floured peel and slide it onto the heated stone.  bake until it begins to show some golden brown on the top-don’t let it get to dark or the bread will be crispy rather than spongy.  place the hot bread on a rack to cool.  repeat the steps with the other 5 rounds of dough.

country bread; a tuesdays with dorie post

zero…the thermometer said zero.  by nashville standards, that is beyond cold.  staying warm in that kind of cold is a challenge.  there is only so much clothing one person can wear.  the thermostat can only go so high before you run up a tremendous bill.  it is also a perfect excuse to turn on the oven and bake a batch of bread.

this week, the tuesday with dorie bakers mixed up a batch of country bread.  this simple loaf is a perfect addition to a pot of hot soup.

the recipe uses a sponge that sits for a few hours but i let mine sit overnight.  the kitchen was pretty cool due to the cold weather.  that extra time allowed the bread to develop more flavor.  the recipe also called for using a bread basket-a banneton.  amazingly, i do not own one!  instead, i use this little basket.  the pattern it makes on the loaf is eye catching.

and yes it is just another of my thrift store finds.

the loaf gets folded and shaped and folded and shaped and folded and shaped again.  i cut 4 slits across the top-it seemed like a good idea.  here it is on the peel, ready to go in the oven.

and the slits are something i probably need to work on…the ends of the loaf sort of popped out.  this recipe makes a huge loaf of bread!  i could have easily made a half batch and had plenty for the two of us.  the soft, moist bread also kept well for several days and made wonderful toast too!

the pattern that the basket makes in the crust with the flour.

the crumb is nicely textured with a little chewiness from the whole wheat and rye flour used in the recipe.  to see the recipe, visit the site of a fellow tuesdays with dorie blogger, one clever mom, who has posted the recipe.  to see the posts of the other bakers, visit the tuesdays with dorie website.

challah bread: tuesdays with dorie

this weeks baking challenge for the tuesdays with dorie bakers, challah bread and it was just in time for thanksgivikkah…well, mine was a few days late.  the recipe, which was contributed to the book, baking with julia by lauren groveman, is a pretty simple one.  it is rich with butter, milk and eggs which would make it an impossible choice for those keeping to a strict kosher diet, something we do not do here in our house.  to see the recipe, i kindly ask that you consider buying a copy of the book.  if that is not something you can or care to do, perhaps you can borrow a copy from the library or a friend.  truth is, you can find a similar recipe on lauren’s website, it has raisins and is a six strand braided loaf while the loaf we prepared omits the raisins and is a three strand braided loaf.

 personally, i haven’t made challah in a long time.  such a long time that i cannot remember when i made it last.  for some reason, i thought it was more complicated to make.  luckily, i was wrong about that.  it mixed up easily and rose quickly.  the bread also shaped easily.  now that i know this, i may make it again, but if i do, only half the recipe since it made two huge loaves and we just do not need that much bread.  also, i have every intention of trying the different braids.  my old baking textbook from my days at the cia, the bakers manual, has diagrams for making braids with 3,4,5 and 6 strands and i want to try them all!

 the best photo tutorial i could find for a three strand loaf is this one on the baking bites website.  the post also has 4 and 5 strand photo tutorials.  my best advice to you if you want to try this, lay your strands on the baking sheet close together.  start in the middle and work the braid from the side to the ends, tuck them under and then turn the pan around to the other side to complete the braid.  it is easier than trying to move the half finished braid.

to see how the rest of the gang made out, check the tuesdays with dorie page.

i like big bundts!

pull out the turntable and cue up the sir mix-a-lot…sing a long if you can, “i like big bundts…”  no, i didn’t get that wrong.  this is all about the bundts, bundt cakes that is.  november 15 is national bundt day and every year, mary, the food librarian holds a bundt bake-athon.  in honor of the big day, i made a bundt shaped loaf of sweet potato monkey bread.  to see the round up of all the bakers who also baked a bundt in honor of national bundt cake day, click on this link to mary’s blog.

believe it or not, i actually used a recipe i found on pinterest.  shockingly, it actually worked!  of course, i made a few changes-had to make it mine.  tinkering with an untested recipe is risky.  generally, i fly by the seat of my pants and this time, i landed nicely.  to see the original recipe, click on this link.

sweet potato monkey bread
serves 10-12

1/2 cup buttermilk milk at room temperature
2 teaspoons active dry yeast
1/4 cup sugar
1/2 teaspoon salt
1 egg, beaten
6 tablespoons unsalted, divided
2/3 cup sweet potato puree
2 teaspoons ground cinnamon, divided
1/4 teaspoon ground nutmeg
2 2/3-3 1/3 cups bread flour

2/3 cup dark brown sugar

in a large stand mixer with the dough hook, stir buttermilk, yeast and sugar together. let it sit for 5-10 minutes or until it is foamy.  divide the butter, 2 tablespoons and 4 tablespoons.  melt them separately. stir in salt, egg, 2 tablespoons of the butter, sweet potato puree, 1/2 teaspoon cinnamon, nutmeg, and half the flour and mix. with mixer on, pour in remaining flour a tablespoon or two at a time until dough pulls away from the sides and is tacky but when touched, it doesn’t stick to your hands.  the dough may not need all of the flour, mine came pretty close to the full amount.  place the dough in a greased bowl and let it rise until double, about one hour.

grease a bundt or angel food cake pan with and set aside. punch down dough and place it on the work surface.  cut it into two equal portions.  roll each portion into a long snake, about 18″ long and about 1″ in diameter.   cut dough into 1″ sections and roll each piece into a ball.  in a small bowl, mix the dark brown sugar with the remaining 1 1/2 teaspoons of cinnamon.  melt the remaining 4 tablespoons of butter in a bowl.  set up an assembly line by placing the bowls of cinnamon sugar and butter next to each other.  dip each piece in butter, then coat it with cinnamon sugar.  place each piece in the pan so that the pan is filled evenly.  sprinkle any leftover butter and cinnamon sugar over the top of the dough in the pan. cover pan with plastic wrap and either refrigerate it over night or let it rise until double, about one hour.

preheat the oven to 350.  bake until the top is nicely browned and the internal temperature of a section of dough (try to avoid the sugary parts) reaches about 200 degrees.  allow it to cool in the pan for about 15 minutes, turn it out onto a serving platter and allow it to cool for another 20 minutes or so.  cut into wedges or pull it apart.  keep in mind that when hot out of the oven, the sugary parts are like molten lava!  let it cool before trying to eat it!!!

pumpernickel loaves: tuesdays with dorie

this weeks challenge was pumpernickel loaves.  the recipe was contributed to the pbs series and the book by lauren groveman and you can find it on her website by following this link.  rye and pumpernickel bread have always been a favorite of mine.  actually, to be honest, i am a huge fan of toast and rye and pumpernickel breads are my favorite breads to toast.  i could literally eat an entire loaf, sliced and toasted and slathered with butter.

the recipe was a bit different from the usual pumpernickel recipes.  sure it called for rye flour and caraway seeds.  it wouldn’t be pumpernickel without them.  but this recipe also called for yogurt, espresso powder, unsweetened chocolate and prune lekvar.  because i was curious to try the combination, i followed the ingredient list closely with one exception; i did not have any prune lekvar and did not have time to make it so i used what i had, pumpkin butter.  funny thing is, it was unnoticeable!  i plan to make this bread again but may just use plain pumpkin puree.  to see what the other bakers came up with, visit the tuesdays with dorie page.

the ingredients were not the only unusual feature of the recipe.  once the loaves are shaped, the recipe calls for suspending them in towel slings.

not being a big caraway fan, i did not put any seeds on the outside of the loaf.  it just got the egg white glaze to give it a shine.

now that’s some fine bread with butter!
time to step away from the table…
buy a copy of the book, baking with julia by dorie greenspan and bake along with us!

tomato berry fougasse; tuesdays with dorie

 this week for our baking with julia challenge, we were given the choice of baking blueberry muffins or a sweet berry fougasse, sigh…as a former bakery owner, trust me, i have mastered the art of blueberry muffins.  whose recipe it is just isn’t important, it’s a blueberry muffin; eat one and you’ve tasted most of them.  that left the sweet berry fougasse.  a simple description is a plain focaccia with a few berries and a handful of crumb topping.  one mention of berries in focaccia, both me and my husband immediately wrinkled our noses up-can you hear the ewwww?  either way, i was determined to bake something and while standing in the kitchen staring at the small mountain of tomatoes on the counter top, sudden epiphany; tomatoes are berries.  that small technicality was all i needed.

to bake the recipe yourself, consider buying or borrowing the book and turning to page 194 and for the muffins, page 208.  or, for those of you not able to find the book, the recipe for the fougasse and the required focaccia can be found here.

to make my bread, first i cut the focaccia recipe in half.  with just two of us in the house, more than that would be a waste.  after the required 24 hour rest in the fridge, i cut the dough in half and formed two rectangular slabs.  i gave them a liberal brush of olive oil, a sprinkle of freshly chopped herbs from the garden (rosemary, oregano and basil) and topped the loaf with thin slices of tomatoes.  into the oven they went.

nice and chewy with a tang from the fresh tomato slices.  perfect for a lazy dinner of salad and bread.  to see what the other bakers came up with, visit the tuesdays with dorie page.

eastern mediteranean pizzas; a tuesdays with dorie recipe

tomatoes are in season, finally.  we were so late at getting them into the garden due to a cool, wet spring that i was beginning to think that we would never have them.  this recipe was the perfect way to use a few ripe ones. 
 the simple recipe calls for few ingredients.  yeast is stirred into water.
 whole wheat flour is added and stirred until silky smooth.

 the sponge is allowed to rest and develop flavor; mine sat for 5 hours.  when i was traveling last year, i brought home a shower cap from the hotel i stayed in.  they are perfect for covering a bowl of dough and they are reusable.

 after resting, all purpose flour is added and stirred in.  once the dough is too stiff to stir, it is kneaded.

 eight to ten minutes later, the dough is ready to rise and double.

 the topping is simple too.  onions and garlic are sauteed.  the recipe calls for the addition of ground lamb but i didn’t want to buy a pound of it for just the needed four ounces; i used a vegetarian ground meat substitute.

 tomatoes from the garden were diced up and added.  after a few minutes of sauteing, they needed to be drained of the juices.  finally, traditional spices were added.

 can you believe the size of this tomato?  have i mentioned how much i love my garden?

 the dough doubled in less than two hours.

 the dough is rolled out by hand.  the directions call to use a well floured surface.  my advice, go lightly with the flour or the dough will not cooperate and will slide around the table.

 the topping is spread around the dough and into the hot oven they went.  i baked them on a stone.

 they baked up quickly.

 the recipe calls for half the dough, i made pita bread with the rest.  i used a cast iron skillet and “baked” them on the stove top.

 the rounds of dough puff up slowly in the skillet.
 suddenly, they will expand
 and you have, pita pockets!

perfect for sandwiches and so much more!  to see what the other bakers came up with, check out the tuesdays with dorie page.  to participate, buy the book, baking with julia.