chocolate peanut butter cake; another birthday, another version

Yes, I’ve posted this cake before so why post it again?  Because this time, it’s different; the cake is a vertically positioned roll rather than the standard stacked layers.

Every year, I bake cakes for my girls on their birthdays or as close as I can get to the actual day.  Last year, I made this cake for Alix but made the traditional stacked layer version and the link to that post with the complete recipe is here.  For this version, the only thing I changed was the cake.  Because I was planning on rolling the cake up, I chose to make a sponge-like cake so that it would be easier to work with.

For those of you who are interested, please visit the link to read the full history on this cake.  It is one that I am proud of and probably the best cake in my first book, Sky High.

The cake recipe worked out fairly well.  It was not hard to roll but I do think that because I made this in stages, the cake dried out a little and some cracking occurred.  In the future, I will make my frosting ahead of time so that the cake can be rolled up while it is still fresh.

So the shape was not perfectly round, but most of that was hidden in the frosting/glazing.

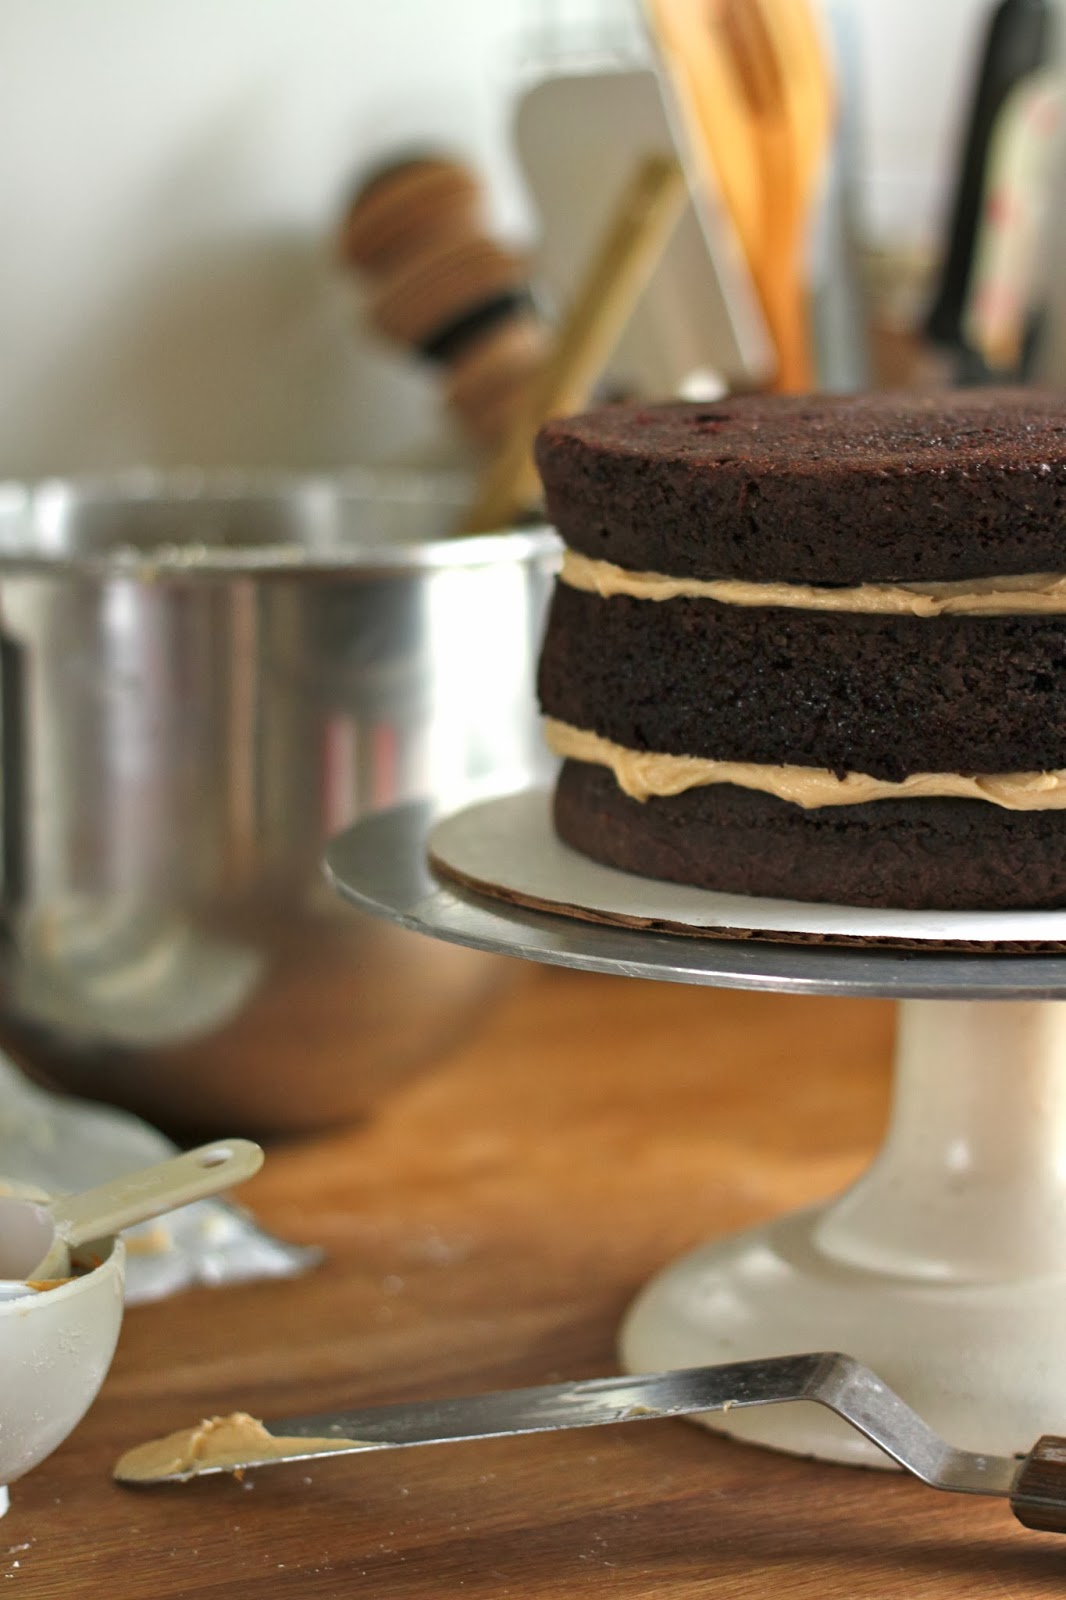
 This version made a 6 inch round cake and would easily have served 8 people.  We snacked on that cake all week by slicing little slivers at a time.  Don’t worry, even though the slices were thin, this cake packed quite the punch in flavor and it was so rich that we didn’t attempt thick slices.

 Don’t you just love the vertical stripes?  This was so much fun that I will try this again with other cake recipes.  It looked like a regular cake on the outside, my daughter expected stacked layers and surprise, surprise!

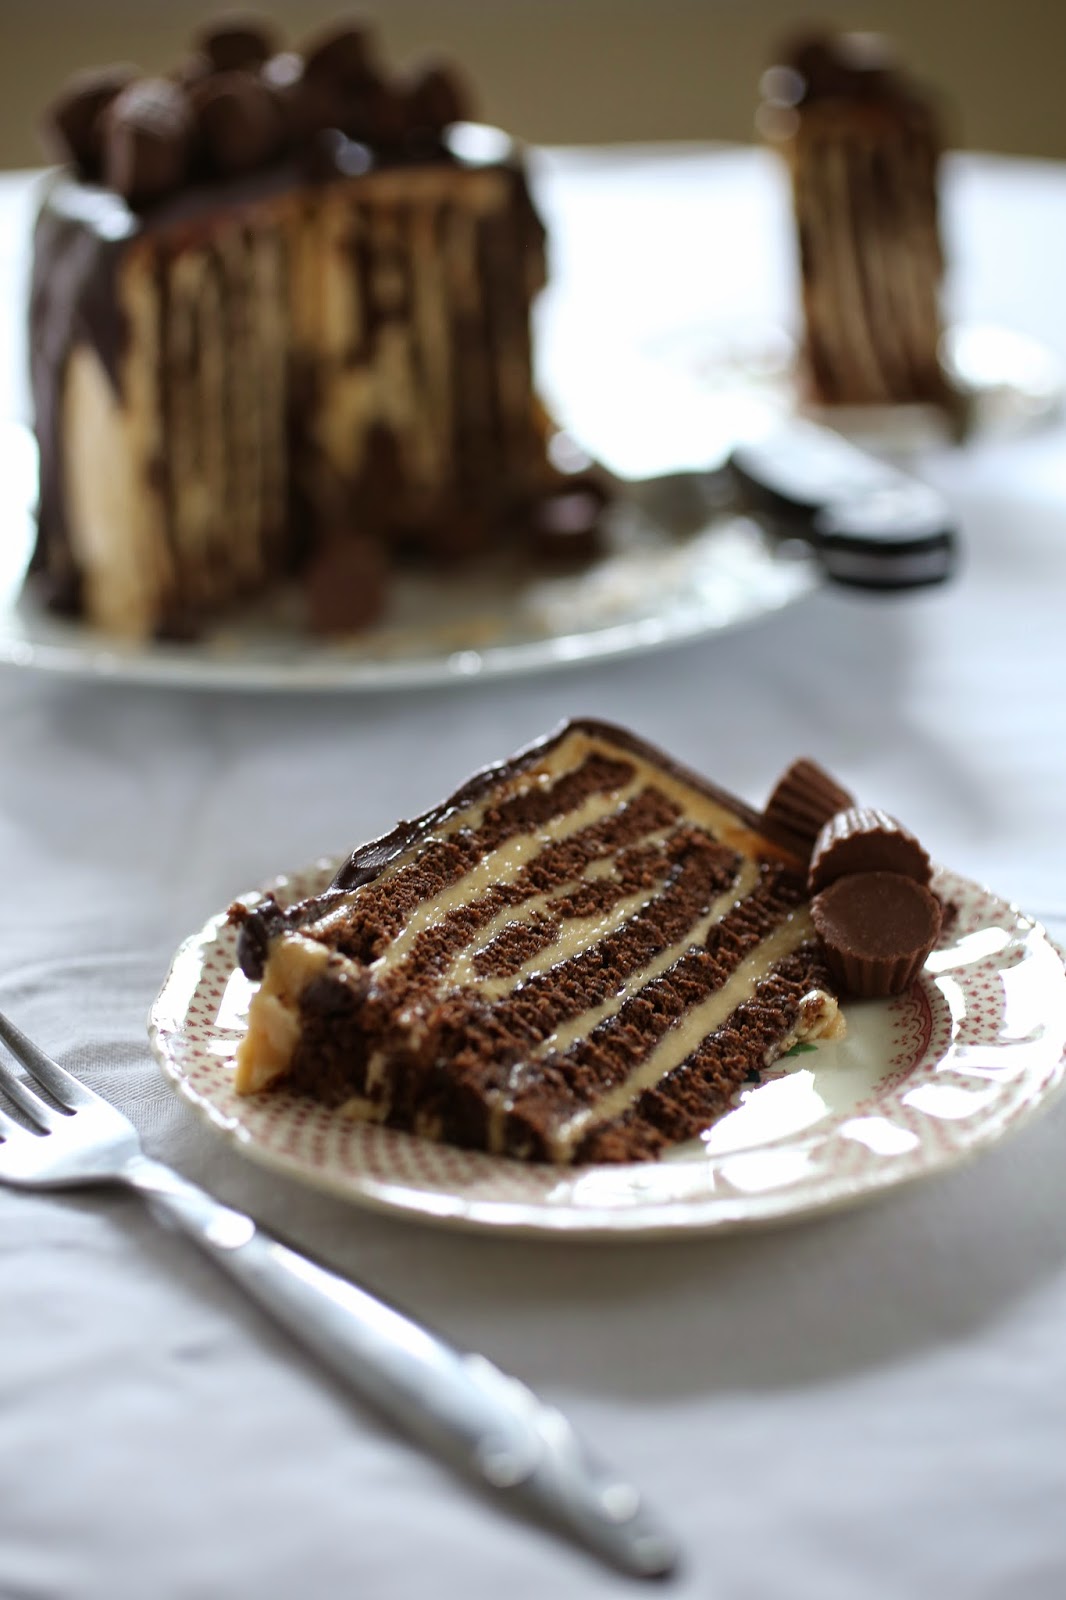
 Honestly, with this configuration, the ratio of frosting to cake is very different.  With this method you get more frosting which is great for frosting lovers.

 Creamy peanut butter frosting and dark chocolate ganache-heavenly!

To make the stacked layer cake, visit the original post.  To make this version, the adjusted recipes follow.

Chocolate-Peanut Sponge Roll Cake
Cake recipe is adapted from Chocolate Cloud Roll recipe in The Cake Bible by Rose Levy Beranbaum, frosting and glaze recipes are from Sky High

1/4 cup plus 2 tablespoons sugar
6 eggs, separated
1/2 teaspoon cream of tartar
4 ounces bittersweet chocolate
1/2 cup roasted peanuts
2 tablespoons cocoa powder
peanut butter frosting, recipe follows
chocolate glaze, recipe follows

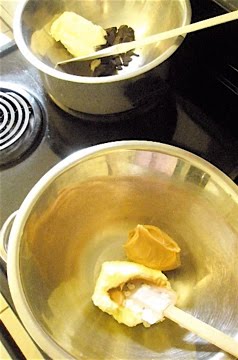
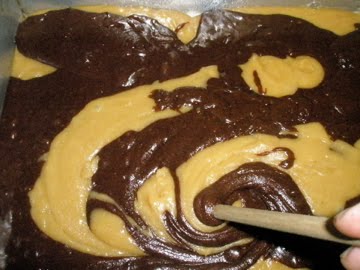
Preheat the oven to 350.  Line a half sheet pan (17 inches x 12 inches) with parchment and spray grease, set aside.  Melt the chocolate and set aside.

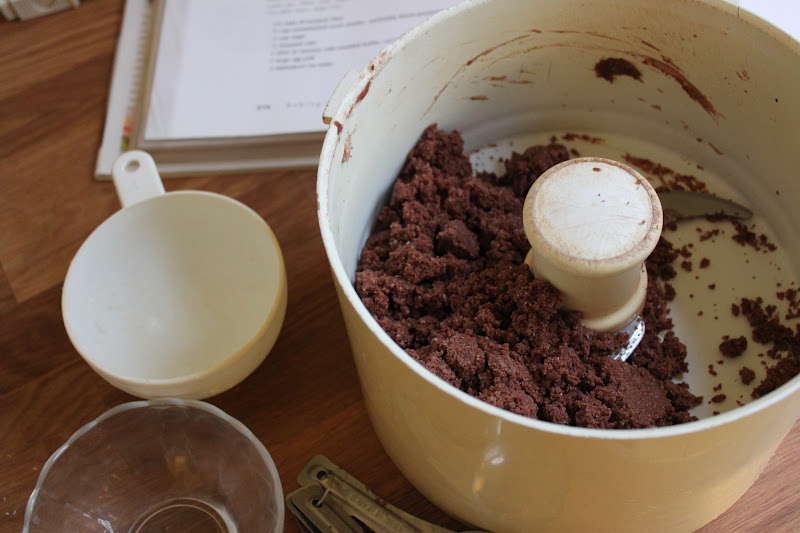
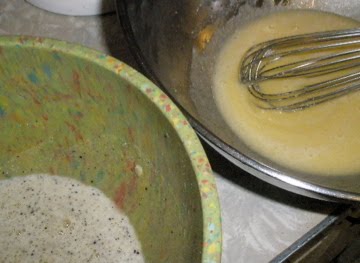
To grind the peanuts, place them in a food processor with a tablespoon of sugar and pulse until finely ground.  Do this carefully so that you do not make peanut butter.  Whisk the yolks with 3 tablespoons sugar until light and fluffy, about 5 minutes.  Fold the chocolate and peanuts into the egg yolks.  Sift the cocoa over the top of the batter and gently fold in, set aside while you prepare the whites.

Whip the egg whites until foamy.  Add the cream of tartar and continue whipping until peaks start to form.  Gradually add the sugar as you continue to whip and whip until the peaks are almost completely stiff.  Do not take them as far as they will go, they need to be just a little soft at the bottom of the bowl.  This will allow the air bubbles to expand in the oven; taking the mixture to the stiffest point will not allow for the bubbles to expand and can actually make the cake collapse.

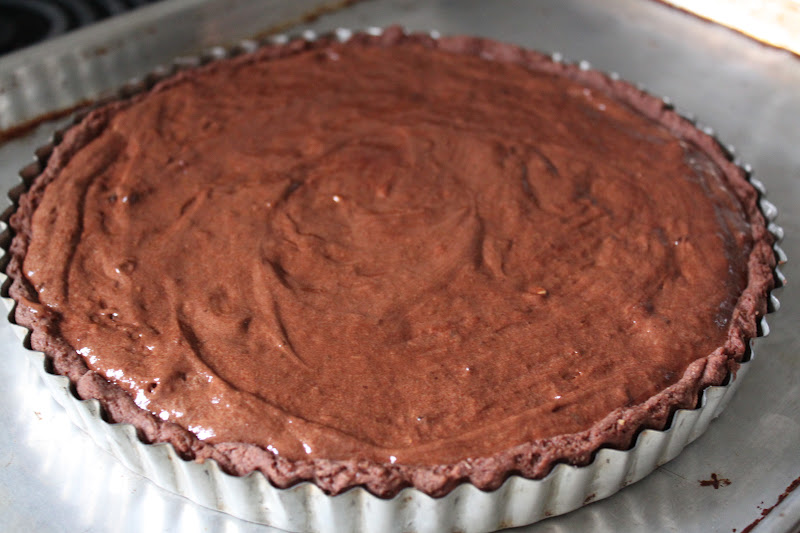
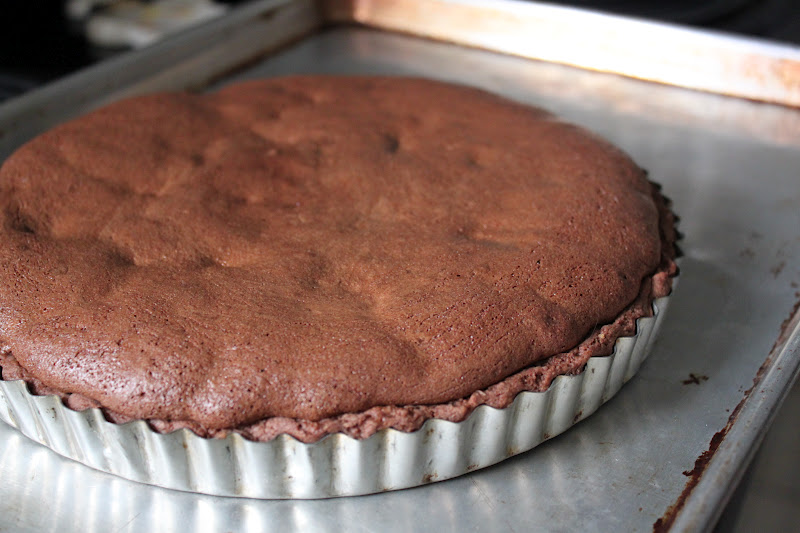
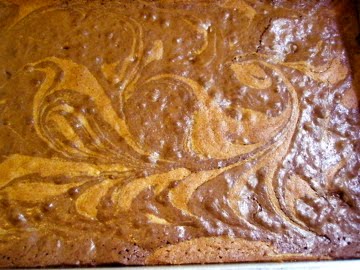
To finish mixing the batter, fold 1/4 of the whites into the batter to lighten it and then gently fold the remaining whites in.  Scrape the batter into the prepared pan and bake until a pick inserted into the cake comes out clean, about 15-18 minutes.  Allow the cake to cool and use immediately.

Cut the cake into three equal strips, lengthwise.  Spread 1/2 cup of frosting over one strip and begin rolling it up from one short side.  Spread another 1/2 cup of frosting over the second strip and place the rolled cake on top of the layer at one short side and roll it up.  Repeat this with the last strip.  Place the cake onto a flat plate and freeze until very firm.  Ice the outside of the cake with the remaining frosting and freeze it to firm up the frosting.

Decorate the cake by spreading small amounts of glaze over the top so that it slides down the side of the cake in large drips.  Chill to firm the ganache.  Keep cake refrigerated but do set it out at least 30 minutes before serving for the best flavor.  To get neat slices, dip the knife in hot water, wipe it dry and slice it with the hot knife, clean the knife between slices.  Top with mini peanut butter cups just before serving, if desired.

Peanut Butter Frosting
8 ounces cream cheese, at room temp 
3 ounces unsalted butter, at room temp 
4 cups confectioners sugar, sift after measuring if lumpy 
1/2 cup smooth peanut butter 

In a large bowl with an electric mixer, beat the cream cheese and butter until light and fluffy.  Gradually add the confectioners sugar, 1 cup at a time, mixing thoroughly after each addition and scraping down the sides of the bowl often.  Continue to beat on medium speed until light and fluffy, 3 to 4 minutes. Add the peanut butter and beat until thoroughly blended.

Chocolate Glaze
5 ounces semisweet chocolate, chopped coarsely
2 tablespoons smooth peanut butter
1 tablespoon light corn syrup
1/3 cup half-and-half

In the top of a double boiler or a bowl set over simmering water, combine the chocolate, peanut butter and corn syrup.  Heat, whisking often, until the chocolate is melted and the mixture is smooth.

Remove from the heat and whisk in the half-and-half, beating until smooth.  Use while still warm.

chocolate cake with peanut butter frosting: the authentic original

alix came home for her birthday.  her 24th birthday.   am i really that old, already?  when i asked what kind of cake she wanted, her quick response was “chocolate.”  that was all i needed to hear, i knew what cake i was making, it has become a signature of sorts.  it started way back when, in our bakery, it was the cake i made for every birthday, employees and family members alike.  chocolate cake, black chocolate cake to be exact with peanut butter frosting and a drizzle of ganache over the top.

when i wrote my first book, the now out of print “Sky High Irresistible Triple Layer Cakes,” including this cake was a given.  how could i not?  little did i know how popular this cake would become.  when the book came out, deb perlman of the blog smitten kitchen posted this recipe on her website.  in the years since, that blog post has had millions of hits, literally.  unfortunately, people often think she is the person responsible for the recipe.  many times since, i have found the cake on reddit.com with links leading back to smitten kitchen.  sadly, the sales for that book never saw the level of success that her blog post did and the publisher chose to let it go out of print.

beautiful isn’t it?  tasty too, although i only had one slice.  alix took the leftovers back to atlanta with her.  that was probably the best thing-i could have eaten the whole cake myself!

in the hope of gaining some of the credit for the cake recipes, i am actually posting them here!  if you want to help out cookbook writers, please do not post their recipes without permission-even if you do give them credit, you still shouldn’t post them without permission (something i have done in the past and make every effort not to do now).  whenever possible, link to the authors own site and the recipe if it is posted.  most importantly, buy the book!  if you cannot buy it, borrow it from a library or a friend.

sour cream-chocolate cake with peanut butter frosting and chocolate-peanut butter glaze

makes an 8-inch triple-layer cake serving 12 to 16

the cake
2 cups all purpose flour
2 1/2 cups sugar
3/4 cup unsweetened cocoa powder, preferably dutch process
2 teaspoons baking soda
1 teaspoon salt
1 cup vegetable oil-neutral in flavor (canola, soybean)
1 cup sour cream
1 1/2 cups water
2 tablespoons distilled white vinegar
1 teaspoon vanilla extract
2 large eggs
peanut butter frosting, recipe follows
chocolate-peanut butter glaze, recipe follows
garnish-chopped peanut brittle or chopped peanuts

preheat the oven to 350.  grease the sides and bottoms of 3 (8″) pans.  line the bottom of each pan with parchment and grease the paper as well

sift the flour, sugar, cocoa powder, baking soda and salt into a large bowl.  whisk to combine them.  add the oil and sour cream and whisk it to blend.  gradually beat in the water.  blend in the vinegar and vanilla.  whisk in the eggs and beat until well blended.  scrape down the sides of the bowl and be sure the batter is well mixed.  divide the batter among the pans.

bake for 30-35 minutes, or until a cake tester or toothpick inserted in the center comes out almost clean.  let the cakes cool in the pans for about 20 minutes.  invert onto wire racks, carefully peel off the paper and cool completely.

to frost the cake, place one layer, flat side up, on a cake stand or large plate.  spread 2/3 cup of the peanut butter frosting on evenly over the layer.  repeat with the next layer.  place the last layer on top and frost the top and sides of the cake with the remaining frosting.

to decorate with the chocolate-peanut butter glaze, put the cake on a large baking sheet to catch the drips.  simply pour the glaze over the top of the cake, and using an offset spatula, spread it evenly over the top just to the edges so that it runs down the sides of the cake in long drips.  refrigerate, uncovered,  at least 30 minutes to allow the glaze and frosting to set.  be sure to serve it as close as possible to room temp, remove it from the fridge before serving and allow it to sit out for about an hour.  decorate with the peanut brittle right before serving.

the frosting-makes about 5 cups
10 ounces cream cheese, at room temp
4 ounces unsalted butter, at room temp
5 cups confectioners sugar, sift after measuring if lumpy
2/3 cup smooth peanut butter

in a large bowl with an electric mixer, beat the cream cheese and butter until light and fluffy.  gradually add the confectioners sugar, 1 cup at a time, mixing thoroughly after each addition and scraping down the sides of the bowl often.  continue to beat on medium speed until light and fluffy, 3 to 4 minutes.

add the peanut butter and beat until thoroughly blended.

the glaze-makes about 1 1/2 cups
8 ounces semisweet chocolate, chopped coarsely
3 tablespoons smooth peanut butter
2 tablespoons light corn syrup
1/2 cup half-and-half

in the top of a double boiler or a bowl set over simmering water, combine the chocolate, peanut butter and corn syrup.  heat, whisking often, until the chocolate is melted and the mixture is smooth.

remove from the heat and whisk in the half-and-half, beating until smooth.  use while still warm.

a few notes:
i have found that a really good natural cocoa will work just fine here as well.  dutch process cocoa makes a blacker cake.  use what you have or can find.

cream cheese-i never use the name brand, the one named after the city, it makes a frosting that is almost too soft and runny.  stick to the store brand-it will make a frosting with a consistency that is easier to work with.

peanut butter- i always use a homogenized peanut butter to prevent the oil from separating.  i have never tried one of the natural, stir it in types of peanut butter.  if you use it, i cannot say how it will work for the frosting, the glaze should be okay.

find the kindle edition on amazon with this link.

Follow my blog with Bloglovin

twd: chocolate truffle tartlettes

are you ready for another tuesday with dorie?  this week’s challenge is being hosted by 4 different participants; steph, spike, jaime and jessica.  i know i was raring to go-how could you not be ready for chocolate?  since this was a chocolate challenge, i decided to make them for valentines day with my husband and one of our daughters.   both of them are fans of chocolate, especially dark chocolate but being a pastry chef, i decided to customize my tart for them.  what that means is rather than dark and white chocolate chunks and chopped biscotti being added to the tart, i opted to use dark chocolate, peanut butter cups and peanut brittle.

 first, the dough mixes up incredibly fast in the food processor.
 rather than 6 small tartlettes, i made one 9″ tart
 as always, the marbles came out of the closet with a coffee filter to serve as pie weights
 perfectly baked!
 for the filling-egg yolks are whipped with sugar to the ribbon stage

 the booty-peanut brittle, mini peanut butter cups and bittersweet chocolate were folded into the mousse filling.

 the filling in the prepared tart shell before going into the oven
 after baking-the large tart took about 25 minutes at 350 to bake
fudgy perfection!  it was a huge hit with the husband and daughter-me too!!!
many thanks to this weeks hosts-looking forward to the next challenge.  bake on friends and if you dare, bake one and send me a photo-i will post it here!  see the tarts from all of the participants here

peanut butter-banana cream pie; #27 of 52 pies

has anybody noticed just how hot it is around here?  10+ days above 90, well above 90 on many of those days.  the thought of turning on the oven to bake a pie seemed ridiculous.  when the husband suggested i make a banana cream pie for this week’s challenge, i balked at first;  i’ve done banana already, remember the banana creme brulee tart? i asked him.  well, as the day heated up and i began to wilt, i experienced a flash of brilliance.  okay, i was hungry and since peanut butter wasn’t on the list of choices, i wanted it even more.  peanut butter and bananas in a sandwich on wheat bread…i had a salad instead and put the objects of my desire into a pie, substituting a chocolate cookie crumb crust for the bread, and then i topped it with whipped cream and called it dessert.

peanut butter-banana cream pie
1 (9″) pie serving 8-10
4 tablespoons cornstarch
2 cups whole milk
6 egg yolks
1/2 cup light brown sugar
1/2 cup smooth peanut butter (homogenized is best)
1 cup heavy cream
2 tablespoons sugar
1 (9″) chocolate cookie crumb crust-purchased or using the recipe that follows.
3-4 ripe bananas
place the cornstarch in a heat proof bowl, and add several tablespoons of milk and whisk to combine a smooth slurry.  whisk in the eggs and set aside.  place the remaining milk in a saucepot with the brown sugar and over medium-low heat, bring to a gentle boil.  carefully pour some of the boiling milk into the egg yolk mixture while whisking it carefully.  when about 1/2 of the milk is in, place the pot of milk back on the stove and return to a gentle boil again.  now begin whisking the milk in the pot and while whisking constantly, pour the in heated egg yolk mixture in a steady stream.  it is important to whisk this constantly while you bring the mixture to a boil.  it also must come to a complete boil to cook the cornstarch and thicken the cream.  when finished, pour the cream into a wide and shallow heat proof bowl, press plastic wrap to the surface and refrigerate until no longer warm. 
make the cookie crust while the cream cools.  when the cream is ready, slice up about 1 1/2 bananas and cover the bottom of the pie shell completely with them.  carefully spread half of the cream over the bananas.  using the remaining bananas, cover the cream with slices and once again, top it off with the remaining cream.   cover with plastic wrap and refrigerate for several hours to fully set the filling and make it firm enough to serve.
to make the topping, whip the heavy cream with the sugar until almost stiff peaks are formed.  spread evenly over the top of the pie and smooth it out with a decorating spatula (called a palatte knife).
chocolate cookie crust
11/2 cups chocolate cookie crumbs
1/4 cups chopped peanuts
6 tablespoons sugar
6 tablespoons melted butter-unsalted
combine the ingredients and press into a pie dish.  no baking is necessary but if you want a really crispy crust, bake it at 350 for 10 minutes.  allow it to cool completely before using.

so, you think you can bake do you?  prove it!  make one and send me a photo.  i dare you to, double dog dare you to…do it and i will post the photo here!!!  bakinbabe116@aol.com

it’s 3/14!!! happy pi(e) day!!! #15 of 52, peanut butter & chocolate pie

forget the math, eat pie!!!  it’s like i have a holiday of my own just to celebrate this blog challenge!!!  so in honor of the day, i pulled out all the stops anad relived a vintage tv commercial.  and for those of you who do not remember: 

now that we’ve gotten that out of the way, let’s make a pie…around my house, pie is not something that gets eaten quickly unless it is ice cream or something chocolate.  add peanut butter to that and it will be gone in a flash.

chocolate cookie crumb crust

peanut butter and chocolate fillings are poured into the dish and then swirled together with a skewer

the finished pie before baking

the pie after baking

peanut butter and chocolate pie

1 (10″) deep dish pie that serves 8-10

preheat the oven to 325.  make the crust and then the two fillings.  pour each of the fillings into a measuring cup or pitcher with a 2 cup capacity.  alternately pour 1 cup of each filling into the center of the crust.  you will have a series of rings, see photo above.  swirl the two together gently.  bake for about an hour or until the pie is slightly puffed around the edges and a little firm in the center.  cool completely and chill before cutting and serving.  serve with whipped cream if desired.

crust
1 1/3 cup cookie crumbs
3 tablespoons sugar
4 tablespoons melted butter
combine the cookie crumbs and sugar.  pour in the butter and mix.  press evenly up the sides and across the bottom of the pie plate.  for the best consistency, use cookies that are not high in fat.  graham crackers, wafers or undipped biscotti will be lower in fat.  high fat cookies will make a crust that is greasy and hard to press into the pan smoothly.

peanut butter filling
1/3 cup brown sugar
1/2 cup corn syrup-light
1/3 cup half and half
1/3 cup peanut butter-homogenized!
1/2 teaspoon vanilla
2 eggs
place all ingredients in a bowl and use that elbo grease to whisk it together until it is smooth!

chocolate filling
2 ounces unsweetened chocolate
1/3 cup half and half
1/3 cup brown sugar
2 eggs
2/3 cup corn syrup
1/2 teaspoon vanilla
melt the chocolate and half and half in a microwave using the lowest heat setting.  the goal is to melt but not overheat so use short intervals of 30-45 seconds.  whisk the chocolate with the brown sugar.  whisk in the eggs, one at a time.  whisk in the corn syrup and the vanilla.  to get a smooth and emulsified filling, follow the order as listed and do not try to take shortcuts-the chocolate can separate and it will not taste good or have a creamy texture.

this week’s round up!!!
many thanks to gwen daniels for sending photos of the maple pecan tart with butternut squash.  she also posted it up on her blog and you can read the full post here.  

well done gwen!  thanks for sharing photos and your blog page!   now for the rest of you out there-bake one, send me photos and see it here.  bakinbabe116@aol.com is the address and have a happy pi(e) day, y’all…

peanut butter brownies

consider this an updated and baked version of that old tv commercial. hey you got chocolate in my peanut butter-no you got peanut butter on my chocolate…no matter how you call it, the two go together like left and right. in other words, they’re incredible on their own and together a combination that can’t be beat. i love them in ice cream, it could easily be my last meal. in cookies, they are a favorite too. so it’s only natural that they would end up in a brownie that i have baked. years ago when i had my own bakery, they were a constant selection in our showcase. they are a little laborious but worth the effort. melt chocolate and butter in one bowl and peanut butter and butter in another

keeping the two separate batters warm is the key.
whisk in some eggs and sugar
fold in the flour and then move on to the chocolate batter
whisk in the eggs and sugar and a little coffee
fold in the flour and cocoa and a few chocolate chips
dollop the batters into a pan
take a wooden spoon handle and swirl them together
don’t over do it or you will lose the design
let them cool and cut them into squares. you may have to hide them, they tend to disappear.