buttermilk cake with fudge frosting: my favorite birthday cake

when it comes to birthday cake, i love a homemade cake.  homemade from scratch that is.  people are always scared to bake one for me though.  they think that because i can bake, that anything they do would never be good enough.  then they either make one from a mix or buy one from the grocery store.  4somehow, that is supposed to be better than anything they could make.  i will never understand that logic, and those cakes will never convince me that they couldn’t do any better-just that they weren’t willing to try.

good cake isn’t hard to make.  you just have to follow a some important rules:
1.  use heavy gauge pans for even baking.
2.  preheat the oven for at least 20 minutes and use an oven thermometer to check the temp.
3.  read the entire recipe, twice, and check to make sure you have everything needed before you start.    
4.  room temperature means that the ingredients are about 70 degrees so let the cold stuff sit out for a    
     while.
5.  measure properly.
6.  use a timer rather than glancing at the clock and winging it.
7.  test the cake for doneness near the minimum baking time-if it says 40-45 minutes, check it at about    
     38-40 minutes and adjust the additional baking time as needed.
8.  cold cake layers are easier to frost and slice but cakes should always be served at room temp; let it sit
     out before serving if you had it in the fridge.

vanilla buttermilk cake with instant fudge frosting
makes an 8 inch triple layer cake serving 12-16
4 whole eggs
2 egg yolks
2 teaspoons vanilla
1 1/4 cup buttermilk
3 cups cake flour
2 cups sugar
4 1/2 teaspoons baking powder
1/2 teaspoon salt
8 ounces unsalted butter, at room temp
frosting, recipe follows
preheat the oven to 350.  spray 3 (8″) heavy gauge metal cake pans, line them with paper(wax or parchment) and spray again.  
whisk the eggs, yolk, vanilla and 1/4 cup of the buttermilk to combine.  set aside.  place the flour, sugar, baking powder and salt into a mixing bowl.  with the mixer on low speed, blend the ingredients to combine.  with the mixer off, add the soft butter and the remaining buttermilk.  mix on low to blend.  turn the speed to medium and beat until light and fluffy, about 2-3 minutes.  add the egg mixture in 3 additions, scraping the bowl well as you go and mixing only to combine thoroughly.  divide the batter between the 3 pans and bake until a pick inserted comes out clean, 28-32 minutes.  allow the cake to cool in the pans for 10 minutes, turn out on to a rack and cool completely before frosting it.
the layers can be wrapped and cooled in the fridge overnight to make frosting easier but serve it at room temperature for the best flavor and texture.
instant fudge frosting
6 ounces unsweetened chocolate, melted and cooled
4 1/2 cups powdered sugar, no sifting needed!
12 ounces unsalted butter, softened
6 tablespoons half and half
1 tablespoon vanilla
using a large capacity food processor, place all of the ingredients in the bowl and pulse to combine.  allow the machine to run and process the frosting until it is smooth and glossy.  
to frost the cake, place one layer, domed side down, on a cake plate.  top it with 3/4 cup of the frosting and spread it to the edges of the layer.  top it with the next layer and repeat the process.  place the top layer on the cake and using the remaining frosting, frost the sides and top of the cake.  if you would like to pipe a border or other decorations, be sure to set aside about 3/4 cup of frosting to use in a piping bag.  
adapted from my first book, sky high

sweet potato-cinnamon swirl coffee cake

if you haven’t already figured it out, i have a thing for bundt cakes.  whether they are chocolate, loaded with spices or chock full of fruit, i love them.  more than likely, i just love the pans.  i don’t eat large quantities of the cakes-just slivers here and there.  but i do love hunting for bundt pans in the thrift stores and i have at least half a dozen different pans to choose from.

bundt cake recipes are generally pretty flexible and if you have one good one, you can easily turn it into a dozen great recipes.  this recipe would easily work with pumpkin or butternut squash.  it would also work with apples or pears that were chopped rather than pureed.  there’s a few to get you started, how many more can you think of?  trust me, i will do more than just think about it.

sweet potato-cinnamon swirl coffee cake
1 (10) cup bundt pan serving 12-16
4 ounces unsalted butter, softened
2 cups sugar
1 cup baked and mashed sweet potato-nothing added to it
1/2 teaspoon salt
1 1/2 teaspoon vanilla
3 eggs
3 cups unbleached all purpose flour

1 tablespoon baking powder
1teaspoon pumpkin pie spice
1 cup buttermilk
1/4 cup dark brown sugar
2 tablespoons pecan pieces, toasted and chopped small
1 teaspoon cinnamon

preheat the oven to 350.  grease and flour the pan and set it aside.  in the bowl of a large food processor, combine the butter, sugar, sweet potato, salt and vanilla.  pulse to combine.  with the motor running, add the eggs, one at a time.  be sure to scrape the bowl at least once.  dump this mixture into a large mixing bowl.  place the flour, baking powder and pie spice into a sifter or a mesh strainer and sift it over the batter in the bowl.  fold the flour in a couple times, sprinkle the buttermilk over the surface and fold together until no streaks remain.  scrape 2/3 of the batter into the pan and smooth out the top.  in a small bowl, stir together the dark brown sugar, pecan pieces and the cinnamon.  spread it evenly over the top of the batter.  carefully top the ribbon with the remaining batter, smooth it out and bake until a pick inserted comes out clean, about 1 hour to 1 hour and 15 minutes.  cool in the pan for about 15-20 minutes and then turn out onto a rack to cool completely.

chocolate mashed potato cake

when you have the responsibility of bringing a cake to a meeting each week, you can run out of ideas.  after all, no matter how great something is, most people like variety.  luckily for me, i have a large file of recipes and a fearless sense of adventure when it comes to baking cakes.

so if you take that sense of adventure and add chocolate to it, chances are you get a good cake.  when i wrote my second book, i included many cake recipes that were considered classics.  cakes such as angel food, hummingbird, blackberry jam, tomato soup and many more.  one of my favorites is a chocolate mashed potato cake.  potatoes are a wonderful addition to cakes and breads.  they add moisture and structure and very little potato flavor.

chocolate mashed potato cake
1 (12 cup) bundt or tube pan serving at least 16
1 large baking potato
2 cups sugar
1 3/4 cup cake flour
1 1/2 teaspoon baking soda
4 ounces unsweetened chocolate, melted and cooled slightly
4 ounces unsalted butter, softened
1 teaspoon vanilla extract
2 eggs
3/4 cup buttermilk
glaze recipe, follows
preheat the oven to 350.  grease and flour a large bundt or tube pan and set it aside.  peel the potato and cut it into large cubes.  place in a sauce pot and cover with water.  place over medium high heat, bring to a boil and cook until the potatoes are tender.  drain the water off and using a masher or a mixer, mash the potatoes until no lumps (or very small ones) remain.  measure out 3/4 cup for the recipe.  take the remaining potatoes, season them as you desire and eat them before they get cold.  
in a large mixing bowl or the bowl of a stand mixer, place the sugar, cake flour and baking soda and with the mixer on low, allow the mixture to combine, about 1 minute.  add the potatoes, butter, melted chocolate and vanilla and mix on low speed to combine.  raise the speed to medium and allow it to beat until fluffy, about 2-3 minutes.  while this beats, whisk together the eggs and the buttermilk.  slowly add the mixture to the batter.  scrape the bowl well and combine it completely.  scrape the batter into a pan and bake until a pick inserted comes out clean, about an hour.  allow the cake to cool in the pan for 20 minutes and then remove it from the pan to finish cooling on a rack.  prepare the glaze recipe and glaze the cake after it is completely cooled. 
chocolate ganache glaze

4 ounces bittersweet chocolate
1/3 cup half and half

place the ingredients in a small saute pan over low heat.  as it heats, stir to melt the chocolate.  do not let it boil or simmer.  keep stirring until half the chocolate is melted.  remove from the heat and stir to melt the remaining lumps.  use a piping bag or a spoon to drizzle the glaze over the top of the cake.

carrot bundt cake with dried apricots and fresh pineapple

carrot cake-you either love it or hate it.  personally, i am in the middle on this one.  while i like raisins, i do not like them in a carrot cake.  raisins in the batter-pass!  give me a carrot cake with lots of coconut, walnuts, pineapple chunks and of course, shredded carrots, and i am a happy baker.  so how can you improve on this perfection, besides slathering it with cream cheese frosting?  quite easily, actually.

when i wrote my first book, i was thinking of a carrot cake that i could serve at our holiday festivities with my cousins.  several of them have sensitivities to peanuts and for a while, tree nuts were suspect too.  that had me thinking…carrot cakes almost always have walnuts in them.  so what if i switched over to walnut oil rather than the usual vegetable oils and left the walnuts out.  that way, i could easily make the cake with a vegetable oil if the need arose.  ok, nut issue solved!

but what about the other stuff?  freshly grated carrots-no changes needed here.  shredded coconut; nope, it stays as is.  pineapple???  of course, let’s switch this to fresh, ripe pineapple.  not bad, only about 100 times better than the crushed stuff in cans.  but what about the texture?  now that there aren’t any chewy nuts, it isn’t very exciting.  in stepped a bag of dried apricots and history was made.  chewy, tart and full of apricotty goodness.  now that’s what i’m talkin about!  so, is it possible to improve any further?  you betcha, put it in a bundt pan and you’re golden.  and for the one i made to take to the garden recently, i threw caution to the wind and added some toasted pecan pieces, have mercy on my soul, for i am just a baker with a well stocked larder.  i didn’t mean anything by it…

carrot-apricot bundt cake
1 (10-12) cup bundt cake serving about 16
3 eggs
2 cups sugar
1/4 cup wild flower honey-the darker ones have more flavor
1 cup oil-can be walnut, hazelnut or any other vegetable oil that is liquid at room temp
2 teaspoons fresh ginger, grated
2 cups shredded carrots
1/2 cup dried apricots, finely diced
1/2 cup finely chopped fresh pineapple-drained
1 cup sweetened flake coconut
1/2 cup toasted pecans or walnuts
2 1/3 cup unbleached all purpose flour
2 teaspoons cinnamon
2 teaspoons baking soda
1/2 teaspoon salt
preheat the oven to 350.  grease and flour the cake pan.  in a large mixing bowl, combine the eggs, sugar, honey and oil.  whisk it until combined.  add the ginger, carrots, apricots, pineapple, coconut and nuts if you are using them.  whisk to combine.  place the flour, cinnamon, baking soda and salt into a sifter and sift it over the batter.  using a spatula, fold the batter until it is combined and no streaks remain.  scrape the batter into the prepared pan.  bake until a pick inserted comes out clean, about an hour to 1 hour and 15 minutes.  cool in the pan for 15-20 minutes.  invert onto a rack to finish cooling.  give it a little sprinkle of powdered sugar for decoration if you like.  enjoy and may the force be with you. 

meyer lemon syrup cake

for the last 12 or so weeks, i have been attending as many of the master gardener classes as possible.  each week, a small group of certified members has attended in a sort of welcome wagon capacity.  we also bring refreshments for the break.  they have dubbed me the cake lady because i bring a cake each week.  i suppose they could call me worse things than that…

a recent trip to the store yielded a mesh bag of meyer lemons.  these lemons with orange colored skin, have a flavor that is not quite lemon and not quite orange and it is definitely worth seeking them out when they are in season.

if i am baking with citrus, the zest is the part i use.  i used the juice to make a glaze that i brushed over the cake.

meyer lemon syrup cake
1 (10-12) cup bundt cake serving about 16
8 ounces unsalted butter, softened
2 1/2 cups sugar
1/2 teaspoon salt
zest of 2 meyer lemons
4 eggs
4 cups unbleached all purpose flour
4 teaspoons baking powder
2 cups buttermilk
2 tablespoons freshly squeezed juice from the zested lemons
3 tablespoons sugar
preheat the oven to 350.  grease and flour a bundt pan and set it aside.  place the butter into a mixing bowl with the sugar, salt and zest and on low speed, mix to combine.  turn the mixer up to medium and allow the mixture to cream until light and fluffy.  add the eggs, one at a time and mix to combine.  scrape the bowl as you go. from here on, it is best to mix by hand so if you are not using a wide shallow bowl, transfer the batter to different bowl that will make folding the batter by hand a little easier.  place the flour and baking powder into a sifter and sift it over the batter.  fold this a couple times.  sprinkle the buttermilk over the batter and gently fold until no streaks remain.  scrape the batter into the prepared pan and bake until a pick inserted comes out clean, about 1 hour and 10 minutes.  
make the glaze by combining the juice and the sugar along with 2 tablespoons of water in a small pan.  bring to a gentle boil and let it cook for a minute or two.  be sure to do this over low heat or you will evaporate most of the glaze and be left with either a thick syrup or a burned pan…brush a little of this over the cake while it is still in the pan.  after it has cooled in the pan for about 10-15 minutes, invert the cake onto a rack, pierce it with a fork a few times and brush the remaining glaze over the top and the sides of the cake.  allow it to cool completely before cutting.

raspberry swirl cheesecake

people ask me how i manage to stay thin when i bake so many sweets.  it’s easy, i make it a point to not bake the sweets i find impossible to pass up.  that folks, is why i very rarely make a cheesecake!  but every now and then, i bake one just so i can have a sliver or two.

when i had my bakery, i made lots of cheesecakes; we sold them wholesale and had several clients that would order them in quantity.  with as many as i was making, i perfected my technique and learned just what it took to make a cheesecake with out a crack in the middle.  my list of rules isn’t too long but if it is followed exactly, i can pretty much guarantee that your cheesecake will not crack.

1.  reach over the name brand cheese-the one named for that yankee city and grab the full fat store brand because believe it or not, it makes a better cream cheese.

2.  throw away the springform pan-yes, that’s right, throw it away.  grab a heavy duty cake pan.  the thicker the gauge, the better, because it will insulate the cake more as it bakes.  springform pans are made from a thin gauge metal and they allow the cake to over bake more easily.  the best part, a cake pan will not leak-another check in the plus column.

3.  never mind the water bath.  again, you heard that correctly.  it isn’t necessary and it can be dangerous.

4.  combine your ingredients(softened at room temp first) in a food processor-it will not incorporate air like a mixer will and air is your enemy.  air expands when it is heated and when you incorporate lots of it into a cheesecake, the cheesecake expands and souffles when it bakes.  and what do souffles do when they get to hot?  they collapse and crack and look awful.

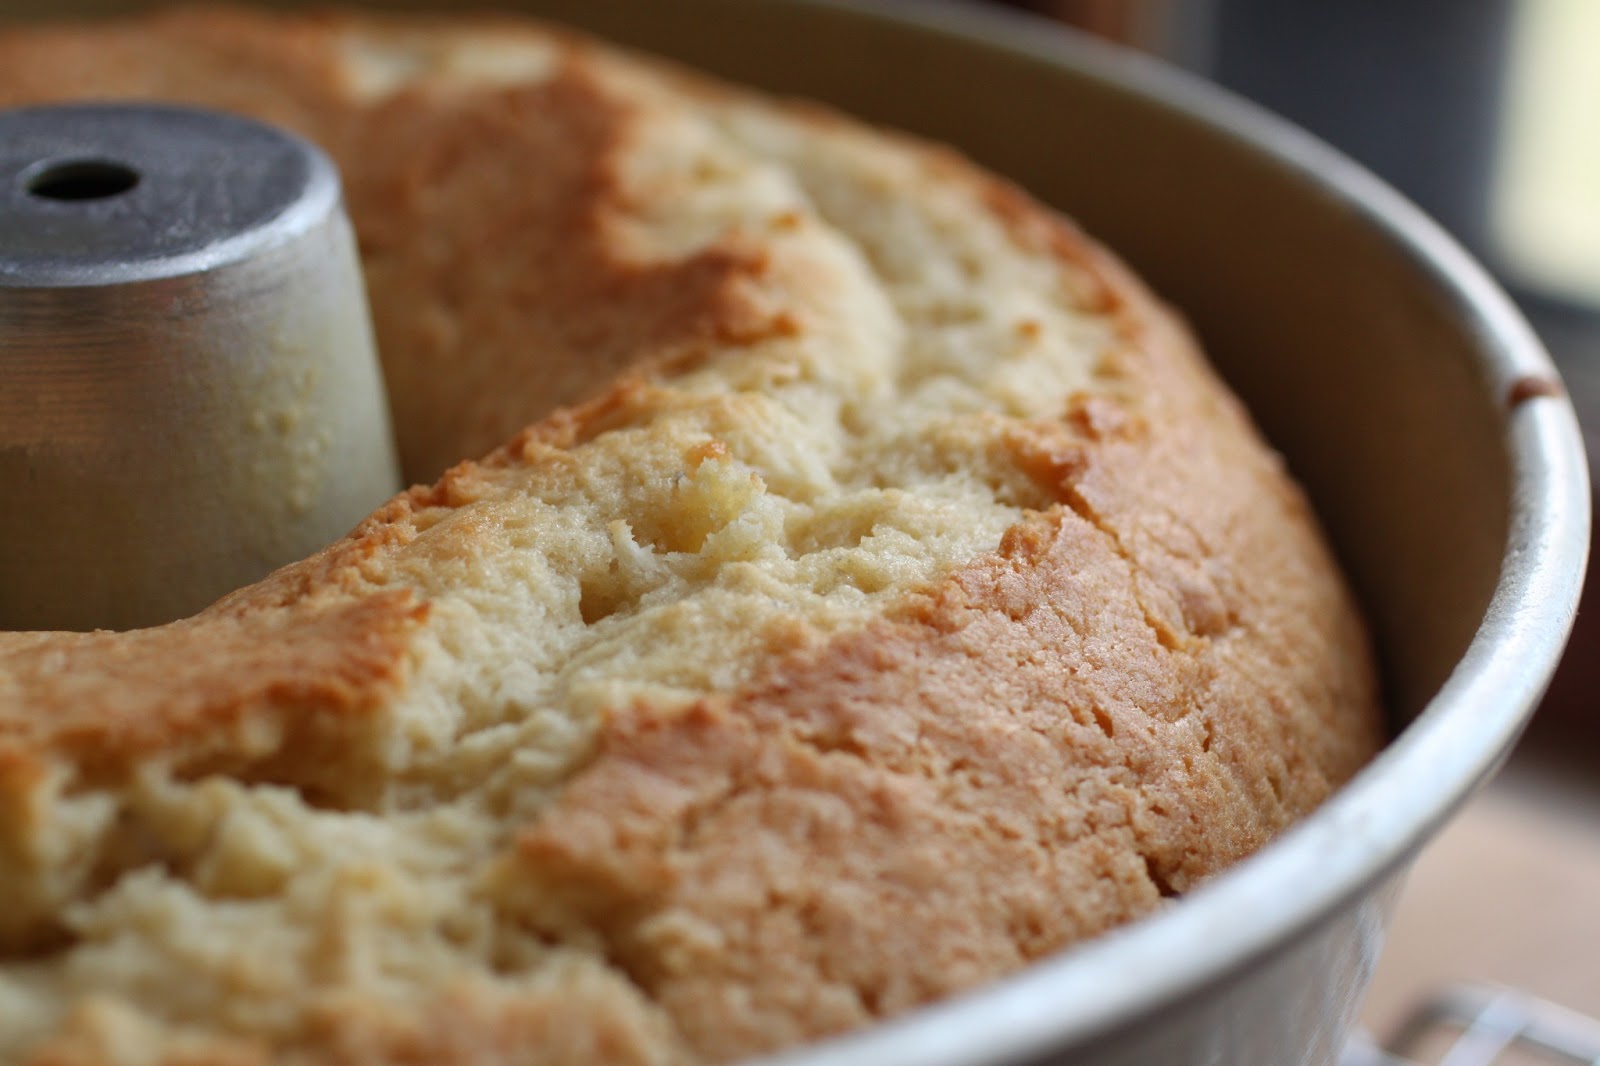
5.  here is the tricky part-keep in mind that a cheesecake is not a cake, it is a custard that is treated like a cake.  when the cake is about 3/4 of the way into the baking process, take it out of the oven and run a knife all the way around the edge to release the cake from the pan.  only insert the knife about 1/2 to 3/4 of an inch down the side of the pan.  why do this?  if you don’t, the cake will not be able to shrink after baking-remember that first part, it’s a custard and not a cake.  custards need to shrink and contract a little after baking.  if you don’t release it from the pan, the only thing it can do is crack down the center-the sides are stuck to the pan and the middle is the only part that “gives”.

6.  lastly, cheesecakes baked in a cake pan need to chill for about 8 hours before you unmold them.  to do this, wrap a flat plate with plastic wrap and spray it with grease.  heat the bottom of the pan over the burner on your stove-it should be a little warm, not hot.  gently give it a side to side shake to loosen it.  place the plate on top and invert-the cake should slide out.  place your serving plate on the cake and invert it again.   

 perfect raspberry swirl cheesecake
1 (8″) cheesecake that serves about 10
crust
1 1/2 cups cookie crumbs-i like to use something lowfat like biscotti
3 tablespoons sugar
5 tablespoons unsalted butter, melted and a little on the hot side
cheesecake
1 pound cream cheese-full fat, soft and at room temp
2/3 cup sugar
2 tablespoons unbleached all purpose flour
1 teaspoon vanilla
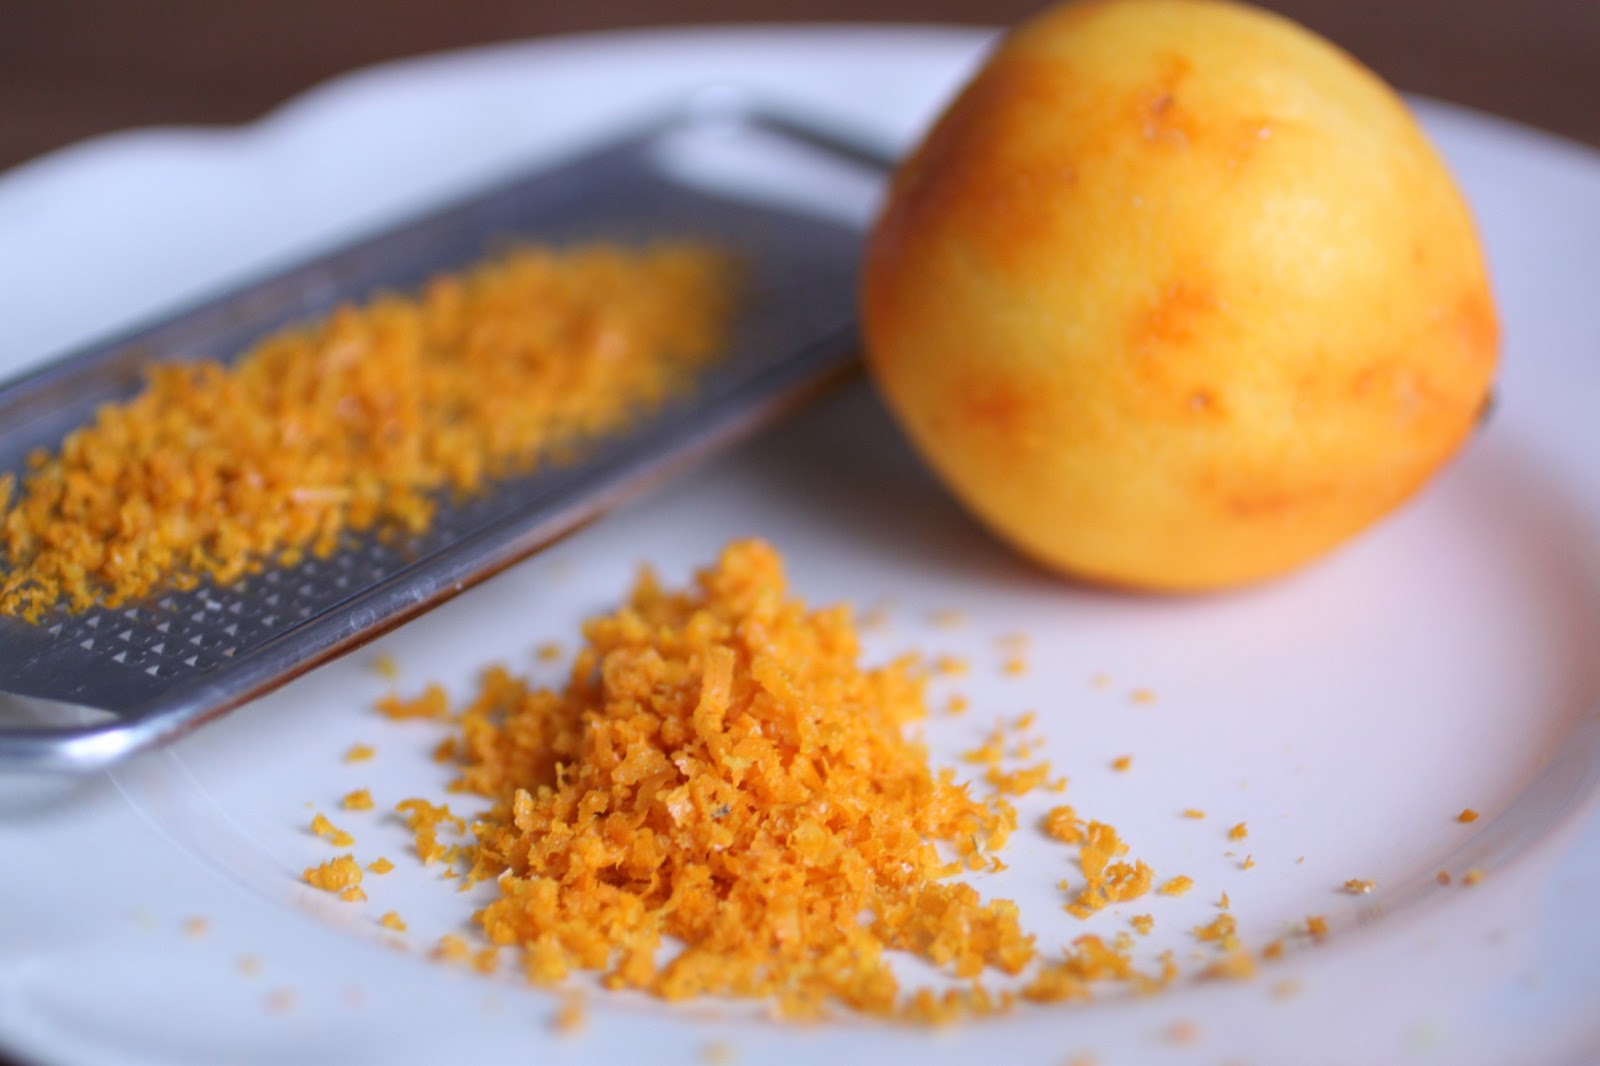
1 teaspoon lemon zest
1/3 cup sour cream
4 eggs
1/4 cup seedless raspberry puree
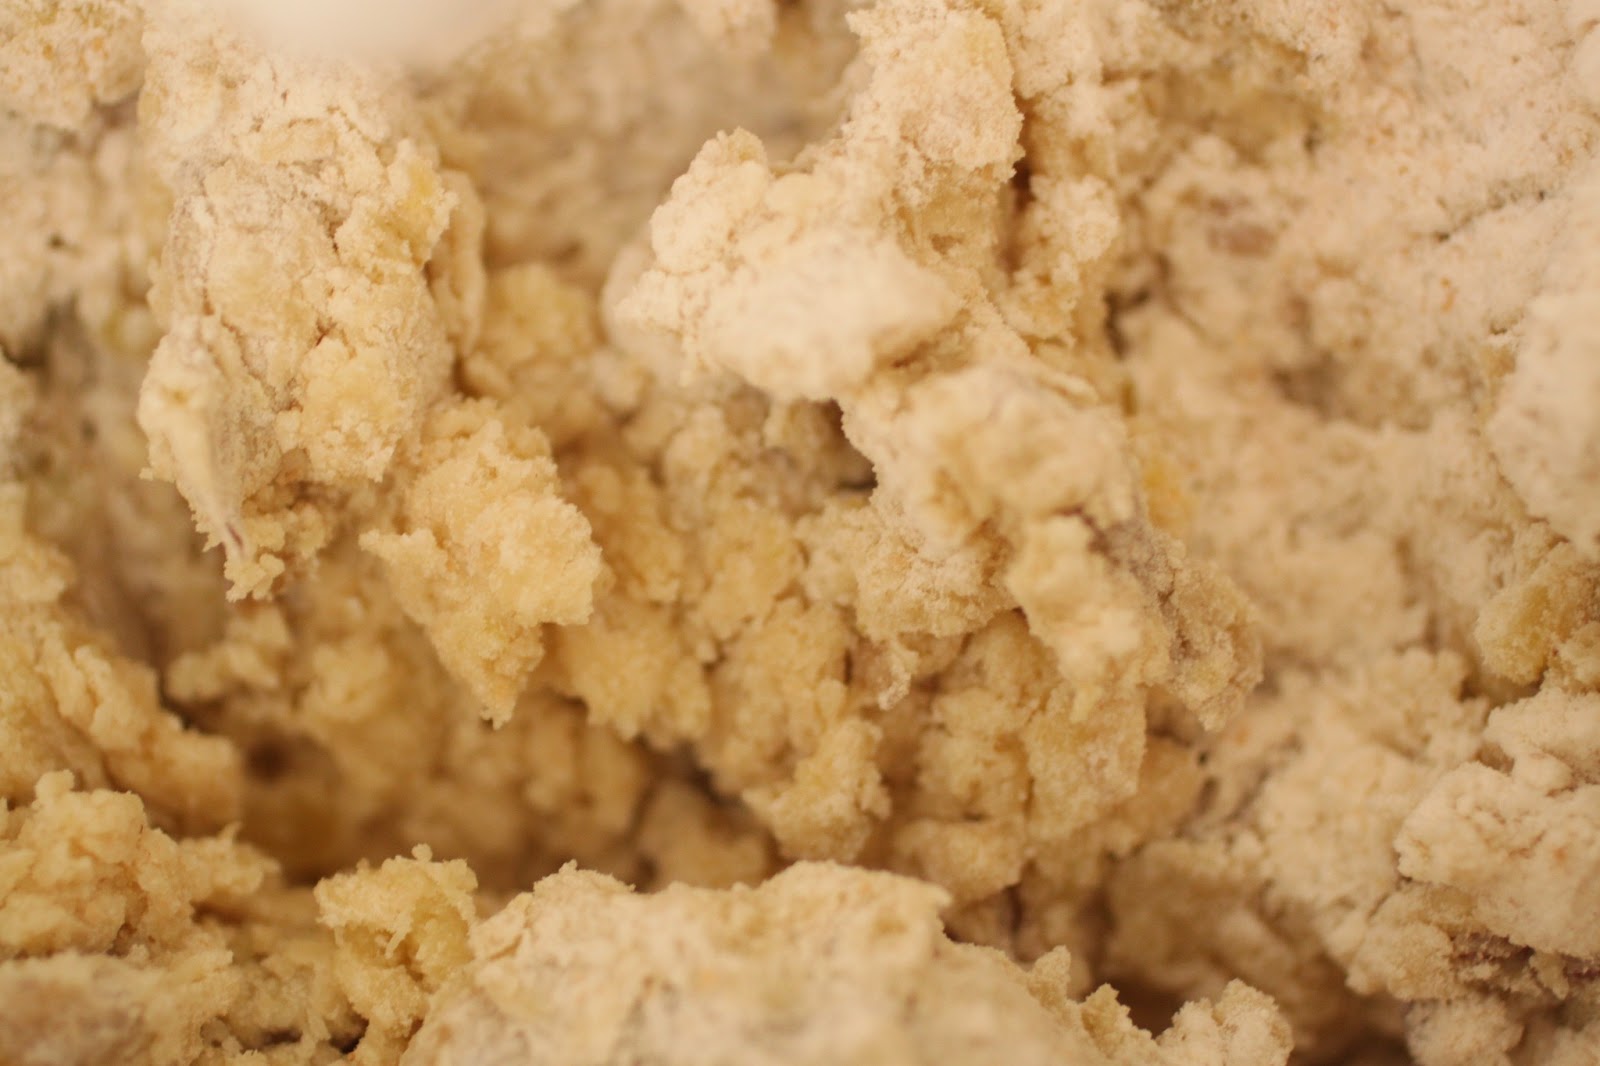
preheat the oven to 300.  grease or butter the pan.  combine the cookie crumbs and the sugar.  add the butter and with your fingers, mix to combine.  dump the crust into the bottom of the pan and spread it 2/3 of the way up the sides and across the bottom so that it is an even thickness.  set aside.
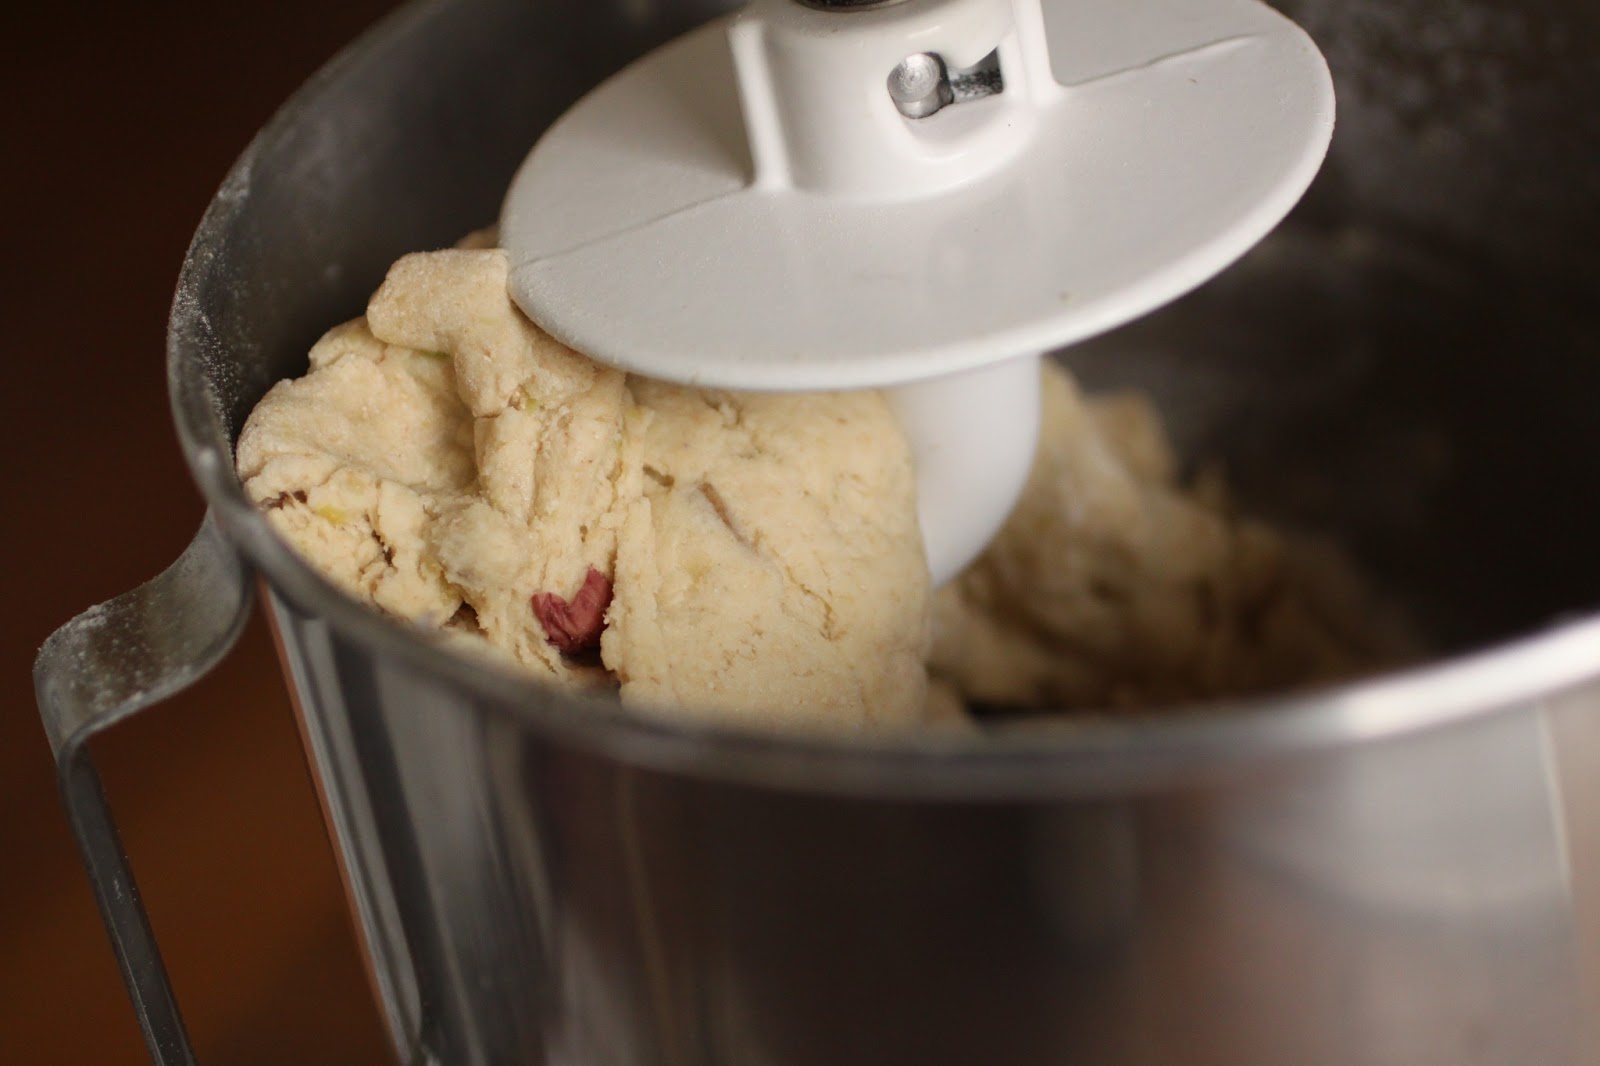
to make the cheesecake.  place the cream cheese, sugar, flour, vanilla, lemon zest and sour cream into the bowl of a food processor.  pulse to combine.  add the eggs, one at a time and process to combine.  scrape the bowl after each egg is mixed in.  pulse it a few times to be sure it is evenly combined.  reserve 1 cup of the cheesecake batter and pour the rest into the prepared pan.  mix the raspberry puree into the reserved batter and drizzle this over the top of the cake.  gently swirl it using the handle of a spoon or your finger tip.  
to bake, place it in the center of the oven for for 45 minutes.  remove the cake from the oven and release it by running a knife around the edge as described above.  return the cake to the oven, turn off the heat and let it stand in the oven for 15 minutes.  to check it for doneness, the cake should be firm around the edges when you touch it gently but still seem a little jiggly in the middle.  it should not look liquid in the middle and if you touch it gently, it should not stick to your fingertip.  if you have followed the directions and your oven temp is accurate, the cake should be perfectly baked at this point.  allow the cake to cool on a rack for an hour and then chill it for at least 6-8 hours.  unmold the cake according to the instructions above.

madeleines; twd/bwj

if you ask me, marcel proust was nuts.  he went on about madeleines, or at least that is how the story goes.  after baking them with this recipe, i can only ask why?  what is so wonderful about madeleines?
this week, the tuesdays with dorie bakers made the madeleine recipe from the baking with julia book.  to see the recipe, buy the book or visit the blogpage of our hosts for the challenge, katie and amy of counter dog.
so what is my problem, why am i hating on proust and his beloved madeleines?  they are not very exciting.  kind of dry actually and a little flavorless too.  then again, that is what most genoise cakes are, dry and flavorless.  made that way to soak up the flavor from the fillings and booze that they sandwich together in multilayer cakes served by the slice.  these little buggers didn’t just ask to be dunked in tea, they begged!
to make it interesting, i made two batches.  the first batch i flavored with freshly grated lemon zest and the second, with some cocoa powder and some cinnamon.  neither batch was worth indulging in if you ask me.  i brought them to a meeting and shared them.  the tasters enjoyed them and several dunked them-confirming my theory on the dryness.  would i make them again-not likely with this recipe.  while all madeleine recipes call for whipping eggs and sugar until the ribbon is formed, most have more than just flour a touch of butter and a little vanilla for flavor.  my own recipe includes coconut and is much moister and more flavorful than these.
the instructions from the recipe call for greasing and flouring the plaques.  not a good idea.  if anybody ever asks your opinion, tell them to just grease the pans or simply brush them with melted butter.  the flour and grease form a coating that stays on the madeleines and gives them a white washed effect.  it isn’t noticeable on the lemon ones but it sure is on the chocolate ones.  believe it or not, the cleaner pan of the two in the photo, just used grease-no flour at all.

when sitting side by side, you can easily tell which had flour in the pans.  

lemon zest added a hint of lemon flavor that improved the taste of the otherwise eggy little treats.  still wasn’t enough to tempt me into eating more than one.  to see how the rest of the bakers did, visit the tuesdays with dorie page.

potato bread

it’s confession time.  i’ve made this bread before-several times actually.  making it for this weeks tuesdays with dorie challenge was not much of a challenge for me.  actually, i was looking forward to the bread-it is simple and almost guaranteed to work each time.  this weeks challenge is hosted by dawn of simply sweet so if you are looking for the recipe, buy the book or visit dawn’s blog.

this right here was the only hiccup in my plan:  no russet potatoes in the house!  actually, i made the bread with a combination of yukon gold and russian banana fingerlings and of course, 1 lonely rose potato.

when cooked, they were a buttery yellow, except that rose colored one which stayed a subtle pink shade.

all mashed up and ready to mix-the pink is no longer obvious

when the potatoes were mashed and mixed into the dough, it wasn’t very obvious that i used potatoes with color.  the directions tell you the first mixing stage will resemble pie dough and that was a very accurate description.

it starts off looking dry and then transforms into a soft and sticky dough.

as stated in the mixing directions, the dough is very similar to brioche in behavior as well as appearance.

but when the mixer stops, after the full 11 minutes, it is most definitely a bread dough.

the loaves are easy to shape and quick to rise.

and just as quick to bake!
restraining myself was the hard part-who can resist warm bread?

just look at the interior!  i subbed a cup of whole wheat flour for the all purpose flour and split the remaining amount evenly with bread flour and all purpose flour to make up for the lack of structure of the creamy potatoes.  in the end, it worked like a charm and i will not hesitate to use different potato varieties in the future.  bake on friends and be sure to visit the tuesdays with dorie page to see how the other bakers did!

coconut tea cake

 each week, i bake a cake to take to the new group of students attending the master gardener’s classes.  this week, i had to do a bit of foraging in the cupboards-i hadn’t gone to the grocery store and my options were few.  for some reason, which i cannot explain, i found 5 cans of coconut milk in the closet.  then, while searching for some shredded coconut, i came across a package of fresh-frozen coconut from birdseye.  it is finely shredded and barely sweetened but most importantly, it tastes pretty close to fresh coconut and it doesn’t involve the hassle of opening a coconut and removing the flesh.

since there are at least 50 students in the class, i made a big 10″ (12 cup) tube shaped cake.

after the cake cooled, i dressed it up with a simple glaze and sprinkled some toasted coconut over the top.

coconut tea cake
1 (12) cup cake serving 16-20
7 ounces unsalted butter, softened
2 1/2 cups sugar
1/2 teaspoon salt
2 teaspoons vanilla
4 eggs
4 cups all purpose flour
4 teaspoons baking powder
3/4 cup finely grated fresh coconut (or the frozen shredded, thawed)
1 can coconut milk, whisked smooth if lumpy
1 1/2 cups powdered sugar
3-4 tablespoons of half and half (or coconut milk if you have some extra)
1/2 teaspoon vanilla
1/4 cup shredded coconut, toasted (or not if you prefer)
preheat the oven to 350.  grease and flour a large tube or bundt cake pan and set aside.  place the butter, sugar, salt and 2 teaspoons of the vanilla into the bowl of a food processor.  pulse to combine.  with the machine running, add the eggs, one at a time and allow to mix in.  scrape the mixture into a large mixing bowl since the rest of the ingredients will be folded in by hand.  place a mesh strainer or a sifter into a bowl.  place the flour and baking powder into the strainer/sifter and set aside.  stir the shredded coconut into the mixture-make sure there aren’t any hard lumps of coconut in the batter by breaking them up with your fingers.  sift the dry ingredients over the batter.  fold the mixture a few times and then pour the coconut milk over the batter.  carefully fold together until no streaks remain.  scrape the batter into the prepared pan and bake until a pick comes out clean, about 1 hour and 15 minutes.  allow the cake to cool in the pan for 15 minutes.  remove the cake from the pan and allow it to cool on a rack.
when the cake is completely cool, whisk the powdered sugar with 3 tablespoons of half and half and the vanilla.  add additional half and half as needed until you have a thick glaze.  using a spoon, drizzle the glaze over the top of the cake.  decorate with a little toasted coconut.
enjoy!

mocha chip cookies; twd/bwj

when you join a group of bloggers dedicated to preparing every recipe in a specific book, you do not always have a say in what is made next.  we put it to a vote but as votes go, the recipe with the most votes is the one chosen to be prepared next.  some recipes are simple and quick, others are time consuming, stretching across several days from start to finish and the latter describes our previous challenge.  after the hard work of making croissants from scratch, we were rewarded with a simple as well as easy batch of cookies.  to see the full recipe, consider buying or borrowing (from a library) the book, baking with julia.  and for those not so inclined, visit the website of this weeks host, peggy of galettista.

the cookies consist of an unlikely combination of chocolate pieces with coffee and dried apricots.  my first reaction was not encouraging.  i made the choice to use milk and white chocolate chips, instant espresso powder and half of the amount of chopped apricots called for in the recipe.  as always, when i make cookies, i use a scoop to portion them out.  this way, the cookies are almost identical in size which allows them to bake more evenly.  the recipe called for chilling the dough first, then shaping them.  with my experience in large scale baking on a daily basis, i felt they should be scooped first then chilled; that is so much easier on the scoop and my right hand!
since i planned to take these cookies to a meeting, i multiplied the recipe and made a batch and a half.  with my handy purple scoop, i easily made more than 70 cookies which was plenty for everyone to sample as well as leave a few at home for my husband.
the comments some of the other bakers made was that the cookies were thinner than expected.  my guess is that the oven temperature was off.  my oven has the option of using convection.  when using the fan, the general rule of thumb is for the temperature to be reduced by 25 degrees.  with that in mind, i baked the cookies at 350 with the fan on.  now wait a minute, the recipe instructions call for baking at 350-how is this a reduced temperature?  the toll house cookie recipe, and these are almost identical to the toll house recipe, calls for baking the cookies at 375.  with the reduced amount of flour in the recipe, the cookies spread thinner so the only way to stop that is with a higher temperature to force the dough to set and halt the spreading.  another note, that time of 10-12 minutes was totally impossible for a temp of 350.  as a matter of fact, i used a higher temp with convection and it took 12 minutes per pan minimum(and yes, i keep a thermometer in the oven).  think about it, the dough was chilled for hours, it needed longer time in the oven to warm up, spread and set.  if you used the temp of 350(regular oven) and cold dough for 10-12 minutes, your cookies most likely came out thin because of under baking which caused the structure to collapse when they were removed from the oven.  
in the end, i came home from the meeting with an empty plate.  a couple people hunted me down to ask me about them.  having tasted them, i was surprised.  never would i have thought that dried apricots would blend with espresso.  would i make these again?  maybe, but i would add a couple extra tablespoons of flour.  be sure to visit tuesdays with dorie page to see what the other bakers came up with.