while i am sad to see summer come to a close, i am looking forward to the arrival of fall produce. as much as i love visiting the farmers market in summer, i find the trips downtown in the fall almost magical. the sight of so many apples and hard squashes…the thoughts of applesauce and butters and pies…mmmmmm, that’s all i can say about it. while it is still very warm, with many days still 80+, it is no longer too hot to make baking impossible. the arrival of pears from colder climates made a pear tart irresistible.

not all pears make nice tarts. the best ones are those with a slightly soft texture that hold their shape when baked. for this reason, i generally use d’anjou pears that are a tad under ripe. for this tart, i had to choose between bartlett and bosc-neither being a favorite of mine. i went with firm, under ripe bartletts so that they would not turn to mush when i poached them. poaching is important for this type of tart-it prevents discoloration and ensures that the pears are soft when the tart filling is completely baked. it also prevents the pears from releasing excessive amounts of juices onto the top of the filling and that enables the filling to bake properly. the poaching liquid includes wine and the beauty of this tart is that you could use any type of wine and alter the taste of the pears to your liking. i used marsala because that is what was convenient but you could easily use chardonnay, sauternes, port, champagne or any other white wine. however, there is no reason that you couldn’t use a mild, fruity red and give the pears a pink tint.

freshly poached and ready to be sliced. after removing the pears, place the pot of liquid back on the stove over low heat. the poaching liquid is reduced down to 1 cup and used as a syrup to drizzle over the slices as you serve them.
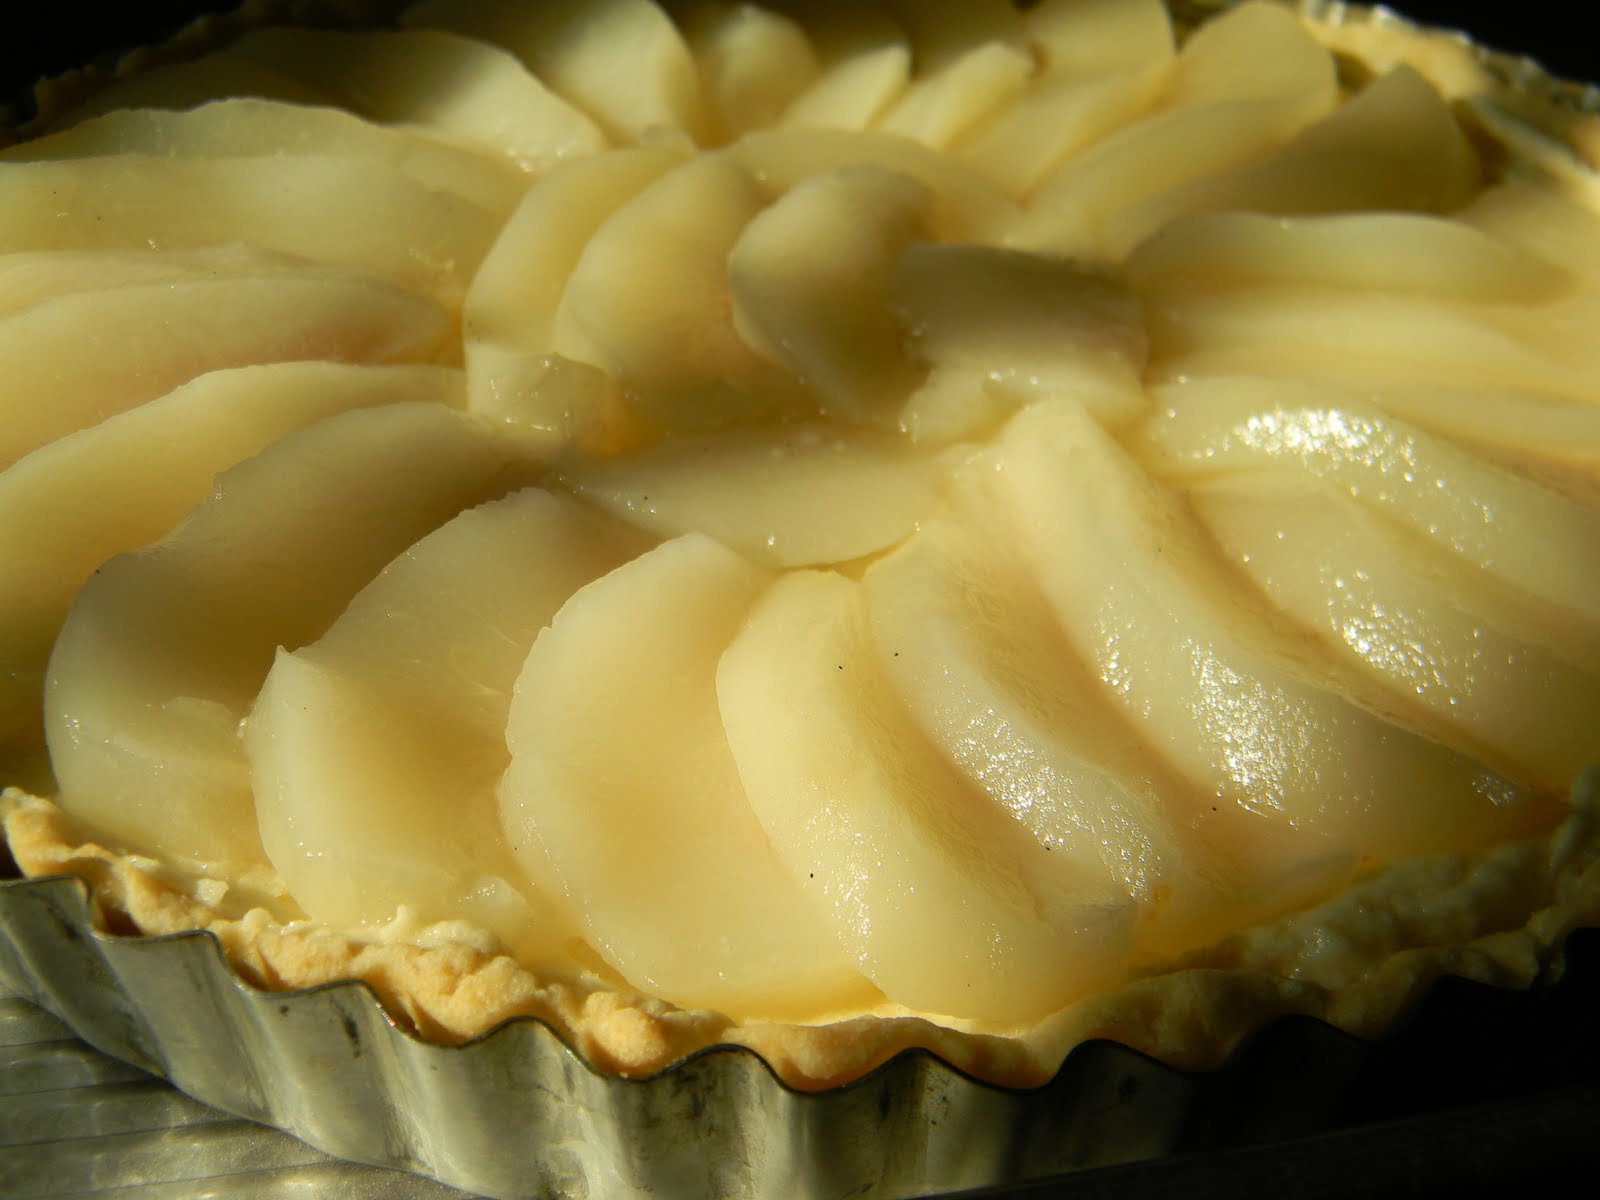
the tart shell must be prebaked first. then, mix up the frangipane filling, spread it into the tart shell and layer the sliced pears around the top in a spiral.
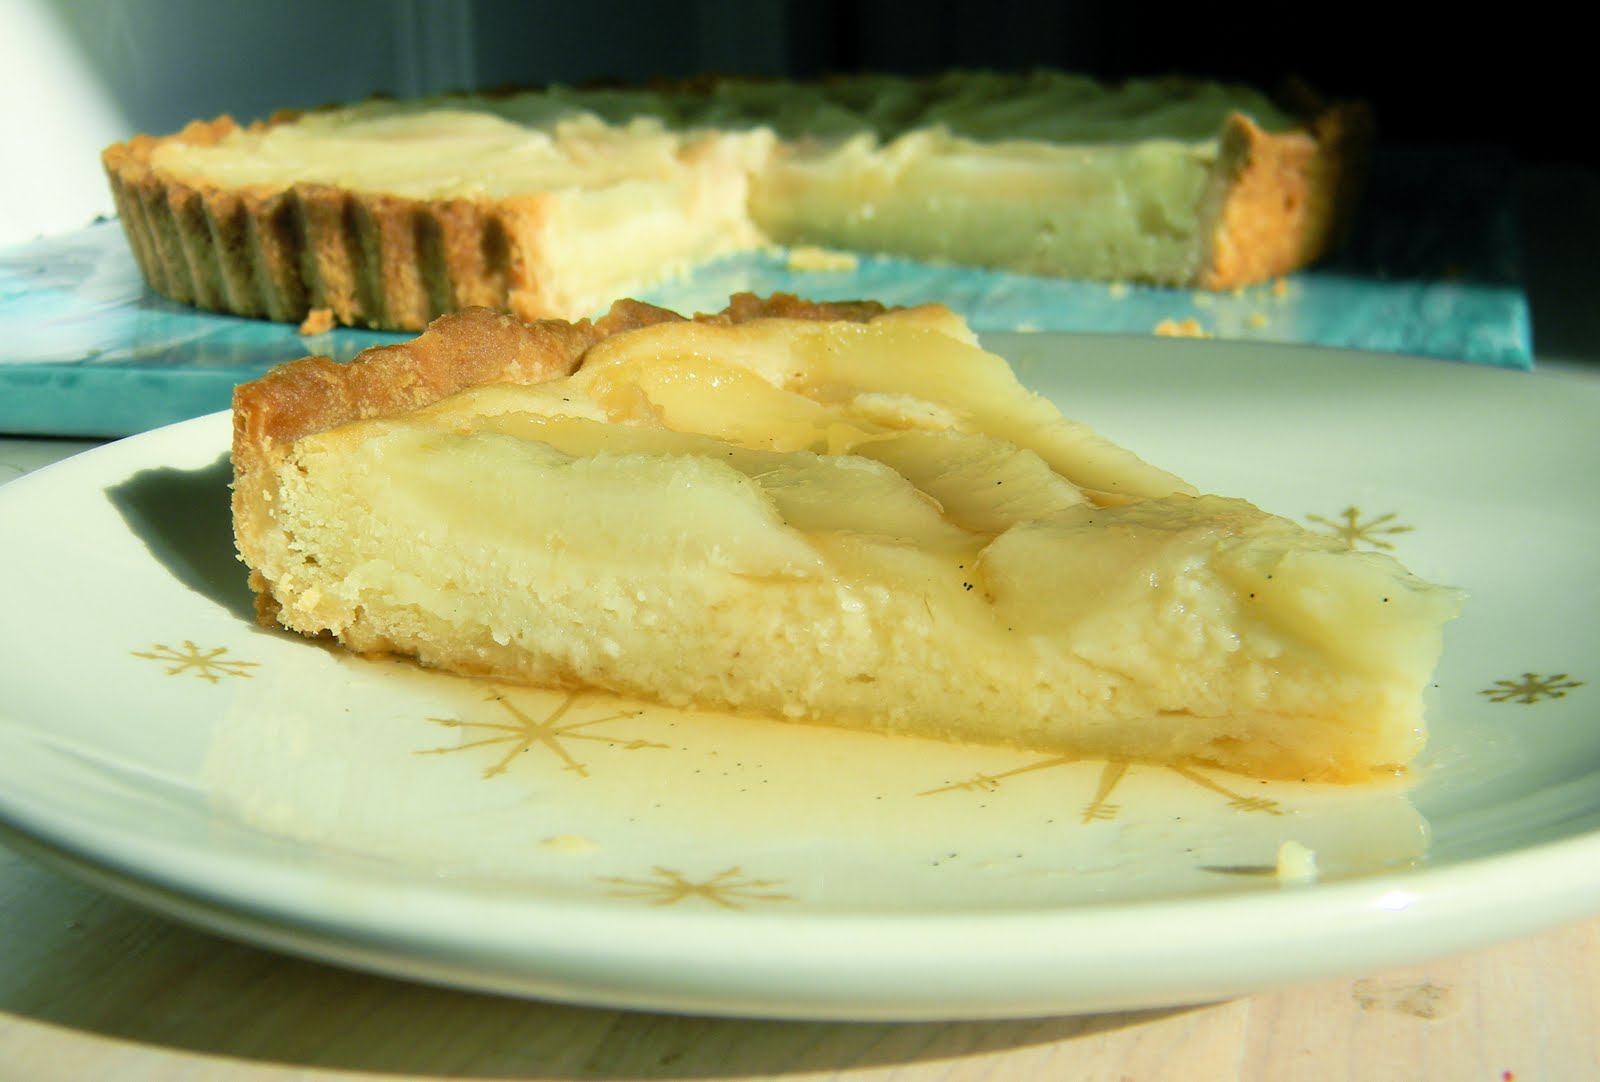
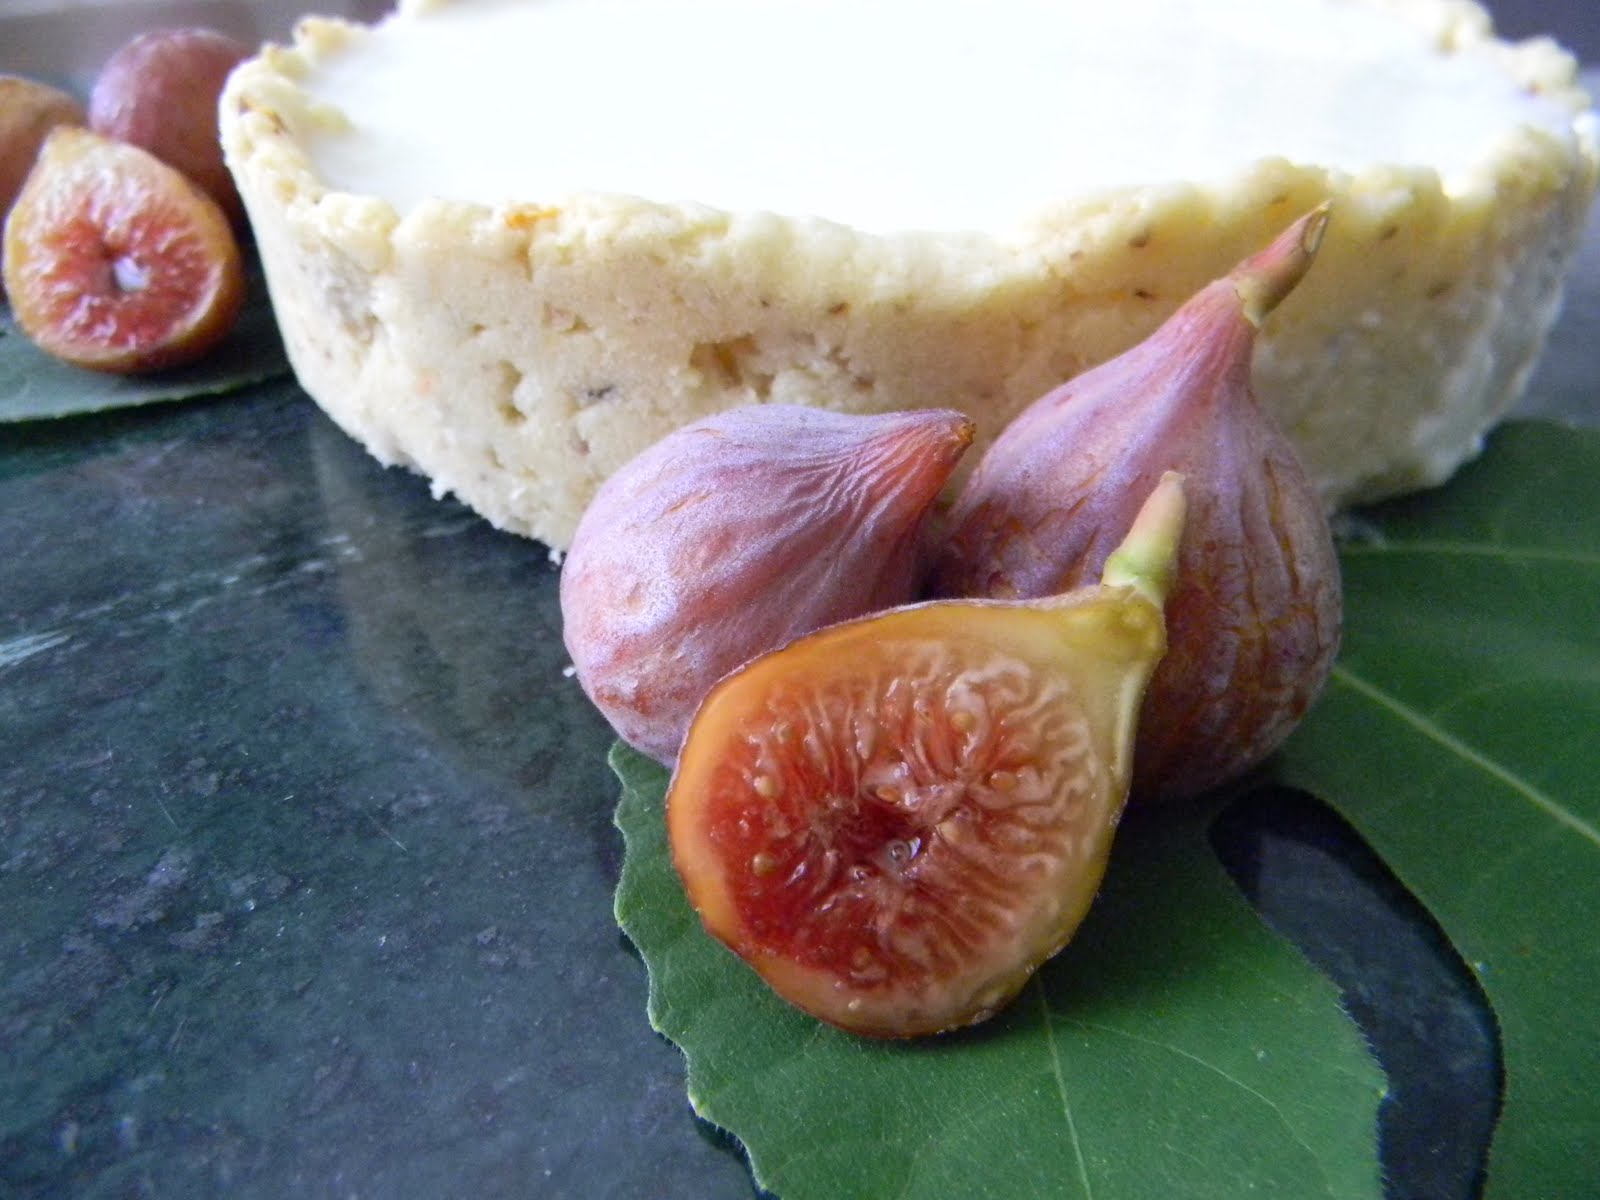
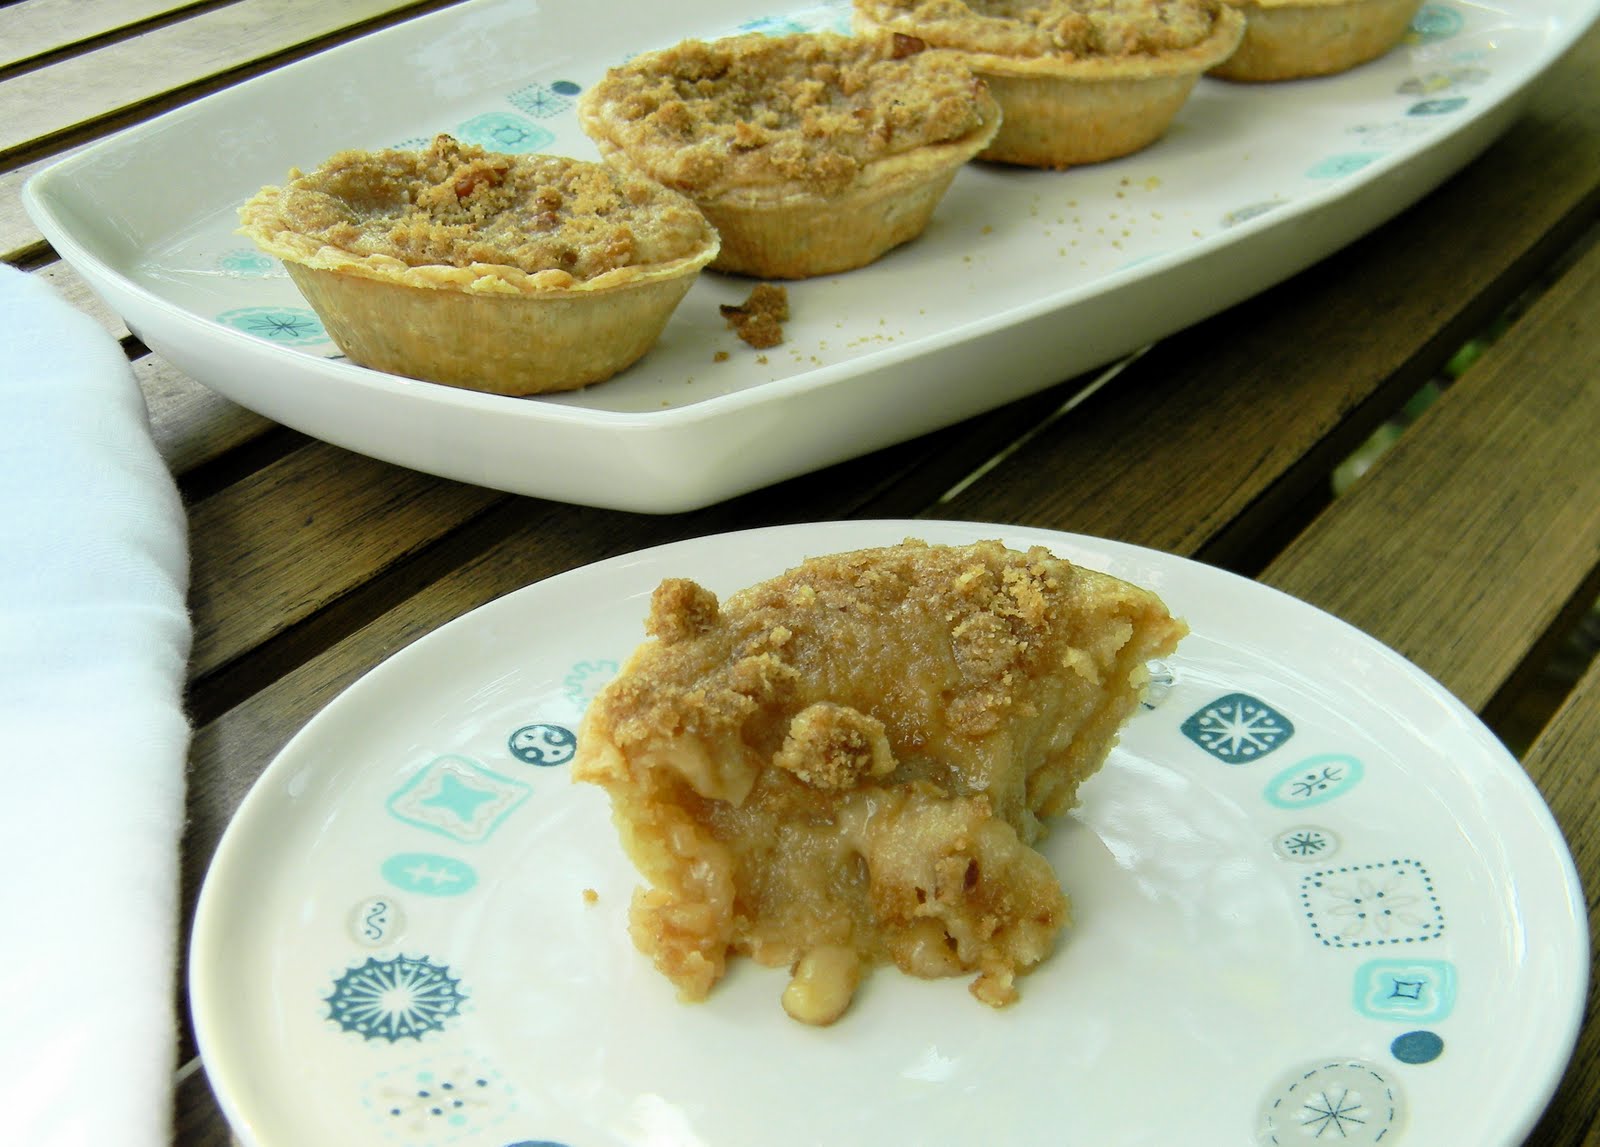
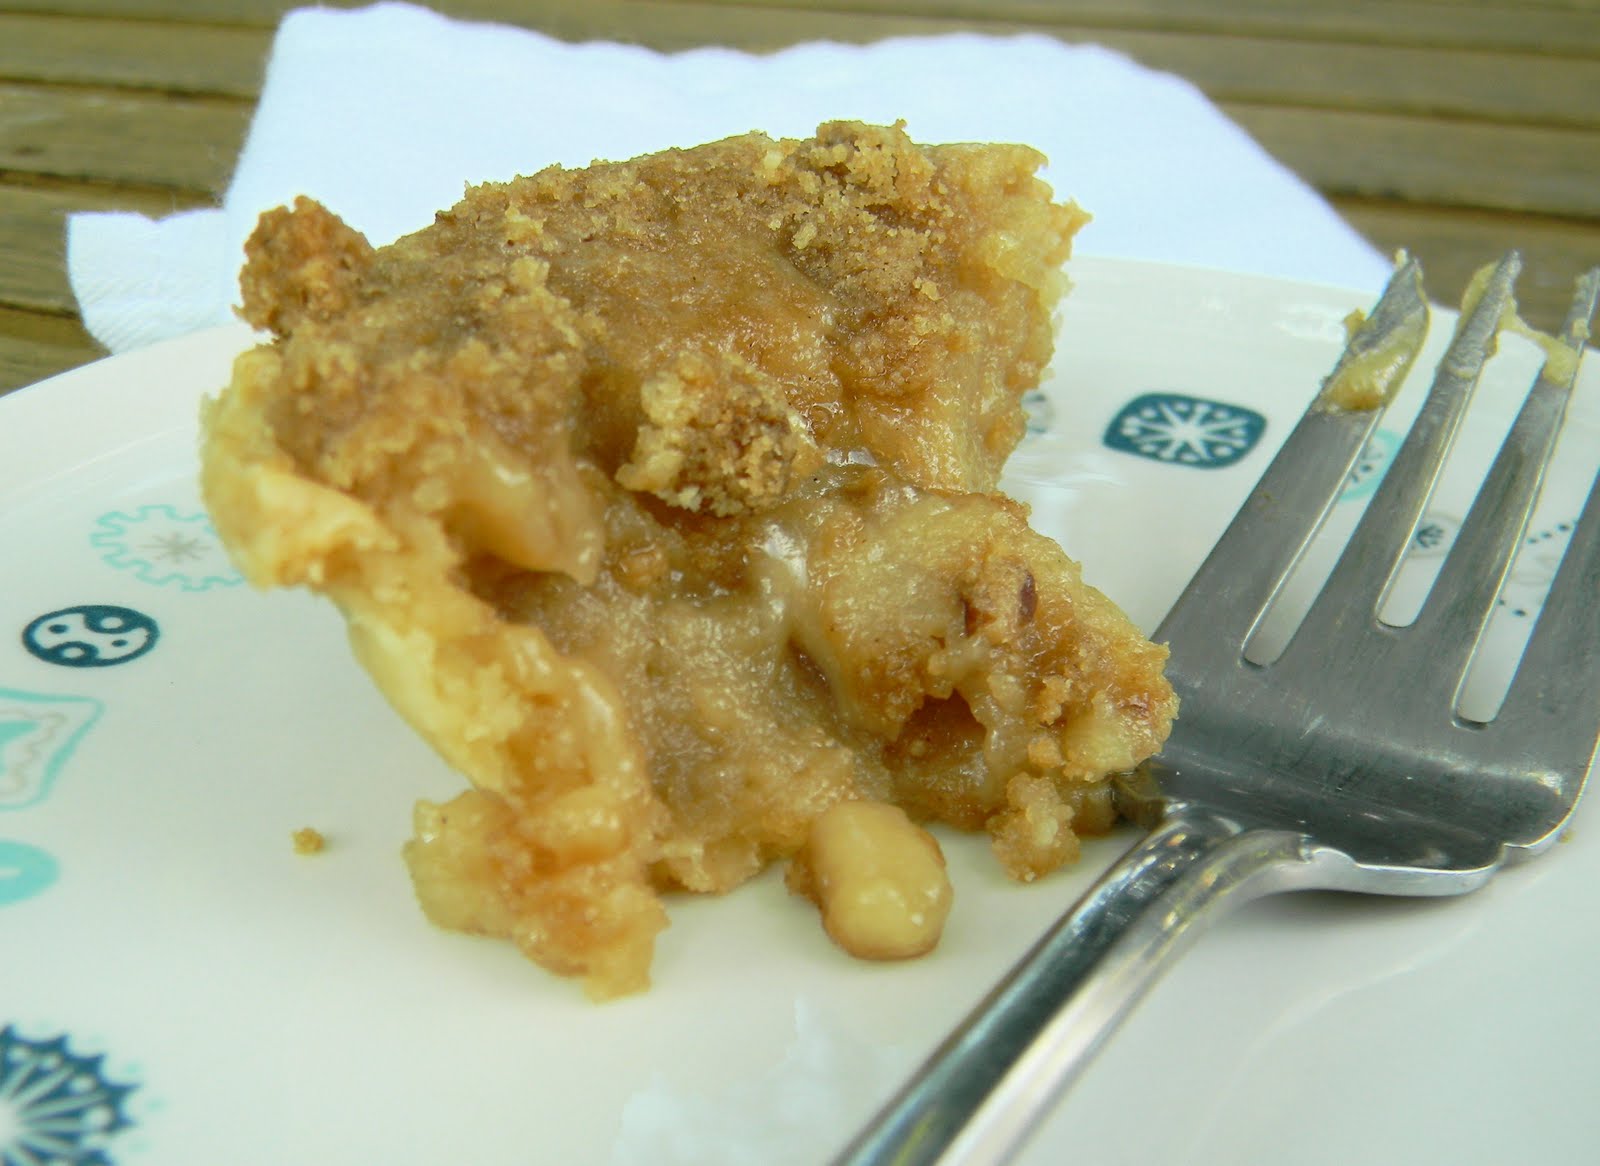
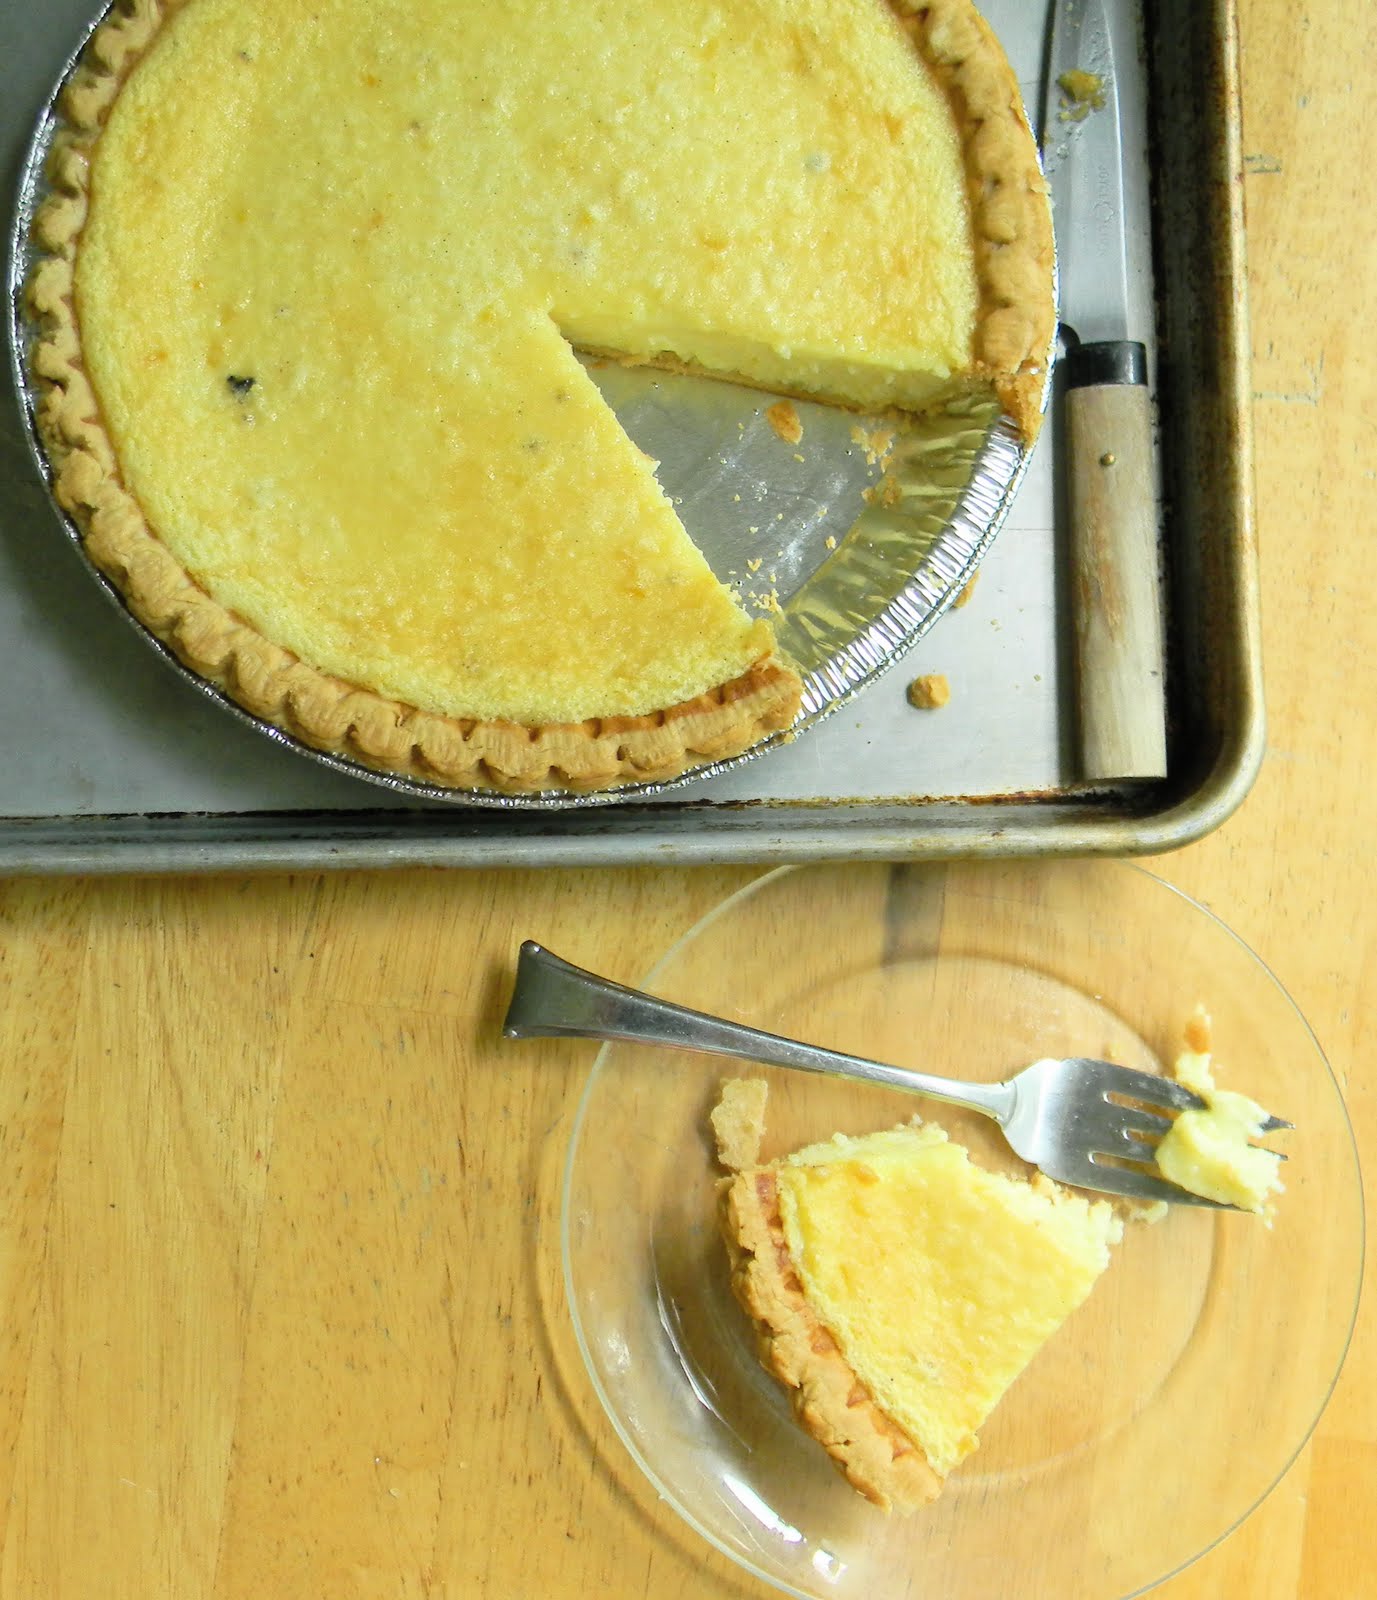
once the tart has been baked and allowed to cool completely, remove it from the pan and cut it into wedges. drizzle it with the syrup and you have an elegant fall dessert.
pear frangipane tart
serves 8-10
tart dough
half batch of tart dough from pie
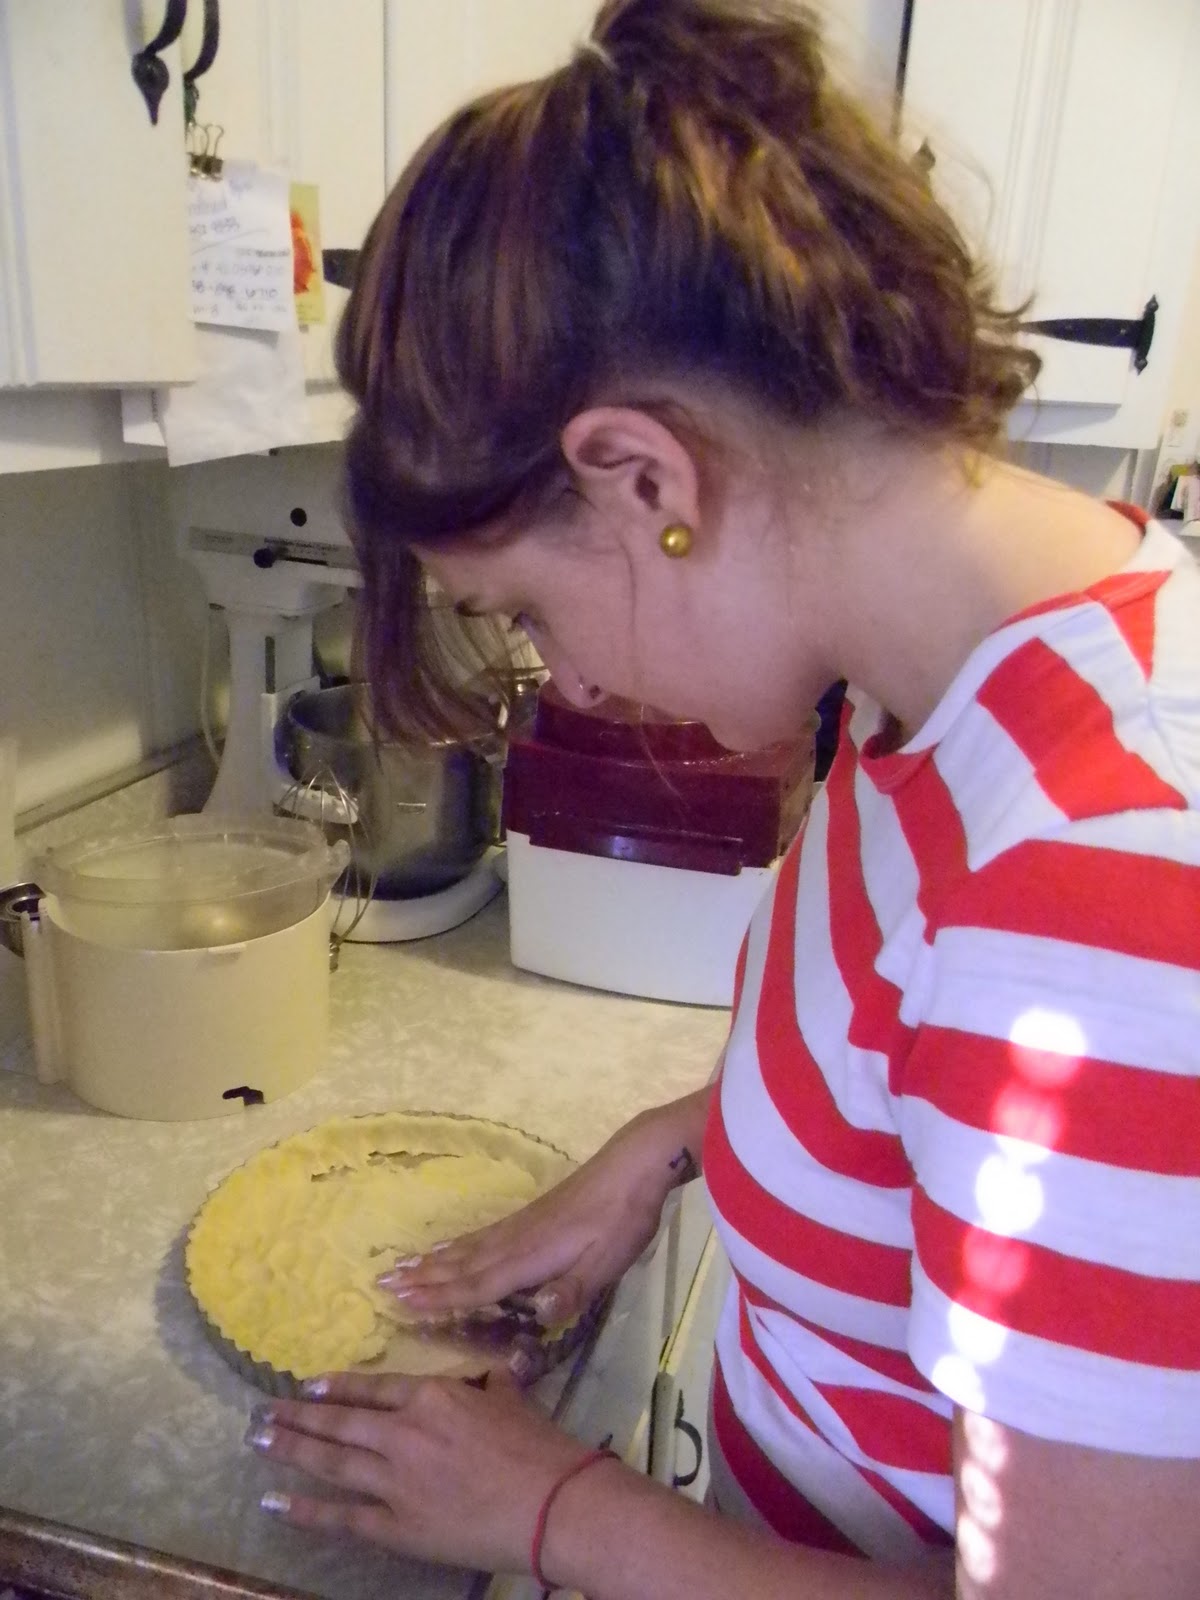
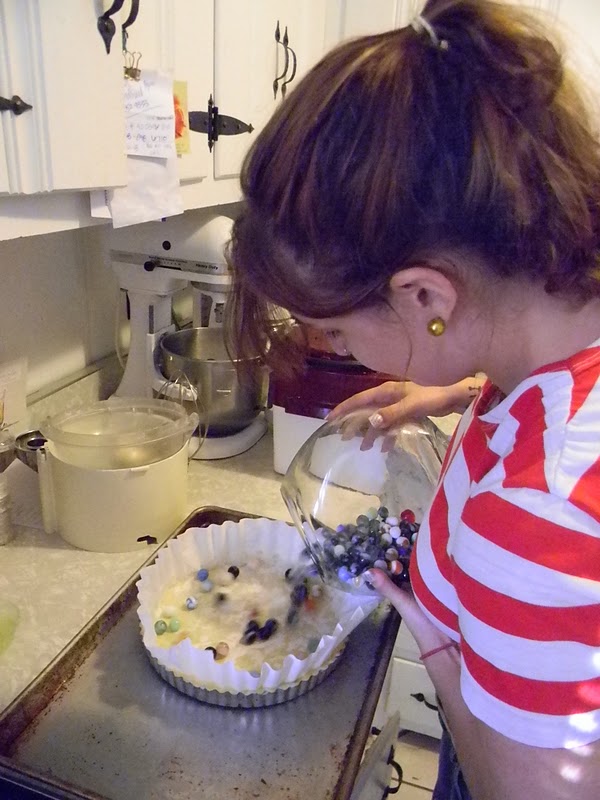
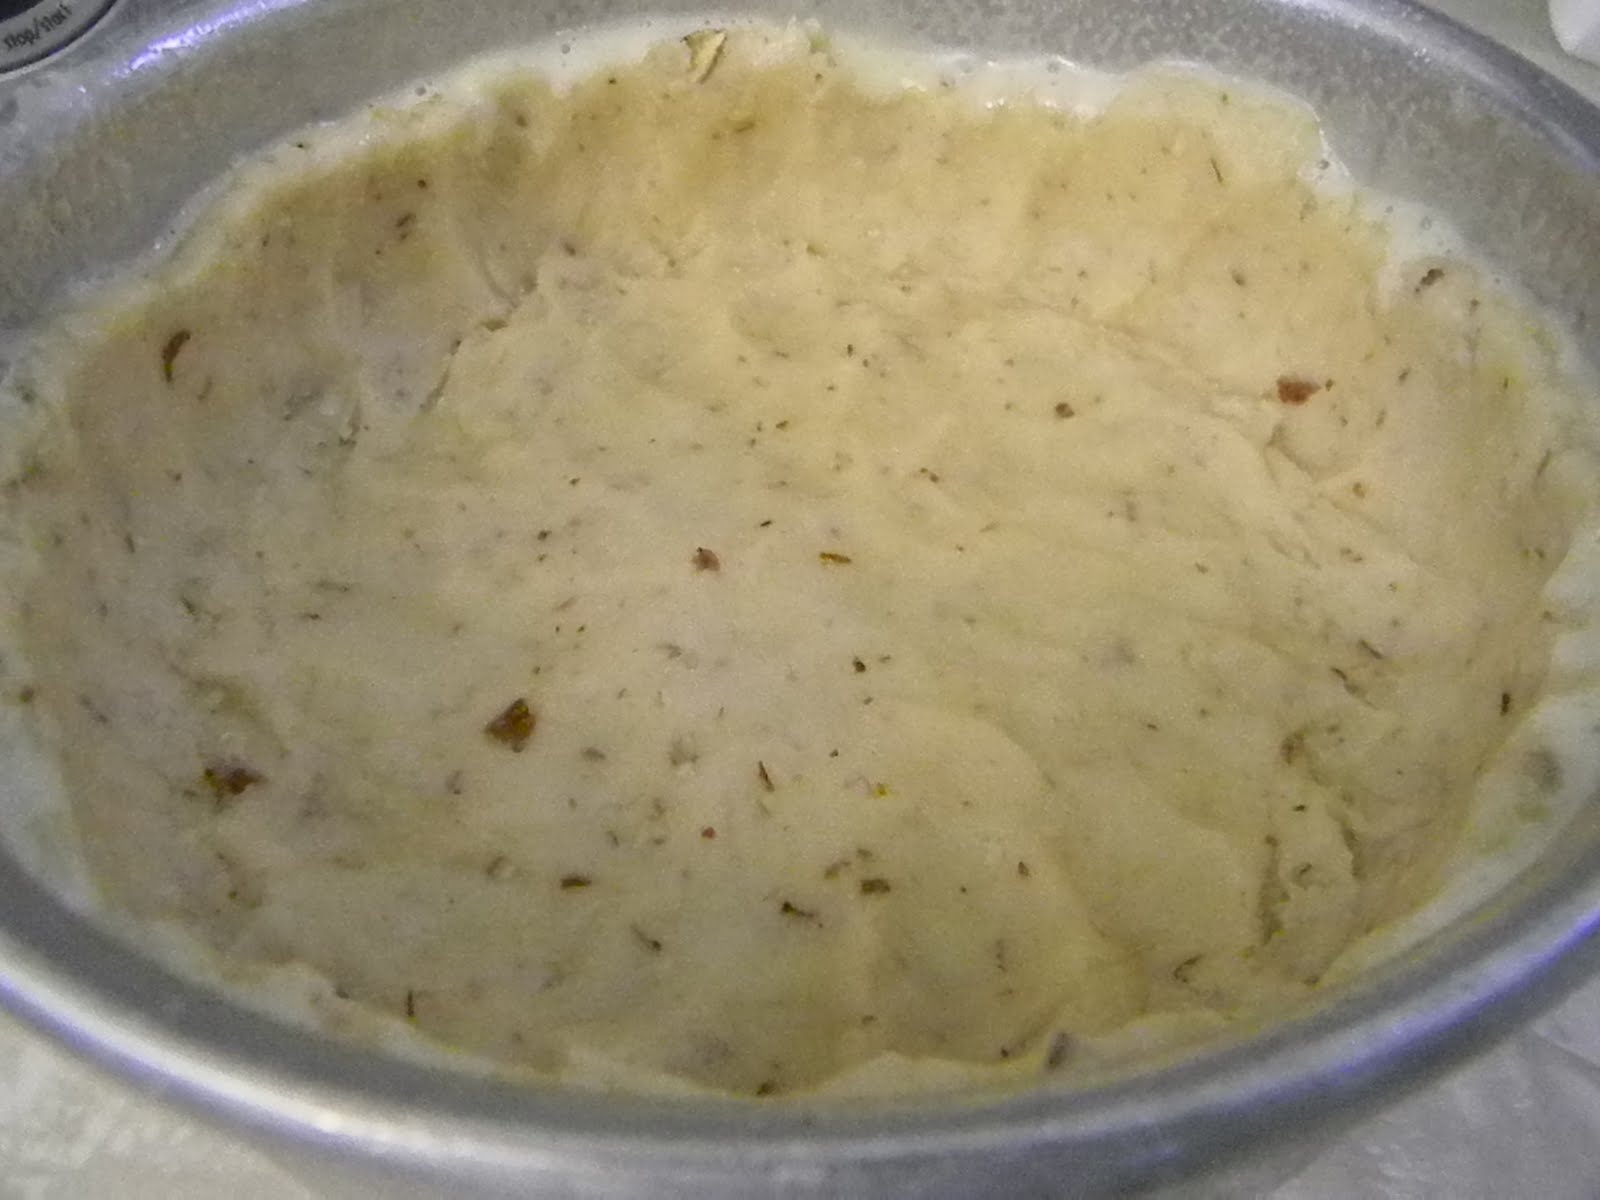
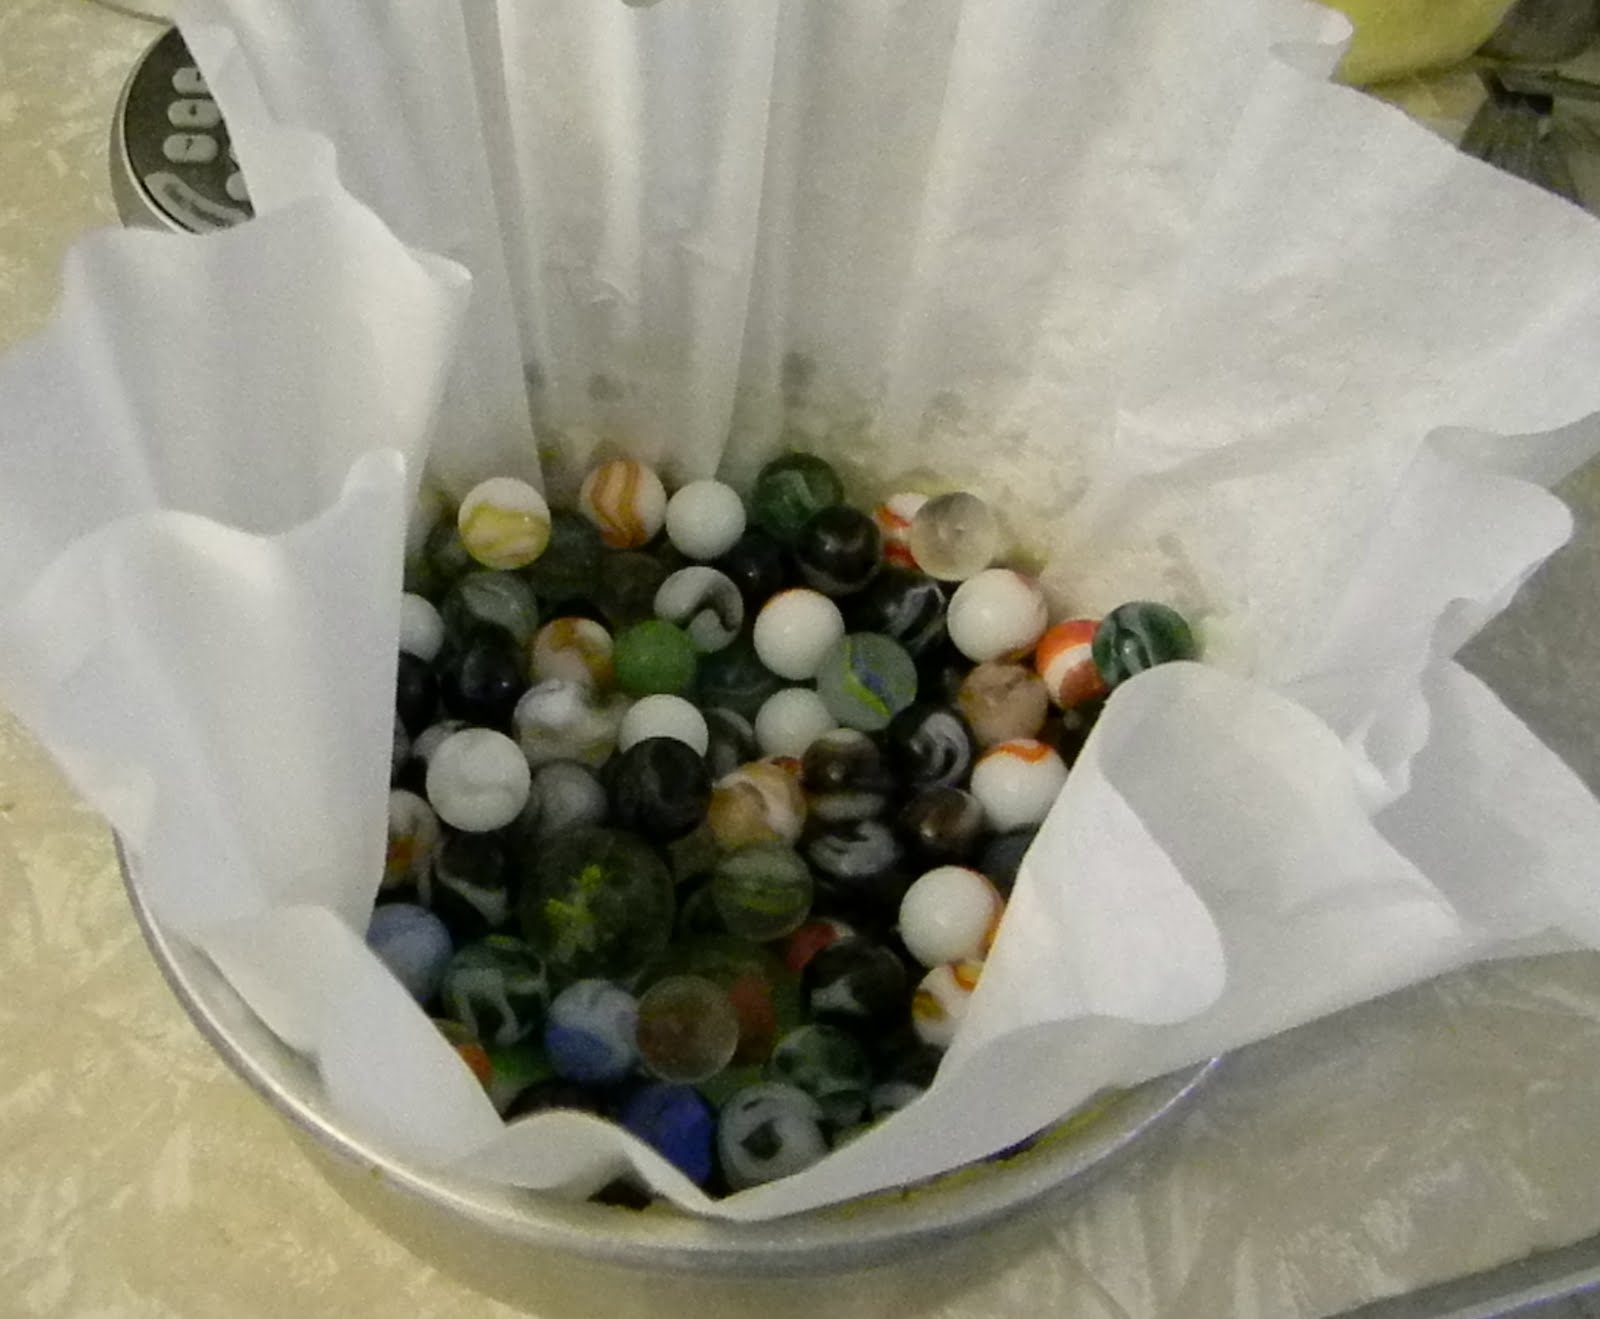
#39, second piece can be frozen for future use. place the dough into a greased tart pan with a removable bottom. with your fingers, carefully distribute the dough around the bottom and sides by pressing it and pushing it into place so that it is an even thickness throughout (no rolling pin required!!!). place the shell on a sturdy baking pan. line the shell with a coffee filter or parchment paper, fill with weights and prebake it at 325 degrees until the dough no longer looks shiny and appears opaque when you lift up the paper/weights, about 25-30 minutes.
poached pears
3-4 pears, peeled, halved with cores removed
3 cups water
1 cup wine
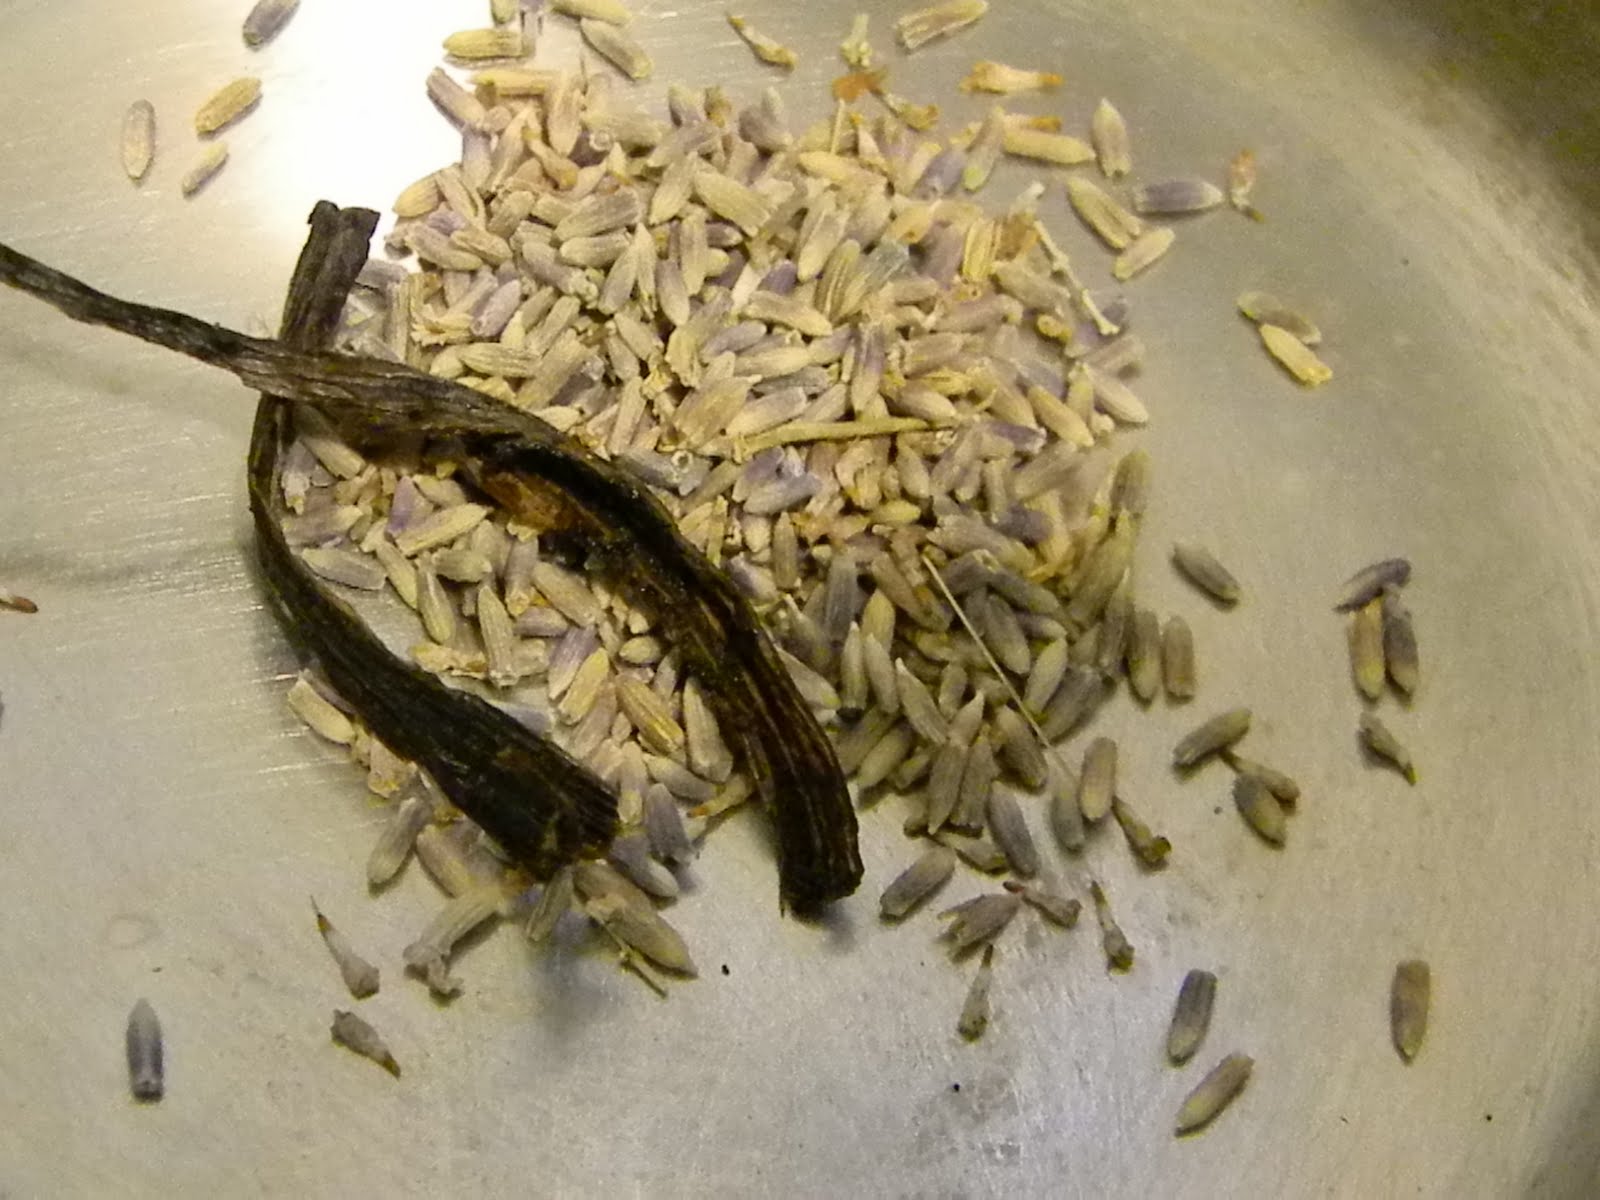
1/2 vanilla bean
1 star anise pod
3 green cardamom pods
1 cinnamon stick
1 lemon, squeezed-juice and fruit both added to the mix
1/2 cup sugar
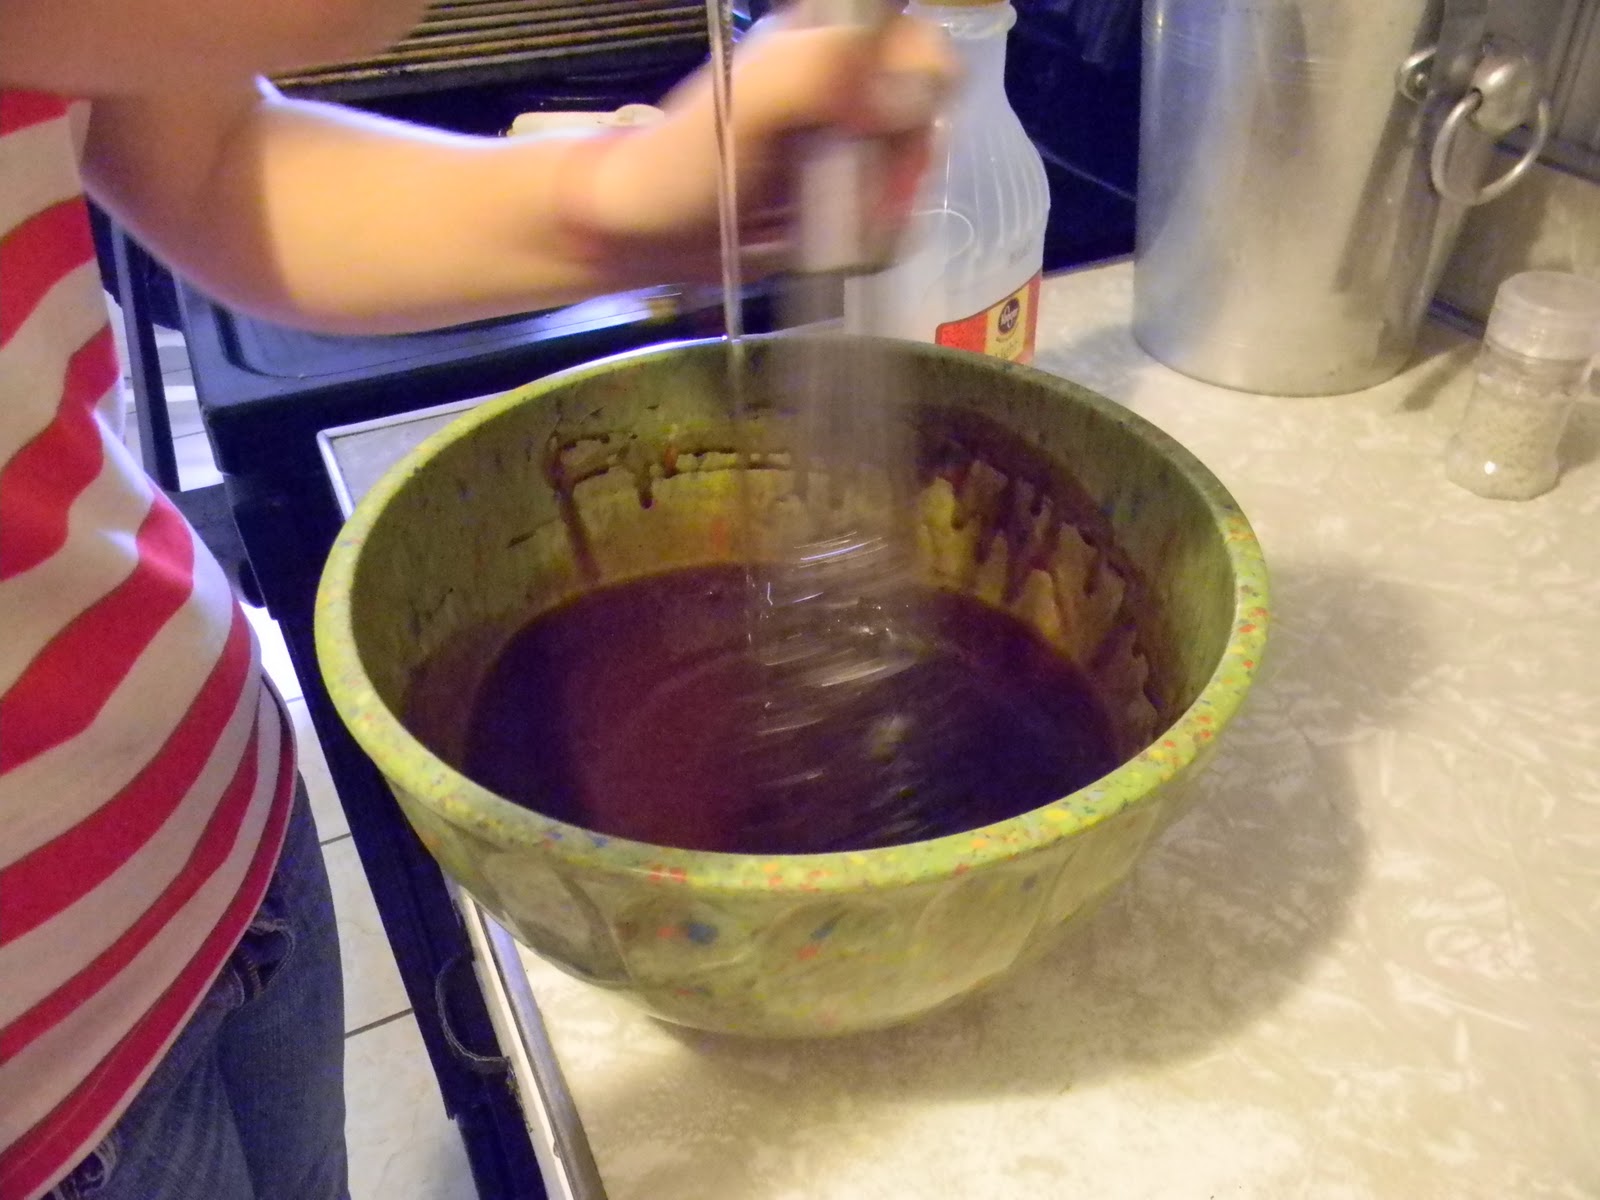
combine the ingredients in a large pot. over medium low heat, simmer the pears until they are soft but not yet mushy, about 20 minutes. remove the pears to a dish to cool. remove all of the aromatic ingredients from the liquid and return the pot to the stove over medium low heat. allow the syrup to reduce and concentrate to just 1 cup. chill the syrup
frangipane filling
6 tablespoons unsalted butter, softened
3 ounces almond paste
1/3 cup sugar
1 egg
1/2 cup all purpose flour
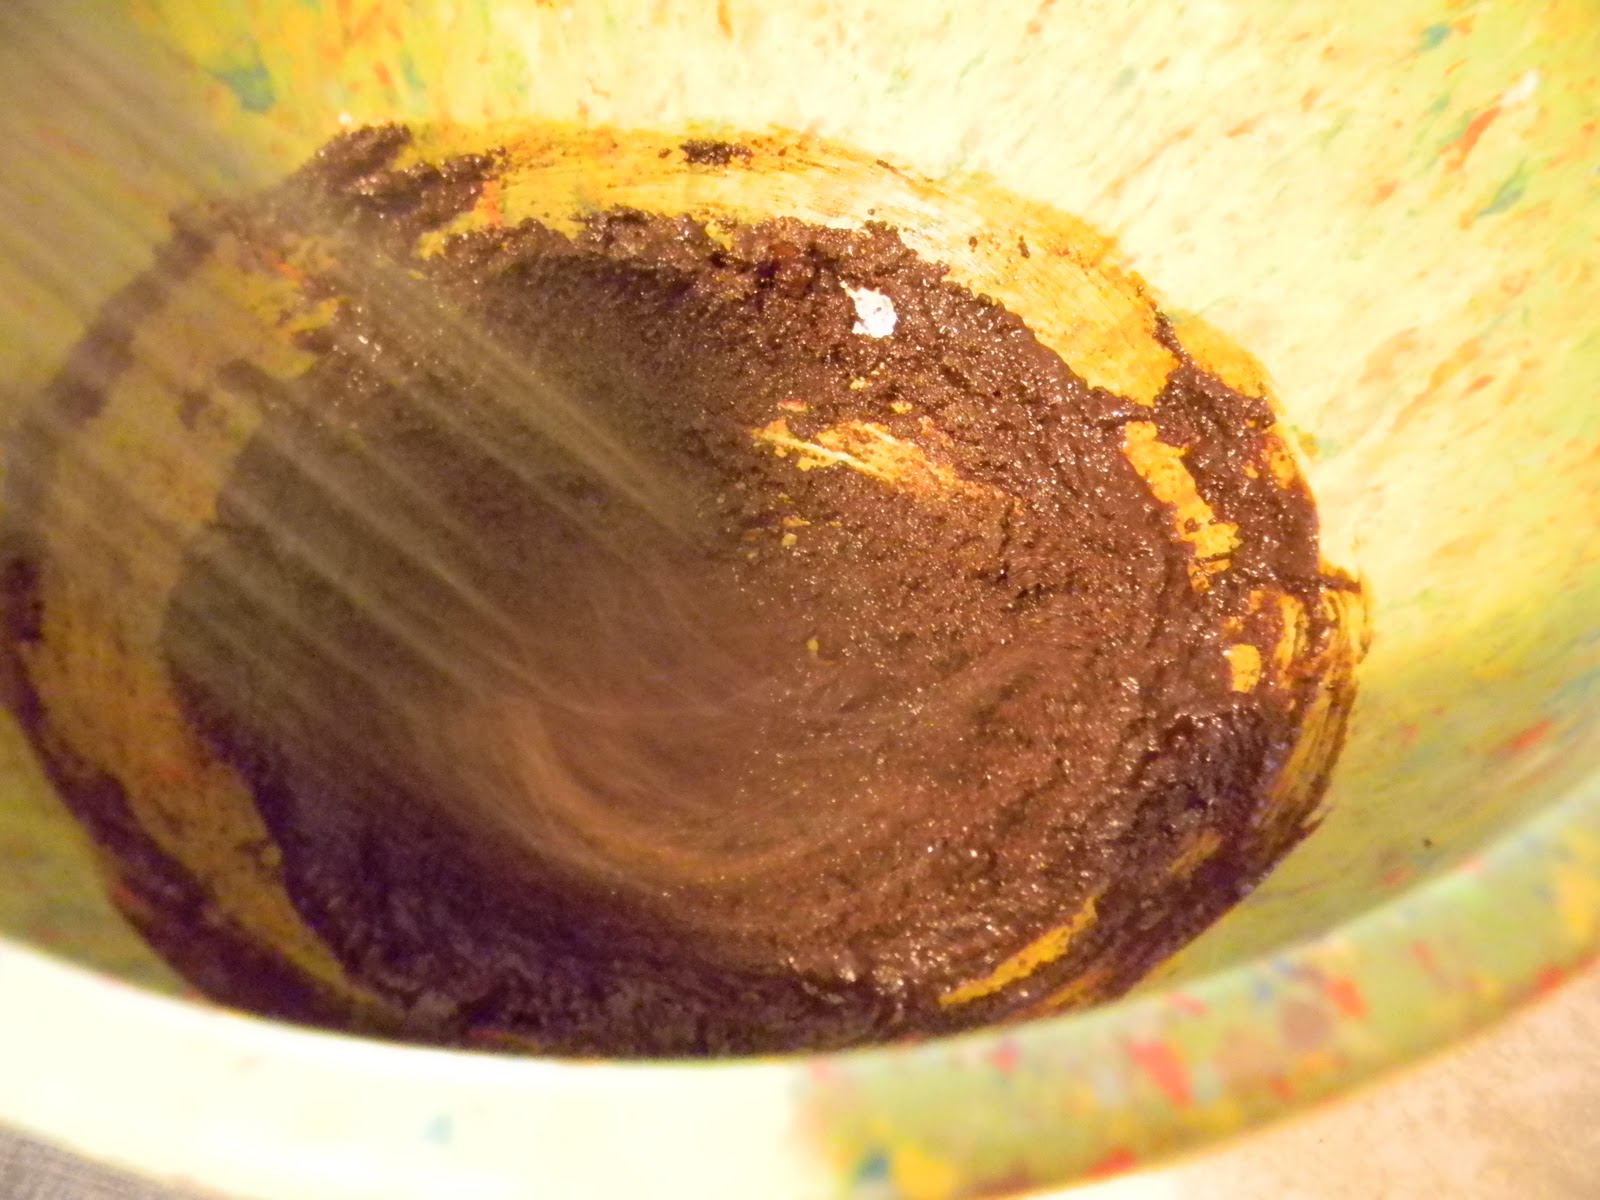
in a mixing bowl, cream the butter, almond paste and the sugar until light and fluffy. add the egg and mix to incorporate. sift the flour into the batter and mix just to incorporate.
assembling and baking the tart
remove the weights from the tart shell and spread the frangipane filling evenly in the shell. cut the pears into 1/4″ thick slices and using the photo above for reference, carefully arrange them in a spiral around the top of the filling. bake in an oven preheated to 350 until the filling sets, approximately 50-55 minutes. brush a small amount of the syrup over the tart while it is still hot to give it a shine and allow it to cool completely before removing it from the pan. cut into wedges and serve it with a drizzle of the syrup. if you would like to really indulge yourself and those you are serving this too, serve it with some vanilla or buttermilk ice cream.
as always, bake one and send me a photo, i promise to post it here. bakinbabe116@aol.com