floral baby cakes; twd/bwj

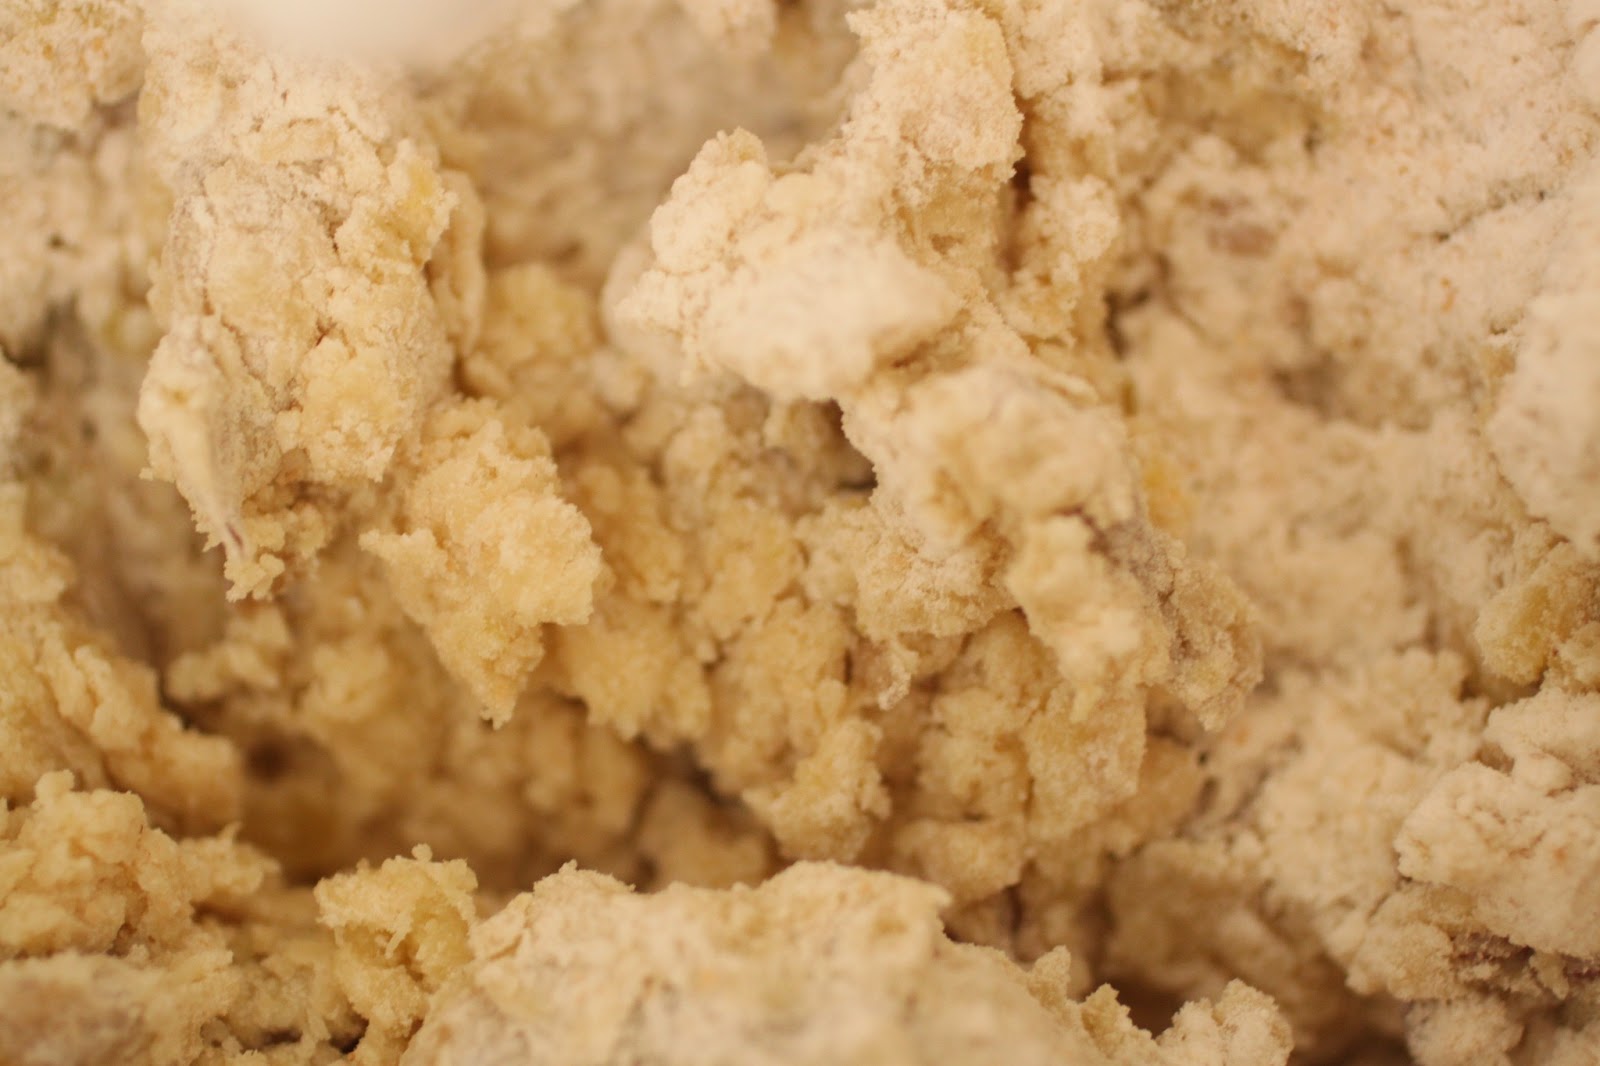
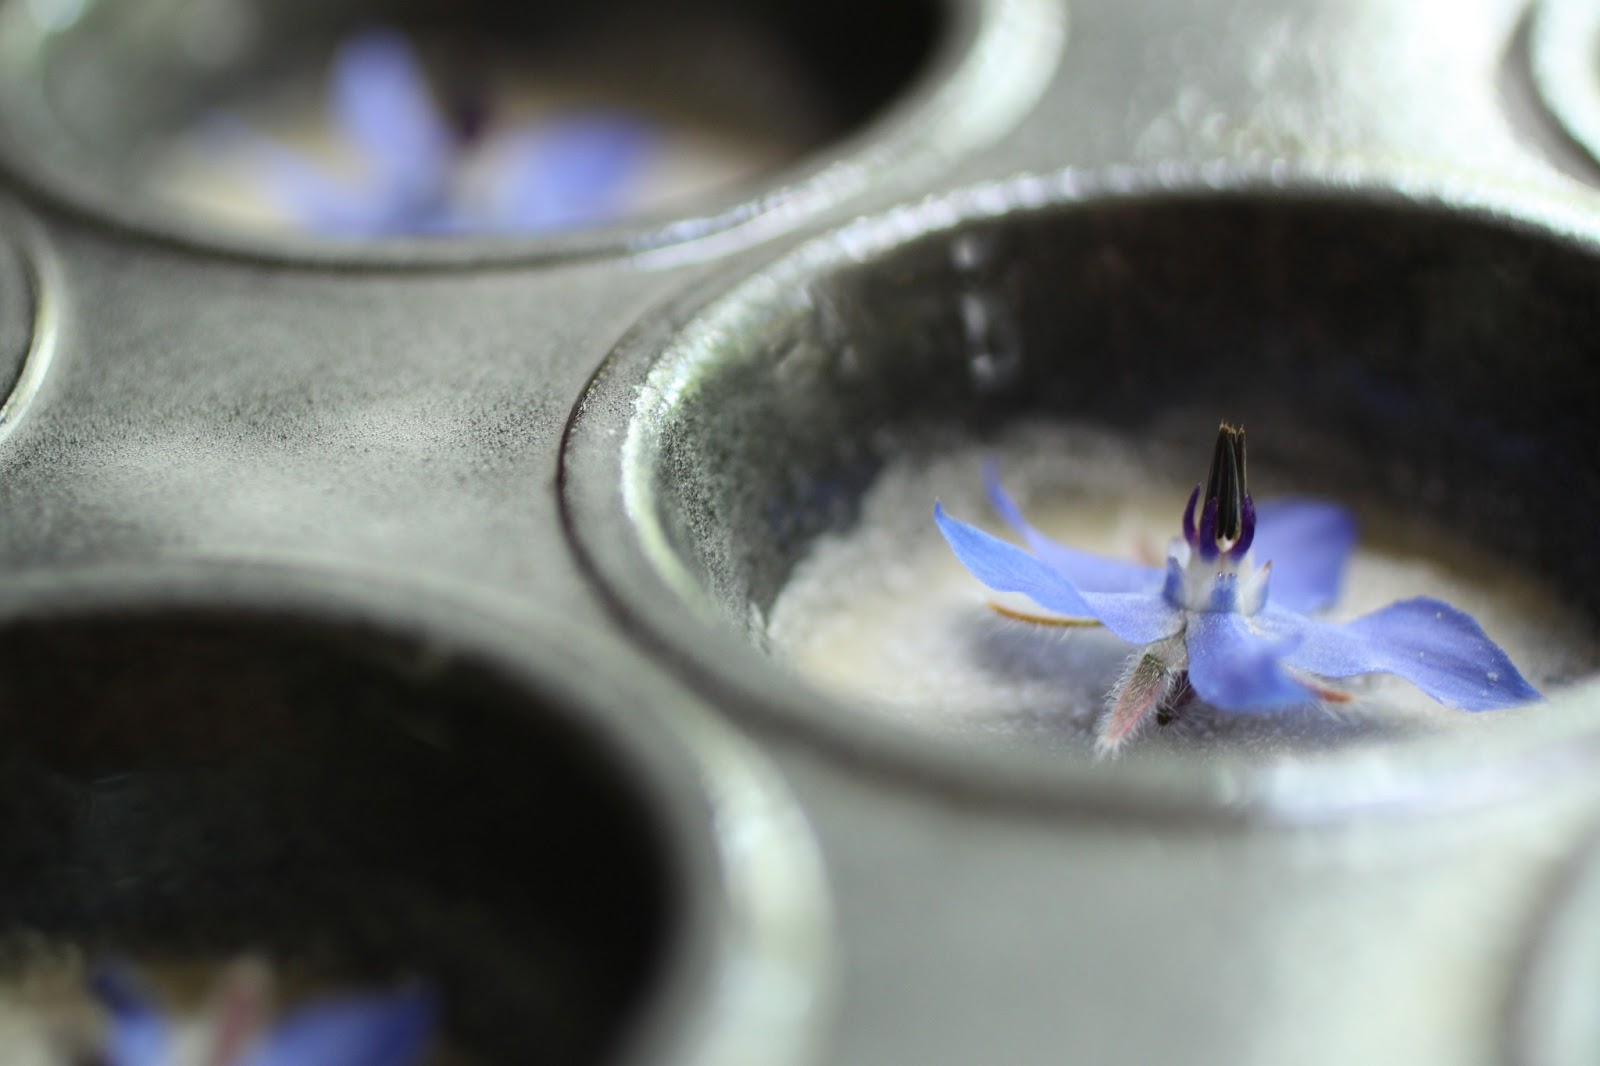
this weeks tuesdays with dorie challenge was upside-down baby cakes with rhubarb.  sounds tasty doesn’t it?  knowing that i would need fresh rhubarb for the recipe, i went to the grocery store and what they were asking $5.99 per pound for wasn’t worth a dime.  generally, “my neighborhood kroger” (as they so like to call themselves) carries frozen, sliced rhubarb but they no longer do so.  the recipe lists a selection of fruits to substitute but nothing sounded interesting.  while looking at the photo for the recipe, i noticed that the cake pictured was topped with sage leaves, that caught my attention.  further reading revealed a paragraph at the end of the recipe on making the cakes with scented geraniums-bingo!  well, kinda sorta.  i do not have any scented geraniums.  but i do have an herb garden that has many plants in bloom: sage, thyme, borage and rosemary are all covered in blooms.  borage won.

to see the recipe, visit the blogpage of our host this week, erin, of when in doubt-leave it at 350.  to see what all of the other participants made, visit the tuesdays with dorie website.

my husband likes to surprise me with food gifts.  for christmas, he tucked a bottle of kewda water, also called kewra water, into my stocking and i have been waiting for a recipe to use it in.  it is very floral, like rosewater on steroids and it was the perfect addition to my little cakes.  if you want to try some, head to an indian market since it is a popular addition to indian pastries and desserts.

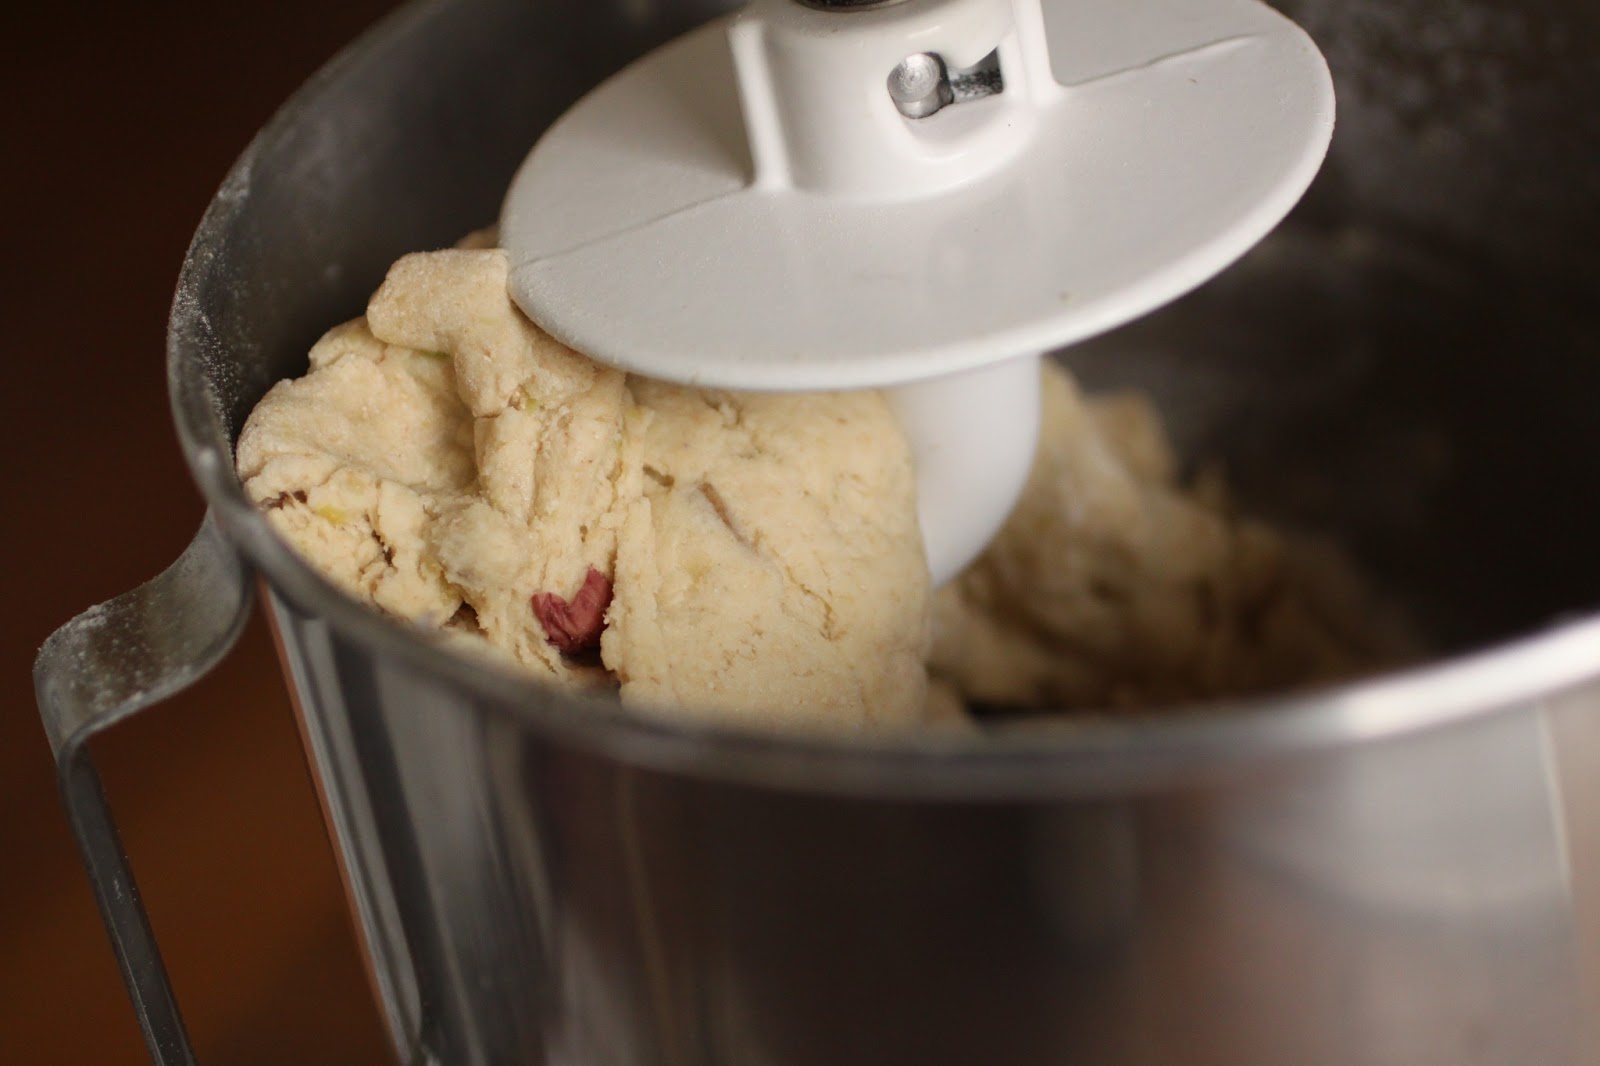
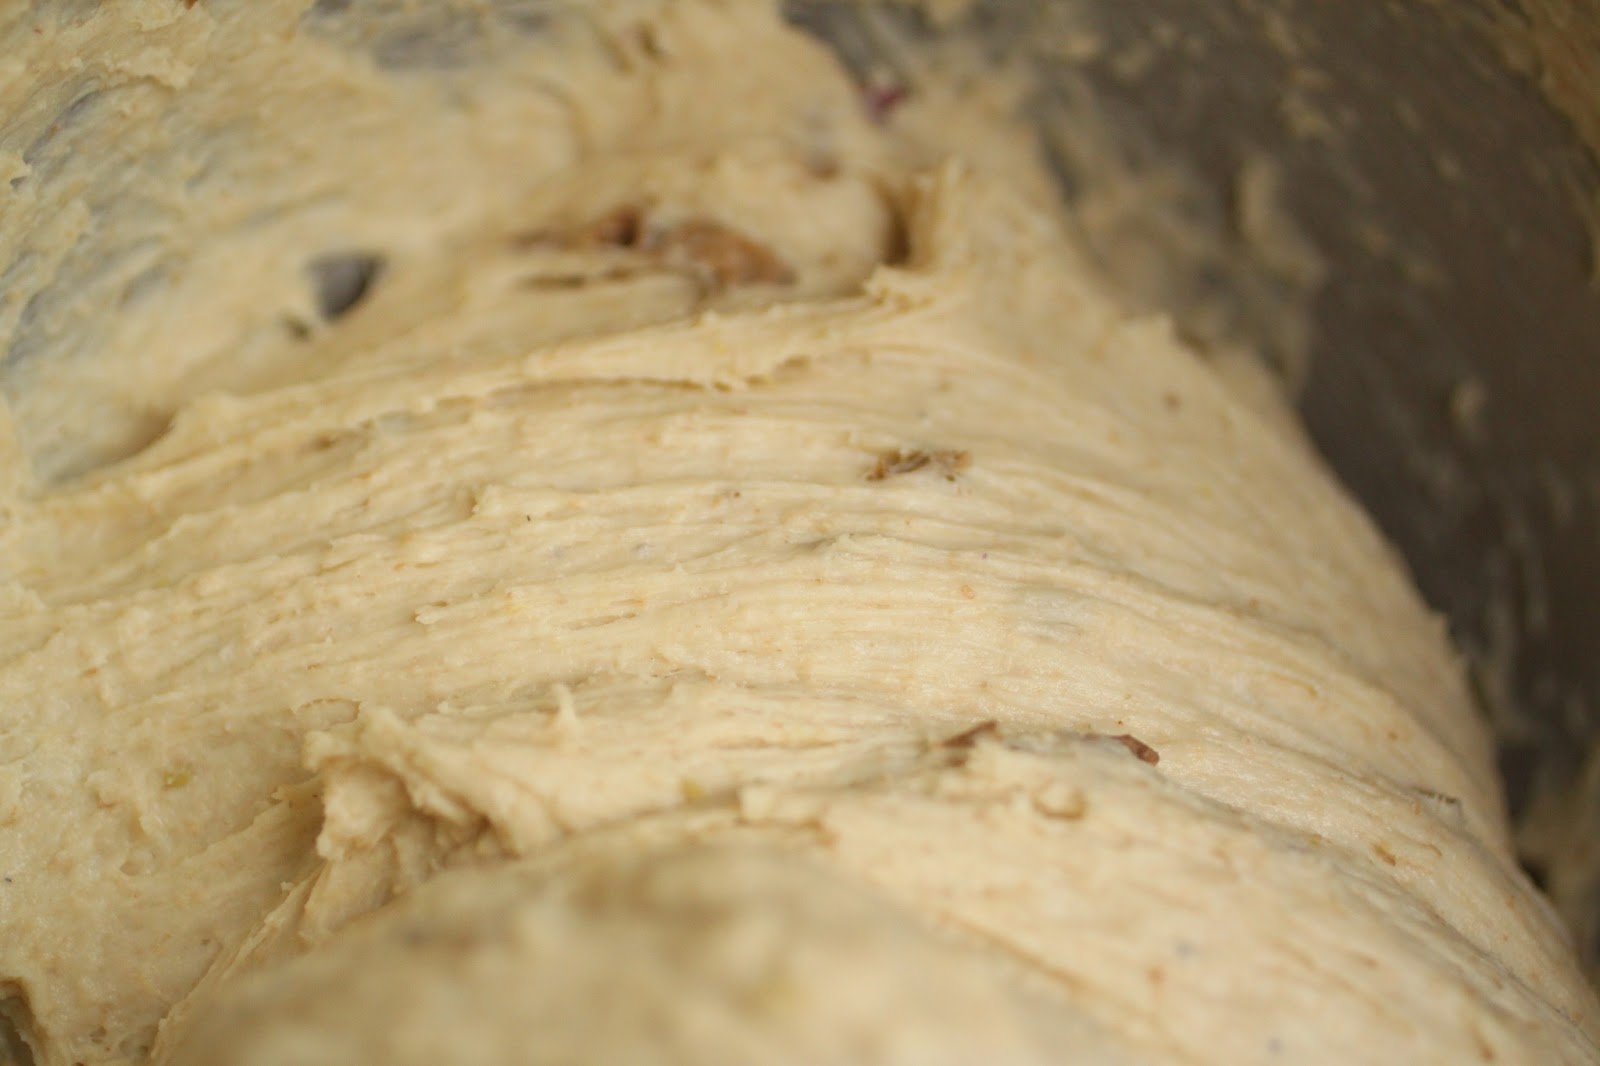
the recipe is pretty versatile, the kewda water was an easy 1 to 1 substitution for the suggested rose water.  the recipe also called for creme fraiche or sour cream-i had neither and used buttermilk with perfect results.

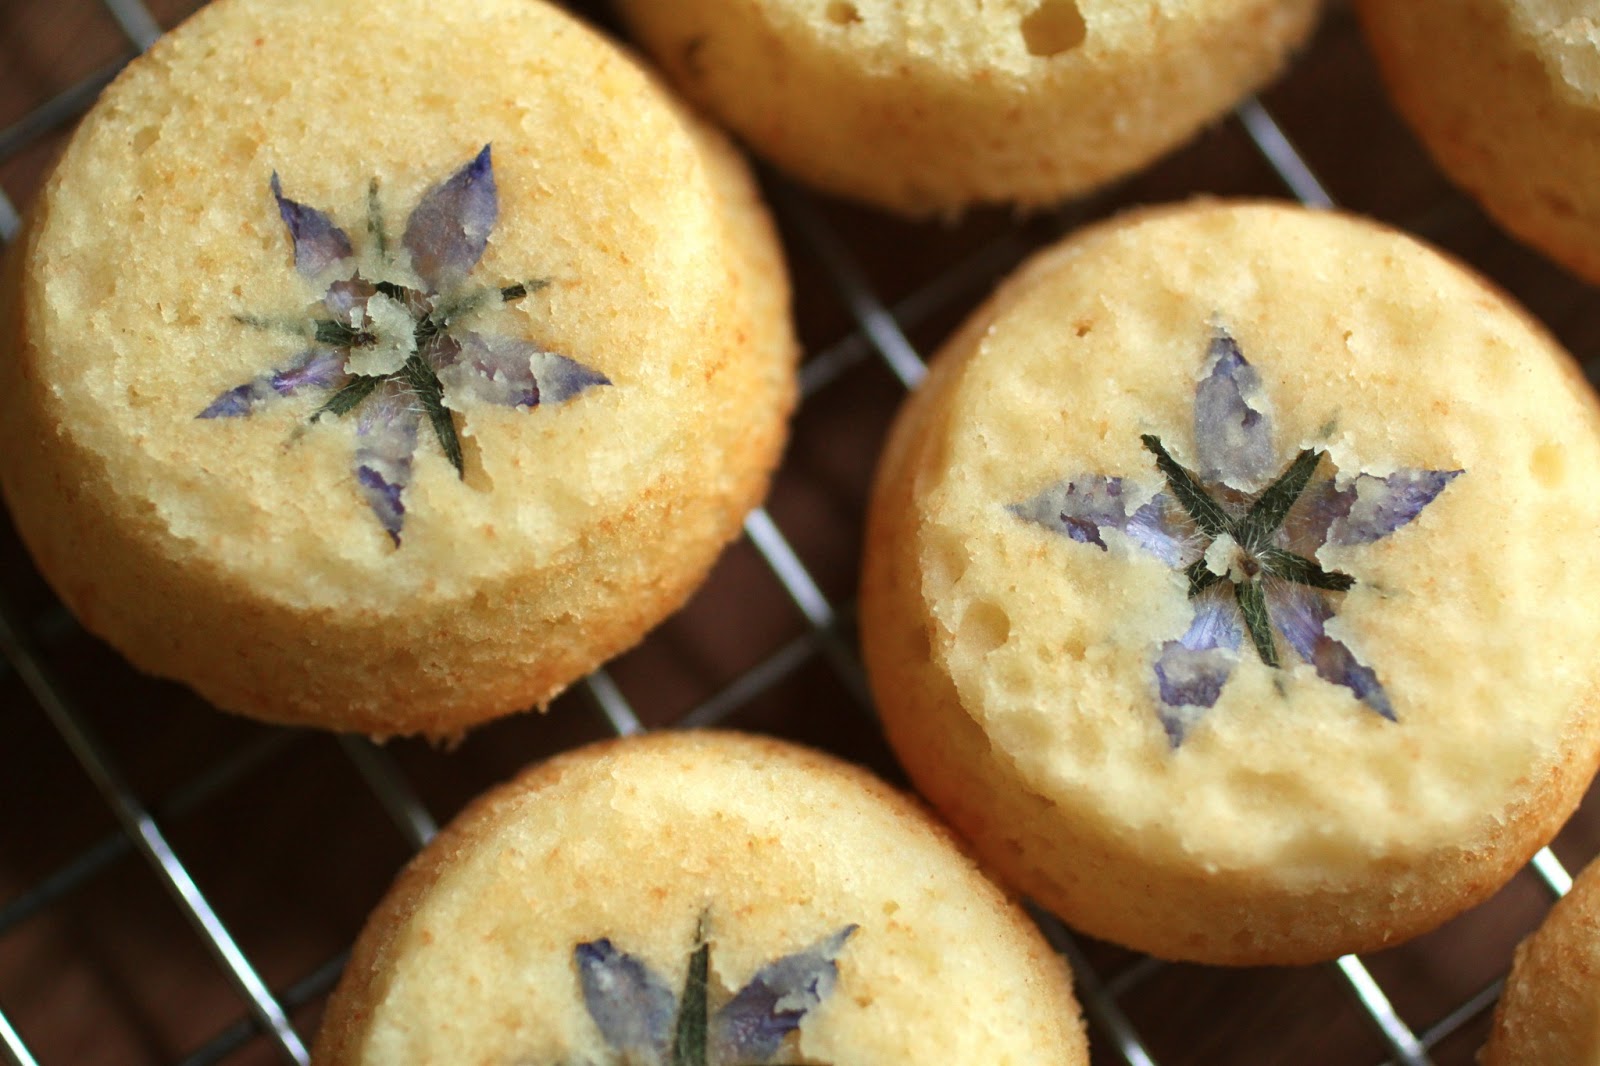
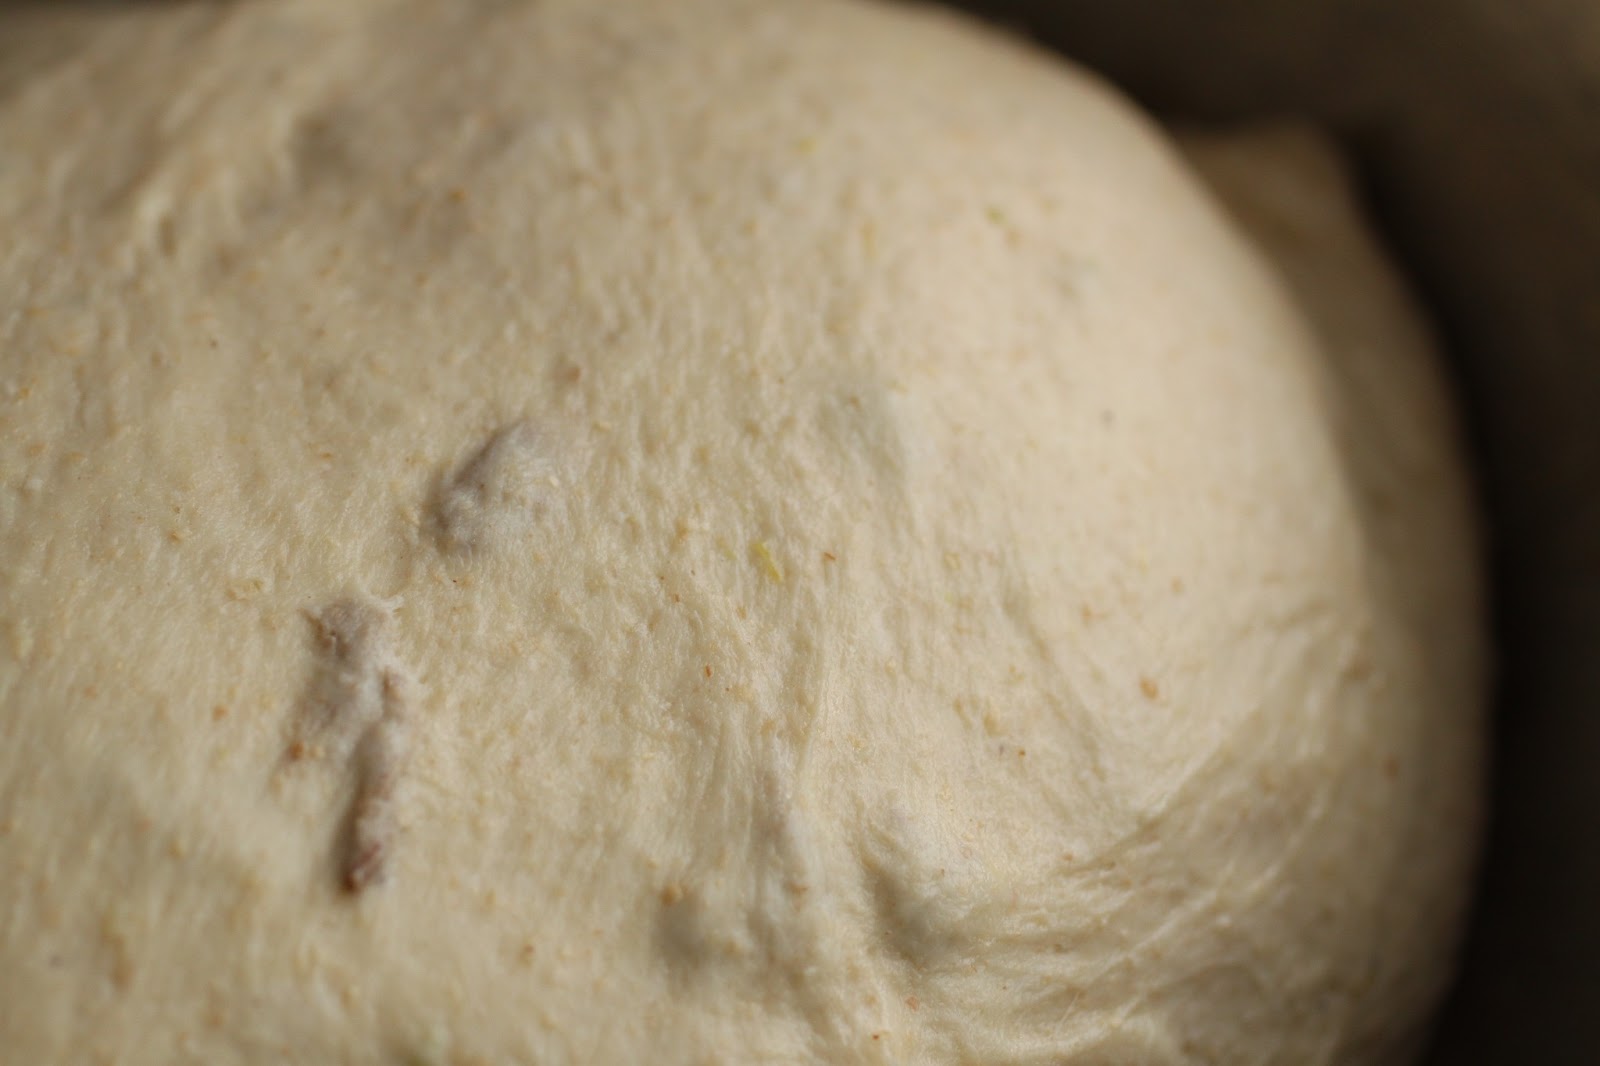
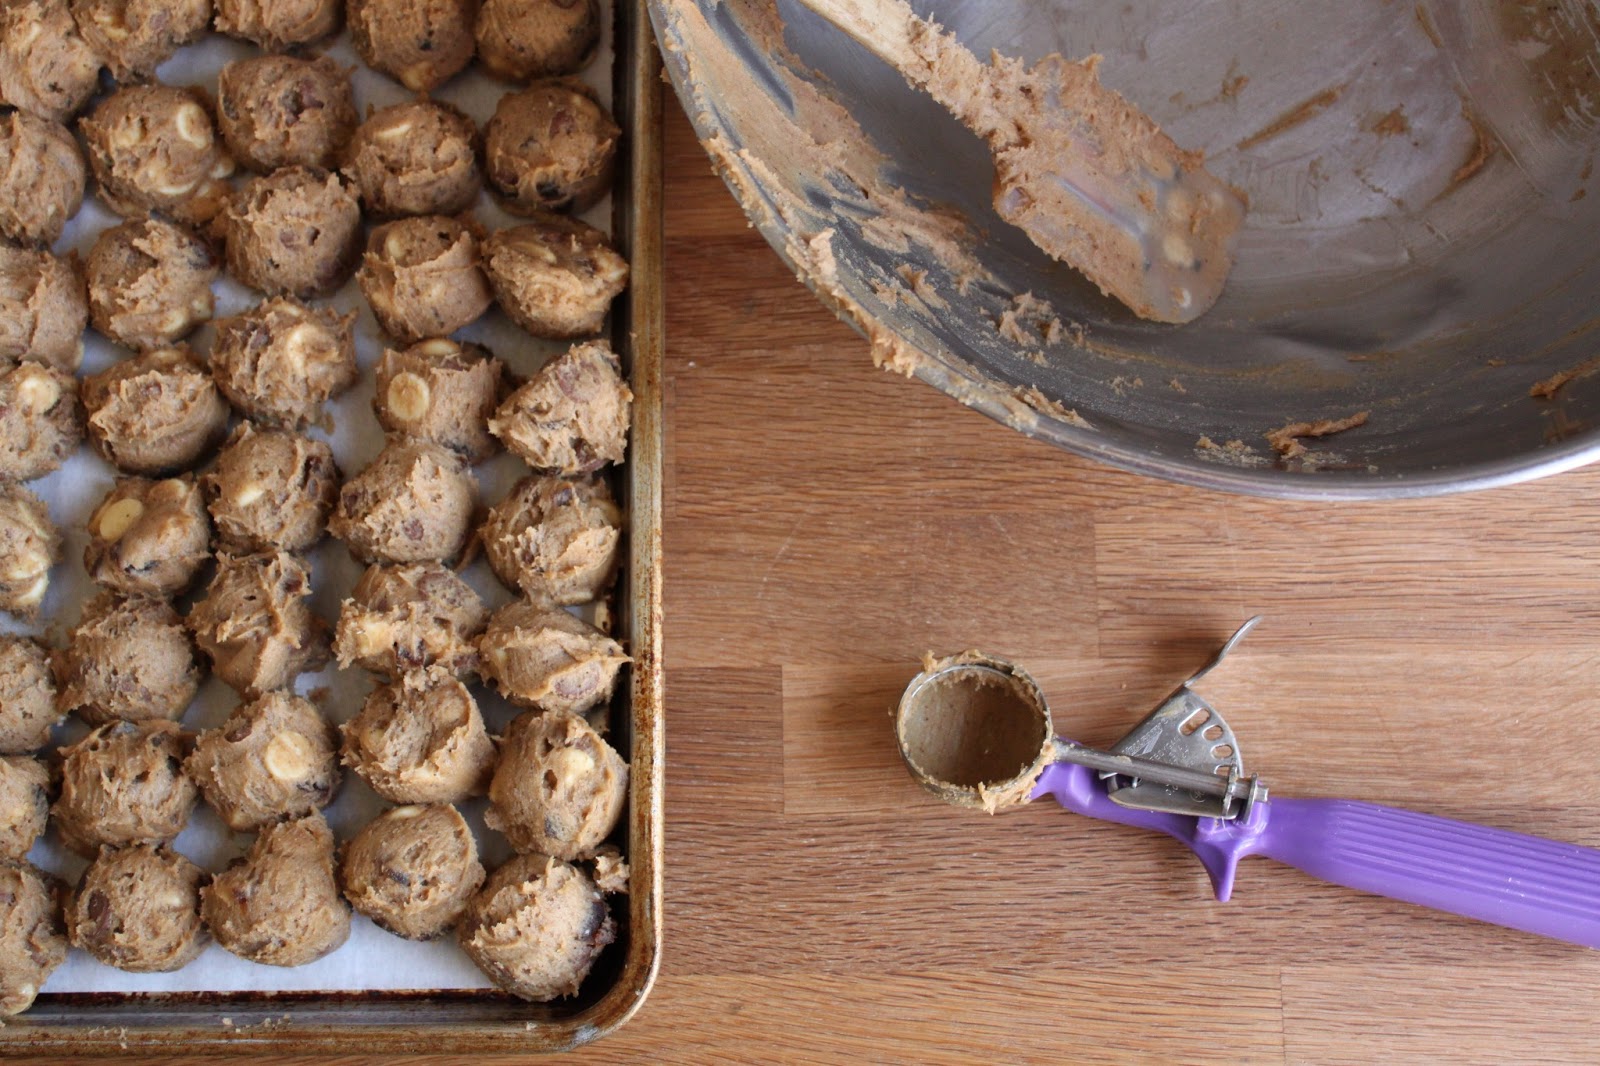
once the simple butter cake recipe was mixed, i gently dropped a scoop of batter over each flower in the  cups of the mini muffin pan.  if you use edible flowers, be sure they have not been treated with pesticides.  since the borage flowers came from my garden, that wasn’t an issue.  my mini cakes baked up quickly, about 12 minutes at 350 using a heaped #70 scoop per cup.

pretty little cakes, perfect for a trip to the garden-i always bring a cake to share!

madeleines; twd/bwj

if you ask me, marcel proust was nuts.  he went on about madeleines, or at least that is how the story goes.  after baking them with this recipe, i can only ask why?  what is so wonderful about madeleines?
this week, the tuesdays with dorie bakers made the madeleine recipe from the baking with julia book.  to see the recipe, buy the book or visit the blogpage of our hosts for the challenge, katie and amy of counter dog.
so what is my problem, why am i hating on proust and his beloved madeleines?  they are not very exciting.  kind of dry actually and a little flavorless too.  then again, that is what most genoise cakes are, dry and flavorless.  made that way to soak up the flavor from the fillings and booze that they sandwich together in multilayer cakes served by the slice.  these little buggers didn’t just ask to be dunked in tea, they begged!
to make it interesting, i made two batches.  the first batch i flavored with freshly grated lemon zest and the second, with some cocoa powder and some cinnamon.  neither batch was worth indulging in if you ask me.  i brought them to a meeting and shared them.  the tasters enjoyed them and several dunked them-confirming my theory on the dryness.  would i make them again-not likely with this recipe.  while all madeleine recipes call for whipping eggs and sugar until the ribbon is formed, most have more than just flour a touch of butter and a little vanilla for flavor.  my own recipe includes coconut and is much moister and more flavorful than these.
the instructions from the recipe call for greasing and flouring the plaques.  not a good idea.  if anybody ever asks your opinion, tell them to just grease the pans or simply brush them with melted butter.  the flour and grease form a coating that stays on the madeleines and gives them a white washed effect.  it isn’t noticeable on the lemon ones but it sure is on the chocolate ones.  believe it or not, the cleaner pan of the two in the photo, just used grease-no flour at all.

when sitting side by side, you can easily tell which had flour in the pans.  

lemon zest added a hint of lemon flavor that improved the taste of the otherwise eggy little treats.  still wasn’t enough to tempt me into eating more than one.  to see how the rest of the bakers did, visit the tuesdays with dorie page.

potato bread

it’s confession time.  i’ve made this bread before-several times actually.  making it for this weeks tuesdays with dorie challenge was not much of a challenge for me.  actually, i was looking forward to the bread-it is simple and almost guaranteed to work each time.  this weeks challenge is hosted by dawn of simply sweet so if you are looking for the recipe, buy the book or visit dawn’s blog.

this right here was the only hiccup in my plan:  no russet potatoes in the house!  actually, i made the bread with a combination of yukon gold and russian banana fingerlings and of course, 1 lonely rose potato.

when cooked, they were a buttery yellow, except that rose colored one which stayed a subtle pink shade.

all mashed up and ready to mix-the pink is no longer obvious

when the potatoes were mashed and mixed into the dough, it wasn’t very obvious that i used potatoes with color.  the directions tell you the first mixing stage will resemble pie dough and that was a very accurate description.

it starts off looking dry and then transforms into a soft and sticky dough.

as stated in the mixing directions, the dough is very similar to brioche in behavior as well as appearance.

but when the mixer stops, after the full 11 minutes, it is most definitely a bread dough.

the loaves are easy to shape and quick to rise.

and just as quick to bake!
restraining myself was the hard part-who can resist warm bread?

just look at the interior!  i subbed a cup of whole wheat flour for the all purpose flour and split the remaining amount evenly with bread flour and all purpose flour to make up for the lack of structure of the creamy potatoes.  in the end, it worked like a charm and i will not hesitate to use different potato varieties in the future.  bake on friends and be sure to visit the tuesdays with dorie page to see how the other bakers did!

mocha chip cookies; twd/bwj

when you join a group of bloggers dedicated to preparing every recipe in a specific book, you do not always have a say in what is made next.  we put it to a vote but as votes go, the recipe with the most votes is the one chosen to be prepared next.  some recipes are simple and quick, others are time consuming, stretching across several days from start to finish and the latter describes our previous challenge.  after the hard work of making croissants from scratch, we were rewarded with a simple as well as easy batch of cookies.  to see the full recipe, consider buying or borrowing (from a library) the book, baking with julia.  and for those not so inclined, visit the website of this weeks host, peggy of galettista.

the cookies consist of an unlikely combination of chocolate pieces with coffee and dried apricots.  my first reaction was not encouraging.  i made the choice to use milk and white chocolate chips, instant espresso powder and half of the amount of chopped apricots called for in the recipe.  as always, when i make cookies, i use a scoop to portion them out.  this way, the cookies are almost identical in size which allows them to bake more evenly.  the recipe called for chilling the dough first, then shaping them.  with my experience in large scale baking on a daily basis, i felt they should be scooped first then chilled; that is so much easier on the scoop and my right hand!
since i planned to take these cookies to a meeting, i multiplied the recipe and made a batch and a half.  with my handy purple scoop, i easily made more than 70 cookies which was plenty for everyone to sample as well as leave a few at home for my husband.
the comments some of the other bakers made was that the cookies were thinner than expected.  my guess is that the oven temperature was off.  my oven has the option of using convection.  when using the fan, the general rule of thumb is for the temperature to be reduced by 25 degrees.  with that in mind, i baked the cookies at 350 with the fan on.  now wait a minute, the recipe instructions call for baking at 350-how is this a reduced temperature?  the toll house cookie recipe, and these are almost identical to the toll house recipe, calls for baking the cookies at 375.  with the reduced amount of flour in the recipe, the cookies spread thinner so the only way to stop that is with a higher temperature to force the dough to set and halt the spreading.  another note, that time of 10-12 minutes was totally impossible for a temp of 350.  as a matter of fact, i used a higher temp with convection and it took 12 minutes per pan minimum(and yes, i keep a thermometer in the oven).  think about it, the dough was chilled for hours, it needed longer time in the oven to warm up, spread and set.  if you used the temp of 350(regular oven) and cold dough for 10-12 minutes, your cookies most likely came out thin because of under baking which caused the structure to collapse when they were removed from the oven.  
in the end, i came home from the meeting with an empty plate.  a couple people hunted me down to ask me about them.  having tasted them, i was surprised.  never would i have thought that dried apricots would blend with espresso.  would i make these again?  maybe, but i would add a couple extra tablespoons of flour.  be sure to visit tuesdays with dorie page to see what the other bakers came up with.

this is how i roll; croissants, anyone?

 so, if it is tuesday, it is time to bake with julia, right?  oh, that’s right, it’s wednesday and i am a day behind.  such is life, my life, a day late and a dollar short.  whatever.  luckily for me, this week’s challenge was one that i was really excited about.  back in the day, i made croissants daily.  but back then, i did it with a dough sheeter, not a rolling pin.  this was going to be a bit of a challenge after all.

if you aren’t already familiar with the tuesdays with dorie group, we are a bunch of bakers working our way through the book, baking with julia.  for the recipe to this week’s challenge, visit the page of this weeks host, amanda of girl + food = love.  if you would like to see how the rest of the group did, check out the tuesdays with dorie page.

before we get started, let me share a few of my observations, opinions and what nots.  first of all, i only followed the instructions for assembling the dough and making the folds.  and if you ask me, the directions were not always easy to follow.  and judging by some of the other bakers results, i was not the only one who had this issue.  needless to say, i did not always do as instructed by the recipe.

 every month, i attend a potluck dinner with my fellow master gardeners and i decided to make the croissants my contribution.  in order to share them with everyone, i made mini croissants.  i rolled the dough out to the required 15″x24″ and cut it into 3 (5″) strips.  i marked the strips every 3 inches on one long side.  to get triangles, starting at the other long edge, i marked it 1.5″in from the edge and then again every 3″ across.  using a rotary cutter, i cut the dough by going from bottom to top and back down to the bottom-connecting the cuts to make triangles.   i did this with the other strips as well.

 to shape them, i carefully stretched the dough and rolled them up.  as i placed them on the pans, i curved the edges in a little.   here is another way i departed from the instructions, i bagged the trays and put them in the fridge to rise slowly overnight rather than using the oven to proof them (more on that in a moment).

 so easy to do

 perfectly proofed.  now, about the rising time.  i noticed on a couple of the bakers blogs that their croissants melted.  my guess is that the instructions were not clear.  the contributing baker suggested rising them in an oven that was turned off.  that gives the impression that at some point, the oven was turned on and heated then turned off.  what she should have said was an unheated oven or a cold oven with a pilot light or an oven light turned on.  a heated oven would cause all of the butter to melt out and the croissants would collapse in a puddle.

 how do you know if you proofed them long enough, they should be more than double in size but still slightly firm to the touch.  left-proofed, right-not proofed.

 perfectly bronzed, and crispy and flaky

look at the lovely interior.  a little chewy and a little flaky-tasty any way you look at it!  thanks for hosting amanda.  and one more note, these are for you grandma, something tells me that you would have enjoyed them…

sundried tomato focaccia

 when it comes to simple and easy bread, focaccia is the only one you need to make.  you can slice it into strips and serve it with a salad, cut squares and stuff them for sandwiches or you can simply eat pieces of it.  there isn’t any intricate shaping or special pan required; just your finger tips will do.  the best part, the dough is so forgiving that mistakes are hard to see.  even better is the fact that you can add just about anything to the dough and still get a good result.

this weeks recipe from baking with julia is the focaccia featured on page 143 and is hosted by sharmini of wandering through.  be sure to visit her page to see the recipe or better yet, pick up a copy of baking with julia-it is worth every bit of space on the shelf.  to see what the other 100 or so bakers have come up with, visit the tuesdays with dorie page.

a few notes to share.  since there is just two of us in the house, i cut the recipe in half and made two small squares.  while the recipe called for a 24-36 hour rest in the fridge, my life could only accomodate about 16-18 hour period.  that is probably why i did not get all of the little bubbles on the surface.  maybe next time, or maybe not.  the bread was nice and light; the shorter resting did not seem to be a huge issue.  since i was pressed for time, i didn’t bother with the fresh herbs and just sprinkled a little sea salt on top of each loaf.

 my sundried tomatoes came packed in olive oil.  to add even more flavor to the bread, i used some of that oil in the bread too.  it gave it a nice tomato orange shade.

the window pane test for gluten development.  if you can stretch it out to a transparent window without tearing, it is ready.

shaped and waiting to be baked

 after a light brush of olive oil, this loaf of bread is waiting its turn in the oven.
  
 fresh from the oven.  

be sure to check out the tuesdays with dorie page and bake along with us sometime!

french apple tart: tuesdays with dorie

 as a person who bakes a lot of pies, i can honestly say that there isn’t much you can do to improve an apple pie.  sure you can change the type of crust or add different things to it but in the end, you still have an apple pie and what more could you want?  chocolate may be my first choice in all other types of desserts and sweets but when it comes to pie, apple is always my favorite and a perfect choice for a cold and dreary winter day.

this week’s tuesdays with dorie/baking with julia challenge is hosted by gaye of laws of the kitchen and the participants baked the french apple tart found on pages 379-381.  to view the full recipe, visit gaye’s blog or be kind and buy a copy of the book, baking with julia; it is worth every penny!

the recipe makes a 9″ tart which was just too much for two people.  first thing on the list was to make a quarter of the pie dough recipe.  lurking in a bowl in the dining room was a group of apples left from thanksgiving; embarrassing isn’t it.  further inspections yielded a bag of fourelle pears (from the same holiday) living in the produce drawer in the fridge.  needless to say, i had plenty of fruit to make the recipe!

 the filling recipe is a little different.  the apples were peeled, cut into cubes and mixed with the other ingredients.  this mixture was spread out on a pan and roasted.  two things, my apples were old and didn’t give off much juice and second, i forgot the bread crumbs.  neither caused problems-the filling mashed up nicely.

to keep it simple, i used mini pie pans rather than tart pans.  the quarter sized batch of pie dough made 4 pie shells.  i prebaked them all and froze two for another day.  my favorite baking trick is to use a coffee filter to line the pie shell and then use glass marbles for weights.

 the prebaked pie shells were filled with the mashed, roasted apples.
 the pears were peeled and sliced thin.

 then they were arranged around the top of the pie, brushed with a little melted coconut oil(rather than butter) and sprinkled with sugar.

hot from the oven, mmmmmmm….apple pie.  it was real tasty with some vanilla ice cream!!!  be sure to visit the tuesdays with dorie page to see how the rest of the bakers made out.

pizza with onion confit; tuesdays with dorie/baking with julia

this week, the tuesdays with dorie challenge called for making a pizza topped with an onion confit.  sounds like dinner to me.  and it was, literally.  after a trip to the garden to pick some fresh lettuce and arugula, i made a big salad to accompany the pizza.  this was such an easy recipe that i think everyone should try it.  if you do not already have a copy of baking with julia, buy it, or head over to host paul’s blog, the boy can bake to find the recipe.

the most time consuming part of the recipe was to cook the onions.

i used a combination of yellow onions, shallots and garlic to make my pizza.  and i say that singularly because the recipe can easily be halved-i only wanted one pizza.  however, according to the recipe, the extra piece of dough could have been frozen for another time.

the idea is to slowly cook the onions so that they caramelize as well as soften.
the recipe calls for thyme leaves or sprigs.  that is one of the best parts of having an herb garden.  it is so wonderful to walk out the door and clip fresh herbs as needed.  luckily, thyme is an evergreen and has leaves in winter.  
i picked the leaves off the stems and chopped them a little

the onions cook and take on lots of color.  then a combination of red wine and red wine vinegar is added to them.  at this time, it is important to keep the heat very low so that the onions have time to absorb the color and flavor of the wine.  they will continue to soften as well.

after about 35-40 minutes, my pan was nearly dry and the onions were a deep shade of red, cabernet sauvignon red to be exact.

the onions almost look like little strips of meat in this photo.  

the dough rises and is stretched or rolled out to a large circle that is about 1/4 inch thick.  the onions are spread over the top in an even layer.  at this time, you can add whatever else you like.  the recipe suggested kalamata olives or cheese but i decided to keep it simple and just use the onions.

the results, close to a classic pissaladiere, a tasty flat bread with onions; the perfect side for a salad.

be sure to check out the tuesdays with dorie page to see what the other participants came up with.  bake on friends, and happy new year to all!!!

gingerbread baby bundt cake; twd

when did they turn on the holiday season?  i could swear that it was summer yesterday and now, it is december.  wow…well, since it is tuesday, it must be time to bake with julia.  this week, our hostess, karen of karen’s kitchen stories is proud to bring us gingerbread baby cakes.  luckily, it is a simple recipe that did not require much work.  since i have so much going on this month-pr event, a daughter graduating, a trip to san francisco for said graduation and oh yeah, the guy in the red suit comes this month too, doesn’t he?  anyway, no time to spare and i will most likely be absent for the next roundup.  did i mention that i am trying to put together not 1 but 2 books???

so here it goes.  let’s start with the obvious.  baby cakes are small cakes; these are supposed to be 4″ rounds.  the husband is out of town for the week and i did not need a group of 4″ cakes for just me.  i made half the recipe and baked it in a fluted pan.  the recipe calls for dark brown sugar, i only had light.  the recipe also called for espresso powder.  i only use whole beans to make espresso, i opted to add more cocoa powder and keep moving.  then i realized that i was out of molasses.  what the hell kind of baker is out of molasses in december????  apparently, this one right here.  i used beet sugar syrup.

okay, it is interesting in a strange, chocolatey, fruity kind of way.  and moving right along, visit karen’s blog page for the recipe and all that.  visit the tuesdays with dorie page to see the hijinks of all the other bakers-most of whom probably had the proper ingredients and what not.  me, i’m pouring another glass of wine and plopping down on the couch with the cat.  i’ve had enough baking for today…

 (actually, it looks so chocolatey because i cut the recipe in half on everything but the cocoa powder-rrrrgggg!!!  but i think it works well)

best ever brownies; tuesdays with dorie

once again, it’s tuesday so that means it is time to bake with julia.  this week’s adventure is brought to you by monica of a beautiful mess.   if you read the title of this post, then you know we made the “best ever brownies.”  that is one opinion, just not mine.

first off, i did not care for the way the instructions were written.  it is always a challenge when a recipe is split onto more than one page but if those to pages do not face each other, it is even harder to prevent confusion or mishaps.  the instructions called for splitting the eggs and sugar, whipping some and incorporating the others and then finally, incorporating the whipped eggs into the batter.  that paragraph was written in such a way that i had to read it multiple times.  it would have flowed better if the exact  amounts of eggs and sugar  for each addition in that step were listed as they were to be added rather than just instructing you to add “half” of them.

while the baking times seemed to present more issues for many of the other bakers, i did not have any problems and they baked within the suggested time frame.  the results were more like a flourless chocolate cake and i really didn’t enjoy them.  honestly, i like brownies but i like mine to have more than just a fudge like texture; i like them a little cakey and these were no where near that.

be sure to visit monica’s page for the recipe but an even better idea would be to buy the book.  be sure to visit the tuesdays with dorie page to find the links of all the participants.