join me for a tea party

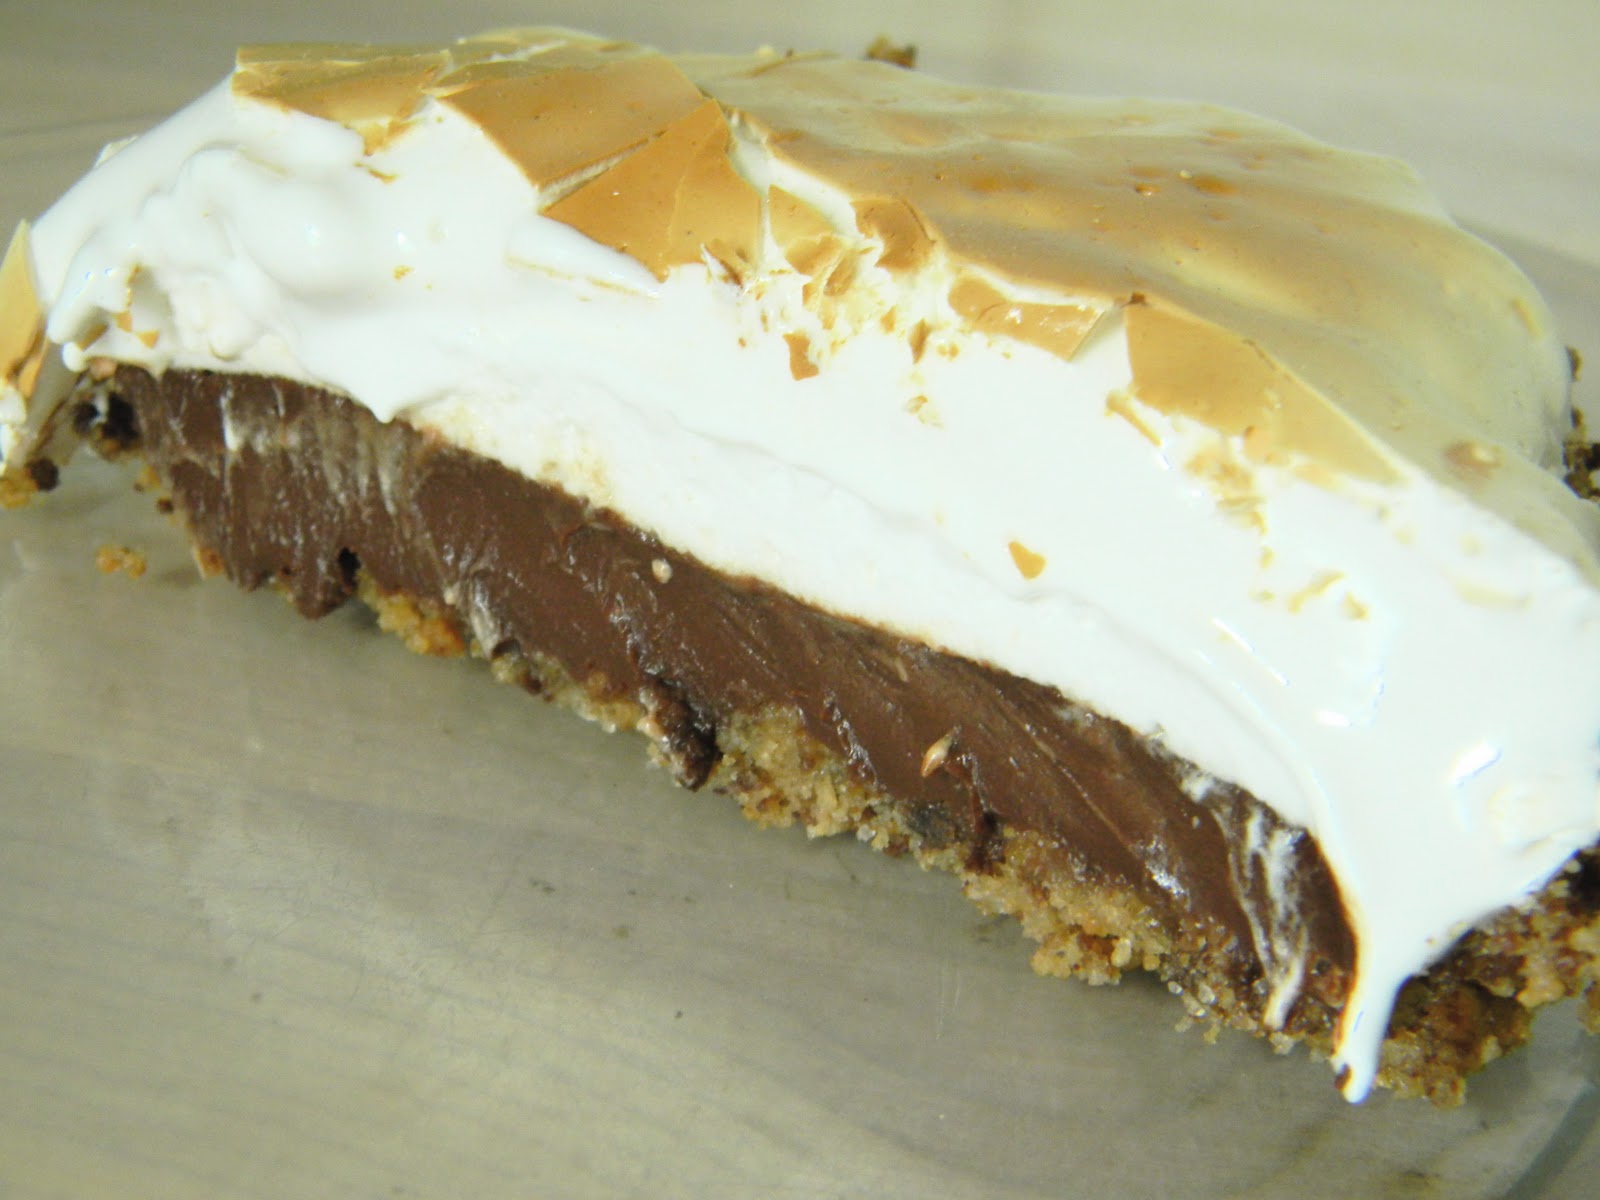
this is a first for me.  generally, i do not use this blog to generate support for causes or charity but today, i am changing that.  as a woman, i know how important it is to go for the dreaded yearly pap smear.  i also know just how scary it can be to hear that the results were not normal.  thankfully for me, the news was just a higher level of abnormal cells than is acceptable and the only treatment needed was to freeze my cervix.  years later i can say all is well and part of that is due to my diligence and my husbands wonderful(thanks to his employer!) health plan.  even though i go for that test each year, the risk for ovarian cancer still exists for me and every other woman on the planet.   even more frightening than that revelation is the fact no matter how many general exams women have, ovarian cancer most likely is not diagnosed until it has spread beyond the ovaries since there is no test available to detect it.  the worst part is that many women never have anything more than mild symptoms and when it is discovered, it is in an advanced stage and often comes with a 50% or less survival rate.  but before you think that i am all doom and gloom, know this, there are tests available to screen women for their risk factor and best of all, we have organizations like the ovarian cancer research fund helping us find early detection tests, better methods of treatment and ultimately,  a cure.

so by now you must be asking yourself, why is she prattling on about this and what does it have to do with a tea party?  it’s simple, as a featured publisher on foodbuzz, i am participating in a challenge and helping to raise funds for the ocrf and at the same time helping myself and all women out there. the fact that they also turned this into a contest of sorts does not hurt.  foodbuzz will donate $50 to the fund just because i entered a recipe into the tea party contest and i have a chance to see my blog chosen as part of their top 9 takeover. the top 9 takeover is a partnership between foodbuzz and electrolux to help raise funds as well as awareness for ovarian cancer and research.  so join me, and my good friend kelly ripa(no i don’t really know her but it sounds good) as well as the folks at foodbuzz and electrolux for a tea party with a cause and let’s get the word out there.  so, let’s get this tea party started!

when i am not working, i spend a lot of time in the garden.  each week, i volunteer my time for the master gardeners of davidson county and i work in a research and demonstration garden-demo garden for short.  since i am always baking something, i bring a cake with me each week.  but since this week i was baking for the tea party, i decided on little pineapple jam tarts.  made in a mini pan, these dainty little treats were perfect for the garden as well as any tea party since they could be eaten out of hand.  they also look rather elegant when arranged on a fancy cake pedestal.  keep your eye on them as they tend to disappear quickly-i saw that with my own eyes.  when my fellow gardeners heard what was in my cake box, they abandoned the garden to sample the tarts.  so began our typical work day tea party in the garden; a little weeding, a little chatting and a little snacking among friends.

pineapple jam tarts

24 miniature tarts
adapted from david lebovitz
                                             
8 tablespoons unsalted butter, softened
1/2 cup light brown sugar
1/2 teaspoon kosher salt
1/2 teaspoon vanilla extract
1 egg
1  egg yolk
1 1/2 cups all purpose flour
1/2 cup stone ground cornmeal-i used blue cornmeal since i had some
2 teaspoons baking powder
jam or preserves in any flavor, about 1 3/4 cups-jelly is too thin for this so only jam or preserves should be used.           


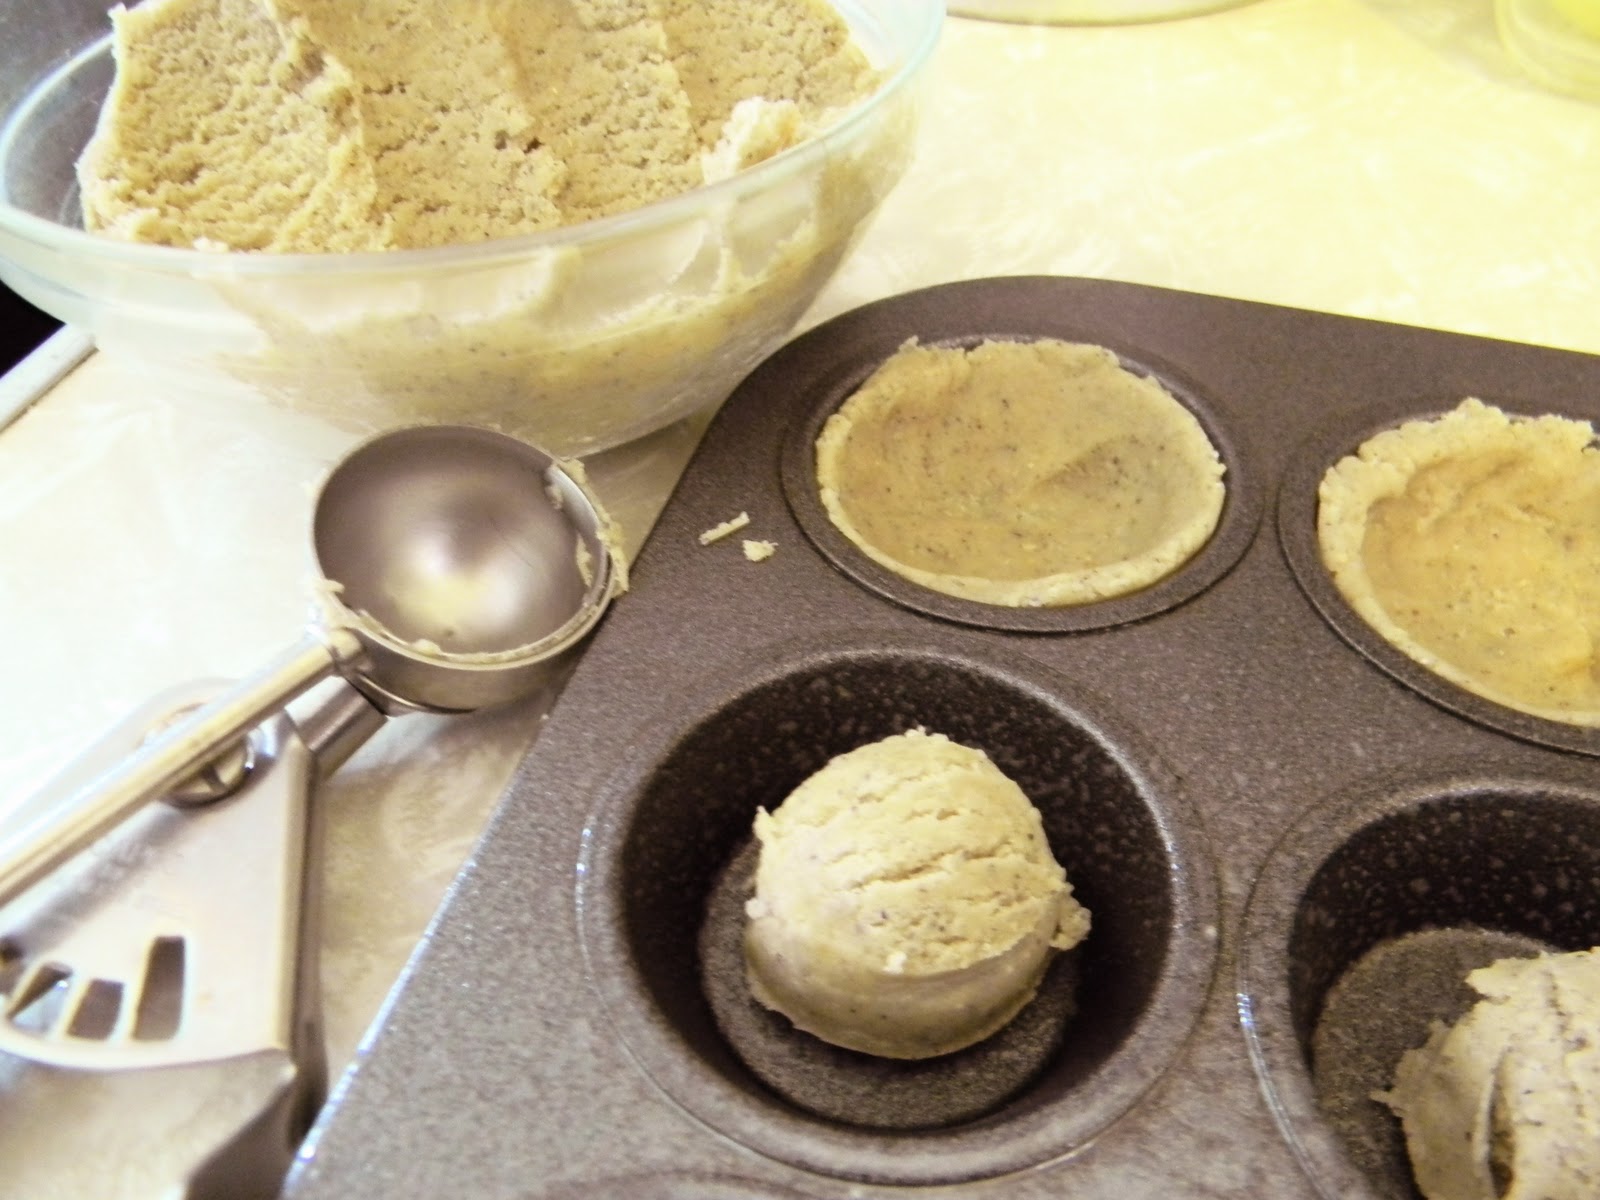
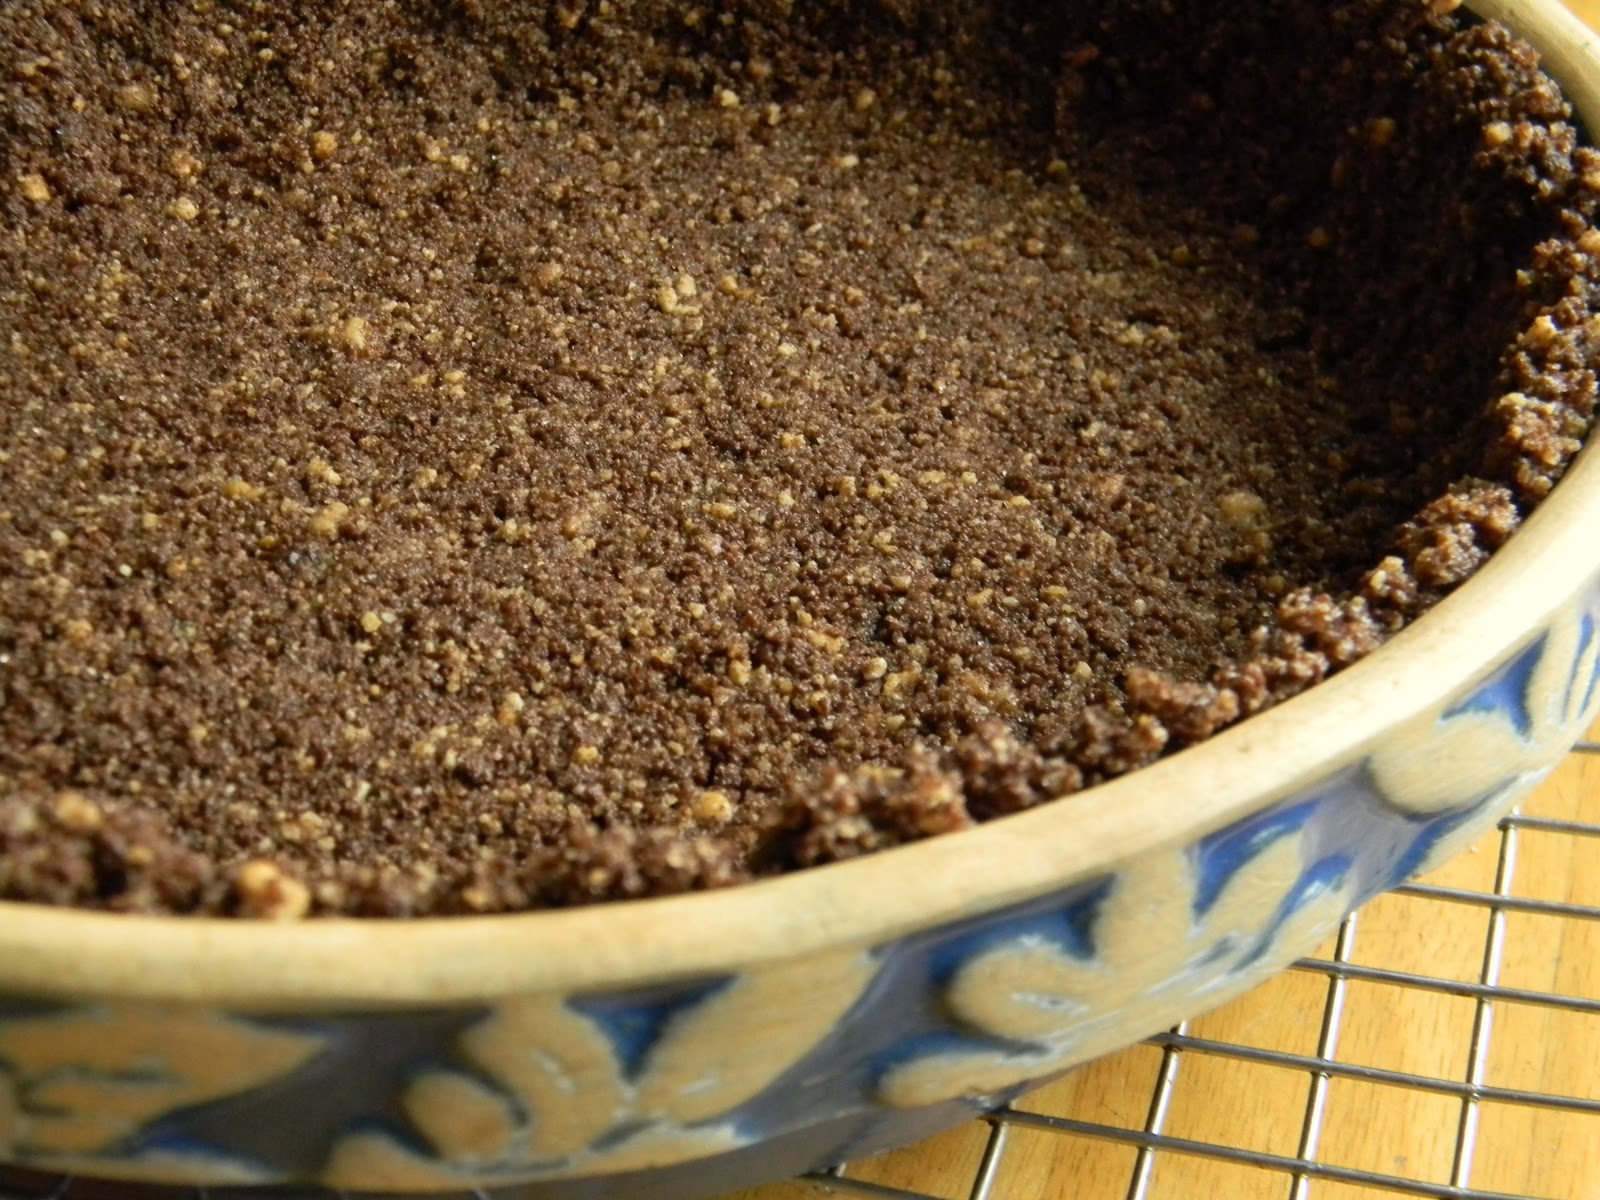
preheat the oven to 375.  lightly grease a mini muffin pan or enough pans to get 24 tarts.  cream the butter with the sugar, salt and vanilla until light.  add the egg and yolk and mix well.  add the flour, cornmeal and baking powder and mix until it comes together.  using a small scoop-size #70, portion the dough by making 24 scoops.  reserve the rest of the dough-roll it into a 6″ log and chill until needed.  shape the tart shells with your fingers by pressing the dough evenly around the inside of the cups of the tin.

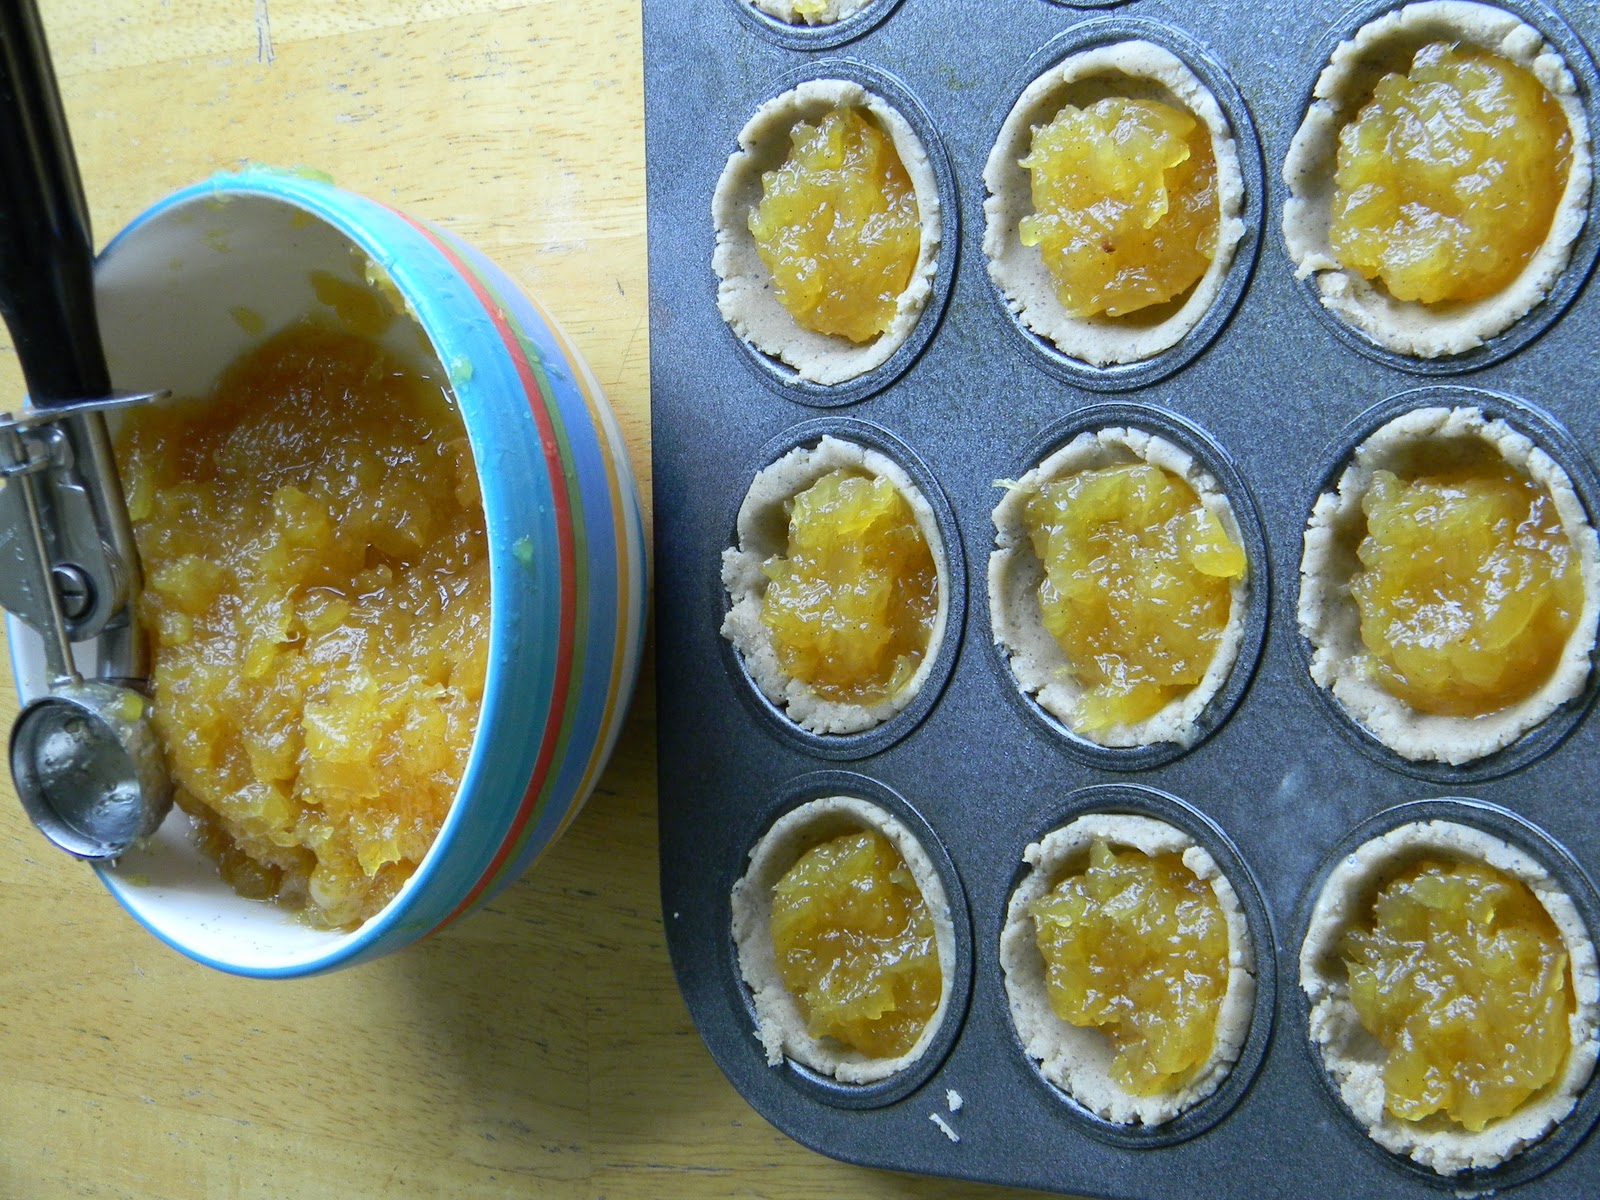
using the same scoop, place one scoop of jam into each tart shell.  i made some pineapple jam using about 4 cups of pineapple chunks, 2 cups pineapple juice, 2 cups sugar, 1/4 vanilla bean and 4 thick slices of fresh ginger.  pulse the fruit in the food processor and then combine all ingredients and cook until golden and thickened.

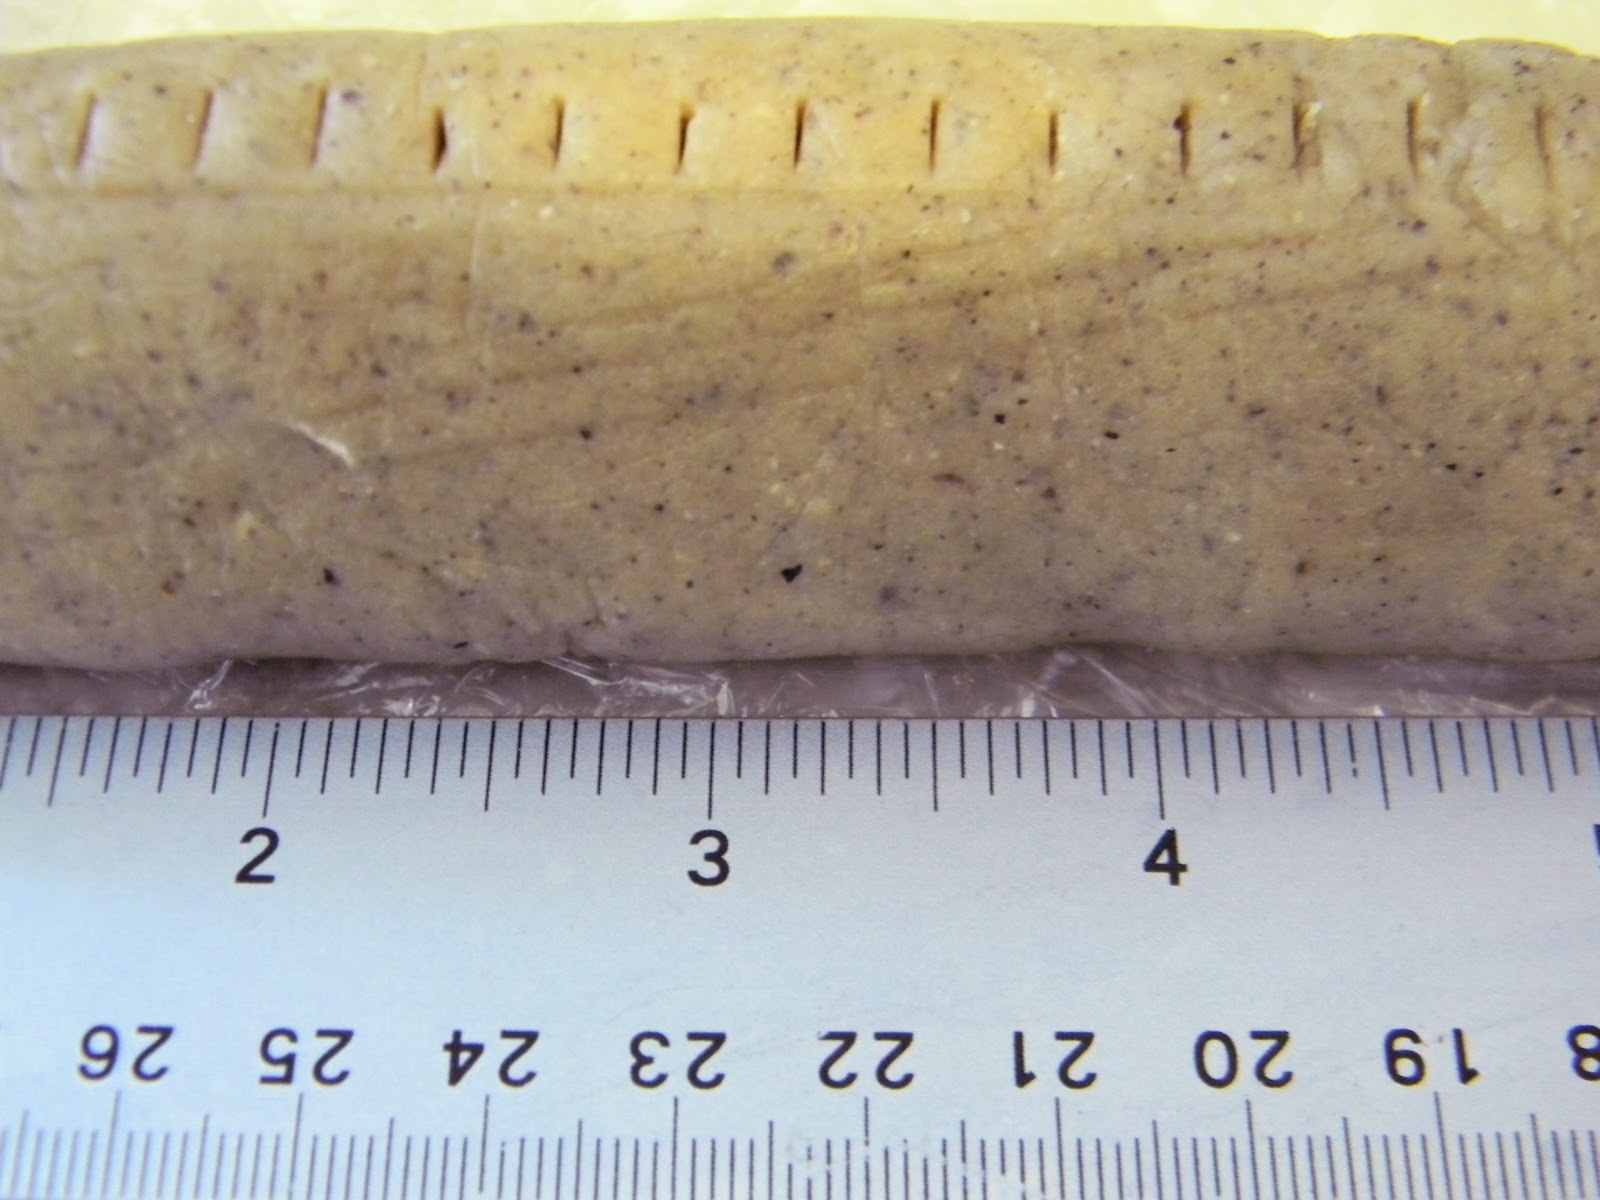
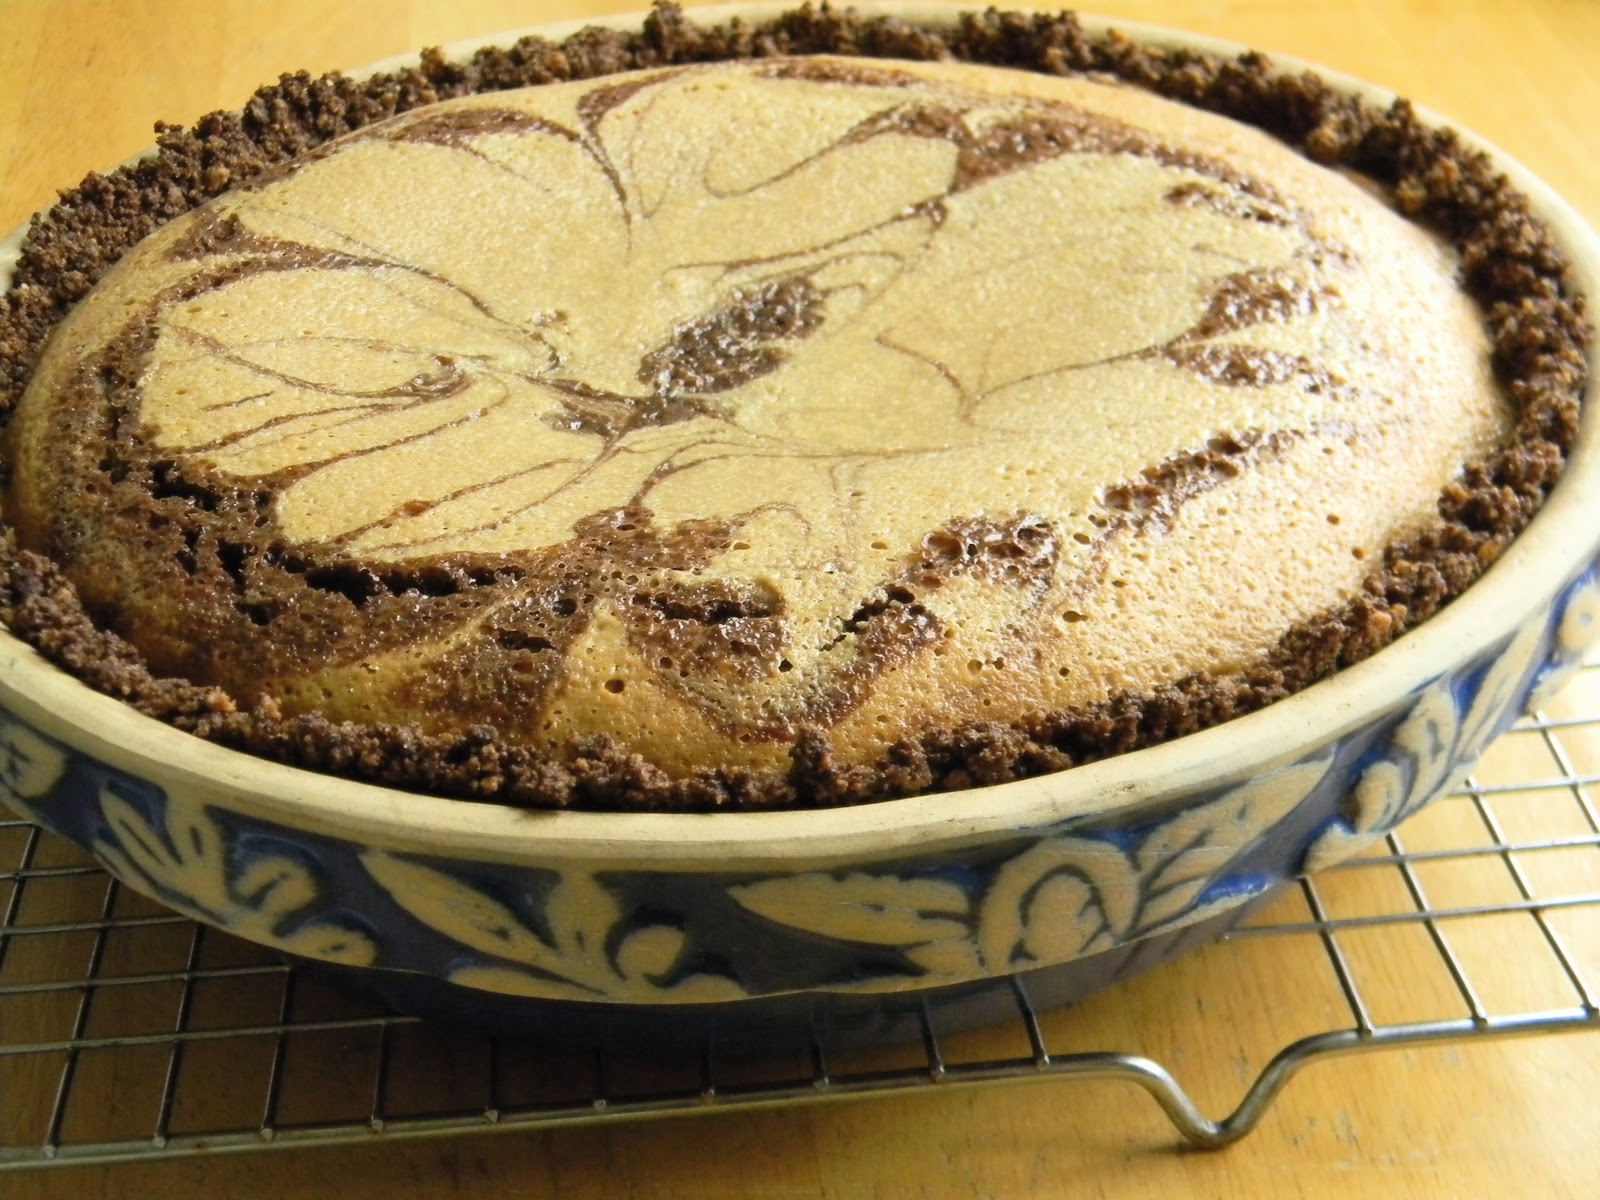
using a ruler, score the dough log into 1/4″ segments.  use a knife to carefully cut the slices of dough.

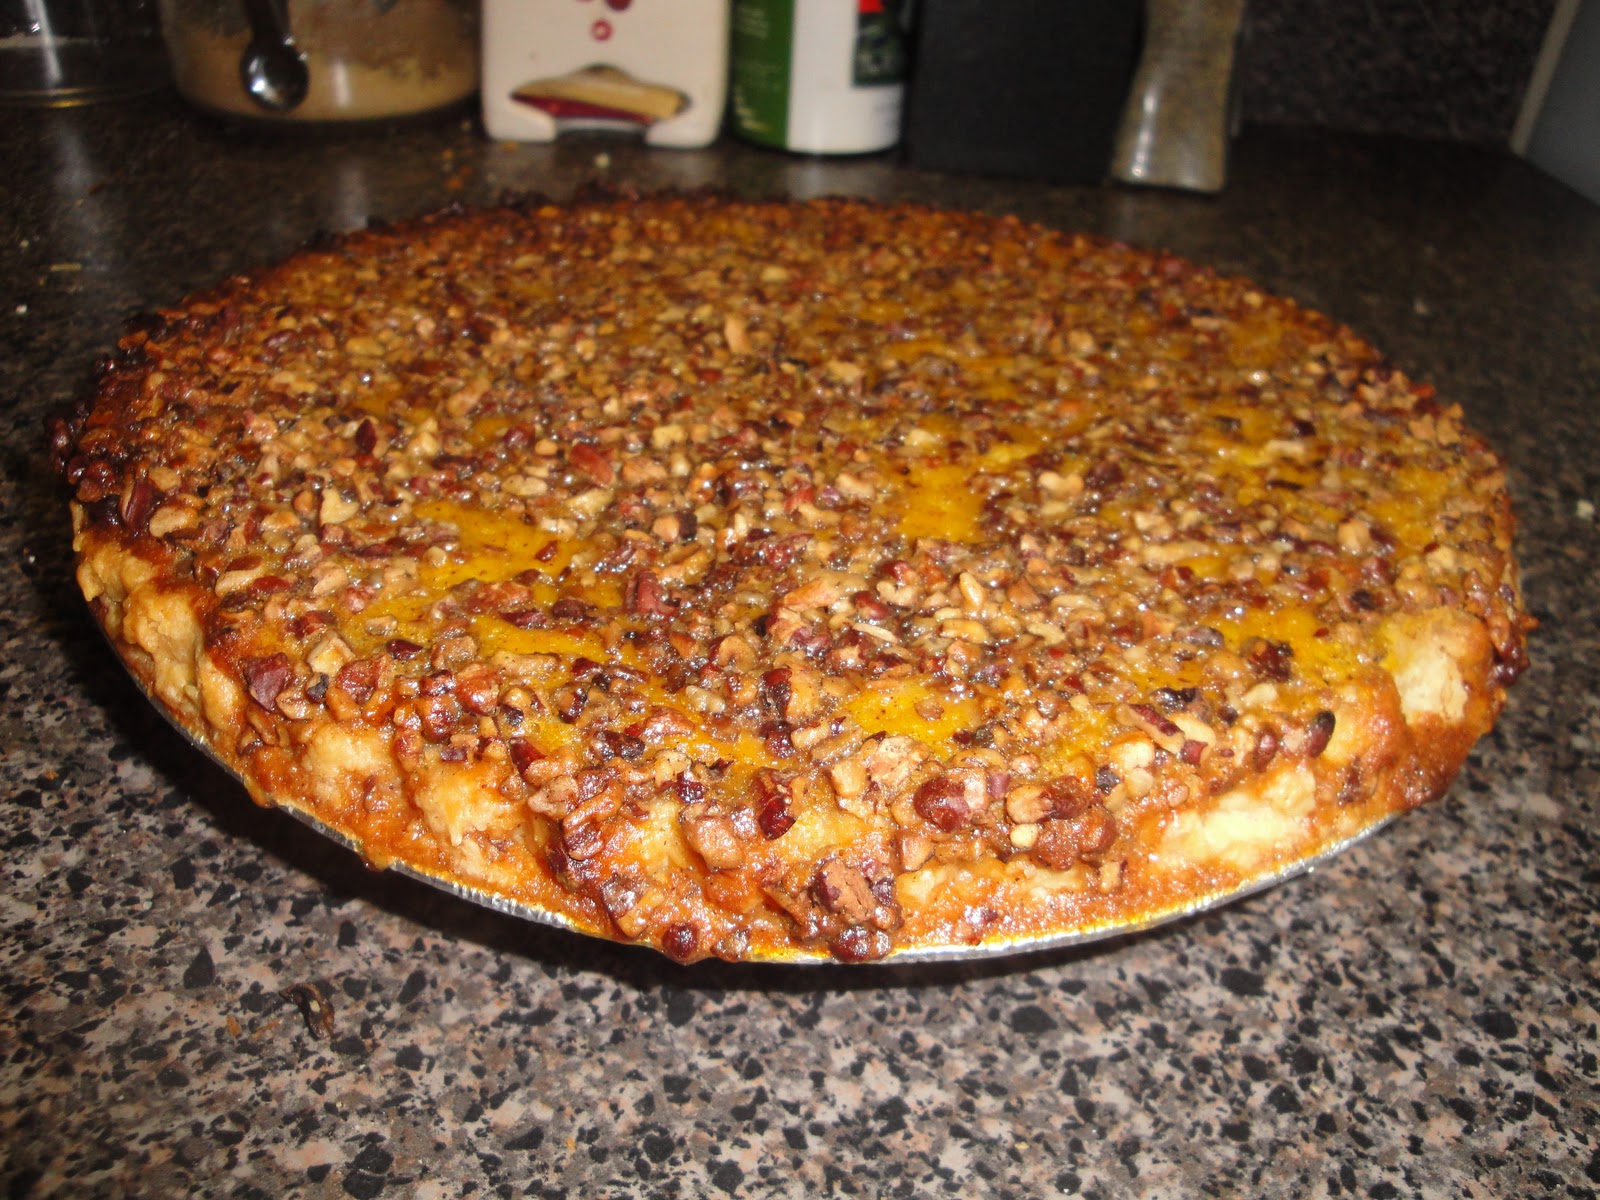
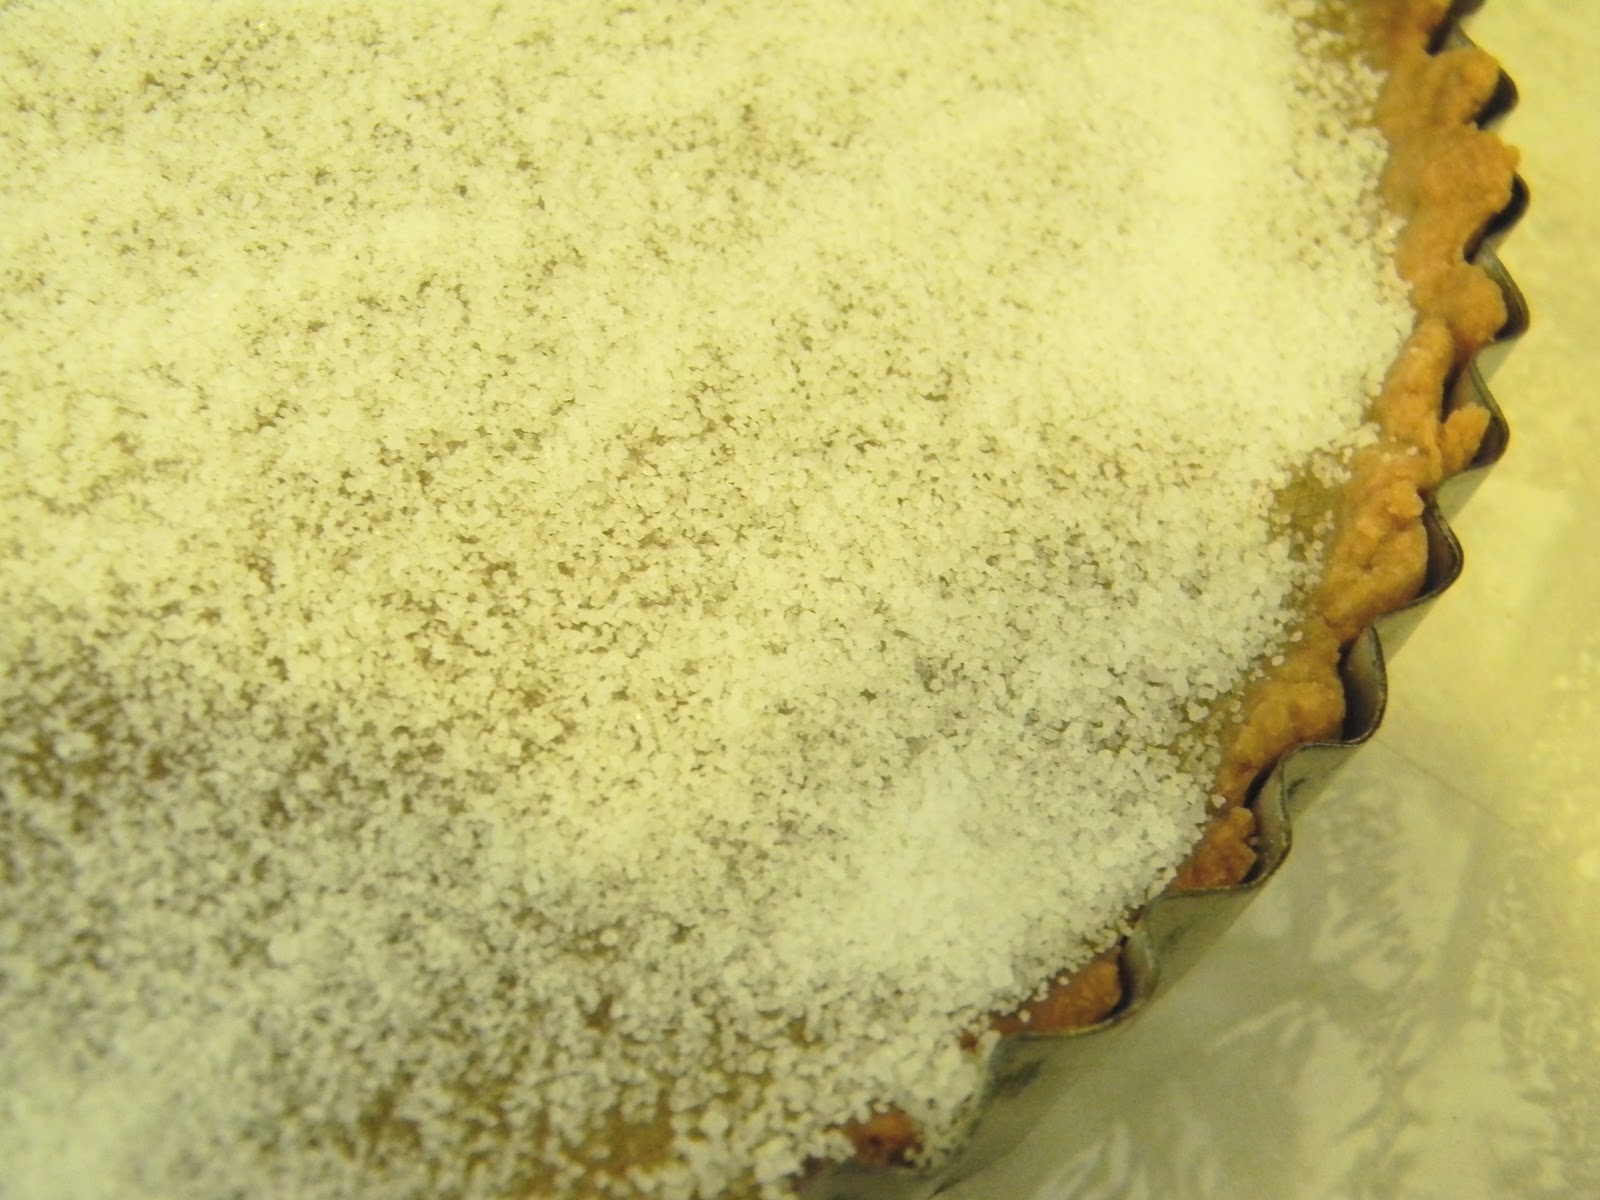
place one slice of dough on top of each tart and sprinkle with sugar if desired.

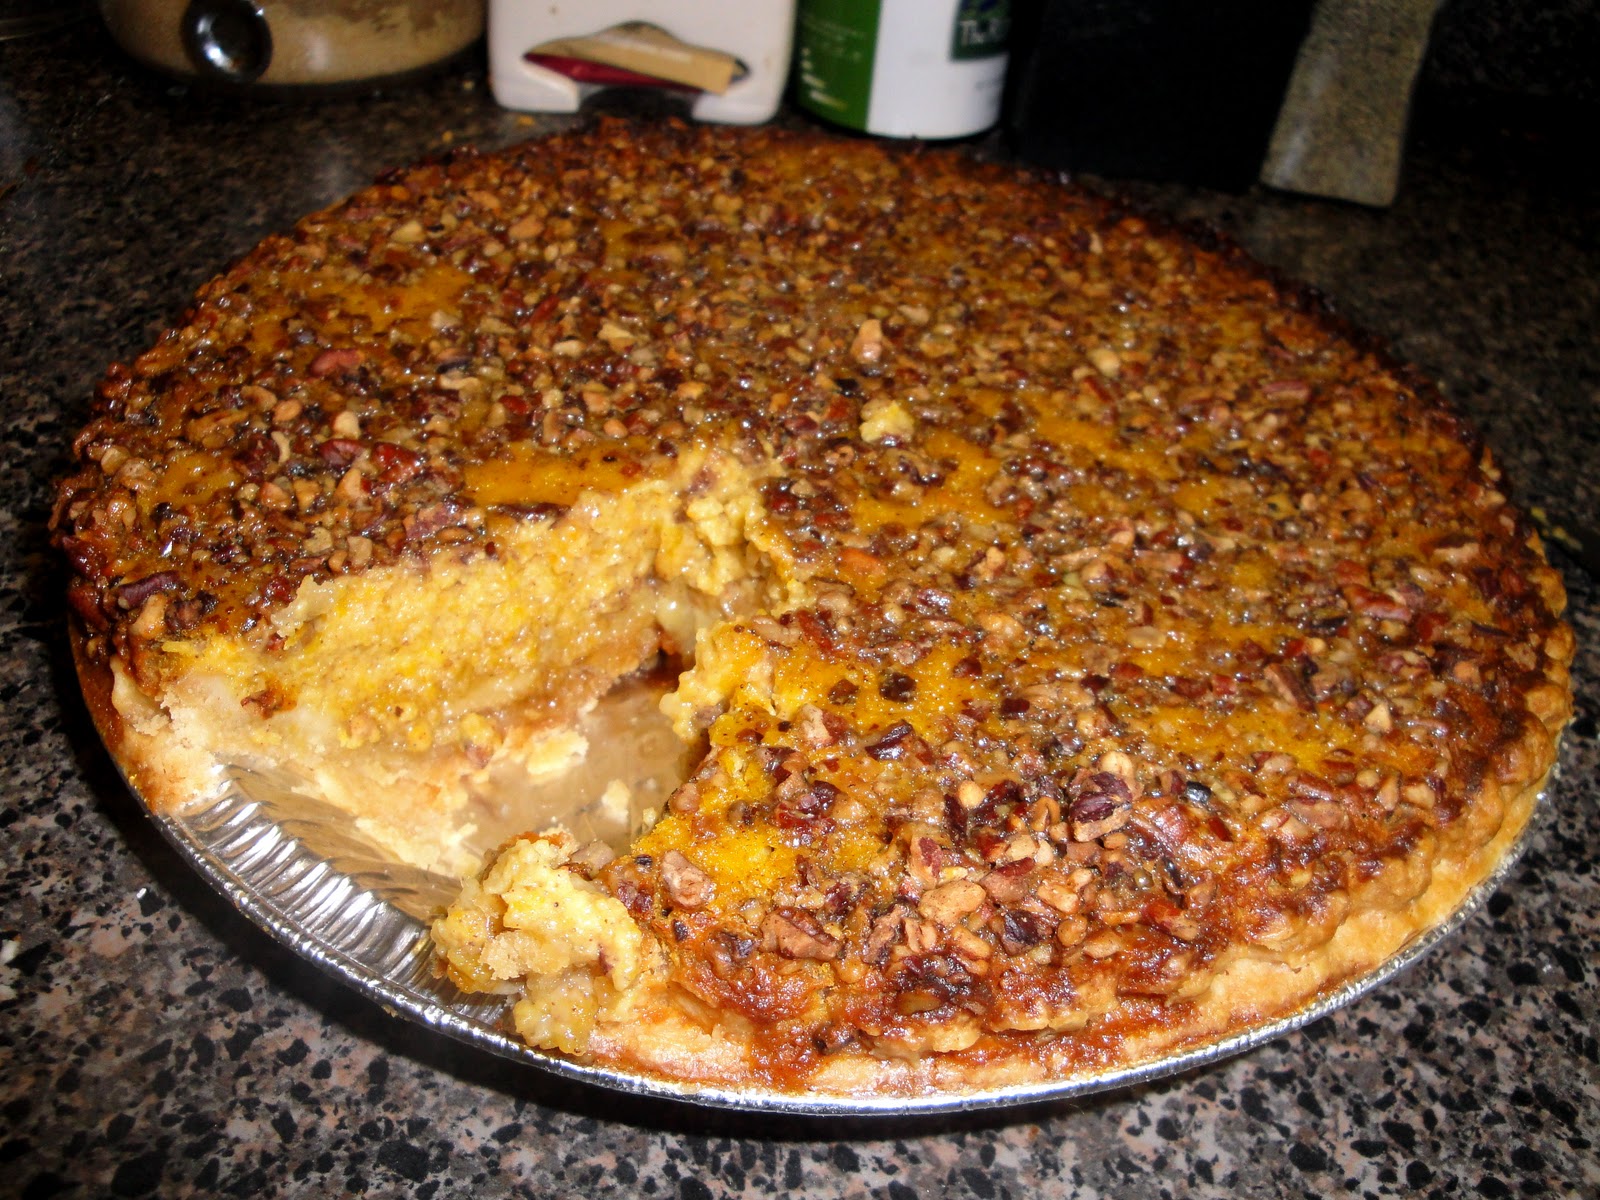
bake until golden, about 20-25 minutes.  allow the tarts to rest in the pans for 10-15 minutes.

carefully lift each tart out and place on a rack to cool completely.

thanks to foodbuzz, kelly ripa and electrolux for taking women’s health so seriously by supporting the ovarian cancer research fund.  and ladies, remember to schedule that yearly exam.

something new for #16-homemade marshmallows and a parve s’more tart

like many of you foodies out there, i also look at many other websites and blogs dedicated to food.  in a recent post on food52, i saw an invitation to members of the website to test tart recipes that they are featuring in an editors pick challenge.  since i knew i would be making a pie this week, i quickly committed myself to testing the s’more tart on the list.  little did i know that it was a parve tart.  for those of you who do not know what this means, it is a jewish dietary law that does not allow the mixing of meat and dairy.  anyone who has come from a home with a kosher kitchen understands this-i did not but have had enough exposure to it to know that this was going to be interesting.  how can you make marshmallows without egg whites?  since i have promised an original recipe each week, i am including the link to the recipe from the food52 as well as my nonparve interpretation.

no homemade s’more tart is complete without homemade marshmallows.  i made a small batch using a recipe i found on an interesting website called cooking for engineers.  the recipe is a good reference for someone who has never tackled the task of making fresh marshmallows-like me.  the only suggestion i have to the recipe is to cut the vanilla extract in half.  for my pie, i piped them out into little kisses so that i could arrange them on the top of the pie.  they came out nice with a good texture.  they were a little sticky but i will attribute that to the fact that i did not make them into a slab dusted with cornstarch as suggested in the recipe.
now, for the parve version.  if you follow the link above, you will find yourself looking at a recipe that just might be missing something-especially if you are not familiar with the term parve or the practice of eating a kosher diet.  the recipe is mainly water, sugar and gelatin.   while it looks improbable that the two steps could combine to form a marshmallow like topping, they do and for what it’s worth, it’s pretty close in flavor and texture to the commercially produced stuff available.  keep in mind that most of them are not made with egg whites either-just lots of sugar and gelatin.

i made two small tarts, the parve version is in the rear while the nonparve version is in the forefront.

both were placed under the broiler for a little color-its not a s’more without a toasted marshmallows…

the parve version was made with cookie crumbs (should be non dairy/egg cookies like graham crackers to be truly parve-i did not have any so i pretended) as well as sugar and margarine.  the chocolate ganache filling was a combination of bittersweet chocolate and coconut milk.  it worked out well but it was a little firmer than i prefer for a ganache.  the topping formed a crispy crust under the broiler and was very sticky to cut through-must use a wet knife to do so.  all in all, the flavor was good and the topping was surprisingly like a marshmallow.  would i make this again-not sure.  honestly, we do not have the need to follow a parve diet and since none of us suffer from food allergies to dairy or egg whites(albumen), it is not likely that i would do this.  however, it is nice to know that this can be done just as easily as the non parve version and i am glad to have had the chance to try it out.  at the end of the day, i learned a new technique and that in itself made it worth the effort.

s’more tart
adapted from shoshana of couldn’t be parve and michael chu of cooking for engineers
1 (9″) tart serving 8
1 1/2 cups cookie crumbs-i used a combination of non-dipped biscotti pieces
1/3 cup sugar
6 tablespoons butter, unsalted and melted
9 ounces bittersweet chocolate
1/2 cup coconut milk
1/2 cup heavy cream
1 tablespoon unflavored gelatin, about 1 package
2 1/2 tablespoons water
2/3 cup sugar
3 tablespoons corn syrup
2 tablespoons water
pinch of salt
1/2 teaspoon vanilla
in a mixing bowl, combine the cookie crumbs with the 1/3 cup sugar.  add the melted butter and mix well.  press it into a tart pan with a removable bottom.  it is possible to bake this crust to make it crispy but i skipped that step.   heat the coconut milk and heavy cream until it is almost simmering.  place the chocolate in a heat proof bowl, pour the milk/cream over it and let it sit for 5 minutes.  stir until smooth and then scrape it into the tart shell.  place in the fridge to set while you prepare the marshmallows.  
pour the water into a small bowl and sprinkle the gelatin over it.  set aside and proceed with the recipe.  place the sugar, corn syrup, salt and water into a small sauce pan.  bring to a boil, washing down the sides of the pot if necessary and cook to 248 on a thermometer.  remove from the heat, add the gelatin and stir until smooth.  pour into the bowl of a stand mixer and with the whip, whip until fluffy and no longer hot.  add the vanilla and mix well.  using a piping bag, pipe little mounds onto a pan that has been dusted with cornstarch.  let the marshmallows set and when they are no longer soft and sticky, arrange them on top of the tart.  using the broiler or a torch, carefully toast the marshmallows.  use a wet knife to cut the tart.

english muffins in the house

english muffins are one of my favorite things to toast; the crispy texture of one that is almost burned…since i am enjoying some time off from the cafe this week, i decided to try my hand at baking a batch.  i saw a post on the blog stetted and knew i had to do it-immediately!  the only thing, the recipe posted included egg, milk and butter.  while i may enjoy all of those ingredients without issue, i just did not want to use all of them in this recipe.  down into the dungeon i went (what i currently call the remains of my family room downstairs due to the flood damage) and withdrew my well used copy of how to bake by nick malgieri from the pile.

with minor substitutions, i made a batch of dough using some atta flour.  we have an indo-pak-bangla market close by called apna bazaar and they have all kinds of interesting flours.  i picked up a bag of this flour when i was looking for durum flour.  if you have indian markets near you, i suggest going there for flour.  they are often much cheaper than the fancy shops and markets.  this 5.5 pound bag cost me less than $4.00.

 the flour is a creamy color and has tiny flecks of bran in it
 the cast iron skillet climbed out of the bin for today’s adventure.
 a little dark on the first attempt-gotta love cooking on an electric stove…

the second batch into the skillet came out looking perfect on the outside but not so nook and crannyish on the inside.  they tasted very much like the english muffins from the store with the second batch to be baked having a slightly stronger flavor.  my guess it is the additional rising time which helped develop the flavor.  the substitution of atta flour for about 1/3 of the bread flour gave it additional flavor and color too.   the recipe is a work in progress so i am not going to post it yet but if you are interested in trying a batch, follow the recipe posted on stetted, the link is above.

these irish eyes are smiling…

every year on st. patrick’s day, i try to make a loaf of soda bread.  usually, i pull out my aunt’s recipe and make a loaf studded with currants and caraway seed.  it’s a little bittersweet-she passed away years ago and it is hard to make it without thinking of all that she and the entire family had to endure those last few years.  i’ve posted about the bread before and you can read about it here and if you are adventurous, make a loaf of the bread using the recipe-it is the best american-irish soda bread recipe around.

as a fan of irish soda bread, or what we yanks call irish soda bread, i was not completely surprised to hear that the familiar raisin filled loaf is not entirely authentic.  it seems that the addition of raisins (or currants-my preference) and caraway seed is an american tradition.  when raisins are added to the loaf in ireland, they call it cake or spotted dog.  there actually is a society dedicated to the preservation of the traditional loaf and they have a website full of information and recipes.  some time ago, my mother had sent me an article from a magazine with traditional soda bread recipes in it and if my house was not currently in flood induced shambles, i would have used the recipes.  instead, i did a google search and compiled a recipe from two that i thought seemed reasonable.

less than 18 hours later, the bread has been devoured, my husband ate at least half of the loaf himself.  i watched as he slathered each slice with butter.  i ate the bread plain, dipping it into the vinaigrette that had pooled at the bottom of my salad plate-yes, i may be irish, but i am italian too and no italian can resist fresh baked bread with salad.  since it was so quick and easy to make, i can do this any time i need bread-less than 10 minutes to measure, mix and shape.  it took longer for the stone to heat in the oven!

traditional irish soda bread
yields 1 (8″) round loaf
1 cup whole wheat flour
2 cups all purpose flour
1 teaspoon baking soda
3/4 teaspoon kosher salt
1 tablespoon butter, melted or olive oil (i chose oil)
1 1/4-1 3/4 cups buttermilk-the amount will vary according to how thick it is.  some buttermilks are artificially thickenedand others are very thin.  i used a naturally cultured one that was thick and needed the full amount.
preheat your oven and stone to 450, if using a stone, remember that it will take at least 30 minutes to get really hot.  mix the flours, soda and salt in a bowl.  make a well in the center, pour in the oil and most of the buttermilk.  turn the outsides into the middle to mix.  using your hands, continue to mix until a soft, almost biscuit-like dough is formed.  shape it into a smooth ball and place it on a cornmeal dusted peel or   cookie sheet (without the sides or an upside down one-so you can slide it onto the stone in the oven).  cut an “x” across the top and slide it off onto the stone.  bake for 20 minutes, reduce the heat to 350 for 25-30 minutes.  the bread will be a beautiful golden color and the internal temperature will be at least 190 F.
allow it to cool before slicing.

Lá Fhéile Pádraig Sona Daoibh!  

happy st. patrick’s day!

it’s 3/14!!! happy pi(e) day!!! #15 of 52, peanut butter & chocolate pie

forget the math, eat pie!!!  it’s like i have a holiday of my own just to celebrate this blog challenge!!!  so in honor of the day, i pulled out all the stops anad relived a vintage tv commercial.  and for those of you who do not remember: 

now that we’ve gotten that out of the way, let’s make a pie…around my house, pie is not something that gets eaten quickly unless it is ice cream or something chocolate.  add peanut butter to that and it will be gone in a flash.

chocolate cookie crumb crust

peanut butter and chocolate fillings are poured into the dish and then swirled together with a skewer

the finished pie before baking

the pie after baking

peanut butter and chocolate pie

1 (10″) deep dish pie that serves 8-10

preheat the oven to 325.  make the crust and then the two fillings.  pour each of the fillings into a measuring cup or pitcher with a 2 cup capacity.  alternately pour 1 cup of each filling into the center of the crust.  you will have a series of rings, see photo above.  swirl the two together gently.  bake for about an hour or until the pie is slightly puffed around the edges and a little firm in the center.  cool completely and chill before cutting and serving.  serve with whipped cream if desired.

crust
1 1/3 cup cookie crumbs
3 tablespoons sugar
4 tablespoons melted butter
combine the cookie crumbs and sugar.  pour in the butter and mix.  press evenly up the sides and across the bottom of the pie plate.  for the best consistency, use cookies that are not high in fat.  graham crackers, wafers or undipped biscotti will be lower in fat.  high fat cookies will make a crust that is greasy and hard to press into the pan smoothly.

peanut butter filling
1/3 cup brown sugar
1/2 cup corn syrup-light
1/3 cup half and half
1/3 cup peanut butter-homogenized!
1/2 teaspoon vanilla
2 eggs
place all ingredients in a bowl and use that elbo grease to whisk it together until it is smooth!

chocolate filling
2 ounces unsweetened chocolate
1/3 cup half and half
1/3 cup brown sugar
2 eggs
2/3 cup corn syrup
1/2 teaspoon vanilla
melt the chocolate and half and half in a microwave using the lowest heat setting.  the goal is to melt but not overheat so use short intervals of 30-45 seconds.  whisk the chocolate with the brown sugar.  whisk in the eggs, one at a time.  whisk in the corn syrup and the vanilla.  to get a smooth and emulsified filling, follow the order as listed and do not try to take shortcuts-the chocolate can separate and it will not taste good or have a creamy texture.

this week’s round up!!!
many thanks to gwen daniels for sending photos of the maple pecan tart with butternut squash.  she also posted it up on her blog and you can read the full post here.  

well done gwen!  thanks for sharing photos and your blog page!   now for the rest of you out there-bake one, send me photos and see it here.  bakinbabe116@aol.com is the address and have a happy pi(e) day, y’all…

14 and counting; banana creme brulee tart

what a week it has been…construction, or rather reconstruction, of my house is well underway.  despite the torrential rain of last week, they are almost finished.  the repair of the small section of the foundation required jacking up that part of the house.  luckily, it is an addition and the rest of the house was not affected.  they warned me that walls could crack and that windows could pop out and shater the glass.  no windows shattered but the cracking was unbelievable-every wall is cracked and will need patching.  in the wall just above the repair, it will need new sheetrock since it looks like a road map now.  the good thing, mr. kenmore has recovered and i am baking again-happily!

faced with an ugly bunch of bananas, i decided to try something new.  first i pureed them and then i mixed them into a rich and creamy custard filling. 

the filling was poured into a partially baked tart shell and then it was baked until set.  the results-banana creme brulee tart.

since creme brulee means burned custard, i needed to burn the top of mine.  a thin layer of sugar was sprinkled over the top of the tart.

mr. kenmore assisted by burning the sugar to make a thin and crispy caramelized crust on the top

banana creme brulee tart
1 (9″) tart to serve 8

1 partially baked (9″) tart shell, use any type of crust except one made from crumbs.  my suggestion is to use a dough specifically formulated for tarts.  they usually contain some egg and sugar to make them easier to work with.  for hints on partially baking tart and pie shells, read this previous post.

4 egg yolks

1/3 cup dark brown sugar
1/2 teaspoon chinese five spice powder (or cinnamon)

3/4 cup banana puree, about 2-3 bananas-make sure they are ripe for the best flavor
3/4 cup half and half
1/4 cup sugar

preheat the oven to 325.  place the tart shell, still in the tart pan, on a sturdy baking tray that will not warp in the oven.  whisk the yolks with the dark brown sugar and the spices.  whisk in the puree and the half and half.  only mix to incorporate, the more you whisk, the more air you incorporate and the less creamy the final texture of the custard will be.  pour into the tart shell and  bake until set, about 20 minutes.  leave the tart in the pan and cool completely.

to make the caramel crust, spread the sugar evenly over the top of the tart so that it is almost a single layer of crystals.  using the broiler or a propane torch (if you have one, which i do not) and carefully melt the sugar.  it will bubble as it gets hot and then will quickly begin to burn.  be careful not to let it burn black or it will be very bitter tasting.  serve immediately, once it sits, for a while, especially in the fridge, the sugar crust melts. 

by the way garrett, i seem to have lost my marbles again…really, i did.  they hit the counter and bounced around the kitchen.  a couple landed in the living room and the cat got at least one.  i also found one in the basement, never a dull moment!

and as always, bake one, take a photo and send it to me-bakinbabe116@aol.com, and you will see it here.  happy baking!

back in business with pie #13, potato knish pie

this has by far been the longest two weeks of my life!  never in my wildest dreams would i have thought that i could miss having my oven.  when the heating element in my oven burned out, my first thought was that it was time for a new oven.  we had already spent a lot of money to have the burners repaired/rewired due to the excessive workouts our cheap electric range gets.  the visions of a new range, a gas range, a gas range with a convection oven…pick one, they all danced around my head like sugar plums at christmas.  then was the realization that i would need to hire a plumber to run the gas lines, buy a not so cheap range and i’m sure i don’t need to explain.  we then thought about just replacing the electric box with another and still, it was more than we wanted to spend right now.  after a quick internet search for elements and youtube how to videos, we went the cheapest route and ordered parts.

the parts arrived and my husband set about installing the new element.  it all went well and i am back in the business of baking.  with the oven out of action for two weeks, i had to use up a big bag of potatoes in a hurry.  normally, i cut the potatoes into wedges, toss them in olive oil and seasoned salt and then bake up oven fries.  but for some reason, i wanted to make a more substantial dish with them-a pommes anna or a gratin/scalloped potato dish and since my in house repair man has a thing for knishes, a knish pie was the solution to my abundance of potatoes.  the nice thing about this dish, it doesn’t really require a recipe.  it can be made in any size dish and with any kind of potatoes.

while my potatoes for the filling boiled, i used my mandoline to slice some potatoes into thin rounds.  they were layered into a greased glass pie dish and brushed with some olive oil.

the boiled potatoes were mashed and mixed with caramelized onions and garlic, seasoned with salt and pepper and combined with some freshly grated asiago cheese.  this was carefully packed into the “crust”.

a final layer of potatoes was arranged over the filling and also was brushed with some olive oil.  into the oven it went!

 an hour and 15 minutes at 400 and my pie was ready.  this pie is so versatile.  the filling could be made with any potatoes you like-how about purple potatoes?  mix in some parsnips or other root vegetables or maybe some of your favorite herbs.  want a vegan dish-leave out the cheese or for you meat lovers, add some crumbled bacon, chives and cheddar for a loaded potato pie.

potato knish pie
1 (9″) pie serving 8

potato crust
6 medium baking potatoes
1/4 cup olive oil
wash the potatoes and using a mandolin or similar slicer, slice the potatoes no thicker than 1/16″ thick.  grease the pie dish and layer the slices in the bottom and up the sides of the dish.  brush carefully with the olive oil using a soft bristle brush.  save the remaining slices to decorate the top of the pie.

knish filling
6 cups diced potatoes
2-3 tablespoons olive oil
1 1/2 cups 1/4″diced onions
3 cloves garlic, minced
1/2 cup finely shredded asiago cheese
salt and pepper to taste
preheat the oven to 400.  place the potatoes in a pot, cover them with water and gently boil until soft.  heat the olive oil in a skillet and saute the onions until translucent-3-4 minutes.  add the garlic and continue to saute until a golden brown color, stir frequently to prevent burning.  drain the potatoes and using a ricer or a food mill (if you have one, otherwise just use what you have) mash the potatoes to remove the lumps.  add the onions/garlic and cheese and mix well.  season them to taste with the salt and pepper.  when finished, carefully fill the crust with the mashed potatoes and smooth it out.  use the remaining sliced potatoes to cover the top of the pie.  bake the pie until the potatoes are a nice golden brown, about 1 hour and 15 minutes for a 9″ dish.  cut into wedges to serve.

this dish can be served with gravy of any kind if you have to eat your mashers with gravy.  a dollop of sour cream may also be a good garnish.  for those knish fans out there, you know that nothing else is necessary!

and as always, make one, send me the photo and see it here!  bakinbabe116@aol.com

welcome back mr. kenmore!

catching up with pie #12; butterscotch baked alaska pie

for all of you who think i may have given up on my 52 week pie challenge-think again.  yes i will admit that this is a couple days late but cut me some slack-i do not have a working oven at the moment and it is making this more of a problem solving challenge than a baking challenge.  that said, let’s move on and get to this week’s pie…

since i am awaiting the parts to make mr. kenmore whole again (they have shipped and i am waiting eagerly for them to arrive) i have had to change direction a bit.  this week i chose an ice cream pie with a cookie crumb crust so that i wouldn’t have to use an oven.  for reasons unknown, i was fixated on butterscotch ice cream.  can’t explain it; never had it before and no, i’m not pregnant.  to get started, i made a batch of butterscotch ice cream base and while i attempted to freeze it-wiltons hand crank/frozen gel filled bowl leaves much to be desired, i made the crust.  the result was a very soft ice cream that ultimately ended up being a little harder than i would have liked.  some day, i will get a real ice cream freezer and that will no longer be an issue.

as i worked on freezing/cranking the ice cream, i made a chocolate cookie crumb crust with pecans from  some homemade biscotti that were not dipped in chocolate.  when i filled the crust with the ice cream and set it in the freezer to firm up, i decided to work on the garnish and that is where i completely drew a blank.  how could i make this pie interesting and what would go with butterscotch???  a chocolate sauce would over power it and whipped cream is kind of boring.  fruit, maybe but…then i did the unthinkable-i asked my husband what he would like with it.  his response was a rapid fire marshmallow cream and so, baked alaska it is!  to keep it interesting, i made a caramel sauce with some rum in it to drizzle over it and called it a dessert.

butterscotch baked alaska pie with rum caramel sauce
serves 8-10
butterscotch ice cream
adapted from sunset magazine
1 3/4 cup half and half
1 3/4 cup heavy cream
1″ piece of vanilla bean pod
1/2 teaspoon kosher salt
2 tablespoons unsalted butter
1 cup dark brown sugar 
6 egg yolks (reserve the whites for the topping)
1 tablespoon dark rum
place the half and half, heavy cream, vanilla pod and salt in a sauce pot and heat over medium low heat. in a skillet over medium low heat, melt the butter and then add the dark brown sugar.  stir to melt the sugar and bring the mixture up to a slow boil and continue to boil for 3-4 minutes.   carefully whisk in about half a cup of the hot cream and stir to dissolve the sugar.   pour the melted sugar into the remaining hot cream and stir to combine.  in a heat proof bowl, whisk the eggs.  carefully whisk some of the hot cream into the egg yolks to temper them.  reduce the heat to low and whisk the hot egg yolks into the cream and cook while stirring until it thickens.  this will not take too long, about 2-3 minutes.  be sure to stir constantly and to check the thickness, dip a spoon in the mixture and then drag your fingertip across the back of the spoon.  if the stripe holds it’s shape, it is done.  do not boil the mixture or it will curdle.  pour the base through a strainer and chill completely.  proceed according to the ice cream freezers instructions.  
cookie crumb crust
1 (9″) pie shell
3 tablespoons unsalted butter, melted and hot
1 cup cookie crumbs
2 tablespoons sugar
1 tablespoon chopped pecans
combine the ingredients and press into a  (9″) pie plate.  when the ice cream is ready, pour it into the pie shell and smooth it out.  cover with plastic wrap and freeze for at least 6 hours or overnight. 
meringue topping
6 egg whites
1/4 teaspoon cream of tartar
1 cup sugar
in a mixing bowl, whip the whites with the cream of tartar until foamy.  gradually add the sugar and continue to whip until stiff peaks form.  spread the mixture over the top of the pie.  to make spikes, tap the meringue with the back of a spoon and pull it away quickly.  to brown the meringue, use a torch or the broiler and keep a close eye on it so it doesn’t burn.   cut the pie and garnish each slice with the caramel sauce if desired.
caramel sauce
about 1 cup
1/3 cup heavy cream
1 tablespoon unsalted butter
1 cup sugar
1/4 cup water
2 tablespoons corn syrup
2 tablespoons dark rum
place the cream and butter in a heat proof dish and microwave to heat them and melt the butter.  place the    sugar, water and corn syrup in a sauce pot with a lid and over medium heat, allow it to heat while covered.  after 2-3 minutes, remove the lid and swirl the pan to melt the sugar.  cover again and allow the steam to wash down the sides.  after a minute or two, uncover the pot and watch as it slowly begins to turn a light amber.  carefully add the warm cream, stirring to prevent it from boiling over and over low heat, cook until all of the sugar is dissolved.  remove from the heat and add the rum.  serve while still warm but not hot from the stove!
and as always, make one and send me a photo to post here.  go ahead, i dare you, double dog dare you to make this pie!!!  e-mail photos to bakinbabe116@aol.com

murphy’s law ko’d pie #11

i’m mourning the loss of a true friend.  we have been through so many triumphs and tragedies together and i am completely lost without him.  poor, poor mr. kenmore; he was my only oven and he died this weekend.  we wrote two books together and in the process tested more recipes than i can recall.  for hours on end, he heated through and through and he did so much more than just baking pies and cakes.  he cooked many, many loaves of bread, meatloaves, lasagnas as well as roasting chickens, turkeys and at least one goose.  how can i go on without my mr. kenmore?  unfortunately, as far as baking goes, i can’t go on until i get him replaced.

mr. kenmore’s coil exploded

so what exactly happened?  it went like this:  preheat oven to 300.  as i whipped up batch #2 of my chocolate pavlova pie hearts, i saw a bright flash in the room which was followed by a sizzling noise.  i turned to see what caused the flash behind me and saw a bright light coming through the window of the oven door.  it was so bright that it reminded me of a welder’s torch!  the coil had a hot spot and it blew and it was in danger of starting a fire.  with a yell of four letter words and cry for help, my husband came running with the fire extinguisher.  luckily, once we turned off the oven and unplugged it from the wall, all danger subsided and reality set in-no pie this week…we made the decision to replace rather than repair because we have already had it repaired once-a stove coil did the same thing not long ago and it also required new wiring where it had blown the connection.  we have had this oven for going on 8 years and decided that with the workout it gets from two professional chefs, we would just replace it and hope for the best.

the dessert that almost wasn’t

since it was valentine’s day, i decided on a few things; chocolate, hearts and red berries.  with that in mind, i set about making chocolate pavlova.  here is a close up of the unbaked meringue heart-the first batch made it through before mr. kenmore bit the dust.

the meringues after they baked were too thin and a little more dense than i hoped for.  after adjusting the recipe, i was attempting to make the second batch when it all went to hell in a hand basket.

after all, it is a recent tradition to make a dinner for valentine’s day and we had three girls to serve so i made lemonade with the lemons or more accurately, pavlova with the meringues.  topped with strawberries and whipped cream, they were tasty.  i am not posting a recipe this week because i am not done with this one.  look for me to post this again as soon as i am back in production.  i wanted to have a sauce ot accompany the dessert and this was not the presentation i hoped for.

so how did i spend the afternoon that i normally use to make a pie?  with the rest of the girls:

believe it or not, we are urban beekeepers and we took advantage of the warm sunny day to go into the hive and check on the rest of our girls.

here is a close up of the activity on the front porch.  they were out foraging for nectar.  believe it or not, there are some flowers out there, mainly what most people call weeds but to us beekeepers, they are beneficial plants since they provide the only nectar at this time of year.  so, before you think about that golf course lawn that you’ve always wanted, think about the bees and just let the lawn go-you will feed the bees and help save a stream in the process and save yourself a whole lot of money.

look for me to be up and running asap!  i’m going out to look at stoves today!!!

sourdough rye; bread baking day #37

sourdough bread has always been one of my favorites.  as a kid, my grandmother took me to san francisco and i have been in love with the flavor since then.  with a slightly tangy flavor and a thick and chewy crust, authentic san francisco sourdough bread has always been the bread of choice for me.  of course, if you do not live there, you can only savor the memory once you leave because finding the same bread outside of the bay area very rarely compares.  the naturally occurring yeast in the starter has unique qualities much like a new york pizza-nearly impossible to duplicate once you leave the region.

over the years, it has been 16 years since we left san francisco, i have experimented many times with starter but never had much success until one day when our daughter needed to do a project for the science fair at school.  i suggested natural yeasts and several different types of starters and thus began a trial and error project that produced one of the best loaves of sourdough bread we had eaten in years.  we used grapes to make the starter and for several months, the starter lived in our fridge until i neglected it and it died.  years later, i found myself working in a garden as a volunteer for the local master gardeners association and in this garden, grapes were growing.  more importantly, organic grapes that i could use to make a new starter.  using a recipe that has been credited to nancy silverton of la brea bakery, i proceeded to use those grapes to grow the best starter i have ever had and a year and a half later, it is still going strong.  the starter worked out so well that i split it and i now have a jar of white starter and a jar of rye starter.

my fascination with bread also led me to bread baking day.  each month for the last 3+ years, the followers of bread baking day pick a host who choses a theme or a specific recipe and everyone bakes bread and posts the results on blog pages worldwide.  at the end of the month, the host of the month posts a roundup of all of the breads produced by the participants.  over the last year or so, i have sporadically participated in the monthly event.  when i saw that this months theme was a bread that used a sponge or ferment, knowing that my rye starter needed a feeding, i baked a loaf of sourdough rye.

freshly mixed sponge

first i took a cup of the starter and placed it in a bowl with some water and flour.  it makes a soft dough when it is mixed and this is then allowed to sit and age to develop a sour flavor.  on the left is what the sponge looked like in the bowl and the right is a close up view-you can see the caraway seeds and the bits of the rye grains in the flour.

after 24 hours

it has been cold here and as a result, my starter grew very slowly.  so slowly that i decided to let it go an extra day.  here it is before i stirred it(on the left).  after sitting out for 24 hours, it became rather runny but it still had some structure from the plain bread flour that was mixed in.

after 48 hours                                                        

on bake day, i added some salt and bread flour and prepared to knead the dough by hand.  using a spatula, i mixed in as much flour as i could and at this point, the dough had the consistency of a soft biscuit dough.  i turned it out onto the tray and started kneading.

after 3 minutes of kneading
the dough is beginning to show some structure and it is still a bit sticky and soft.

 after 7 minutes kneading
the dough is no longer soft-it has definite structure and is just a little sticky from the friction of kneading.

after 10 minutes kneading
the dough holds its shape and is elastic.  the grains from the stone ground rye prevent it from looking smooth but it is ready to rise in an oiled bowl until about double in size.

remember what i said about the kitchen being cold? well, i do not have a gas range in my kitchen and i cannot use the heat of a pilot light to rise bread.  however, my oven does have a light in it and it is the perfect place to rise a bowl of dough.  since it is in the closed oven, there are no drafts and the light quickly heats up the space.

to give the finished bread a textured surface, i like to do the second rise in a floured basket.  it makes a unique pattern on the surface of the dough during the rising and that pattern is retained after baking.

after the rising, i turn it out onto my peel and slide it into the hot oven where it was baked on a stone.

the finished bread-ready to eat
Sourdough Bread
adapted from How to Bake by Nick Malgieri
sponge
1 cup water
1 cup starter-any kind but preferably a rye sour
1 1/2 cups bread flour
1/2 cup stone ground rye flour
1 teaspoon caraway seeds
combine in a bowl and cover it. allow it to sit and ferment for at least 8 hours and as long as 36 hours at room temperature.
dough
to the sponge, add:
2 teaspoons salt
1-1/2 cups to 1-3/4 cups bread flour
mix together and turn out onto a floured surface. knead the dough by hand adding flour as needed for at least 5 minutes and up to 10 minutes. place the dough in an oiled bowl, cover it and allow it to rise until doubled, at least one hour.
preheat the oven and baking stone if you have one to 500 F. at this time, place a baking pan in the bottom oven if you want to have steam during the baking process. turn the dough out of the bowl and shape it into a tight ball. place the dough, seam side up, in a floured basket or a cloth lined bowl that is also floured and allow it to rise until doubled-about an hour. turn the loaf onto a pan or a bread peel that is sprinkled with cornmeal. place the bread in the oven, toss some ice cubes on to the pan, reduce the heat to 450F and bake for 20 minutes. reduce the heat again to 350F and bake until a thermometer reads about 210F, this could take 20 minutes and as long as 35 minutes. the bread will be nicely colored. cool completely on a rack before slicing.
notes:  whole grain flours make dense breads so use them with bread flour to make them a little less work on the jaws.  the recipe is very flexible and it is possible to start the sponge with up to 1 cup of any other flour and 1 cup of bread flour.  in the past, i have used whole wheat flour, rye flour, corn meal and semolina to make tasty loaves.  once, i even made it a little sweet with brown sugar and cinnamon and stirred in some plumped raisins-now that was some awesome cinnamon raisin bread!  if you choose to bake a loaf, follow along and submit your recipe to bread baking day, the deadline is march 1.

Sourdough Rye on FoodistaSourdough Rye