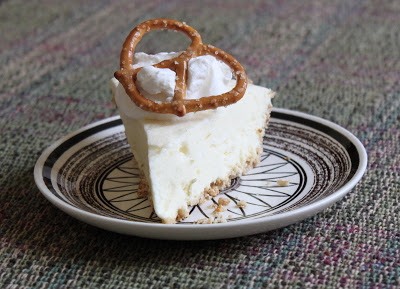
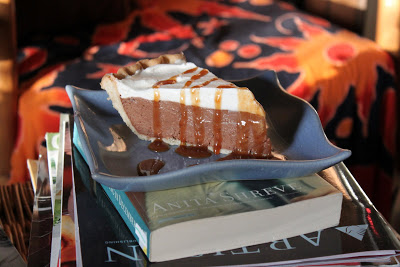
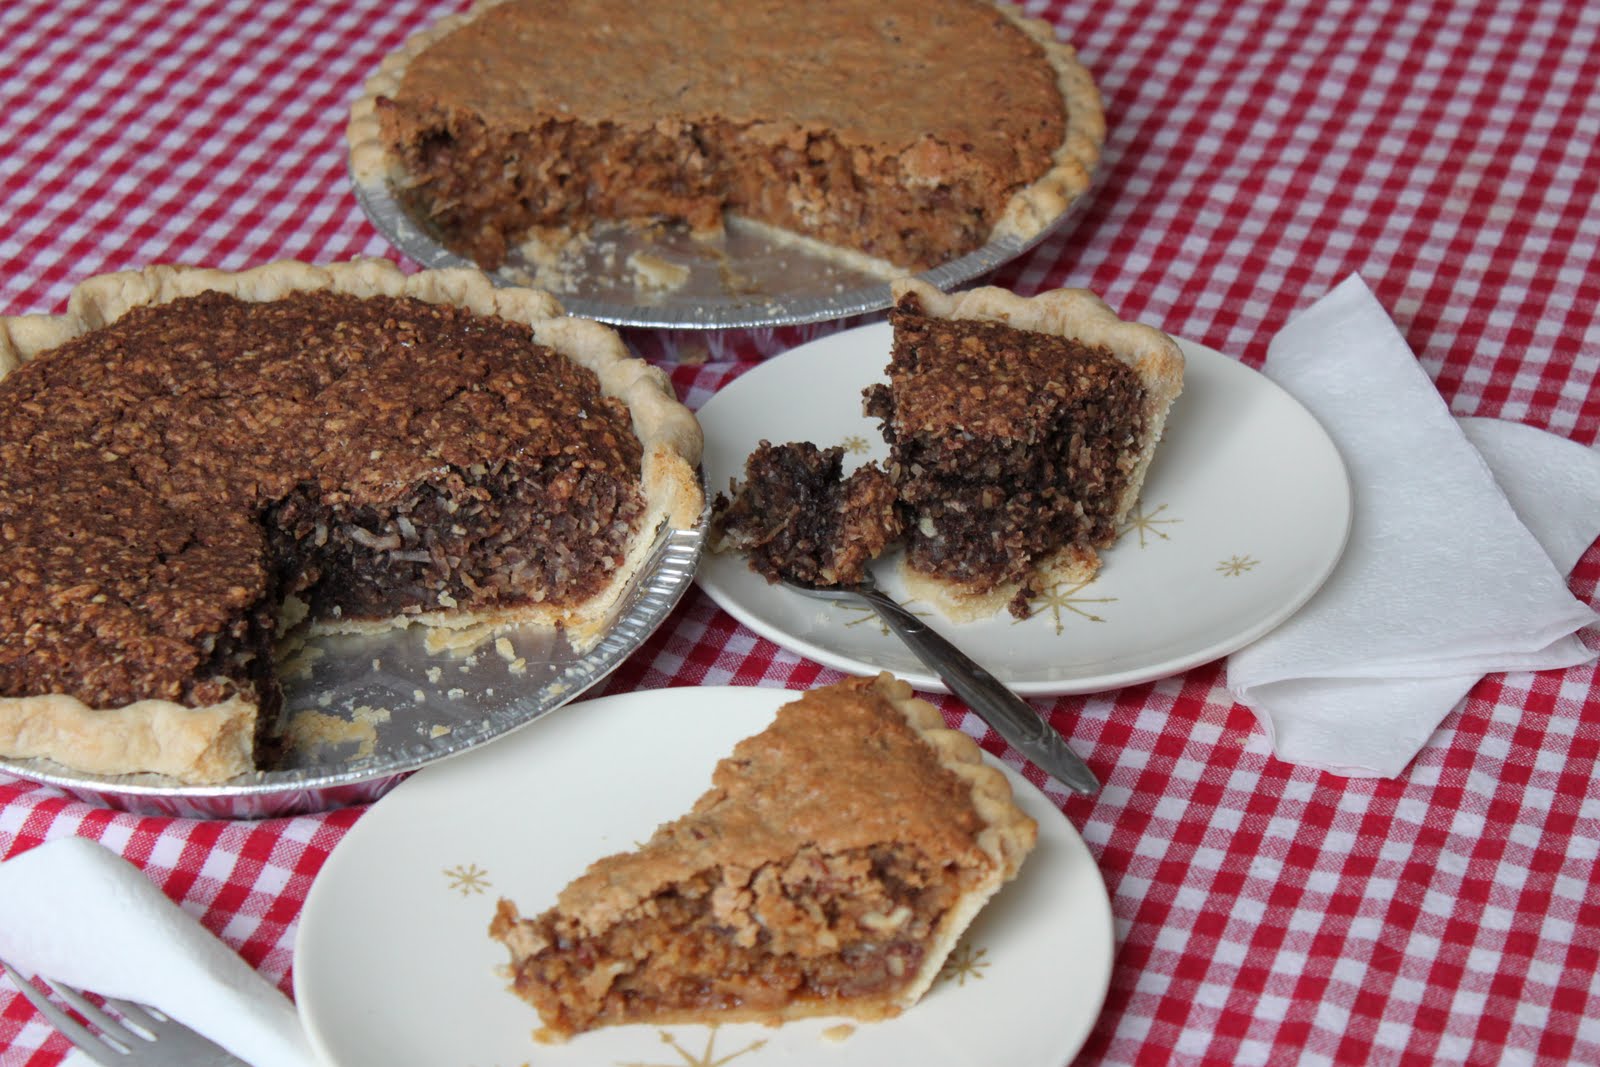
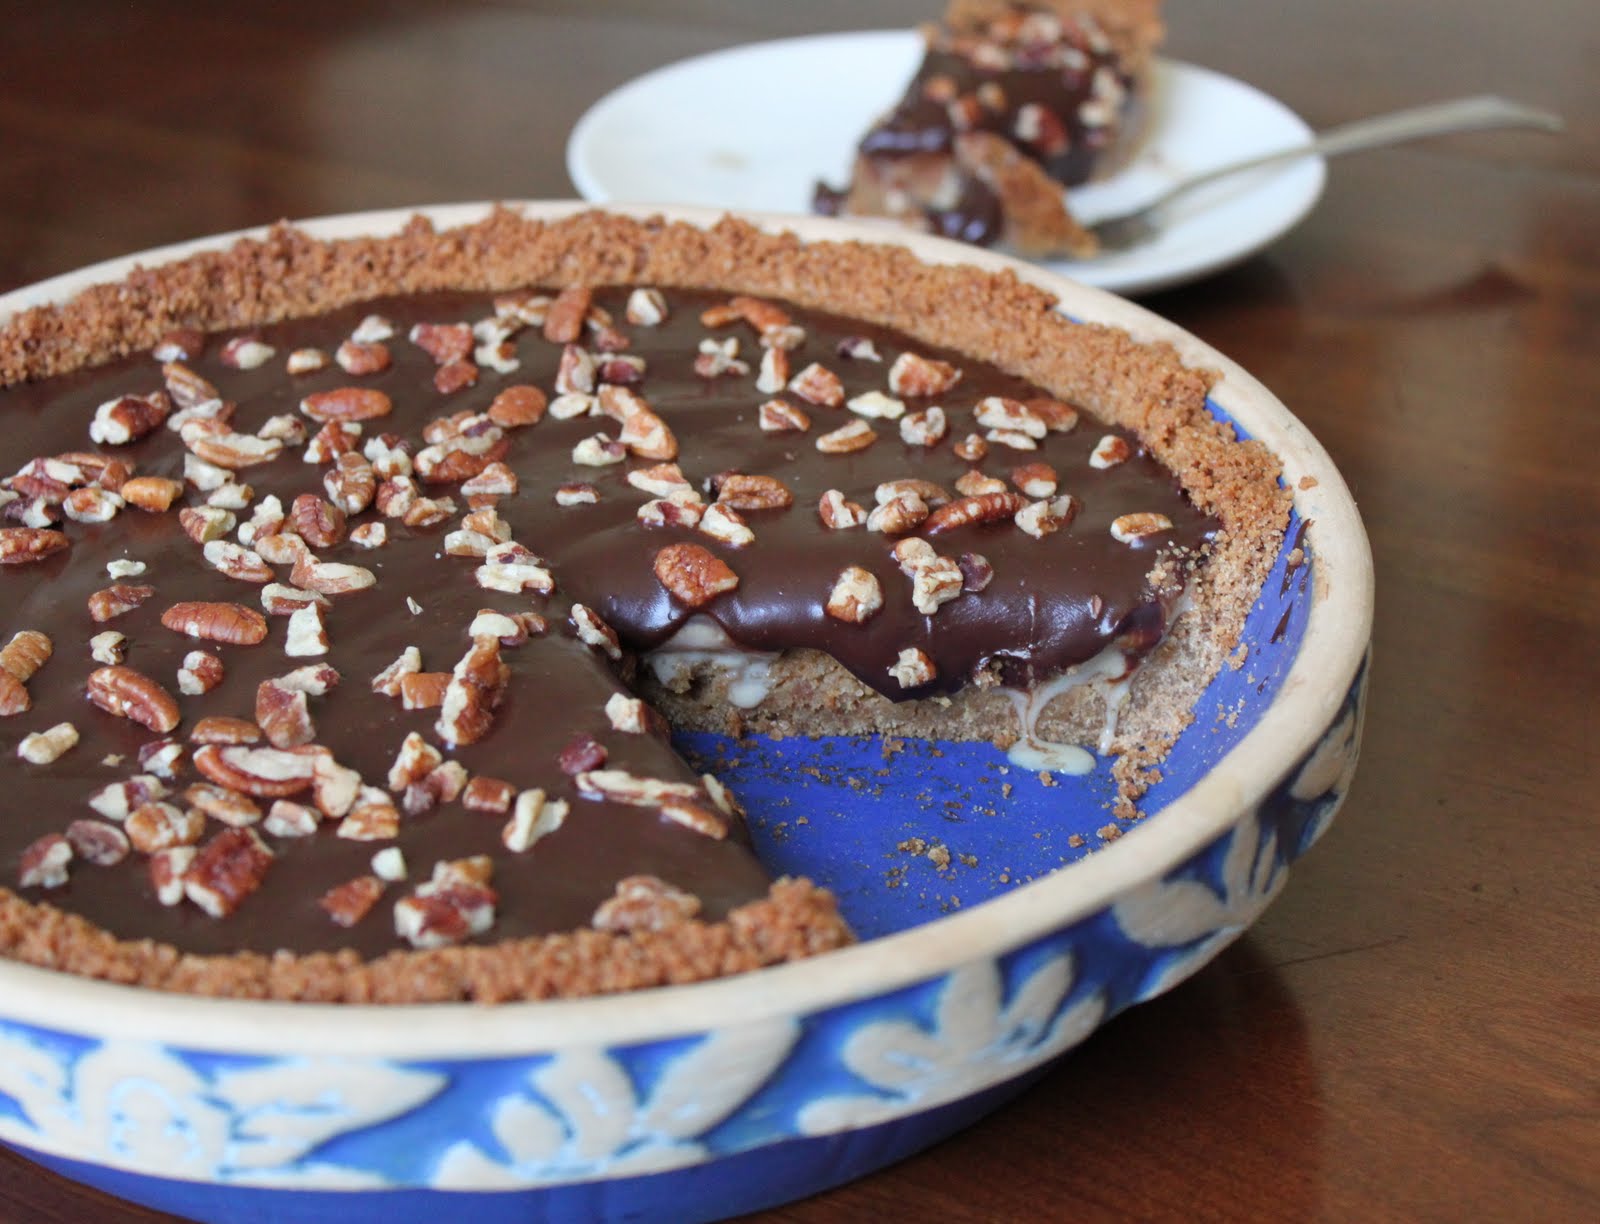
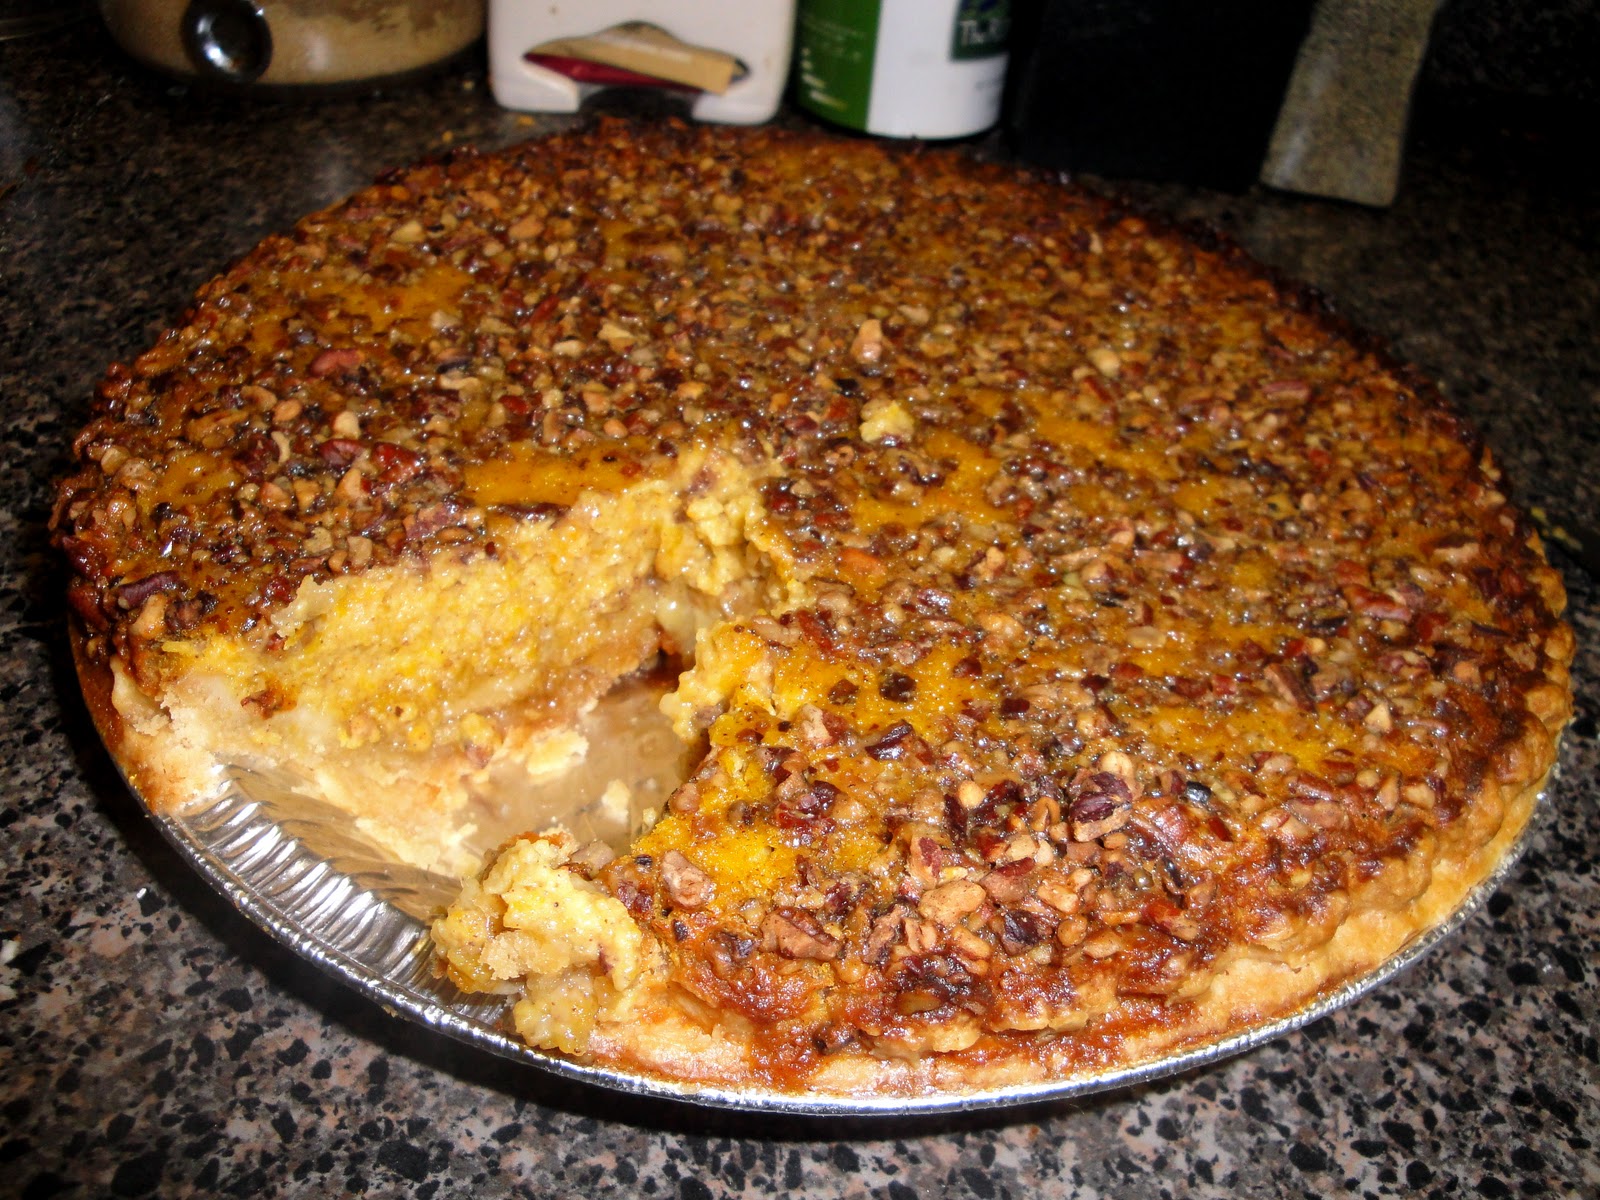
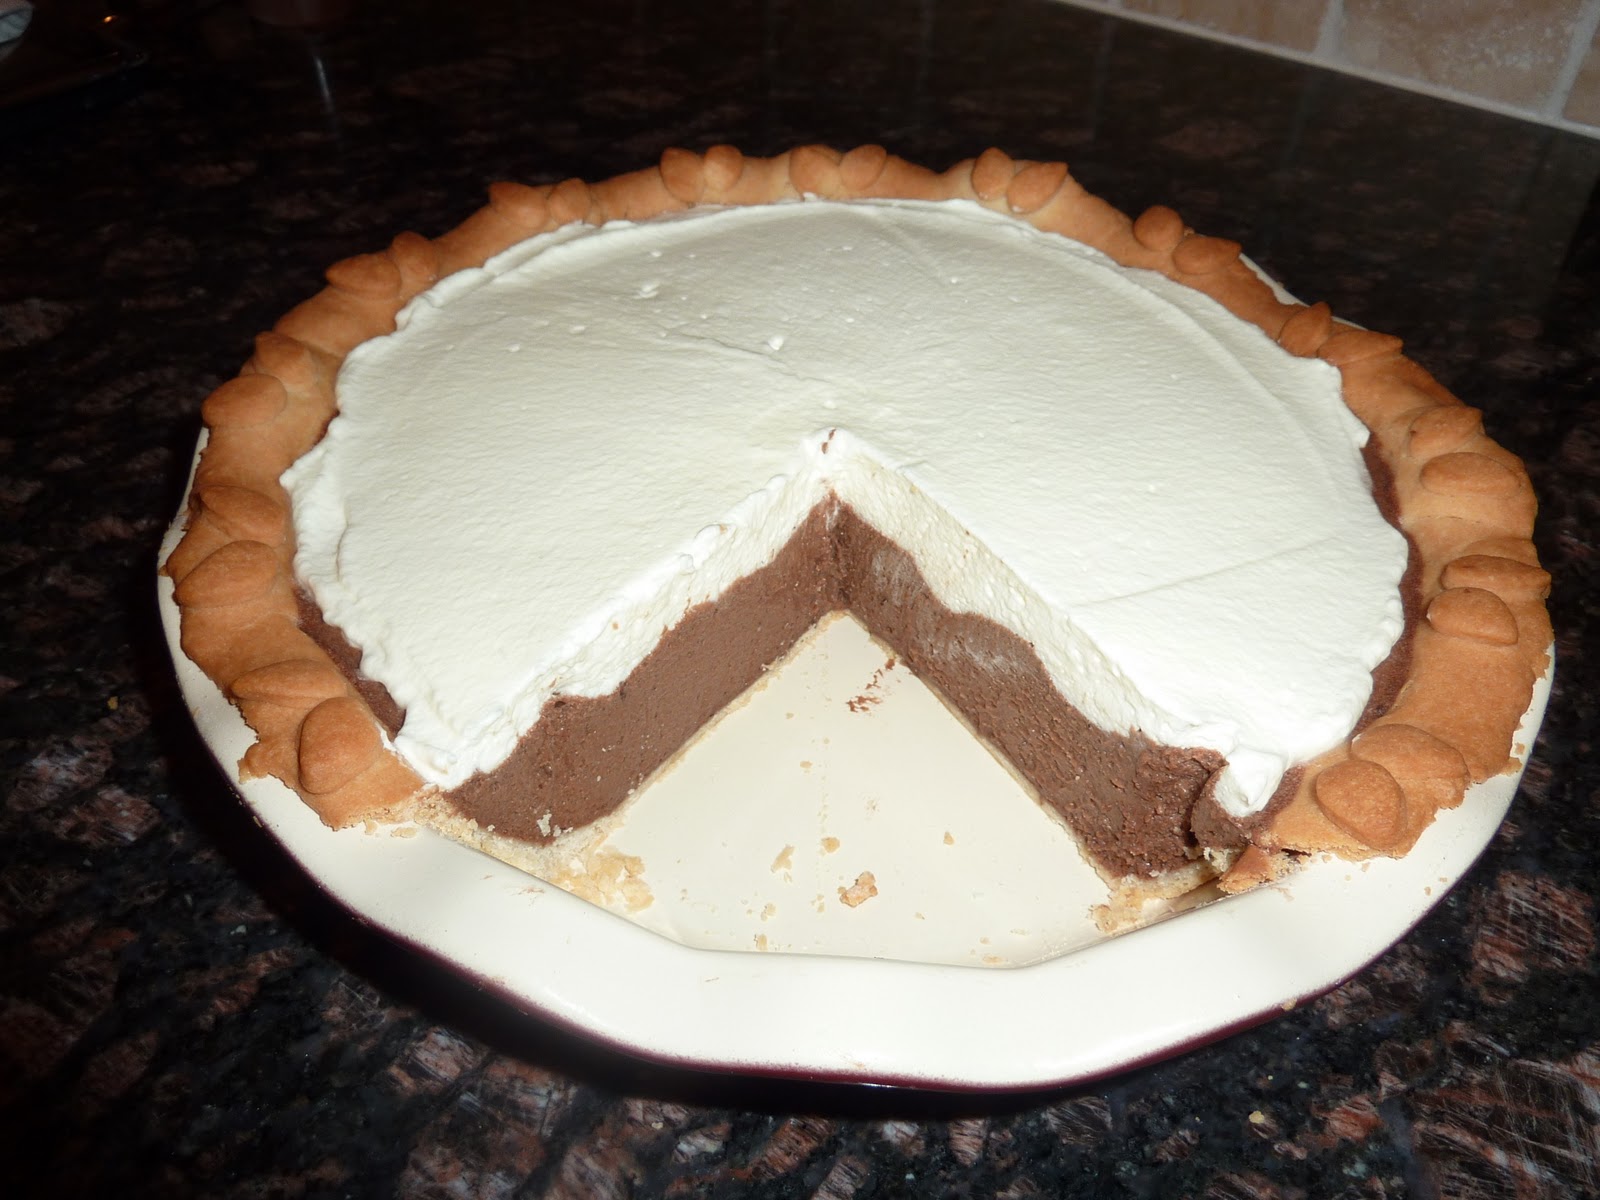
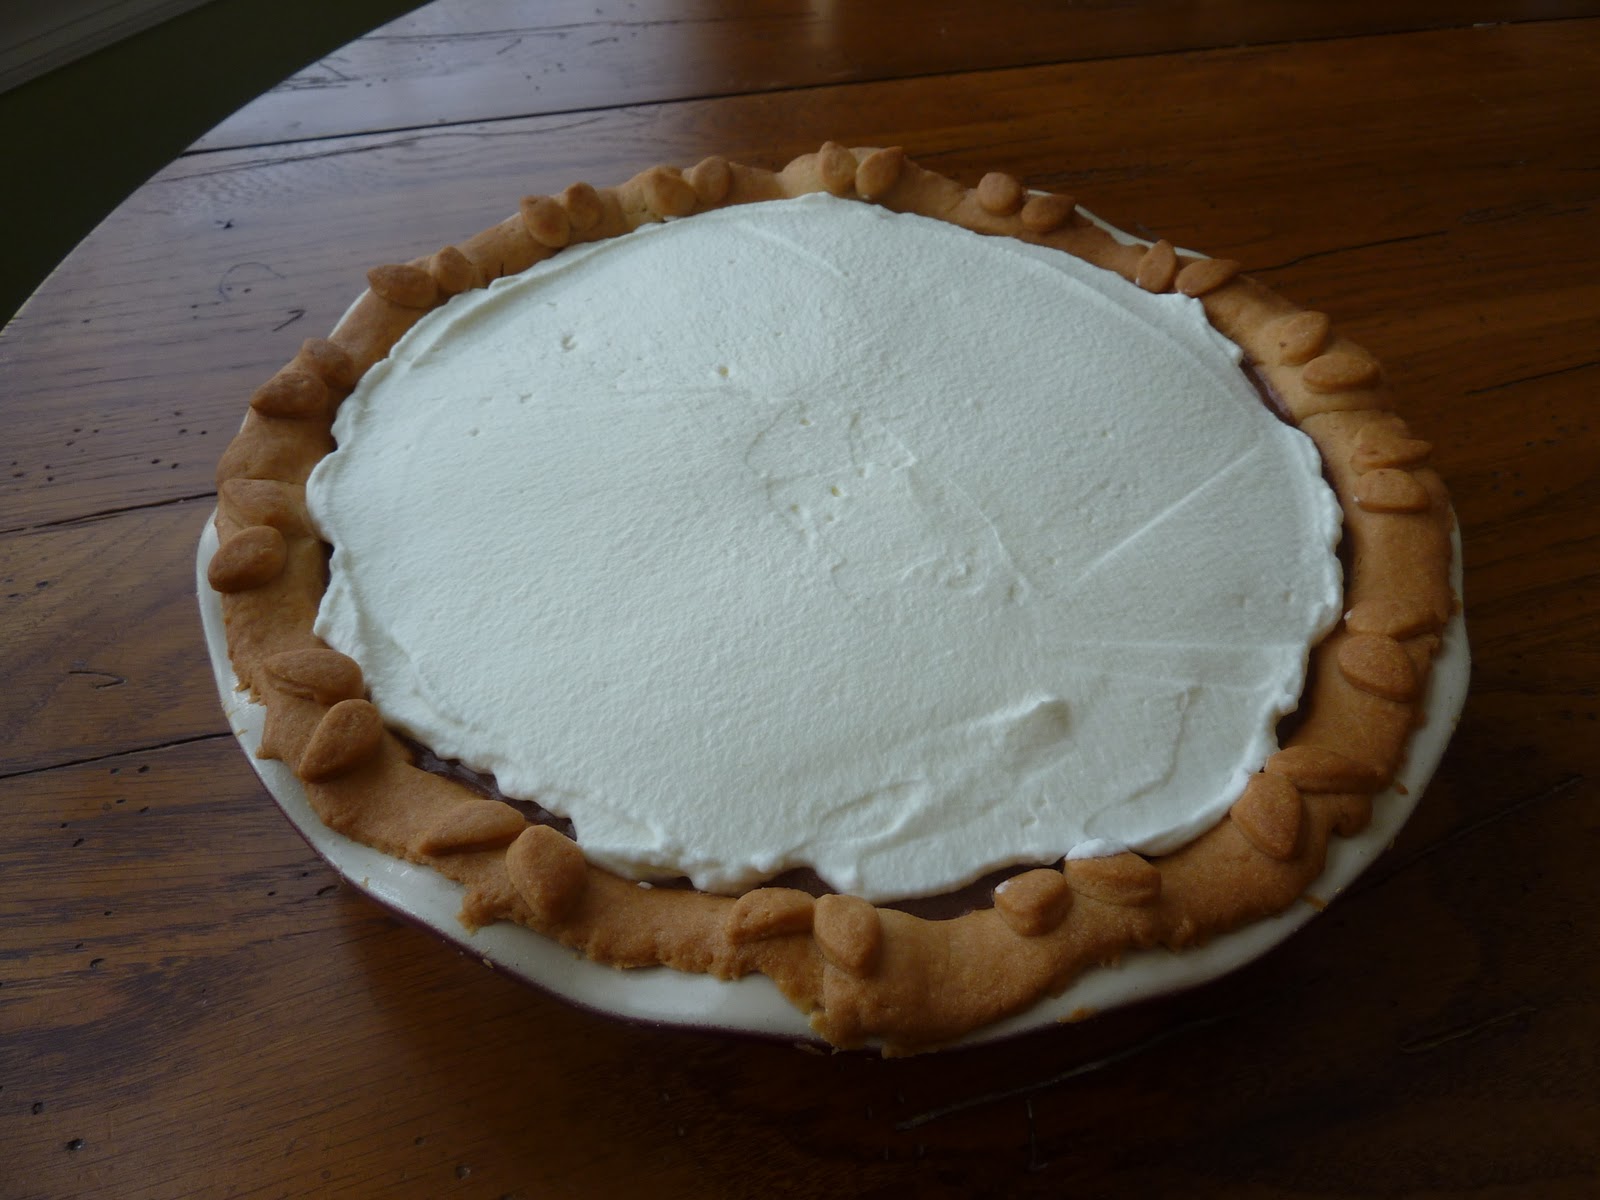
this last week has been a bit of a blur. time flew and before i knew it, it was new year’s day. we have had a bunch of rain-something not in short supply here and the weather has made it a bit gloomy. darry decided to make a nice dinner for the girls and me to celebrate the new year. for dessert, i made a chocolate mousse pie in a coconut crust with a drunken banana caramel sauce. just what we needed to warm up the cold and gloomy day.
chocolate mousse pie in a coconut crust with a drunken banana caramel sauce-serves 10
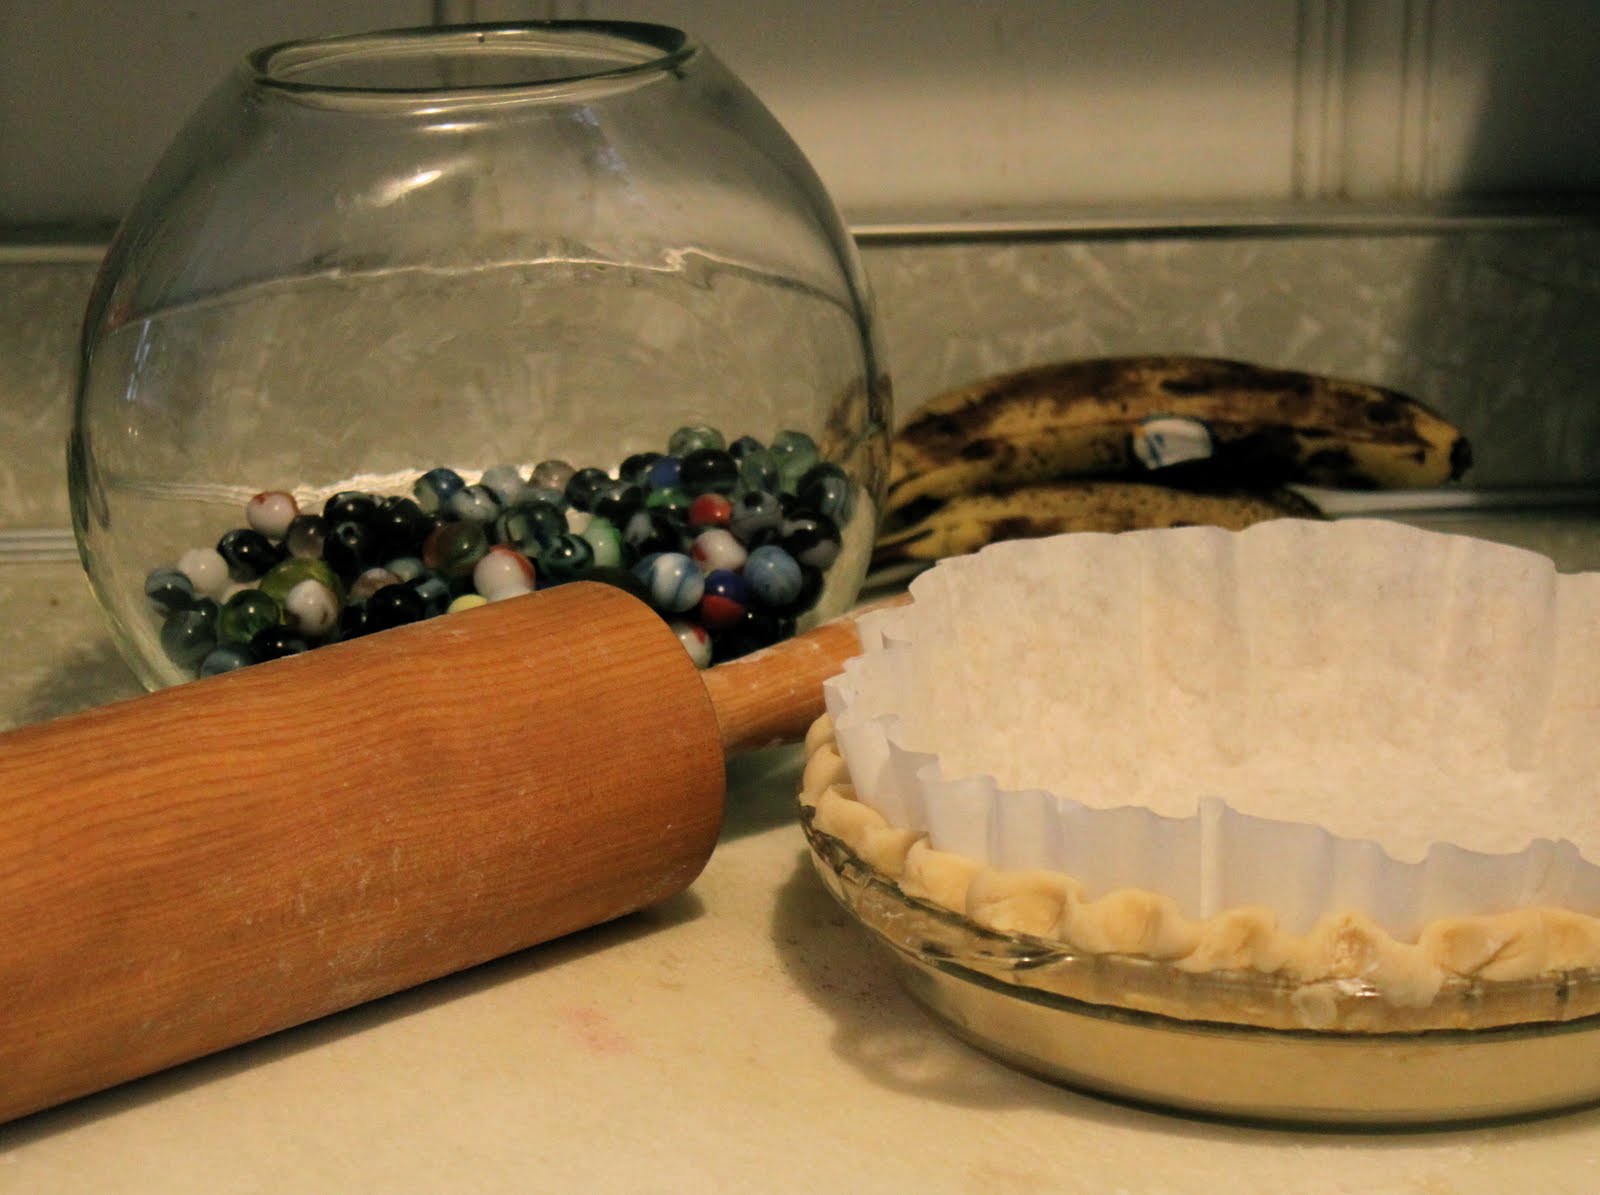
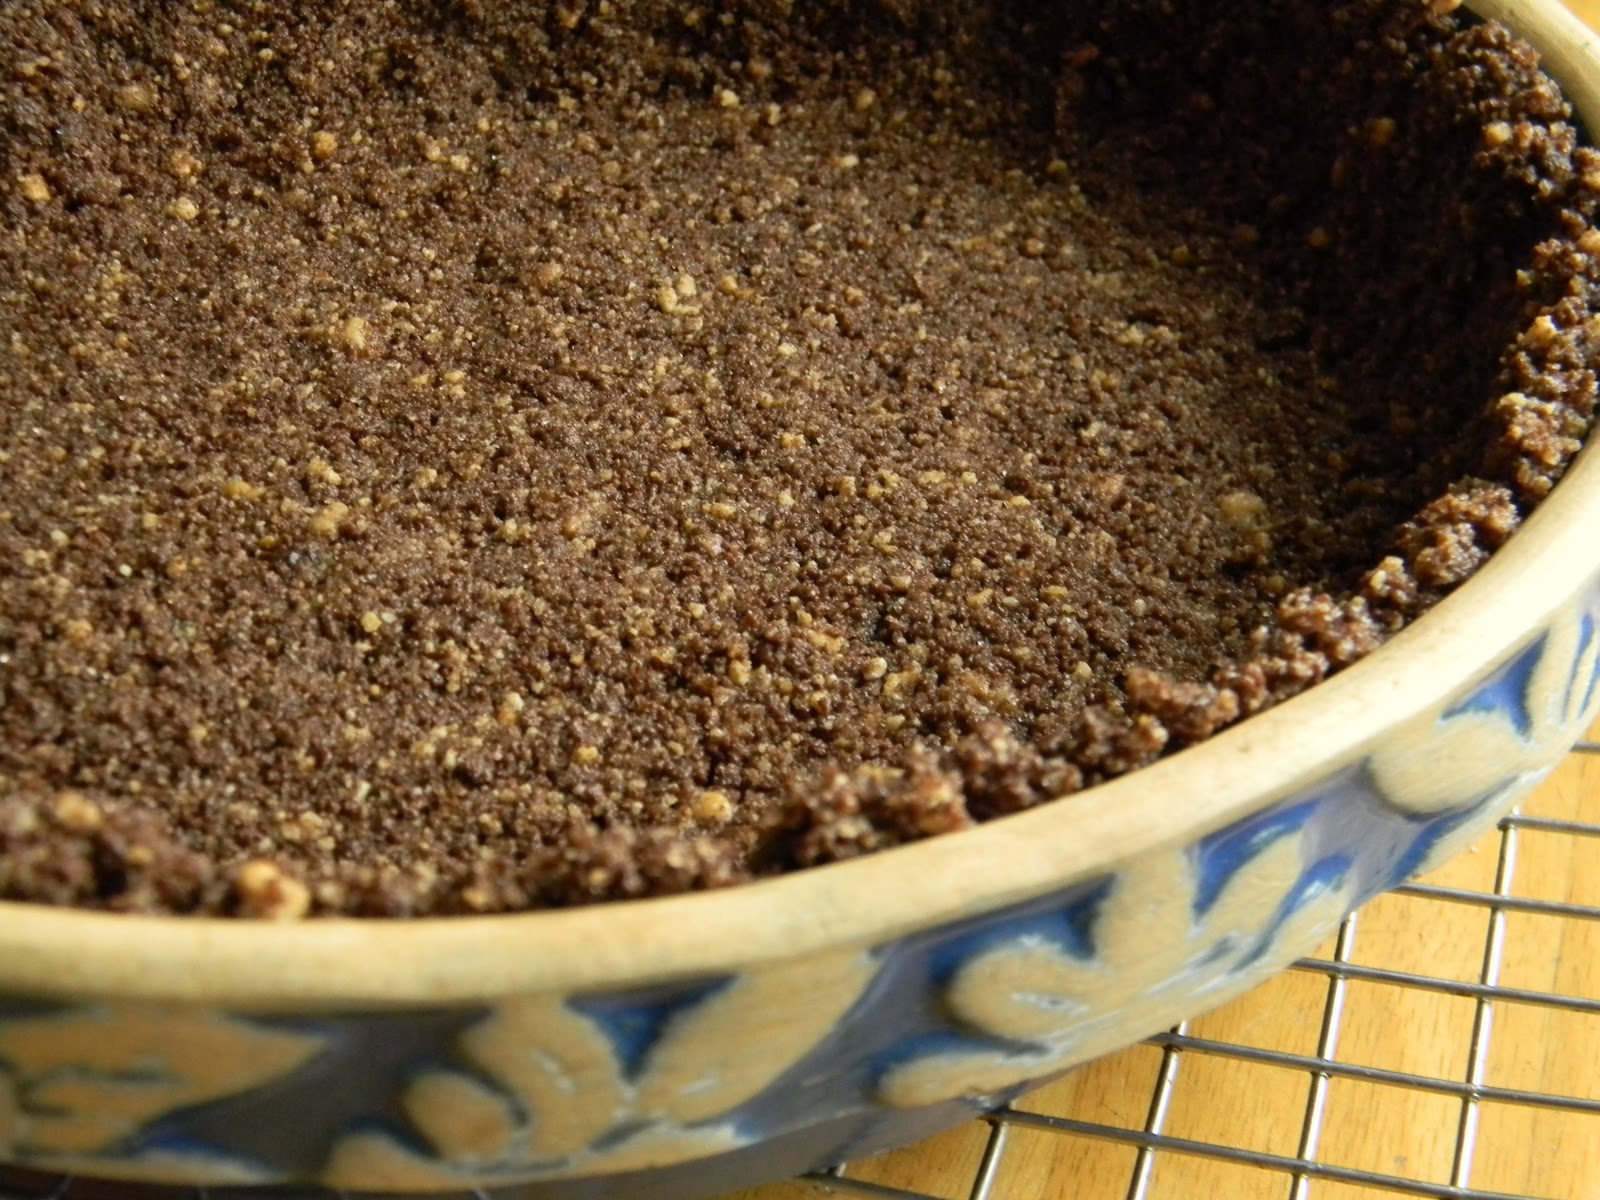
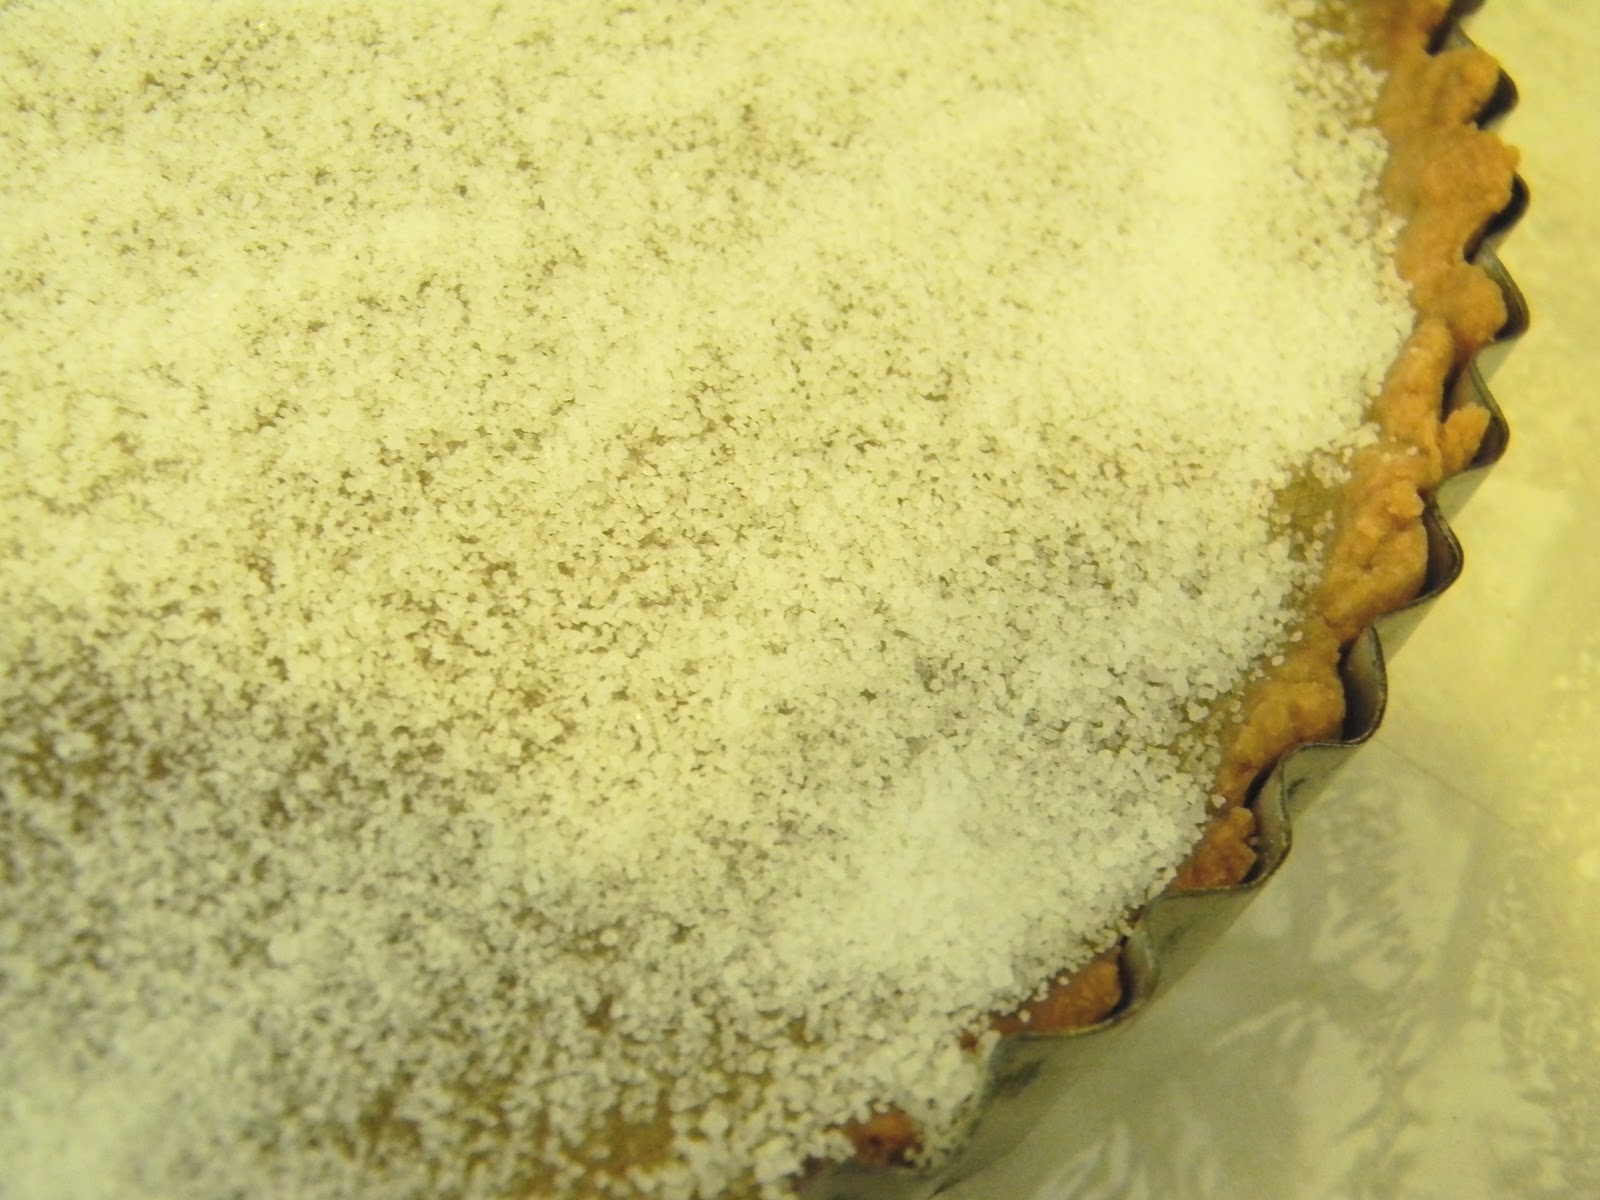
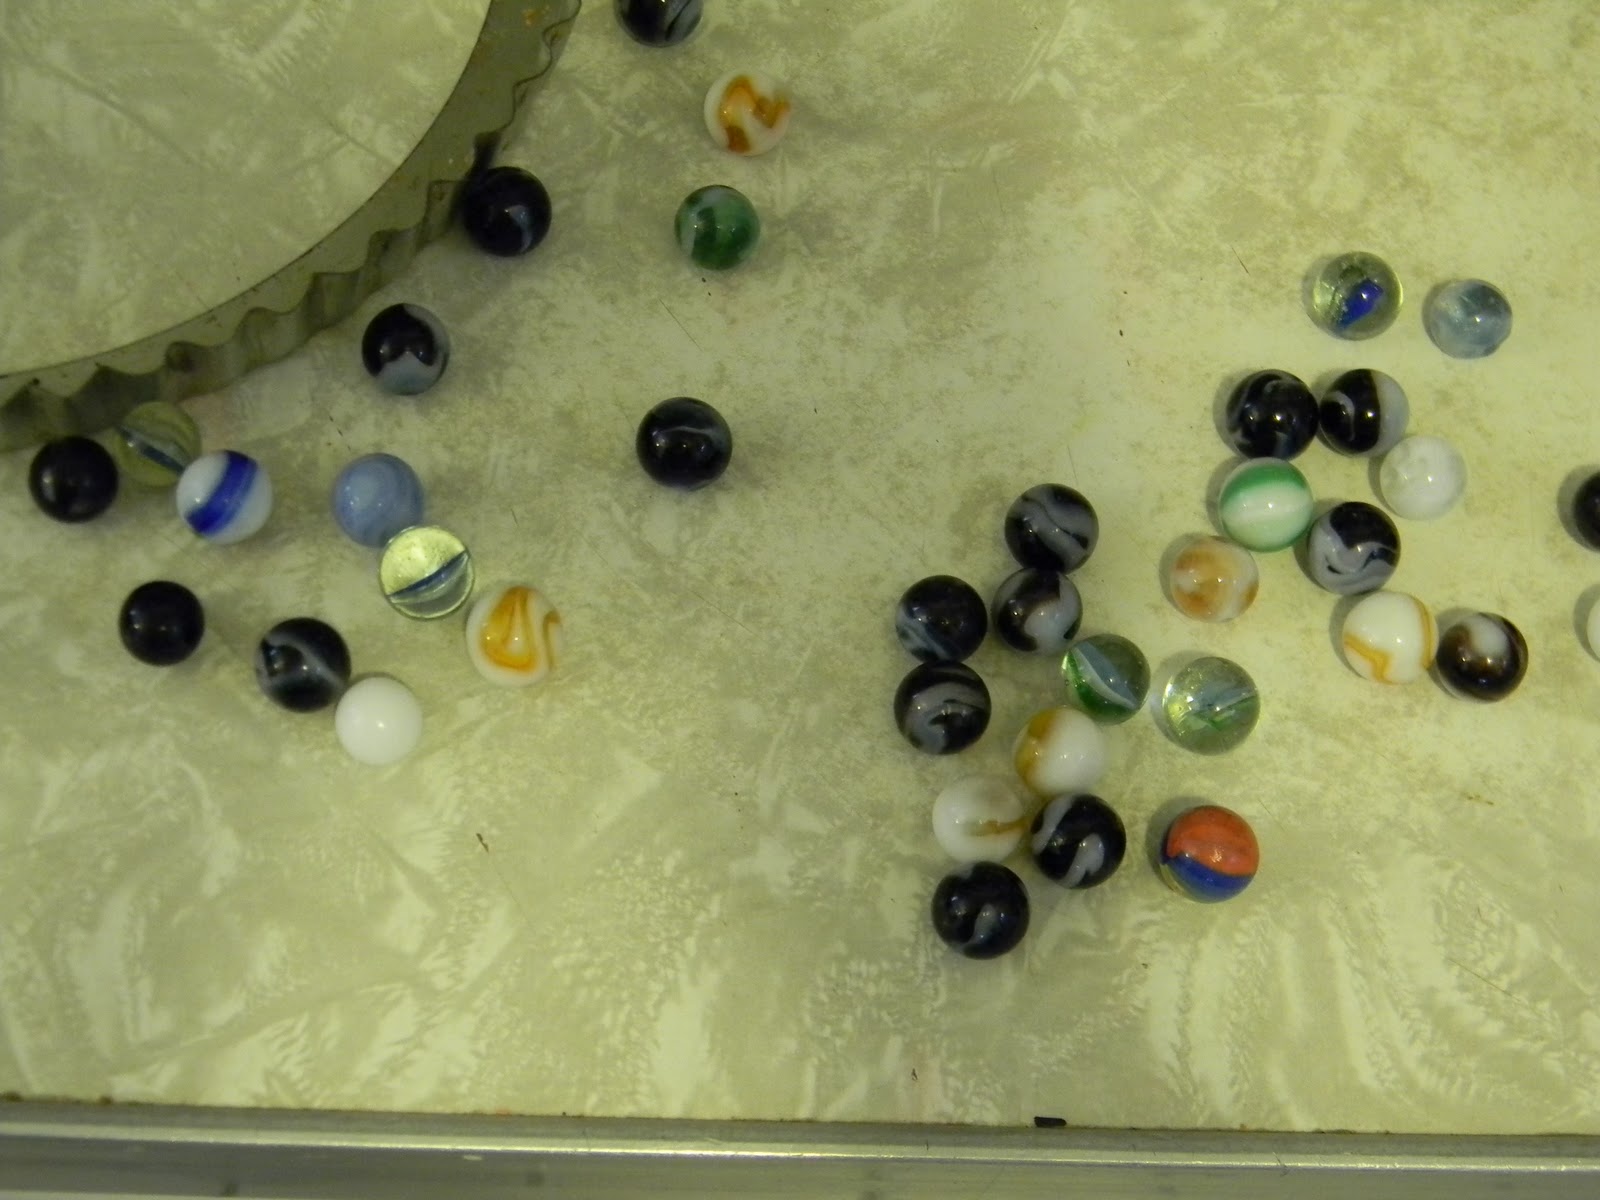
as always, i pulled out the biggin-my favorite rolling pin and i found my marbles. the dough was made in the food processor, pressed into a thick disk and chilled for a few hours. when it was time to roll it out, i let it come to room temp and lined a glass pie dish-this one is a big pyrex dish and it is deeper than most. the crust is allowed to rest in the fridge for an hour to minimize shrinkage when baked. the crust must be completely baked since the pie filling is a mousse and will not be baked.
coconut crust-1 (9-10 inch) pie crust
1 cup all purpose flour
1/4 cup powdered sugar
1 teaspoon baking powder
1/4 teaspoon salt
6 tablespoons unsalted butter, cold and cut into small cubes
3-4 tablespoons coconut milk (unsweetened)
place the flour, powdered sugar, baking powder and salt into the bowl of a food processor. pulse a few times to combine. sprinkle the butter cubes over the mixture and pulse until it resembles coarse meal. add 3 tablespoons of coconut milk and pulse until the mixture comes together and forms a soft dough-only add the extra tablespoon of coconut milk if it seems dry and does not come together. form the dough into a disk and chill it for a few hours or overnight. can also be made in advance and frozen for up to a month. allow the dough to come to room temp before rolling out
preheat the oven to 350. roll out the crust, carefully transfer to a pie plate and flute the edges if desired. line the crust with coffee filters or parchment paper and fill with weights. bake until lightly browned around the edges and the bottom (on the inside of the shell) is no longer shiny. remove the weights and prick the bottom a few times, return to the oven and allow the bottom to bake a little longer.
chocolate mousse pie filling
to make the mousse filling, plan on at least 2 hours. the base for the filling must cool before the whipped cream can be added. it is possible to make the filling base and while it cools, tackle the task of rolling and baking the crust.
2 tablespoons dark rum
1 package unflavored gelatin
4 egg yolks
2 tablespoons cornstarch
2 cups half and half
1 cup+ 2 tablespoons sugar
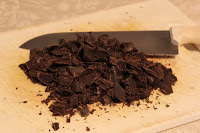
3 ounces unsweetened chocolate
2 cups heavy cream
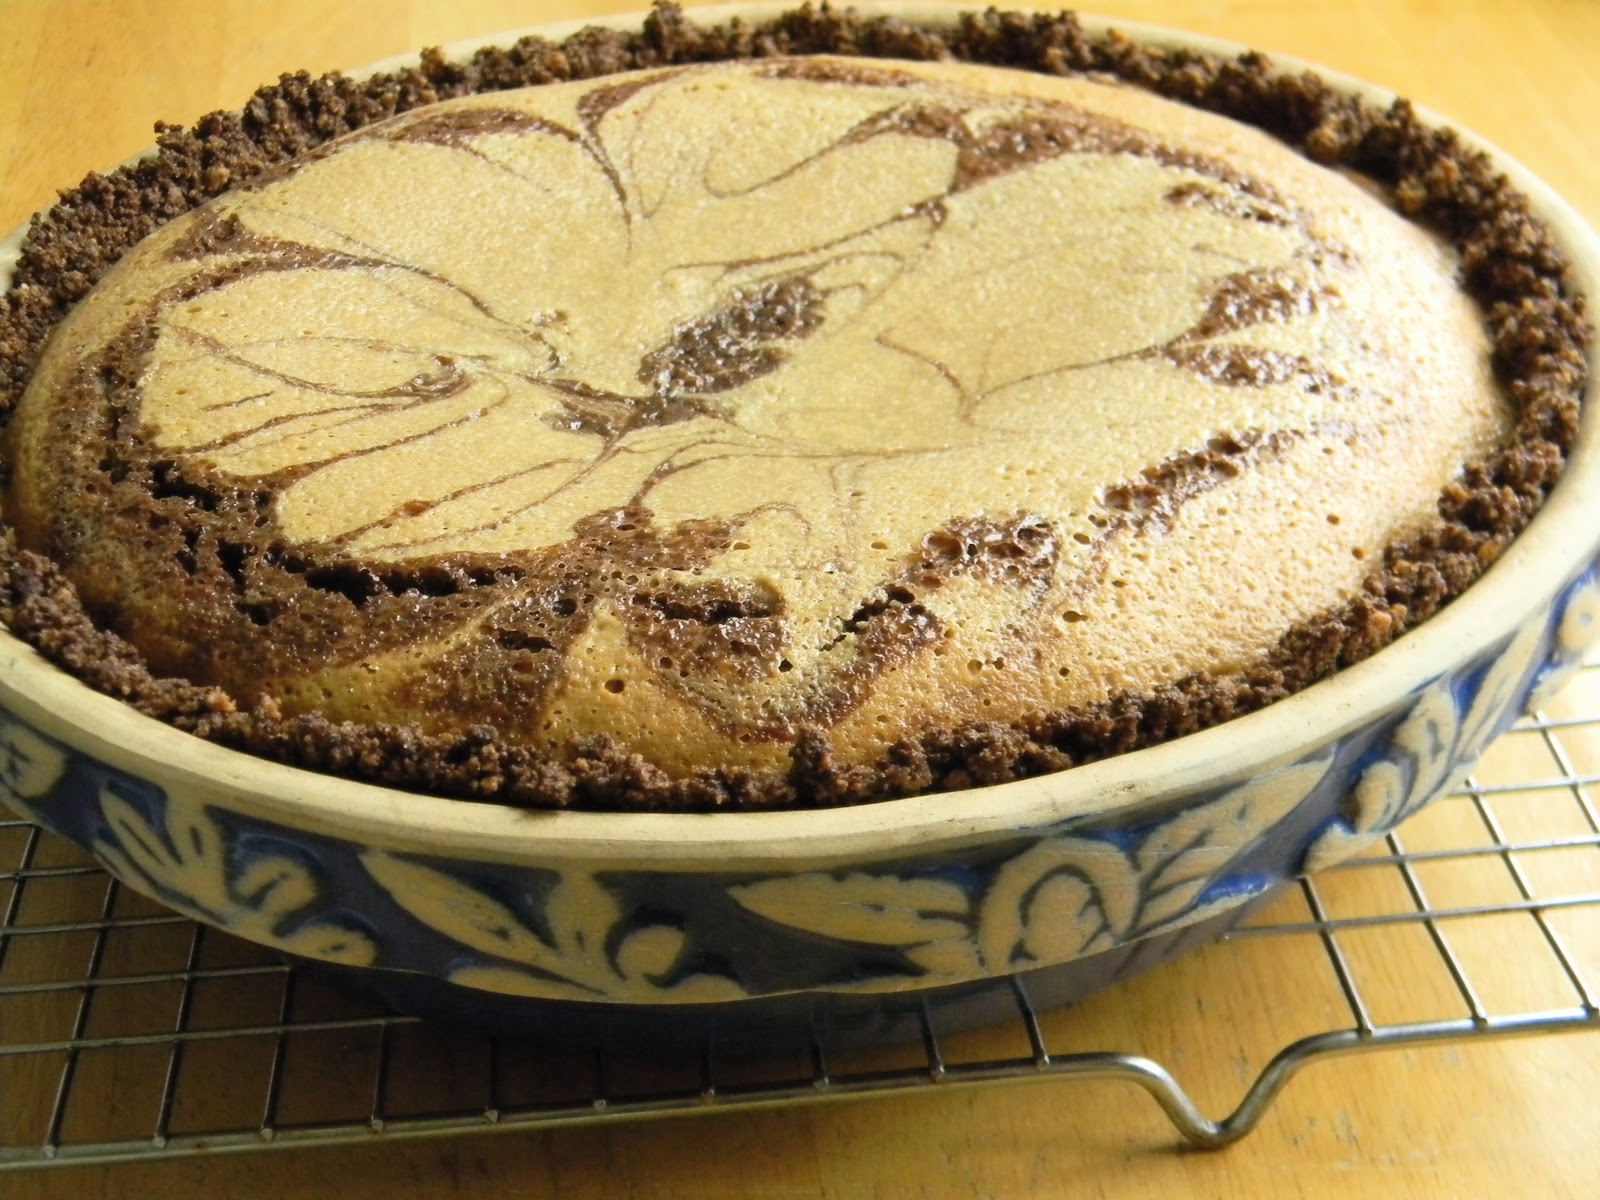
have a heat proof bowl with a mesh strainer over it handy-you will need it for the custard. place the rum in a microwavable dish and sprinkle the gelatin over it, set aside. place the egg yolks and cornstarch in a heat proof bowl and add a small amount of half and half. whisk until all of the cornstarch is dissolved. pour the remaining half and half and 1 cup of the sugar into a sauce pot. place over medium heat and stir to dissolve the sugar. bring to a gentle boil and temper the yolks by pouring a small amount of the hot half and half into the yolks while you whisk them-you must whisk them or you will scramble them. continue whisking the mixture as you pour half of the hot mixture into the yolks. place the remaining hot half and half back onto the stove at medium heat and begin whisking the milk. while you whisk the half and half, pour the tempered yolks into the pot. continue whisking the custard in the pot until it comes to a boil. allow it to boil gently for a minute to cook the starch. place the gelatin mixture in the microwave and on the lowest setting, heat the mixture to bring it to a liquid state in 10-15 second intervals. add the chocolate to the hot custard and whisk until it is melted. add the liquid gelatin and stir to combine. pour the custard base through the strainer into the heat proof dish. press plastic wrap to the surface(to prevent a skin from forming) and place in the fridge. do not allow the mixture to get completely chilled or the gelatin will set, you just want it to get cooled enough to add the whipped cream without melting it. it will take a while and you may have to stir it to keep it from setting around the edges.
when the custard base has cooled, beat 1 cup of heavy cream until almost stiff and gently fold it into the base. place the base into the cooled pie crust and smooth out the top. beat the remaining cup of heavy cream with the 2 tablespoons of sugar until stiff and spread over the chocolate mousse in the pie dish. chill the pie while you make the drunken banana caramel sauce.
drunken banana caramel sauce, makes about 1-1/4 cups
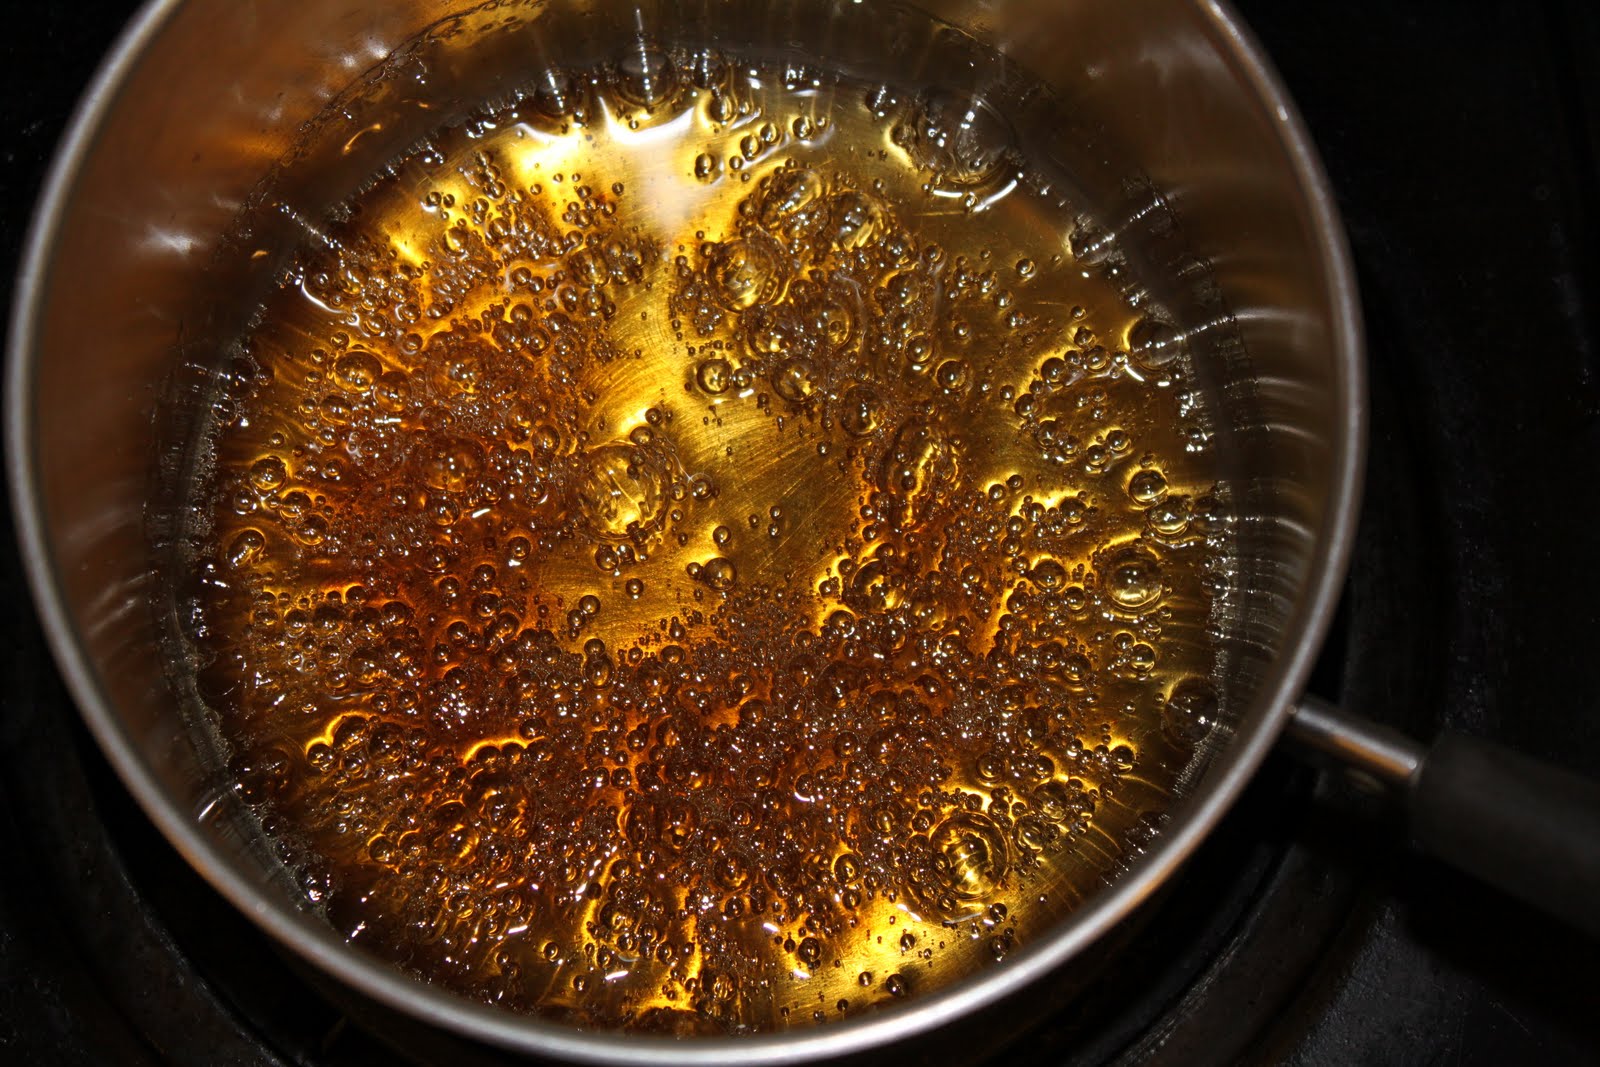
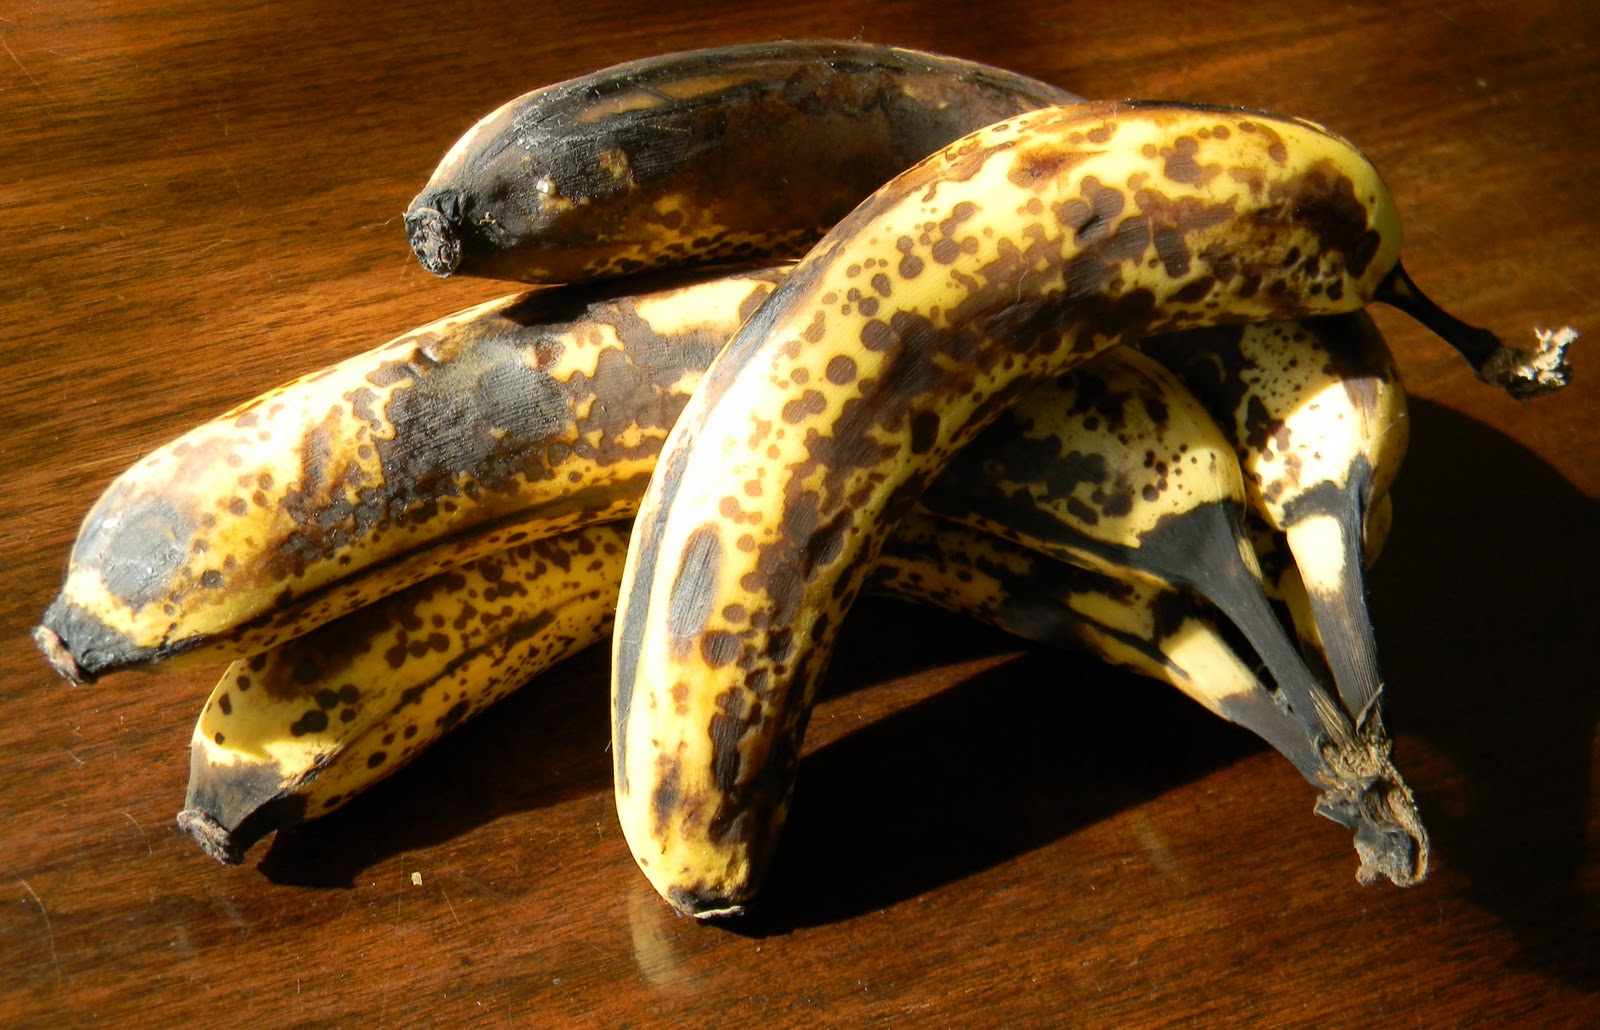
use a ripe banana for the most flavor-one that is nice and spotted and very fragrant. caramel is one of those recipes that requires attention-do not walk away or allow yourself to become distracted while the sugar cooks or you could end up with lots of smoke and a burned pot to clean!
1/4 cup banana puree-use a blender, food processor or a food mill to get a smooth puree
1/4 cup half and half
1 tablespoon unsalted butter
1″ piece of a vanilla bean pod (use a piece that has been scraped out if you have it)
1 cinnamon stick
1 cup sugar
1/4 cup water
2 tablespoons corn syrup
2 tablespoons dark rum
place the banana puree, half and half, butter, vanilla bean and cinnamon stick in a small sauce pan over very low heat to melt the butter and infuse the flavors. in a separate pot with high sides, place the sugar, water and corn syrup. over medium heat, stir to dissolve the sugar. when it is dissolved, use a brush dipped in water to wash the sugar crystals from the sides of the pot-a crucial step to prevent the mixture from crystallizing. allow the sugar to boil until it begins to caramelize. when it starts to color, gently swirl the pan to keep it evenly colored. allow it to become a nice amber color. remove from the heat and carefully pour in the banana mixture. it will foam violently so use caution when doing this and combine the two mixtures slowly. return the pot to the stove over low heat and whisk to melt any caramel that may have settled to the bottom-2-3 minutes. remove from the heat and add the rum, whisk to combine and pour the mixture into a heat proof bowl. remove the vanilla bean pod and the cinnamon stick and allow the mixture to cool. serving it hot will melt the whipped cream.
to serve, place slices of the pie on plates and drizzle with the caramel. to anyone that cares to bake along, send me photos and i will post them. email me at bakinbabe116@aol.com and your photos will be added to the next entry.


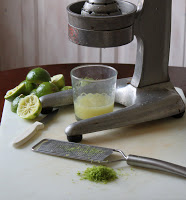 nothing brightens your mood like a sunny day in the middle of winter. a tart citrus pie is just what you need to bring a little of that sunshine to your palate and chase the doldrums away. a little tequila wouldn’t hurt either… i found myself with a bag of limes that had been forgotten in the fridge. a quick trip to the corner liquor store and i had a small bottle of silver tequila to go with the triple sec lurking in the cupboard. after pondering the plan for a day, i decided to make this a no bake pie; the filling is a mousse.