amaretti; a tuesdays with dorie post

Amaretti, even the name sounds delicious.  These little cookies are so simple to make, it is almost a crime not to whip up a batch.  Of course, you have to be a fan of the bitter almond flavor the almond paste contributes to the cookie.

Traditionally, these cookies are served with a cup of coffee or bit of wine or liqueur.  In our house, they are consumed by themselves, two or three at a time, every time we pass by the box they are stored in.  Needless to say, I will not be making these again for a while-my clothes are getting tight…

Way back when, in my days of working at the World Trade Center in New York City, I was a pastry cook in the hotel that sat between the two towers.  Our pastry chef, who was from France, had us make these all the time but he called them macaroons or maybe macarons, it was a long time ago and I cannot remember.  The recipe was nearly identical to the one we used at the hotel.  This I do remember because I still have the recipe and I make them from time to time.

The crazy thing about all of this, I was probably toiling away, below the plaza while Nick Malgieri, the contributor of this recipe to Baking with Julia, was working away at the top of the towers in the world famous restaurant, Windows on the World.  Small world, isn’t it?

To see what the other Tuesdays with Dorie-Baking with Julia bakers came up with, be sure to check the homepage.  Consider baking along with us if you have the book, or buy/borrow one and join in on the fun.  We are also baking our way through Dorie’s new book, Baking Chez Moi.

palets de dames, lille style: a tuesdays with dorie post

Can you believe that it has been more than two years since we began working our way through Baking With Julia?  Twice a month we prepare a recipe from the book and it has been a lot of fun to try all the different techniques.  When the Tuesdays With Dorie gals announced that we would also be baking from Dorie’s new book, Baking Chez Moi, I did not hesitate to order a copy of the book.
For our first recipe, we chose palets de dames, lille style.  To see the recipe, I always encourage folks to support the author by purchasing a copy or borrowing the book from a library, but the recipe has been available on the amazon.com page for the book.
Let me first say that not only do I love the simple but elegant look of the cookies, I really love the fact that the recipe is an easy one!  The directions were easy to follow and the results were exactly as described.  While it may not seem like much to rave about, I am baking in a new kitchen with an electric range and it is almost like learning all over again.  

 Follow Dorie’s advice and use a scoop to portion the cookies.  Trust me, not only will it be much quicker and less messy than rolling the dough into little balls but the cookies will be much more consistent in size.  That little hint will keep you from having overbaked and underbaked cookies on the same tray.

To dip the cookies in white glaze was too easy, almost boring if you ask me.  So just to make them a little more colorful, I tinted the glaze with a bit of purple hoping for a nice lavender shade.  Let me just say that no matter how hard you try, it almost always ends up looking a little too much like grey. To prevent that from happening, I also added a tiny amount of red to the mix.   A little sprinkle of clear sugar crystals on top gives them a bit of sparkle too!

If you add sugar crystals, let the glaze set a bit until it is just a little tacky.  If you put it on immediately, it sinks in and doesn’t sparkle.  To see what I mean, compare the cookies at the top of the photo to the ones on the bottom.

So, this is all fine and dandy but the true test is tasting them.  Drum roll…Yeah, well, not my favorite cookie.  Hard to say but I really wanted these cookies to be incredibly good but all I tasted was sweet.  The texture is nice, almost cakey but to be honest, I just do not see how a 1/4 teaspoon of vanilla could have added any flavor to the dough.  Usually, I tend to change or add flavors but this time, I followed the recipe exactly as written.  If I make these again, and I probably will because they are great for gift giving, I would pump up the flavor to a teaspoon of vanilla or even rosewater or add some freshly grated lemon zest.

The only part of the recipe that did not work out for me was the glaze.  The 1 1/2 tablespoon of milk called for was something I did not have so I subbed half and half.  The glaze required more like 2 tablespoons and even so, I still had about a dozen cookies without glaze.  Since the cookies reminded me of a childhood favorite, New York Black and Whites, I decided to mix up white and chocolate glazes to finish the batch; a perfect solution to my dilemma!

Not sure what a black and white is?  You can read about the history of them in this article by Robert Sietsema.  To make a batch of your own, use the palet de dames cookie recipe and mix up some chocolate and vanilla glazes or try this recipe from the New York Times.

In the meantime, be sure to visit the Tuesdays with Dorie page to see what the other bakers came up with!

puff pastry pizzettes; a tuesdays with dorie post

How can you not love a recipe that isn’t actually a recipe?  These little pastries were simply a quickly thrown together snack to use up homemade puff pastry scraps; it is a crime to waste something that you put so much effort into preparing.  That said, I am afraid I just did not care for them.

The recipe is from Baking with Julia and was contributed by Michel Richard and it truly does call for the use of scraps from previously prepared puff pastry recipes.  The recipe, which really isn’t much more than a guidline, instructs you to place cherry tomatoes halves onto two inch rounds of dough and to top it with a little goat cheese before popping it into the oven to bake.  Honestly, as soon as I saw cherry tomatoes and goat cheese, I knew I was in trouble!

Sad but true fact, this Italian girl only likes cooked tomatoes if they are in the form of tomato sauce, otherwise, I avoid it like the plague.  Yes, I am that person who will pick the tomato chunks out of soup, don’t get me started on goat cheese, I have never been able to eat it!   However, in the spirit of following the “recipe” as it is written, I topped my little squares with a rosette of goat milk cream cheese from Trader Joe’s. If you shop there, they sell it with the cream cheese and it tastes just like regular cream cheese, at least pretty close to it.  With the cherry tomato halves in place, into the oven they went.

But that was just too simple.  Out of curiosity, I cut up some curried roasted vegetables and made a few squares.  Brussels sprout halves and thick slabs of kabocha squash were pressed into the cheese and baked along side of the tomato bites.  All in all, about 15 minutes of work for a few quick bites to give my husband a treat-he works so many hours that I really have become a kitchen widow.

Well, all is not lost, I have a lot more puff pastry dough in the freezer which means I will have scraps to work with again at some point and next time, I’m going with chocolate, or caramel, or maybe chocolate and caramel…

What I had to do to get that shot.  Yes, on the landing in the middle of the stairs but look at that window!  It let’s in the most amazing morning light and none of it was direct.  It is taking time to figure it all out but I have a feeling that I will be spending a lot of time on the stairs with my camera and a plate of food!

To see what the other bakers came up with, be sure to visit the Tuesdays with Dorie website and if you have a copy of the book, Baking with Julia, bake along with us as we bake our way through the book.  If that isn’t enough for you, we will also be baking from Dorie Greenspans new book, Baking Chez Moi starting in November.

sunny side up pastries; a tuesdays with dorie post

Well, we made it to Virginia.  It was a long drive that took two days and numerous stops.  If anybody asks, traveling with three cats and a dog is not any easier than traveling with kids.  Trust me, I have done both of these things and can honestly say that I really hope to never do that again.

We closed on our house two weeks ago and have moved in.  Now the only thing to do is finish unpacking and I am actively looking for ways to get out of that task.  Making a batch of tiny little pastries was just the diversion I was looking for!

If you recall, I am part of a group of people baking their way through the wonderful book, Baking With Julia by Dorie Greenspan.  We have been at it for quite a while now and having missed the last few months, I am happy to be back at it.  For our first recipe in October, we chose the Sunny-side-up Apricot Pastries which first required making a batch of puff pastry or mille feuilles in French and both recipes were contributed to the book by Michel Richard.  To see Julia and Michel make these recipes, watch the video by following this link!

Michel’s recipe for the dough is a little different than most.  He instructs you to make a soft dough in the food processor and then rest it in the fridge before incorporating the butter.

my new house has lots of light but it also has walls the color of butter.  Nice and neutral I suppose but the make taking photos tricky.  The light always seems to be a bit on the yellow side.

 Puff pastry is one of those recipes that seems so intimidating but in truth, it is a simple recipe that just has a few rules that should never be broken.  Follow those rules and you will have a skill envied by those that think it is a difficult item to make.

 Seal the butter into the dough to make sure that it does not ooze out during the rolling process.

Flour is your friend; use lots, it is easier to brush off flour than to scrape the dough off the table.

Bakers trick, mark the dough with your finger tips; one indent per roll/fold.  Michel’s recipe calls for making the folds two at a time.  This means that you roll the dough out, brush off the flour, fold it and repeat the process.  Be sure to rest it in the fridge between steps so that the butter does not get too soft and the gluten can relax.

 Four down, two more to go!
 Done!!!
 The view from the kitchen.
 My begonians traveled well and are liking the new window.

 The book calls for poaching apricots and cooking a batch of pastry cream.  Both of those ideas did not appeal to me.  We had some Cortland apples on the counter and I thought apples and frangipane sounded better.

 Although I have no idea which boxes contain what, I do know where all of my cutters are.  Priorities people, priorities!

 My half sized pastries with a tiny scoop of frangipane and a few slices of apples.
 Learning to shoot in this house is going to take some time.  The light is lovely but those walls…

 Just out of the oven.  The frangipane spread more than pastry cream would have but I like the flavor combination.

 We have a skylight and it lets in so much light.  Now I just need to learn to work with light from overhead!

 So far, I am liking my new place.  The neighbors I have met are all very friendly.  The only one with a problem is The Captain.  Remember him?  Our outdoor cat?  Well, he is now an indoor cat and let’s just say we are both adjusting to (his)life indoors…

Be sure to visit the Tuesdays with Dorie website to see how the other bakers did with this recipe.

savory wheat crackers; a tuesdays with dorie post

after a truly action packed month, i am glad to be back!  the master gardeners chapter i belong to hosts a festival each may and last month, i was the co-chair of the event.  not sure what i was thinking when i agreed to do that-it ruled my life that last few weeks before the big day!  
for the first challenge in june, the tuesdays with dorie bakers chose a simple, savory wheat cracker.  the dough has 3 ingredients; whole wheat flour, water and salt.  a variety of seeds and a spritz of water tops them off.  

 the dough is mixed up quickly in the food processor and then allowed to rest for 30 minutes.

to make thin, crispy crackers, it is necessary to roll the dough out as thin as possible and to roll it out so that it is all the same thickness.  to do this, i used a pair of 1/16″ thick dowels.  the dowels prevent the rolling pin from going any further and the result is a consistent thickness throughout the sheet of dough.

so thin!  it was actually pretty easy to roll out the dough.  resting it was the key and lots of flour on the table and the dough helped too.

 i made half of the recipe and cut it into 4 pieces.  each one was cut into a different shape.  for this first sheet, i gave it a sprinkle of nanami togarashi, a japanese pepper blend.

to keep it interesting, i also changed the topping on each sheet of dough.  these were simply sesame seeds.

 because i love everything bagels, these are a combination of poppy, sesame, salt and onion flakes.

 can’t go wrong with a sprinkle of salt!  this is pink himalayan salt and i love the way it sparkles.

 they took longer to bake in my oven than the recipe states.  instead of 2-3 minutes, i baked the crackers for 8-10 minutes.  in my opinion, the ones that were dark were the crispiest and the most flavorful.

 the lighter crackers just do not have the crispy crunch a cracker needs.

 the salted sticks are my favorite-especially so since they are also the darkest.
 the spicy japanese pepper blend is a nice addition to the crackers.

 all together in a tin-hopefully, they will stay crispy; a true challenge in the hot and humid south!

to see what the other bakers came up with, be sure to check out the tuesdays with dorie website.

rolled buttermilk scones: a tuesdays with dorie post

such a dark and dreary day.  cold and icy and snowy.  who isn’t over this winter thing yet?  this weeks tuesdays with dorie baking challenge was buttermilk scones.  they were the perfect treat to pair with a steaming hot cup of tea on such a cold and damp day.

scones recipes call for cold butter to be cut into the dry ingredients.  this recipe was no exception.  to get the job done, i used my vintage piano wire dough cutter.

the recipe instructs you to cut the butter into the dry mix until it resembles coarse meal.  i left some small lumps of butter because that will add to the flaky texture i prefer in a scone or biscuit.

after the butter is cut in, buttermilk is added and the dough is kneaded about a dozen times.  in my opinion, the kneading is not necessary.  mix it up and pat it out.  game over.  the recipe gave us two options;  classic wedges or filled, rolled up and sliced.  since i have made more wedge shaped scones than i could ever count, i opted to make the rolled scones.  the dough was patted out into a 12″ x 4″ rectangle that was about a half inch thick.  first, a brush of melted butter, then a sprinkle of sugar before topping the dough with some candied lemon peel and candied citron that were left over from holiday baking.

there wasn’t much to work with as far as rolling up the dough.  i didn’t get much of a spiral and they looked more like a donut with a clump of dried fruit in the middle.  with a final brush of melted butter and sprinkle of sanding sugar over the top of each spiral, they were ready to be baked.

 a close up view of the spiral.

my work table.  i love being able to work with dough on the tabletop.  it is next to a large window and i get lots of natural light on my workspace.  the bench knife is one of my favorite tools.   it is one of those tools that once you have one, you cannot go without it.  first i used it to cut the butter up into little cubes.  then i used it to slice the spirals.  finally, a quick scrape across the tabletop removed all of the dough and flour.

the rolls took several minutes longer than the 10-12 minutes that the recipe called for.  in my oven, it was more like 15-16 minutes.

a quick and easy treat to make, scones are always a favorite of mine.  however, i was not impressed with this recipe.  it was not buttery enough for me-the recipe could have used a couple more tablespoons of cold butter cut into the dough.  it also could have used a little more buttermilk-i only used the amount called for since i had no experience with the recipe, i did not want to add too much.  then, there was the kneading which was totally unnecessary.  next time, i will stick to my own recipe but i may try the spiral slices again.

to see the recipe, visit this site.  but as a cookbook author, i ask that you consider buying the book, baking with julia.  it is a wonderful book to add to your cookbook collection!  to see what the other tuesdays with dorie bakers came up with, visit the website.

chocolate-mascarpone cheesecake; a tuesdays with dorie post

nothing says valentine’s day more than chocolate so the timing perfect was perfect for the tuesdays with dorie bakers to mix up a chocolate-mascarpone cheesecake.  my only wish was that i would actually enjoy it.  sadly, i am one of those people that just does not like the combination of chocolate and cream cheese and this cheesecake did little for me.  to compound matters, my husband has to limit his intake of dairy products because despite how much he loves them, they do not like him much at all!  the good news, we were attending a white elephant/pot luck lunch and this was the perfect treat to bring along to share.

to make the cakes so that serving them at a potluck would be easy, i filled muffin tins with a crumb crust and baked little individual cakes.  the recipe called for using cookie crumbs to coat the bottom of cake after it is baked and turned out of the pan.  this idea sounded a little wacky to me, actually it sounded like a lot of work that just wasn’t necessary.  but this is the sort of thing you will encounter every time you bake a cheesecake in a water bath while using a springform pan or one of those specialty cheesecake pans with a removable bottom.  a very long time ago, i abandoned this method because water baths are a pain in the…well, you know what i mean.

on more than one occasion, i have listed my fool proof hints for baking a perfect cheesecake and you can read some of them here or read the entire article here-i apologize in advance for the commercial.  but if you read them, they will help you reach cheesecake nirvana.  one of my rules for cheesecakes is to bypass the graham cracker crumbs.  they are an awful addition to a cake that you have just invested a bit money on-chocolate and cheesecake are not necessarily cheap.  my preference is to use my own cookie crumbs made from my biscotti recipe.  by mixing up a batch of my own cookies, i can flavor them how ever i see fit and i can tailor the crust to the cake.  biscotti crumbs also keep well in the closet.  if you are not inclined to mix up a batch, buy some that have not been dipped in chocolate so that they are not oily after you grind them up.

air is the enemy.  it is so easy to over mix a cheesecake batter and if you incorporate a lot of unneeded air, your cake will souffle and could crack.  it will also sink as it chills and it can kill the texture.  to prevent this, your food processor is your best friend.  it will do a much better job of incorporating the ingredients, especially the chocolate without aerating the custard.  no, i am not mistaken, cheesecake is a custard that is treated like a cake.  think about it for a moment; large quantities of cream cheese mixed with sugar, eggs, more dairy products and chocolate with a tiny bit of flour make it more like a baked custard.  if you approach the recipe with this attitude, and treat it like you would a baked custard, it is suddenly so much easier to understand and succeed.

to fill the cups, i used a portion scoop, a #20 scoop which usually has a yellow handle.  the recipe made 18 muffin sized cakes and a 4″ cake that my husband thoroughly enjoyed.

for standard size muffins, they did not take much time in the oven, maybe 20 minutes.  i hate to say this but i didn’t really time them, i just watched them like a hawk and when i saw the tops getting a little “dry and blistery”  across the top and a little puffy, i pulled them out of the oven.  they cooled just as quickly and i popped them out of the pans.

because a cheesecake by itself almost seems criminal, i cooked up a batch of cherry topping to go with it.  this is the little 4″ cake that my husband and i shared.  well, i tasted it, he ate the rest.  to be honest, i did not get any flavor from the mascarpone-the chocolate completely overpowered it.  if i were to use the recipe again, which is not likely, i would omit the mascarpone and use more sour cream; it would give more flavor and cost a lot less.  the texture of the cake was simply too dense for me, i like my cheesecake to be more on the creamy side.

with a generous helping of cherries and syrup, the cake was pretty good, but if i had my choice, it would not have had any chocolate in it!  however, my husband disagreed, whole heartedly-he enjoyed it with and without the cherry topping.

to see what the other bakers came up with, be sure to visit the tuesdays with dorie page.

country bread; a tuesdays with dorie post

zero…the thermometer said zero.  by nashville standards, that is beyond cold.  staying warm in that kind of cold is a challenge.  there is only so much clothing one person can wear.  the thermostat can only go so high before you run up a tremendous bill.  it is also a perfect excuse to turn on the oven and bake a batch of bread.

this week, the tuesday with dorie bakers mixed up a batch of country bread.  this simple loaf is a perfect addition to a pot of hot soup.

the recipe uses a sponge that sits for a few hours but i let mine sit overnight.  the kitchen was pretty cool due to the cold weather.  that extra time allowed the bread to develop more flavor.  the recipe also called for using a bread basket-a banneton.  amazingly, i do not own one!  instead, i use this little basket.  the pattern it makes on the loaf is eye catching.

and yes it is just another of my thrift store finds.

the loaf gets folded and shaped and folded and shaped and folded and shaped again.  i cut 4 slits across the top-it seemed like a good idea.  here it is on the peel, ready to go in the oven.

and the slits are something i probably need to work on…the ends of the loaf sort of popped out.  this recipe makes a huge loaf of bread!  i could have easily made a half batch and had plenty for the two of us.  the soft, moist bread also kept well for several days and made wonderful toast too!

the pattern that the basket makes in the crust with the flour.

the crumb is nicely textured with a little chewiness from the whole wheat and rye flour used in the recipe.  to see the recipe, visit the site of a fellow tuesdays with dorie blogger, one clever mom, who has posted the recipe.  to see the posts of the other bakers, visit the tuesdays with dorie website.

gingersnaps; tuesdays with dorie

 this week, we tackled gingersnaps.  fitting choice given the season.  truth is, i love gingersnaps and gingerbread and will make either one at anytime in the year.  since gingersnaps are a favorite of mine, i was eager to try this recipe which was contributed by david blom and to see it, this is the link.

as always, i made a few changes to the recipe.  first of all, i very rarely use molasses.  how can that be you ask?  well, i live in the south and around here, we use sorghum.  so what’s the big deal about sorghum?  it tastes better than molasses and it is a pure product meaning that it is just sorghum syrup that is extracted from sorghum cane and cooked down.  no chemicals, no refining, nothing, just sorghum.  not familiar with sorghum, read a few facts about it here.  and for those of you with a diy fetish, here is an interesting article on just that, making your own sorghum.

 what other changes did i make to the recipe?  well, for starters, i added a whole lot more spices.  i quadrupled the ginger, doubled the cinnamon and added garam masala, cardamom and cloves to make a nice and spicy dough.  then i reduced the water a bit; i was making a batch that was 4 times the recipe and it would have called for 6 tablespoons of water but i only added 5.  thinking back now, i would reduce it even more, maybe just use 4.

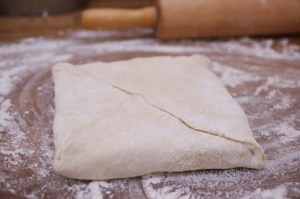
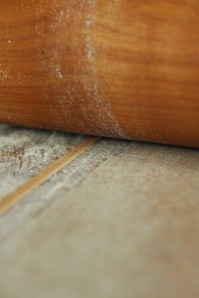
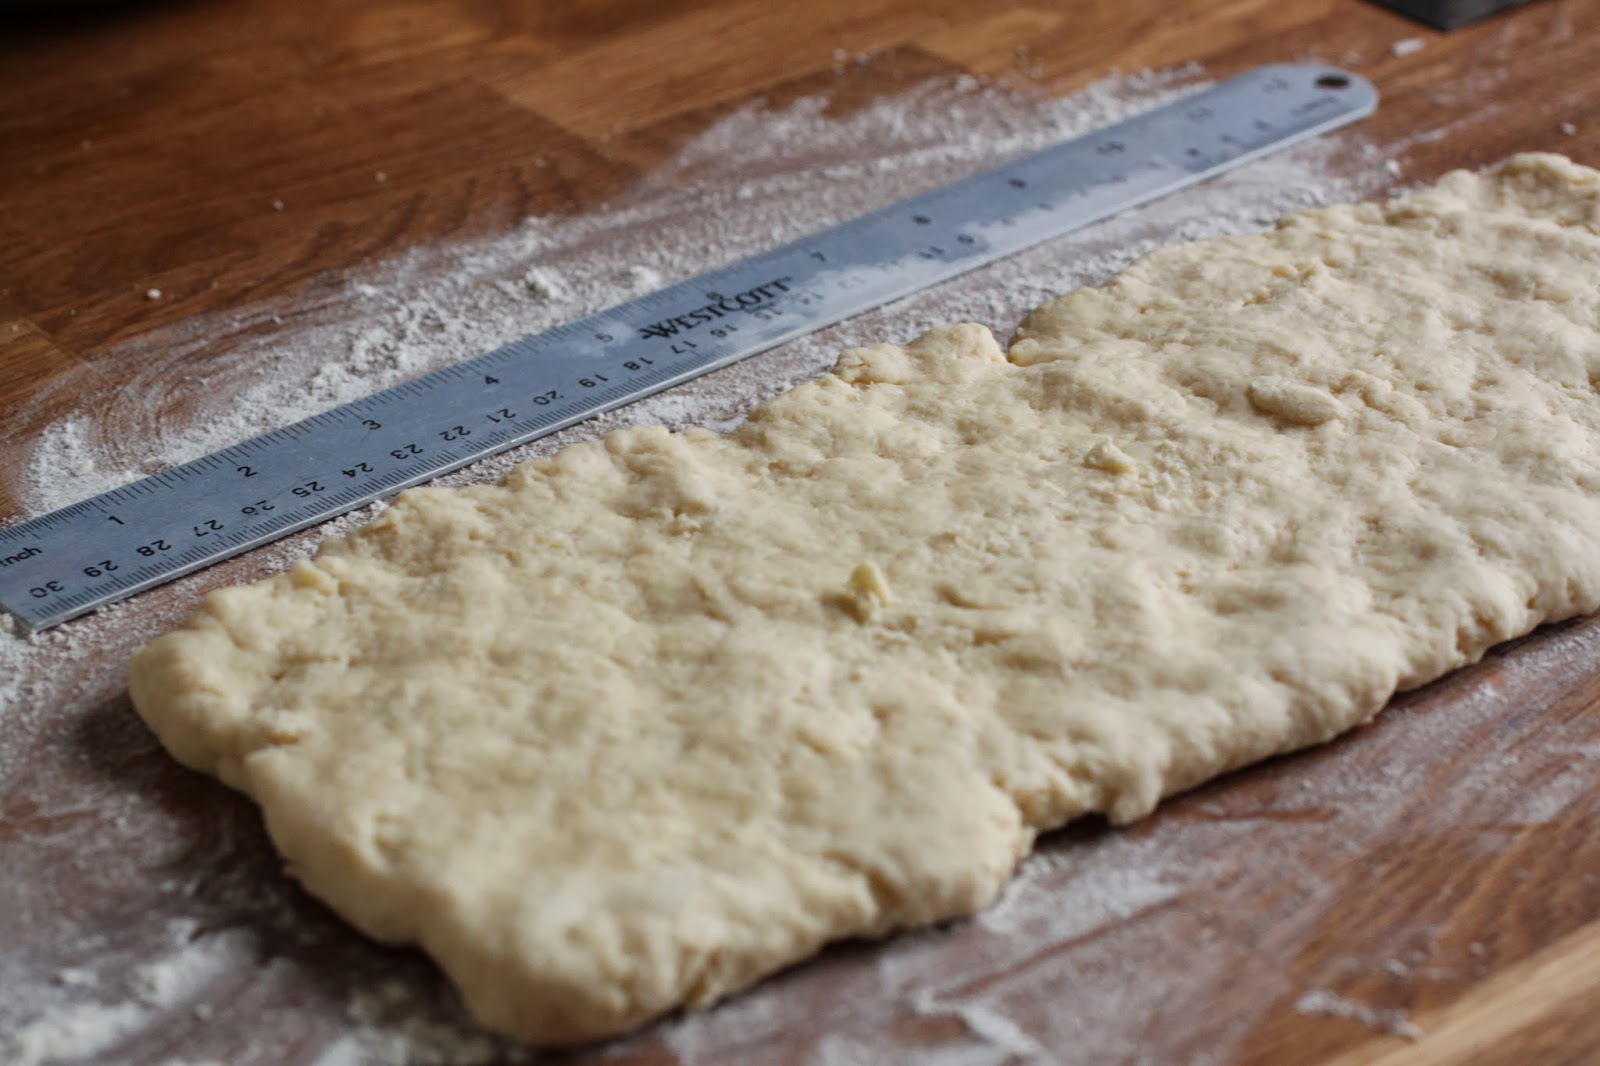
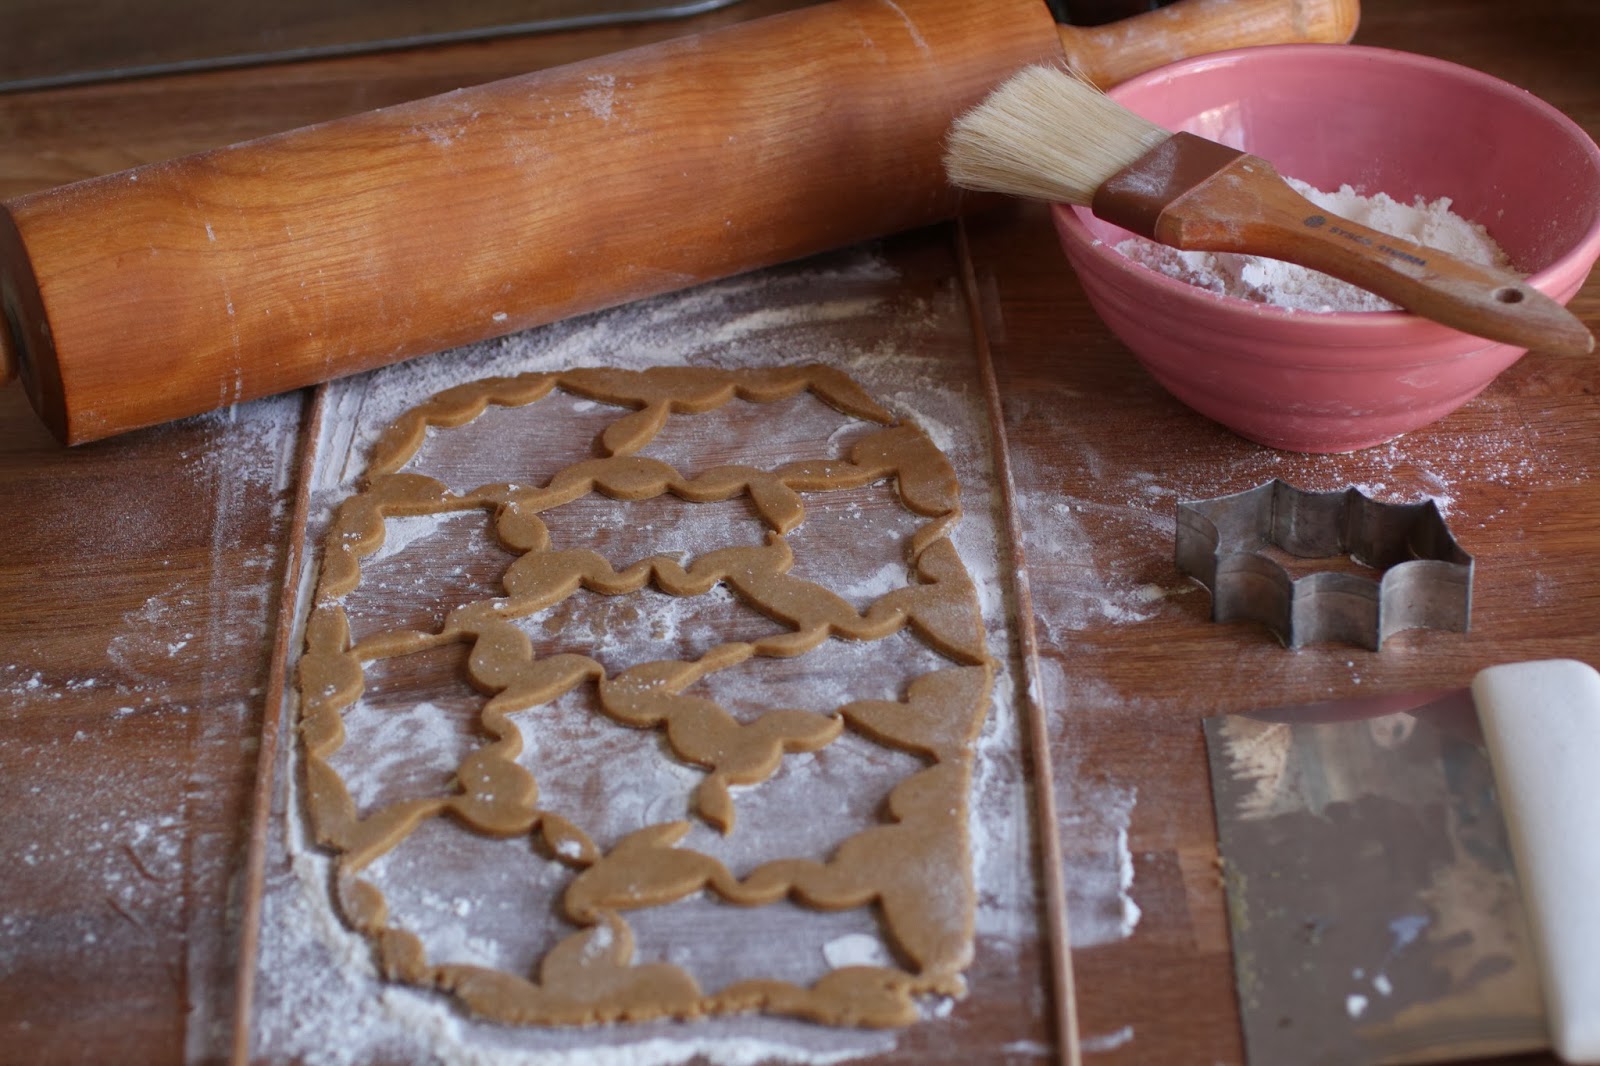
when i roll out cookies, i use wooden dowels that are the exact thickness that i need to help guide my rolling pin and keep it all consistent.  i also brush off as much of the excess flour as possible.

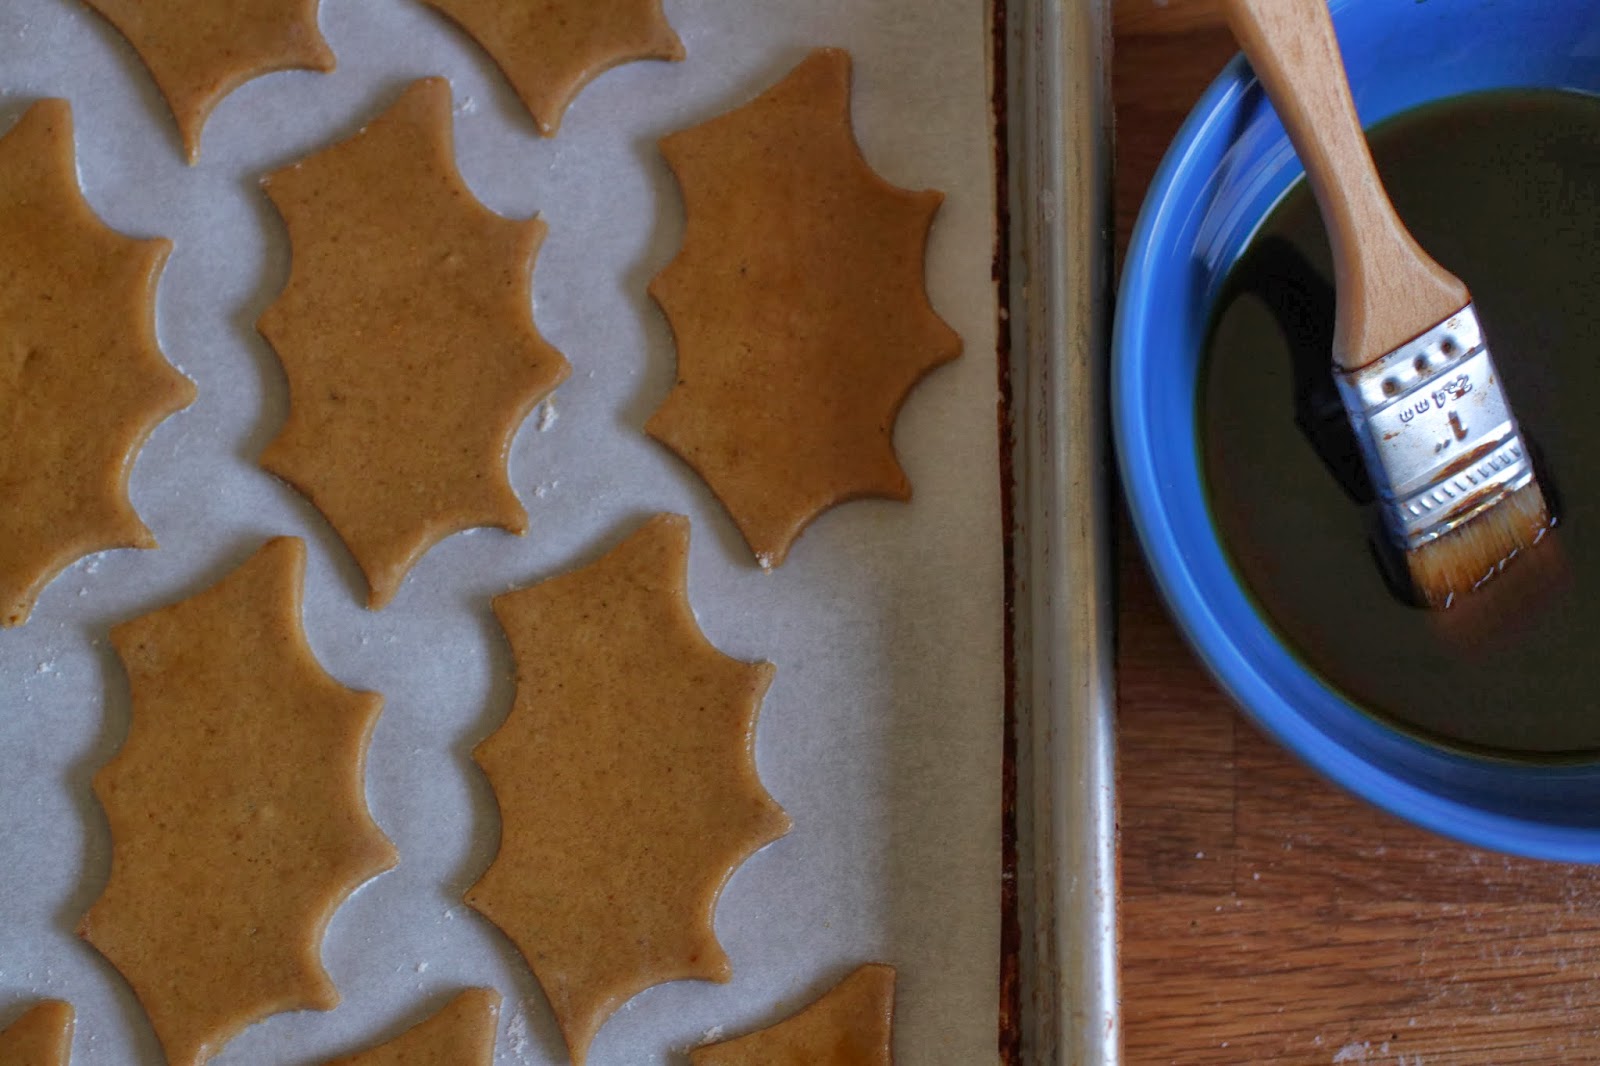
my collection of cookie cutters is on the large side.  in the bins are several hundred shapes to choose from.  since these cookies are going to a christmas party, i chose a holly leaf, it was 2″x3″ and with a batch of dough that was quadrupled, i ended up with just over 60 cookies.

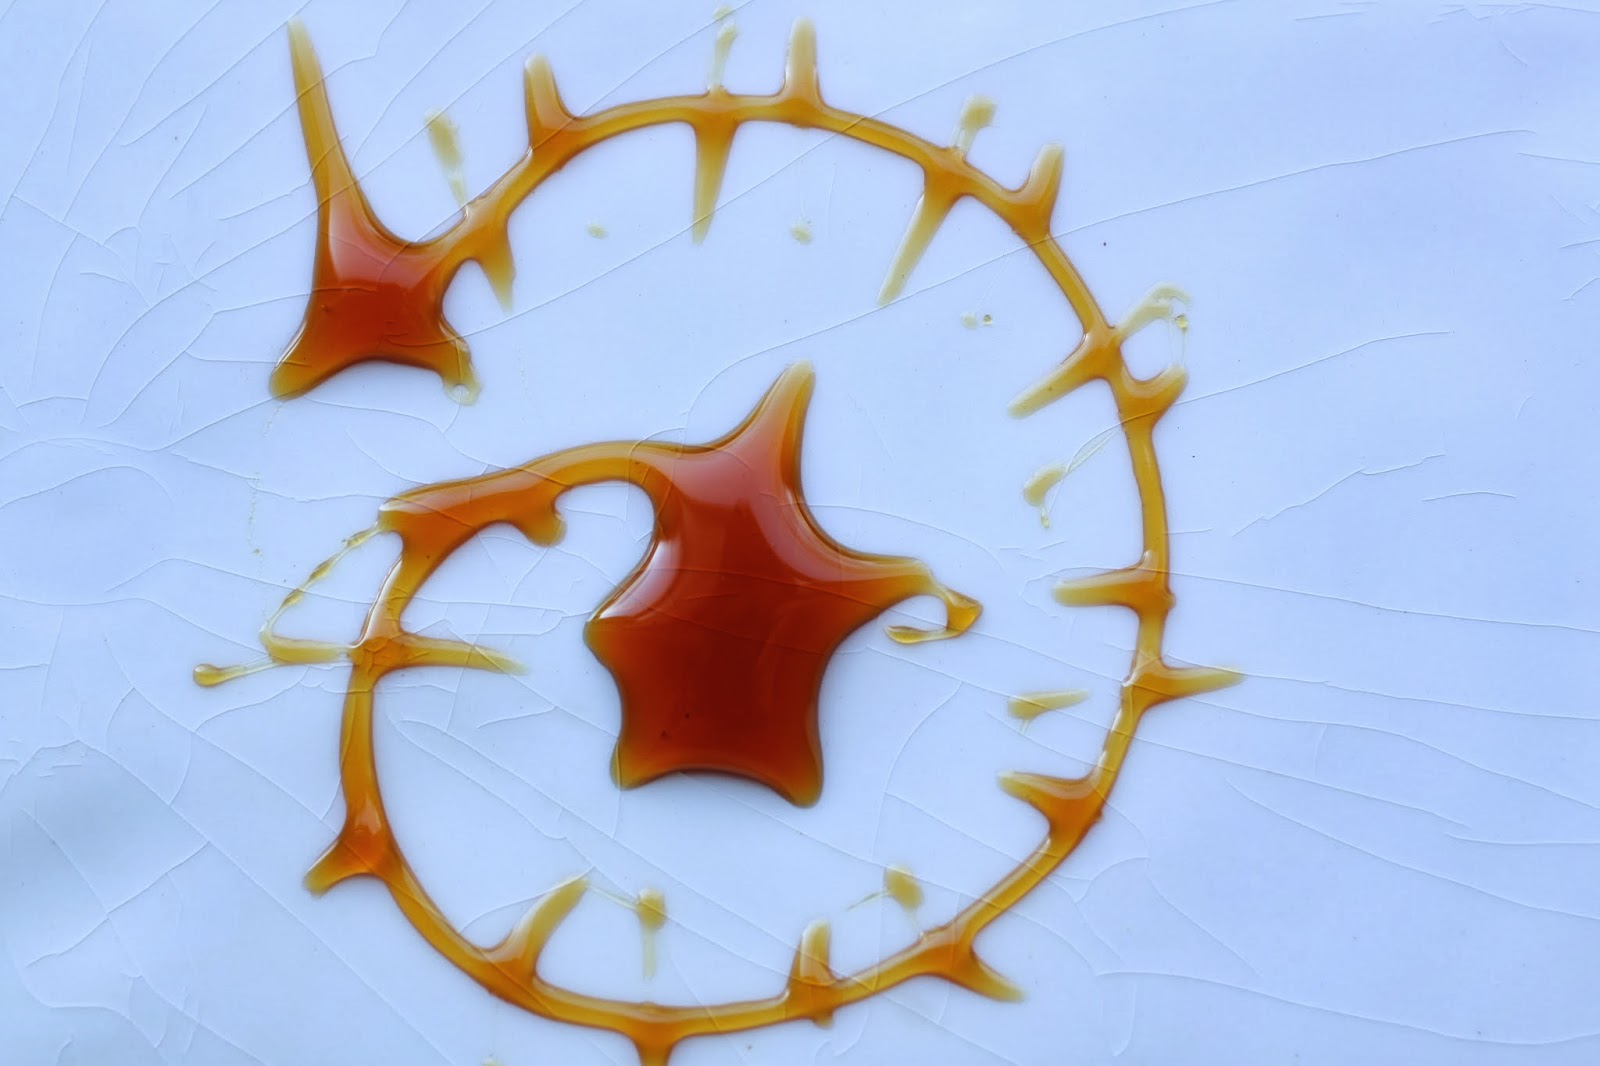
 the recipe was a bit unusual for gingersnaps.  it did not include any eggs and when the cookies were cut, they got a glaze made of molasses and water before going into the oven.  the recipe for the glaze could easily be cut back, i had a lot left over but again, i did multiply the recipe.  if you do the same, cut the glaze in half.  if you just prepare the recipe as it is, make the full amount.

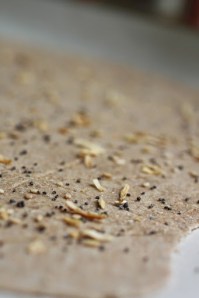
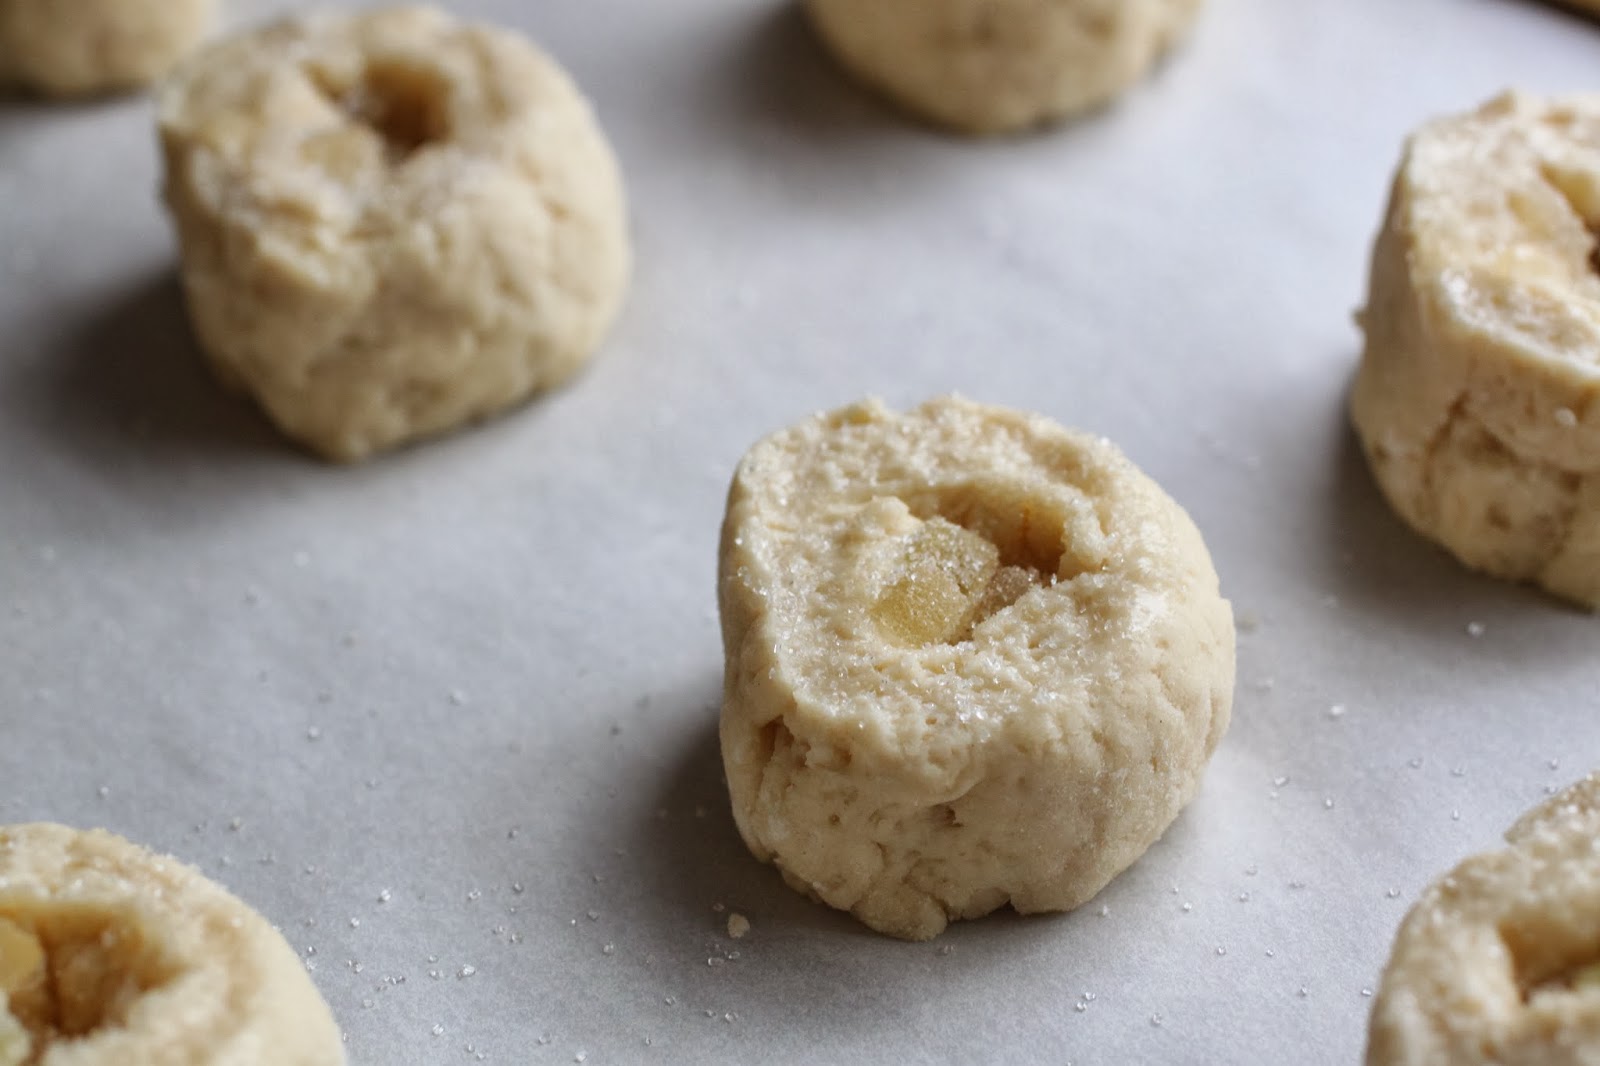
 and just because i could, i gave the cookies a sprinkle of sanding sugar before they went into the oven.  no such thing as too much sparkle on a gingersnap.

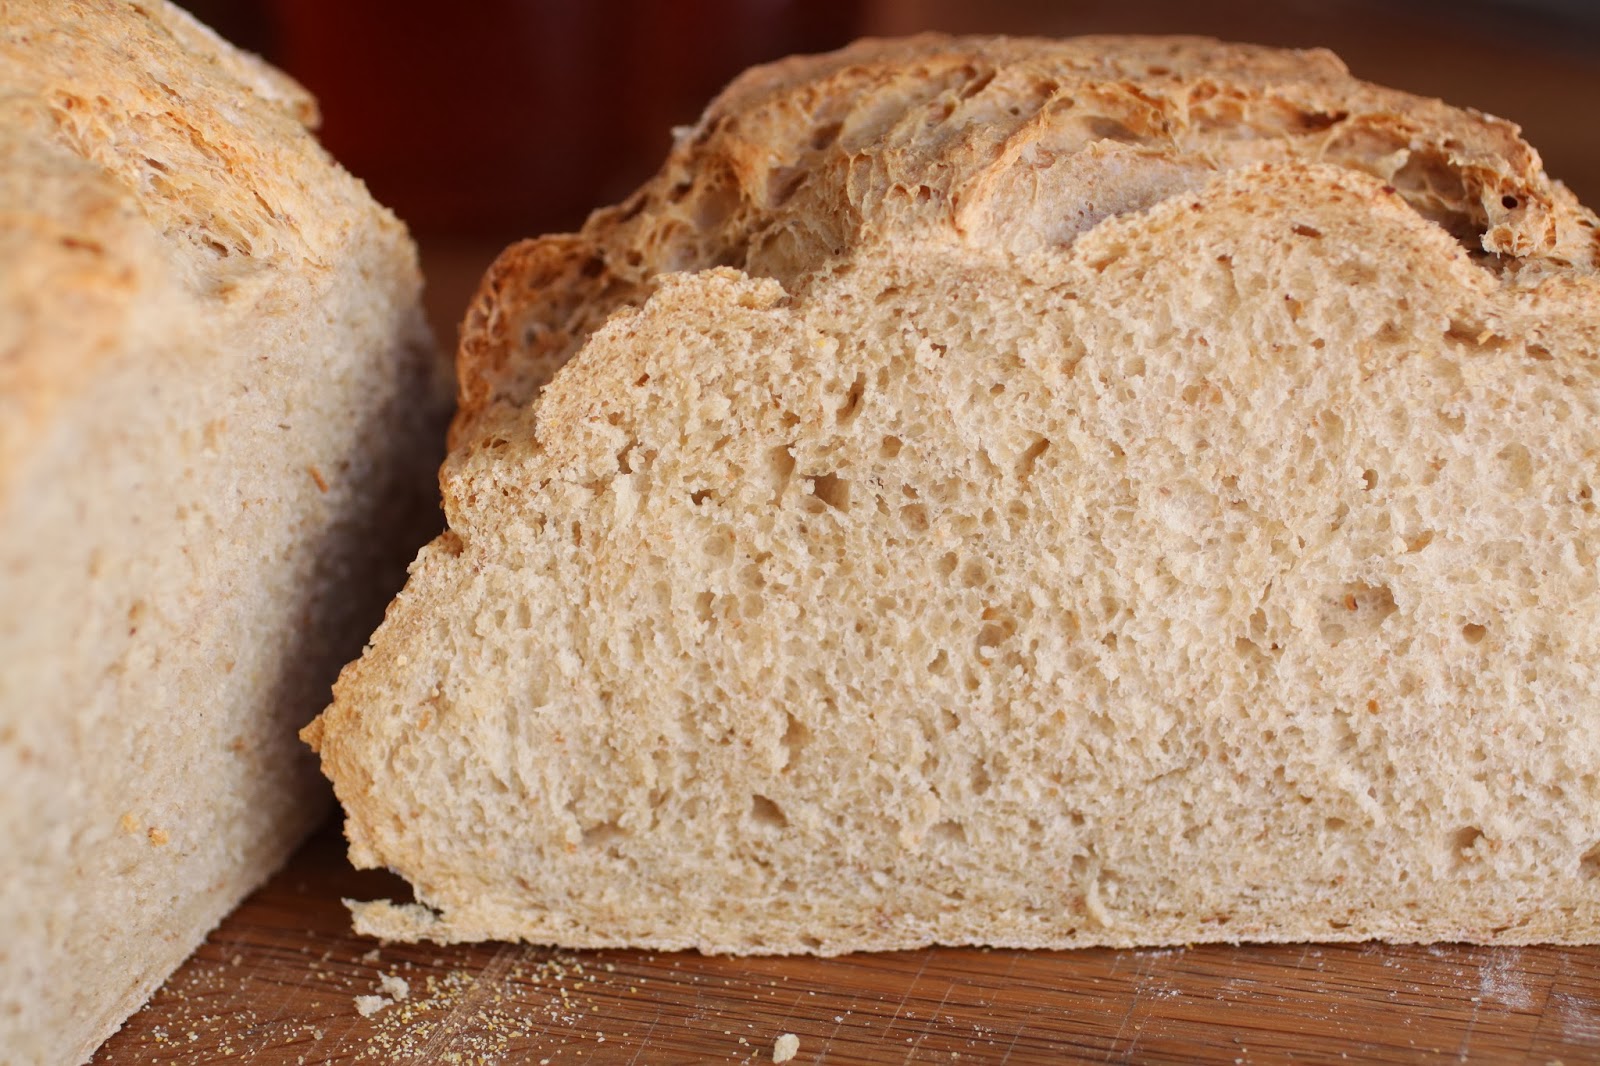
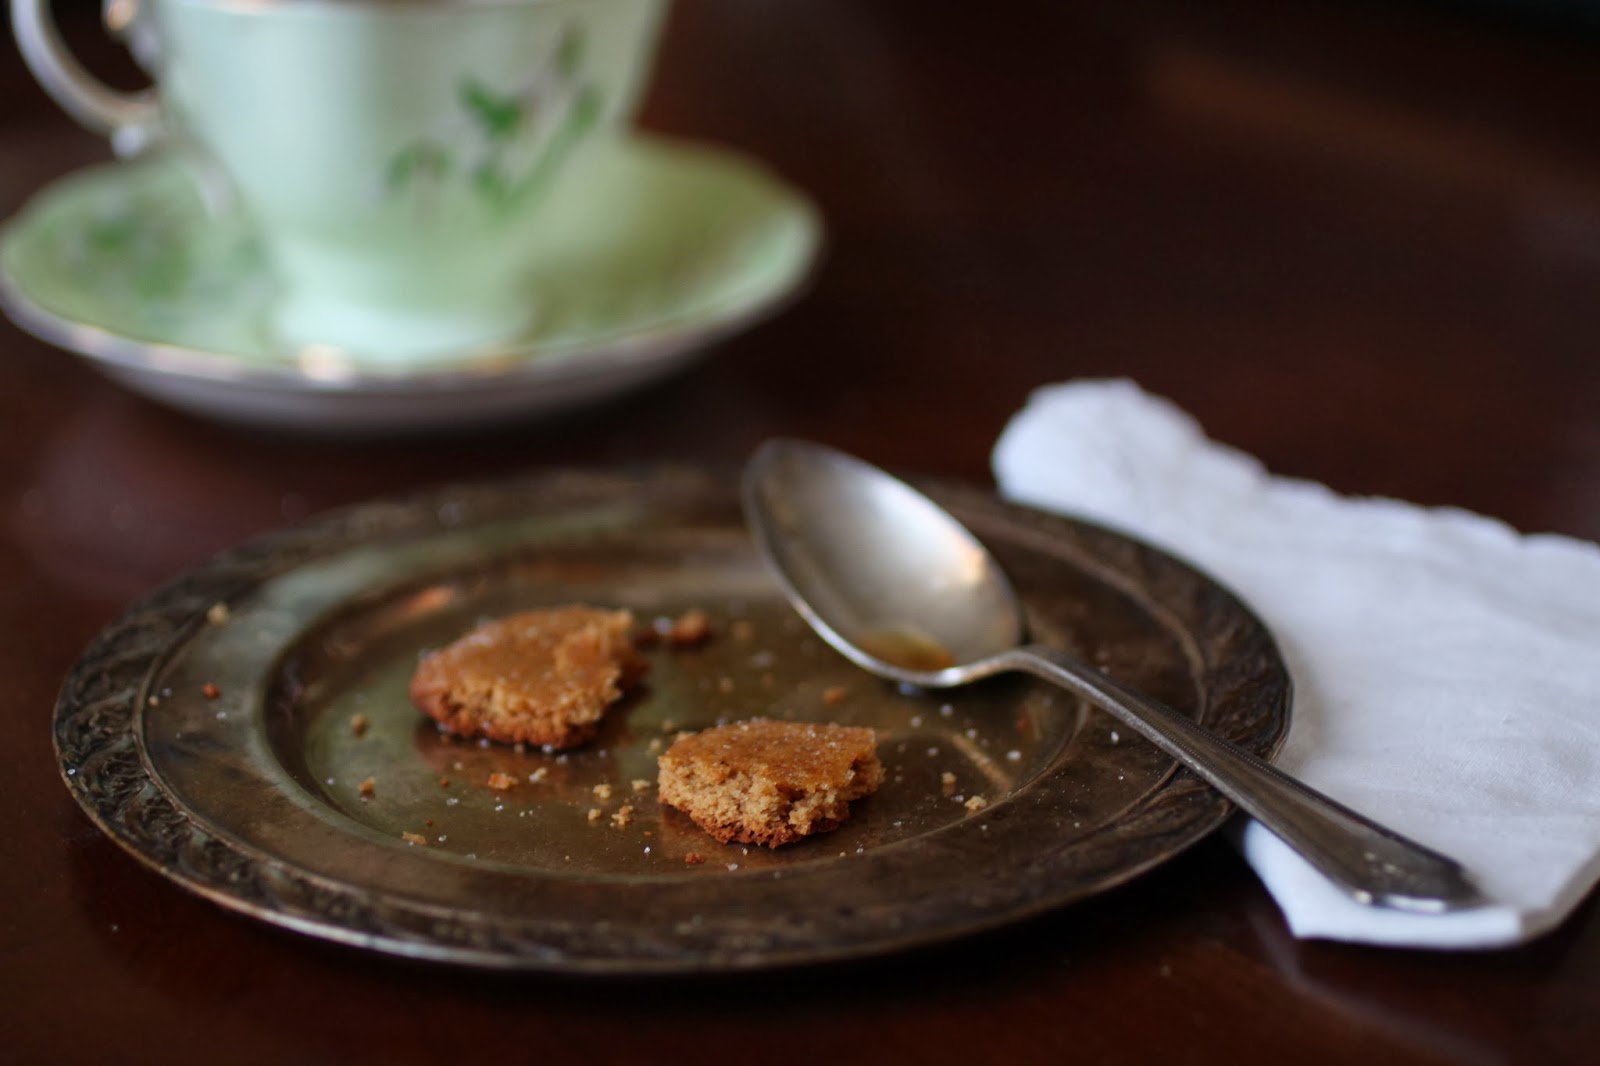
the cookies took longer in the oven than the recipe called for.  a lot longer and about double the time if not a little longer.  considering that i made them only slightly larger than the recipe called for and that i baked them at 350 rather than 325 (because i didn’t read that…), i was surprised at how long they took to become “almost firm” in the oven.  the other surprising fact is that i had also reduced the water.  the cookies were a little on the soft and flexible side and once they finally baked, they were really hard once they cooled off.  those with sensitive teeth may want to dunk them first…

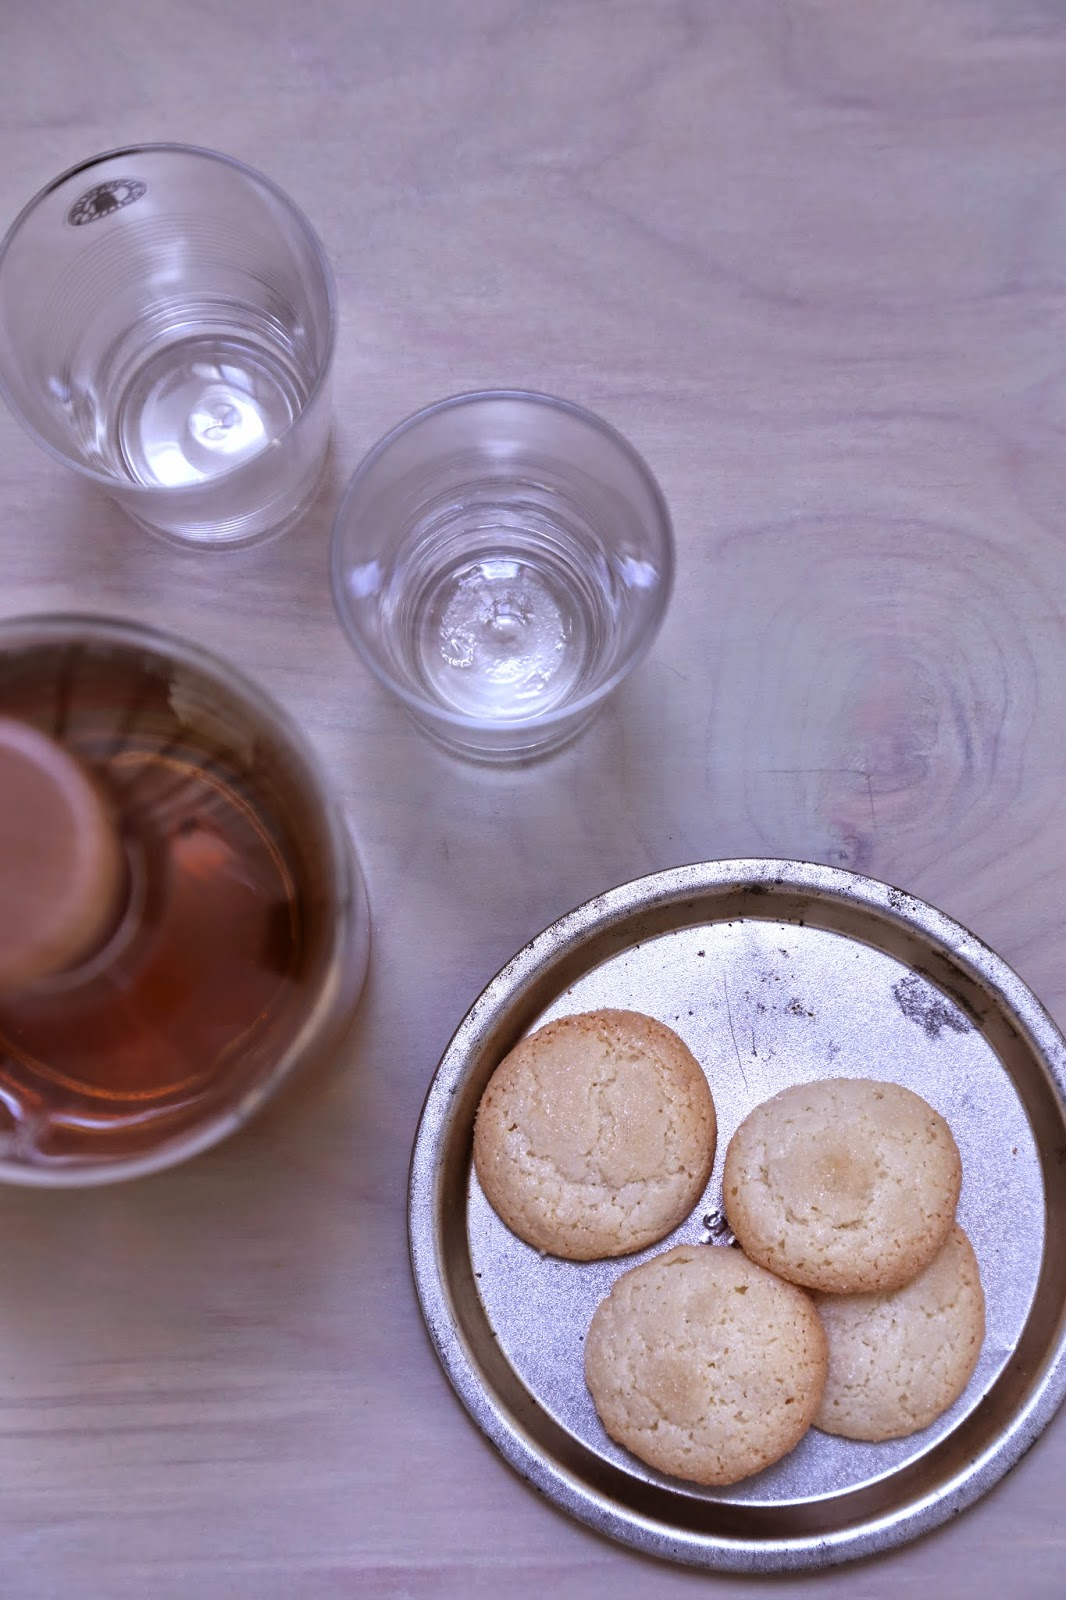
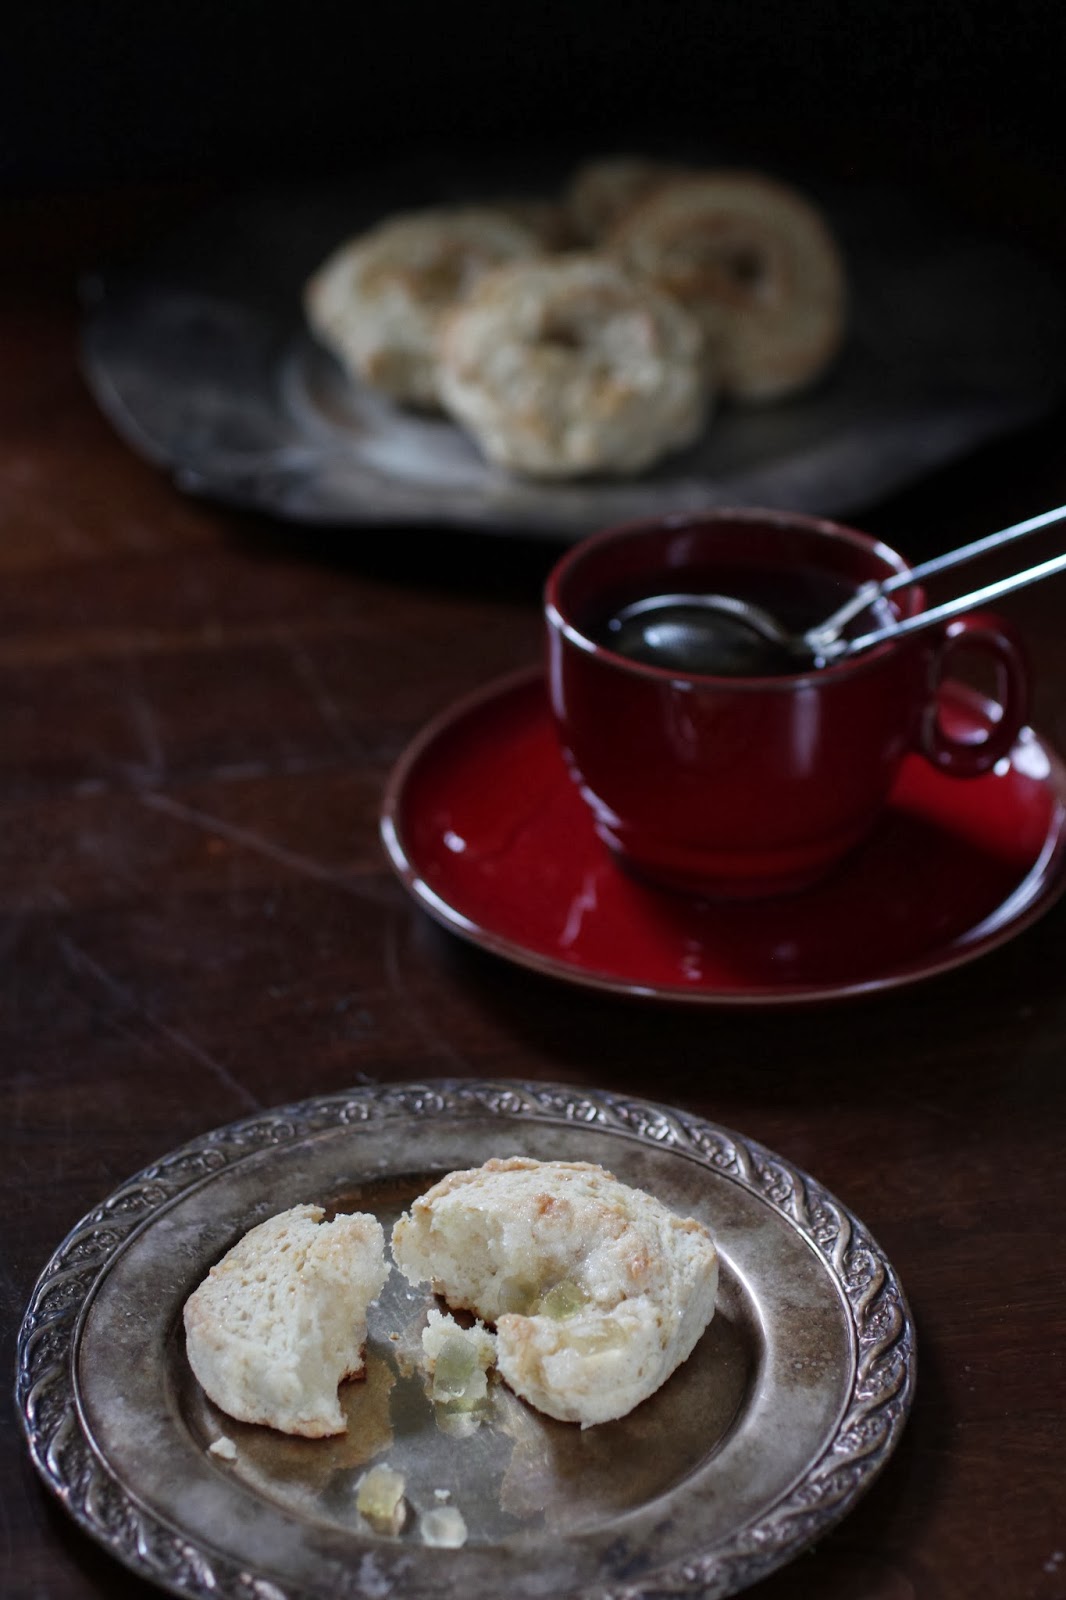
 perfect with a cup of hot tea or coffee, feel free to do just that, dunk them if you like.

 after a hectic couple of days at work, it was nice to come home and bake a batch of cookies.  it was well worth the time i spent that afternoon, almost comforting.

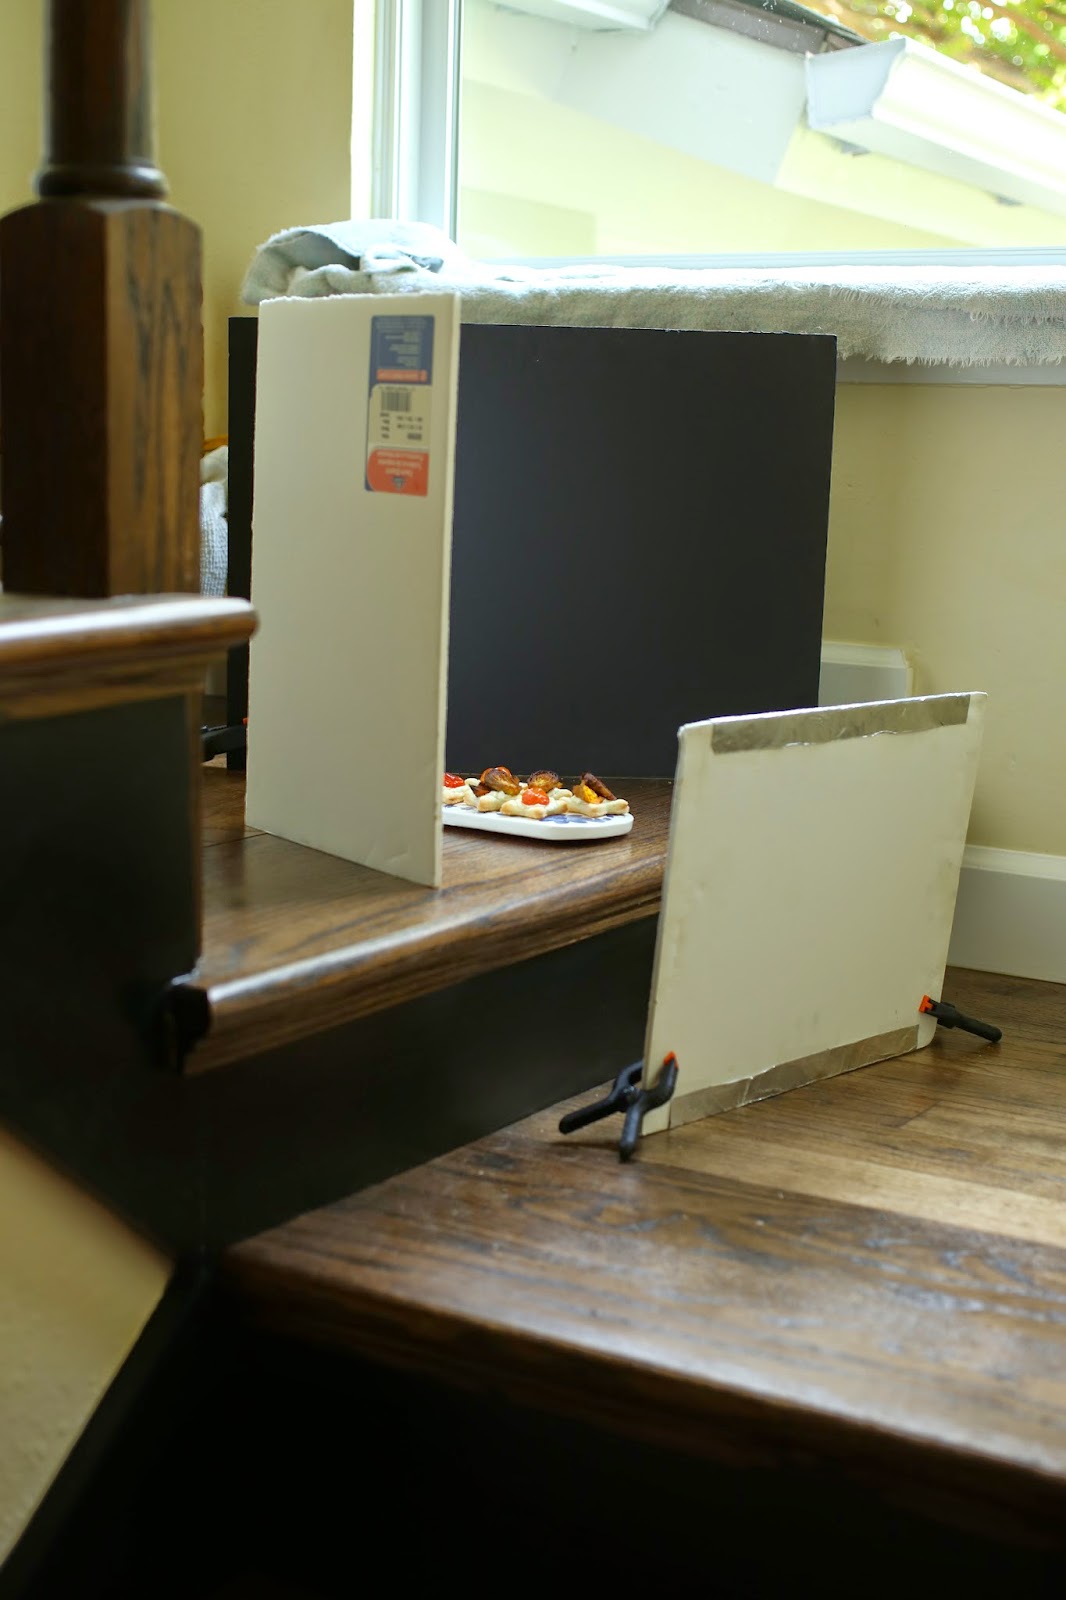
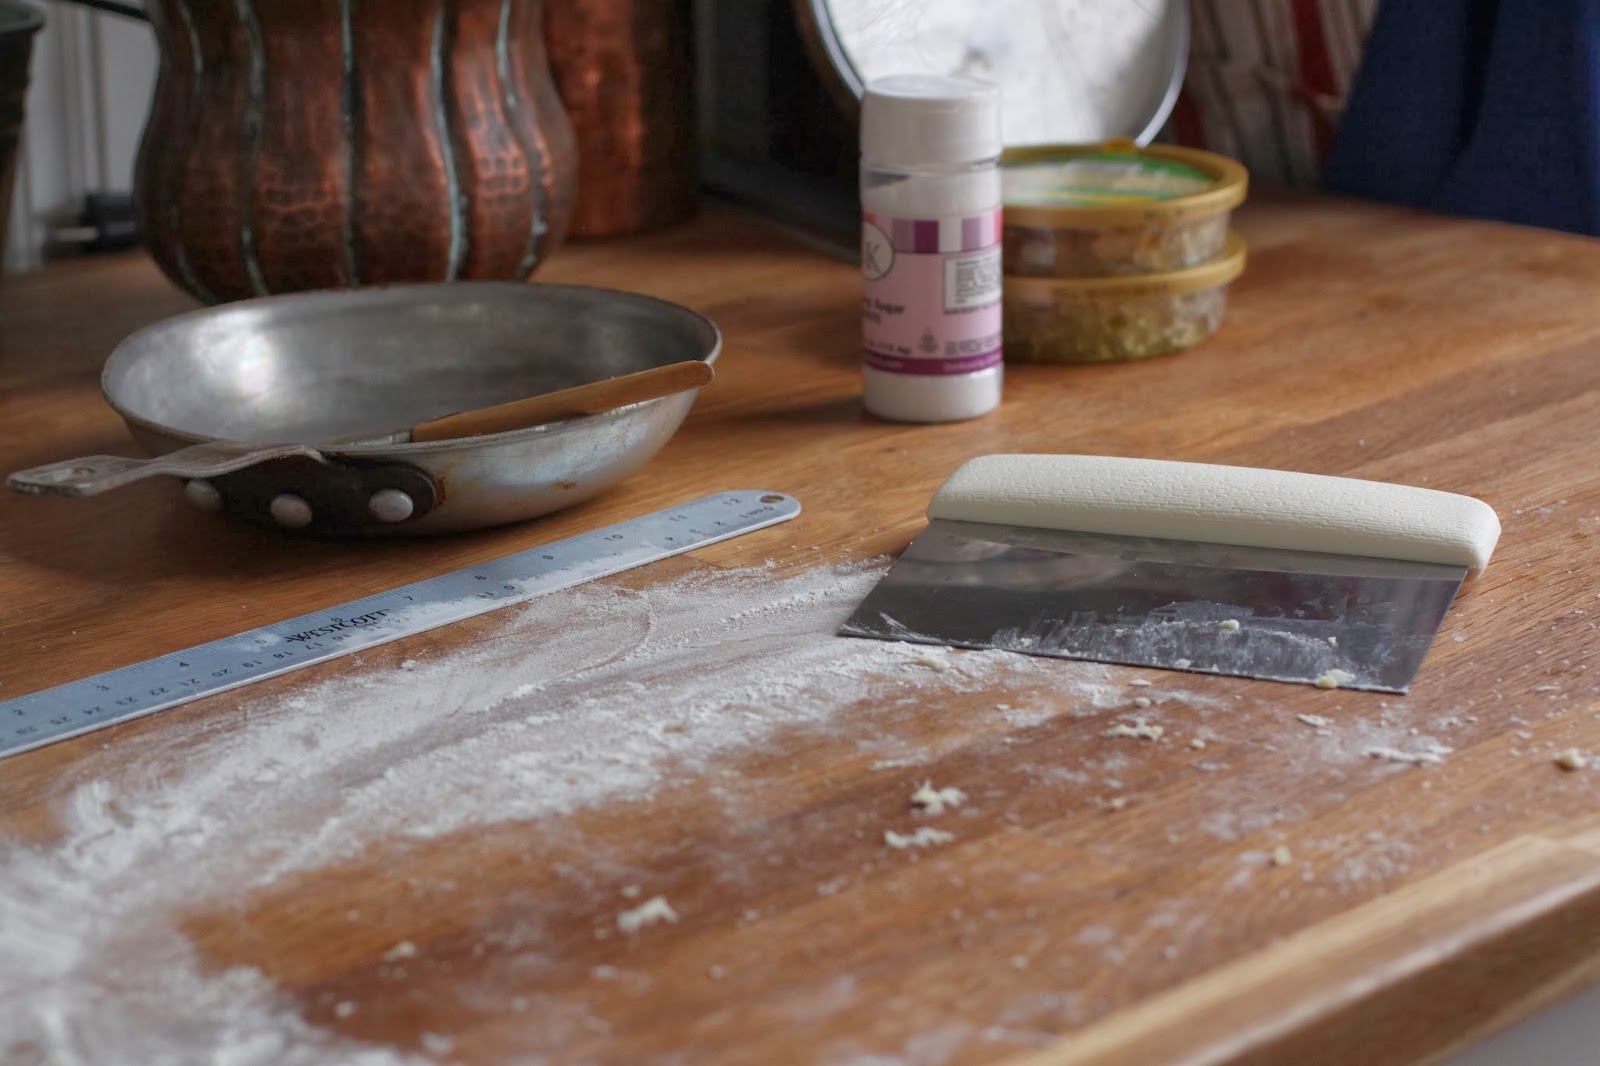
 as the afternoon sun slowly sank, the light changed in the room.  it seems that all of the classes and workshops i have taken suddenly came together in one quiet afternoon in my dining room.  the light became the focus, not the cookies.

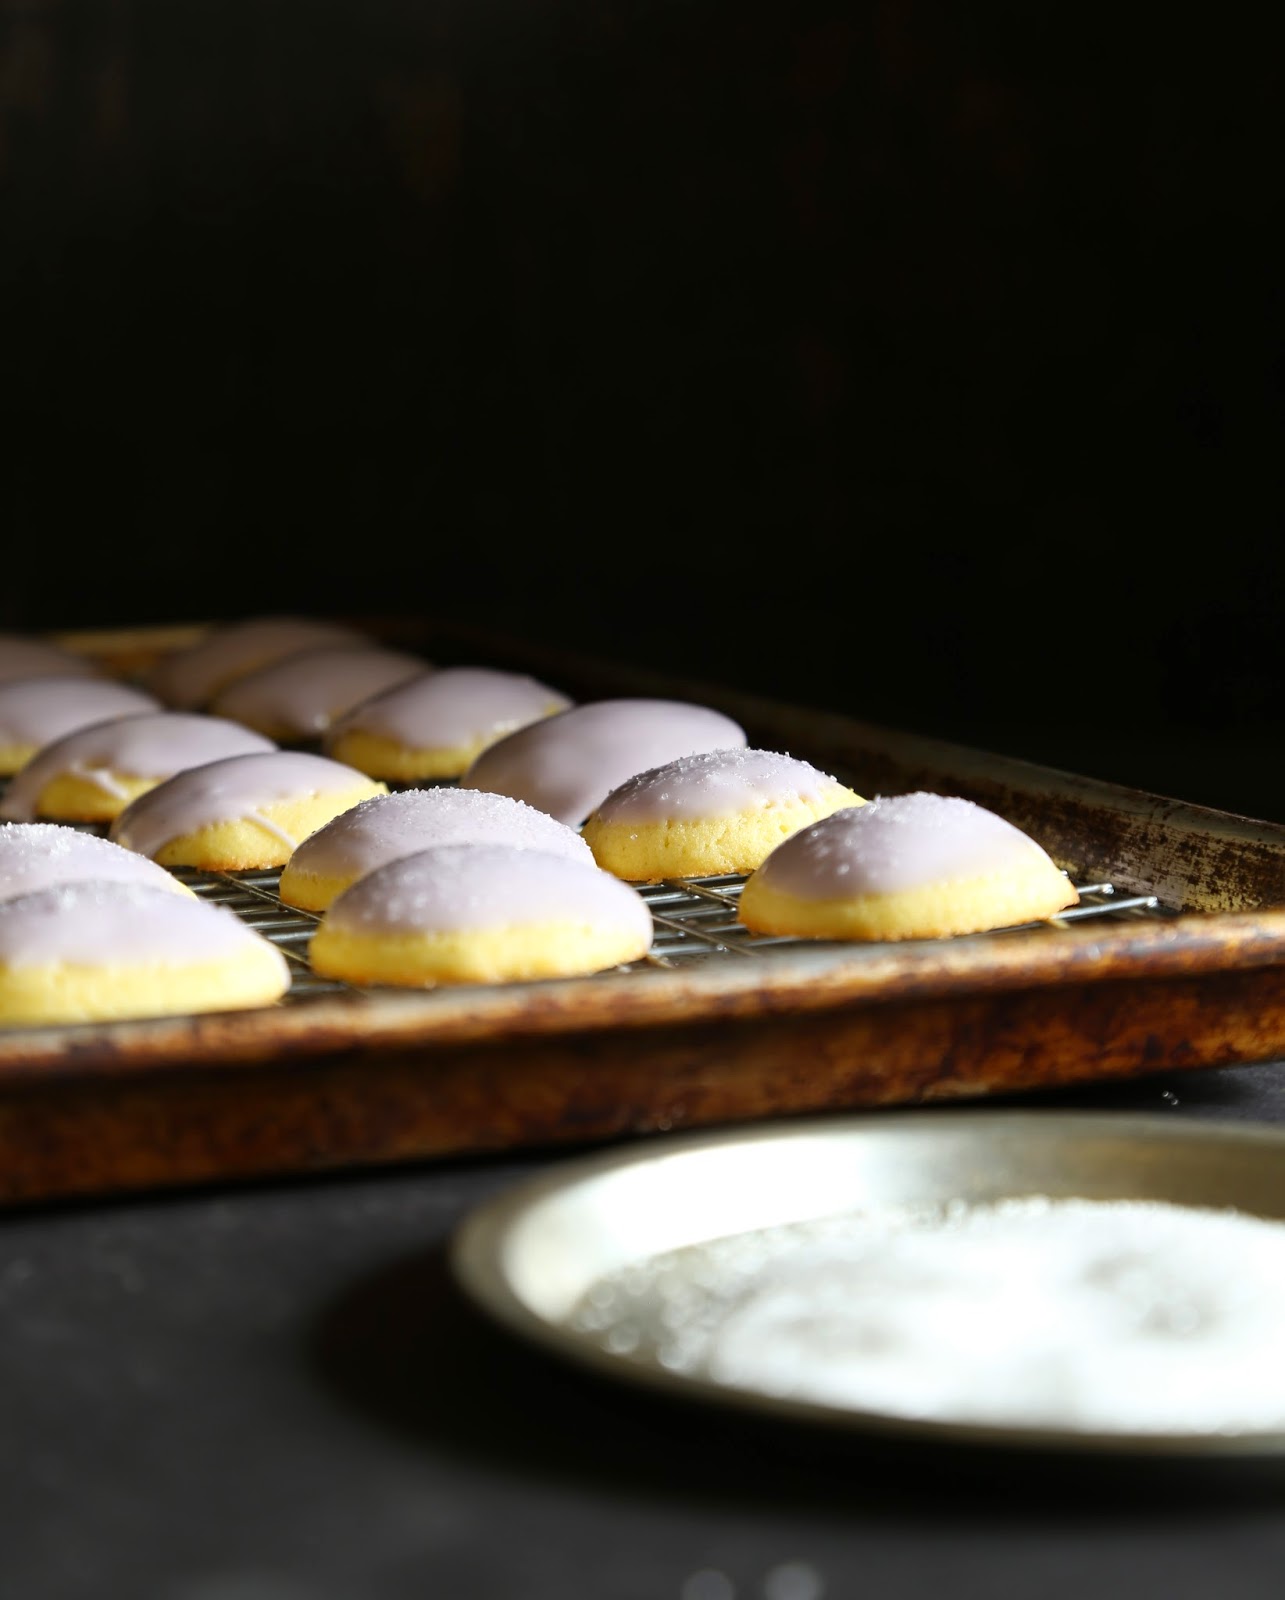
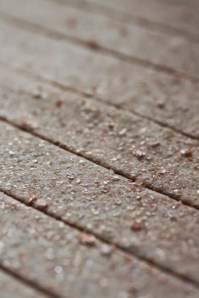
 the magic hour.  you can see the shift in the light by looking at the top left corner of the photo.  suddenly, the pink/gold of sunset was creeping in.

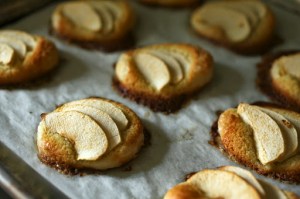
this light is fleeting.  you must be just as quick to capture it.  here it glides across the pan from left to right.

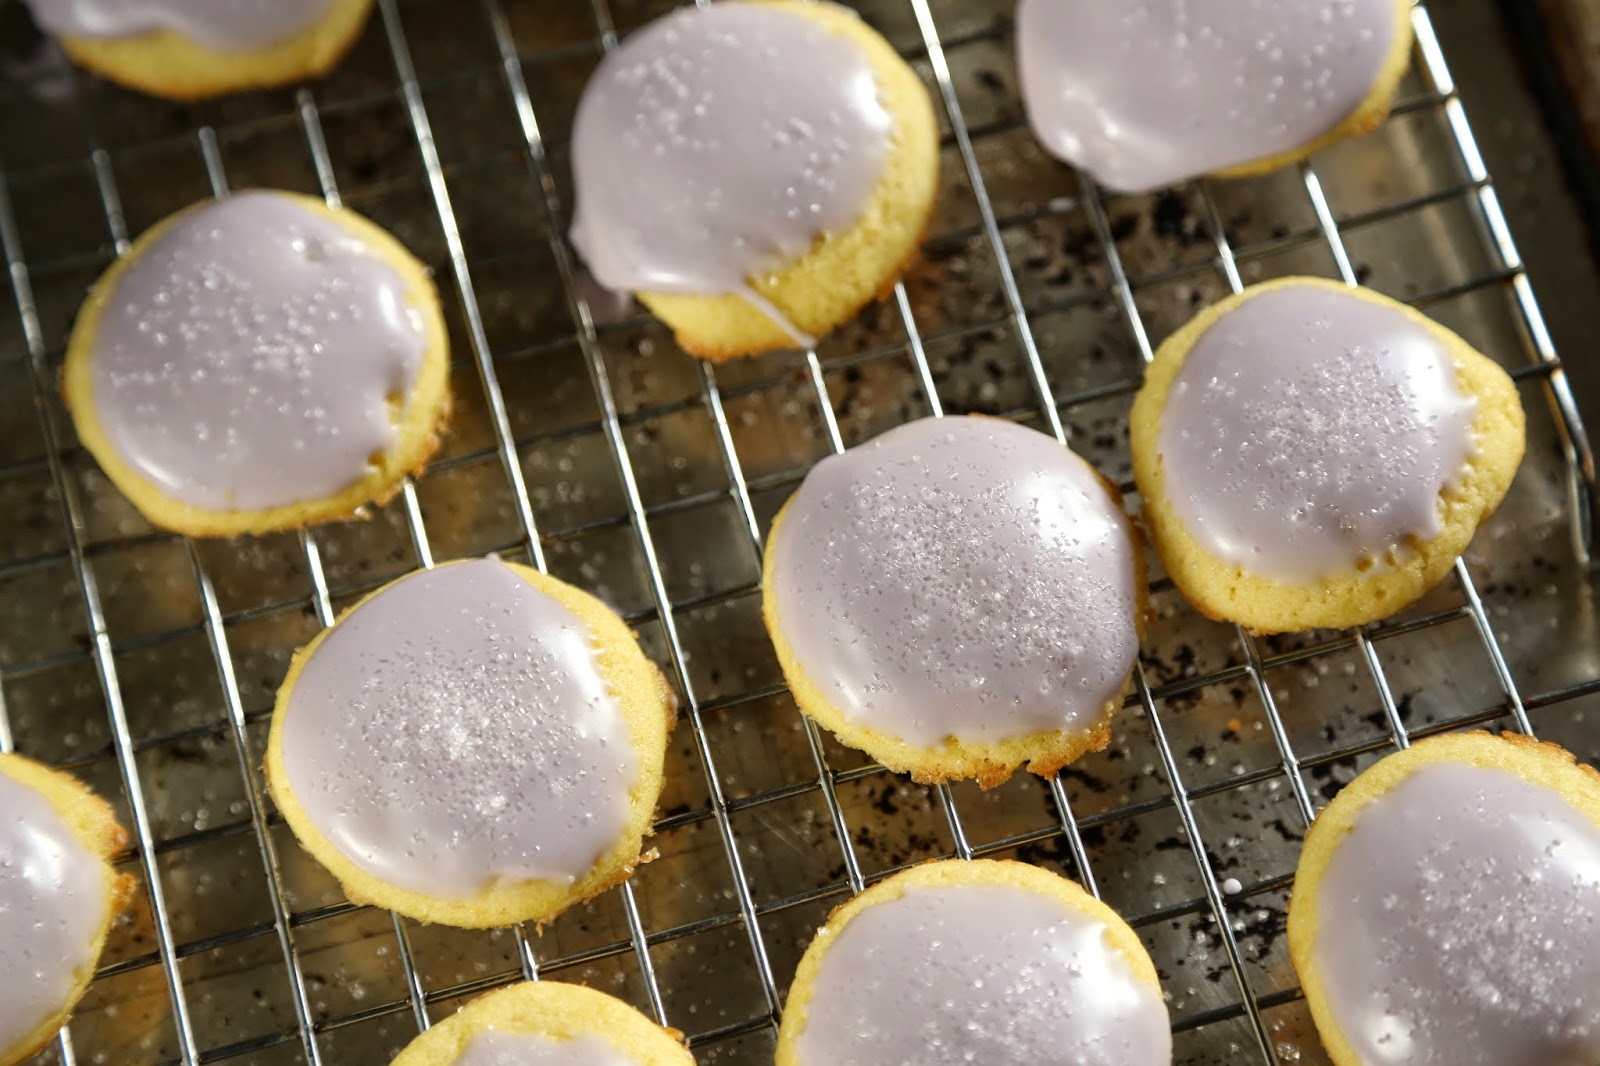
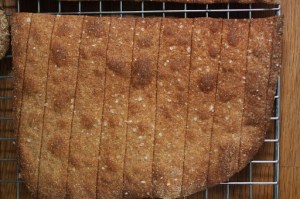
 and now, it has moved.  so quickly the color changes.  
 and changes still.  the mood of the photo has changed as well.  
would i make these again?  meh…maybe.  with changes.  less water, no glaze.  love that they are made without eggs and could easily be a vegan recipe by switching the butter to a non-hydrogenated shortening, a vegetarian butter or coconut oil.  honestly, i have a wonderful gingerbread recipe and a damn good ginger snap recipe already so the likelihood is slim.  but that vegan factor will keep them on the maybe list.  to see how the other tuesdays with dorie bakers did with this recipe, visit the website.  to bake along with us, pick up a copy of the book and, register at the website and start baking!  the book can be found easily, it is still in print.  try bookstores, online, your local library or a friend.  whatever you do, just bake…

challah bread: tuesdays with dorie

this weeks baking challenge for the tuesdays with dorie bakers, challah bread and it was just in time for thanksgivikkah…well, mine was a few days late.  the recipe, which was contributed to the book, baking with julia by lauren groveman, is a pretty simple one.  it is rich with butter, milk and eggs which would make it an impossible choice for those keeping to a strict kosher diet, something we do not do here in our house.  to see the recipe, i kindly ask that you consider buying a copy of the book.  if that is not something you can or care to do, perhaps you can borrow a copy from the library or a friend.  truth is, you can find a similar recipe on lauren’s website, it has raisins and is a six strand braided loaf while the loaf we prepared omits the raisins and is a three strand braided loaf.

 personally, i haven’t made challah in a long time.  such a long time that i cannot remember when i made it last.  for some reason, i thought it was more complicated to make.  luckily, i was wrong about that.  it mixed up easily and rose quickly.  the bread also shaped easily.  now that i know this, i may make it again, but if i do, only half the recipe since it made two huge loaves and we just do not need that much bread.  also, i have every intention of trying the different braids.  my old baking textbook from my days at the cia, the bakers manual, has diagrams for making braids with 3,4,5 and 6 strands and i want to try them all!

 the best photo tutorial i could find for a three strand loaf is this one on the baking bites website.  the post also has 4 and 5 strand photo tutorials.  my best advice to you if you want to try this, lay your strands on the baking sheet close together.  start in the middle and work the braid from the side to the ends, tuck them under and then turn the pan around to the other side to complete the braid.  it is easier than trying to move the half finished braid.

to see how the rest of the gang made out, check the tuesdays with dorie page.