share the shot #3-purple

 how quickly the weeks are going-i get photos posted and then it is time to think about some more for the next share the shot challenge. purple is a tough color to photograph.  it tends to turn blue.  the year my daughter wore a purple gown to the prom, we had a hard time getting a photograph of her with the gown remaining purple.  mostly, she appeared to be wearing a deep blue.

for this week’s challenge, i headed out to the garden with my canon.  spring is a time that is filled with purple.  many flowers blooming now are purple and if you head to the vegetable garden, you will find purple lurking there too.

 these smiling faces greet you as you enter our driveway.  they are so many different shades of purple, lavender and white and all on the same plant!

 this purple sage as overwintered beautifully and is ready for another turkey roast

 tiny little sedums reaching for the sky
 heuchera popping up from under the leaves
 we call it red cabbage but it sure looks like purple to me

henbit-the bane of gardeners.  it is everywhere at this time of year.  i love the tiny little trumpet blooms.  and before you go cursing it for invading your garden, consider this; henbit is considered a wild flower and in the early spring, it is a valuable nectar plant for honeybees.  we leave the plants in our lawn for the bees but they get the heave ho from the garden beds.

thanks amy for a great challenge.  check out all of the participants here.  consider joining in on the fun and post some of your own photos!

chocolate beet bundt cake

every year starting in january, a new master gardener class begins.  each week there is at least one class on a topic related to gardening.  as a certified member, i am required to earn continuing education hours to maintain my certification;  i attend  as many of these classes as i can.  more importantly, it is helpful to attend the classes in an effort to welcome the new members and hopefully, retain them once the classes are finished.  i take that part seriously; i bribe them weekly with cake!  this weeks offering was a rich and moist chocolate bundt that also contained a secret ingredient:  beets.  

while digging through the cupboards, i came across a can of beets that had been pushed to the very back.  i ran the beets through the blender with the juice from the can to get an awesome red puree.  for those of you who prefer to use fresh or your own canned beets, you will need 1 3/4 cups of puree with the consistency of buttermilk so be sure to add the liquid you boiled/canned them in as needed.

when folded into the batter, it doesn’t show-it disappears like magic.  not only that, no one and i mean NO one was able to guess what was in the cake.  then again, it was so chocolatey and moist, i doubt anyone was thinking it reminded them of beets.  so why bother?  the moisture for one and the added fiber too and then because i love hiding the vegetables in the cake…
all ready for the oven!
chocolate-beet bundt cake
1 (12 cup) bundt serving 16
1 (15 oz) can beets
4 oz bittersweet chocolate, melted
1 1/2 cup unsalted butter, softened
2 1/4 cup dark brown sugar
1 1/2 teaspoon vanilla
1/4 teaspoon salt
5 eggs
2 2/3 cup all purpose flour
1/2 cup cocoa powder, natural preferred
1 tablespoon baking soda
1/2 teaspoon cinnamon
1/4 teaspoon nutmeg
powdered sugar for dusting the top of the cake
preheat the oven to 350.  grease and flour a bundt or tube pan with a 12 cup capacity.  drain the beets and reserve the juice.  place the beets in a blender with some of the juice and blend briefly.  add the remaining juice and blend until smooth, pour into a bowl and set aside.  melt the chocolate in a microwave safe bowl on the lowest power or defrost setting using 30 second intervals.  stir until smooth and set aside.
in a large mixing bowl, cream the butter with the dark brown sugar, vanilla and salt until light and fluffy.  pour in the melted chocolate and mix well.  be sure to scrape the bowl at least once to completely combine the ingredients.  add the eggs, 1 at a time and scrape the bowl as you go.  to sift the dry ingredients, place the flour, cocoa, baking soda and spices in a large mesh strainer.  sift them over the chocolate mixture.  fold a few times, add the beets and fold until the batter is uniform in color.  
scrape the batter into the prepared pan and bake until a pick inserted comes out clean, about 1 hour and 15 minutes.  allow the cake to cool in the pan for 20 minutes and then turn it out onto a rack to cool completely.  sift powdered sugar over the top of the cooled cake. 
bake one and send me a photo!  may the power of the beet be with you…

twd: rugelach

 well, it’s another twd/baking with julia tuesday.  this week, it’s rugelach and the festivities are hosted by margaret of the urban hiker and jessica of my baking heart and by visiting their sites, you should find the recipe but i strongly suggest you buy a copy of the book instead.  i knew that this would be an easy recipe to work with-i’ve made rugelach by the thousands over the years.  the only thing i wasn’t sure about-the lekvar filling.  when i couldn’t find it in the store, i should have made my own but ran short of time and had to substitute jam.  to anyone contemplating that idea-think twice!  jam melts and runs all over the tray leaving your rugelach to simmer in a puddle of liquid fruit.  this is especially true if you use the amount called for in the recipe-so heed the warning, if you use jam, cut back on the amount, cut way back!

 this is where the work was-gathering the ingredients and preparing them for filling the rolls of dough.  i used walnuts, figs and cherries.

 the dough was so easy to work with.  i may have an advantage with that since this is the sort of stuff i do for a living and must roll large pieces of dough out by hand regularly.

 red plum jam and apricot-all fruit jam, my suggestion-make the lekvar if you can’t find it in the store!

 topped with sugar and nuts
 here come the dried figs
 all rolled up-almost like they were folded in half; they were so fat and hard to roll nicely

 when cutting slices, i always mark the dough with a ruler and a knife first to make it easier and more consistent in size

 i had a lot of that sugar mix left over and i am sure it will end up in a coffee cake.

 out of the oven, you can see the puddle of jam and melted sugar in the middle

 so, i took the left over dough and made a round patty with it.  i rolled it out into a large circle and cut it into 12 wedges.

 brushed with a little melted butter, sprinkled with cinnamon sugar, walnuts and figs

 rolled into crescents
now, that’s what i’m talkin about!!!
many thanks to margaret and jessica.  and to all of you, bake it and send me a photo, i will post it here.  bake on my friends, bake on…

dinner for 1

when my husband has to travel for work, i tend to cook meatless meals-too much work for me to make an elaborate meal for just myself.  the choices i make lean towards a larger quantity than i need so that i can live on leftovers.  almost all of the meals incorporate some sort of bean or a grain other than rice since hubs makes that frequently.

with winter being so mild this year, our garden has chugged along nicely.  the crops we planted for fall are still in the beds and that has given us a chance to consume fresh picked produce a lot longer than typical for a winter garden.  we deliberately left our broccoli plants in the bed even though we had harvested the crowns.  if you allow broccoli to stay, little side shoots will produce single stalks of flower heads that are every bit as tasty and perhaps a little more tender than the large central stalk that makes up the crown.  did you know the leaves are tasty too?  they can be clipped, stemmed and cooked like collards making a wonderful addition to a meal and a pretty cheap one too-think of it as doubling the yield of a plant!

broccoli florettes and brussel sprouts from the garden are mixed with some store bought cauliflower and marinated using a recipe for cauliflower steaks from gluten free fix.  simply substitute a selection of chopped vegetables for the steaks and coat them evenly with the marinade.  then roast them until they are soft and have some color-about 30 minutes

 my idea of heaven in a bowl!
for the main course, i turned to a new acquisition, the flexitarian table by peter berley.  the hubs and i were perusing the cookbook section in mckay’s and i picked it up for $5.  the photos are beautiful and i am eager to try out several.  for my first cooking adventure, i chose the bulgur with roasted chickpeas, red onions and lemon.  it is meant to serve 4 as a main course but i planned to live on it for a couple days and i did!
i made a couple changes to the recipe.  first, when ever a recipe calls for water, especially when it is a grain, i substitute vegetable broth.  for additional flavor, i added a couple cloves of garlic.  since i am not a huge fan of cayenne pepper, i substituted some ground chili.  lastly, i chose to keep the bulgur and the chickpeas separate.
bulgur with roasted chickpeas, red onions and lemon
serves 4

1 1/3 cups vegetable broth
1 cup medium bulgur
2 tablespoons olive oil
1 medium red onion, thinly sliced
2 cloves garlic, minced
1 (15 ounce) can chickpeas, rinsed and drained
2 tablespoons freshly squeezed lemon juice
2 bay leaves
1 teaspoon cumin seeds
1/2 teaspoon ground turmeric
1/2 teaspoon sweet paprika
1/8 teaspoon ground chili or cayenne

to cook the bulgur, heat the broth to a boil  over medium heat in a covered sauce pot.  add the bulgur to the boiling broth and stir it in.  return to the boil then immediately remove from the heat, cover tightly and allow it to sit until the broth is absorbed, about 20 minutes.  meanwhile, prepare the chickpeas and vegetables.

preheat the oven to 400.  in an oven proof skillet-i used a cast iron skillet, heat the olive oil and sauté the onions and garlic until translucent, about 3-5 minutes.  add the chickpeas, lemon juice, bay leaves, cumin seeds, turmeric and chili and stir to combine.  place in the oven and roast until slightly caramelized, about 20 minutes.  be sure to stir it at least once to get an even color.   serve over the bulgur with a heaping side of the roasted veggies shown above.

and as always my friends, if you make this dish, do send a photo, i will post it here!  in the mean time, bake on…

i’m the captain, i run this ship

i’m the captain, no really, that’s my name-the captain.  my humans gave me this name because they let me run the ship.  well, they don’t really let me but i don’t give them many choices.  i’ve worked hard to get them trained just right and they do just about anything i want them to do.  especially if it means i get to eat something-they always give me tasty treats.

today, i noticed that my lady human was busy with her lap heater-she kept tapping the little button thingys. then came out the picture making thingy.  off to the garden she went.  i always go to the garden with my humans.  someone needs to keep an eye on them and the birds and the squirrels.  i like to sneak up on my lady human; when she is walking across the grass, i like to run as fast as i can straight towards her and when i get close enough, i smack her on the back of the legs.  it usually causes her to laugh but i am sure i saw her leg bendy thing almost go out from under her-soon, lady human, soon and then all the pretty birds will be mine!!!

when the lady wasn’t looking, i took some fabulous photos of my beautiful self but this stupid yeller daffy dill kept getting in the way

 for pete’s sake, they are everywhere!!!

 maybe if i smack them around a bit, show them who is boss-the real captain of the ship, they will leave

 maybe not…
 this is getting a little annoying
but they are almost as pretty as i am…

share the shot; week 2-yellow

for this weeks assignment, amy gave us the color yellow.  in my line of work, that is an easy subject.  the hard part, getting a good photo in a busy kitchen with fluorescent lighting.  i might also add that on this particular day, the idea to bring my camera never crossed my mind either.  that left me with my cell phone, specifically, my not so smart phone
 i separate a lot of eggs every day
 cornstarch boxes on a shelf-lined up like little yellow soldiers
 bananas are always present-can’t make banana pudding without them!

 buttermilk comes in yellow jugs with yellow caps.  the cap and it’s reflection on my work table.

after work, i made the rounds in my neighborhood thrift stores-again with just my cell phone

 yellow was a popular shoe color at some point.  i can’t help thinking that anyone wearing these would look like they had big bananas on their feet.

 have you ever noticed that some stores separate the clothes by color?

 the yellow shoe trend did not get by the men either…or, clowns from when the circus was in town made a donation

the only photo i took without using my cell phone.  for this one, i used the canon

zested lemons get squeezed for the juice to make a batch of lemon bars.  you can read about them and see the recipe here.  if you are inspired, make a batch and take a lovely yellow photo!  to see the photos that were submitted, visit amy’s website, she wears many hats.

thanks again amy for making the day go by quicker at work and a fun filled afternoon of thrift store giggles

share the shot-week 1, blue

 this poor blog page-if it actually had feelings, i’d really be deep in it!  while it may seem as if i have been gone for good, actually i haven’t been far away.  most of my entries go over on my baking page, easier than pie.  but some things just don’t seem to fit there so i put them here.

recently, i found a photography challenge called share the shot.  it is a challenge open to anyone of any skill level and does not require any kind of experience or talent-just the ability to take a picture.  and the great thing about this-no fancy camera is needed.  i have decided to take amy(hostess with the mostest-she blogs at she wears many hats) up on her challenge and i pulled out my camera, a canon rebel t1i.

the whole point of the challenge was for amy to get back to taking pictures that she “wanted” to take rather than those she “had” to take.  i totally get it.  for me, this will be an opportunity to learn how to use all of the functions of my camera as well as a chance to get better at taking photos.  so the first assignment-blue.  that’s right, blue.  what that means is just take a photo that is focused on something blue.  all i had to do was look around, i saw lots of blue stuff without ever leaving the confines of my own home and garden.

a tile that serves as a trivet on my dining room table

a bowling ball that lays below my fig tree

 some cookbooks on my shelf-so many different shades of blue and turquoise
 russell wright sugar and creamer on a shelf in my dining room
 my favorite pie dish

and my old fuzzy slippers-doing your assignment in your slippers and sweats-that’s what i’m talking about!

check out all of the participants on amy’s blog, she wears many hats.  thanks for a fun afternoon amy!  can’t wait for the next assignment-it’s theme is yellow and for fun, i used my cell phone as well as my camera.

cookbook request: lady lemon bars in a tart pan

when someone contacts me about my book, i get slightly worried that they are calling or emailing me because they are unhappy with a recipe; it didn’t work or it just wasn’t any good.  luckily, that hasn’t happened and just about everyone i have heard from is happy and excited to have the book and the chance to bake the desserts they remember from the cafe.  
when joy mc-waitress extraordinaire, came to me with a note from a guest, i was worried.  it seems that a woman (so sorry that i do not know your name-but i wouldn’t use it without your permission anyway) who was visiting the cafe from all the way down in boca raton, florida, was wondering about a recipe in the book.  she has a copy and wants to make the lady lemon bars the way they are photographed-in tiny little tarts rather than bars.  
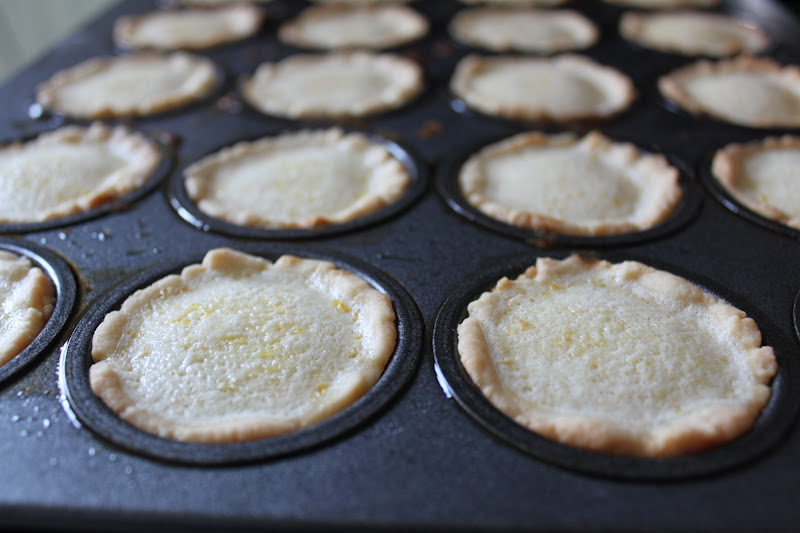
the problem; the recipe only contained instructions for bars.  the explanation; when you have to take 75 photos, things get changed so that the photos look different.  we made a spur of the moment decision to assemble the lemon bars using a mini muffin pan rather than try to cut them into squares; squares are messy and sometimes the filling can ooze and separate from the crust.  in short, the tarts were much more camera friendly in 90+ degree temps for a photo shoot that was happening outdoors!
the good news, i made a batch of little tarts and am posting the recipe and instructions here so that anyone who would like to make tarts rather than bars, can.  enjoy!
lady lemon tarts
makes 20 mini tarts

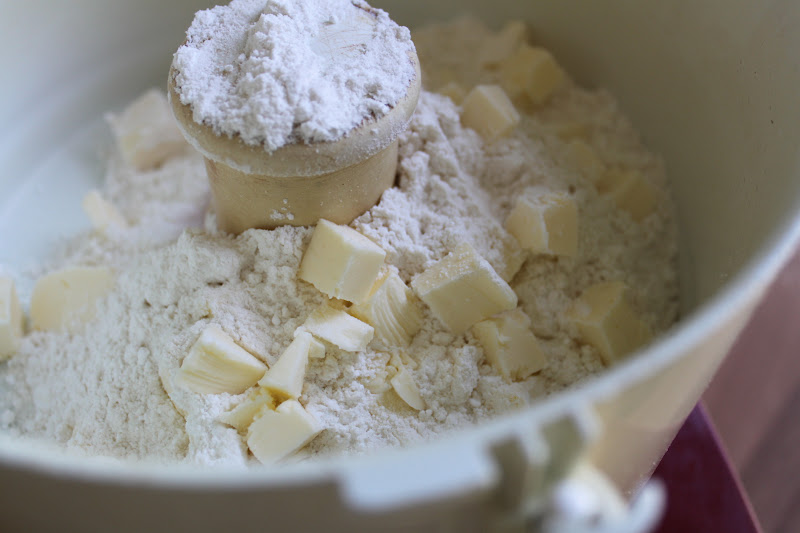
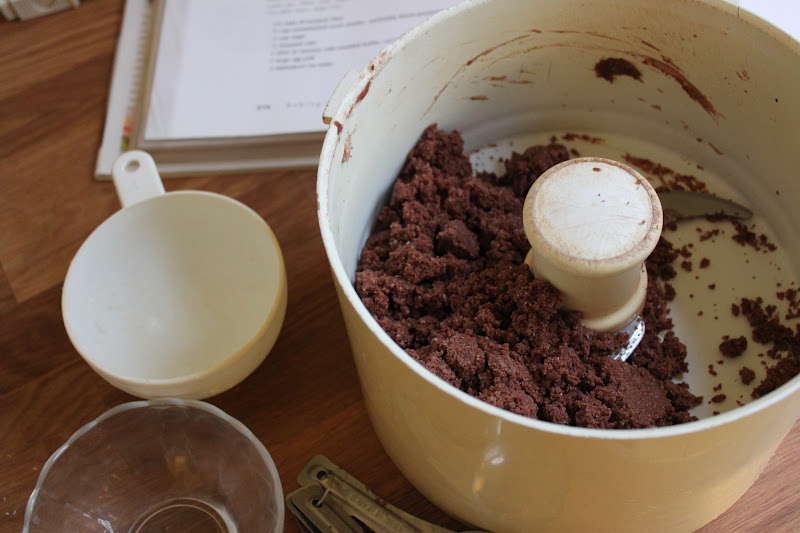
to make the dough, place the following into the bowl of a food processor:
1 cup all purpose flour
1/3 cup confectioners’ sugar
6 tablespoons unsalted butter, cold and cut into small cubes

 pulse that mixture until it resembles coarse meal
 add 1 egg yolk and process until it comes together to form a soft dough.  

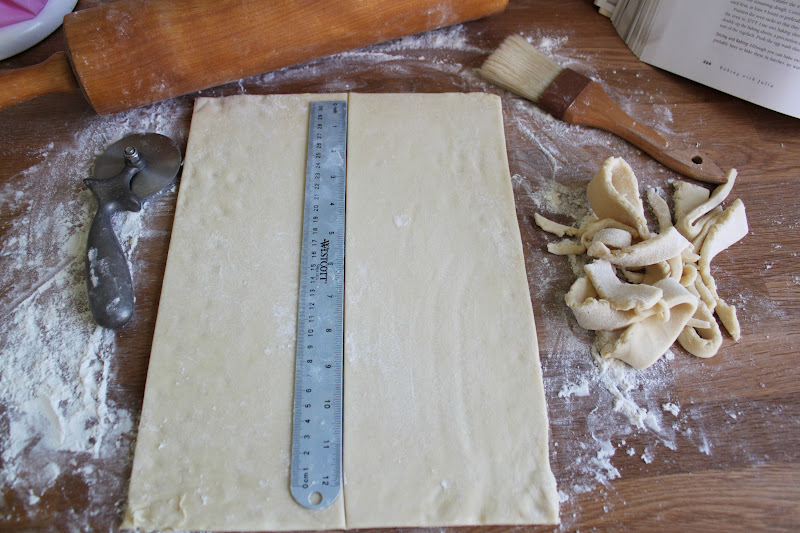
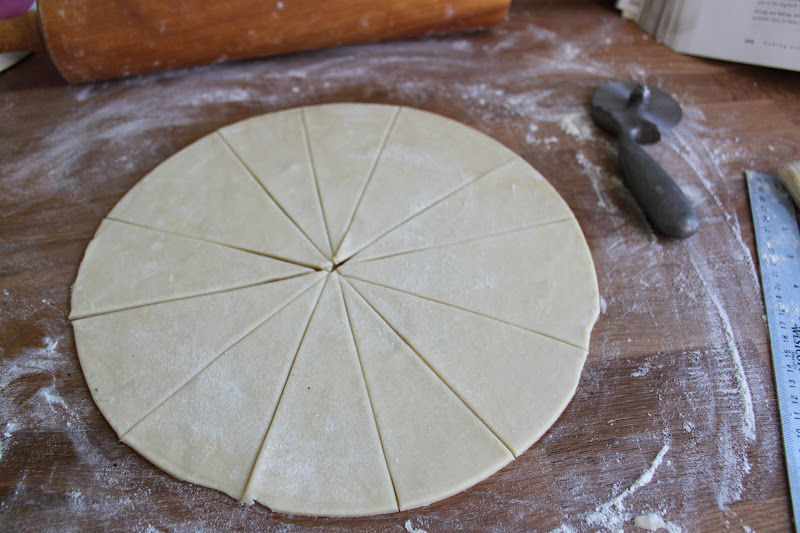
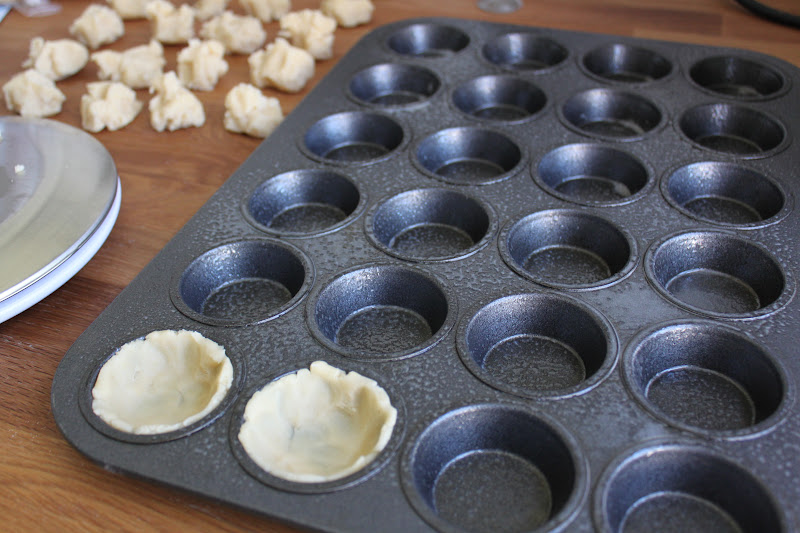
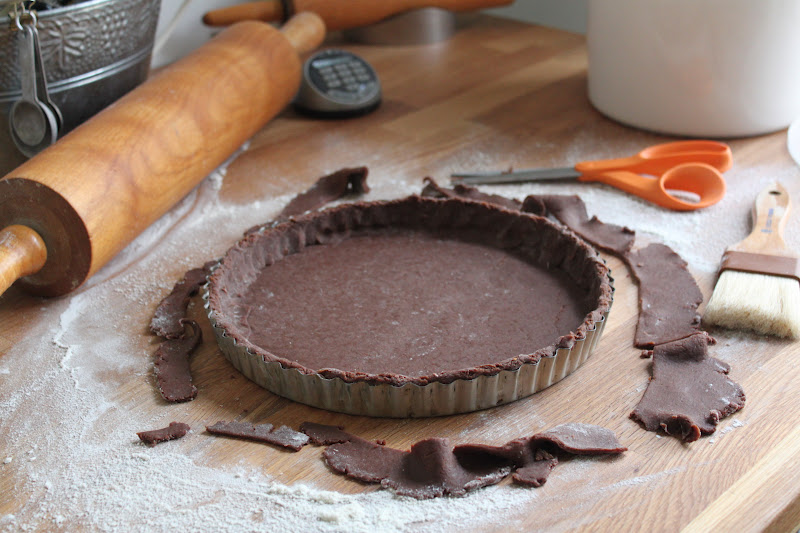
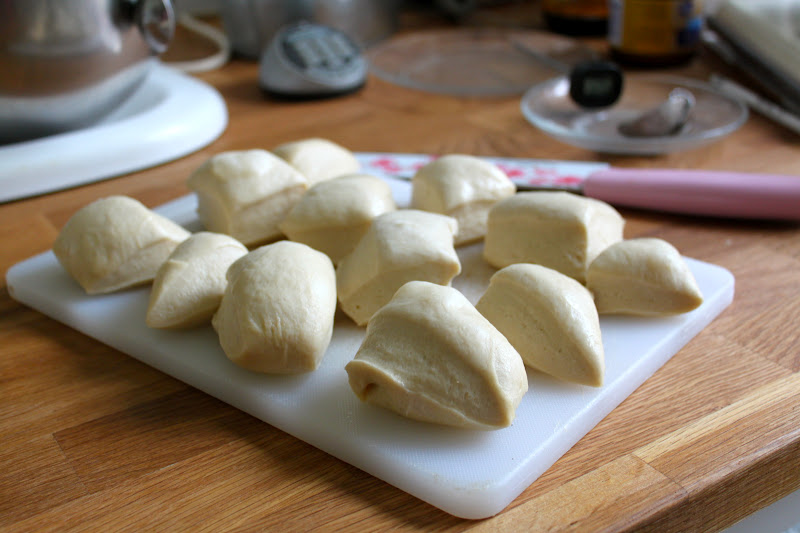
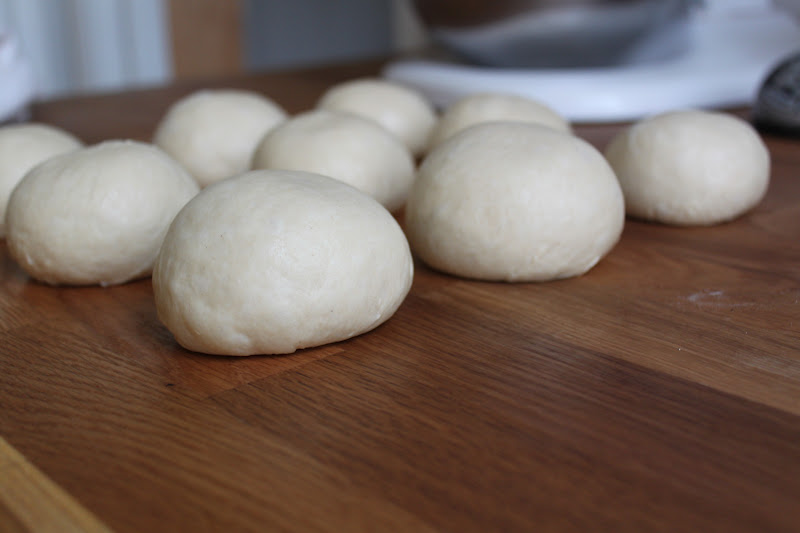
preheat the oven to 350.  divide the dough into 20 equal pieces.  if you use a scale, as i did, it will be about 1/2 ounce each.  if you do not have a scale, pat the dough into an evenly shaped rectangle with the same thickness through out and then cut it into 20 even pieces.  lightly spray the pan with grease and using your fingertips, gently press the dough into the cups of the pan.  be sure to bring the dough to the top of each cup.

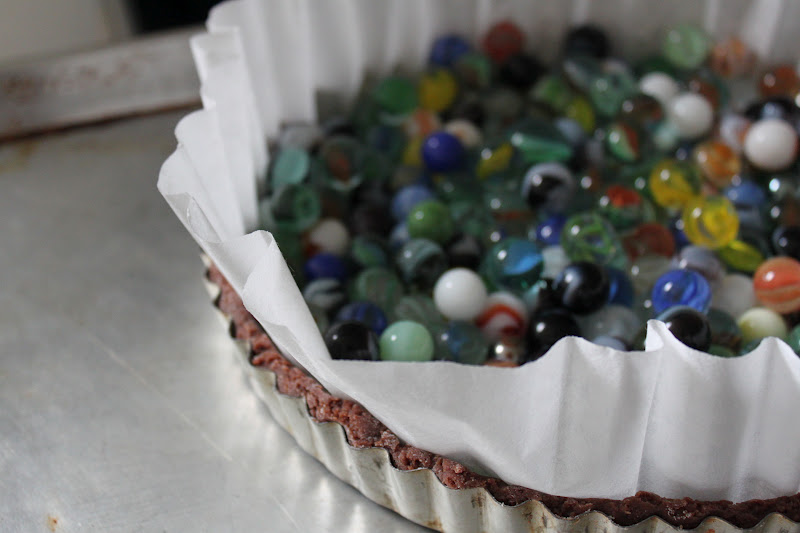
 bake the tart shells until they just begin to color on the edges and are no longer glossy in the bottom, about 10-12 minutes.  while the tart shells bake, prepare the filling.

 ***a note about the filling; the tarts use a lot less than bars do!  so, i am including a half recipe of filling that will be more than enough to fill 20 mini tarts.  if you want to make more than 20, both recipes are easily doubled!

place the following in a mixing bowl:
1/2 cup granulated sugar
2 tablespoons all purpose flour
using a whisk, mix well.

whisk in the following:
1 egg
1 teaspoon lemon zest
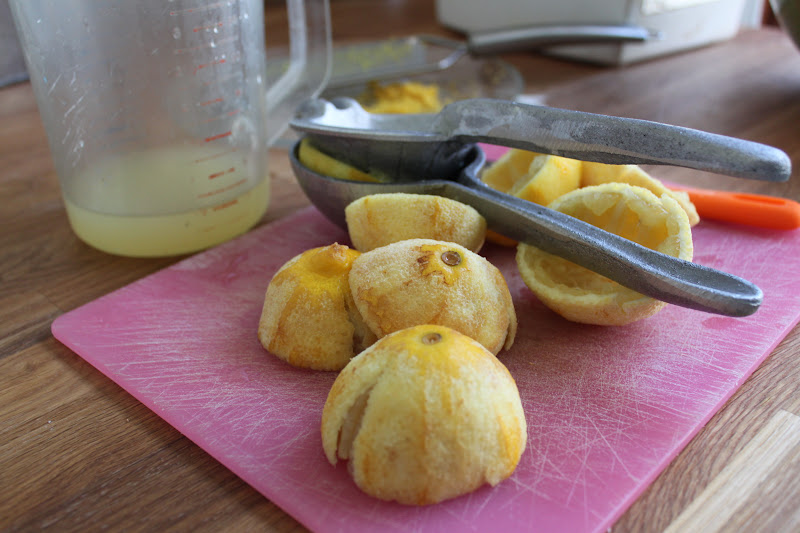
1/4 cup freshly squeezed lemon juice
using a tablespoon, carefully fill the tart shells taking care not to let the filling go over the edges or it will seal the crust to the pan and make it difficult to remove the tarts from the pan.  bake until the filling is firm, about 10-12 minutes.  allow to cool completely before removing them from the pan.

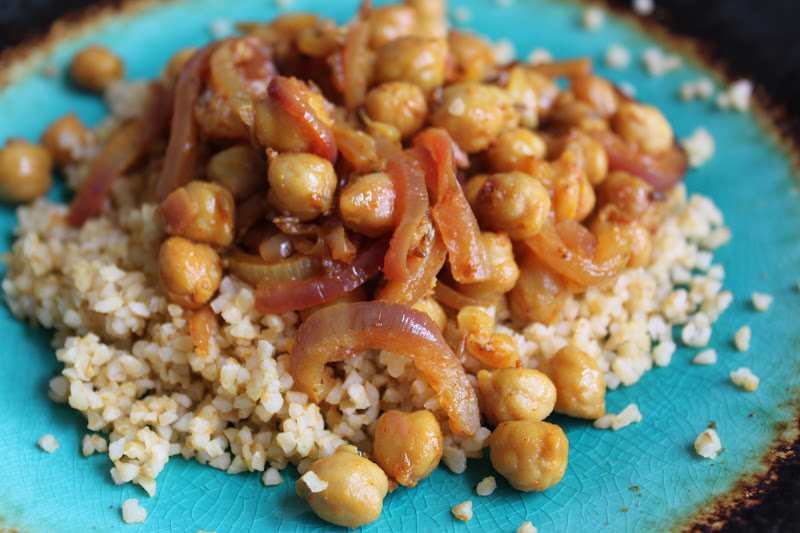
 the finished tarts, fresh from the oven.

using a thin bladed knife, carefully lift the tarts out of the pan by inserting the knife down the side of the cup.  take care when doing this so that you do not scratch the finish of your pan if it has a nonstick finish.  to decorate, sprinkle additional powdered sugar over the top and place a fresh berry or two in the center-we used blackberries for the photos.

bake on friends and feel free to ask me questions about the book anytime-it’s nice to know that the recipes are being used and the results enjoyed!

twd: chocolate truffle tartlettes

are you ready for another tuesday with dorie?  this week’s challenge is being hosted by 4 different participants; steph, spike, jaime and jessica.  i know i was raring to go-how could you not be ready for chocolate?  since this was a chocolate challenge, i decided to make them for valentines day with my husband and one of our daughters.   both of them are fans of chocolate, especially dark chocolate but being a pastry chef, i decided to customize my tart for them.  what that means is rather than dark and white chocolate chunks and chopped biscotti being added to the tart, i opted to use dark chocolate, peanut butter cups and peanut brittle.

 first, the dough mixes up incredibly fast in the food processor.
 rather than 6 small tartlettes, i made one 9″ tart
 as always, the marbles came out of the closet with a coffee filter to serve as pie weights
 perfectly baked!
 for the filling-egg yolks are whipped with sugar to the ribbon stage

 the booty-peanut brittle, mini peanut butter cups and bittersweet chocolate were folded into the mousse filling.

 the filling in the prepared tart shell before going into the oven
 after baking-the large tart took about 25 minutes at 350 to bake
fudgy perfection!  it was a huge hit with the husband and daughter-me too!!!
many thanks to this weeks hosts-looking forward to the next challenge.  bake on friends and if you dare, bake one and send me a photo-i will post it here!  see the tarts from all of the participants here

kaiser rolls-a work in progress

i’ve come to realize that my sanity may depend on securing another book deal…but, i digress.  my new found freedom (read that as kids out of the house and husband working insane hours) has left me with time to try new things.  so what do i do with this freedom?  why, i bake of course-what did you think i would do???  kaiser rolls have always been something that i love-the thin, crispy crust and the fluffy, light bread…mmmmmm…then again, cookbooks are a bit of an obsession too.  i went onto the public library’s website and secured myself a copy of peter reinhart’s book, the bread baker’s apprentice and decided to try my hand at kaiser rolls.  luckily for all of us, the recipe was posted by the gang that blogged their way through the book and can be found here.  i say luckily because none of the recipes in this book are short-all are extremely detailed and take a lot more time than you would expect.  this recipe spanned two days and honestly, i wasn’t happy with the results, but that is probably my inexperience and not the recipe at fault.

a preferment-or a batch of “old” dough is mixed and allowed to rest overnight in the fridge.  on baking day, it is cut up and allowed to come to room temp so it can be incorporated into the dough.

my old mixer got the workout of a life time!!!

if you read this book, you will see that temperatures are just as important as measuring and mixing.

the dough after mixing
after the first rise
yes, i have had lots of practice shaping rolls-old habits die hard…

i tried the stamp this time, next time i will try the other two methods; tying a knot and folding the petals to the center.

they rise upside down and then you turn them over
mmmm……seeds
not bad for this attempt but definitely not the rolls of my youth!  i will work on these again because i love kaiser rolls and good ones are impossible to find here in nashville.  that and the fact that mine looked nothing like all the ones i looked at from the bloggers group!